Home>Articles>How To Reupholster A Dining Room Chair With Piping
Articles
How To Reupholster A Dining Room Chair With Piping
Modified: September 1, 2024
Learn how to reupholster a dining room chair with piping in this informative article. Step-by-step instructions and expert tips provided to help you achieve stunning results.
(Many of the links in this article redirect to a specific reviewed product. Your purchase of these products through affiliate links helps to generate commission for Storables.com, at no extra cost. Learn more)
Introduction
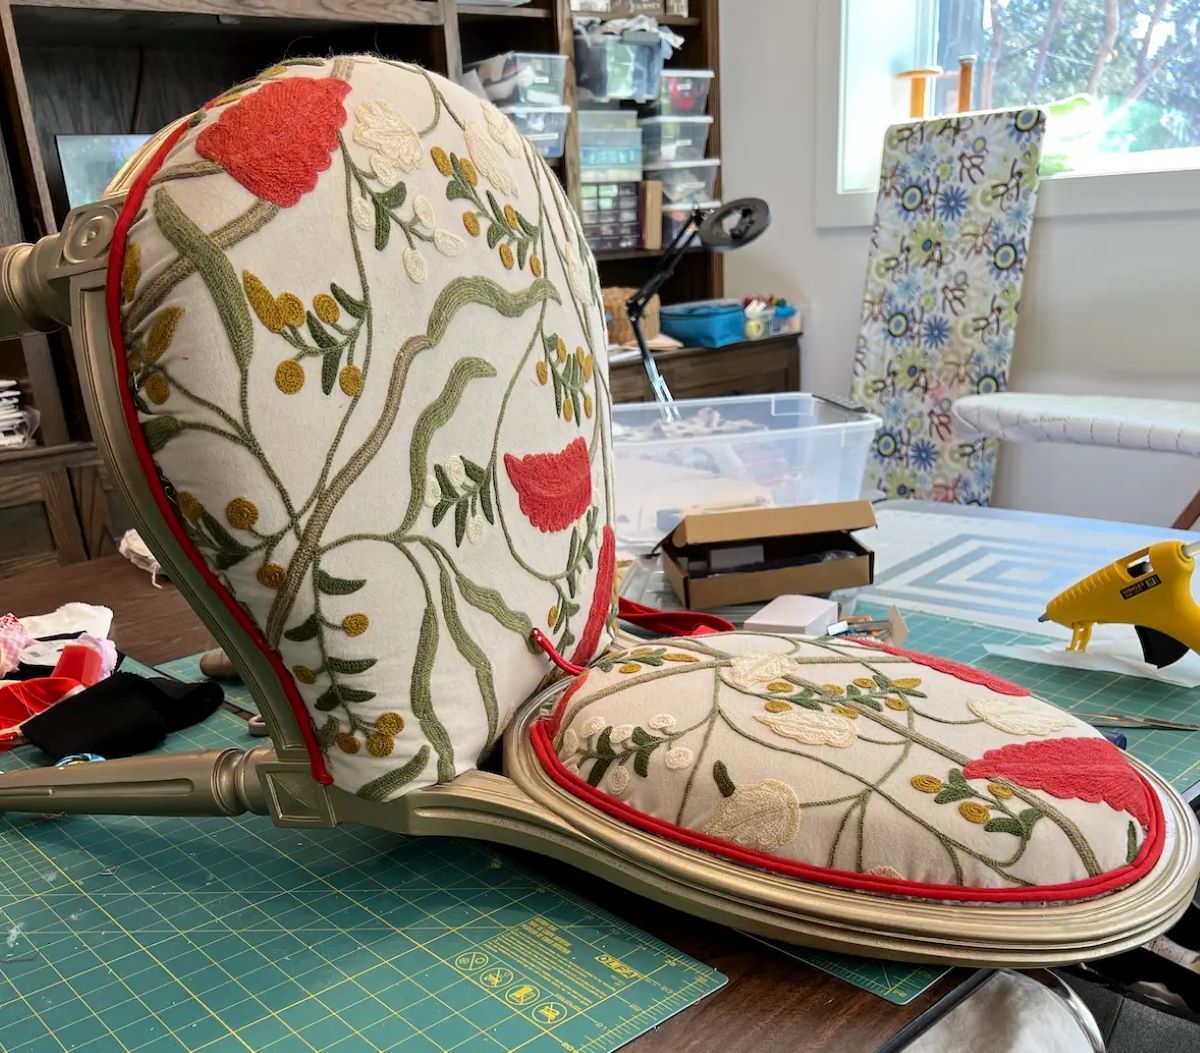
Reupholstering a dining room chair with piping is a great way to give new life to a worn-out piece of furniture. Whether you’re looking to update the look of your dining room or simply want to revive a sentimental piece, reupholstering can be a rewarding and creative DIY project. Piping adds a touch of elegance and sophistication to the chair, giving it a polished and finished look.
In this article, we will guide you through the step-by-step process of reupholstering a dining room chair with piping. We will cover everything from gathering the necessary materials to attaching the fabric panels and reassembling the chair. By following this guide, you can transform your dining room chairs into stunning and comfortable seating.
Before you begin, it’s important to note that reupholstering a dining room chair with piping requires some basic sewing skills and tools. If you’re new to sewing, don’t be discouraged! This project is a great opportunity to develop your sewing abilities and create a customized piece.
Now, let’s dive into the exciting world of upholstery and discover the steps to reupholstering a dining room chair with piping!
Key Takeaways:
- Reupholstering a dining room chair with piping is a rewarding DIY project that allows for creativity and personalization, while also contributing to sustainability by giving old furniture a new life.
- This step-by-step guide empowers individuals to develop sewing and upholstery skills, customize their furniture, and achieve a professional-looking result, all while enjoying the process of transforming their dining room chair.
Step 1: Gather Materials
Before you start reupholstering your dining room chair with piping, it’s important to gather all the necessary materials. Having everything on hand will make the process smoother and more efficient. Here’s a list of materials you will need:
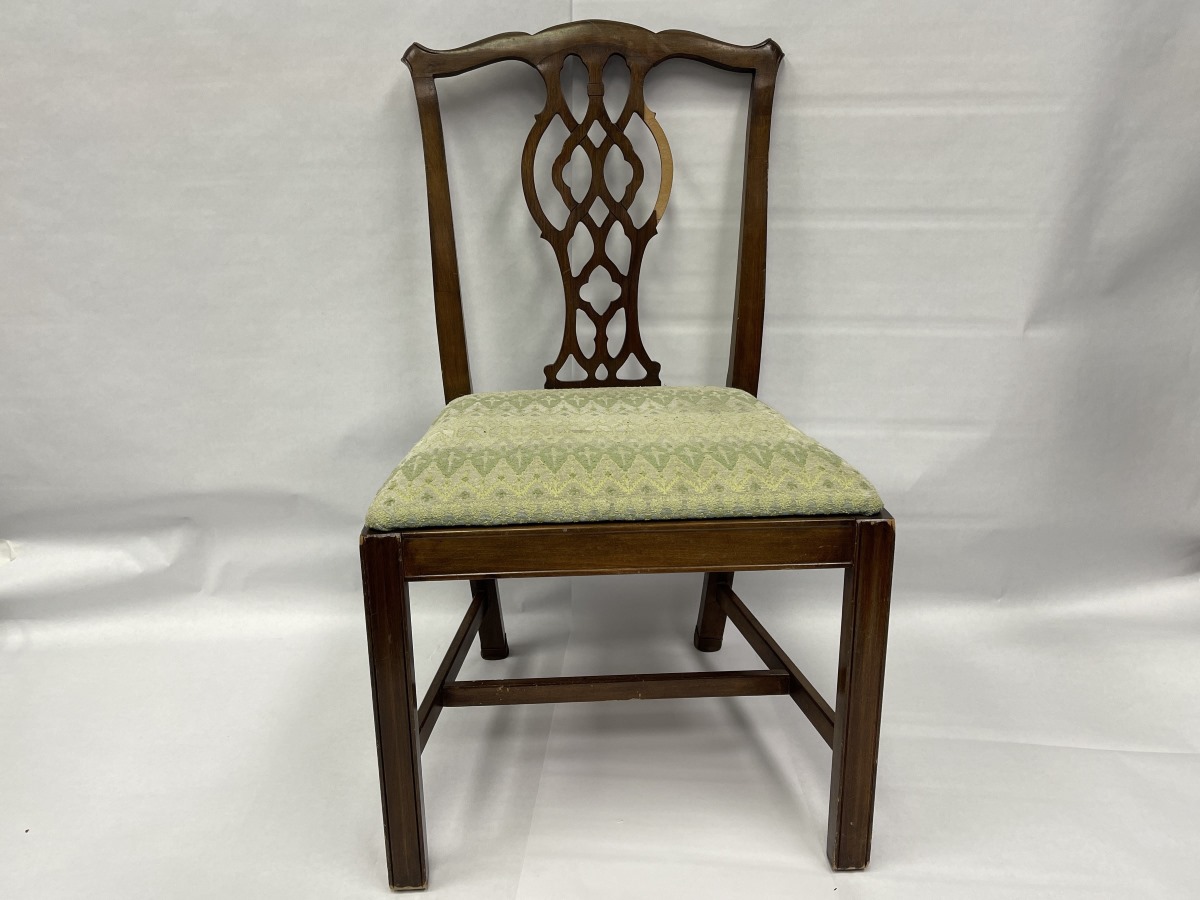
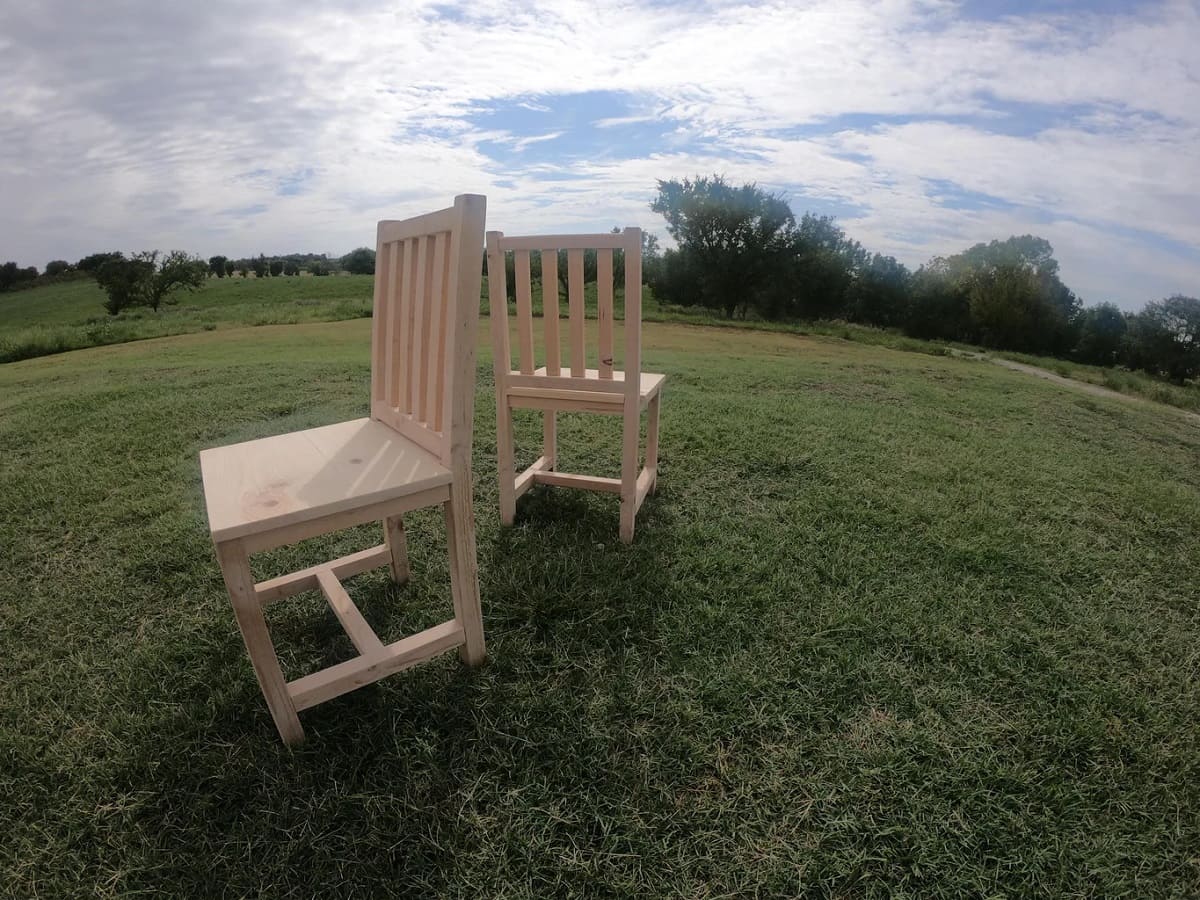
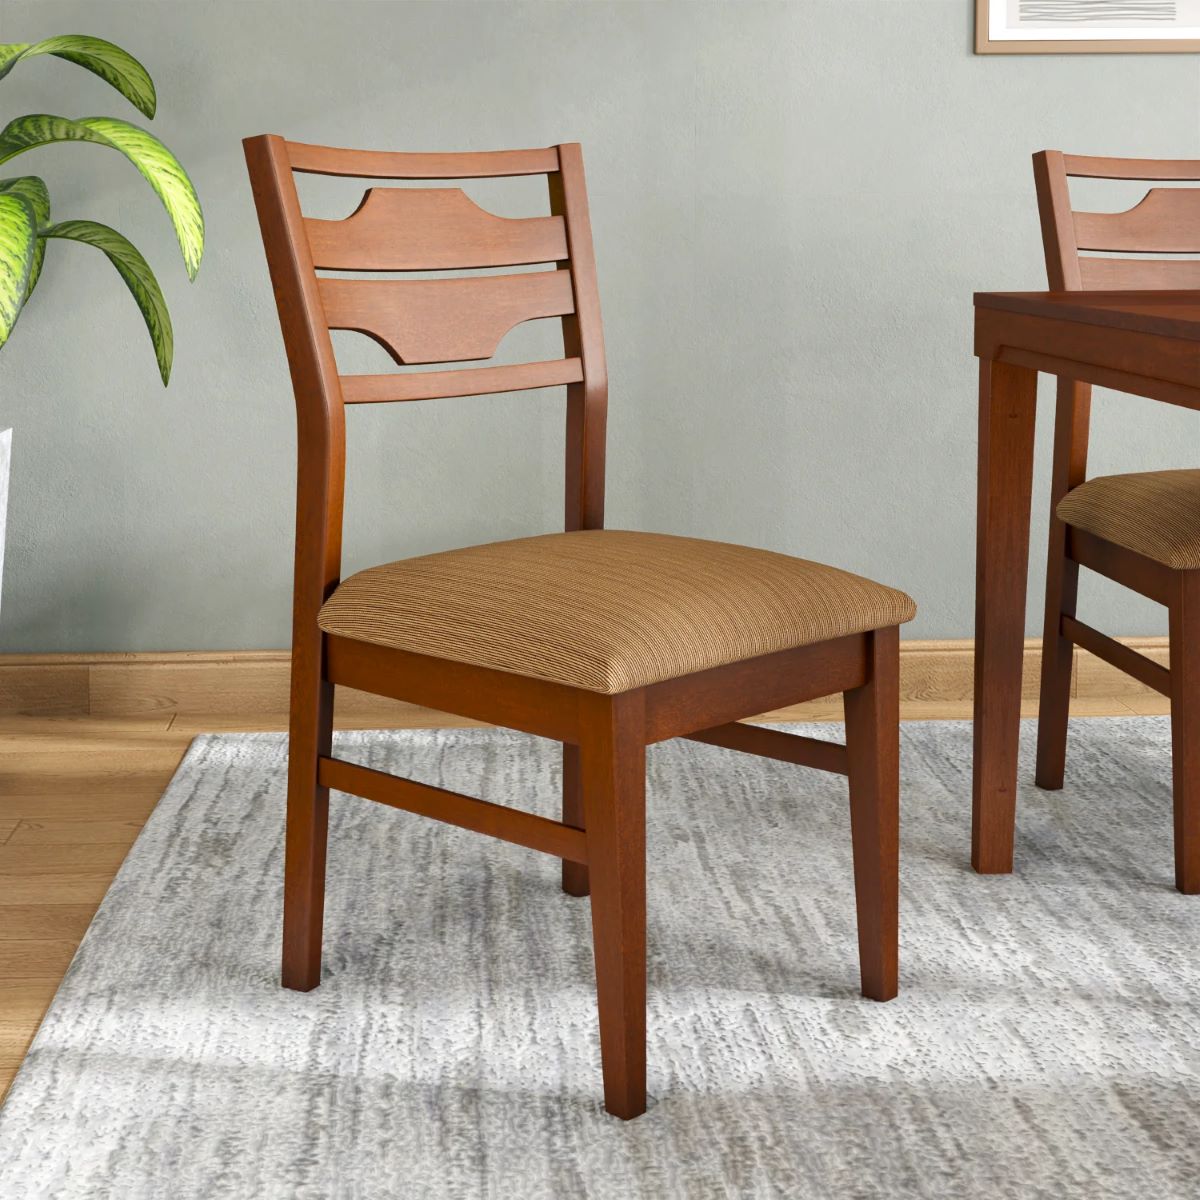
- Chair: Select the dining room chair you want to reupholster. Ensure that the frame is in good condition and sturdy.
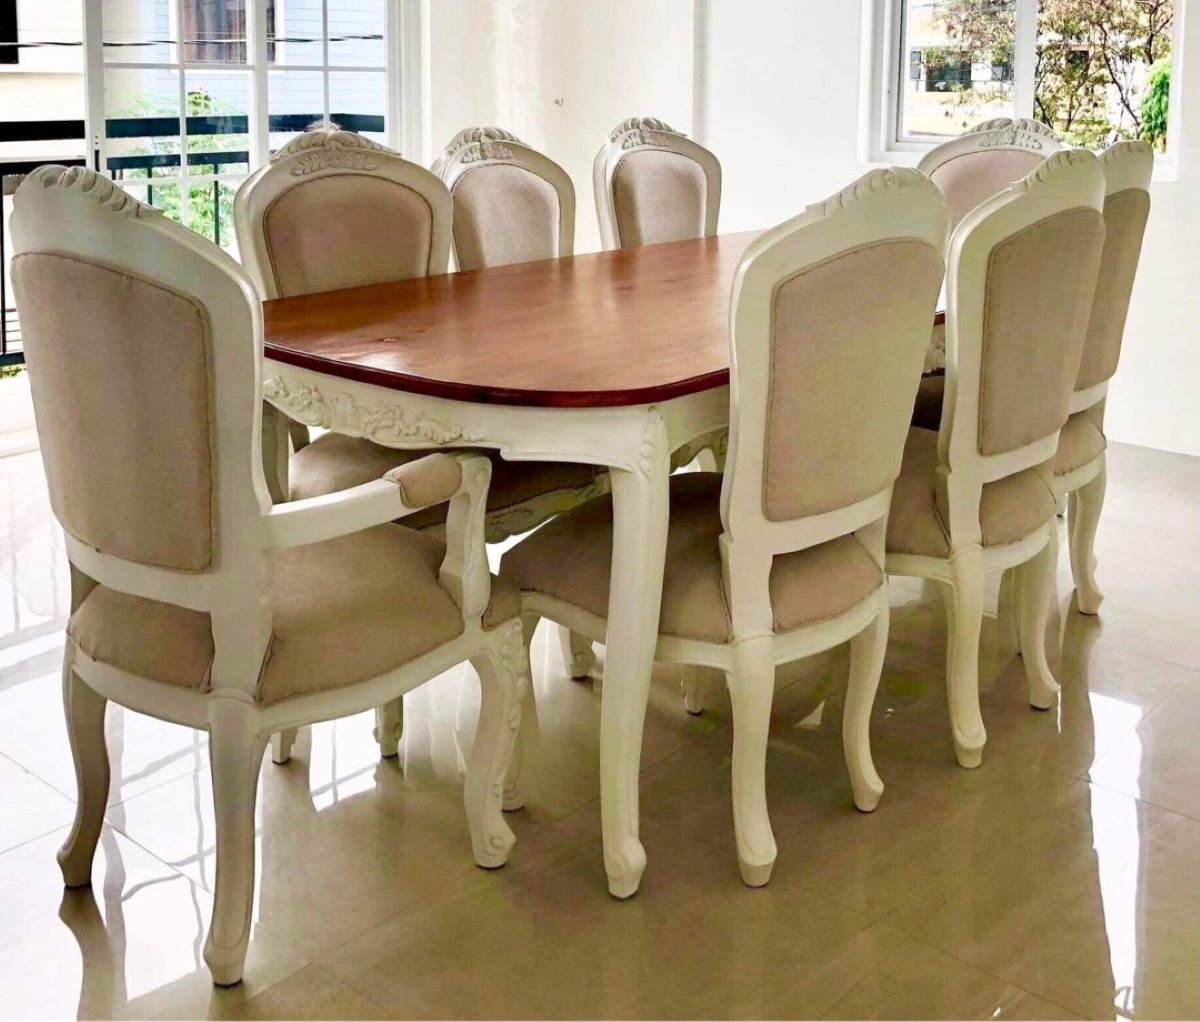
- Upholstery Fabric: Choose a fabric that suits your style and complements your dining room decor. Make sure to purchase enough fabric to cover the chair seat and backrest.
- Piping Cord: This is a cord covered with fabric that will be used to create the piping detail. Select a piping cord that matches or complements your upholstery fabric.
- Zipper: If your chair has a removable seat cushion, you will need a zipper to easily attach and detach the cushion for cleaning or replacement.
- Foam Padding: If your chair’s existing padding is worn out or uncomfortable, consider replacing it with new foam padding.
- Thread: Choose a thread color that matches your upholstery fabric or piping cord.
- Scissors: You’ll need a pair of sharp scissors to cut the fabric and piping cord.
- Measuring Tape: A measuring tape will ensure your fabric panels are accurately sized.
- Sewing Machine: If you have access to a sewing machine, it will greatly expedite the sewing process. However, if you don’t have one, you can hand sew the fabric panels and piping.
- Staple Gun: A staple gun will be used to secure the fabric panels to the chair frame.
Once you have gathered all the materials, you’re ready to move on to the next step: removing the existing upholstery.
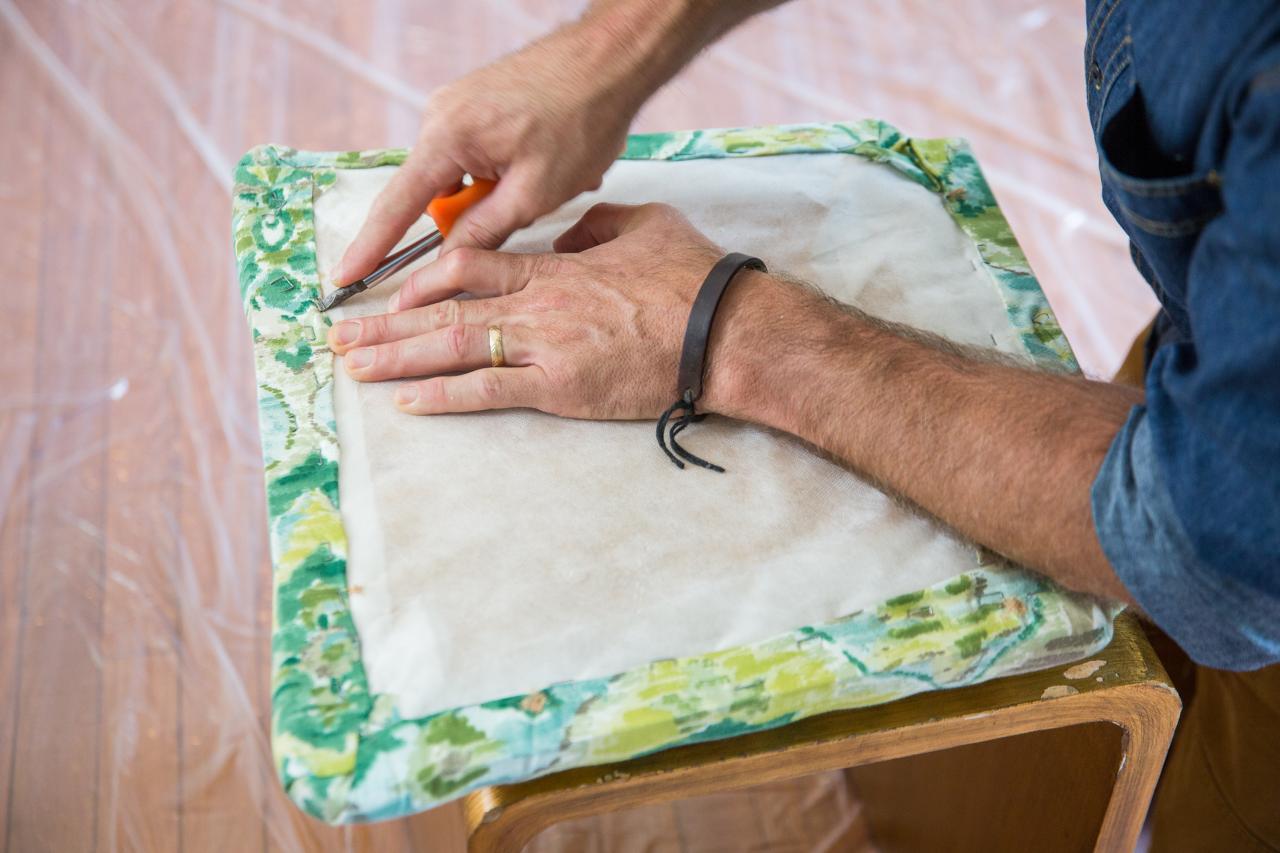
Step 2: Remove Existing Upholstery
Now that you have all the necessary materials for reupholstering your dining room chair with piping, it’s time to remove the existing upholstery. Follow these steps:
- Flip the chair upside down to access the underside.
- Inspect the chair to identify the attachment methods used for the upholstery. This could be staples, nails, or screws.
- Using a staple remover or pliers, carefully remove all the staples or fasteners that secure the fabric to the chair frame. Be cautious not to damage the frame or any foam padding underneath.
- If there are any decorative trims or buttons, remove them as well.
- Gently pull the old fabric off the chair, taking care not to tear or damage it. You may need to use scissors to cut the fabric in certain areas.
- Once the fabric is removed, inspect the chair’s padding and foam. If they are in good condition, you can reuse them. Otherwise, consider replacing them with new foam padding for added comfort.
During this step, pay attention to how the original upholstery was attached. This will give you insights on how to properly secure your new fabric panels. Take note of any special folds or pleats that were used to achieve a well-fitted look.
Now that you have removed the existing upholstery from the chair, you’re ready to move on to the next step: repairing the chair frame (if necessary).
Step 3: Repair Chair Frame (if necessary)
After removing the existing upholstery from your dining room chair, it’s important to assess the condition of the chair frame. If you notice any damage or loose joints, it’s essential to repair them before proceeding with the reupholstering process. Follow these steps to repair the chair frame:
- Inspect the chair frame for any cracks, splits, or loose joints. Pay special attention to areas that may have weakened over time, such as the corners and the underside of the chair.
- If you notice any loose joints, apply wood glue to the affected area and use clamps to secure the joints while the glue dries. Allow the glue to set according to the instructions provided by the manufacturer.
- If there are any cracks or splits in the wood, use wood filler or epoxy to fill the damaged areas. Follow the instructions on the product to ensure proper application and drying time.
- Once the repairs are complete and the glue or filler has dried, sand down any rough or uneven surfaces to create a smooth finish.
- Inspect the chair frame one final time to ensure all repairs have been properly completed and the chair is sturdy and stable.
Repairing the chair frame is crucial to ensuring the longevity and stability of your reupholstered dining room chair. Taking the time to address any existing damage will result in a chair that not only looks great but is also built to last.
Once you have repaired the chair frame (if necessary), you’re ready to move on to the next step: measuring and cutting the new upholstery fabric.
Step 4: Measure and Cut New Upholstery Fabric
With the chair frame repaired, it’s time to measure and cut the new upholstery fabric that will be used to cover the dining room chair with piping. Follow these steps:
- Start by measuring the dimensions of the seat and backrest of the chair. Use a measuring tape to get accurate measurements, ensuring you account for any curves or contours in the shape of the chair.
- Add an extra few inches to each measurement to allow for seam allowances and to ensure you have enough fabric to fully cover the chair.
- Transfer the measurements onto the upholstery fabric, using a fabric marker or chalk. Be sure to mark the fabric with the right side facing up.
- Carefully cut out the fabric panels along the marked lines, using sharp fabric scissors. Take your time to ensure smooth and precise cuts.
- Once the fabric panels are cut, place them on the chair to check the fit. Make any necessary adjustments by trimming the fabric if it’s too large or recutting it if it’s too small.
Keep in mind that you will need to cut additional strips of fabric for the piping. The length of these strips will depend on the dimensions of the chair and the desired thickness of the piping. Use the same fabric used for the panels, or a contrasting fabric for added visual interest.
By measuring and cutting the new upholstery fabric accurately, you ensure a proper fit and a clean, finished look for your dining room chair.
Now that you have measured and cut the new upholstery fabric, you’re ready to move on to the next step: sewing the piping.
When adding piping to your reupholstered dining room chair, make sure to use a piping foot on your sewing machine to ensure a clean and professional-looking finish.
Step 5: Sew Piping
To add a stylish and professional touch to your reupholstered dining room chair, it’s time to sew the piping. Piping is a detail that enhances the edges and seams of the fabric panels, giving your chair a polished and finished look. Follow these steps to sew the piping:
- Measure the length of each edge of the fabric panels where the piping will be attached. Add a few extra inches to each measurement to ensure you have enough piping.
- Cut fabric strips for the piping that are wide enough to accommodate the piping cord. The width can vary depending on your preference, but a common width is 1.5 to 2 inches.
- With the right sides of the fabric strips together, fold them in half lengthwise and press them with an iron. This will create a crease along the center.
- Place the piping cord along the crease in the fabric strip. Fold the fabric over the piping cord and pin it in place.
- Using a zipper foot on your sewing machine, stitch close to the piping cord to secure it in place. Make sure to stitch as close as possible without stitching onto the cord itself.
- Continue sewing the piping until you reach the end of the fabric strip. Cut off any excess fabric, leaving a small amount to overlap with the starting point of the piping.
- Overlap the ends of the fabric strip and stitch them together to create a seamless loop.
- Repeat these steps to sew enough piping for all the edges of the fabric panels.
Once the piping is sewn, give it a gentle press with an iron to flatten any creases or wrinkles. The piping is now ready to be attached to the fabric panels.
Now that you have sewn the piping, you’re ready to move on to the next step: attaching the piping to the fabric panels.
Step 6: Attach Piping to Fabric Panels
Now that you have sewn the piping, it’s time to attach it to the fabric panels for your dining room chair. This step will add a beautiful and professional-looking detail to the edges of the chair. Follow these steps to attach the piping:
- Place one of the fabric panels right side up on a flat surface.
- Take one end of the piping and align it along the edge of the fabric panel, with the cord side facing inward and the raw edges aligned.
- Starting at one end, carefully pin the piping in place along the entire edge of the fabric panel. Make small snips along the seam allowance of the fabric strip as you go, to help it curve around corners smoothly.
- Continue pinning the piping until you reach the starting point, and trim off any excess piping.
- Using a zipper foot on your sewing machine, sew along the pinned edge, making sure to stitch close to the piping but not over it. This will secure the piping to the fabric panel.
- Repeat these steps for all the edges of the fabric panels where you want to attach the piping.
As you sew the piping, make sure to go slowly and keep the fabric taut but not stretched. Take care to maintain an even distance between the piping cord and the edge of the fabric panel for a consistent look.
Once the piping is securely attached to all the fabric panels, give them a final press with an iron to flatten any wrinkles or creases.
Now that you have attached the piping to the fabric panels, you’re ready to move on to the next step: attaching the fabric panels to the chair.
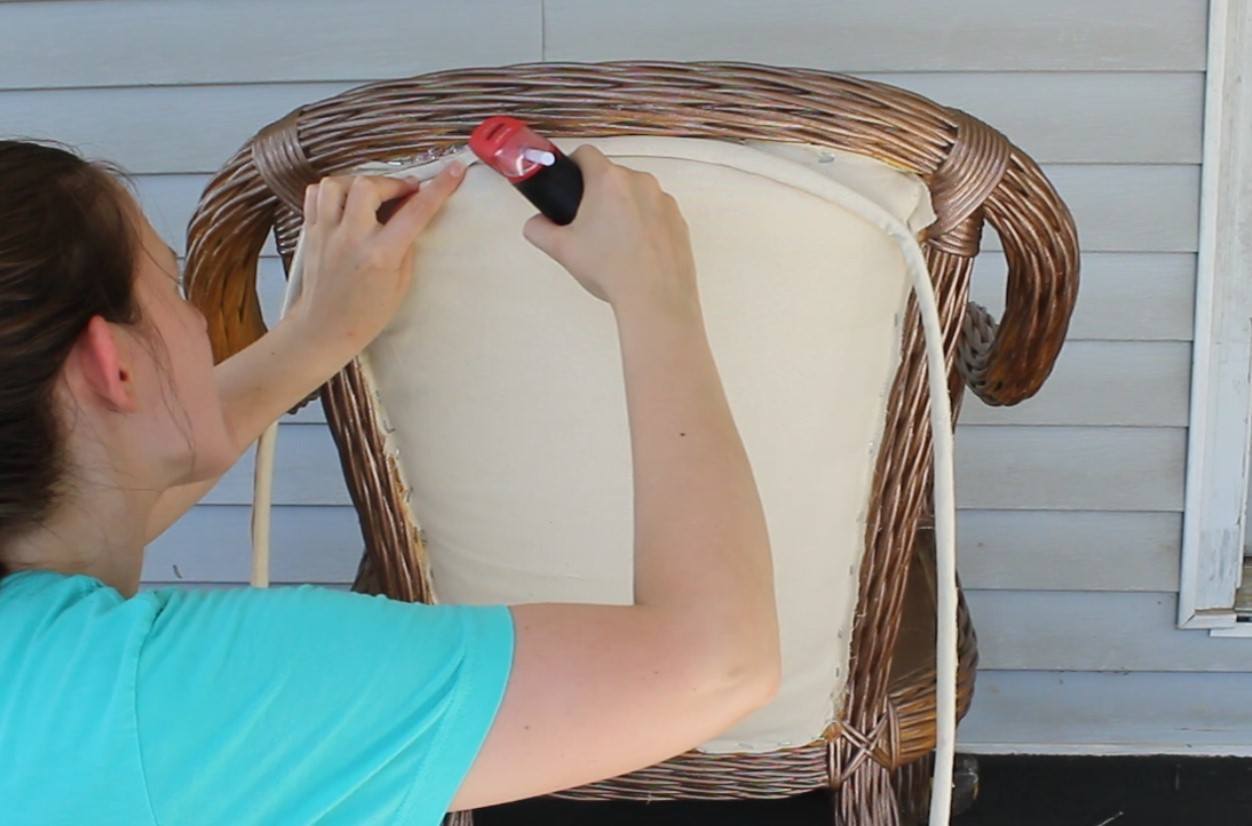
Step 7: Attach Fabric Panels to Chair
With the piping attached to the fabric panels, it’s time to secure the panels onto the chair frame. Follow these steps to attach the fabric panels:
- Position the first fabric panel onto the chair seat or backrest, making sure the right side is facing out.
- Smooth out any wrinkles or creases in the fabric, ensuring a neat and tight fit.
- Starting at one edge, use a staple gun to secure the fabric to the chair frame. Begin by stapling the center point of each side, and then work your way towards the corners, keeping the fabric taut as you go.
- Continue stapling the fabric along each side, spacing the staples about 1 to 2 inches apart. Be mindful of any curves or corners, folding and tucking the fabric neatly to create smooth edges.
- Repeat these steps to attach the remaining fabric panels to the corresponding parts of the chair frame.
- If your chair has a removable seat cushion, use a zipper to attach it to the chair frame. Place the cushion onto the chair seat, aligning it with the fabric panel, and zip it closed.
As you staple the fabric panels, make sure to pull the fabric taut but not too tight, as it should still allow for a comfortable seating experience. Take your time to ensure the fabric is securely attached and the chair looks professionally upholstered.
Now that the fabric panels are attached to the chair, you’re ready to move on to the final step: reassembling the chair.
Step 8: Reassemble Chair
With the fabric panels securely attached to the chair frame, it’s time to reassemble the dining room chair. Follow these steps to complete the reupholstering process:
- If you removed any decorative trims or buttons during the earlier steps, now is the time to reattach them to the chair. Use a needle and thread or a glue gun, depending on the type of trim or button.
- Inspect the chair to ensure that all the fabric panels are neatly in place and the piping is well-positioned.
- If your chair has a removable seat cushion, place it back onto the chair seat and ensure it is properly aligned.
- If necessary, trim any excess fabric or piping that may be protruding from the edges of the chair.
- Clean the chair frame and fabric panels by gently wiping them with a clean, damp cloth to remove any dust or dirt that may have accumulated during the reupholstering process.
Once you have completed these steps, take a step back and admire your newly reupholstered dining room chair. It’s now ready to be showcased in your dining space and enjoyed by friends and family.
Reupholstering a dining room chair with piping may require some time and effort, but the end result is a beautiful and personalized piece of furniture. By following this step-by-step guide, you have taken a worn-out chair and transformed it into a stunning and comfortable seating option.
Remember, with each reupholstering project, you will gain more confidence and improve your skills. So don’t hesitate to take on new upholstery challenges and bring your creativity to life!
Thank you for joining us on this reupholstering journey. We hope you found this guide helpful and enjoy the process of reviving your dining room chair with piping!
Happy reupholstering!
Read more: How To Reupholster Patio Chairs
Conclusion
Reupholstering a dining room chair with piping is a gratifying and creative DIY project that allows you to breathe new life into your furniture. By following the step-by-step guide outlined in this article, you have learned how to gather the necessary materials, remove existing upholstery, repair the chair frame if necessary, measure and cut new upholstery fabric, sew piping, attach the piping to fabric panels, attach the fabric panels to the chair, and finally, reassemble the chair.
Throughout this process, you have developed skills in sewing, upholstery, and furniture repair. You have also discovered the art of adding piping detail, which provides a touch of elegance and sophistication to your reupholstered chair.
Remember to exercise patience and attention to detail when working on your project. Take the time to measure accurately, cut neatly, and sew carefully. By doing so, you will achieve a professional-looking result that will transform your dining room chair into a statement piece.
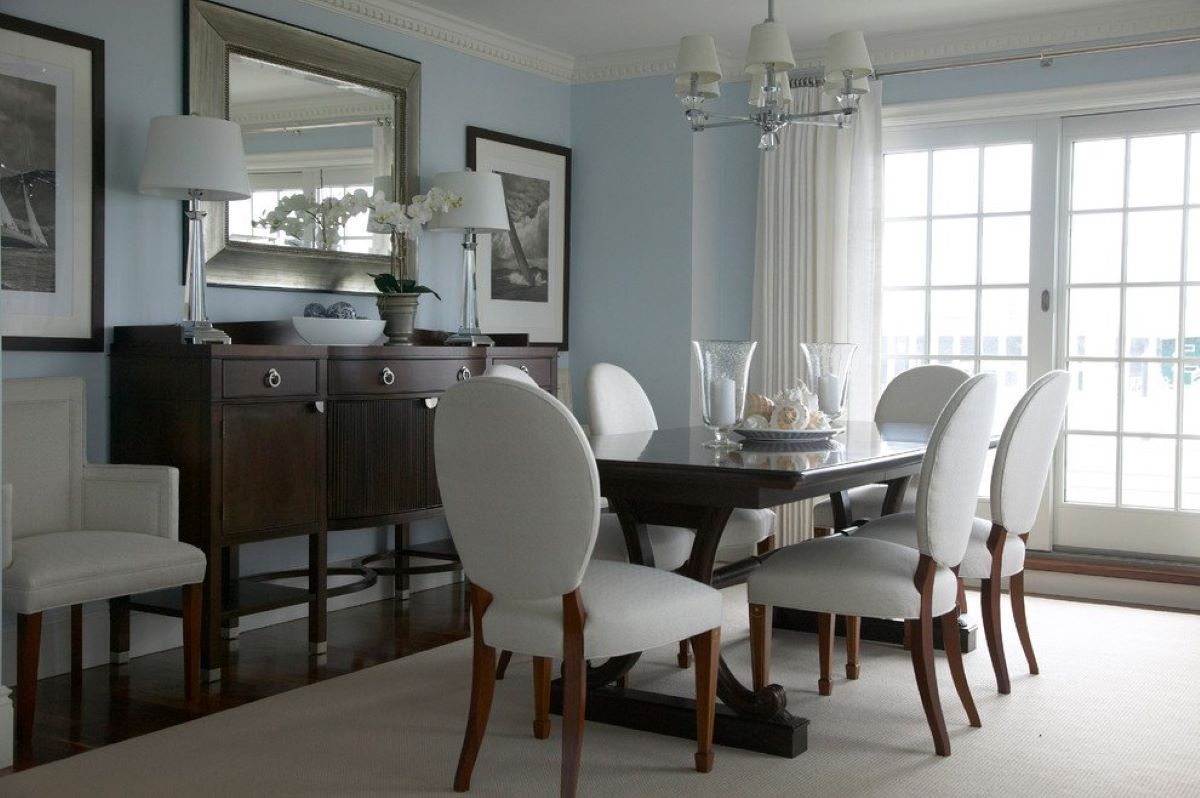
Reupholstering also offers the benefit of customization. You have the freedom to choose an upholstery fabric that reflects your personal style and complements your existing decor. Whether you opt for a bold, eye-catching print or a subtle, timeless solid color, the choice is yours to make.
By investing your time and effort into reupholstering, you are not only saving money compared to buying a brand new chair, but you are also reducing waste and contributing to a more sustainable lifestyle. Giving your furniture a second chance ensures its longevity and minimizes your environmental impact.
We hope this comprehensive guide has empowered you to embark on your reupholstering journey with confidence and enthusiasm. Remember to have fun throughout the process and enjoy the satisfaction of transforming your dining room chair into a piece that is both functional and visually appealing.
Now it’s time to put your newfound knowledge and skills into practice. Gather your materials, choose your fabric, and get ready to embark on a reupholstering adventure. Your dining room chair will soon become a testament to your creativity and resourcefulness.
Happy reupholstering!
Frequently Asked Questions about How To Reupholster A Dining Room Chair With Piping
Was this page helpful?
At Storables.com, we guarantee accurate and reliable information. Our content, validated by Expert Board Contributors, is crafted following stringent Editorial Policies. We're committed to providing you with well-researched, expert-backed insights for all your informational needs.


0 thoughts on “How To Reupholster A Dining Room Chair With Piping”