Home>Dining>Tableware>How To Add Piping While Reupholstering A Dining Room Chair
Tableware
How To Add Piping While Reupholstering A Dining Room Chair
Modified: January 5, 2024
Learn how to add piping to your dining room chair while reupholstering it with this step-by-step guide. Enhance your tableware with a professional touch.
(Many of the links in this article redirect to a specific reviewed product. Your purchase of these products through affiliate links helps to generate commission for Storables.com, at no extra cost. Learn more)
Introduction
Welcome to the world of tableware! From elegant dining sets to everyday kitchen essentials, tableware plays a crucial role in enhancing our dining experience. Whether you are hosting a dinner party or enjoying a family meal, the right tableware can elevate the ambience and make your meal feel extra special.
When it comes to choosing tableware, there are endless options available. From a wide range of materials such as porcelain, ceramic, glass, and stainless steel to an array of designs and patterns, you can find tableware to suit every style and occasion. But tableware is not just about plates and bowls; it extends to cutlery, glassware, serving dishes, and accessories that add the finishing touch to your table setting.
Not only does tableware serve a functional purpose, but it also allows you to showcase your personal style and express your creativity. Whether you prefer a minimalist and modern look or a more traditional and ornate aesthetic, there is tableware to suit every taste. Additionally, tableware is not limited to just dining tables; it can extend to outdoor dining sets, picnicware, and even children’s tableware.
Tableware is more than just a collection of items; it is an art form that brings beauty, functionality, and ambiance to any table. Whether you are an experienced home cook, a professional chef, or a person who simply enjoys hosting gatherings, having the right tableware can make a world of difference in your dining experience.
Throughout this article, we will dive deeper into the world of tableware, exploring different materials, styles, and tips for choosing the perfect tableware for your needs. So let’s embark on this culinary journey, where we combine functionality and aesthetics to create a memorable dining experience!
Key Takeaways:
- Elevate your dining experience with the right tableware, from elegant dining sets to everyday essentials, and express your personal style through a variety of materials, designs, and styles.
- Reupholstering a dining room chair with piping is a rewarding process that requires attention to detail, precision, and patience, resulting in a stunning and personalized piece of furniture.
Choosing the Right Piping
Piping is a wonderful way to add a decorative touch while reupholstering a dining room chair. It not only enhances the overall look of the chair but also provides a finished and polished appearance. When choosing the right piping for your project, there are a few factors to consider.
Firstly, you’ll want to think about the material of the piping. The most common options are fabric piping and vinyl piping. Fabric piping is a great choice if you want a softer and more traditional look. It can be made from a variety of fabrics like cotton or silk, allowing you to match it with the upholstery fabric of your chair. On the other hand, vinyl piping is a durable and easy-to-clean option. It works well in high-traffic areas or if you prefer a more contemporary style.
Next, consider the color and pattern of the piping. You can choose piping that matches the upholstery fabric of your chair for a cohesive look. This is particularly effective if you have a bold or patterned fabric on your chair. Alternatively, you can opt for contrasting piping to create a visual pop. For example, if your chair has a neutral-colored fabric, adding piping in a bright, contrasting color can make a statement.
The size of the piping is another important consideration. Piping is available in different thicknesses or diameters. The size you choose depends on your personal preference and the style of the chair. Thicker piping can give a more pronounced and bold effect, while thinner piping creates a more subtle and delicate look. Take into account the scale of your chair and the overall design you want to achieve.
Lastly, think about the functionality of the piping. If you expect the chair to undergo heavy use or have pets or young children, you might want to choose a more durable and stain-resistant piping material. It’s important to strike a balance between aesthetics and practicality, ensuring that the piping not only looks beautiful but also stands up to everyday wear and tear.
By considering the material, color and pattern, size, and functionality, you can choose the right piping that perfectly complements your reupholstered dining room chair. Piping adds that extra touch of sophistication and elegance, transforming an ordinary chair into a stylish and eye-catching piece. So take your time, explore different options, and let your creativity shine through as you select the perfect piping for your project.
Measuring and Cutting the Piping
Once you have chosen the right piping for your reupholstery project, the next step is to measure and cut the piping to ensure a precise fit. Properly measuring and cutting the piping will ensure a professional-looking finish and a seamless integration with the chair’s upholstery.
The first thing you’ll want to do is measure the length of the sections of your chair where you want to add the piping. Using a flexible measuring tape, carefully run it along the edges of the areas you want to cover. Take note of the measurements and add a few extra inches to allow for any adjustments or seam allowances.
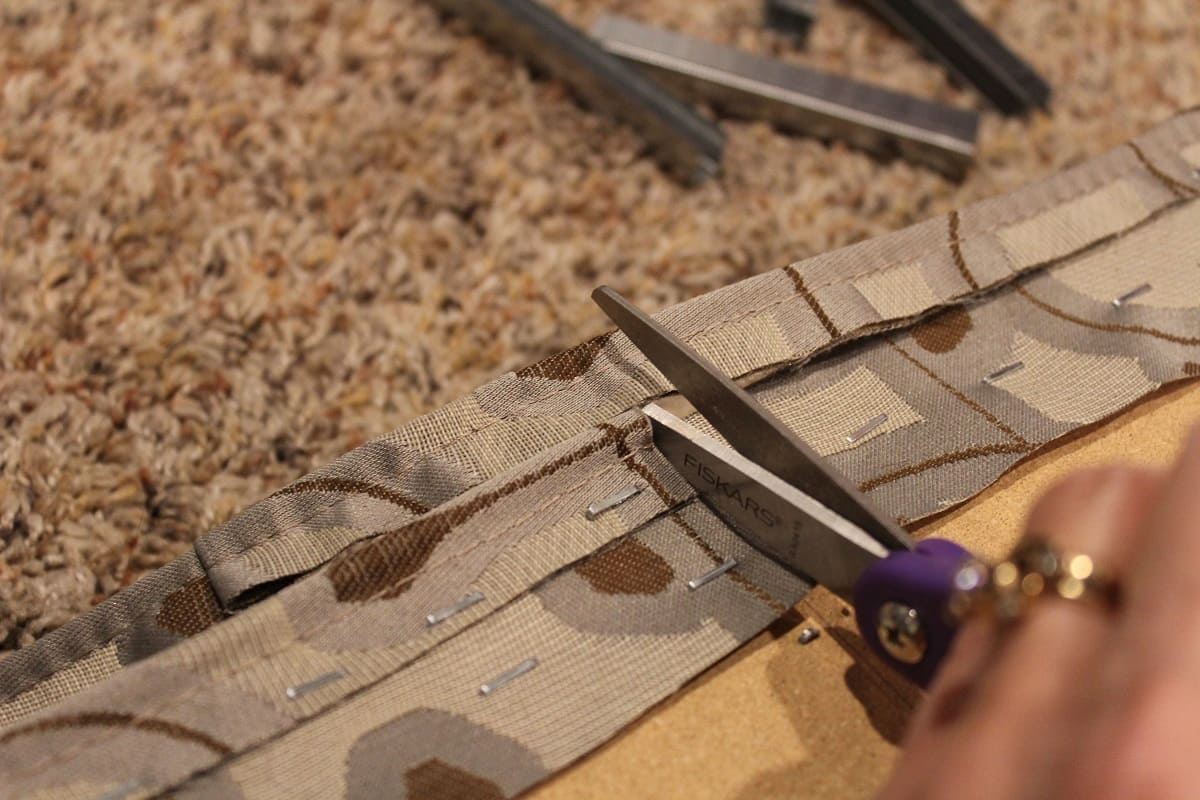
Next, lay your chosen piping on a flat surface. If you have a pattern on the piping, make sure it is facing up and in the desired direction. Using a sharp pair of fabric scissors, carefully cut the piping according to the measurements you took earlier. Make clean and straight cuts to ensure a neat and professional result.
If your piping has a visible seam or joint, you may need to cut it at an angle to create a seamless connection when attaching it to the chair. This is especially applicable for corners or curves where the piping needs to smoothly follow the contours of the chair. To achieve this, cut the piping at a 45-degree angle, ensuring that the angles on both ends align perfectly.
It’s worth noting that if your chair has rounded or irregular shapes, you may need to create additional cuts or notches in the piping to help it conform to the curves. These small cuts will make it easier to manipulate the piping around the edges, resulting in a smoother and more professional finish.
When cutting the piping, it’s essential to maintain a steady hand and take your time. Rushing through this process can lead to uneven or jagged cuts, which will negatively impact the overall appearance of your reupholstered chair. Always double-check your measurements and make any necessary adjustments before making the final cuts.
By carefully measuring and cutting the piping, you’ll ensure that it fits perfectly along the edges of your chair. This attention to detail will result in a clean and polished look, enhancing the overall aesthetic of your reupholstered dining room chair. So take your time, be patient, and enjoy the process of creating a beautiful and personalized piece of furniture.
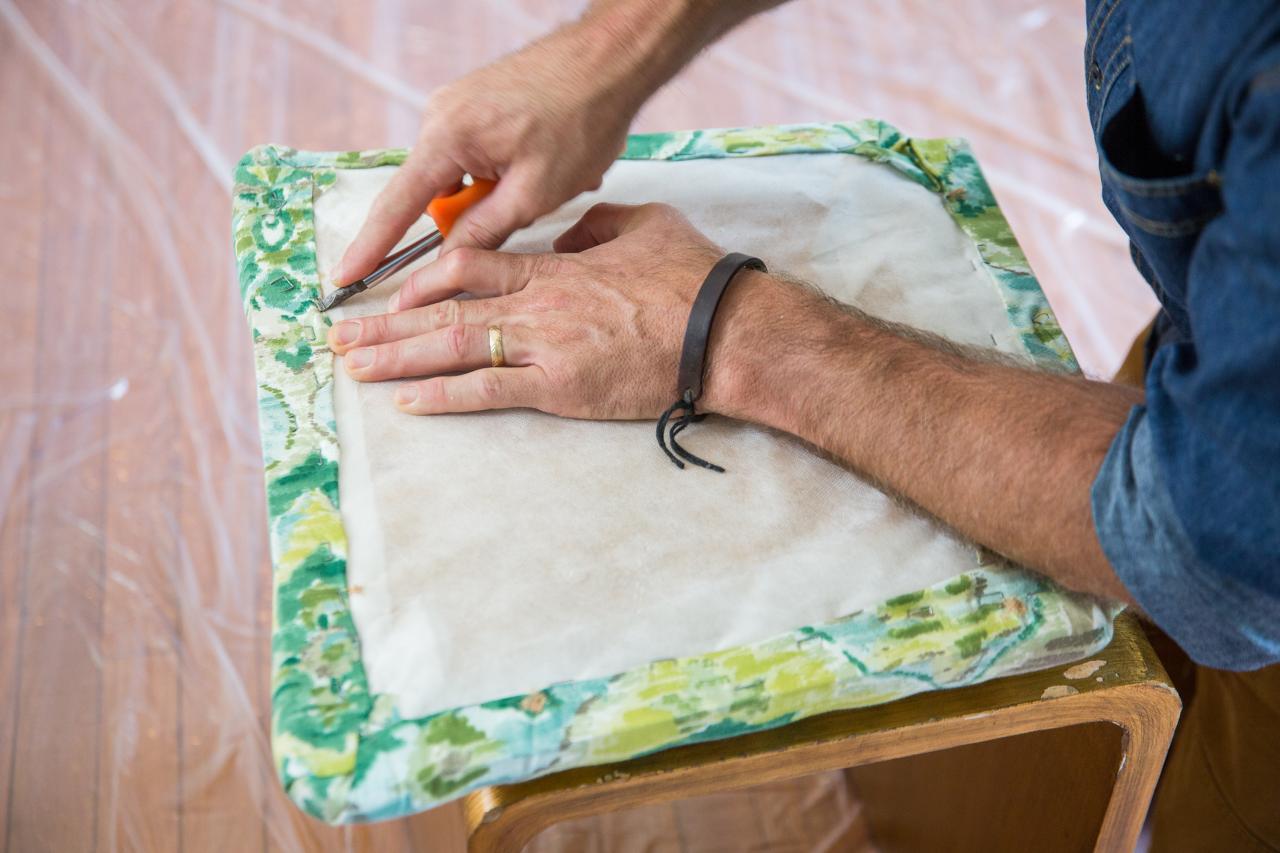
Preparing the Piping
Before attaching the piping to your dining room chair, it’s important to properly prepare the piping to ensure a smooth and seamless installation. Preparing the piping involves a few simple steps that will help enhance its durability and make it easier to work with.
The first step in preparing the piping is to sew the ends together. If your piping comes in separate lengths, you’ll need to join them to create one continuous piece. Start by trimming the ends of the piping at a 45-degree angle. This will allow you to create a clean and seamless seam when sewing the ends together.
Next, fold back the fabric covering on both ends of the piping to expose the cord inside. Carefully align the cut ends of the piping and overlap them slightly. Using a sewing machine or a needle and thread, stitch the two ends together. Ensure that your stitches are strong and secure, as this will prevent the piping from unraveling or coming apart during use.
After joining the ends, gently pull the fabric covering back over the cord to conceal the seam. It’s important to ensure that the fabric is taut and evenly distributed along the length of the piping. You can use your fingers or a blunt tool to help guide the fabric back into place. Press down firmly to ensure that the fabric is securely attached to the cord.
You may also choose to secure the fabric covering with fabric glue or adhesive tape for extra reinforcement. This will help prevent the fabric from slipping or shifting during installation. Simply apply a thin line of glue or place adhesive tape along the length of the piping, making sure to press down firmly to ensure a strong bond.
Once the piping is prepared, take a few moments to inspect it for any loose threads or frayed edges. Trim any excess threads or fabric to ensure a clean and polished look. This step will also prevent any stray threads from getting tangled or caught during the installation process.
By properly preparing the piping, you’ll create a strong and secure seam, ensuring that it holds up well over time. Additionally, preparing the piping will make it easier to attach to your dining room chair, allowing for a smoother and more professional installation. So take the time to prepare your piping with care, and you’ll be rewarded with a beautiful and well-finished reupholstered chair.
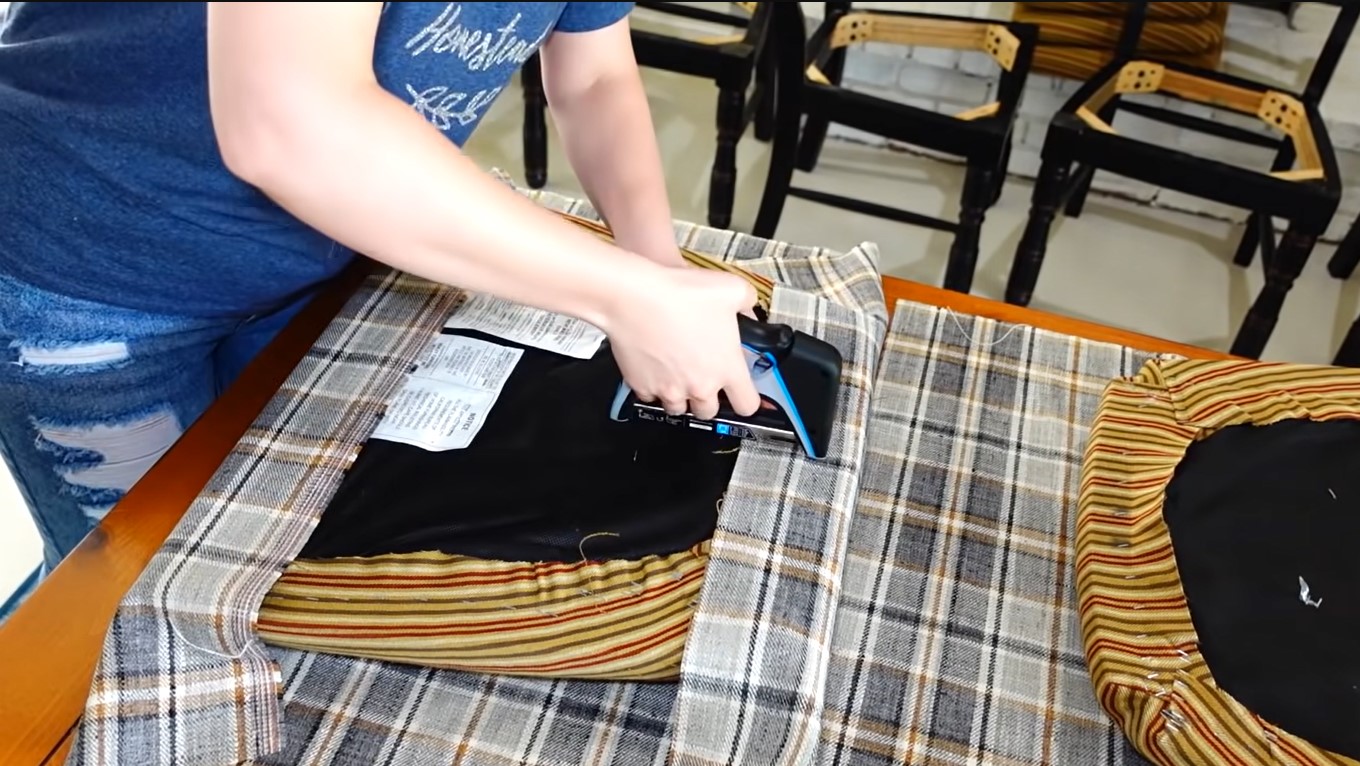
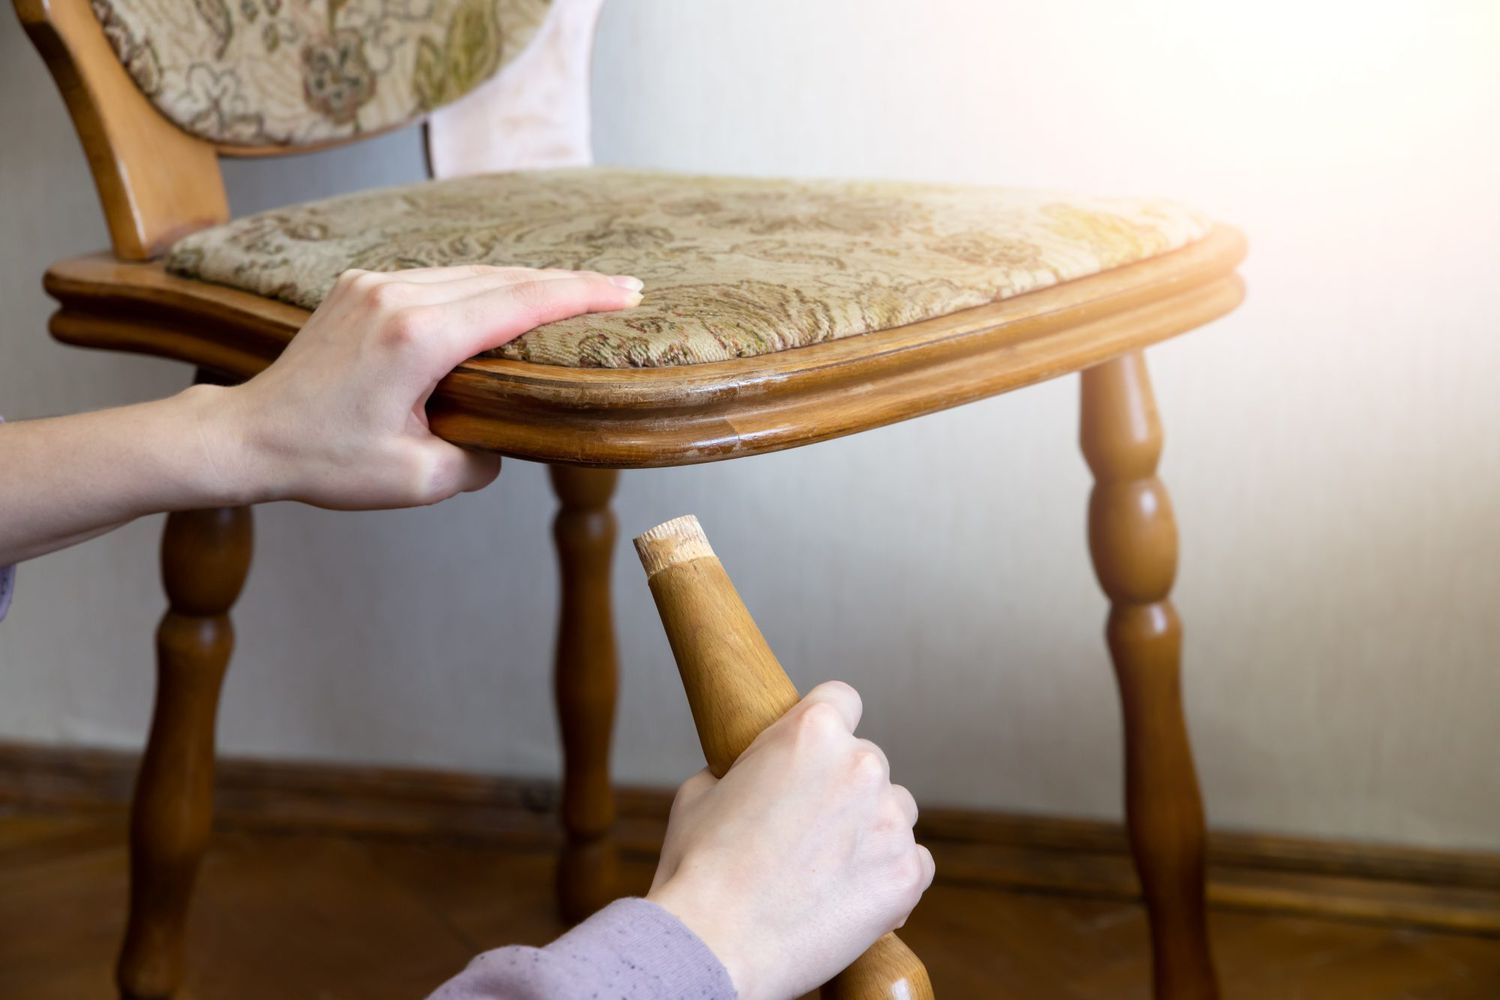
Removing the Old Fabric
Before you can begin the reupholstery process on your dining room chair, you’ll need to remove the old fabric. This step is crucial as it allows you to start with a clean slate and ensures a smooth and professional-looking finished result.
The first thing you’ll want to do is turn the chair upside down to gain access to the fabric underneath. Check for any screws or staples that are holding the fabric in place and use a screwdriver or staple remover to carefully remove them. Take your time during this step to avoid damaging the chair’s frame or any existing padding.
Once the fasteners are removed, slowly and gently start pulling away the old fabric from the chair. Depending on how the fabric was originally attached, you may find it easier to work in small sections, peeling away the fabric bit by bit. Use a seam ripper or small scissors to cut any stitches that are holding the fabric together.
As you remove the old fabric, be mindful of any foam, batting, or other materials that are underneath. Take note of their condition and assess whether they need to be replaced or repaired. Inspect the padding for any signs of damage, such as tears, sagging, or unevenness. If necessary, make a note to replace or repair these padding elements before moving forward with the reupholstery process.
It’s important to pay attention to the details as you remove the old fabric. Take note of how it was originally attached, including any folds or seams. This will serve as a reference when you begin working with the new fabric. You can take photos or make drawings to document these details and ensure accuracy during the reupholstery process.
Once all the old fabric is removed, take a moment to clean and inspect the chair’s frame. Use a soft cloth or brush to remove any dust or debris, and check for any damage or loose joints. If necessary, make any repairs or reinforce weak areas to ensure the stability of the chair.
By carefully and methodically removing the old fabric, you set the foundation for a successful reupholstery project. This step allows you to assess the condition of the underlying materials and ensures a fresh start for the chair’s new look. So take your time, be patient, and enjoy the process of transforming your dining room chair into a beautiful and customized piece of furniture.
When adding piping to a dining room chair while reupholstering, use a piping foot attachment on your sewing machine for a professional finish. This will help guide the piping and fabric through the machine evenly.
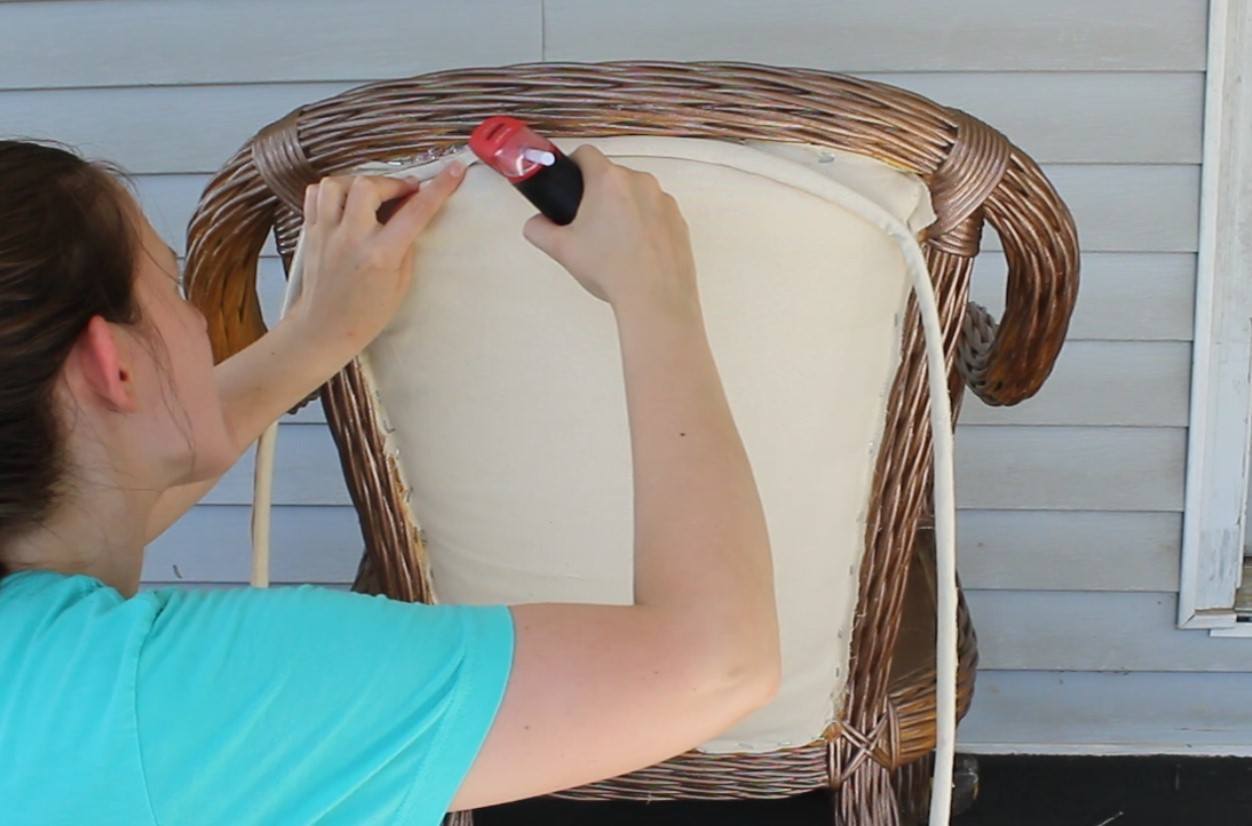
Attaching the Piping to the Seat
Now that you have prepared your piping and removed the old fabric, it’s time to start attaching the piping to the seat of your dining room chair. This step is crucial as it not only adds a decorative touch but also helps to create a clean and finished edge.
Start by laying the piping along the edge of the seat, with the fabric covering facing inward towards the center of the seat. The cord of the piping should be aligned with the edge of the seat. Pin the piping in place, ensuring that it is taut and evenly distributed along the edge.
If your chair has corners, it’s important to properly position the piping around them for a smooth and professional finish. Carefully fold the fabric covering of the piping to create clean mitered corners. You can use a hot glue gun or fabric adhesive to secure the fabric in place. Make sure the corners are crisp and the fabric is securely attached to the piping.
When attaching the piping to the seat, you have a couple of options. One option is to use a sewing machine with a zipper or piping foot attachment. Position the piping under the foot and sew as close to the cord as possible, ensuring that the stitches are strong and secure. Alternatively, you can hand sew the piping using a slip stitch, making sure to catch both the fabric covering and the seat fabric.
As you work your way around the seat, take your time to ensure that the piping is attached evenly and securely. Remove the pins as you go along, and adjust the fabric of the seat if necessary to ensure a smooth and tight fit. Pay attention to any curves or corners, stretching or easing the fabric as needed to maintain a consistent tension.
Once the piping is completely attached to the seat, take a step back and inspect your work. Check for any loose stitches, uneven tension, or areas where the fabric may be pulled too tight. Make any necessary adjustments before moving on to the next step.
Attaching the piping to the seat is a crucial step in the reupholstery process. It not only adds a decorative element but also gives your dining room chair a polished and professional finish. By taking your time, being meticulous, and paying attention to detail, you’ll create a seamless and aesthetically pleasing result that enhances the overall appearance of your chair.
Attaching the Piping to the Backrest
After successfully attaching the piping to the seat of your dining room chair, it’s time to move on to the backrest. Attaching the piping to the backrest follows a similar process but may require some additional considerations due to the different shape and contours of the chair’s backrest.
Start by positioning the piping along the outer edge of the backrest, with the fabric covering facing inward towards the center of the chair. Just like with the seat, ensure that the cord of the piping aligns with the edge of the backrest. Pin the piping in place, making sure it is snug and evenly distributed along the edge.
When it comes to corners or curves on the backrest, you may need to create small pleats or tucks in the fabric covering to help the piping smoothly follow the contours. Carefully fold the fabric covering of the piping to make neat mitered corners or to accommodate any curves. Secure the fabric with glue or pins to maintain the desired shape.
Once the piping is pinned in place, it’s time to attach it to the backrest. Depending on your preference and the accessibility of the area, you can either use a sewing machine with a zipper or piping foot attachment or hand sew the piping using a slip stitch.
If using a sewing machine, position the piping under the foot and sew as close to the cord as possible, securing it to the fabric of the backrest. Take care to stitch slowly and accurately, adjusting the fabric and piping as needed to maintain a smooth and consistent seam.
If hand sewing, use a slip stitch to join the piping to the fabric of the backrest. Thread your needle with a matching thread and carefully sew through the fabric covering of the piping and the backrest, making small, discreet stitches. Ensure that your stitches are secure but also unobtrusive, as the focus should be on the piping itself.
As you work around the backrest, remove the pins, and adjust the fabric and piping as necessary. Take the time to ensure that the piping is securely attached and that the fabric is smooth and taut without any puckering or excess looseness.
After attaching the piping to the backrest, step back and admire your progress. Check for any loose stitches, uneven tension, or areas where the fabric may be pulled too tight. Make any necessary adjustments to ensure a professional and polished finish.
By carefully attaching the piping to the backrest, you’ll add an elegant and finishing touch to your dining room chair. The piping will beautifully accentuate the contours of the backrest and enhance the overall look of the chair. So take your time, be meticulous, and enjoy the process of creating a customized and stylish piece of furniture.
Finishing Touches
As you near the completion of reupholstering your dining room chair with piping, it’s time to focus on the finishing touches. These final steps will add those extra details that will elevate the overall look and ensure a professional and polished result.
One important finishing touch is to trim any excess fabric or piping that may be sticking out or uneven along the edges of the chair. Use a sharp pair of scissors to carefully trim any stray threads or fabric, ensuring a clean and neat appearance. Take your time during this step to avoid accidentally cutting into the fabric or piping.
Next, consider adding a layer of padding or foam to the seat and backrest, if necessary. This will enhance the comfort of the chair and provide a plush and inviting feel. Measure and cut the padding to fit the seat and backrest, ensuring a snug and even fit. Attach the padding securely to the chair using upholstery adhesive or staples, taking care not to damage the newly upholstered fabric.
If your chair has buttons or tufting, now is the time to add them. Use a buttoning needle and thread to create tufts and secure buttons in place. Make sure to align the tufting rows evenly and sew the buttons tightly to create a visually appealing and professional finish.
Lastly, take a moment to inspect the entire chair for any loose or exposed areas. Ensure that all the fabric and piping is securely attached and that there are no signs of sagging or fabric tension issues. Make any necessary adjustments or reinforcements, such as adding extra stitches or additional upholstery adhesive, to ensure the longevity and durability of your reupholstered chair.
With the finishing touches complete, step back and admire your beautifully reupholstered dining room chair. The addition of piping, along with the final details, has transformed your chair into a statement piece that exudes elegance and style.
Remember to clean and care for your newly reupholstered chair with the appropriate methods and products. Follow manufacturer’s instructions for cleaning the fabric and regularly maintain the chair to keep it looking fresh and beautiful for years to come.
By paying attention to these finishing touches, you’ll achieve a professional and polished result. The combination of piping, padding, and other details will make your dining room chair a true centerpiece in your home. So take pride in your craftsmanship and enjoy the beauty and comfort of your newly reupholstered chair.
Conclusion
Reupholstering a dining room chair with piping is a rewarding and creative process that allows you to transform a tired or outdated piece of furniture into a stylish and personalized masterpiece. By choosing the right piping, measuring and cutting it accurately, preparing it properly, and attaching it carefully to the seat and backrest, you can achieve a professional and polished finish.
Tableware is an essential part of any dining experience, adding beauty, functionality, and character to your table. With a wide variety of materials, designs, and styles available, you can find tableware that suits your taste and complements your personal style. From elegant dining sets to versatile kitchen essentials, tableware allows you to express your creativity and create memorable experiences.
When undertaking a reupholstery project, it’s important to pay attention to the details and take your time. Removing the old fabric, attaching the piping, and adding the finishing touches may seem labor-intensive, but the end result is well worth the effort. The careful craftsmanship and attention to detail will ensure a chair that not only looks stunning but also stands the test of time.
Through the process of reupholstering your dining room chair with piping, you have not only created a beautiful piece of furniture; you have also honed your skills and expressed your unique style. Your reupholstered chair is a reflection of your creativity and dedication to craftsmanship.
So whether you are refreshing a family heirloom or giving new life to a thrift store find, reupholstering a dining room chair with piping is a wonderful way to create something truly special. The combination of functionality and aesthetics will make your chair a standout piece in your home, bringing joy and beauty to every meal and gathering.
Embrace the art of tableware and the satisfaction of creating something with your own hands. Enjoy the process of selecting the perfect piping, measuring and cutting with precision, and attaching it securely to your chair. The result will be a reupholstered dining room chair that not only looks stunning but also becomes a cherished part of your home.
Frequently Asked Questions about How To Add Piping While Reupholstering A Dining Room Chair
Was this page helpful?
At Storables.com, we guarantee accurate and reliable information. Our content, validated by Expert Board Contributors, is crafted following stringent Editorial Policies. We're committed to providing you with well-researched, expert-backed insights for all your informational needs.


0 thoughts on “How To Add Piping While Reupholstering A Dining Room Chair”