Home>Dining>Tableware>How To Use Chalkboard Paint On Charger Plates

Tableware
How To Use Chalkboard Paint On Charger Plates
Modified: February 24, 2024
Looking to enhance your tableware? Learn how to use chalkboard paint on charger plates to add a stylish touch to your dining experience.
(Many of the links in this article redirect to a specific reviewed product. Your purchase of these products through affiliate links helps to generate commission for Storables.com, at no extra cost. Learn more)
Introduction
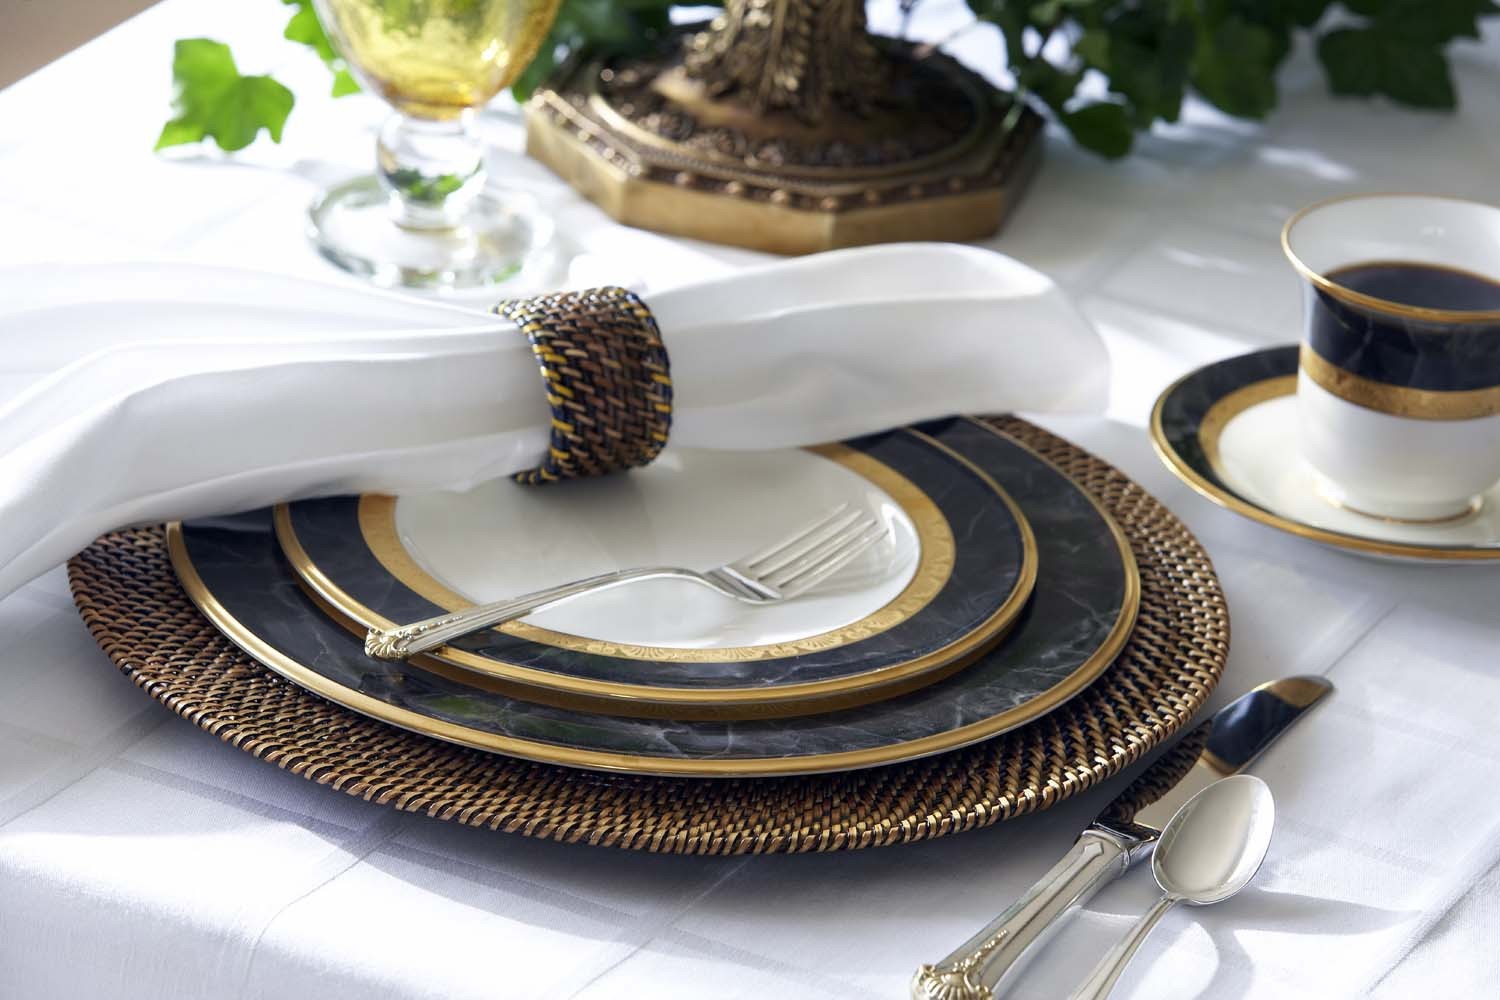
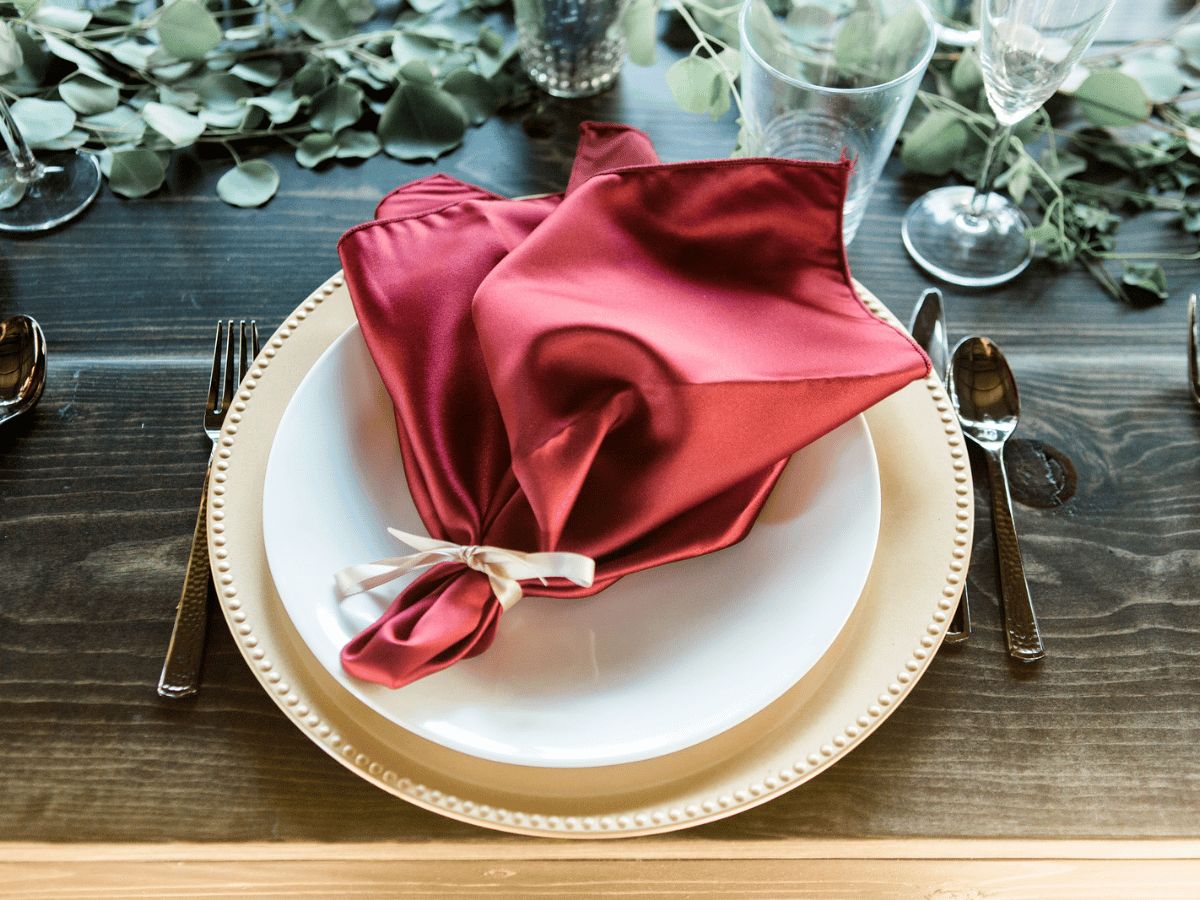
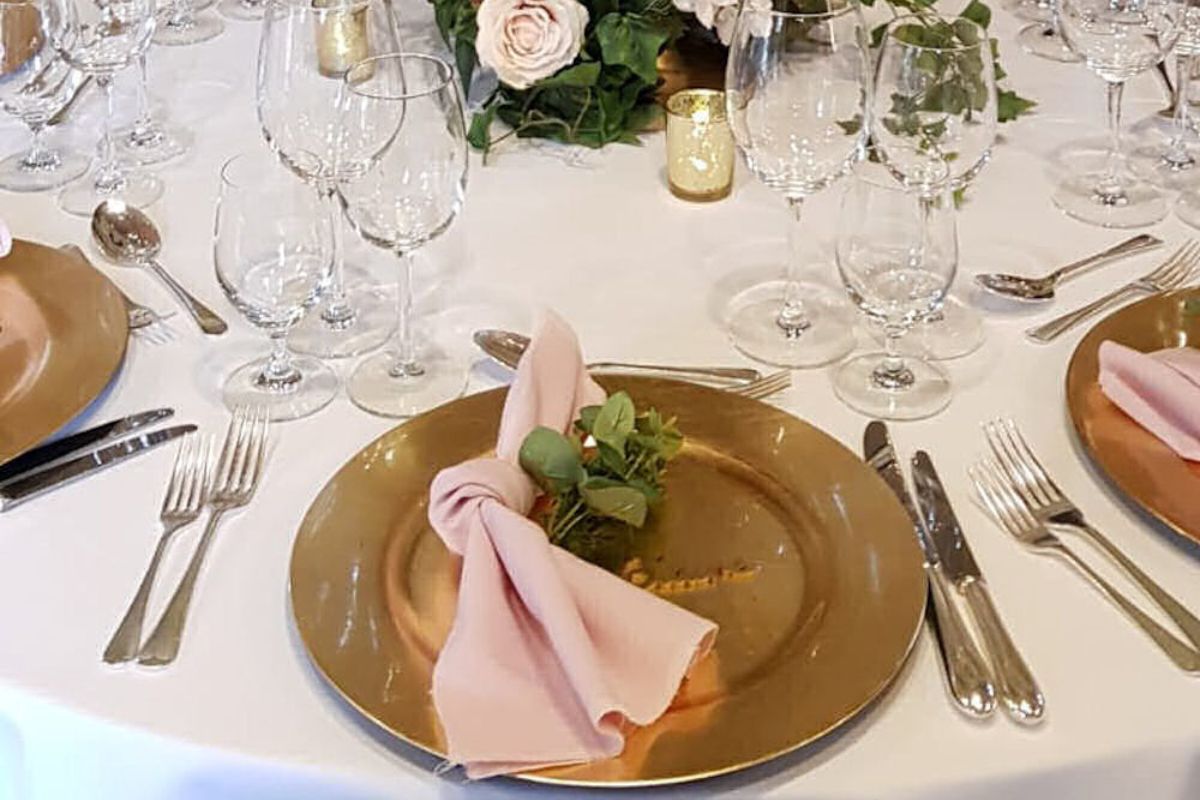
Adding a touch of creativity to your tableware can instantly elevate your dining experience. Charger plates, also known as service plates, are an excellent way to enhance the visual appeal of your table setting. Traditionally, charger plates were used to protect the tablecloth from spills and stains, but they have evolved into stylish and decorative pieces that can make a statement.
If you want to take your charger plates to the next level, why not consider using chalkboard paint? Chalkboard charger plates are not only functional but also offer a unique and personalized touch to your table décor. With chalkboard paint, you can easily transform plain charger plates into versatile surfaces that can be labeled, customized, or adorned with whimsical designs.
In this article, we will guide you through the step-by-step process of using chalkboard paint on charger plates. We will also provide you with creative ideas on how to decorate and utilize these unique pieces for different occasions.
Key Takeaways:
- Elevate your dining experience by using chalkboard paint on charger plates. Personalize your table decor with creative designs and functional labeling, making every occasion unique and memorable.
- Transform plain charger plates into versatile, customizable surfaces with chalkboard paint. From personalized place settings to seasonal themes, unleash your creativity and make every dining experience special.
Read more: How To Use Charger Plates
Materials Needed
Before you get started with painting your charger plates, it’s important to gather all the necessary materials. Here’s what you’ll need:
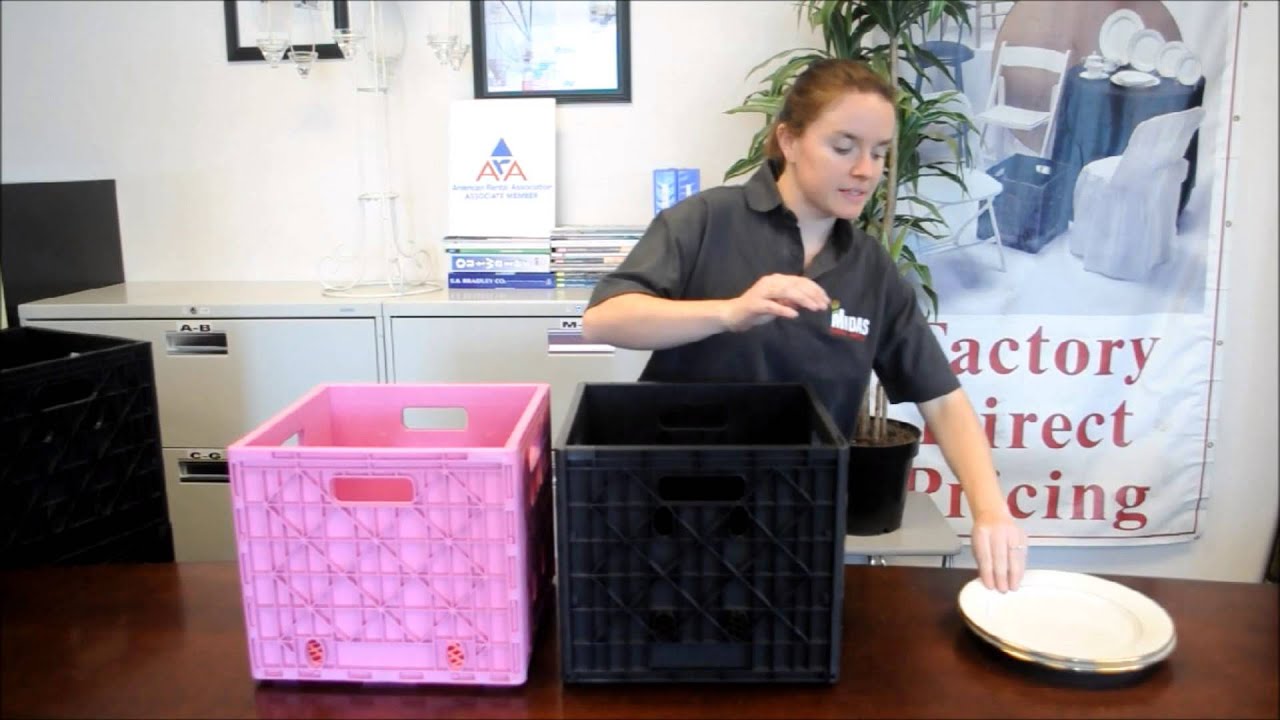
- Charger plates: Choose plain charger plates made from a material suitable for painting, such as ceramic, glass, or melamine.
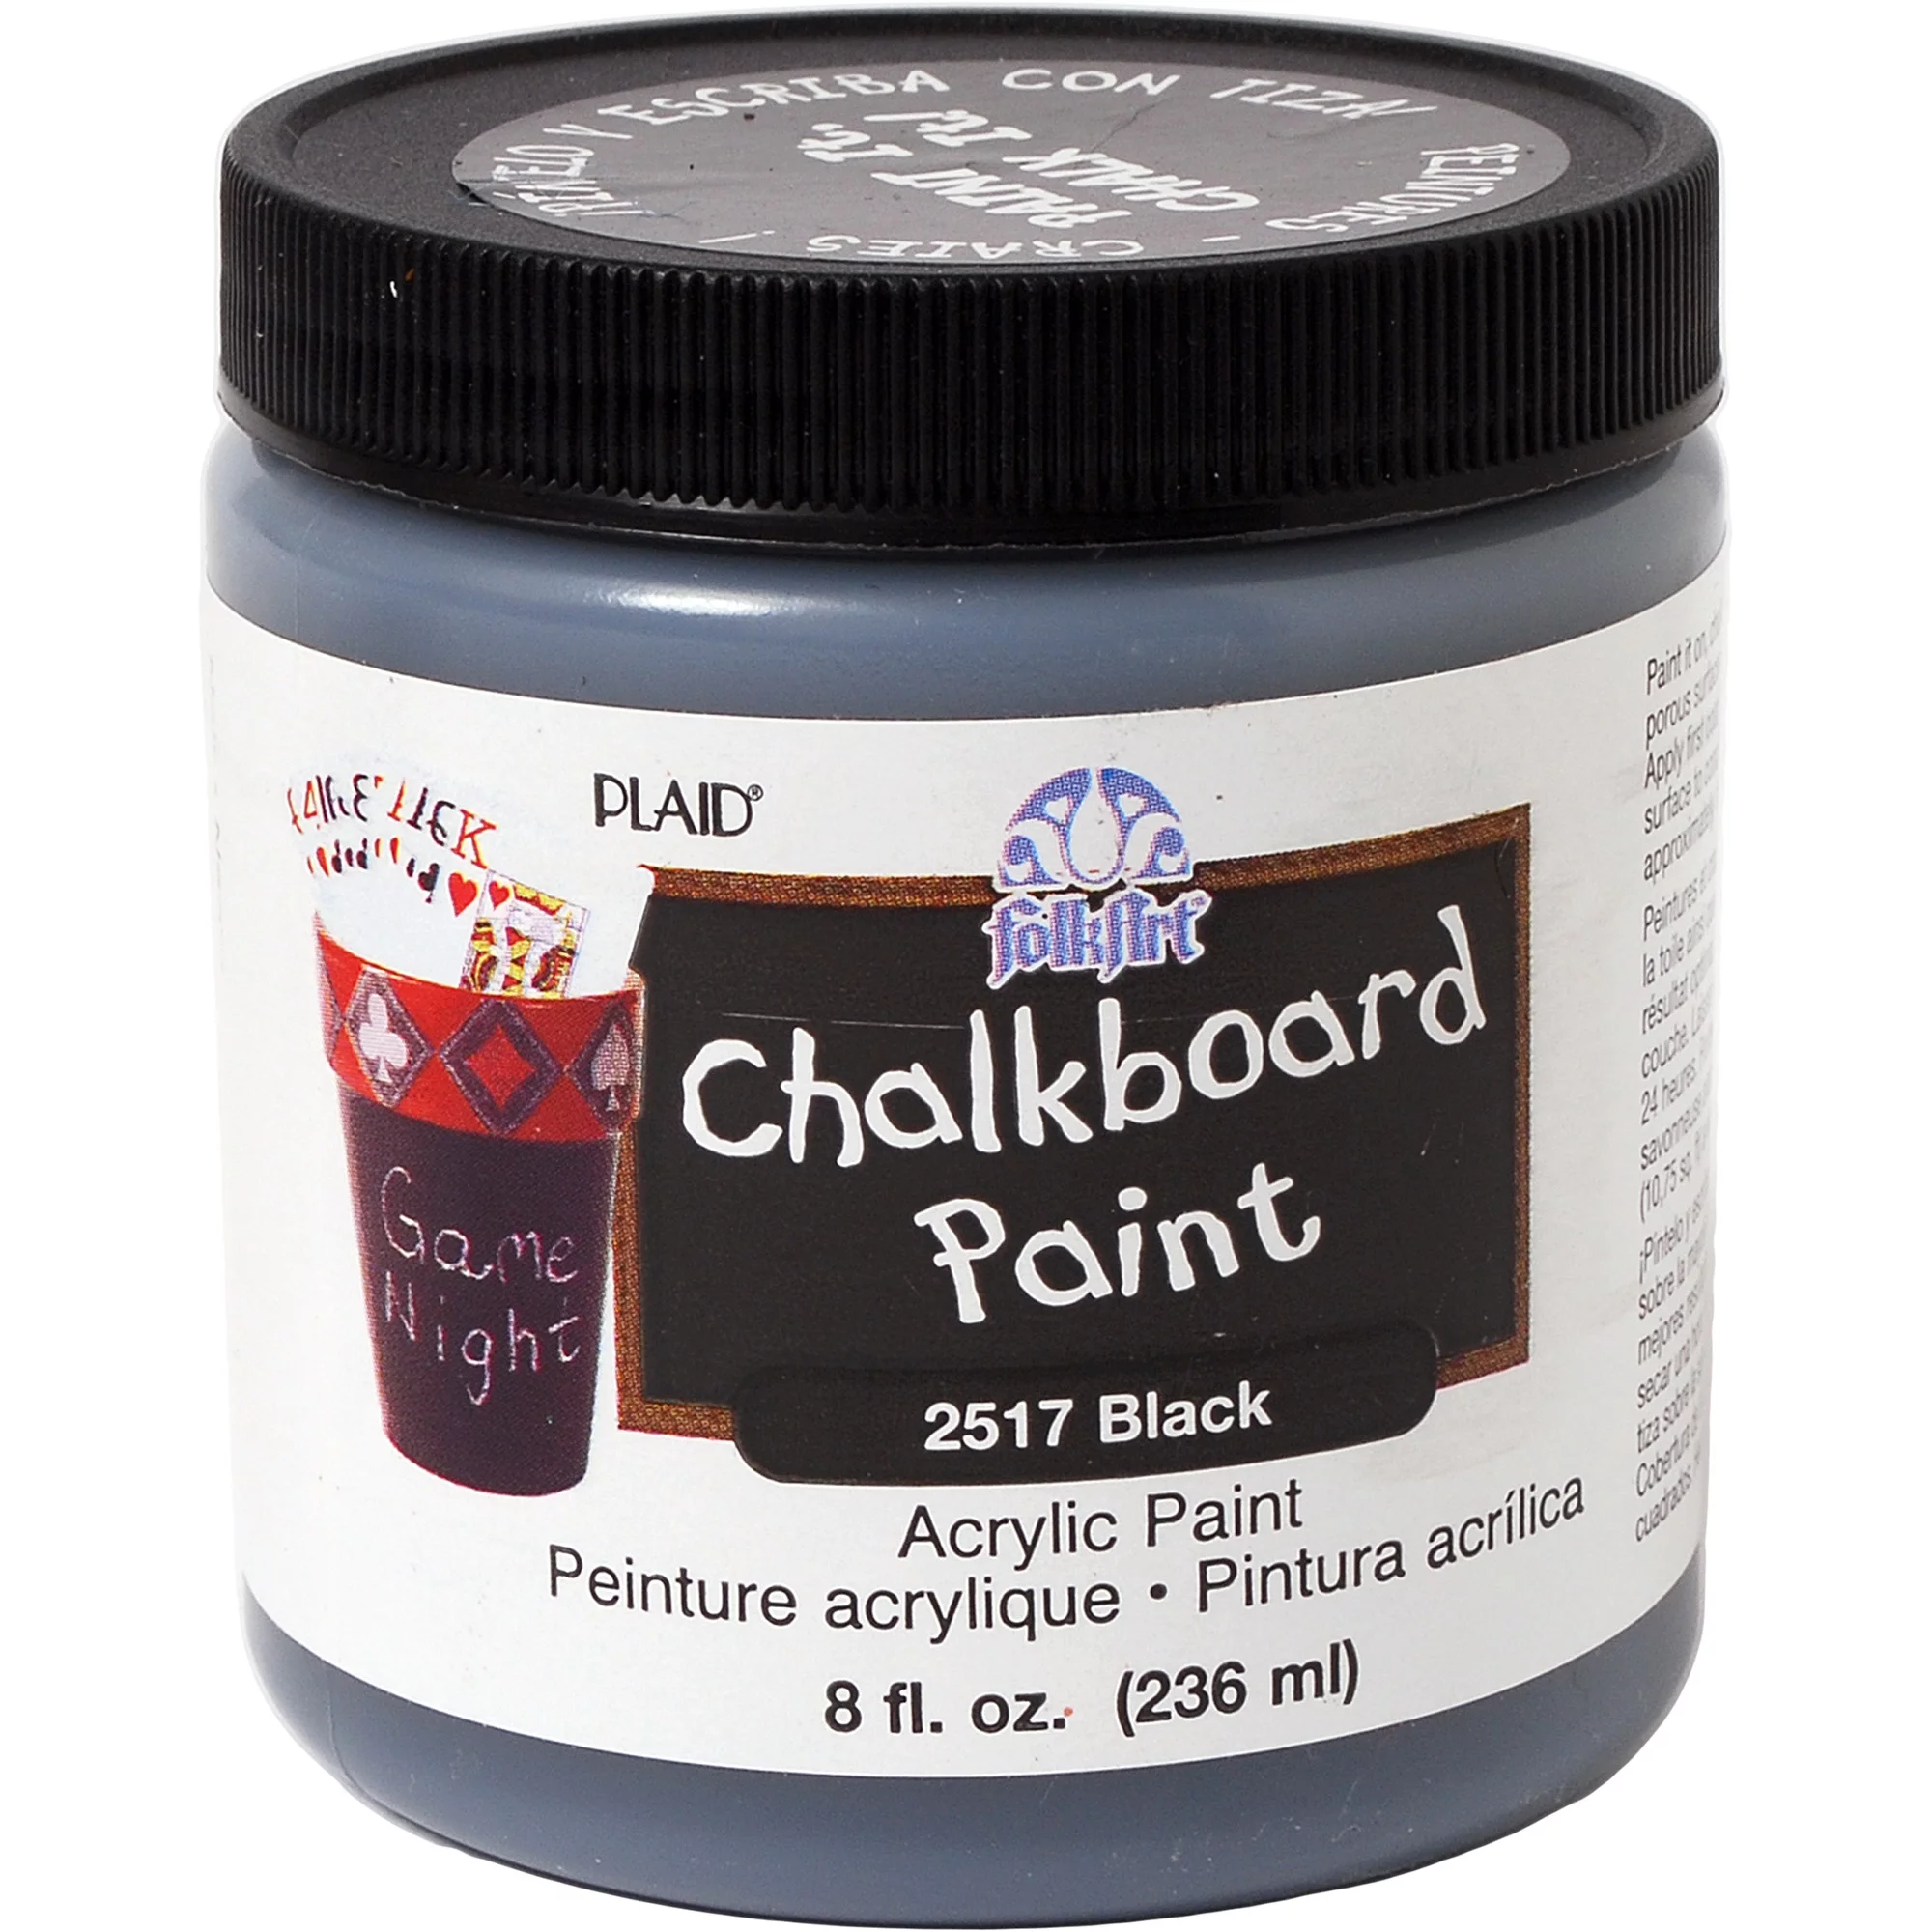
- Chalkboard paint: Opt for high-quality chalkboard paint that is specifically designed for use on surfaces like glass or ceramics. You can find this paint at your local craft store or online.
- Paintbrushes: Select brushes with different sizes, depending on the type of designs or patterns you intend to create.
- Paint tray or palette: This will serve as a container for your paint, allowing you to mix colors if desired.
- Painter’s tape: Use painter’s tape to create neat and precise edges or to protect certain areas from the paint.
- Ruler or measuring tape: This will come in handy if you want to create symmetrical or evenly spaced designs.
- Chalk or chalk markers: These will be used to write or draw on your chalkboard plates once they are painted and cured.
- Drop cloth or newspaper: To protect your work surface from any spills or drips.
- Rubbing alcohol: Use rubbing alcohol to clean the charger plates before applying the paint.
- Clean cloth or paper towels: For wiping down the plates and ensuring they are clean and dry before painting.
Once you have gathered all these materials, you’re ready to begin the chalkboard painting process. Make sure to work in a well-ventilated area and read any instructions or precautions on the paint label before use.
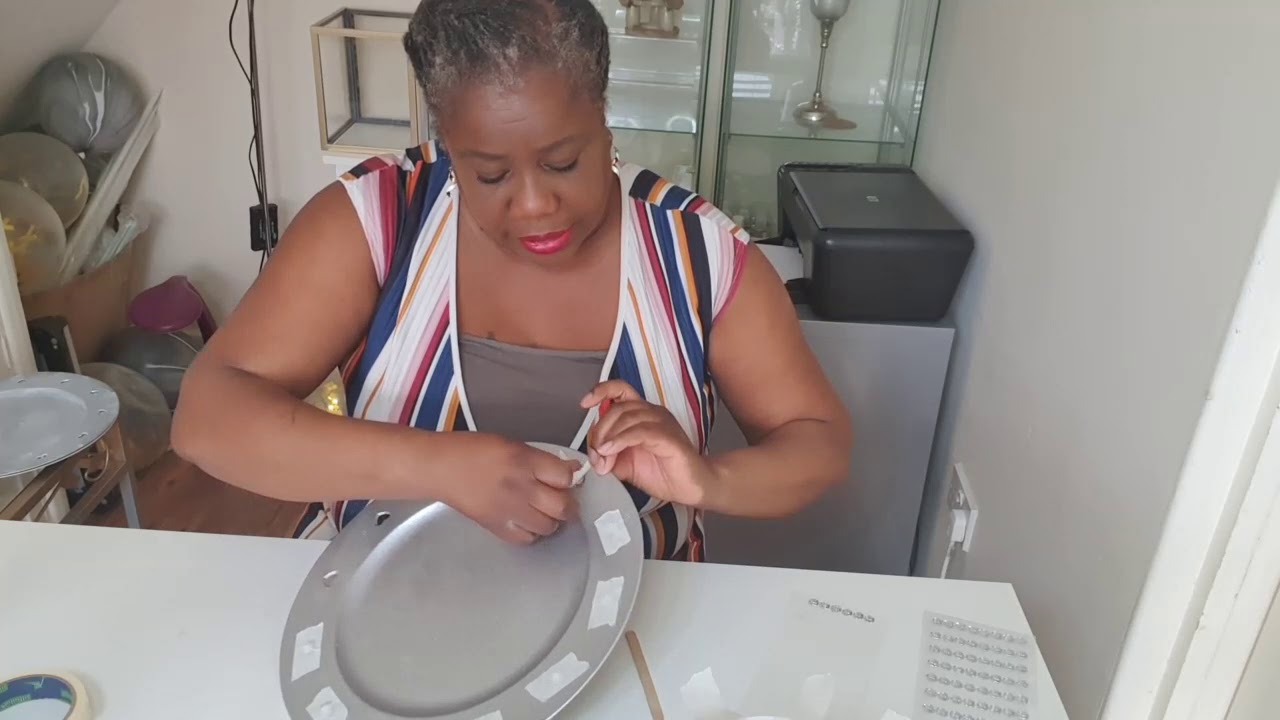
Step 1: Prepping the Charger Plates
Before applying the chalkboard paint, it’s essential to prepare the charger plates to ensure a smooth and durable finish. Follow these steps to properly prep your charger plates:
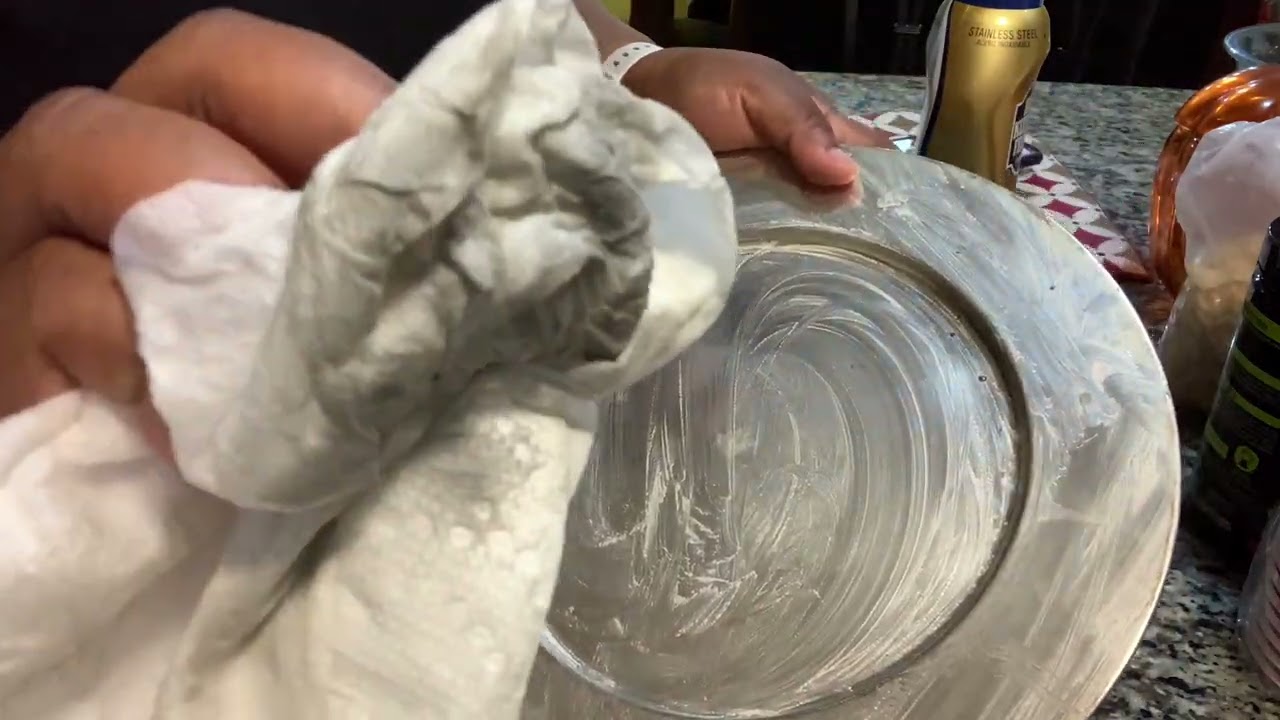
- Start by cleaning the charger plates. Use a clean cloth or paper towel and rubbing alcohol to remove any dirt, grease, or residue from the surface. This step is crucial for the paint to adhere properly.
- Inspect the charger plates for any imperfections or rough spots. If you find any, gently sand them down using fine-grit sandpaper. This will create a smoother surface for the paint to adhere to.
- If you want to protect certain areas of the charger plates from being painted, use painter’s tape to mask off those areas. For example, if you want to create a border design, tape off the edges of the charger plates.
- Lay down a drop cloth or newspaper on your work surface to prevent any spills or drips from damaging the area.
By taking the time to properly prep your charger plates, you’ll ensure that the chalkboard paint adheres well and provides a durable and long-lasting finish. Now that your charger plates are prepped, it’s time to move on to the next step: applying the chalkboard paint.
Step 2: Applying the Chalkboard Paint
Now that your charger plates are prepped, it’s time to apply the chalkboard paint. Follow these steps to achieve a smooth and even coat:
- Shake the can of chalkboard paint well to ensure it is thoroughly mixed. Open the can and stir the paint gently with a paintbrush or a stir stick.
- Dip the paintbrush into the chalkboard paint and carefully apply a thin and even coat to the surface of the charger plate. Start from the center and work your way outward, using long, smooth strokes to minimize brush marks.
- If your charger plates have a detailed pattern or design, you may need to switch to a smaller brush to ensure you cover every nook and cranny.
- Allow the first coat to dry completely according to the instructions on the paint can. This typically takes anywhere from 1 to 2 hours. Make sure not to rush this step, as the drying time will affect the durability and quality of the final finish.
- Apply additional coats of chalkboard paint if necessary. Two to three coats are usually sufficient to achieve full coverage. Just remember to let each coat dry completely before applying the next one.
- Carefully inspect the charger plates for any areas that may need touch-ups. Use a small brush to fix any uneven spots or fill in any gaps.
- Once you are satisfied with the coverage and finish of the chalkboard paint, allow the charger plates to dry for the recommended time mentioned on the paint can. This is usually around 24 hours, but be sure to check the specific instructions.
Applying the chalkboard paint requires patience and attention to detail. Take your time and follow the instructions on the paint can for the best results. Once the paint is completely dry, you can move on to the next step: curing the chalkboard paint.
Before painting, clean the charger plates thoroughly to ensure the paint adheres well. Use a high-quality chalkboard paint and apply thin, even coats for a smooth finish. Let the paint cure for at least 24 hours before using the plates.
Step 3: Curing the Chalkboard Paint
After the chalkboard paint has dried, it’s important to cure it to ensure that it becomes fully functional and durable. Curing the paint will create a surface that can be written on and erased without leaving any ghosting or marks behind. Follow these steps to properly cure the chalkboard paint on your charger plates:
- Read the instructions on the paint can to determine the recommended curing time. This can vary depending on the brand and type of chalkboard paint you are using.
- If the paint requires a curing period, place the charger plates in a well-ventilated area and allow them to cure for the specified time. This usually ranges from 3 to 7 days.
- Avoid touching or handling the charger plates during the curing process to prevent smudging or damaging the paint.
- Once the curing period is over, gently rub the surface of the charger plates with a piece of chalk, covering the entire surface. This will help to condition the paint and make it easier to write on.
- Use a clean cloth or eraser to gently wipe away the chalk. Repeat this process a few times to remove any excess chalk residue.
By properly curing the chalkboard paint, you ensure that your charger plates are ready to be used and customized. Now that your chalkboard charger plates are fully cured, it’s time for the fun part: decorating and personalizing them to your heart’s content!
Read more: What Kind Of Paint To Use On Charger Plates?
Step 4: Decorative Ideas for Chalkboard Charger Plates
Now that your chalkboard charger plates are ready to be used, it’s time to unleash your creativity and personalize them for different occasions. Here are some decorative ideas to inspire you:
- Customized Place Settings: Use chalk or chalk markers to write each guest’s name on their respective charger plate. This adds a personalized touch to your table setting and helps guests feel special.
- Menu Display: Write or draw the menu for the evening on the charger plates. This not only adds a decorative element but also keeps your guests informed about the delicious dishes that await.
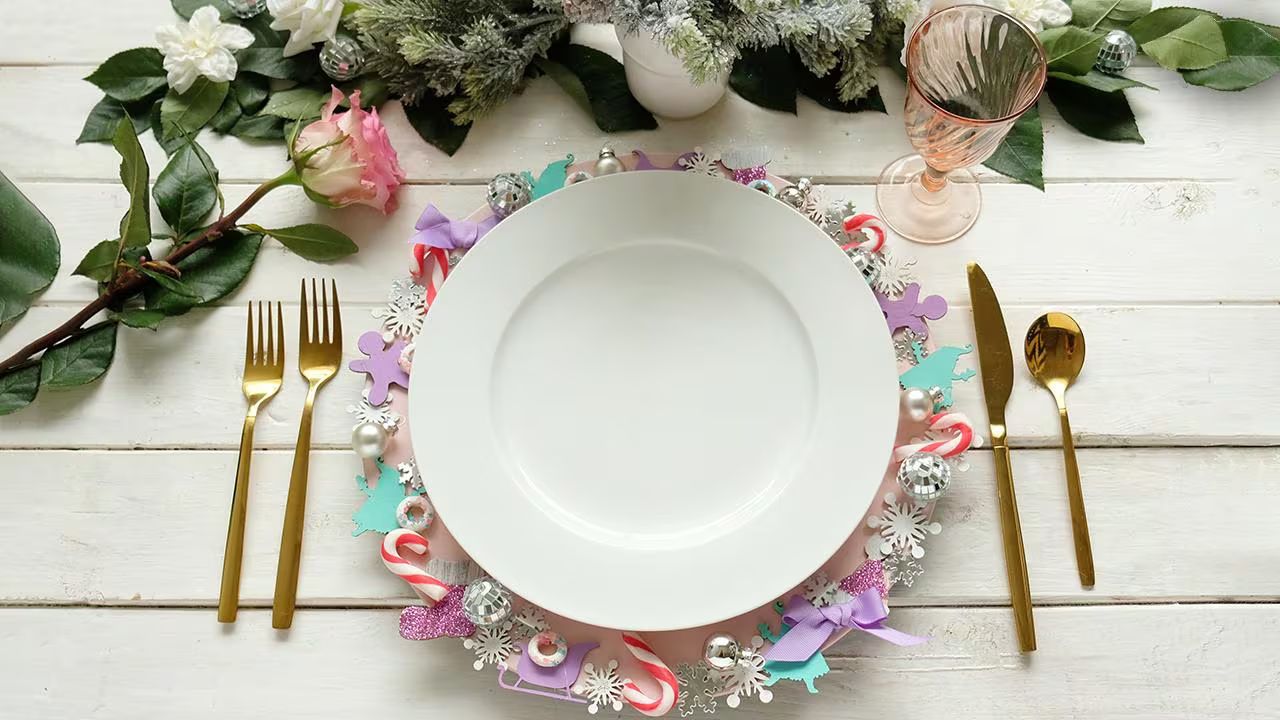
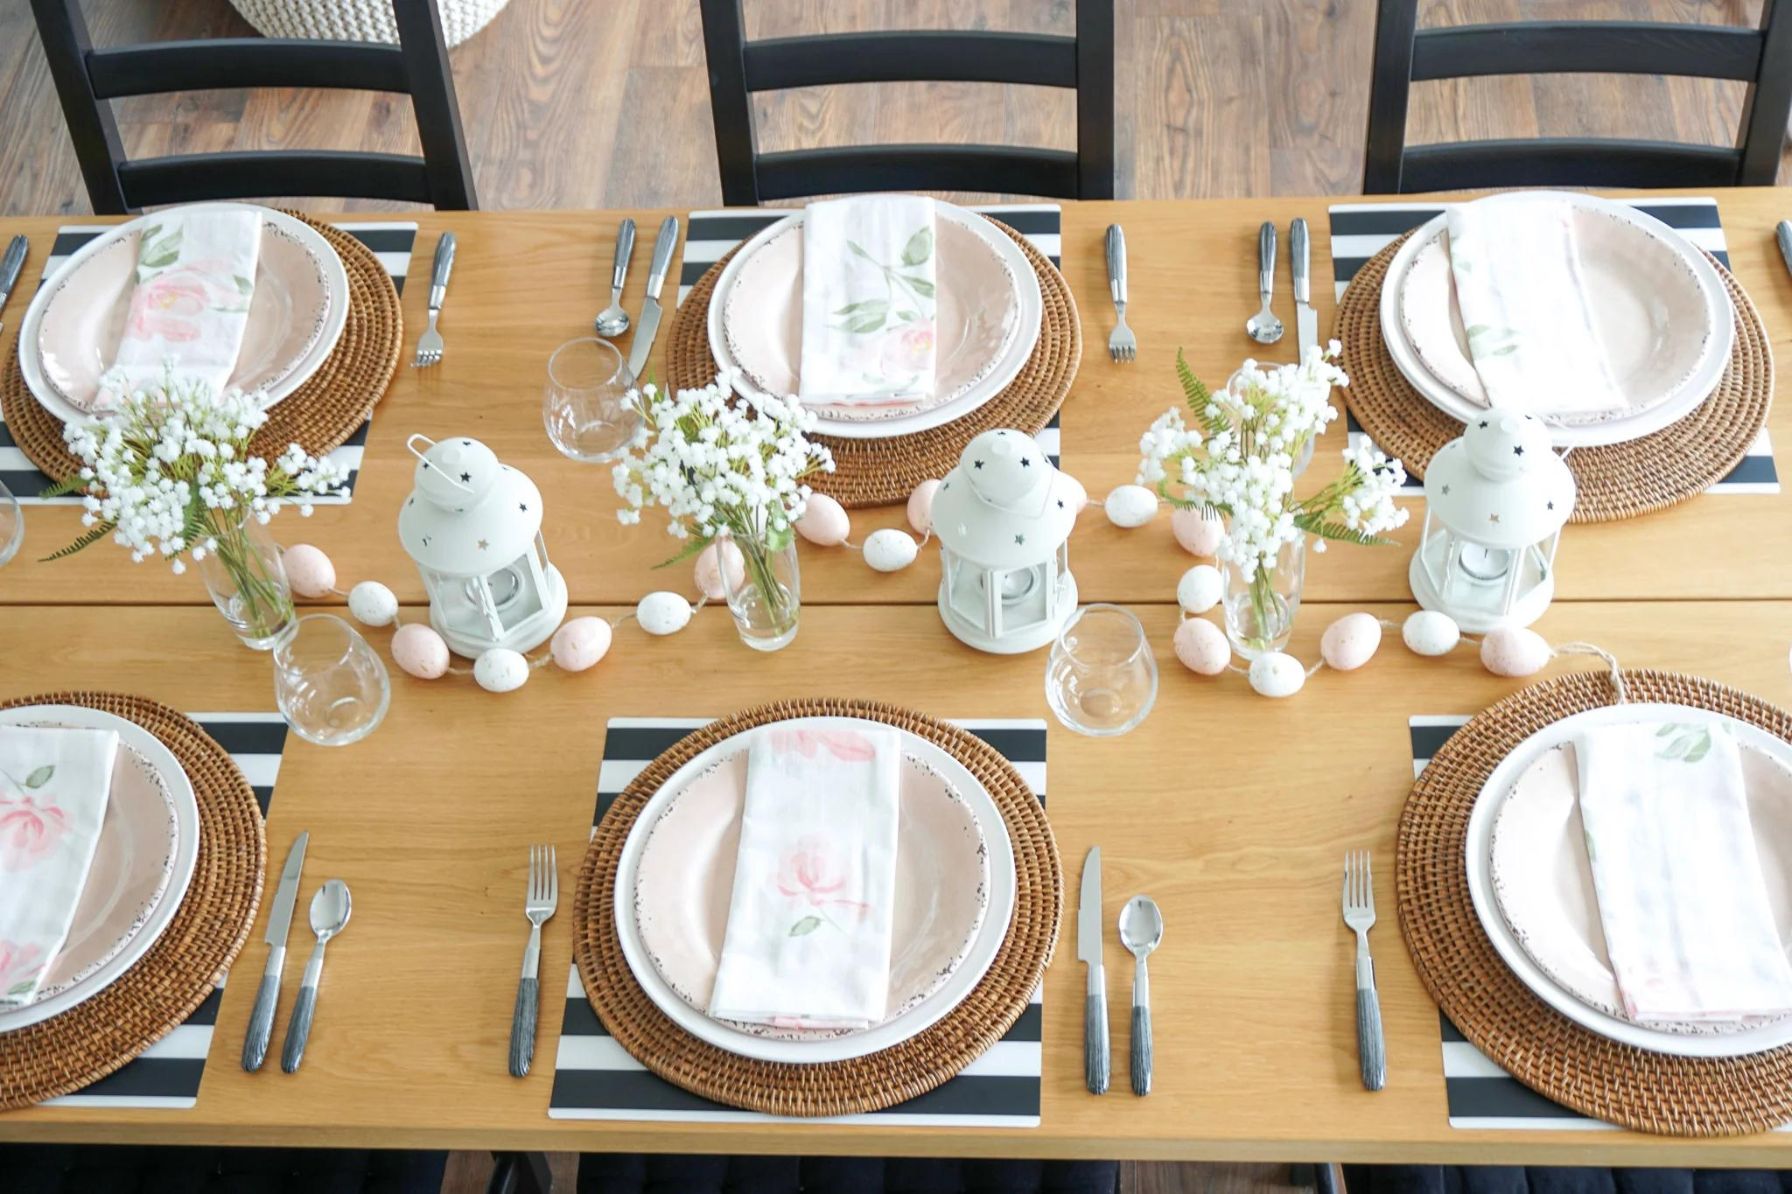
- Seasonal Themes: Embrace the changing seasons by decorating your charger plates accordingly. For example, you can draw autumn leaves for a fall-themed dinner party or snowflakes for a winter gathering.
- Holiday Celebrations: Get into the festive spirit by decorating your charger plates for different holidays. Draw hearts for Valentine’s Day, pumpkins for Halloween, or snowmen for Christmas.
- Quotes or Messages: Write inspiring quotes, messages of gratitude, or funny sayings on the charger plates. This adds a conversational element to your table and sparks interesting discussions.
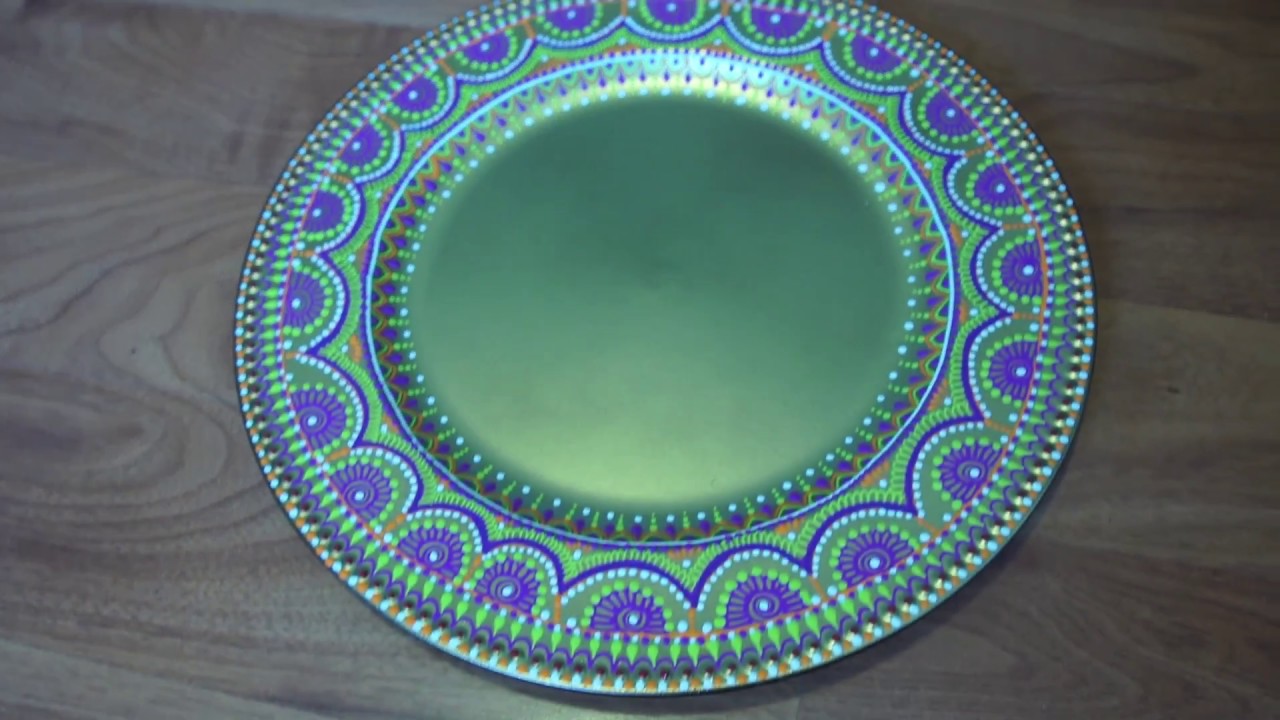
- Artistic Designs: Let your artistic skills shine by creating intricate designs or patterns on the charger plates. You can draw flowers, geometric shapes, or even abstract art.
- Kids’ Parties: Use the chalkboard charger plates as a canvas for your little one’s creativity. Let them draw and color on their plates, making mealtime more enjoyable.
- Special Occasions: Customize the charger plates for birthdays, anniversaries, or other milestone celebrations. Write the date, names, or a special message to commemorate the occasion.
- Themed Parties: Coordinate the charger plates with the theme of your party. Whether it’s a beach party, a vintage-inspired gathering, or a sports-themed event, let the charger plates reflect the overall ambiance.
Remember, the beauty of chalkboard charger plates is their versatility. You can erase and update the designs as often as you like, allowing you to tailor them for various events and seasons. Let your imagination run wild and have fun with your chalkboard charger plates!
Conclusion
Using chalkboard paint on charger plates is a fantastic way to add a personalized and creative touch to your tableware. Whether you’re hosting a casual dinner party, a holiday gathering, or a special occasion, chalkboard charger plates offer endless opportunities for customization and decoration.
In this article, we have guided you through the step-by-step process of using chalkboard paint on charger plates. From prepping the plates to applying the paint and curing it, each step is crucial in achieving a beautiful and durable finish.
We also provided you with a range of decorative ideas to inspire your creativity. Whether you choose to write guests’ names, display menus, incorporate seasonal themes, or let your artistic talent shine, chalkboard charger plates allow you to truly make your table setting unique.
Remember, the beauty of chalkboard charger plates lies in their versatility and the ability to update the designs as often as you like. Don’t be afraid to experiment, erase, and create new designs for each occasion.
So, unleash your creativity, gather your materials, and start transforming plain charger plates into personalized works of art with chalkboard paint. Your guests will be delighted by the unique and charming touch you bring to the dining experience.
Enjoy the process and have fun with your chalkboard charger plates!
Frequently Asked Questions about How To Use Chalkboard Paint On Charger Plates
Was this page helpful?
At Storables.com, we guarantee accurate and reliable information. Our content, validated by Expert Board Contributors, is crafted following stringent Editorial Policies. We're committed to providing you with well-researched, expert-backed insights for all your informational needs.


0 thoughts on “How To Use Chalkboard Paint On Charger Plates”