Home>diy>Building & Construction>What Are The Stages Of House Construction
Building & Construction
What Are The Stages Of House Construction
Modified: October 20, 2024
Discover the stages involved in building construction, from planning and design to the final touches. Gain insights into the process and timeline for constructing a house.
(Many of the links in this article redirect to a specific reviewed product. Your purchase of these products through affiliate links helps to generate commission for Storables.com, at no extra cost. Learn more)
Introduction
Building a house is an exciting and complex process that involves multiple stages of construction. From the initial site preparation to the final finishing touches, each step contributes to creating a safe and functional home. Understanding the stages of house construction can help homeowners and professionals alike navigate the process more efficiently and effectively.
In this article, we will explore the various phases involved in building a house. Whether you’re a homeowner looking to build your dream home or a construction professional seeking a refresher, this comprehensive guide will provide you with valuable insights into each stage of house construction.
It’s important to note that while the specific steps and order may vary depending on factors such as the location, size, and design of the house, the general framework remains consistent.
Now, let’s dive into the stages of house construction in detail:
Key Takeaways:
- Building a house involves multiple stages, from site preparation to final touches. Each step contributes to creating a safe, functional, and aesthetically pleasing home, requiring attention to detail and adherence to building codes.
- Homeowners can actively participate in the construction process by understanding the stages involved. From foundation construction to interior finishes, each phase plays a crucial role in creating a personalized and comfortable living space.
Read more: What Is The Tender Stage In Construction?
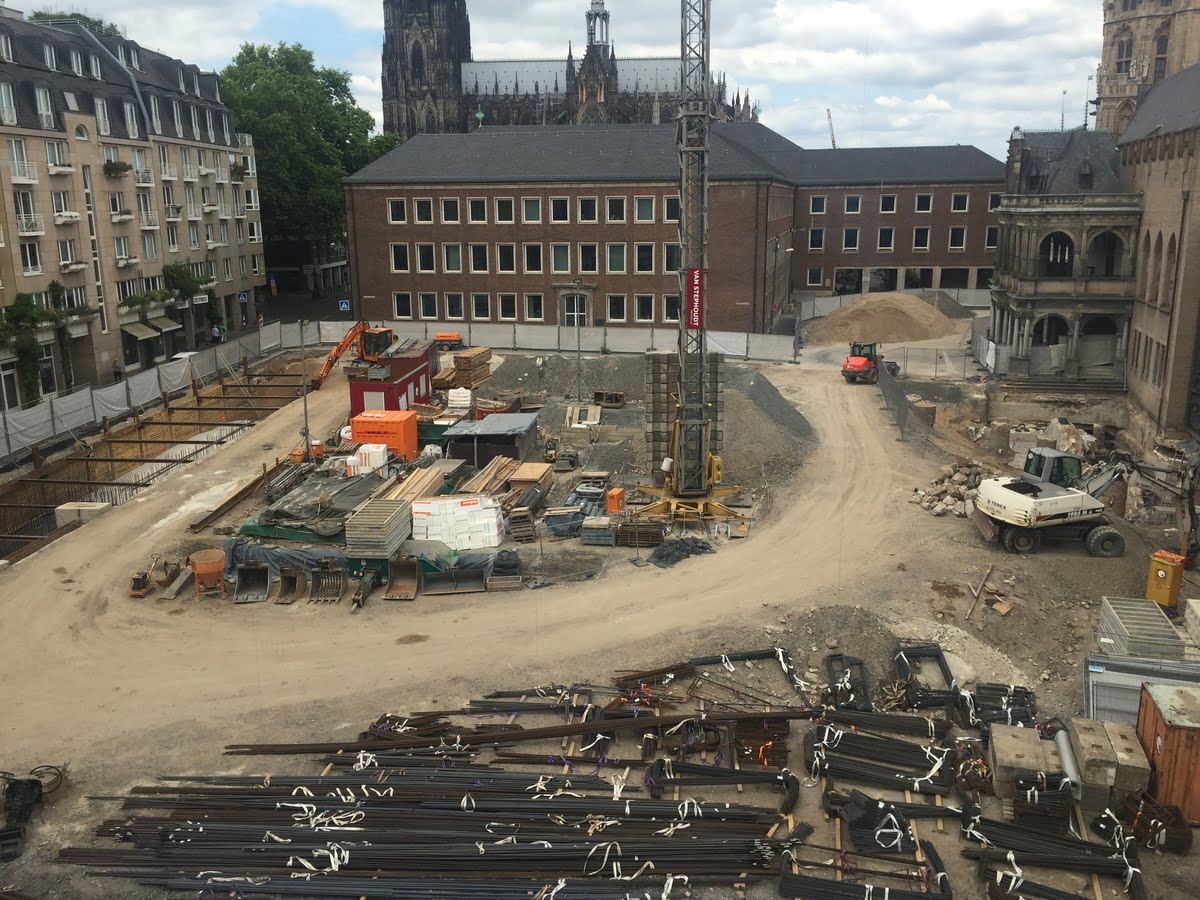
Site Preparation
Before the actual construction begins, the first step is site preparation. This involves clearing the land and preparing the foundation for the house. Here are the key tasks involved in site preparation:
- Clearing the land: The site needs to be cleared of any obstacles, such as trees, rocks, and debris. This may require the use of heavy machinery, such as excavators or bulldozers, to level the area.
- Marking the boundaries: Once the land is cleared, the boundaries of the property are marked to ensure that the house is built within the designated area.
- Excavation: If the site is not already level, excavation is done to dig trenches and create a level ground. This may also involve removing soil or rocks to make way for the foundation.
- Utility connections: During site preparation, the necessary connections for utilities such as water, electricity, and sewage are made. This ensures that the house will have access to basic amenities.
- Drainage: Proper drainage is essential to prevent water accumulation around the house. This may involve installing drainage systems, such as pipes or trenches, to redirect water away from the foundation.
- Temporary construction: In some cases, temporary structures like fence panels or scaffolding are erected to secure the construction site and provide safety for workers.
Site preparation is a crucial stage as it sets the foundation for the entire construction process. It requires careful planning and coordination between various professionals, including architects, engineers, and contractors.
Once the site preparation is complete, the next stage of house construction can begin – foundation construction.
Foundation Construction
The foundation is the base of any house and plays a critical role in providing stability and strength. It serves as the anchor that supports the entire structure. Here’s an overview of the foundation construction process:
- Excavation and Footings: After site preparation, the area designated for the foundation is excavated to the required depth. Footings, which are reinforced concrete pads, are then created to support the weight of the structure.
- Formwork: The next step involves building formwork, which is a temporary structure that defines the shape and dimensions of the foundation. It is typically made of plywood or steel and is designed to withstand the pressure of the concrete.
- Reinforcement: Steel reinforcement, such as rebar, is placed within the formwork to add strength and structural integrity to the foundation. The rebar is strategically positioned to distribute the load evenly and prevent cracks or settlement.
- Pouring the Concrete: Once the formwork and reinforcement are in place, concrete is poured into the designated area. It is important to use high-quality concrete mix and ensure proper compaction to achieve a solid and durable foundation.
- Curing and Drying: After pouring the concrete, it needs time to cure and dry. This process typically takes several days, during which the concrete gains strength and becomes capable of supporting the weight of the house.
- Waterproofing: To protect the foundation from moisture and prevent water infiltration, waterproofing materials, such as membranes or coatings, are applied. This helps to maintain the structural integrity of the foundation and prevent damage over time.
The foundation construction stage requires precise measurements, skilled labor, and adherence to local building codes and regulations. Any errors or compromises during this stage can lead to costly repairs and structural issues down the line.
Once the foundation is constructed and has been thoroughly inspected, the next step in house construction is framing.
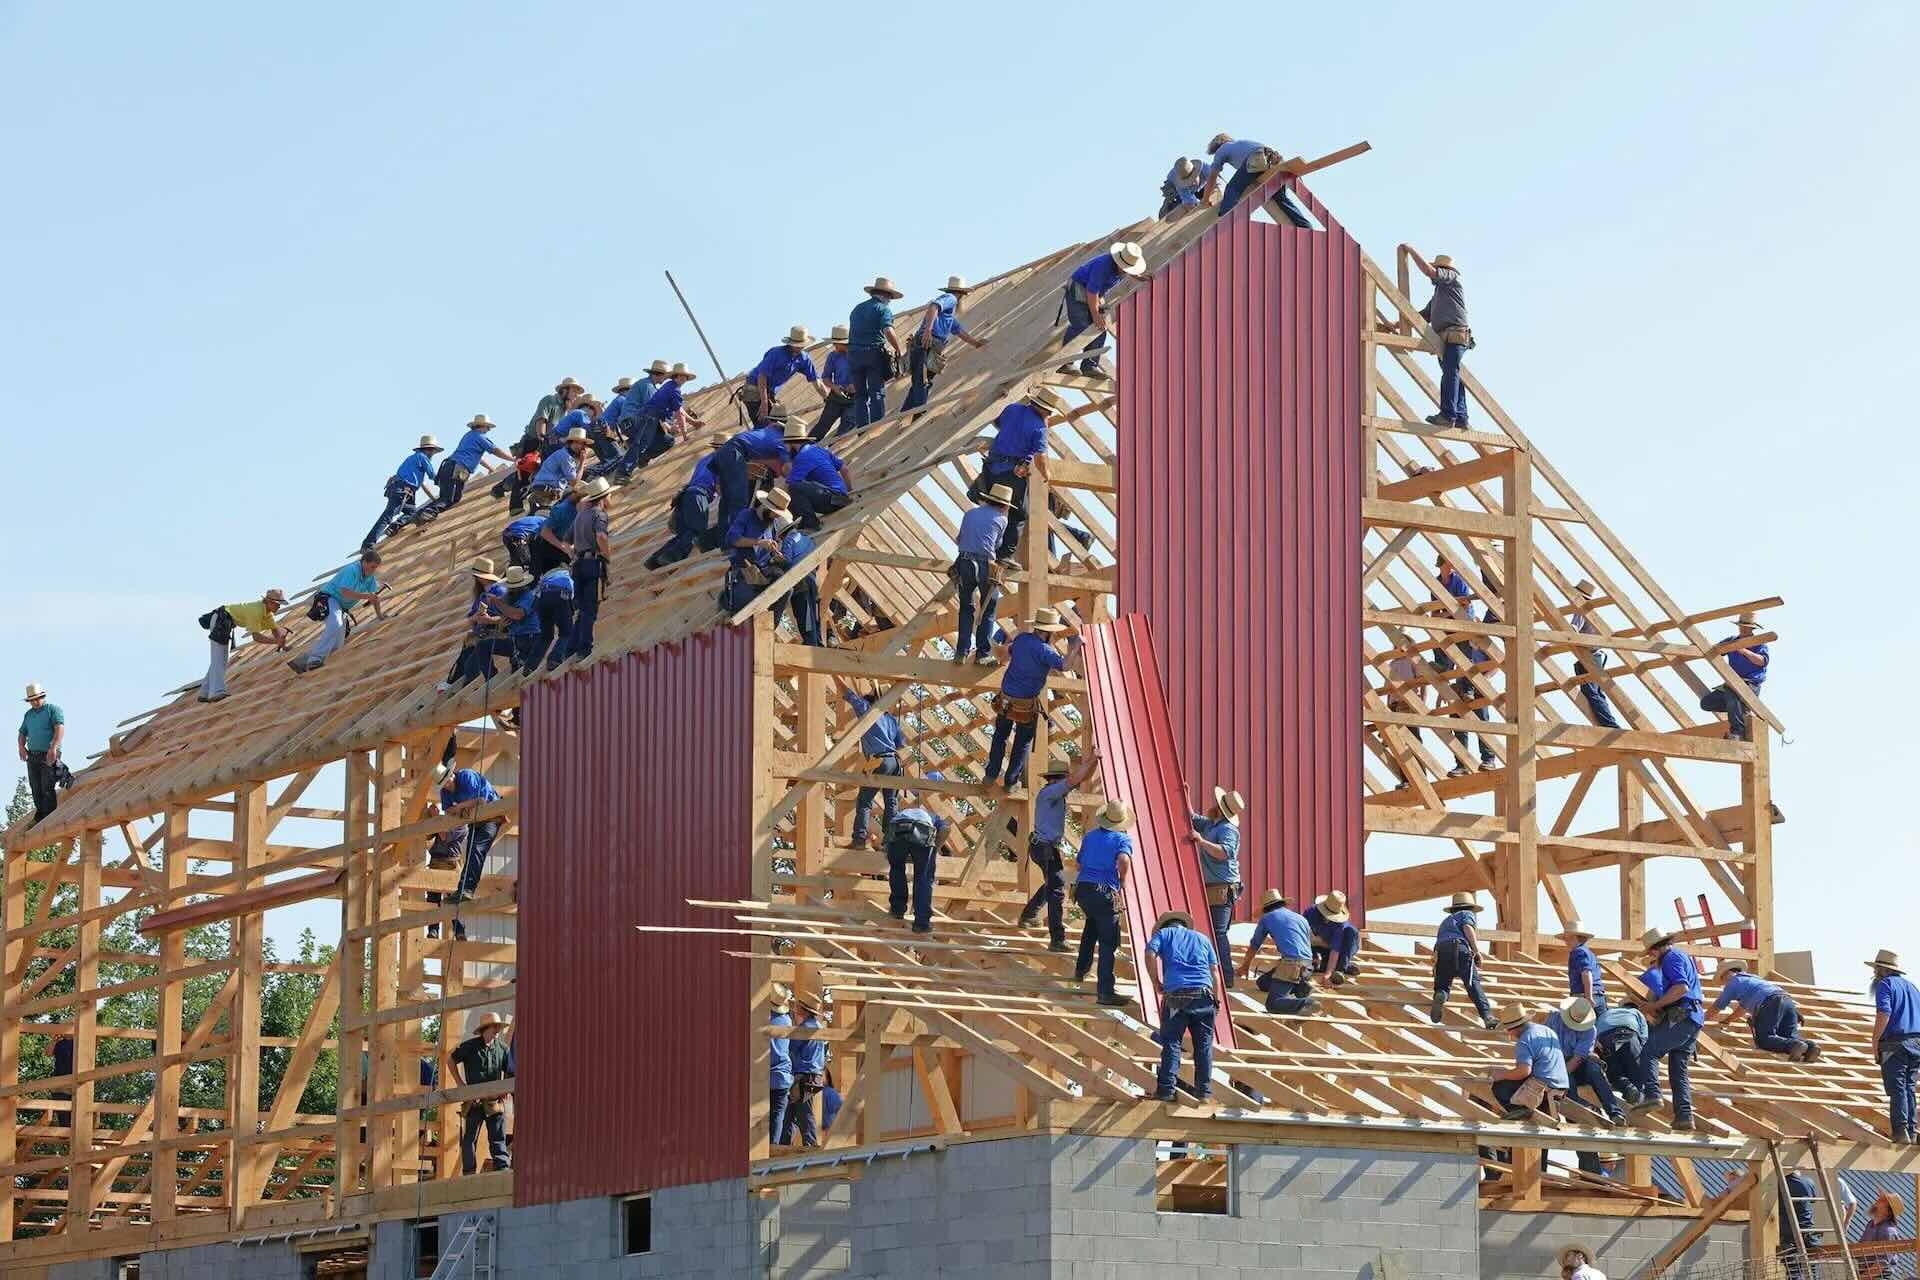
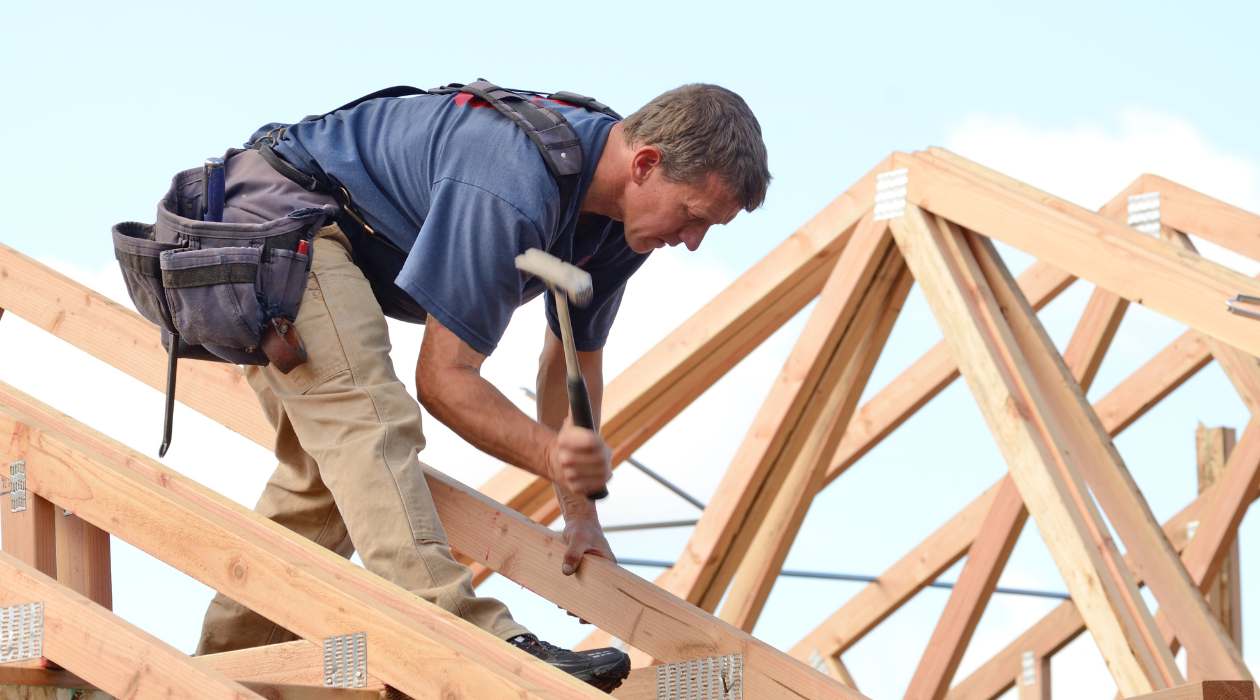
Framing
After the foundation is in place, the framing stage of house construction begins. This is when the skeletal framework of the house is built, providing the structure and shape of the building. Here’s an overview of the framing process:
- Layout and Marking: Before framing begins, the layout of the house is marked on the foundation, indicating the placement of walls, doors, windows, and other structural components.
- Wall Framing: Walls are constructed by assembling vertical studs, horizontal plates, and headers. These components, typically made of wood or steel, are securely connected to form the framework of each wall.
- Floor and Ceiling Framing: The next step involves framing the floors and ceilings. Floor joists are installed to provide support for the floors, while ceiling joists are used to support the ceiling and attach it to the walls.
- Roof Framing: Once the walls, floors, and ceilings are in place, the roof framing can be started. This includes installing rafters or trusses to create the roof structure, and ridge boards to connect the top ends of the rafters.
- Bracing: Throughout the framing process, bracing is used to add stability to the structure. Temporary braces are installed to prevent any movement or shifting while the framing is being completed.
- Windows and Doors: Openings for windows and doors are framed and prepared to accommodate the specific sizes and types of windows and doors chosen for the house.
Framing requires precision and attention to detail to ensure that the structure is strong, level, and properly aligned. It is crucial to follow local building codes and regulations to guarantee the safety and integrity of the house.
Once the framing is complete, the focus shifts to roofing, which is the next stage of house construction.
Roofing
Roofing is a crucial stage in the construction process as it protects the house from the elements and contributes to its overall aesthetic appeal. The roofing stage involves the installation of the roof covering and the necessary components to ensure a weatherproof and durable roof. Here’s an overview of the roofing process:
- Roof Deck Preparation: The roof deck, typically made of plywood or oriented strand board (OSB), is prepared by securing it to the framing. This provides a solid base for the roof covering.
- Underlayment: A waterproofing underlayment, such as asphalt felt or synthetic membrane, is installed over the roof deck. This acts as an additional layer of protection against water intrusion.
- Flashing and Ventilation: Flashing is installed around areas prone to leaks, such as chimneys, skylights, and roof intersections. Ventilation components, such as ridge vents or soffit vents, are also installed to promote air circulation in the attic and prevent moisture buildup.
- Roof Covering: The final step involves installing the selected roof covering, which can include materials such as asphalt shingles, metal panels, clay tiles, or slate. This is the visible layer that provides protection from rain, snow, and UV rays.
- Gutters and Downspouts: Alongside the roofing, gutters and downspouts are installed to collect and redirect rainwater away from the foundation, preventing water damage.
It is essential to choose the right roofing materials and ensure proper installation to guarantee the longevity and performance of the roof. Hiring professional roofers with expertise in the specific roofing materials is recommended to achieve a high-quality roof.
With the roof in place, the house starts to take shape and move towards the next stages of construction, including exterior finishes.
Read more: What Are The 7 Stages Of Construction?
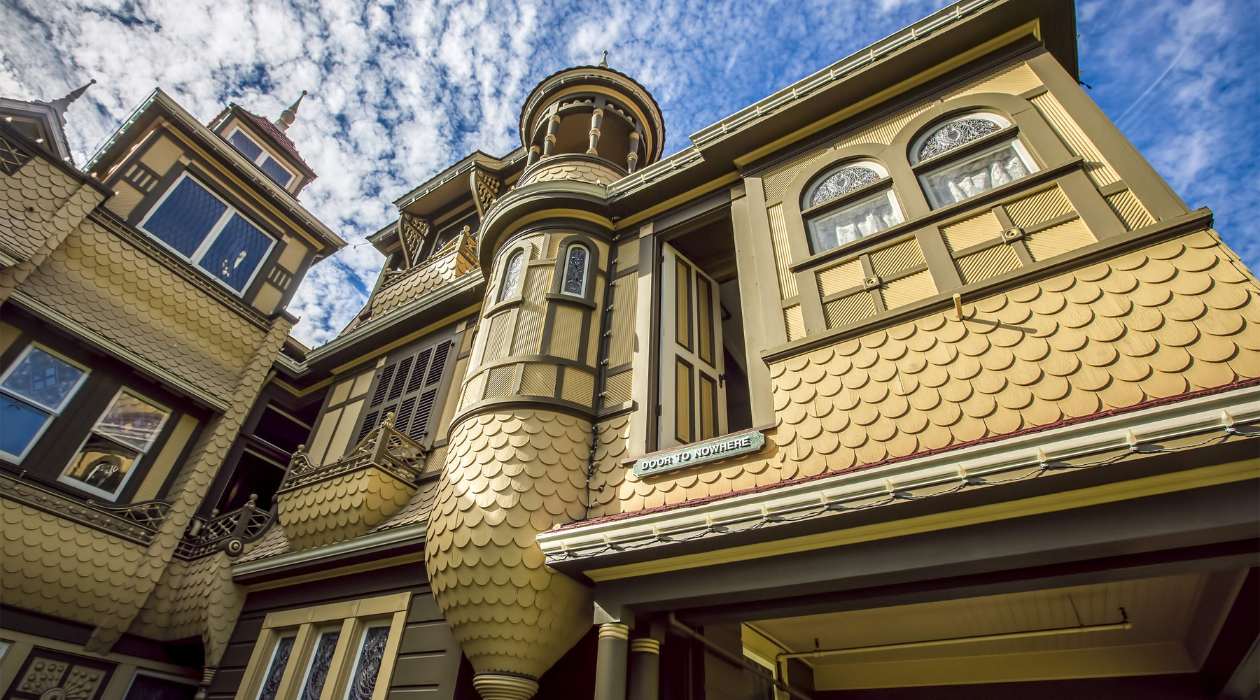
Exterior Finishes
Once the structure of the house is complete, it’s time to focus on the exterior finishes. These finishes not only enhance the aesthetic appeal of the house but also provide protection against the elements. Here are some common exterior finishes:
- Siding: Siding materials, such as vinyl, wood, fiber cement, or stucco, are applied to the exterior walls of the house. Siding not only adds visual appeal but also helps to insulate the house and protect it from moisture.
- Painting or Staining: The exterior surfaces, including the siding, trim, and doors, are painted or stained to add color, protection, and durability. It is important to choose high-quality exterior paint or stain that can withstand various weather conditions.
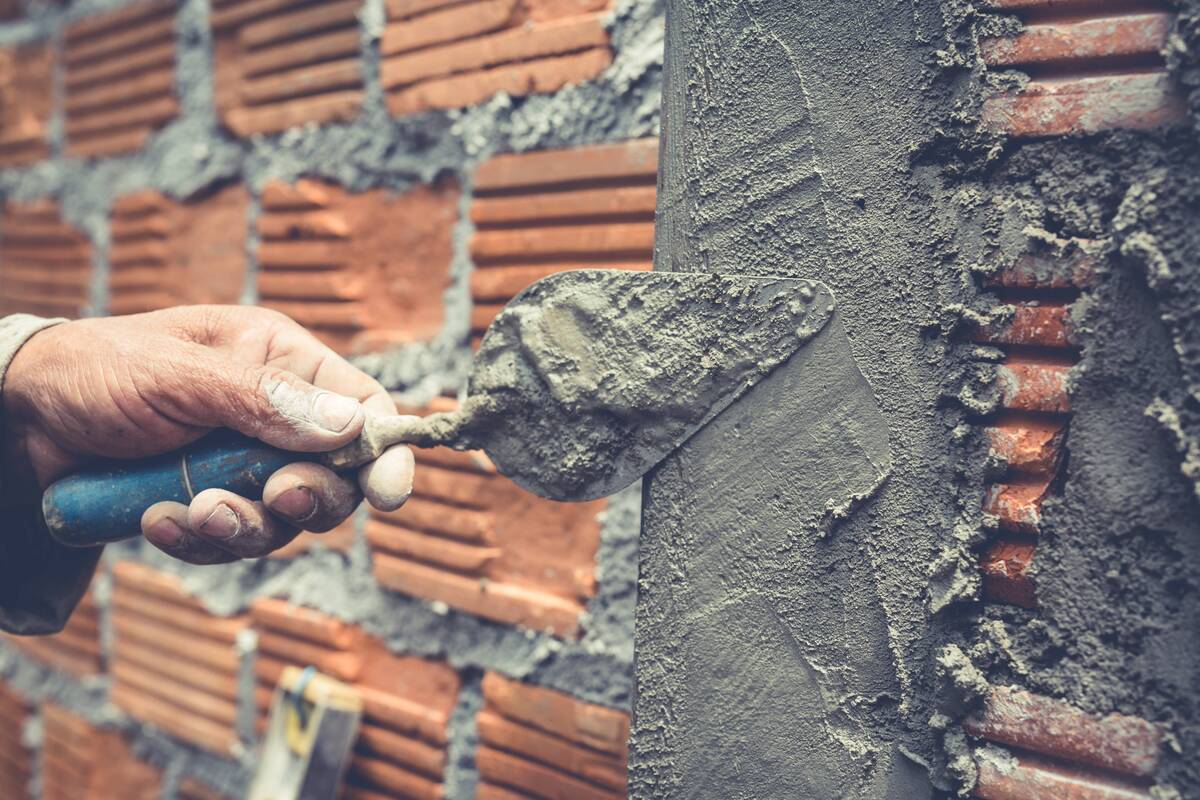
- Brick or Stone Veneer: Adding a brick or stone veneer to the exterior walls can create a luxurious and timeless look. These materials are typically applied using mortar and provide added durability and insulation.
- Windows and Doors: Installing windows and doors not only enhances the aesthetics but also plays a crucial role in energy efficiency. High-quality windows and doors help to regulate temperature, reduce noise, and provide security.
- Exterior Trim: Decorative trims, such as fascia boards, soffits, and window trims, are installed to add architectural interest and protect the edges of the house.
- Outdoor Features: This includes the installation of outdoor features like decks, porches, balconies, and landscaping elements. These features not only enhance the functionality of the house but also add curb appeal.
The exterior finishes stage allows homeowners to personalize their house and create a unique look that reflects their style and preferences. It is important to choose materials and finishes that are suitable for the local climate and can withstand the test of time.
Once the exterior finishes are complete, the focus turns to the interior construction, starting with plumbing installation.
Plumbing
Plumbing is a critical aspect of house construction that involves the installation of the water supply and drainage systems. It ensures the efficient and safe flow of water throughout the house. Here’s an overview of the plumbing installation process:
- Water Supply Lines: The first step involves installing the water supply lines, which bring freshwater into the house. These lines are typically made of copper, PEX, or PVC pipes and are connected to the main water source.
- Drainage System: Simultaneously, the drainage system is installed, which includes pipes and fittings that carry wastewater away from the house. These pipes are typically made of PVC and are connected to the municipal sewer or septic tank.
- Fixtures and Appliances: Once the supply and drainage lines are in place, fixtures such as toilets, sinks, bathtubs, showers, and appliances like dishwashers and washing machines are installed. These fixtures and appliances are connected to the plumbing system.
- Ventilation: To ensure proper drainage and prevent sewer odors in the house, ventilation pipes are installed. These pipes allow fresh airflow into the plumbing system, maintaining a balance of pressure.
- Pressure Testing: After the plumbing installation is complete, a pressure test is conducted to check for any leaks or issues in the system. This test involves pressurizing the system and inspecting it for any drops in pressure.
It is crucial to hire licensed plumbers who are experienced in house construction to ensure that the plumbing system is installed correctly and meets all necessary codes and regulations. A properly installed plumbing system is essential for the functionality and comfort of the house.
With the plumbing installation complete, the next stage in house construction is the installation of electrical systems.
Electrical Installation
The electrical installation stage is a crucial part of house construction that involves the installation of the electrical wiring, outlets, switches, and fixtures throughout the house. Electrical systems ensure the safe and efficient flow of electricity to power lights, appliances, and other electrical devices. Here’s an overview of the electrical installation process:
- Electrical Planning: Before the installation begins, a detailed electrical plan is created to determine the layout of outlets, switches, and lighting fixtures in each room. This plan ensures proper distribution of electrical power throughout the house.
- Wiring: The next step involves running electrical wiring through the walls, ceilings, and floors to connect all outlets, switches, and fixtures. The wiring is typically made of copper or aluminum and is installed according to local electrical codes.
- Outlets and Switches: Electrical outlets and switches are installed at specific locations as per the electrical plan. Outlets provide power for appliances and devices, while switches control lighting fixtures and other electrical components.
- Lighting: Lighting fixtures, such as recessed lights, chandeliers, pendant lights, and wall sconces, are installed to illuminate the different areas of the house. It is important to choose energy-efficient lighting options.
- Panel and Breakers: The electrical panel, also known as the breaker box, is installed to control the distribution of electricity throughout the house. Breakers are installed to protect the electrical system from overload and short circuits.
- Grounding and Wiring Safety: Proper grounding techniques are employed to ensure electrical safety. Grounding prevents electrical shocks and helps divert excess electricity in case of a fault. Safety measures, such as GFCI (Ground Fault Circuit Interrupter) outlets, are installed in areas that are prone to moisture, such as bathrooms and kitchens.
- Final Testing: After the installation is complete, a final electrical inspection is conducted to ensure that everything is properly connected, grounded, and meets the necessary codes and safety standards.
Electrical installation should always be carried out by licensed electricians who have expertise in house construction. Every aspect of the electrical system must comply with local electrical codes to ensure safety and efficiency.
With the electrical installation complete, the house moves closer to the interior finishing stages, starting with insulation and drywall.
Ensure that you have a clear understanding of the different stages of house construction, including site preparation, foundation, framing, roofing, and finishing. This will help you stay organized and on track throughout the building process.
Insulation and Drywall
The insulation and drywall stage of house construction focuses on creating a comfortable and visually appealing interior. It involves the installation of insulation materials to regulate temperature and sound, as well as the installation of drywall to create finished walls and ceilings. Here’s an overview of the insulation and drywall installation process:
- Insulation: Insulation materials, such as fiberglass, cellulose, or foam, are installed in the walls, ceilings, and floors to provide thermal resistance. Insulation helps to regulate indoor temperature, reduce energy consumption, and improve soundproofing between rooms.
- Vapor Barrier: In some regions, a vapor barrier is installed along with insulation to prevent the buildup of moisture within the walls. The vapor barrier acts as a barrier against water vapor, helping to preserve the integrity of the insulation.
- Drywall Installation: Once the insulation is in place, drywall panels are installed over the wall and ceiling frames. Drywall is made of gypsum board and provides a smooth surface for painting or other wall finishes. The panels are secured to the frames using screws or nails.
- Taping and Mudding: After the drywall is installed, the seams and screw/nail holes are covered with joint compound. This process is known as taping and mudding. Multiple layers of joint compound are applied, smoothed, and sanded to create a seamless finish.
- Texturing: Depending on the desired finish, the walls and ceilings may be textured using techniques such as splatter, knockdown, or orange peel. Texturing adds visual interest and helps to hide imperfections in the drywall surface.
- Priming: Before painting or applying any wall finish, a primer is applied to the drywall surface. Priming helps to seal the drywall and create a suitable base for paint or wallpaper.
The insulation and drywall stage is crucial for creating a comfortable and visually appealing interior. Proper insulation helps to maintain a consistent indoor temperature and reduce noise transfer, while drywall provides a smooth, finished surface for further interior finishes.
With insulation and drywall complete, the focus shifts to the interior finishes, starting with flooring.
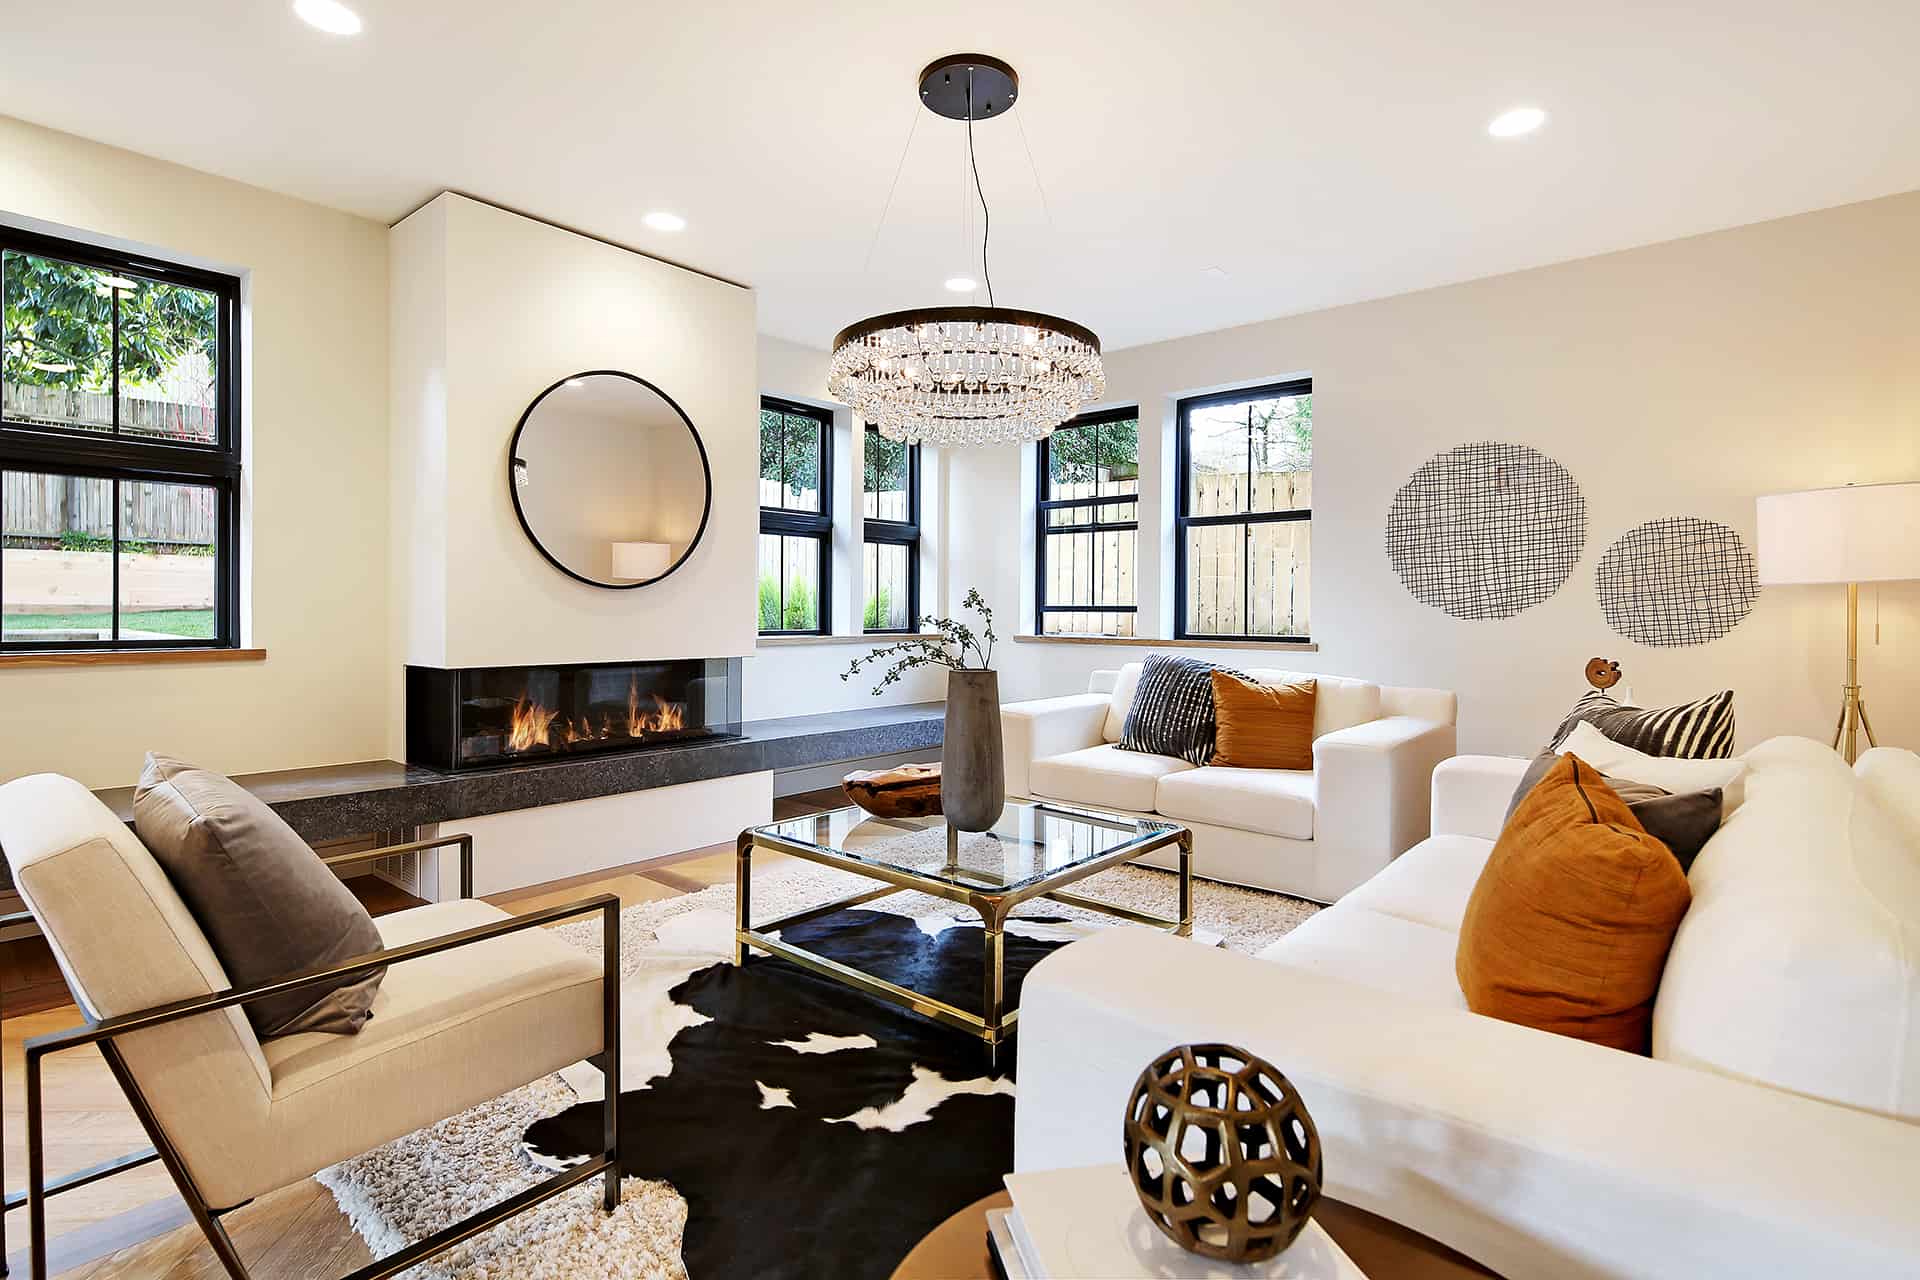
Interior Finishes
The interior finishes stage of house construction focuses on adding the final touches to create a beautiful and functional living space. This stage involves installing various elements that contribute to the aesthetics, functionality, and comfort of the interior. Here’s an overview of the interior finishes:
- Flooring: Different types of flooring materials, such as hardwood, laminate, tile, or carpet, are installed in the various rooms of the house. Flooring not only enhances the visual appeal but also provides durability and comfort underfoot.
- Wall Finishes: Walls are finished with paint, wallpaper, or other decorative materials to add color, texture, and style to the interior. Wall finishes can transform the look and feel of a room and create a desired ambiance.
- Ceilings: Ceilings may be painted, textured, or finished with decorative elements, such as crown molding or ceiling medallions, to enhance the overall look of the room.
- Cabinetry and Built-ins: Kitchen and bathroom cabinets, as well as other built-in storage solutions, are installed. These elements provide functionality and storage space while adding to the overall design aesthetic.
- Countertops and Backsplashes: Countertops for kitchens and bathrooms are installed, providing a durable and aesthetically pleasing surface. Backsplashes may also be installed to protect walls from moisture and add a decorative touch.
- Lighting Fixtures: Various types of lighting fixtures, including overhead lights, sconces, and pendant lights, are installed to illuminate the interior space. Lighting not only serves a functional purpose but also adds ambiance and enhances the overall design.
- Trim and Moldings: Baseboards, crown moldings, and other trims are installed to provide a polished and finished look. Trim and moldings add architectural detail and can make a significant impact on the overall aesthetic of a room.
- Hardware and Fixtures: Door handles, faucets, towel bars, and other hardware and fixtures are installed in bathrooms, kitchens, and other areas. These elements add functionality and style to the space.
The interior finishes stage allows for personalization and customization, reflecting the homeowner’s taste and style. Attention to detail and careful selection of materials and finishes contribute to creating a cohesive and inviting interior space.
With the completion of the interior finishes, the house nears the final stages of construction, including painting and HVAC installation.
Flooring
Flooring is a significant aspect of interior finishing that greatly impacts the overall look and feel of a house. The choice of flooring materials plays a crucial role in both aesthetics and functionality. Here’s an overview of different types of flooring options commonly used in house construction:
- Hardwood: Hardwood flooring is a classic and timeless choice that adds warmth and elegance to any room. It comes in various types of wood, such as oak, maple, or walnut, and can be finished in different stains to match the desired style. Hardwood floors are durable and can be refinished to maintain their appearance over time.
- Laminate: Laminate flooring is a popular and cost-effective option that mimics the look of hardwood, tile, or stone. It consists of a synthetic layered material that is highly durable and resistant to scratches, stains, and fading. Laminate floors are easy to install and maintain, making them a suitable choice for high-traffic areas.
- Tile: Tile flooring, commonly made of ceramic, porcelain, or natural stone, offers a wide range of design possibilities. It is highly durable, moisture-resistant, and easy to clean, making it suitable for kitchens, bathrooms, and other areas prone to moisture. Tile floors are available in various colors, patterns, and sizes, allowing for endless customization.
- Carpet: Carpet provides comfort and adds a cozy feel to rooms, especially living areas and bedrooms. It is available in different fiber types, styles, and thicknesses, allowing homeowners to choose the right carpet for their needs. Carpeting also contributes to sound insulation by reducing noise transmission.
- Vinyl: Vinyl flooring is a versatile and affordable option that is highly resistant to scratches, stains, and moisture. It is available in a range of styles, including sheets, tiles, or planks, and can mimic the look of wood, stone, or tile. Vinyl floors are durable, easy to maintain, and suitable for different areas of the house.
The choice of flooring depends on factors such as personal preference, budget, durability, and the specific needs of each room. It is essential to consider factors like maintenance requirements, lifestyle, and the overall design aesthetic when selecting the flooring material.
With flooring installed, the focus shifts to other interior finishes, such as painting and the installation of HVAC systems.
Painting
Painting is a crucial stage in the interior finishing process that adds color, personality, and a polished look to the walls and other surfaces of a house. It is an opportunity for homeowners to express their personal style and create the desired ambiance in each room. Here’s an overview of the painting process:
- Preparation: Before painting can begin, proper preparation is essential. This includes cleaning the walls, filling any cracks or holes, and sanding rough surfaces to ensure a smooth finish.
- Priming: Applying a coat of primer is often the next step in the painting process. Primer helps to create a suitable base for the paint, allowing for better adhesion and providing a consistent finish.
- Choosing Paint Colors: Selecting paint colors is an exciting part of the process. Homeowners can consider various factors such as personal preference, room size, existing furnishings, and lighting to choose the perfect shades for each room.
- Paint Application: Once the preparation is complete, the actual painting begins. Whether using a brush, roller, or sprayer, it is important to apply the paint evenly and with smooth strokes. Multiple coats may be necessary to achieve the desired color and coverage.
- Trim and Detailing: Painting includes not only the walls but also the trim, baseboards, crown moldings, and other architectural details. These areas are typically painted with a different finish, such as semi-gloss or high-gloss, to provide a contrasting look and enhance visual interest.
- Drying and Touch-ups: After painting, the surfaces need time to dry. It is important to allow adequate drying time before moving furniture or adding decorative elements. Once dry, any necessary touch-ups can be done to ensure a flawless finish.
Painting offers homeowners the opportunity to transform the look and feel of a room. It can create a sense of cohesion and tie together the overall design of the house. Additionally, painting provides a protective layer for the walls, making them easier to clean and maintain.
With painting completed, the final stages of house construction include the installation of HVAC systems and adding the finishing touches to turn the house into a home.
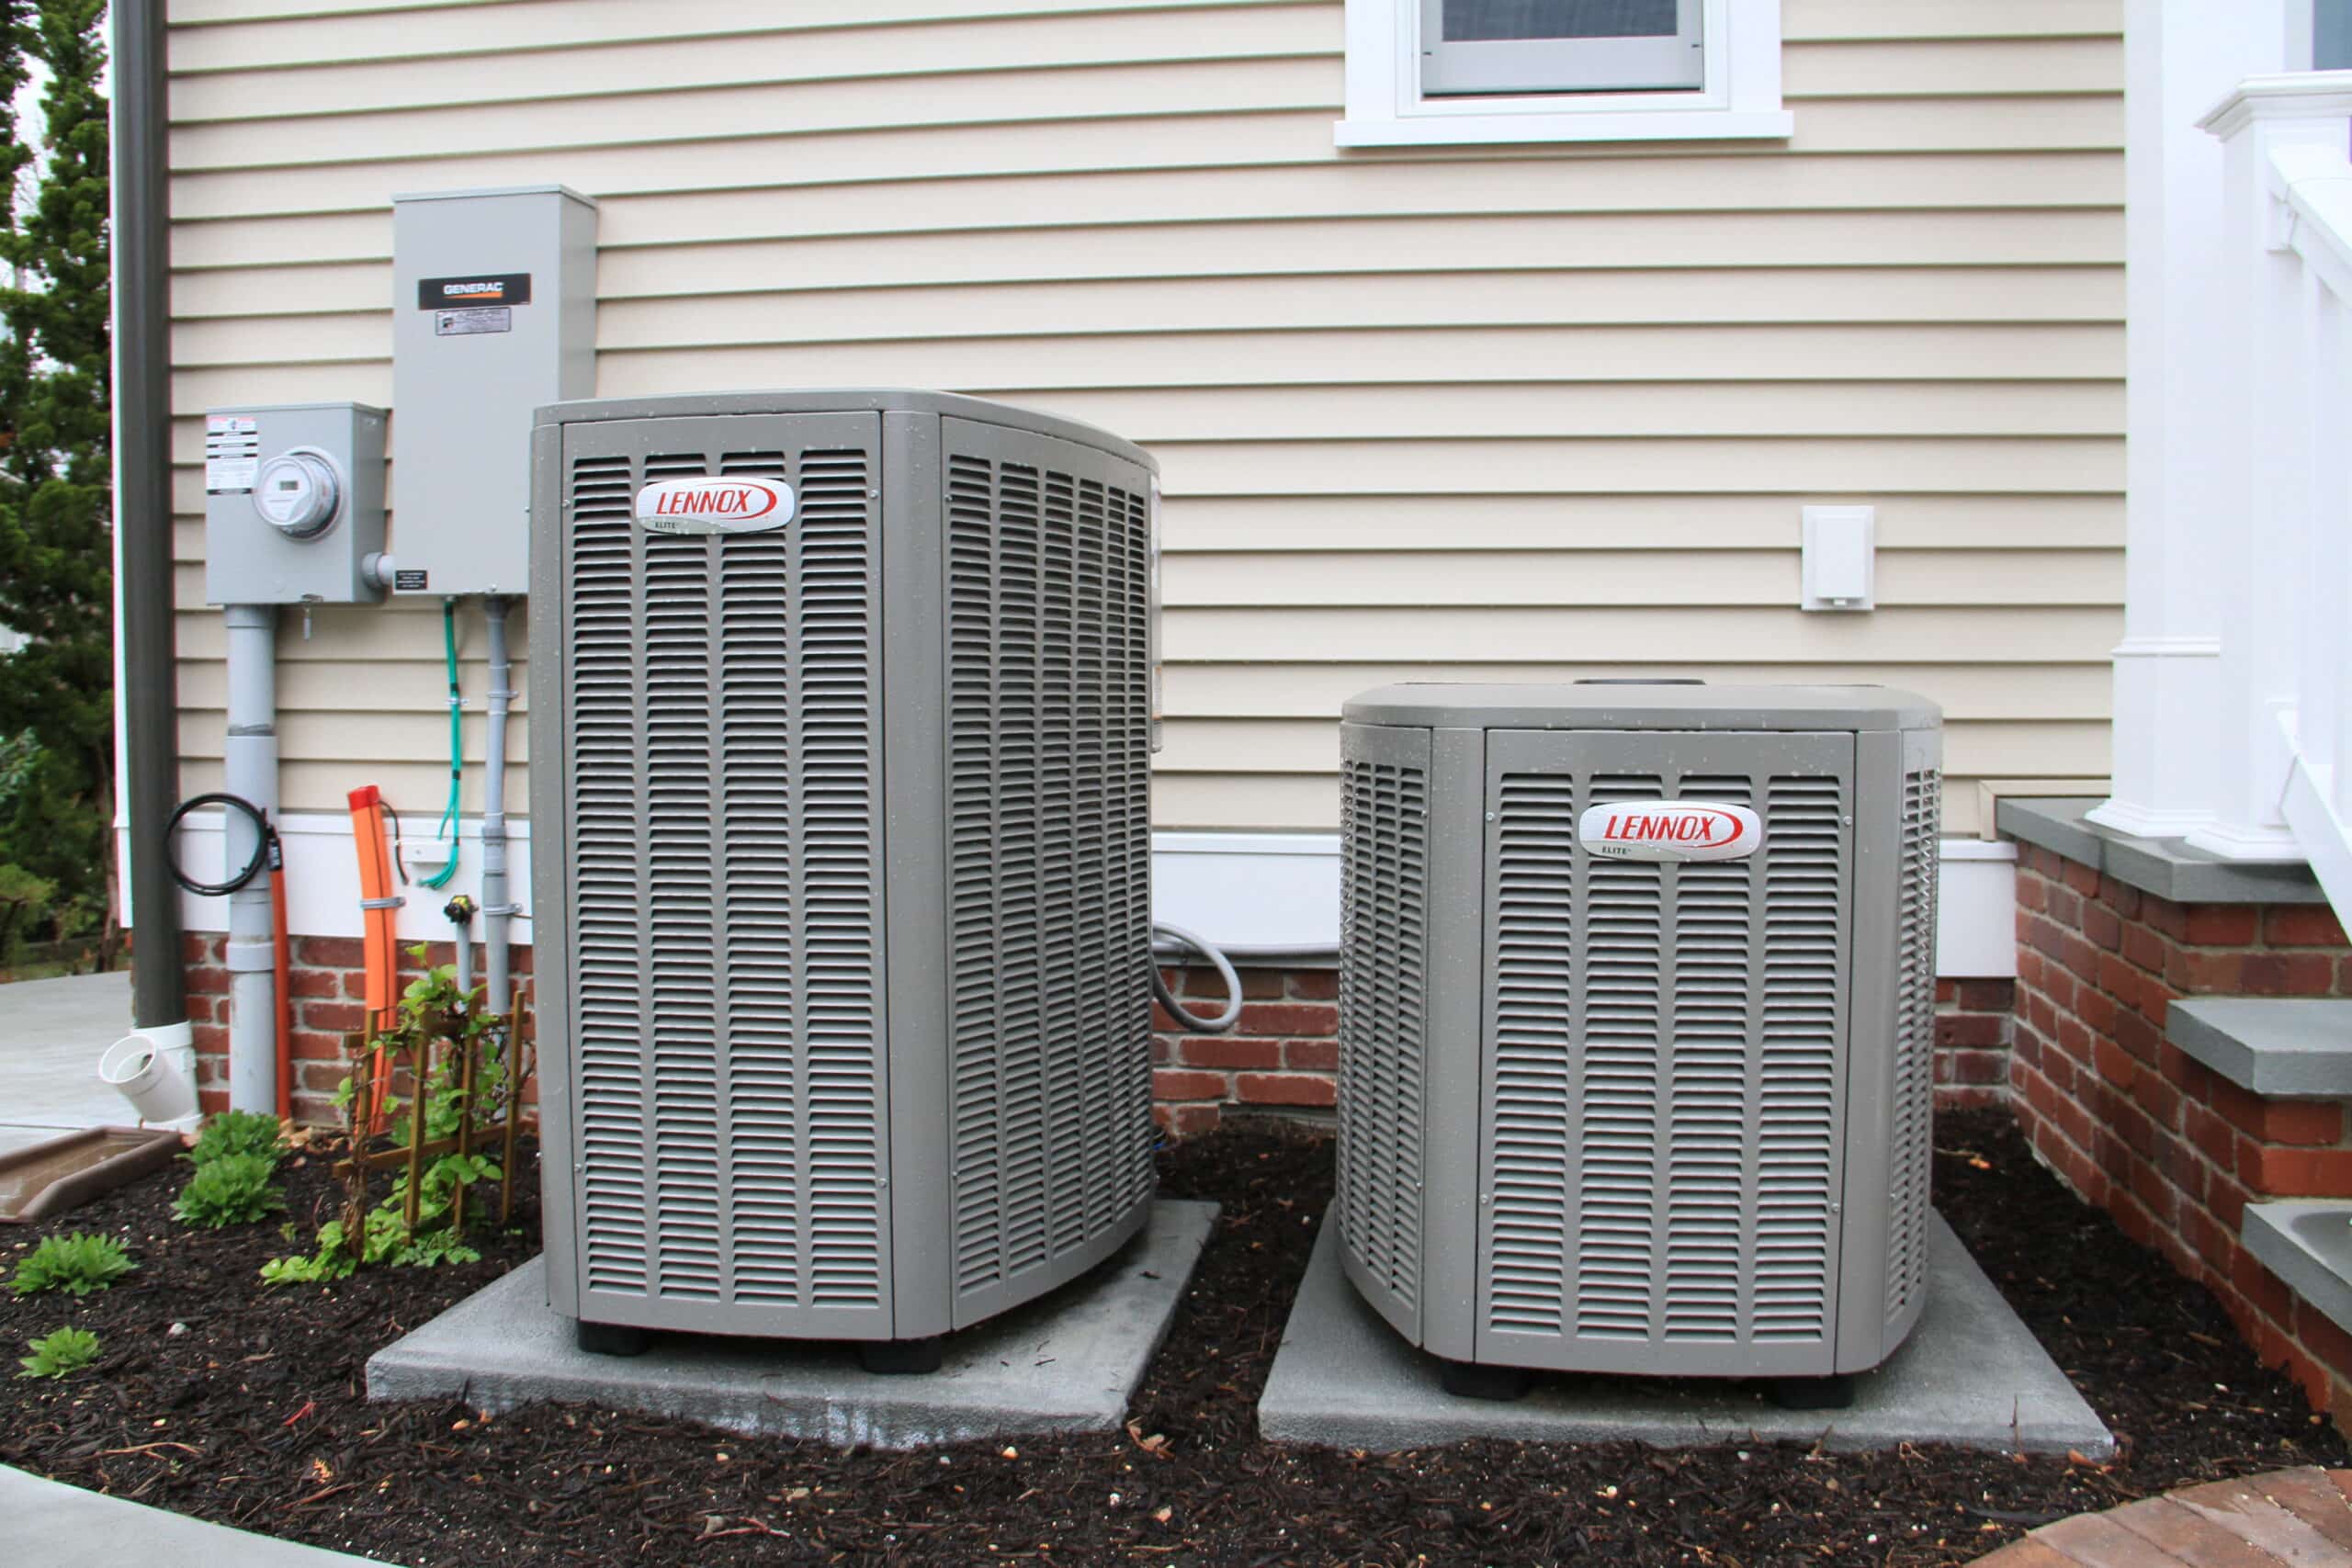
HVAC Installation
The HVAC (Heating, Ventilation, and Air Conditioning) system is a crucial component of a comfortable and energy-efficient home. HVAC installation involves the setup of heating, cooling, and ventilation systems that regulate temperature, provide optimal indoor air quality, and ensure proper airflow. Here’s an overview of the HVAC installation process:
- Evaluation and Planning: HVAC professionals assess the heating and cooling needs of the house, taking into account factors such as square footage, climate, insulation, and local building codes. They then create a plan for the HVAC system installation.
- Equipment Selection: Based on the evaluation, appropriate heating and cooling equipment, such as furnaces, heat pumps, air conditioners, or boilers, are selected to meet the specific requirements of the house.
- Ductwork Installation: If the house uses a forced-air system, ductwork is installed to distribute conditioned air throughout the house. This involves the placement of supply and return ducts, registers, and grilles in each room.
- Ventilation: Proper ventilation is crucial to maintain indoor air quality. Ventilation systems, such as exhaust fans or energy recovery ventilators, are installed to remove stale air and introduce fresh air into the house while recovering energy.
- Thermostat Installation: A programmable thermostat is installed to control the HVAC system, allowing homeowners to set temperature preferences and create energy-efficient schedules. Smart thermostats are becoming increasingly popular, offering additional features and remote control options.
- Testing and Balancing: Once the installation is complete, HVAC professionals perform thorough testing and balancing to ensure that the system operates at its optimal efficiency. This includes checking airflow, temperature differentials, and making any necessary adjustments.
HVAC installation should be carried out by licensed professionals who have experience in HVAC system design and installation. Proper installation and regular maintenance of the HVAC system are essential to ensure efficient operation and extend the lifespan of the equipment.
With the HVAC system installed, the house is one step closer to completion. The final touches, such as adding fixtures, appliances, and landscaping, bring the house to its finished state.
Read more: What Is A Construction Loan For A House
Final Touches
As the house construction nears its completion, it’s time for the final touches that add the finishing details and bring the house to life. These final touches involve adding fixtures, appliances, and completing any remaining tasks to transform the house into a home. Here’s an overview of the final touches:
- Fixture Installation: Various fixtures, such as light fixtures, faucets, sinks, and toilets, are installed in bathrooms, kitchens, and other areas. These fixtures add functionality, style, and personalization to each space.
- Appliance Installation: Appliances, including refrigerators, ovens, stoves, dishwashers, and laundry machines, are installed in the kitchen, laundry area, and other designated spaces. These appliances provide essential services to make the house fully functional.
- Interior Decor: Adding furniture, furnishings, and decorative elements allows homeowners to showcase their personal style and create a cozy and inviting ambiance. This includes choosing curtains or blinds, rugs, artwork, and accessories to enhance each room’s character.
- Landscaping and Outdoor Features: Completing the exterior of the house involves landscaping the yard, planting trees, flowers, and shrubs, building pathways, and installing outdoor features like patios, decks, or fences. These outdoor elements add curb appeal and create an inviting outdoor living space.
- Clean-Up and Final Inspections: Before the house can be considered complete, a thorough clean-up is conducted to remove construction debris and ensure a pristine environment. Final inspections may also be conducted to ensure that everything meets regulatory standards and safety requirements.
The final touches are an opportunity to add personal touches and make the house feel like a home. Attention to detail and thoughtful choices in fixtures, furnishings, and landscaping can elevate the overall look and functionality of the house.
With the completion of the final touches, the house is ready to be handed over to the homeowners, allowing them to move in and begin creating new memories within their newly constructed dream home.
Conclusion
Building a house is an intricate and exciting process that involves several stages of construction. From the initial site preparation to the final touches, each step contributes to creating a safe, functional, and aesthetically pleasing home. Understanding the stages of house construction allows homeowners to navigate the process more efficiently and make informed decisions.
Site preparation sets the foundation for construction, ensuring a level and stable ground to build upon. Foundation construction provides the strong base on which the entire structure rests, while framing gives shape and structure to the house. Roofing ensures protection from the elements, and exterior finishes add the final touches to the outer appearance.
Plumbing and electrical installations are crucial for providing essential services and ensuring a comfortable living environment. Insulation and drywall create a comfortable interior while allowing for personalized finishes. The choice of flooring and painting adds beauty and personality to each room.
HVAC installation ensures optimal heating, cooling, and ventilation, while the final touches, including fixture and appliance installation, interior decor, and landscaping, bring the house to its completed state.
Throughout the entire construction process, attention to detail, adherence to building codes, and the expertise of professionals are paramount. It is important for homeowners to work closely with architects, contractors, and other professionals to ensure that their vision is executed effectively.
Building a house is not just about creating a structure; it is about creating a home where memories will be made. Each stage of construction is crucial to ensuring a safe, comfortable, and personalized living space.
By understanding the stages of house construction, homeowners can actively participate in the process and make informed decisions that align with their needs and aspirations. Whether building a dream home or embarking on a renovation project, the journey from blueprint to finished house is an exciting and rewarding experience.
Frequently Asked Questions about What Are The Stages Of House Construction
Was this page helpful?
At Storables.com, we guarantee accurate and reliable information. Our content, validated by Expert Board Contributors, is crafted following stringent Editorial Policies. We're committed to providing you with well-researched, expert-backed insights for all your informational needs.


0 thoughts on “What Are The Stages Of House Construction”