Home>diy>Building & Construction>What Is A House Construction

Building & Construction
What Is A House Construction
Modified: January 18, 2024
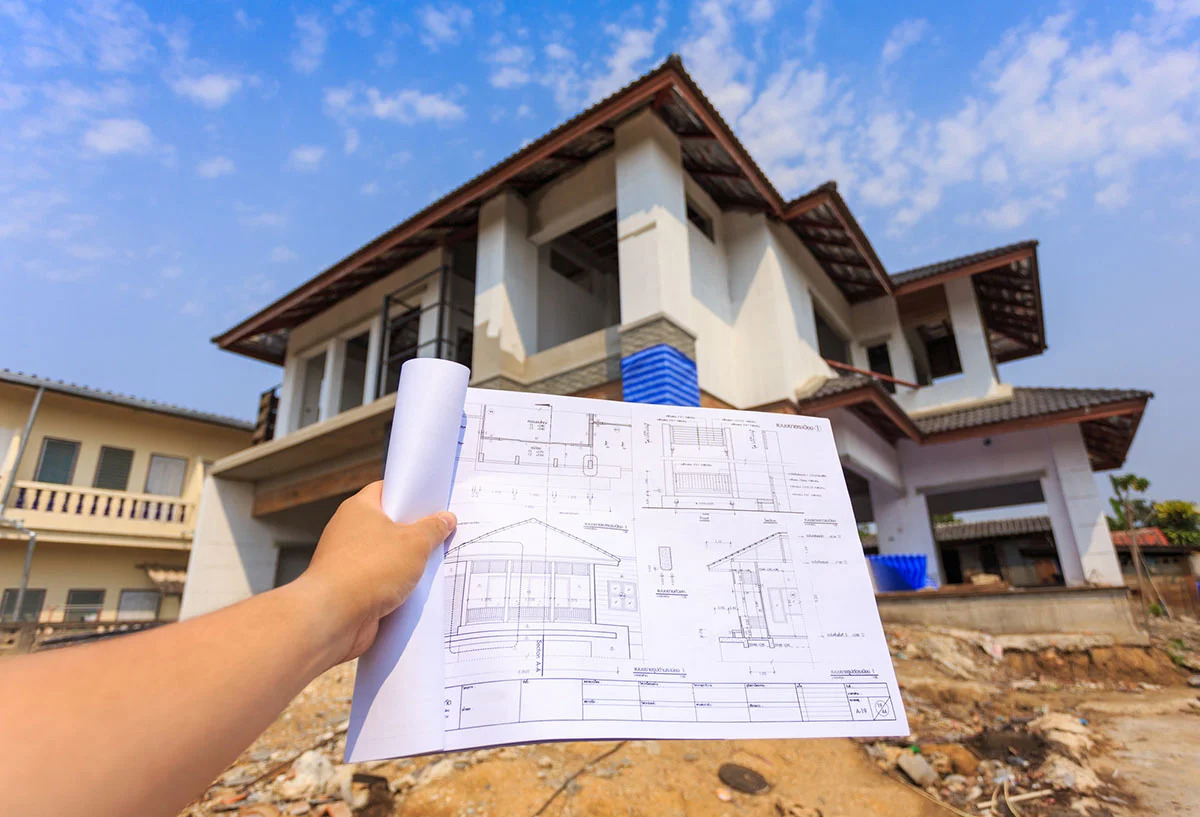
Learn everything you need to know about building construction, including materials, methods, and cost factors. Explore the process of house construction from start to finish.
(Many of the links in this article redirect to a specific reviewed product. Your purchase of these products through affiliate links helps to generate commission for Storables.com, at no extra cost. Learn more)
Introduction
Welcome to the world of house construction! Building a house from scratch is a monumental task that requires careful planning, precise execution, and a team of skilled professionals. Whether you are a homeowner looking to build your dream house or a contractor involved in the construction industry, understanding the process of building a house is crucial.
House construction refers to the process of creating a building that serves as a dwelling for individuals or families. It involves various stages, starting from planning and designing to obtaining permits and licenses, followed by site preparation, foundation construction, framing, roofing, plumbing and electrical system installation, insulation, finishing, and finally, the addition of fixtures and appliances.
In this article, we will delve into each stage of house construction, providing an overview of what is involved and the importance of each step. By the end of this article, you will have a solid understanding of the house construction process and the key elements involved.
So, let’s roll up our sleeves and embark on a journey through the fascinating world of building construction!
Key Takeaways:
- House construction is a meticulous process involving planning, permits, site preparation, foundation, framing, roofing, plumbing, electrical, insulation, finishing, and inspections. It requires expertise, attention to detail, and adherence to building codes.
- The journey of house construction transforms a concept into a tangible reality, requiring dedication, skill, and collaboration. It results in a place that holds memories, stories, and the promise of a new chapter in the lives of homeowners.
Read more: What Is A Construction Loan For A House
Definition of House Construction
House construction, often referred to as homebuilding, is the process of building a structure that serves as a residence for individuals or families. It involves the creation of a habitable space with carefully planned design, functional layout, and sturdy construction materials.
House construction is a collaborative effort that requires the expertise of architects, engineers, contractors, and various skilled tradespeople. Each stage of the construction process plays a vital role in ensuring that the house is built safely, efficiently, and to the highest standards.
While the construction process may vary depending on factors such as the location, size, and complexity of the house, the fundamental steps remain relatively consistent. These steps include planning and designing, obtaining permits and licenses, site preparation, foundation construction, framing and structure, roofing and ceiling installation, plumbing and electrical systems installation, insulation and weatherproofing, exterior finishing, interior finishing, flooring installation, painting, decorating, and the final installation of fixtures and appliances.
Throughout the construction process, it is important to adhere to local building codes and regulations, as well as ensuring compliance with safety standards. This ensures that the house is structurally sound, secure, and provides a comfortable living environment for its occupants.
House construction is a complex and intricate process that requires meticulous attention to detail, proper project management, and effective communication among all stakeholders involved. It is a blend of science, art, and craftsmanship, where functionality and aesthetics come together to create a home that reflects the lifestyle and preferences of its occupants.
In the next sections, we will explore each stage of the house construction process in more detail, highlighting the key activities and considerations involved. So, let’s dive in and discover the fascinating journey of building a house from the ground up!
Planning and Designing a House
Before a house takes shape, meticulous planning and designing are essential. This stage sets the foundation for the entire construction process and ensures that the end result meets the requirements and vision of the homeowner.
The planning and designing phase involves several key steps:
1. Identifying Needs and Objectives: The homeowner must determine their specific needs and objectives for the house. This includes factors such as the desired number of rooms, layout preferences, style, and budget considerations.
2. Engaging an Architect or Designer: Hiring an architect or designer is crucial to translate the homeowner’s vision into a practical and aesthetically pleasing design. The architect will consider factors such as the site, local building codes, and environmental considerations to create a blueprint for the house.
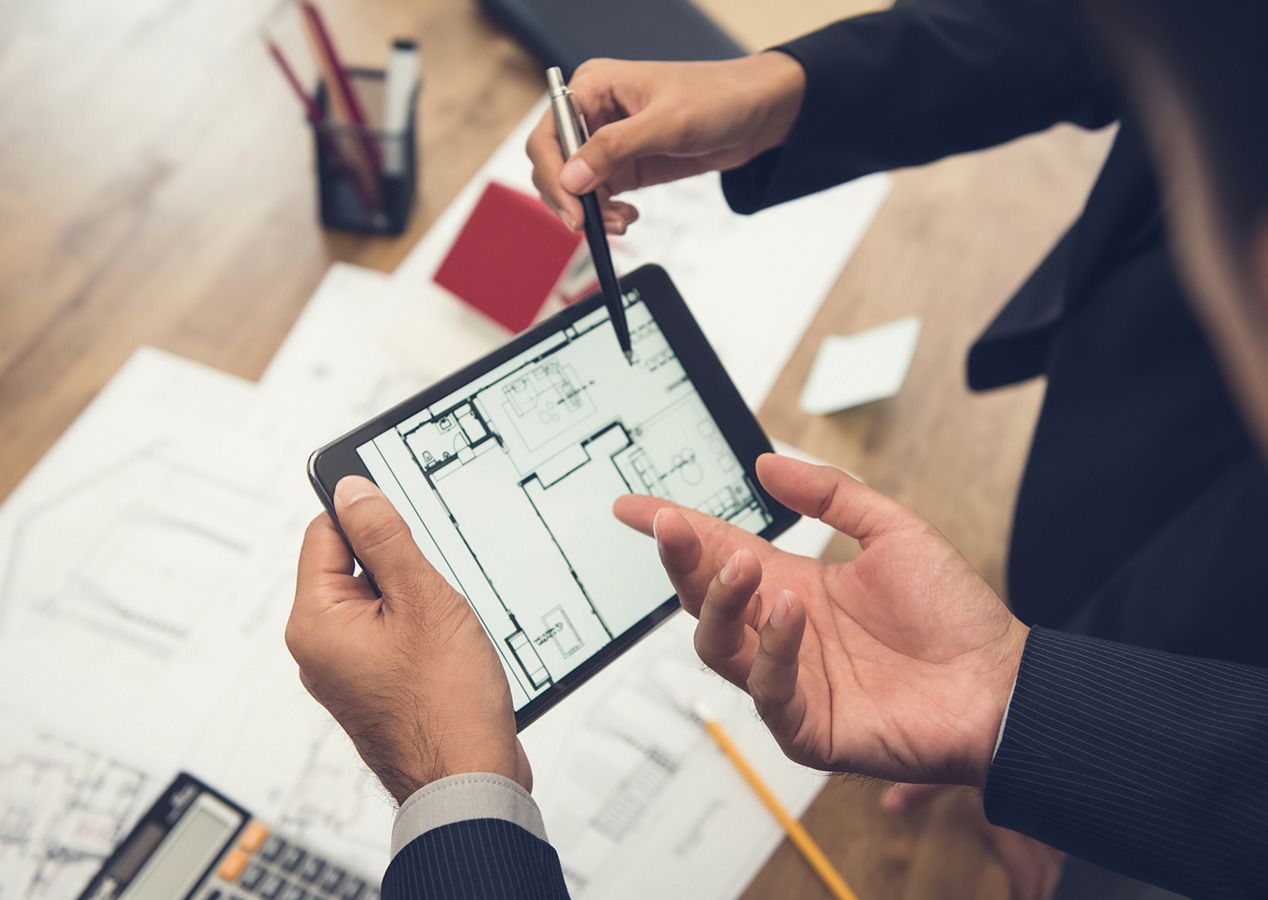
3. Creating a Floor Plan: The floor plan outlines the layout and spatial arrangement of the rooms, as well as important features such as entrances, windows, and staircases. It is essential to create a functional and efficient floor plan that maximizes the use of space and suits the homeowner’s lifestyle.
4. Selecting Materials and Finishes: During the design phase, homeowners have an opportunity to select the materials and finishes they wish to incorporate into their house. This includes choices such as flooring, cabinetry, countertops, and lighting fixtures.
5. Considering Energy Efficiency: Increasingly, homeowners are prioritizing energy-efficient design features to reduce their environmental impact and save on utility costs. This may include incorporating solar panels, energy-efficient appliances, and insulation.
6. Conducting Site Analysis: An evaluation of the building site is necessary to ensure that the design works harmoniously with the surroundings. Factors such as topography, orientation, and access to utilities are taken into account during this stage.
7. Budgeting: An estimated budget is established based on the desired design, materials, and finishes. It is important to strike a balance between the desired features and the available budget to avoid potential cost overruns.
Throughout the planning and designing process, open communication between the homeowner, architect, and other professionals involved is crucial. This ensures that the design aligns with the homeowner’s vision and meets their functional and aesthetic requirements.
Once the design is finalized and approved, the next step is to obtain the necessary permits and licenses from the local government authorities. These permits ensure that the construction adheres to the building codes and regulations in the area.
In the next section, we will explore the process of obtaining permits and licenses in more detail. Stay tuned!
Obtaining Permits and Licenses
Obtaining permits and licenses is a vital step in the house construction process. It ensures that the construction project complies with local building codes, zoning regulations, and safety standards. Failure to obtain the necessary permits can result in fines, delays, or even legal consequences. Therefore, it is crucial to understand the permit requirements and obtain them before commencing any construction activities.
The process of obtaining permits and licenses typically involves the following steps:
1. Research and Documentation: The homeowner, architect, or contractor must thoroughly research the specific permit requirements in their local area. This includes identifying the types of permits needed, the associated fees, and the required documentation such as architectural plans, engineering reports, and proof of insurance.
2. Submittal of Permit Application: Once the necessary documentation is gathered, the permit application must be prepared and submitted to the local building department or relevant authority. The application should include all the required information, such as project details, proposed construction timeline, and a description of the work to be done.
3. Plan Review and Approval: After the permit application is submitted, it goes through a review process by the building department. During this phase, the plans and documents are carefully examined to ensure compliance with building codes and regulations. Any necessary revisions or modifications may be requested before the permit is approved.
4. Permit Issuance: Once the plans are reviewed and approved, the building department will issue the necessary permits. These permits grant legal permission to commence construction activities. It is essential to display the permits prominently at the construction site for inspection by authorities.
5. Periodic Inspections: Throughout the construction process, the building department will conduct periodic inspections to ensure that the construction is progressing according to the approved plans and adhering to safety regulations. Inspections may be necessary at various stages, such as foundation, framing, plumbing, electrical, and final inspection.
Obtaining permits and licenses may seem like a bureaucratic process, but it plays a crucial role in ensuring the safety and compliance of the construction project. It also acts as a safeguard for the homeowner, protecting against potential issues in the future and ensuring that the structure meets all necessary standards.
Once the permits are obtained, the construction team can move forward with the next stage: site preparation and clearing. We will explore this stage in detail in the following section.
Site Preparation and Clearing
Before construction can commence, thorough site preparation and clearing are necessary to ensure a smooth and efficient building process. This stage involves several important steps to prepare the construction site for the upcoming construction activities.
Here are the key activities involved in site preparation and clearing:
1. Demolition and Removal: If there are existing structures or debris on the construction site, they need to be cleared before construction can begin. This may involve demolishing old buildings, removing vegetation, or clearing the land of any obstacles that may impede the construction process.
2. Site Grading: Grading is the process of leveling and reshaping the land to create a stable and even surface. This is done by removing excess soil or adding fill dirt to achieve the desired contours and elevations. It is essential to ensure proper drainage and prevent any potential issues with water accumulation on the site.
3. Utility Connections: The site preparation phase also includes connecting utilities such as water, electricity, and sewage to the construction site. This may involve working with utility companies to install the necessary connections or ensuring that existing connections are properly established.
4. Erosion and Sediment Control: Implementing erosion and sediment control measures is crucial to prevent soil erosion and protect nearby water bodies from sediment runoff. This may involve installing erosion control devices such as silt fences, sediment basins, or erosion control blankets.
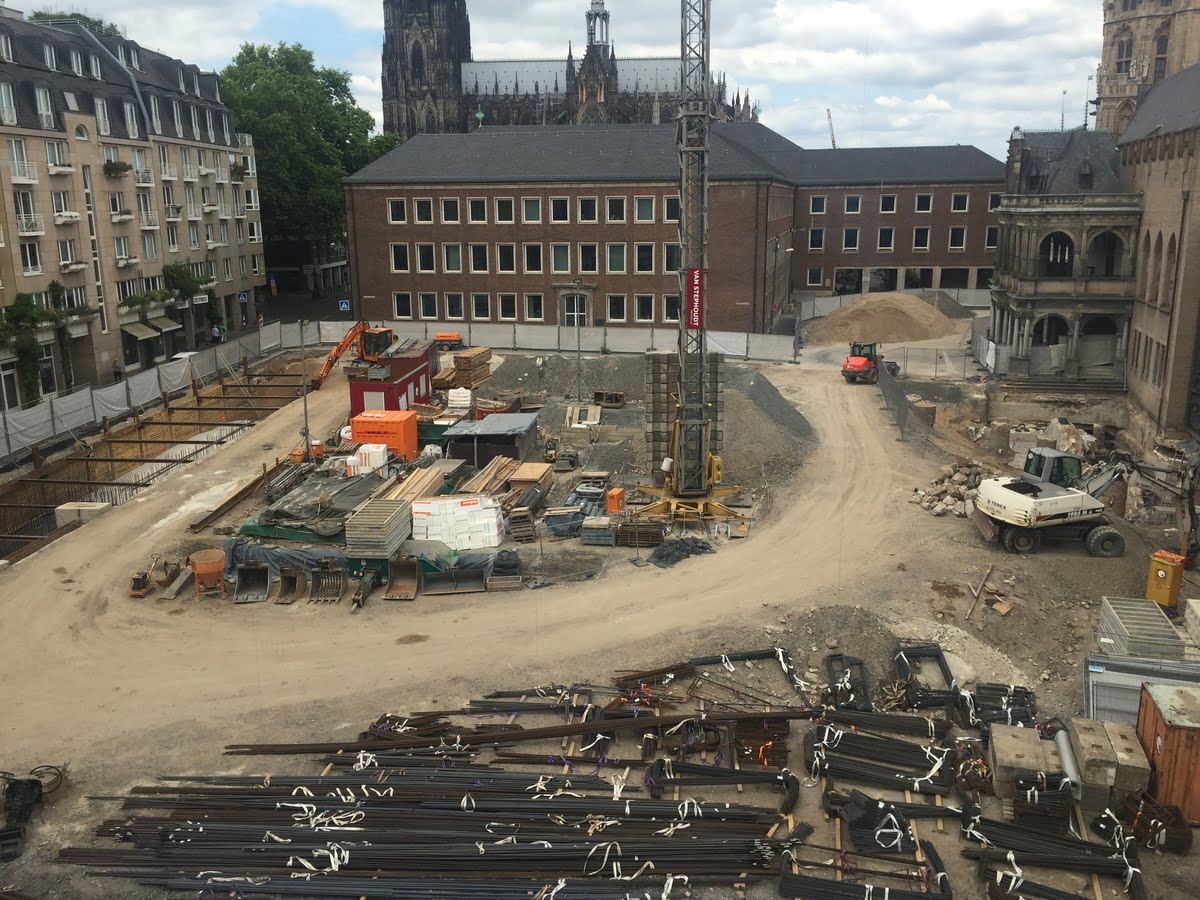
5. Access and Temporary Facilities: During site preparation, it is important to establish proper access to the construction site for vehicles and equipment. This may involve creating temporary roads or entrances. Additionally, temporary facilities such as on-site offices, storage areas, and toilets may need to be set up to support the construction activities.
6. Safety Measures: Safety is paramount during site preparation and clearing. It is essential to implement safety protocols and measures to protect workers and minimize any potential hazards. This may include providing proper safety equipment, establishing proper signage, and ensuring compliance with health and safety regulations.
Site preparation and clearing lay the foundation for the entire construction process. It is crucial to carry out these activities diligently to create a well-prepared construction site that is conducive to smooth operations and efficient workflow.
Once the site is prepared, the next crucial step is to proceed with the construction of the foundation. We will explore the foundation construction stage in the next section.
Read more: What Are The Stages Of House Construction
Foundation Construction
The foundation is one of the most critical elements of any house construction. It provides the structural support and stability necessary for the entire building. The foundation construction stage involves the installation of a solid, durable base upon which the rest of the house is built.
Here are the key steps involved in foundation construction:
1. Excavation: The first step is to excavate the area where the foundation will be constructed. This involves digging trenches to the specified depth and dimensions as per the architectural plans. The soil is removed from the site to prepare for the foundation.
2. Footings: After excavation, footings are installed. Footings are wide, concrete structures that distribute the weight of the building and transfer it to the soil. They are usually placed below the frost line to prevent damage from freezing and thawing cycles.
3. Formwork: Formwork is used to create the shape and structure of the foundation. It is typically made of wood, metal, or plastic and serves as a mold for the poured concrete. The formwork is set up around the excavated area and secured to create the desired foundation shape.
4. Reinforcement: Reinforcement is vital to enhance the strength and integrity of the foundation. Steel reinforcement bars, also known as rebars, are placed within the formwork according to the structural engineer’s specifications. The rebars provide additional support and resistance to stress and ensure the foundation’s durability.
5. Pouring Concrete: Once the formwork and reinforcement are in place, concrete is poured into the excavated area. The concrete is carefully leveled and compacted to eliminate air pockets and ensure a solid foundation. The concrete is left to cure, gaining strength and stability over time.
6. Waterproofing: To protect the foundation from moisture and potential water damage, a waterproofing layer or membrane is applied. This layer prevents water infiltration and helps maintain the structural integrity of the foundation.
7. Backfilling: After the foundation has cured sufficiently, the excavated soil is backfilled around the foundation walls. This provides additional support and prevents shifting or settling of the foundation. Proper compaction techniques are employed to ensure stability.
8. Drainage Systems: It is essential to install proper drainage systems around the foundation to prevent water accumulation. This typically involves the installation of perforated pipes, gravel beds, and drainage tiles to redirect water away from the foundation.
Foundation construction is a critical phase that sets the stage for the rest of the house construction. A solid foundation ensures the stability and longevity of the structure. Once the foundation is complete, the construction can progress to the next stage: framing and structure.
Framing and Structure
The framing and structure phase of house construction involves the creation of the skeletal framework and the overall structure of the building. It is during this stage that the house begins to take shape, forming the walls, floors, and roof. The framing and structure phase is crucial as it provides the necessary support and framework for the various components of the house.
Let’s explore the key components and steps involved in the framing and structure phase:
1. Stud Walls: The walls of the house are constructed using vertical members called studs, which are typically made of wood or metal. These studs are placed at regular intervals and serve as the framework for the walls. Windows and doors are also framed within the stud walls.
2. Floor Joists: The floors of the house are supported by horizontal members called floor joists. These joists are installed across the walls and provide the structural support for the flooring system. They are typically made of wood or engineered wood products.
3. Roof Trusses: Roof trusses are pre-built, triangular-shaped structures that form the roof framework. They consist of sloping top chords, horizontal bottom chords, and diagonal bracing. Roof trusses are designed to provide strength and support to the roof, allowing for efficient and cost-effective construction.
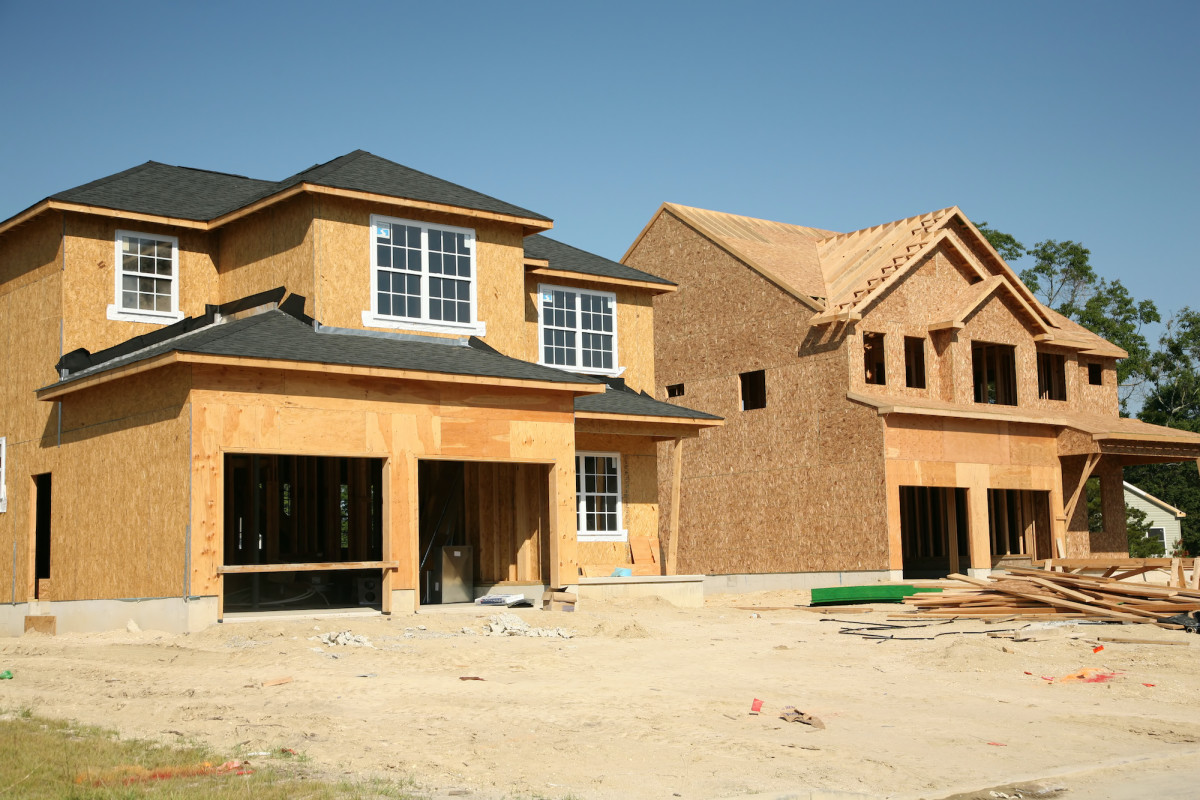
4. Sheathing: Sheathing refers to the installation of plywood or oriented strand board (OSB) panels on the exterior walls and roof. Sheathing provides rigidity and stability to the structure and serves as a base for the exterior finishes such as siding or stucco.
5. Roofing: Once the roof trusses are in place, the next step is to install the roofing materials. This can include asphalt shingles, metal roofing, tiles, or other suitable materials depending on the design and climate requirements.
6. Windows and Doors: During the framing stage, openings for windows and doors are created within the stud walls. Windows and doors are then installed and secured to the framing, providing access and natural light to the house.
7. Inspections: Throughout the framing and structure phase, inspections by building officials or inspectors are conducted to ensure compliance with building codes and safety standards. These inspections help identify any structural issues or deficiencies that need to be addressed before proceeding further.
Proper framing and structure are essential to ensure the stability, durability, and safety of the house. It is crucial to adhere to engineering and architectural plans as well as local building codes during this phase.
Once the framing and structure are complete, the next steps in the construction process include roofing and ceiling installation. We will explore these stages in the following sections.
Roofing and Ceiling Installation
The roofing and ceiling installation phase is a significant aspect of house construction as it provides protection from the elements and adds a finished look to the structure. This phase involves the installation of the roof covering and the construction of the ceilings within the house.
Let’s delve into the key steps involved in roofing and ceiling installation:
1. Roofing Materials Selection: Depending on the architectural design, climate, and personal preferences, various roofing materials can be chosen. Common options include asphalt shingles, metal roofing, clay or concrete tiles, or slate. The chosen roofing material should be durable, weather-resistant, and in line with the overall aesthetics of the house.
2. Roof Sheathing: Before the actual roofing material is installed, a layer of sheathing is placed on top of the roof trusses or rafters. This sheathing, usually made of plywood or OSB, provides a solid base for the roofing material and helps distribute the weight evenly across the roof structure.
3. Installation of Underlayment: Underlayment, such as roofing felt or synthetic underlayment, is laid over the sheathing before the roofing material is installed. The underlayment provides an additional layer of protection from water infiltration and helps to prolong the lifespan of the roof.
4. Roofing Material Installation: The chosen roofing material is then installed according to the manufacturer’s guidelines and best practices. This may involve overlapping shingles, securing metal sheets, or laying tile or slate in a precise pattern. The roofing material is strategically placed, ensuring proper coverage and effective water shedding.
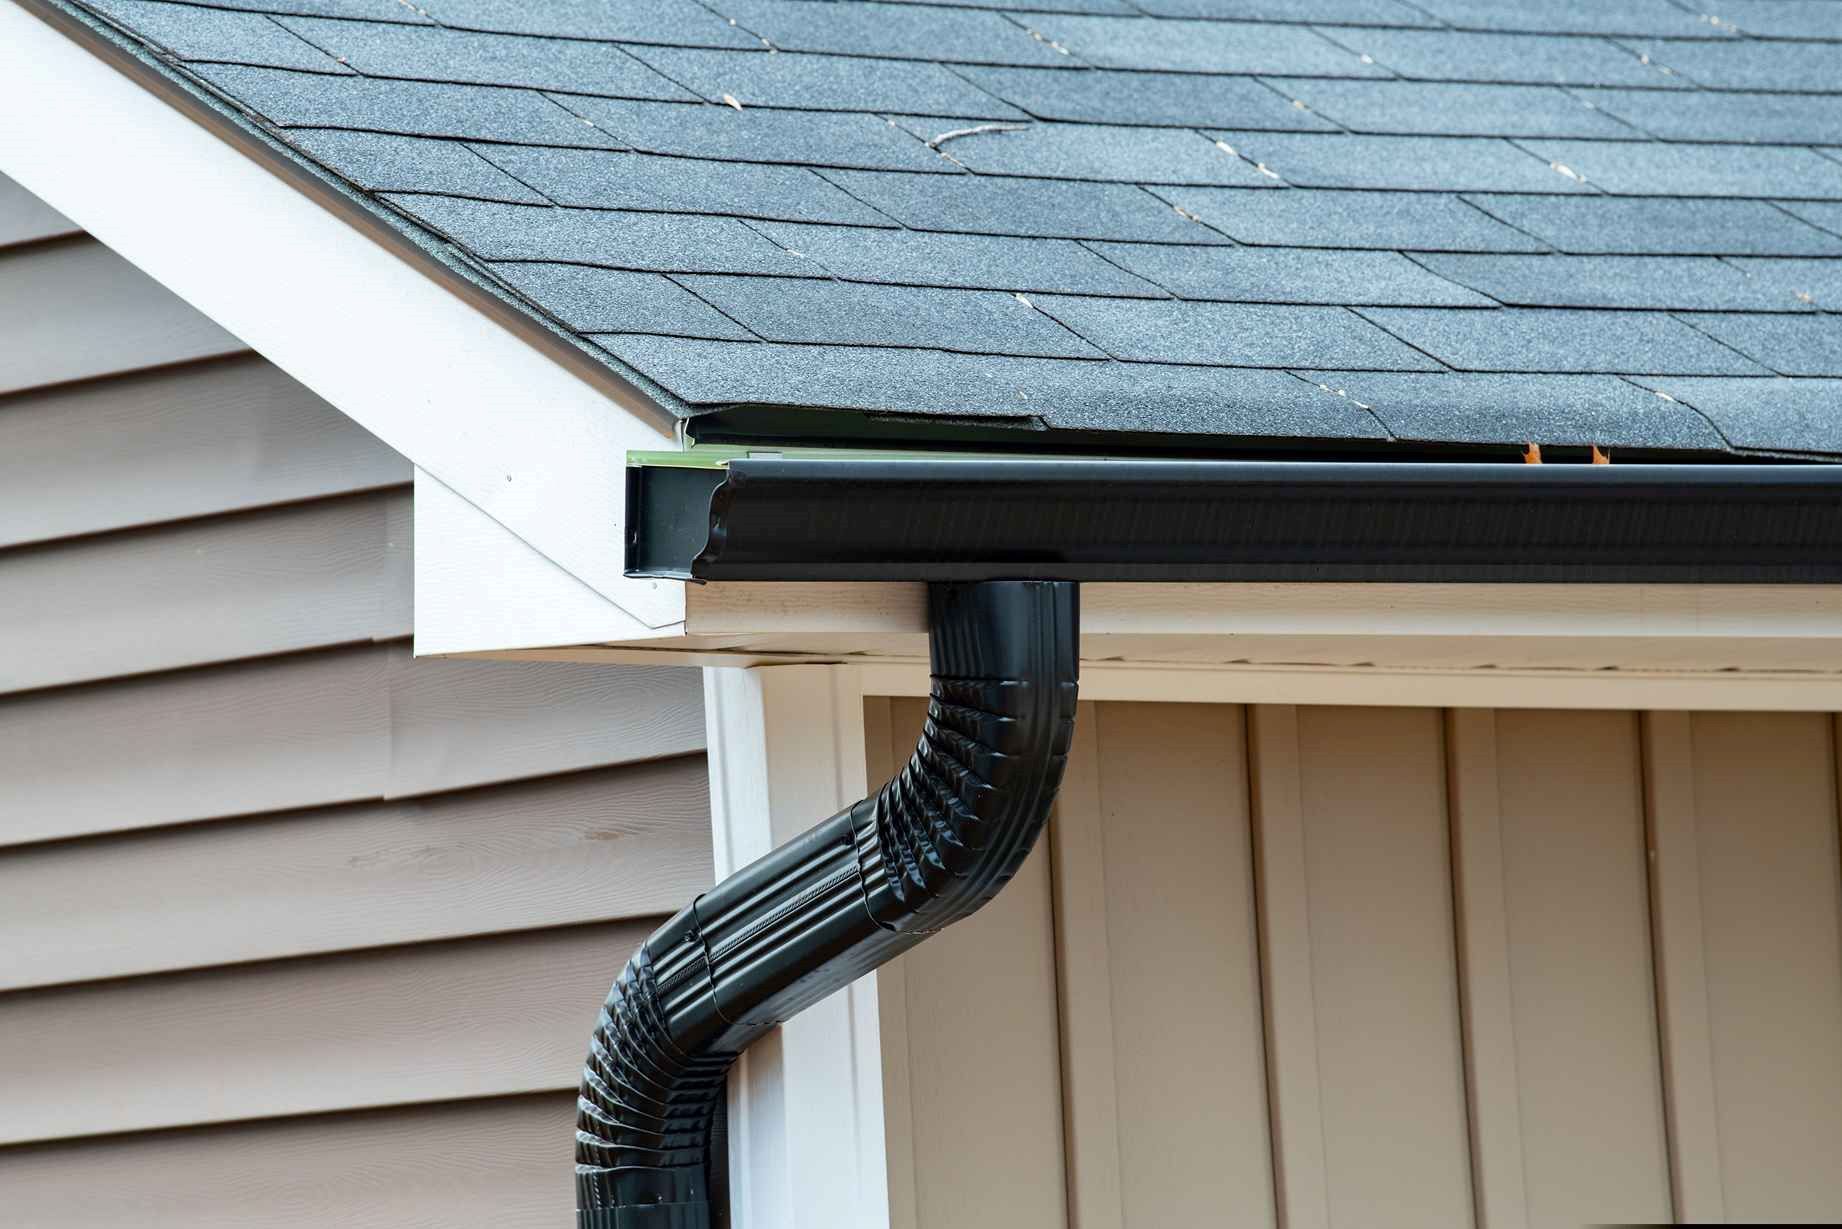
5. Flashing and Roof Accessories: Flashing is installed in areas where the roof intersects with other components, such as chimneys, vents, or skylights. Flashing prevents water from seeping into these vulnerable areas. Additionally, roof accessories like ridge vents, gutters, downspouts, and fascia boards are installed to enhance the functionality and aesthetics of the roof.
6. Ceiling Construction: Simultaneously with the roof installation, the construction of ceilings within the house begins. This involves the installation of ceilings on the upper floors, as well as the creation of specialty ceilings such as vaulted ceilings or tray ceilings. Ceiling materials like drywall or plaster are applied, and the ceilings are finished to achieve a smooth and visually appealing surface.
7. Insulation: Insulation is an essential component of the roofing and ceiling installation phase. It is installed within the roof and ceiling cavities to provide thermal insulation, soundproofing, and energy efficiency. Properly installed insulation helps maintain a comfortable living environment and can lower utility costs.
Roofing and ceiling installation require skilled labor and attention to detail to ensure a functional, durable, and visually appealing finish. The quality of the installation plays a crucial role in protecting the structure from water damage, heat loss, and other potential issues.
Once the roofing and ceiling installation is complete, the next stages of house construction will focus on plumbing and electrical systems installation. Stay tuned for the upcoming sections!
Plumbing and Electrical Systems Installation
The installation of plumbing and electrical systems is a crucial stage in house construction, as it ensures the functionality, efficiency, and safety of the home. These systems provide essential utilities and services that are necessary for the comfort and convenience of the occupants.
Let’s delve into the key steps involved in plumbing and electrical systems installation:
1. Plumbing System Installation:
– Rough-in: The rough-in stage involves the installation of the plumbing lines, which includes water supply pipes, drain pipes, and vent pipes. The pipes are carefully routed through the walls, floors, and ceilings, connecting various fixtures and appliances such as toilets, sinks, showers, bathtubs, and washing machines.
– Testing: Once the rough-in plumbing is complete, a pressure test is conducted to ensure the integrity of the system. This test involves pressurizing the pipes and checking for any leaks or potential issues. Plumbing systems must be watertight and comply with building codes and regulations.
– Fixture Installation: After the testing phase, the fixtures and appliances are installed, including faucets, toilets, sinks, showerheads, and other plumbing accessories. These fixtures are connected to the plumbing lines and carefully sealed to prevent leaks.
2. Electrical System Installation:
– Wiring: During the electrical system installation, electrical wiring is carefully installed throughout the house. This involves routing electrical cables within the walls, floors, and ceilings, connecting outlets, switches, light fixtures, and appliances. The wiring must adhere to national electrical codes and safety standards to prevent hazards such as electrical shocks and fire.
– Electrical Panel: The electrical panel, also known as the breaker box, is installed. This panel serves as the central hub for controlling and distributing electrical power throughout the house. Circuit breakers or fuses are installed to protect the electrical circuits from overheating or overloading.
– Testing and Inspection: After the installation of the electrical system, testing and inspection are conducted to ensure compliance with safety standards. This includes verifying proper grounding, measuring voltage levels, and ensuring that all connections are secure and functioning correctly.
Both plumbing and electrical systems require the expertise of licensed professionals to ensure proper installation and compliance with local codes and regulations. It is essential to hire qualified plumbers and electricians to complete these installations safely and efficiently.
Once the plumbing and electrical systems are installed, the construction process moves on to the next crucial step: insulation and weatherproofing. Stay tuned for the upcoming sections!
Before starting a house construction, make sure to have a detailed plan that includes budget, timeline, and necessary permits. Hire reputable contractors and regularly inspect the progress to ensure quality and safety.
Read more: How To Start A House Construction
Insulation and Weatherproofing
Insulation and weatherproofing are critical aspects of house construction that contribute to energy efficiency, comfort, and protection against the elements. These measures ensure that the house remains well insulated, free from air leaks, and resistant to moisture and weather-related damage.
Let’s explore the key steps involved in insulation and weatherproofing:
1. Insulation Installation:
– Walls: Insulation material, such as fiberglass batts, cellulose, or rigid foam boards, is installed within the walls. This helps prevent heat loss or gain, keeping the interior temperature comfortable and reducing energy consumption.
– Attic: The attic space is also insulated to prevent heat transfer between the living spaces and the roof. Insulation material, such as blown-in cellulose or fiberglass batts, is carefully installed between the attic floor joists or rafters to create a thermal barrier.
– Floors: Depending on the construction type, floors may also require insulation to reduce heat transfer between different levels of the house. Insulation material is installed between the floor joists, adding an extra layer of comfort and energy efficiency.
2. Weatherproofing:
– Vapor Barrier: A vapor barrier, typically a plastic or foil sheet, is installed on the warm side of insulated walls or ceilings. This barrier helps prevent moisture buildup, condensation, and mold growth within the wall cavities or attic spaces.
– Air Sealing: Air leaks can significantly impact energy efficiency. Sealing gaps, cracks, and openings, including around windows, doors, electrical outlets, and plumbing penetrations, is crucial. This ensures a tightly sealed envelope, reducing drafts and improving the overall energy performance of the house.
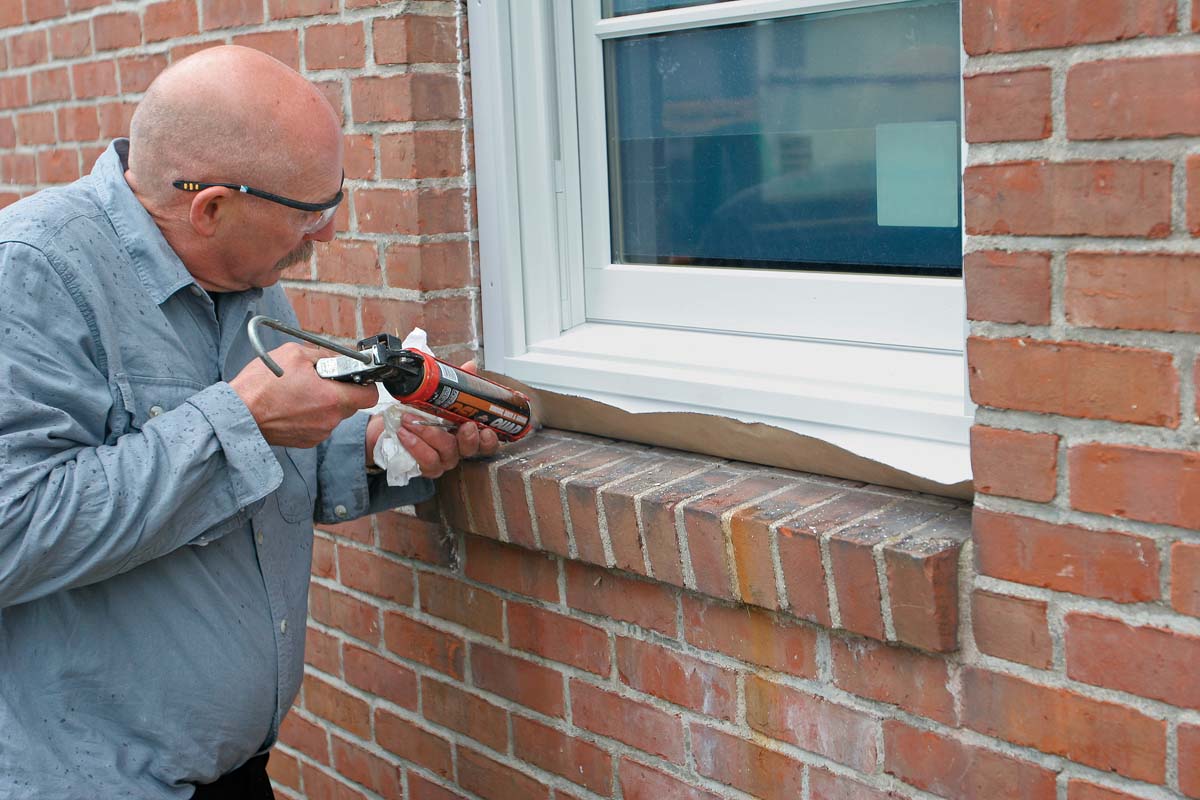
– Exterior Sealants: Exterior sealants such as caulking and weatherstripping are applied to fill any gaps or joints in the building envelope. This helps prevent water infiltration, air leakage, and drafts, enhancing the weatherproofing and energy efficiency of the house.
Proper insulation and weatherproofing not only contribute to energy conservation but also enhance the overall comfort and durability of the house. By reducing heat loss, maintaining consistent indoor temperatures, and minimizing moisture-related issues, insulation and weatherproofing play a vital role in creating a sustainable and healthy living environment.
Once insulation and weatherproofing are complete, the construction process moves on to the next stages, including exterior finishing and interior finishing. Stay tuned for the upcoming sections!
Exterior Finishing
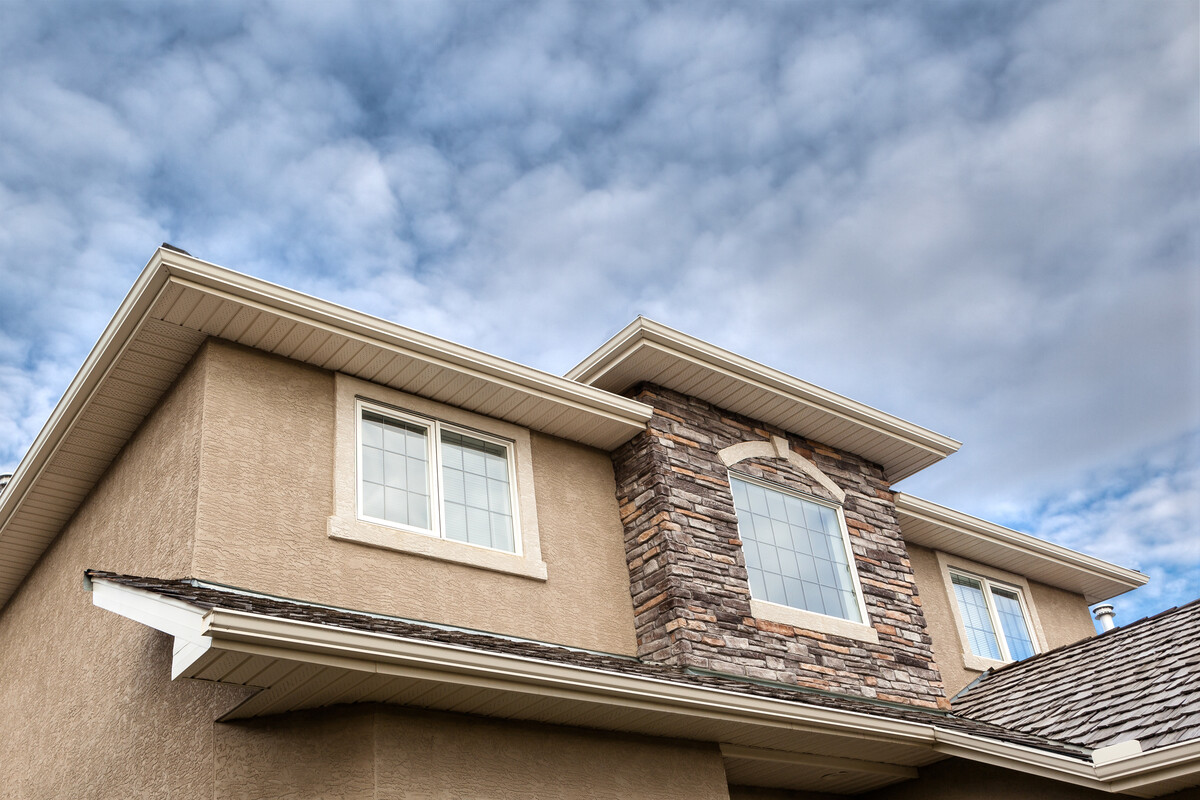
Exterior finishing is an essential stage in house construction that enhances the aesthetics, protects the structure, and adds the final touches to the exterior appearance of the house. The choice of exterior finishes can influence the overall curb appeal and create a lasting impression.
Let’s explore the key elements involved in exterior finishing:
1. Siding or Cladding:
– Vinyl: Vinyl siding is a popular choice due to its durability, low maintenance requirements, and versatility in design. It is available in various colors and textures, allowing homeowners to achieve a desired aesthetic look.
– Wood: Wood siding provides a natural and timeless appeal, enhancing the traditional or rustic charm of a house. However, it requires more maintenance and periodic refinishing to protect it from weathering and rotting.
– Fiber Cement: Fiber cement siding offers durability and resistance to fire, moisture, and pests. It can mimic the appearance of wood or other materials, making it a versatile choice.
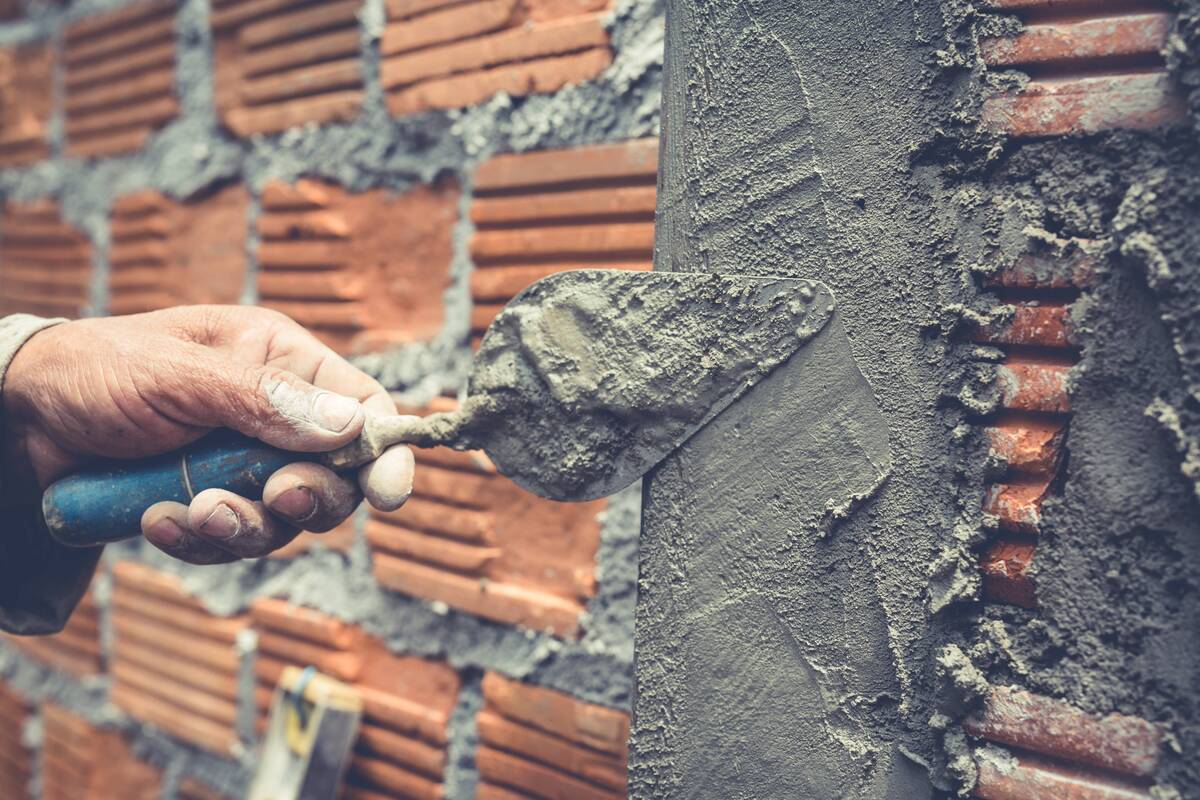
– Stucco: Stucco is a mixture of cement, sand, and water that is applied as a plaster-like covering to the exterior walls. It provides a smooth and textured finish, and it is known for its durability and weather resistance.
2. Roofing Material:
– Asphalt Shingles: Asphalt shingles are the most common roofing material due to their affordability, versatility, and ease of installation. They come in a wide range of colors and styles to suit different architectural designs.
– Metal Roofing: Metal roofs offer durability, longevity, and energy efficiency. They are available in various materials such as steel, aluminum, and copper, and can be formed into different profiles to suit the desired aesthetic.
– Clay or Concrete Tiles: Clay or concrete tiles provide a classic and elegant look. They offer excellent durability and are known for their ability to withstand harsh weather conditions.
3. Exterior Trim and Molding:
– Trim and molding add visual interest and enhance the architectural details of the house. It can be made from various materials such as wood, PVC, or composite materials. Trim is typically installed around windows, doors, corners, and eaves.
4. Entryway and Porch:
– The entryway and porch create the first impression of the house. It can include features such as a front door, porch columns, railings, and decorative accents.
5. Landscaping:
– Landscaping plays a crucial role in enhancing the overall exterior aesthetics. It may include elements such as trees, shrubs, flowers, walkways, and outdoor lighting.
The choice of exterior finishes should align with the architectural style, personal preferences, and the surrounding environment. Proper installation and maintenance of the exterior finishes are essential to ensure durability, protection, and long-term performance.
Once the exterior finishing is complete, the construction process proceeds to the interior finishing stage. Stay tuned for the upcoming sections!
Interior Finishing
Interior finishing is an exciting phase in house construction as it brings the project closer to completion and transforms the empty shell into a comfortable and inviting living space. The interior finishing stage involves the installation of various elements that contribute to the functionality, aesthetics, and personalization of the house.
Let’s explore the key elements involved in interior finishing:
1. Walls:
– Drywall: Drywall installation involves hanging large panels made of gypsum board on the interior walls. The panels are secured to the framing, seams are taped and sanded, and the walls are finished with a primer and paint or other wall coverings.
– Wall Coverings: Alternatively, interior walls can be finished with other materials such as wallpaper, wood paneling, or decorative wall tiles to add texture and visual interest.
2. Flooring:
– Hardwood: Hardwood flooring adds warmth, elegance, and natural beauty to the interior space. It is available in various wood species, finishes, and plank sizes.
– Laminate: Laminate flooring is affordable, durable, and comes in a wide range of designs that mimic the look of wood, tile, or stone.
– Tile: Tile flooring is popular in areas like kitchens, bathrooms, and entryways. It is durable, water-resistant, and offers a wide array of styles, patterns, and colors.
– Carpet: Carpeting provides comfort, insulation, and noise reduction. It is available in different textures, piles, and colors to suit various areas of the house.
3. Doors and Windows:
– Interior doors are installed throughout the house, including bedroom doors, closet doors, and bathroom doors. They come in various styles, materials, and finishes to match the overall interior design.
– Windows are installed with frames and trims, allowing natural light to brighten the interior and providing views to the outside.
4. Trims and Moldings:
– Baseboards, crown moldings, and trim around doors and windows add a finished look to the interior. They can be made from wood or other materials and come in various profiles and designs.
5. Painting and Wallpaper:
– Walls and ceilings are painted with the chosen colors, creating the desired atmosphere and style within each room. Alternatively, wallpaper can be applied to add patterns, textures, and visual interest to the walls.
6. Cabinetry and Countertops:
– Kitchen and bathroom cabinetry is installed, providing storage and functionality. Countertops made of materials such as granite, quartz, or laminate are fitted onto the cabinetry to create work surfaces.
7. Fixtures and Appliances:
– Plumbing fixtures, such as faucets, sinks, showers, and toilets, are installed in the bathrooms and kitchen. Electrical fixtures, such as light fixtures, switches, and outlets, are also installed throughout the house. Appliances, including stoves, refrigerators, and dishwashers, are placed in their designated areas.
Each element of the interior finishing stage contributes to the overall design, comfort, and functionality of the house. It is during this phase that the homeowner’s personal style and preferences are brought to life.
Once the interior finishing is complete, the final stages of house construction include flooring installation, painting, and decorating. Stay tuned for the upcoming sections!
Flooring Installation
Flooring installation is a crucial stage in house construction that adds the finishing touch to the interior space, providing comfort, durability, and aesthetic appeal. The choice of flooring material can significantly impact the overall look and feel of each room, reflecting the homeowner’s style and preferences.
Let’s explore the key steps and materials involved in flooring installation:
1. Subfloor Preparation:
– Before installing the flooring material, the subfloor must be properly prepared. This includes ensuring the subfloor is clean, level, and free from any debris or imperfections that could affect the installation and performance of the flooring.
2. Flooring Material Options:
– Hardwood: Hardwood flooring offers a timeless and elegant look. It is available in various types of wood, finishes, and styles, including solid hardwood and engineered hardwood. Hardwood flooring provides warmth and natural beauty to any room.
– Laminate: Laminate flooring is a popular choice due to its affordability, durability, and easy maintenance. It consists of multiple layers, including a high-resolution image of wood or stone, protected by a clear wear layer. Laminate flooring is available in a wide array of designs and can mimic the appearance of hardwood, tile, or stone.
– Tile: Tile flooring is a versatile and durable option for areas such as kitchens, bathrooms, and entryways. It comes in various materials, including ceramic, porcelain, and natural stone. Tile flooring offers limitless design possibilities with a wide range of color, shape, and pattern options.
– Carpet: Carpeting provides comfort, insulation, and a cozy feel underfoot. It comes in different pile heights, textures, and colors. Carpet is often used in bedrooms, living rooms, and areas where warm and soft flooring is desirable.
– Vinyl: Vinyl flooring is known for its durability, water resistance, and affordability. It is available in various styles, including sheet vinyl, vinyl tiles, and luxury vinyl planks. Vinyl flooring offers versatility in design and can replicate the appearance of other flooring materials.
3. Installation Process:
– The installation process varies depending on the type of flooring material chosen. Hardwood and laminate flooring typically require the planks or boards to be laid and secured to the subfloor using various methods such as nailing, stapling, or floating. Tile flooring involves laying the tiles in a bed of adhesive and grouting the joints. Carpet is installed by stretching and attaching it to the subfloor.
4. Finishing Touches:
– After the flooring material is installed, finishing touches are added to complete the look. This can include baseboards or trim installation to cover the gaps between the flooring and walls. Transition strips may be installed where different types of flooring materials meet.
Flooring installation requires careful measurements, precise cuts, and attention to detail to ensure a professional and seamless result. It is important to follow the manufacturer’s guidelines and recommendations for each type of flooring material to achieve a long-lasting and visually appealing floor.
Once the flooring installation is complete, the final stages of house construction include painting, decorating, and the installation of fixtures and appliances. Stay tuned for the upcoming sections!
Read more: How To Calculate House Construction Cost
Painting and Decorating
Painting and decorating are the final touches in house construction that bring life and personality to the interior space. The choice of paint colors, finishes, and decorative elements can greatly impact the overall ambiance and style of each room, creating a welcoming and visually appealing environment.
Let’s explore the key steps and considerations involved in painting and decorating:
1. Color Selection:
– Choosing paint colors is an important decision that sets the tone and mood of each room. Consider factors such as lighting, room size, desired atmosphere, and personal preferences. Lighter colors can make a small room appear larger, while bold colors can add drama and character.
2. Surfaces Preparation:
– Proper surface preparation is essential for achieving a smooth and flawless paint finish. This involves cleaning the surfaces, patching any imperfections or holes, and sanding to create a smooth surface for paint application. Priming may also be necessary to ensure proper adherence and coverage.
3. Paint Application:
– Different paint application methods can be used, such as brushes, rollers, or sprayers. Careful attention should be given to cut-in edges, corners, and trim work for a clean and professional finish. Multiple coats may be required to achieve the desired color depth and coverage.
4. Accent Walls and Decorative Finishes:
– Accent walls can add visual interest and focal points to a room. They can be painted in a contrasting color or incorporate decorative finishes such as wallpaper, textured paint, or stencils.
– Decorative finishes, such as faux painting techniques or mural artwork, can be applied to create unique and artistic elements on walls or ceilings. These finishes add depth, texture, and personality to the space.
5. Decor Selection:
– Once the painting is complete, it’s time to select furniture, textiles, lighting fixtures, and accessories to complement and enhance the space. Consider the desired style, functionality, and overall theme of each room. Soft furnishings, such as curtains, rugs, and throw pillows, can add warmth and texture to the room.
6. Personalizing the Space:
– Decorative elements, such as artwork, photographs, mirrors, and plants, can be added to reflect the homeowner’s taste, interests, and personality. These elements add the finishing touches and make the space feel like a home.
Attention to detail, precision, and creativity are crucial in the painting and decorating process to achieve the desired aesthetic and create a cohesive and harmonious interior. It is important to take your time, consider the overall vision, and enjoy the process of transforming the house into a home.
With painting and decorating complete, the last stages of house construction involve the installation of fixtures and appliances. Stay tuned for the final section!
Installation of Fixtures and Appliances
The installation of fixtures and appliances is the final stage in house construction that brings functionality and convenience to the completed space. This phase involves the careful placement and connection of various fixtures and appliances, making the house ready for occupancy.
Let’s explore the key steps and considerations involved in the installation of fixtures and appliances:
1. Plumbing Fixtures:
– Plumbing fixtures such as faucets, sinks, toilets, showers, and bathtubs are installed in the kitchen, bathrooms, and utility areas. These fixtures are carefully connected to the plumbing lines, ensuring proper functioning and water flow.
2. Lighting Fixtures:
– Lighting fixtures, such as ceiling lights, wall sconces, chandeliers, and pendant lights, are installed throughout the house. The placement and installation of lighting fixtures influence the ambiance and functionality of each room.
3. Electrical Fixtures:
– Electrical fixtures include outlets, switches, dimmers, and ceiling fans. They are installed in appropriate locations, following electrical plans and building codes. The wiring is carefully connected to ensure proper functioning and safety.
4. HVAC Systems:
– Heating, ventilation, and air conditioning (HVAC) systems are installed to maintain a comfortable and regulated indoor climate. This includes the installation of central heating and cooling units, vents, ductwork, and thermostats.
5. Kitchen Appliances:
– Kitchen appliances, such as stoves, refrigerators, dishwashers, and microwaves, are installed in their designated areas. Connections for electrical, gas, and water supply need to be properly made to ensure proper functioning and safety.
6. Bathroom Accessories:
– Bathroom accessories, including towel bars, showerheads, toilet paper holders, and soap dispensers, are installed to add functionality and aesthetics to the space.
7. Other Fixtures:
– Other fixtures may include built-in cabinets, shelves, fireplace mantels, and built-in seating areas. These fixtures are installed to add storage, display, and architectural interest to the space.
During the installation of fixtures and appliances, it is important to ensure proper connections, follow manufacturer instructions, and adhere to building codes and safety regulations. Hiring qualified professionals or experienced contractors is recommended for complex installations or specialized systems.
With the installation of fixtures and appliances complete, the final step in house construction is to conduct final inspections and quality assurance checks to ensure that the house meets all necessary standards. Once approved, the house is ready for occupancy and the realization of the homeowner’s dream!
Final Inspections and Quality Assurance
The final inspections and quality assurance stage is a crucial step in house construction that ensures the completed structure meets all necessary standards and regulations. These inspections and checks are conducted to verify that the construction has been carried out correctly, and the house is safe, structurally sound, and ready for occupancy.
Let’s explore the key steps and considerations involved in the final inspections and quality assurance process:
1. Building Code Compliance:
– Building code inspections are conducted to ensure that the house meets the minimum requirements for safety, structural integrity, fire safety, electrical wiring, plumbing, and energy efficiency. Inspectors verify that the construction has been carried out following the approved plans and local building codes.
2. Structural Integrity:
– Structural inspections are performed to evaluate the strength and stability of the foundation, framing, and load-bearing elements of the house. This includes ensuring that the footings, beams, columns, and walls meet the required structural standards and can support the weight of the building.
3. Mechanical Systems:
– Inspections are conducted on the HVAC systems, plumbing systems, and electrical systems to ensure proper installation, functionality, and compliance with safety regulations. This ensures that the house has adequate heating, cooling, plumbing, and electrical capabilities.
4. Energy Efficiency:
– Energy efficiency inspections assess the insulation, windows, and overall energy efficiency measures incorporated into the house. This includes evaluating the insulation R-values, assessing windows for proper installation and energy performance, and verifying the installation of energy-efficient appliances.
5. Finishing and Aesthetics:
– Inspectors may also evaluate the quality of the finishing and aesthetics of the house. This includes checking for proper installation of flooring, paint finishes, interior trim, and overall cleanliness.
6. Safety Checks:
– Safety checks are conducted to identify potential hazards or safety concerns. This may involve inspecting staircases, railings, smoke detectors, carbon monoxide alarms, and fire extinguisher placements.
During the final inspections, any deficiencies or issues found may need to be addressed before the house can be considered complete. This can involve making necessary repairs, adjustments, or corrections to ensure compliance and safety.
Once all inspections have been successfully completed and any necessary corrections have been made, a certificate of occupancy or completion may be issued, indicating that the house meets all necessary standards and is ready for occupancy.
The final inspections and quality assurance stage provides the assurance that the house has been built to the highest standards of quality and safety, allowing homeowners to move in and enjoy their new home with peace of mind.
Conclusion
House construction is a complex and meticulous process that involves numerous stages, each playing a crucial role in bringing a vision to life. From the initial planning and design to the final inspections, every step requires careful consideration, expertise, and attention to detail. The end result is a well-built, functional, and aesthetically pleasing home that meets the needs and desires of its occupants.
Throughout the construction journey, various professionals, including architects, engineers, contractors, and skilled tradespeople, work together to ensure that each element is executed seamlessly. Planning and designing set the foundation, obtaining permits and licenses ensure compliance with regulations, site preparation and clearing create a clean canvas, and foundation construction establishes a strong base. The framing and structure phase forms the skeletal framework, followed by roofing and ceiling installation, plumbing and electrical systems installation, insulation and weatherproofing, exterior finishing, and interior finishing. Painting, decorating, installation of fixtures and appliances, and final inspections further refine and uphold quality standards.
Attention to detail, adherence to building codes, and quality craftsmanship are vital throughout the entire construction process. Every decision from choosing the right materials to selecting the perfect color palette contributes to the functionality, safety, and aesthetics of the house. Balancing practicality and creativity is essential to create a space that not only meets the needs of the occupants but also provides comfort, convenience, and a sense of delight.
As technology advances and new trends emerge, house construction continues to evolve, incorporating sustainable practices, energy-efficient systems, and innovative design concepts. It is an ever-evolving field that strives for continuous improvement and embraces the principles of sustainability, durability, and adaptability.
Ultimately, house construction is a journey of transformation, turning a mere concept into a tangible reality. It is a process that requires dedication, skill, and collaboration, resulting in a place that holds memories, stories, and the promise of a new chapter in the lives of the homeowners.
So, whether you are embarking on building your dream home or involved in the construction industry, understanding the intricacies of house construction allows you to appreciate the effort and skill required to create a house that truly stands the test of time.
Frequently Asked Questions about What Is A House Construction
Was this page helpful?
At Storables.com, we guarantee accurate and reliable information. Our content, validated by Expert Board Contributors, is crafted following stringent Editorial Policies. We're committed to providing you with well-researched, expert-backed insights for all your informational needs.





0 thoughts on “What Is A House Construction”