Articles
How To Stage Dining Room Table
Modified: September 1, 2024
Learn how to stage your dining room table with these helpful articles. Transform your space and create a stylish and inviting atmosphere for your guests.
(Many of the links in this article redirect to a specific reviewed product. Your purchase of these products through affiliate links helps to generate commission for Storables.com, at no extra cost. Learn more)
Introduction
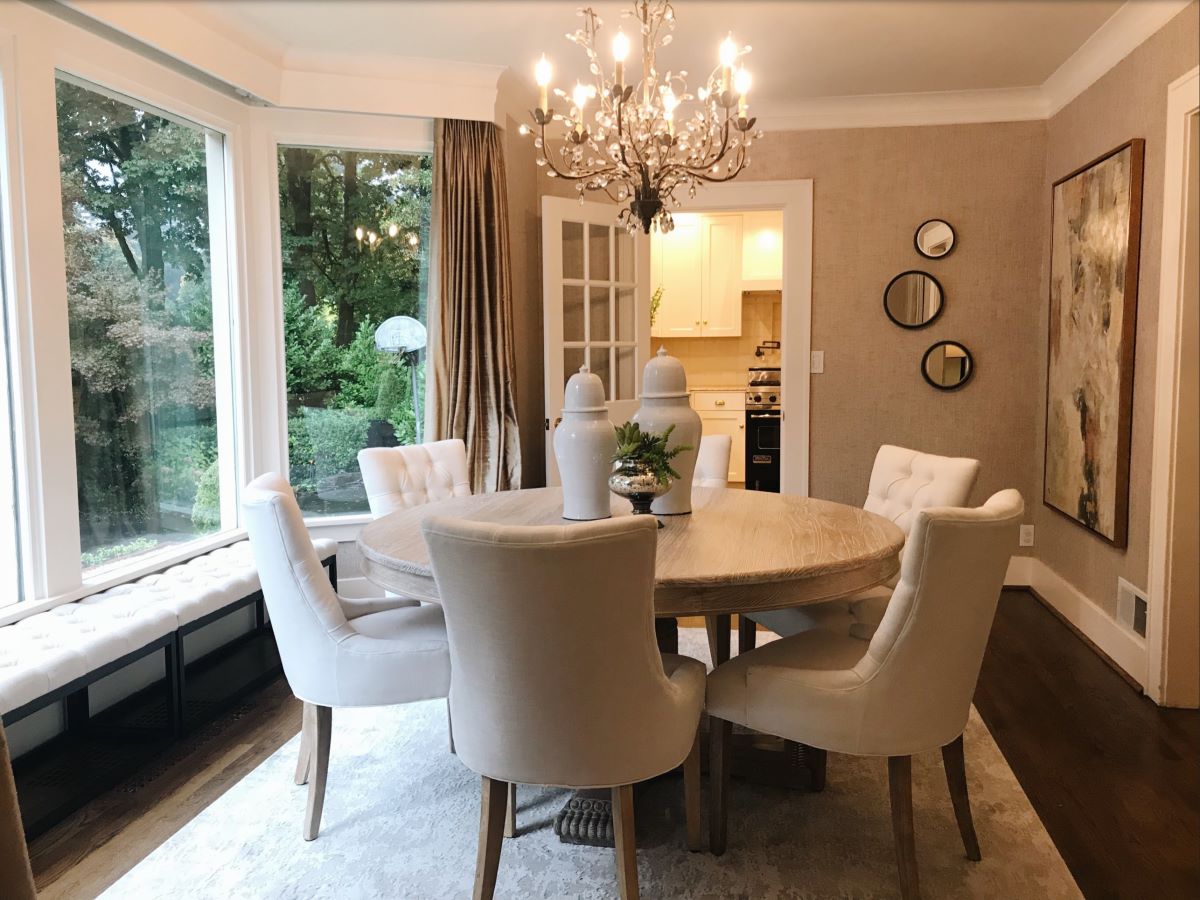
Creating an inviting and aesthetically pleasing dining room is essential for both everyday meals and special occasions. The dining table is the centerpiece of this space, and how it is staged can greatly enhance the overall ambiance and experience. Whether you’re hosting a dinner party, celebrating a holiday, or simply want to spruce up your dining area, staging your dining room table can make a significant difference.
In this article, we will guide you through the process of staging a dining room table to transform it into a visually stunning and inviting setting. From clearing the table to adding decorative elements, we will explore various steps and techniques that will help you achieve a beautifully staged dining area.
Key Takeaways:
- Staging a dining room table involves clearing clutter, choosing a captivating centerpiece, arranging place settings, adding decorative elements, creating balance, and considering lighting to transform the space into a visually stunning and inviting setting.
- Attention to detail, creativity, and personal style are essential in staging a dining room table. By following the steps and incorporating individual flair, one can create a captivating and memorable dining experience for guests.
Step 1: Clearing the Table
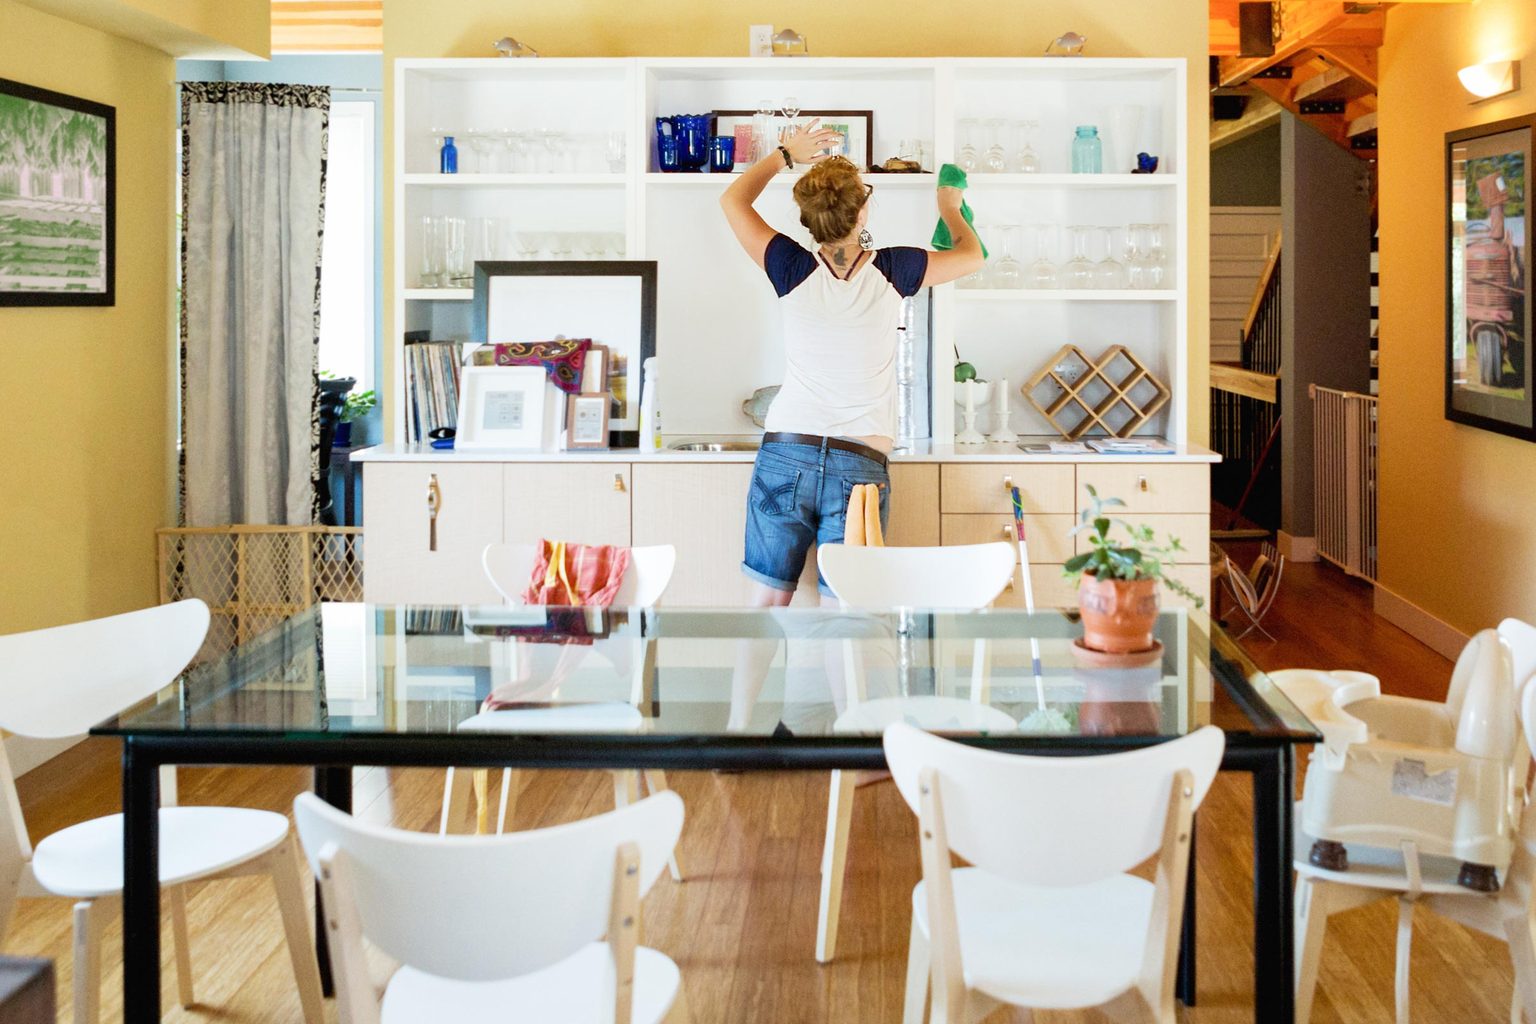
The first step in staging your dining room table is to clear off any clutter or unnecessary items. Remove any papers, mail, or other miscellaneous items that may have accumulated on the table. This will provide a clean and blank canvas for you to work with.
Next, remove any tablecloths or placemats that may be on the table. This will allow you to assess the table’s surface and determine if it needs any cleaning or polishing. If necessary, wipe down the table with a mild cleaner and polish it to a shine.
Once the table is clean, you can start to think about the overall theme or style you want to convey with your staging. Consider the occasion or event, your personal style preferences, and the overall aesthetic of your dining area.
If you’re working with a smaller table or limited space, it’s important to be mindful of the size and number of items you place on the table. Keep it simple and uncluttered to create an open and inviting atmosphere.
Now that your table is cleared and prepared, it’s time to move on to the next step: choosing the centerpiece.
Step 2: Choosing the Centerpiece
The centerpiece is the focal point of your dining room table and sets the tone for the entire staging. It should be visually appealing and complement the overall theme or style you have in mind.
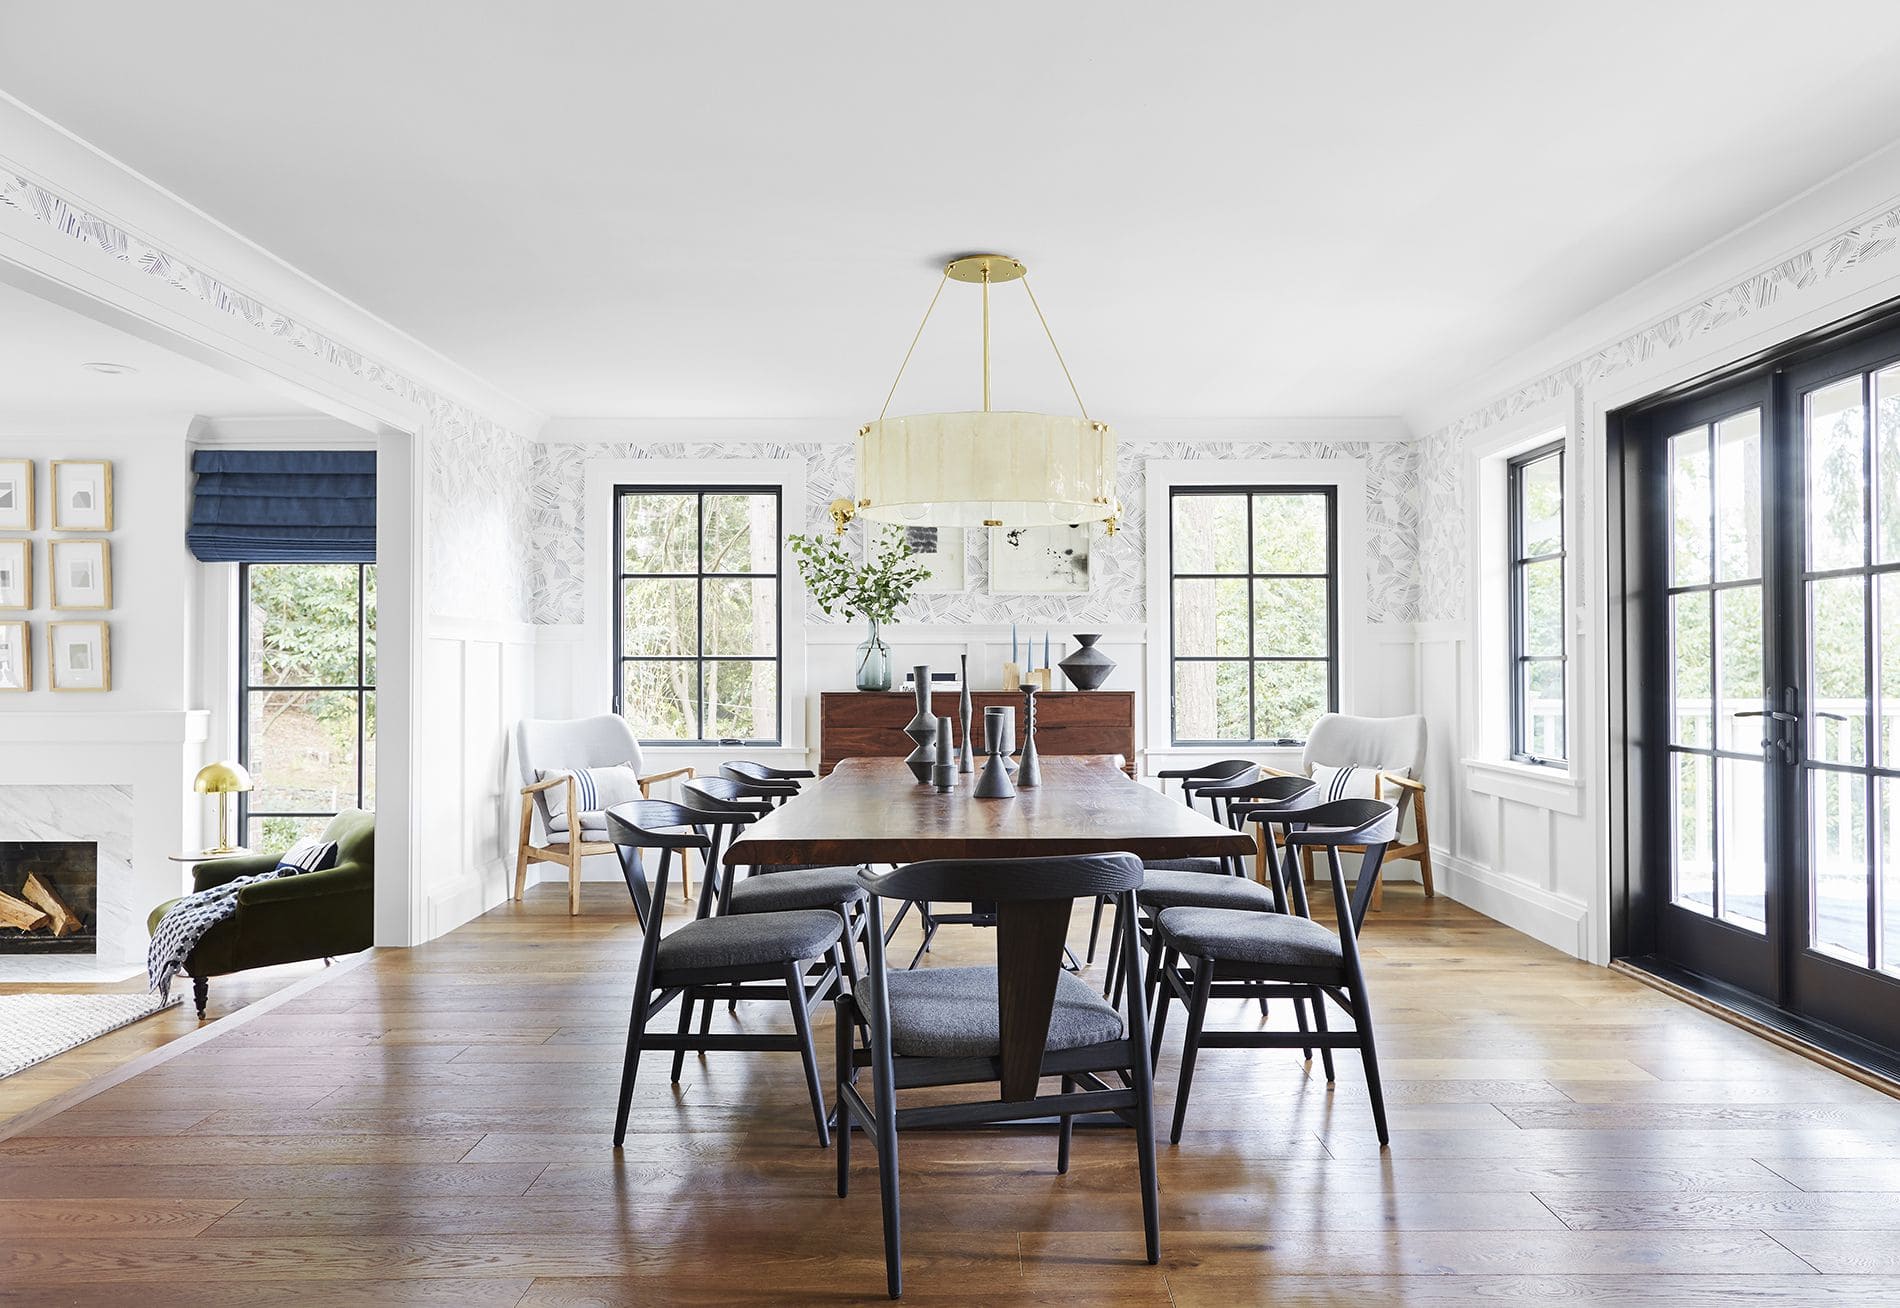
When choosing a centerpiece, consider the size and shape of your table. If you have a long rectangular table, a larger centerpiece or multiple smaller ones placed at intervals can work well. For a round or square table, a single centerpiece can create a striking visual impact.
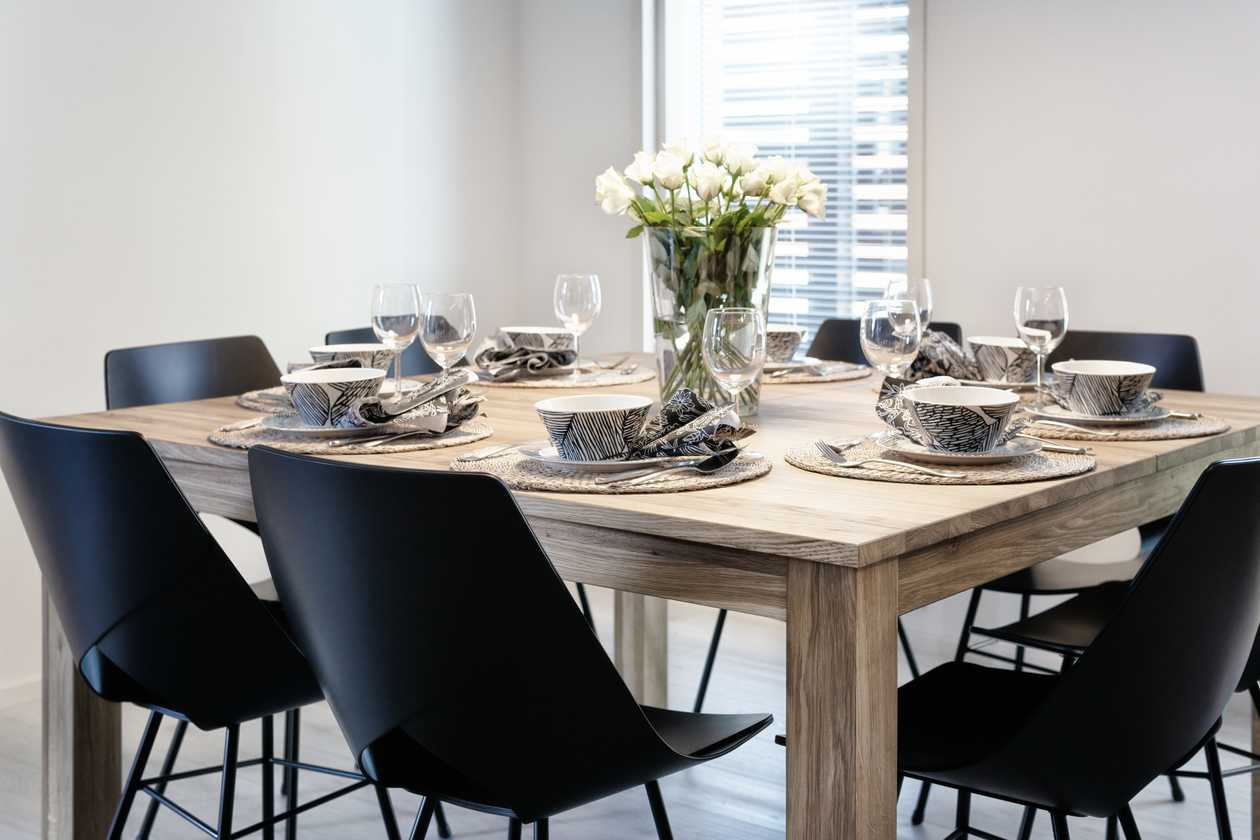
There are various options to choose from when it comes to centerpieces. Fresh flowers or a floral arrangement can add a touch of natural beauty and elegance to your table. Consider the colors and types of flowers that will best suit your theme or occasion.
Alternatively, you can opt for a decorative object such as a vase, candleholder, or sculpture as your centerpiece. These items can add a unique and artistic element to your staging. Just make sure that the height and size of the centerpiece are proportionate to the table and don’t obstruct the line of sight between guests.
If you prefer a more minimalist look, you can also consider using a simple and sleek centerpiece, such as a runner or a woven basket filled with fruits or greenery. This can create a fresh and organic vibe on your dining table.
Once you have chosen your centerpiece, place it in the center of the table. Take some time to arrange it in a visually pleasing way, considering its height, symmetry, and balance. This will create a strong visual impact and tie the entire staging together.
With the centerpiece in place, you’re ready to move on to the next step: arranging the place settings and silverware.
Step 3: Place Settings and Silverware
The place settings and silverware on your dining room table play a crucial role in creating a well-staged and functional setting. Properly arranged place settings not only add elegance to the table but also provide practicality for your guests.
Start by selecting the appropriate dinnerware, including plates, bowls, and glasses. Consider the style and color scheme you want to achieve and choose pieces that will complement the overall aesthetic.
Next, lay out the dinner plates in the center of each place setting. If you’re using charger plates, place them underneath the dinner plates for an added decorative touch. On top of the dinner plates, you can add salad plates or bread plates, depending on the formality of the occasion.
Arrange the silverware in the correct order on either side of the plates. Place the forks on the left side, with the salad fork on the leftmost side and the dinner fork to its right. On the right side, place the knife on the immediate right of the plates, followed by the spoons.
If you’re including additional utensils, such as a seafood fork or a butter knife, arrange them accordingly. Remember to place the dessert spoon and fork horizontally above the dinner plate or on a separate dessert plate, if space allows.
Consider adding napkins to each place setting. You can fold them neatly and place them on the plates or use napkin rings for a more sophisticated look. You can also add a personal touch by placing name cards or personalized menus at each setting, especially for more formal events.
When arranging the place settings, it’s important to leave enough space between each setting to ensure comfort for your guests. You want to create an atmosphere that feels welcoming and allows for easy conversation.
With the place settings and silverware arranged, you’re one step closer to achieving a beautifully staged dining room table. The next step is to add decorative elements to enhance the overall aesthetic.
Step 4: Adding Decorative Elements
Adding decorative elements to your dining room table can elevate the visual appeal and create a truly captivating staging. These elements can complement the centerpiece and add depth and texture to the overall design.
One popular option for adding decorative elements is to incorporate a table runner or a tablecloth. Choose a fabric that enhances the theme or color scheme of your staging. A table runner can be placed down the center of the table, while a tablecloth can cover the entire surface.
Consider using decorative accents such as candles, candle holders, or votives. These can add a warm and intimate ambiance to the dining area, especially during evening gatherings. Choose scented candles to further enhance the sensory experience.
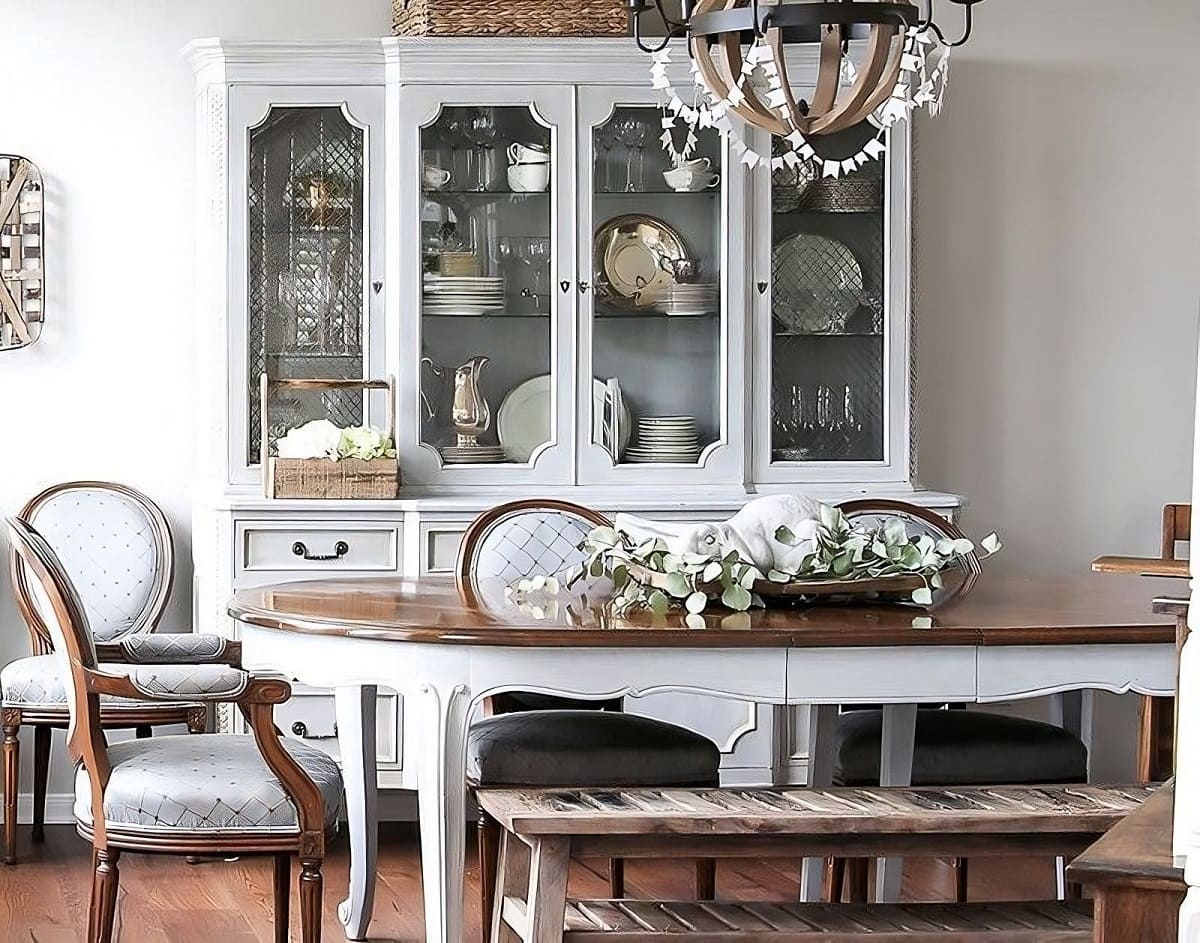
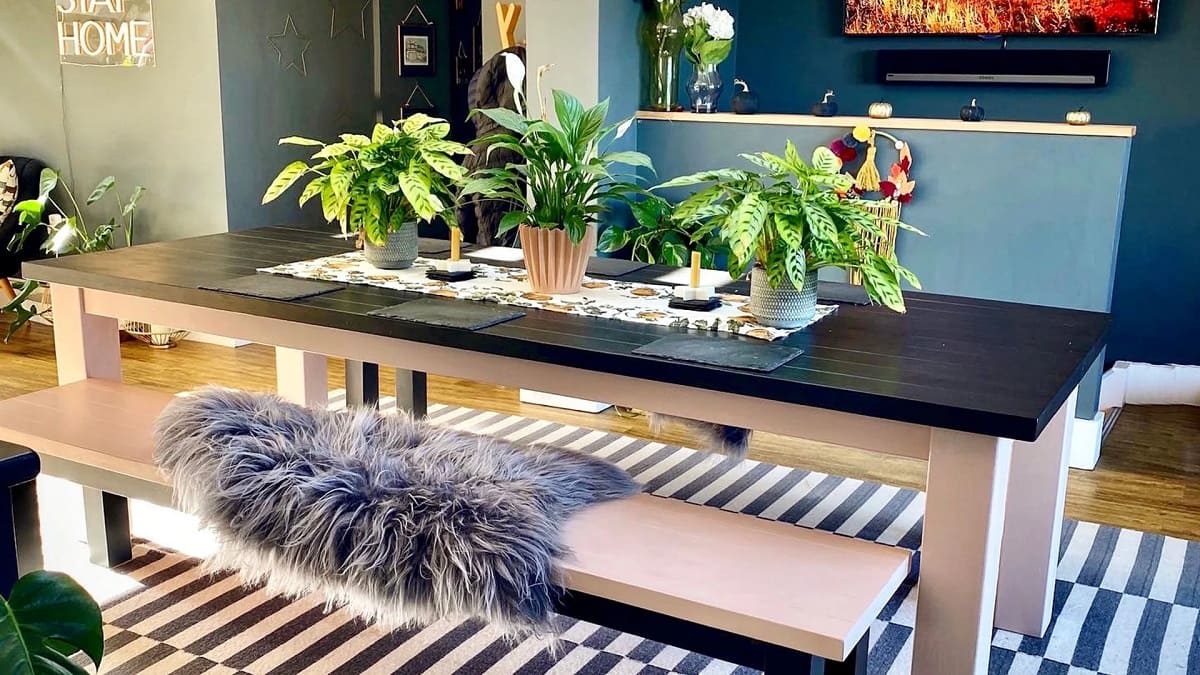
You can also incorporate natural elements like branches, leaves, or potted plants to bring a touch of the outdoors to your table. This creates a fresh and organic atmosphere that is both visually pleasing and calming.
To add a pop of color, consider using decorative bowls or vases filled with fruits, flowers, or other seasonal elements. This not only adds vibrancy to the table but also serves as a functional and appealing decor item.
If you’re hosting a themed event or holiday gathering, incorporate relevant decorative elements to enhance the overall atmosphere. For example, for a Thanksgiving dinner, you can include miniature pumpkins or autumn leaves.
Be mindful of not overcrowding the table with too many decorative elements. Keep in mind the size and shape of your table and aim for a balanced look. Remember, less is often more when it comes to staging a dining room table.
With the decorative elements in place, your dining room table will start to come to life. The next step is to ensure a balanced look across the entire table.
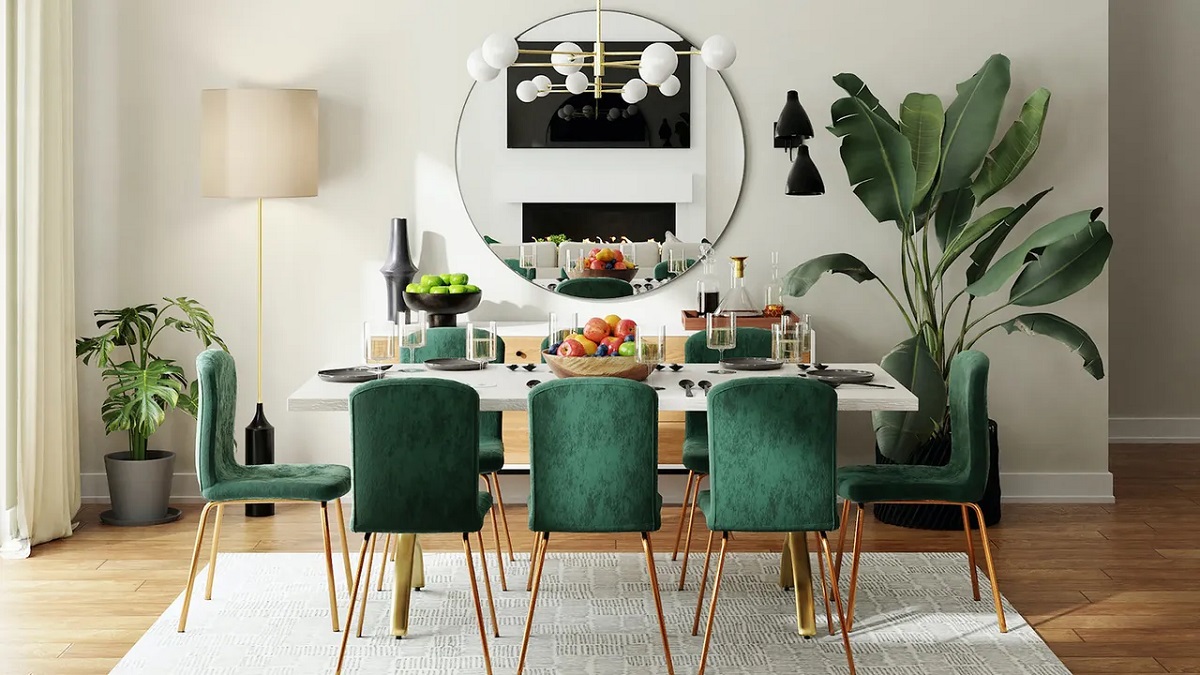
When staging a dining room table, use a simple and cohesive color scheme for the table setting, add a centerpiece for visual interest, and consider using placemats or a table runner to add texture and dimension.
Read more: How To Stage A Dining Table
Step 5: Creating a Balanced Look
Creating a balanced look on your dining room table is essential to achieve a visually pleasing and harmonious staging. A balanced arrangement ensures that no single element overwhelms the overall design, while still capturing attention and creating interest.
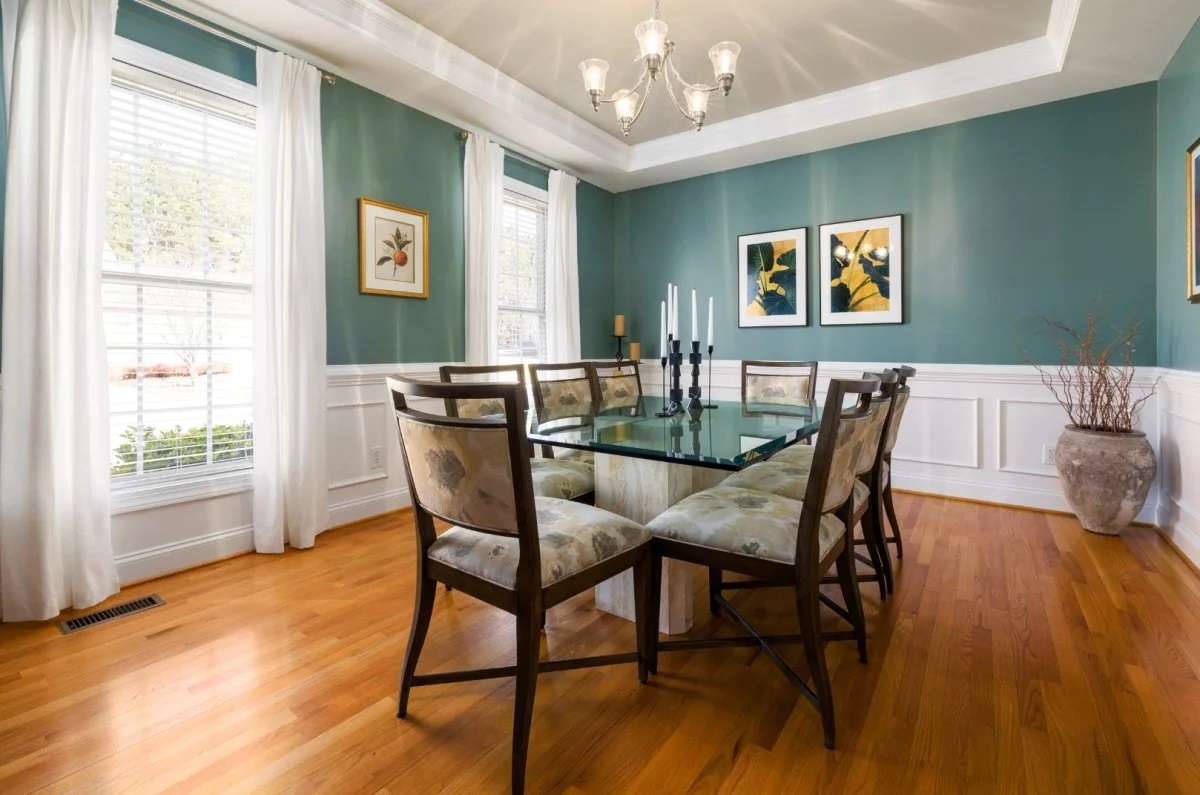
One key principle to keep in mind when creating a balanced look is symmetry. Symmetry can be achieved by placing equal or similar items on either side of the table. For example, if you have a centerpiece in the middle, you can balance it by placing matching candle holders or decorative accents on each side.
Another technique for creating balance is through the use of varying heights. Mixing items of different heights adds depth and visual interest to the table. For example, you can place taller candle holders or vases on one side of the table, and lower decorative elements or smaller accents on the opposite side.
Consider the colors and textures of your staging elements when aiming for balance. Choose a color palette that complements your overall design and distribute the colors evenly across the table. Avoid clustering similar colors or textures in one area, as this can create an unbalanced and overwhelming look.
If you’re working with a longer table, you can create balance by dividing it into smaller sections. Place smaller vignettes or groupings of decorative elements at intervals along the table to create visual breaks and avoid a monotonous look.
Remember to continuously step back and assess the overall look as you arrange your table. This will help you identify any areas that may need adjustment to achieve optimal balance. Don’t be afraid to rearrange items until you achieve the desired visual harmony.
With a well-balanced table, you’re ready to move on to the next step: considering lighting and ambiance.
Step 6: Lighting and Ambiance
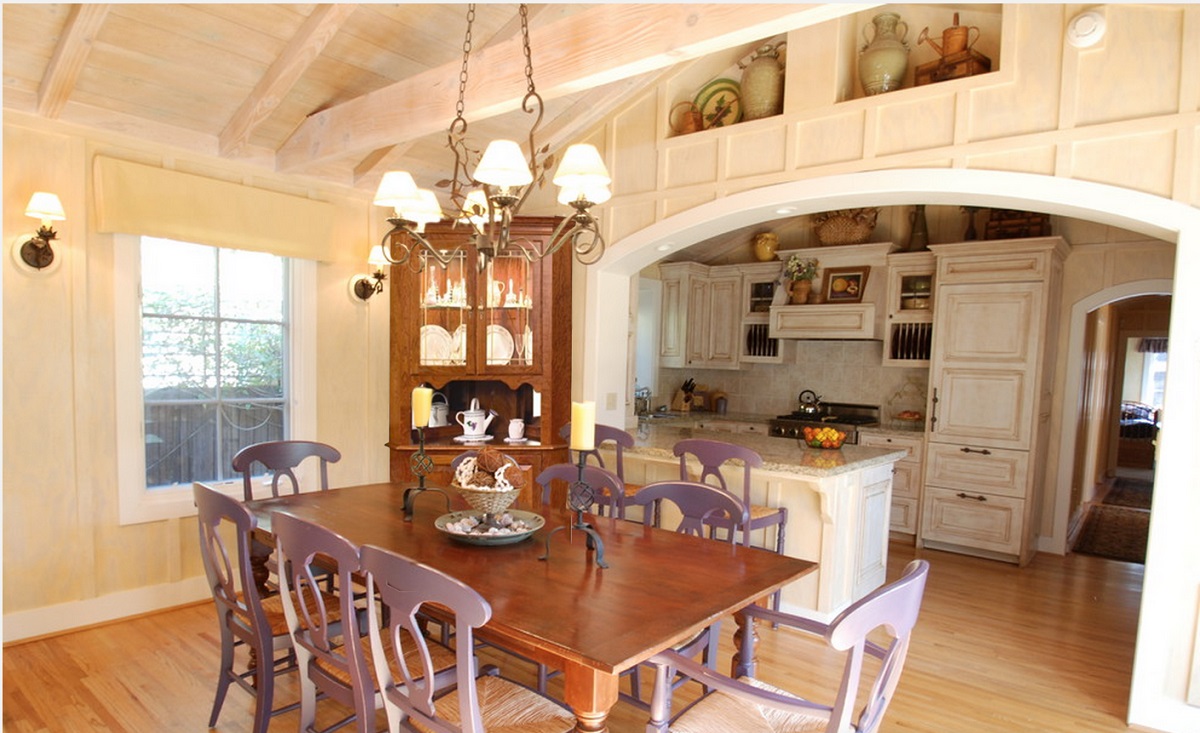
Lighting plays a crucial role in setting the mood and creating a welcoming ambiance for your dining room table. The right lighting can enhance the overall aesthetic and create a warm and inviting atmosphere for your guests.
Consider the natural lighting in your dining area and how it interacts with your table. If you have large windows that let in ample natural light, take advantage of it by letting the sunlight illuminate your table during daytime gatherings. You can also enhance the natural light by placing mirrors or reflective surfaces near the table to bounce the light.
For evening or more intimate gatherings, adjust the lighting to create a cozy and intimate atmosphere. Use dimmable overhead lights or install a chandelier to provide soft, ambient lighting. This will create a warm and inviting glow over the table.
Incorporating candles into your staging can also add a touch of romance and ambiance to the dining area. Place a few candles throughout the table or use a candelabra or candle holders as part of your centerpiece. Choose unscented candles to avoid conflicting aromas with the food.
If you have artwork or wall decor near your dining area, ensure that it is properly lit to enhance the overall ambiance. Use accent lighting or wall sconces to highlight the artwork and create a visually appealing backdrop for your table.
Consider utilizing other forms of lighting accents, such as string lights or fairy lights, to add a whimsical or magical touch to your table. These small lights can be draped along the table or intertwined with the centerpiece to create a captivating and enchanting atmosphere.
Remember, the key is to create a pleasant and inviting atmosphere that encourages conversation and enjoyment during mealtime. Experiment with different lighting options until you achieve the desired ambiance.
With the lighting and ambiance set, you’re almost ready to showcase your beautifully staged dining room table. The final step involves adding some finishing touches and fine-tuning the overall look.
Step 7: Final Touches and Fine-tuning
As you near the completion of staging your dining room table, it’s time to add those final touches and fine-tune the overall look. This step involves carefully reviewing the table and making any necessary adjustments to ensure everything looks perfect.
Start by stepping back and taking a holistic view of the table. Examine the placement of each element, from the centerpiece to the place settings and decorative accents. Are there any visual gaps that need to be filled? Do certain items need to be rearranged for better flow and balance?
Check the alignment of all objects on the table to ensure everything is straight and evenly spaced. A well-aligned table creates a sense of order and elegance in the staging. Make necessary adjustments to achieve symmetry and balance.
Consider the overall cleanliness of the table and its surroundings. Ensure that the table is free of fingerprints, dust, or any other blemishes. Wipe down the table again if necessary to ensure a pristine surface.
Take a moment to evaluate the functionality of the table. Are the place settings arranged in a way that allows for comfortable dining? Are the silverware and napkins easily accessible to guests? Make any adjustments to enhance usability without compromising the aesthetic appeal.
Consider adding final decorative elements, such as small accents or additional greenery, to fill any remaining empty spaces and add depth to the table. These finishing touches can tie the entire staging together and give it a polished and cohesive look.
Finally, take a step back and view the table from different angles. Consider how it looks from the entrance of the room or from different seating positions. Make any necessary adjustments to ensure that the staging looks appealing and inviting from every perspective.
With the final touches applied and the table perfectly staged, you’re ready to showcase your efforts and enjoy a beautifully curated dining space.
To wrap up, staging your dining room table requires careful planning, attention to detail, and a creative eye. By following these steps and putting thought into each element, you can transform your dining area into an inviting and visually stunning space. Whether it’s an intimate dinner for two or a festive gathering with friends and family, a well-staged dining room table sets the stage for a memorable dining experience.
Conclusion
Staging your dining room table is a transformative process that can elevate the overall ambiance and aesthetics of your dining area. By following the steps outlined in this article, you can create a visually stunning and inviting space that is perfect for everyday meals or special gatherings.
From clearing the table and selecting the centerpiece to arranging place settings and adding decorative elements, each step contributes to the overall look and feel of the staging. Creating a balanced look, considering lighting and ambiance, and adding final touches are all important aspects of achieving a captivating dining room table.
Remember to be mindful of the size and shape of your table, as well as the theme or occasion you’re staging for. Keep the design simple and uncluttered, while still incorporating elements that enhance the overall aesthetic.
Incorporate your personal style and creativity into the staging process. Experiment with different textures, colors, and arrangements to create a unique and personalized dining experience for yourself and your guests.
In the end, it’s not just about the visual appeal of your staged dining room table, but also about creating an inviting and welcoming space where meals can be enjoyed and memories can be made. So, embrace your creativity, pay attention to the details, and have fun staging your dining area!
Frequently Asked Questions about How To Stage Dining Room Table
Was this page helpful?
At Storables.com, we guarantee accurate and reliable information. Our content, validated by Expert Board Contributors, is crafted following stringent Editorial Policies. We're committed to providing you with well-researched, expert-backed insights for all your informational needs.


0 thoughts on “How To Stage Dining Room Table”