Home>Furniture & Design>Bathroom Accessories>How To Charge A Quip Toothbrush

Bathroom Accessories
How To Charge A Quip Toothbrush
Published: February 11, 2024
Learn how to charge a Quip toothbrush and keep it ready for use. Find out the best bathroom accessories for your oral care routine.
(Many of the links in this article redirect to a specific reviewed product. Your purchase of these products through affiliate links helps to generate commission for Storables.com, at no extra cost. Learn more)
Introduction
Charging your Quip toothbrush is a simple and essential task to ensure that it remains powered for effective oral care. Whether you're a new Quip user or seeking a refresher on the charging process, this guide will walk you through the steps to keep your toothbrush ready for use. By following these straightforward instructions, you can maintain the optimal performance of your Quip toothbrush and enjoy a consistently refreshing brushing experience.
Ensuring that your Quip toothbrush is adequately charged is crucial for maintaining its effectiveness in promoting oral health. With the convenience of a rechargeable battery, the Quip toothbrush offers a sustainable and eco-friendly solution for your dental care routine. By understanding the process of charging your Quip toothbrush, you can seamlessly integrate this task into your daily routine, ensuring that your toothbrush is always ready when you need it.
In the following sections, we will delve into the specific steps for charging your Quip toothbrush, from preparing the charging base to checking the charging status. By the end of this guide, you will have a comprehensive understanding of how to effectively charge your Quip toothbrush and ensure that it remains powered for consistent and reliable use. Let's dive into the simple yet essential process of keeping your Quip toothbrush charged and ready for your oral care needs.
Key Takeaways:
- Keep your Quip toothbrush charged by preparing the base, connecting it securely, and monitoring the indicator. A fully charged toothbrush ensures effective brushing for optimal oral health.
- Master the art of charging your Quip toothbrush to seamlessly integrate it into your oral care routine. Enjoy a consistently refreshing brushing experience with a fully charged battery.
Read more: How To Open A Quip Toothbrush
Step 1: Prepare the charging base
Before charging your Quip toothbrush, it's essential to prepare the charging base to ensure a seamless and efficient charging process. The charging base serves as the power source for your Quip toothbrush, allowing you to maintain its functionality and performance. Here's a detailed look at the steps to prepare the charging base for your Quip toothbrush:
-
Locate a Power Source: Begin by identifying a suitable power source for the charging base. Ideally, you should place the charging base near an accessible electrical outlet to facilitate the charging process. Ensure that the power source is within reach and provides a stable supply of electricity for consistent charging.
-
Unpack the Charging Base: If you are setting up the Quip toothbrush for the first time, carefully unpack the charging base from its packaging. Ensure that all components, including the charging base and power adapter, are intact and free from any damage. Inspect the charging base to confirm that it is in optimal condition for charging your Quip toothbrush.
-
Assemble the Charging Base: Assemble the charging base by connecting the power adapter to the designated port on the base. Ensure that the power adapter is securely attached to the charging base to establish a reliable connection for charging your Quip toothbrush. Verify that the components are properly aligned and firmly connected to prevent any interruptions during the charging process.
-
Position the Charging Base: Select a suitable location for the charging base, ensuring that it is placed on a flat and stable surface. The stability of the charging base is crucial to prevent any accidental displacement or damage to the components. Additionally, positioning the charging base in a convenient and accessible location will facilitate easy access when it's time to charge your Quip toothbrush.
-
Power On the Charging Base: Once the charging base is assembled and positioned, power on the charging base by plugging the power adapter into the electrical outlet. Confirm that the charging base is receiving power by checking for any indicator lights or displays that signal its operational status. With the charging base powered on, it is now ready to facilitate the charging of your Quip toothbrush.
By meticulously preparing the charging base for your Quip toothbrush, you can establish a reliable and efficient charging setup that ensures your toothbrush remains powered for consistent use. With the charging base ready, you can proceed to the next step of connecting your Quip toothbrush for the charging process.
Step 2: Connect the charging base
After preparing the charging base, the next crucial step in the process of charging your Quip toothbrush is to establish a secure connection between the toothbrush and the charging base. This step is essential for initiating the charging process and ensuring that your Quip toothbrush receives the necessary power to maintain its functionality. Here's a detailed guide on how to effectively connect the charging base to your Quip toothbrush:
-
Retrieve Your Quip Toothbrush: Begin by retrieving your Quip toothbrush from its storage or designated placement. Ensure that the toothbrush is clean and free from any debris to prevent interference with the charging process. By handling the toothbrush carefully, you can prepare it for the subsequent connection to the charging base.
-
Align the Toothbrush with the Charging Base: Position the Quip toothbrush in close proximity to the charging base, aligning the designated charging elements on the toothbrush with the corresponding components on the charging base. This alignment is crucial for establishing a seamless connection that allows the transfer of power from the charging base to the toothbrush.
-
Secure the Connection: Gently place the Quip toothbrush onto the charging base, ensuring that it fits snugly into the designated slot or area. Verify that the toothbrush is securely positioned on the charging base to prevent any disruptions to the charging process. A secure connection is vital for maintaining a consistent flow of power to the toothbrush during the charging cycle.
-
Confirm the Charging Indicator: Once the Quip toothbrush is connected to the charging base, check for the presence of a charging indicator on the toothbrush or the charging base. This indicator serves as a visual cue to confirm that the toothbrush is successfully connected and is actively receiving power for the charging process. The presence of the charging indicator provides reassurance that the connection has been established effectively.
-
Allow for Uninterrupted Charging: With the Quip toothbrush securely connected to the charging base, allow it to remain undisturbed during the charging period. Avoid moving or adjusting the toothbrush to maintain a stable connection and facilitate the efficient transfer of power. Allowing for uninterrupted charging ensures that the toothbrush receives the full charge necessary for optimal performance.
By following these steps to connect the charging base to your Quip toothbrush, you can initiate the charging process with confidence, knowing that your toothbrush is poised to receive the power it needs for consistent and reliable use. With the connection established, your Quip toothbrush is on its way to being fully charged and ready to support your oral care routine.
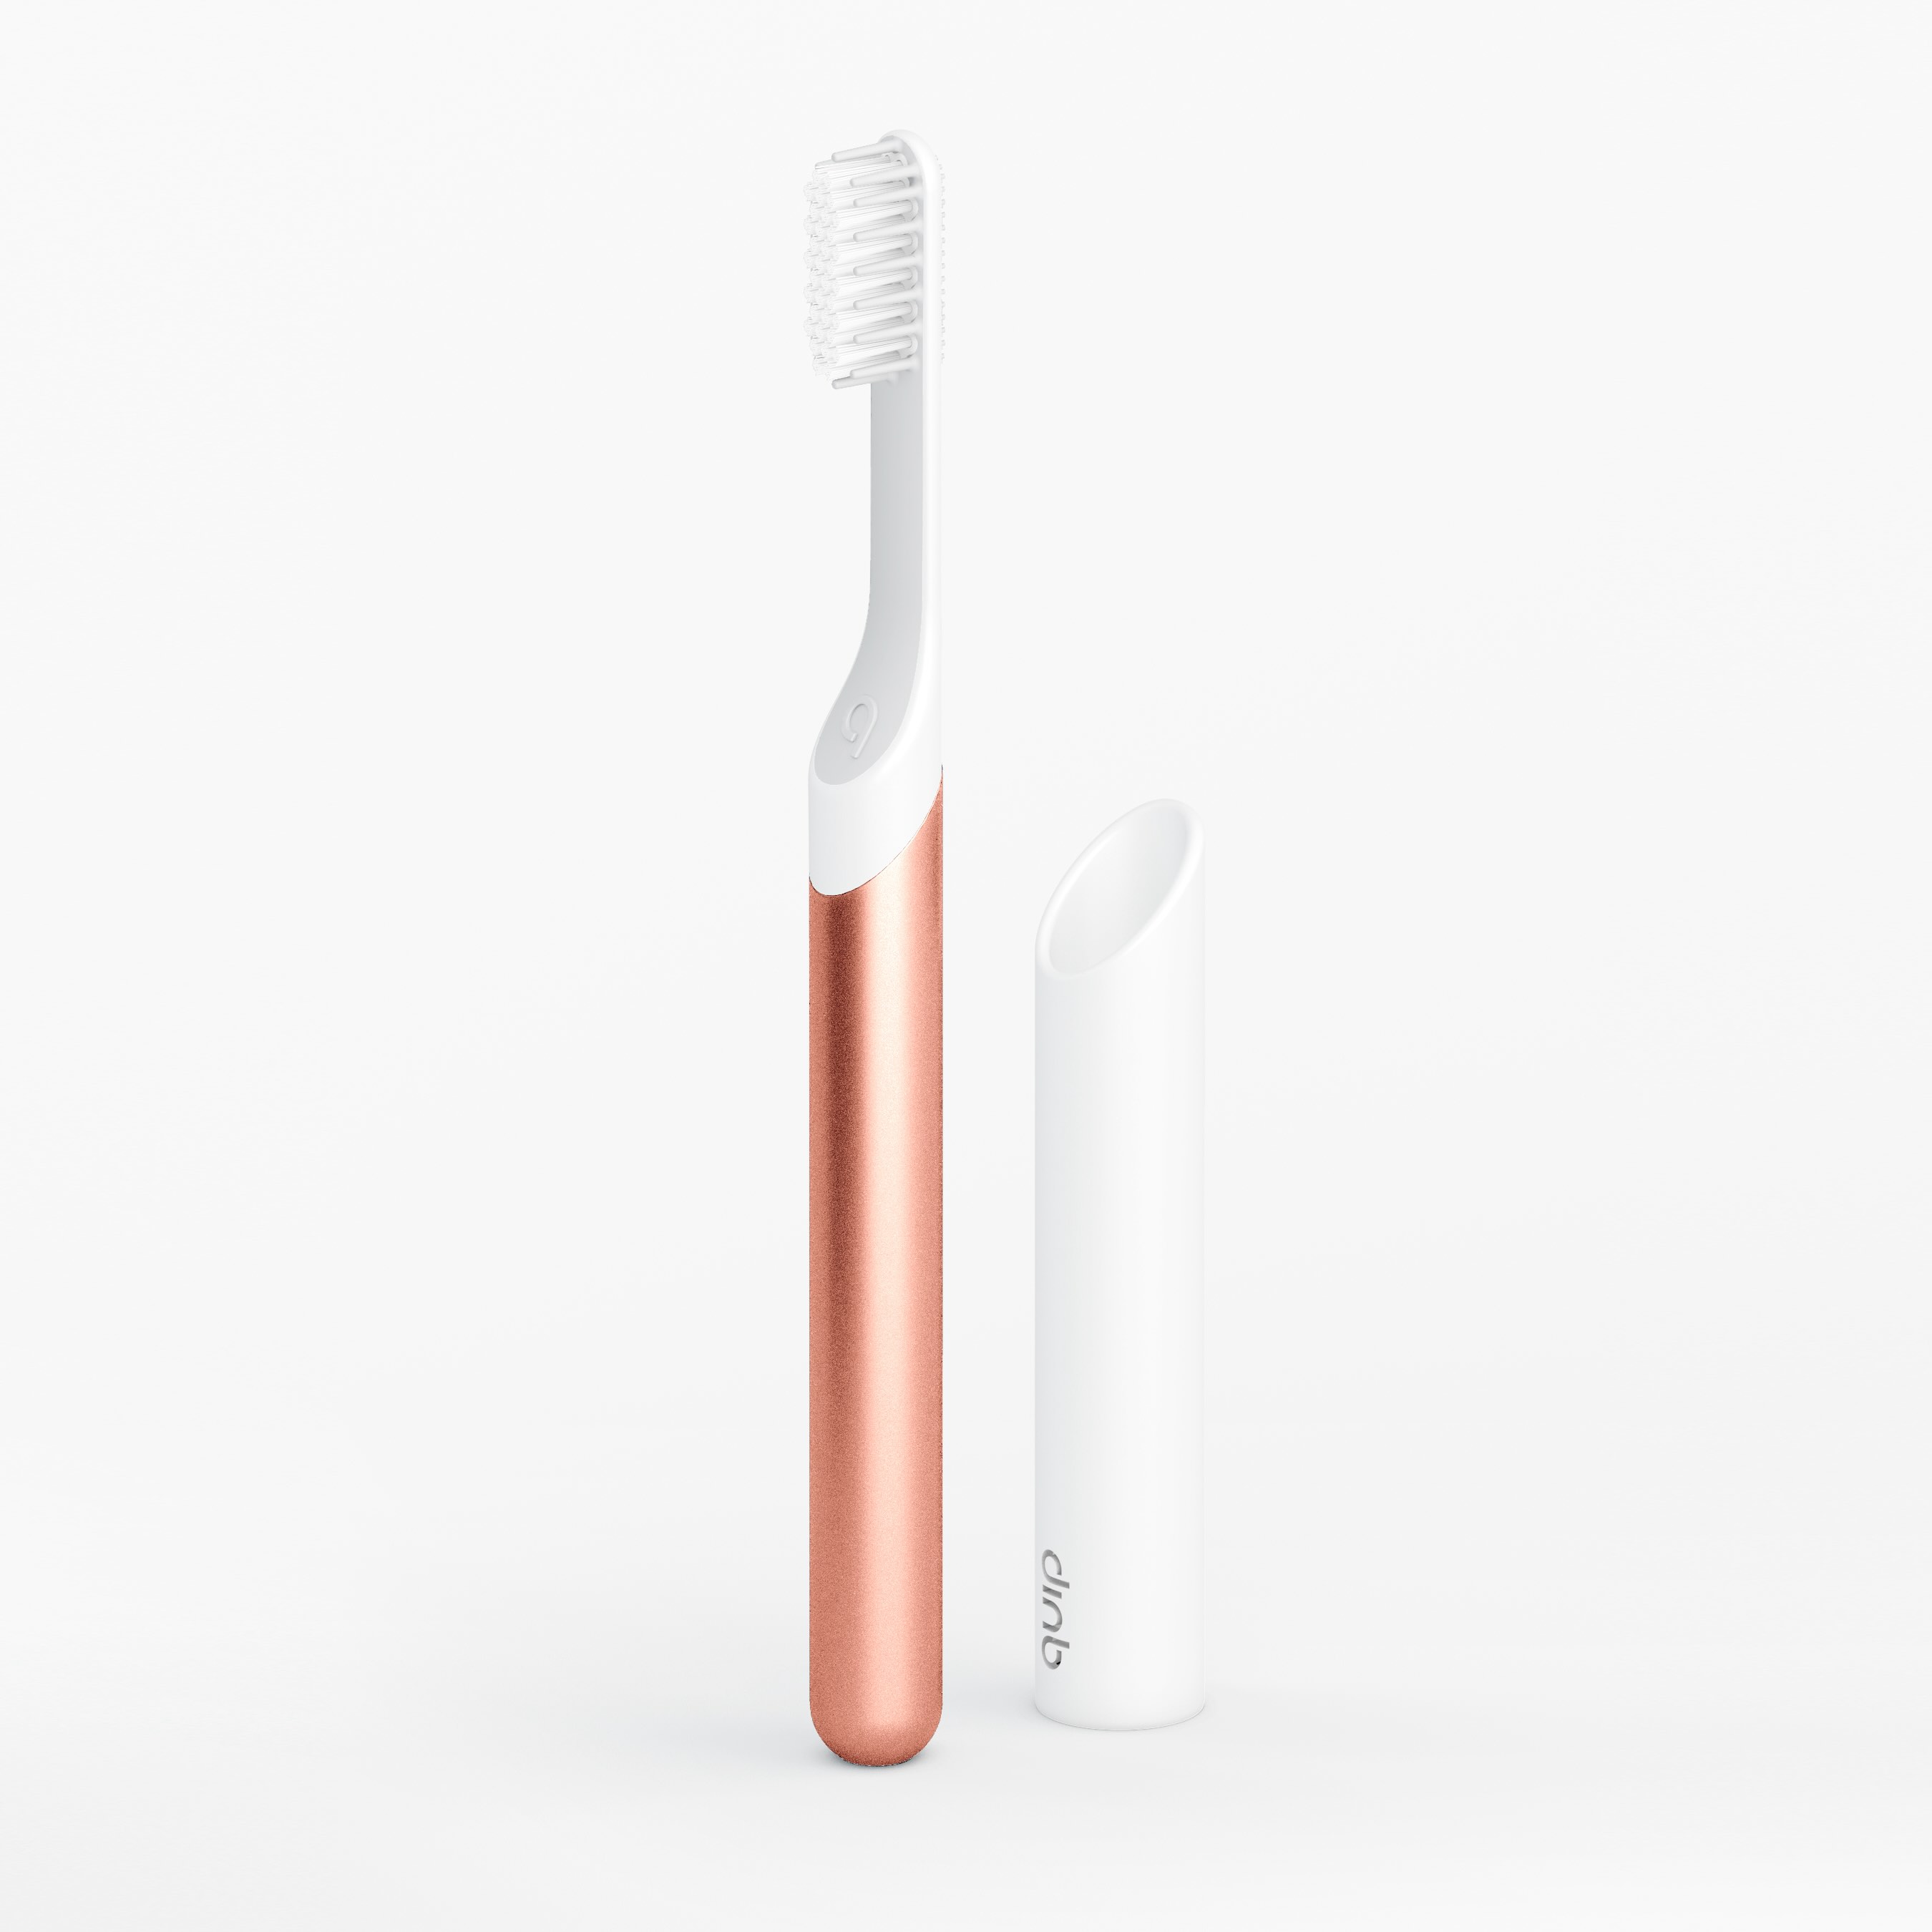
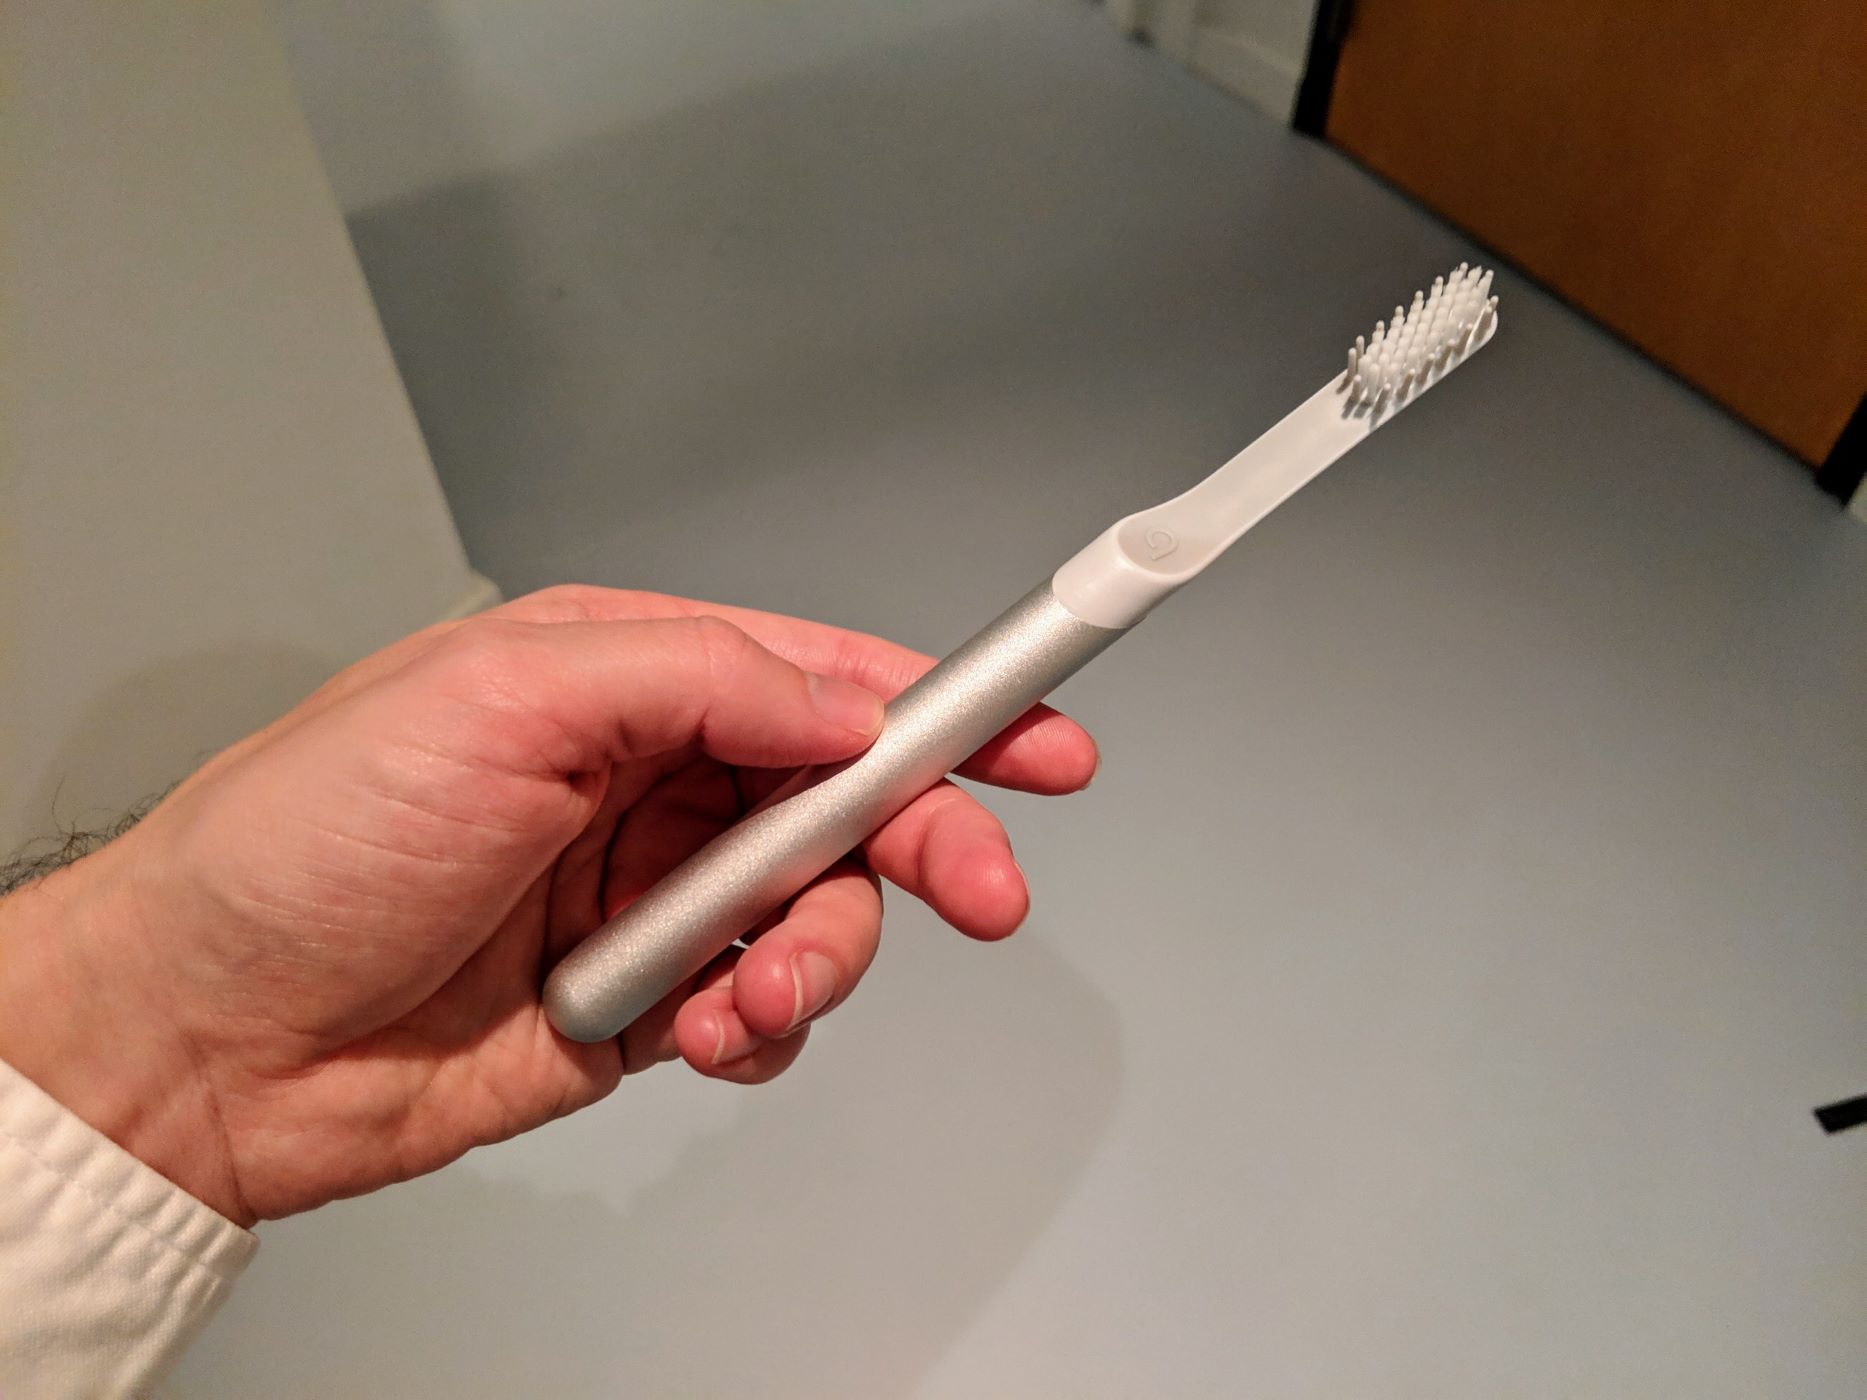
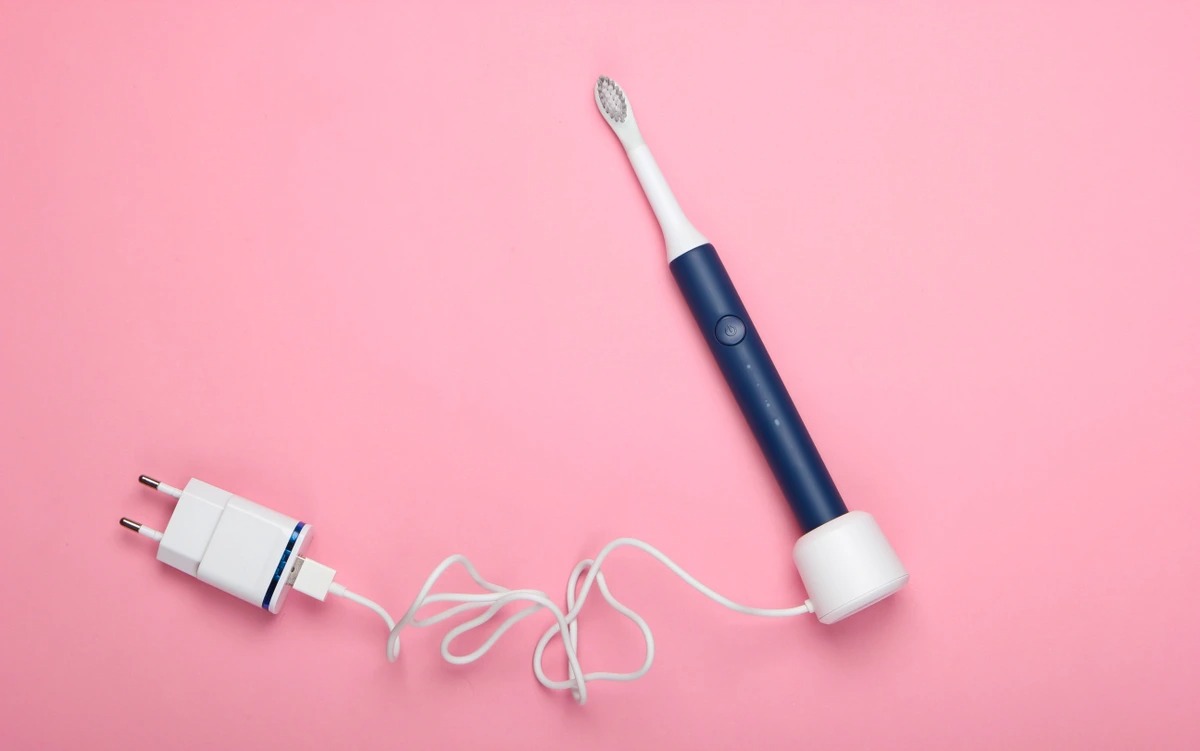
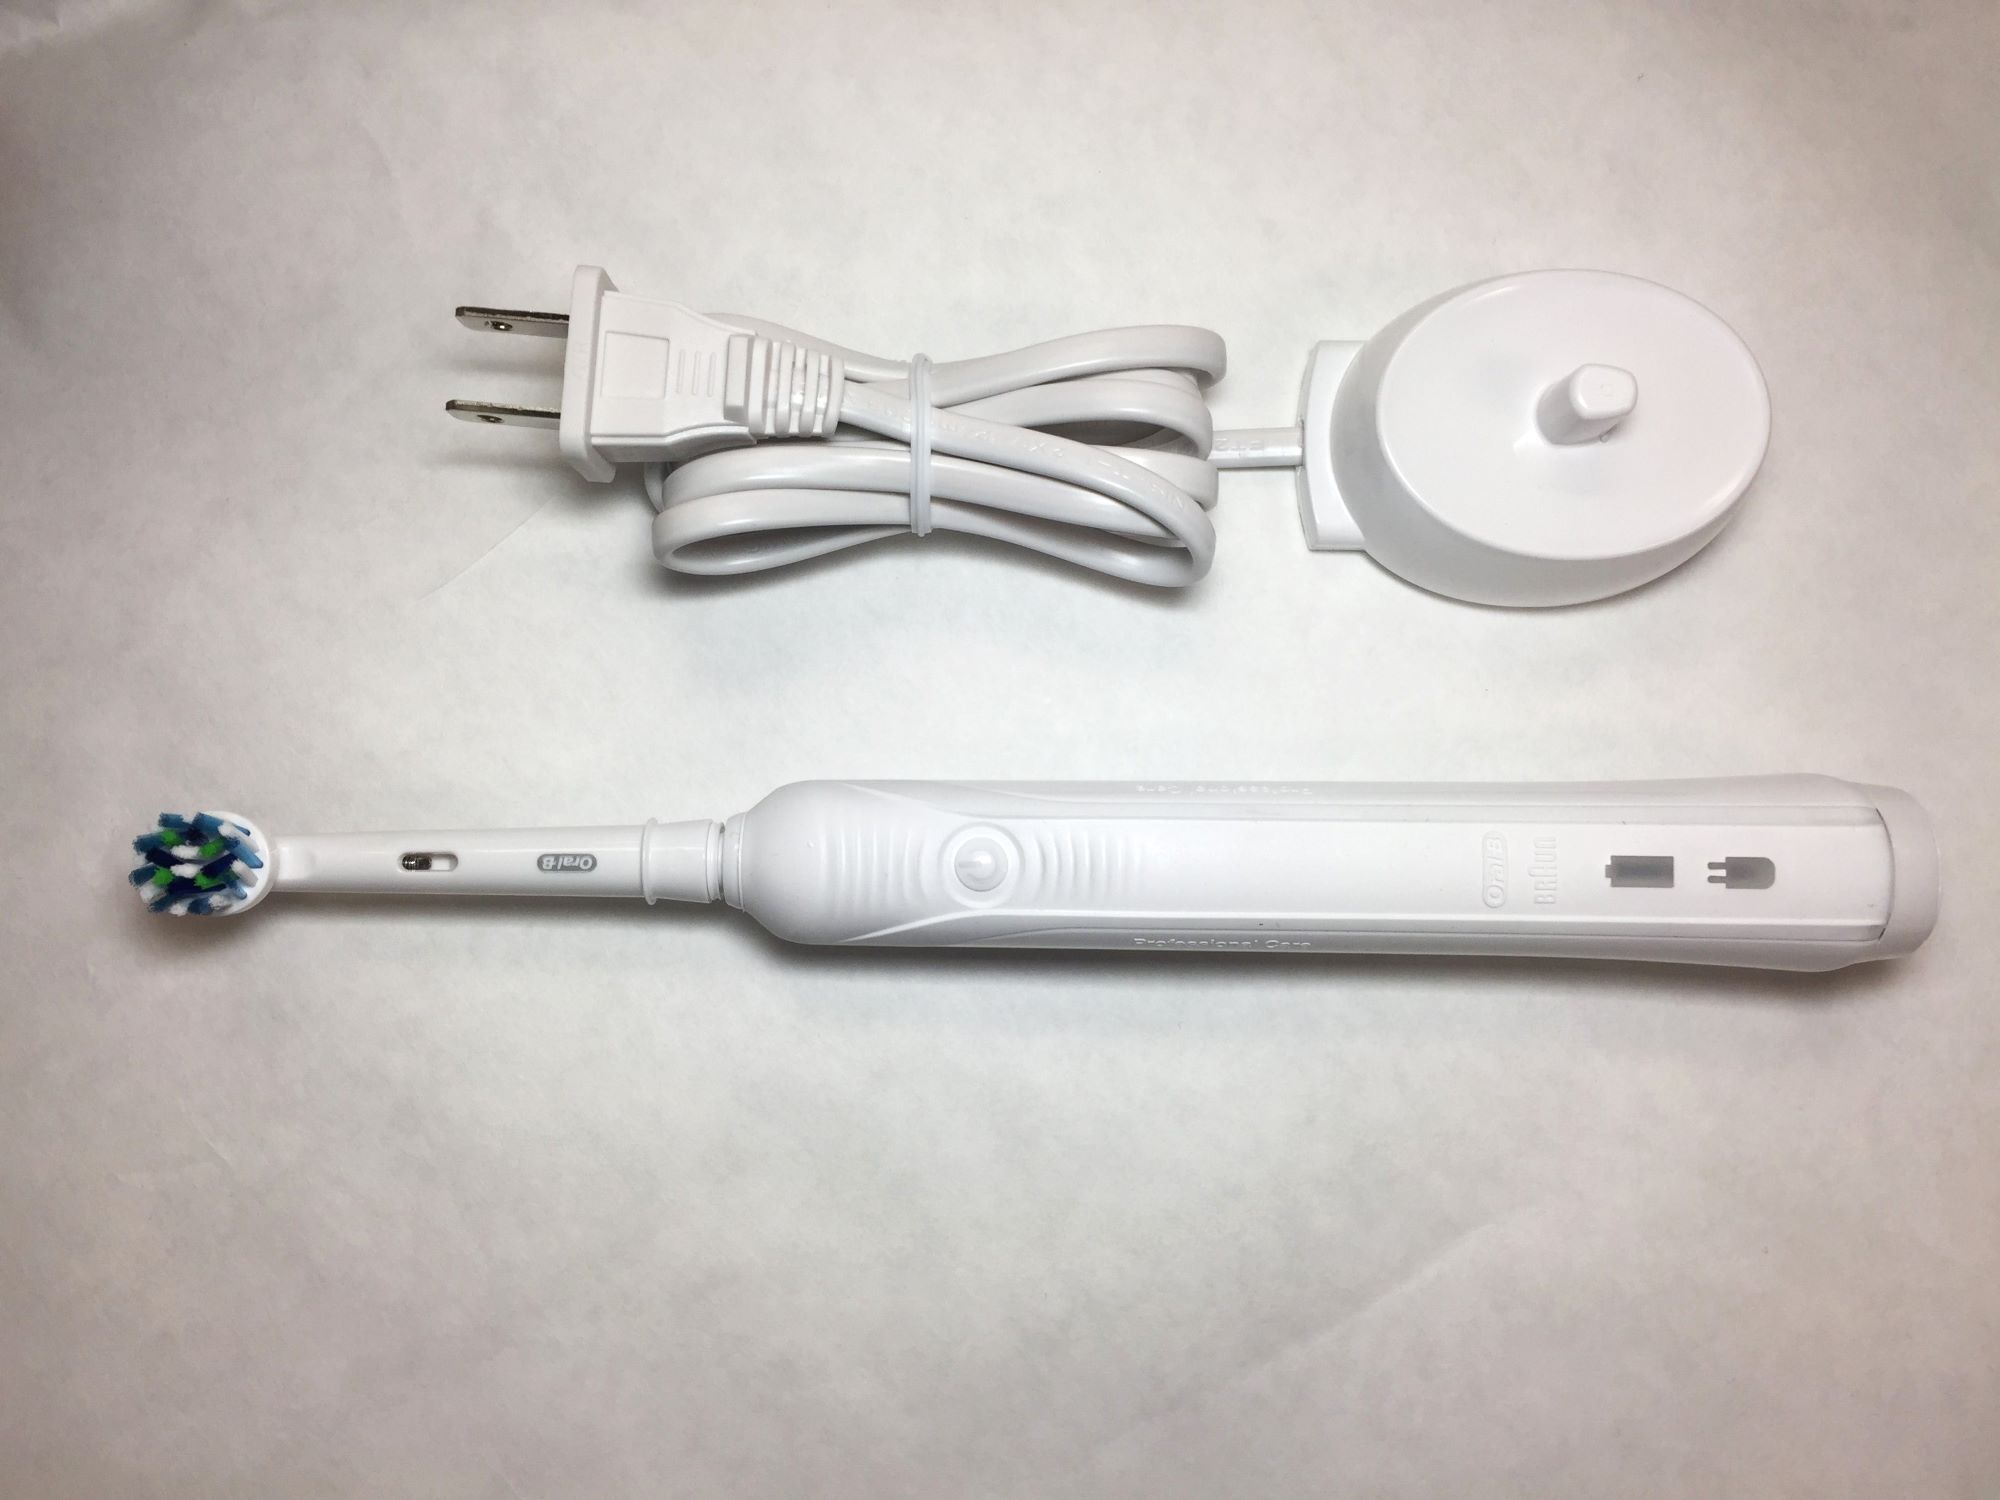
To charge a Quip toothbrush, simply place it on the magnetic charging stand provided. The light on the stand will indicate when the toothbrush is fully charged.
Step 3: Charge the Quip toothbrush
Charging your Quip toothbrush is a straightforward process that ensures it remains powered for effective oral care. Once the charging base is prepared and the toothbrush is securely connected, it's time to initiate the charging cycle. This step is essential for replenishing the battery of your Quip toothbrush, allowing it to maintain its functionality and support your daily brushing routine.
To charge your Quip toothbrush, simply follow these steps:
-
Initiate the Charging Process: With the Quip toothbrush securely connected to the charging base, the charging process can be initiated by ensuring that the power source is active and the charging base is receiving electricity. Once the connection is established, the transfer of power from the charging base to the toothbrush commences, gradually replenishing the battery to support its operation.
-
Observe the Charging Status: As the Quip toothbrush begins to charge, you may notice a visual indicator on the toothbrush or the charging base. This indicator serves as a visual cue to confirm that the charging process is underway. It provides reassurance that the toothbrush is actively receiving power and is in the process of being charged to support its functionality.
-
Allow Sufficient Charging Time: It's important to allow the Quip toothbrush to remain connected to the charging base for a sufficient duration to ensure that it receives a full charge. The recommended charging time may vary based on the specific model of the Quip toothbrush, and it's advisable to refer to the manufacturer's guidelines for optimal charging duration. By allowing for sufficient charging time, you can ensure that the toothbrush is adequately powered for consistent use.
-
Monitor the Charging Progress: Throughout the charging process, it's beneficial to periodically check the charging status to ensure that the Quip toothbrush is receiving power effectively. Observing the charging indicator and confirming its active status provides assurance that the charging process is progressing as intended, allowing you to anticipate the completion of the charging cycle.
-
Complete the Charging Cycle: Once the Quip toothbrush has been charged for the recommended duration, carefully disconnect it from the charging base. Confirm that the toothbrush is fully charged by checking for any visual indicators or cues that signal the completion of the charging cycle. With the charging process complete, your Quip toothbrush is now ready to support your oral care routine with its replenished power.
By following these steps to charge your Quip toothbrush, you can ensure that it remains powered and ready for consistent use. With a fully charged battery, your Quip toothbrush is poised to deliver effective brushing performance, supporting your oral health with every use.
Step 4: Check the charging status
After initiating the charging process for your Quip toothbrush, it's essential to monitor the charging status to ensure that the toothbrush is receiving power effectively. Checking the charging status allows you to confirm that the charging process is progressing as intended and provides valuable insights into the battery replenishment cycle. Here's a detailed exploration of how to effectively check the charging status of your Quip toothbrush:
-
Observe the Charging Indicator: One of the primary methods to check the charging status of your Quip toothbrush is to observe the charging indicator located on the toothbrush or the charging base. The charging indicator serves as a visual cue, often utilizing LED lights or specific color patterns to convey the status of the charging process. When the toothbrush is actively receiving power, the charging indicator may illuminate or display a specific color to signify the ongoing charging cycle.
-
Interpret the Charging Indicator: Understanding the indications provided by the charging indicator is crucial for assessing the charging status. Different Quip toothbrush models may feature varying charging indicators, each with its unique set of visual cues to communicate the status of the charging process. Common indicators include steady illumination to signify active charging, flashing patterns to indicate specific stages of the charging cycle, or color variations to denote different levels of battery replenishment.
-
Confirm Active Charging: A steady, illuminated charging indicator typically indicates that the Quip toothbrush is actively receiving power from the charging base. This visual confirmation provides reassurance that the charging process is underway and that the toothbrush's battery is being replenished. The presence of an active charging indicator signifies that the connection between the toothbrush and the charging base is secure, facilitating the uninterrupted transfer of power.
-
Monitor Charging Progress: As the charging process continues, periodically observe the charging indicator to monitor the progress of the battery replenishment cycle. The charging indicator may exhibit specific patterns or changes in illumination to signify the advancement of the charging process. By actively monitoring the charging progress, you can gain insights into the duration and effectiveness of the charging cycle, allowing you to anticipate the completion of the charging process.
-
Completion of Charging Cycle: Once the Quip toothbrush has been charged for the recommended duration, the charging indicator may display a distinct signal to indicate the completion of the charging cycle. This signal serves as confirmation that the toothbrush's battery has been fully replenished and is ready for use. Upon observing the completion indicator, you can confidently disconnect the toothbrush from the charging base, knowing that it is powered and prepared to support your oral care routine.
By diligently checking the charging status of your Quip toothbrush, you can ensure that it receives the necessary power for consistent and reliable performance. The charging indicator serves as a valuable tool for monitoring the progress of the charging process, providing you with the assurance that your Quip toothbrush is poised to deliver effective brushing performance with its replenished power.
Read more: Quip Toothbrush: How To Use
Conclusion
In conclusion, mastering the process of charging your Quip toothbrush is essential for maintaining its functionality and ensuring that it remains powered for consistent use. By following the comprehensive steps outlined in this guide, you can seamlessly integrate the charging process into your oral care routine, allowing your Quip toothbrush to consistently deliver effective brushing performance.
The journey begins with preparing the charging base, where you identify a suitable power source, unpack and assemble the charging base, and position it in a convenient location. This meticulous preparation sets the stage for a reliable and efficient charging setup, laying the foundation for the subsequent steps.
Connecting the charging base to your Quip toothbrush is a pivotal step that establishes the crucial link for the transfer of power. By aligning the toothbrush with the charging base, securing the connection, and observing the charging indicator, you can initiate the charging process with confidence, knowing that your toothbrush is poised to receive the power it needs.
As the charging cycle commences, monitoring the charging status becomes imperative. The visual cues provided by the charging indicator offer valuable insights into the progress of the battery replenishment cycle, allowing you to anticipate the completion of the charging process and prepare your Quip toothbrush for consistent use.
Upon completing the charging cycle and confirming that your Quip toothbrush is fully charged, you can embark on your oral care routine with the assurance that your toothbrush is powered and ready to support your brushing needs. The seamless integration of the charging process ensures that your Quip toothbrush remains a reliable companion in your daily oral care regimen.
By mastering the art of charging your Quip toothbrush, you can uphold its effectiveness and seamlessly incorporate it into your oral care routine. With a fully charged battery, your Quip toothbrush stands ready to deliver refreshing and effective brushing performance, empowering you to maintain optimal oral health with every use.
Frequently Asked Questions about How To Charge A Quip Toothbrush
Was this page helpful?
At Storables.com, we guarantee accurate and reliable information. Our content, validated by Expert Board Contributors, is crafted following stringent Editorial Policies. We're committed to providing you with well-researched, expert-backed insights for all your informational needs.

0 thoughts on “How To Charge A Quip Toothbrush”