Home>Furniture & Design>Bathroom Accessories>How To Get A Quip Toothbrush Head Off
Bathroom Accessories
How To Get A Quip Toothbrush Head Off
Modified: February 18, 2024
Learn how to easily remove the head of a Quip toothbrush for replacement or cleaning. Find out the best techniques for maintaining your bathroom accessories.
(Many of the links in this article redirect to a specific reviewed product. Your purchase of these products through affiliate links helps to generate commission for Storables.com, at no extra cost. Learn more)
Introduction
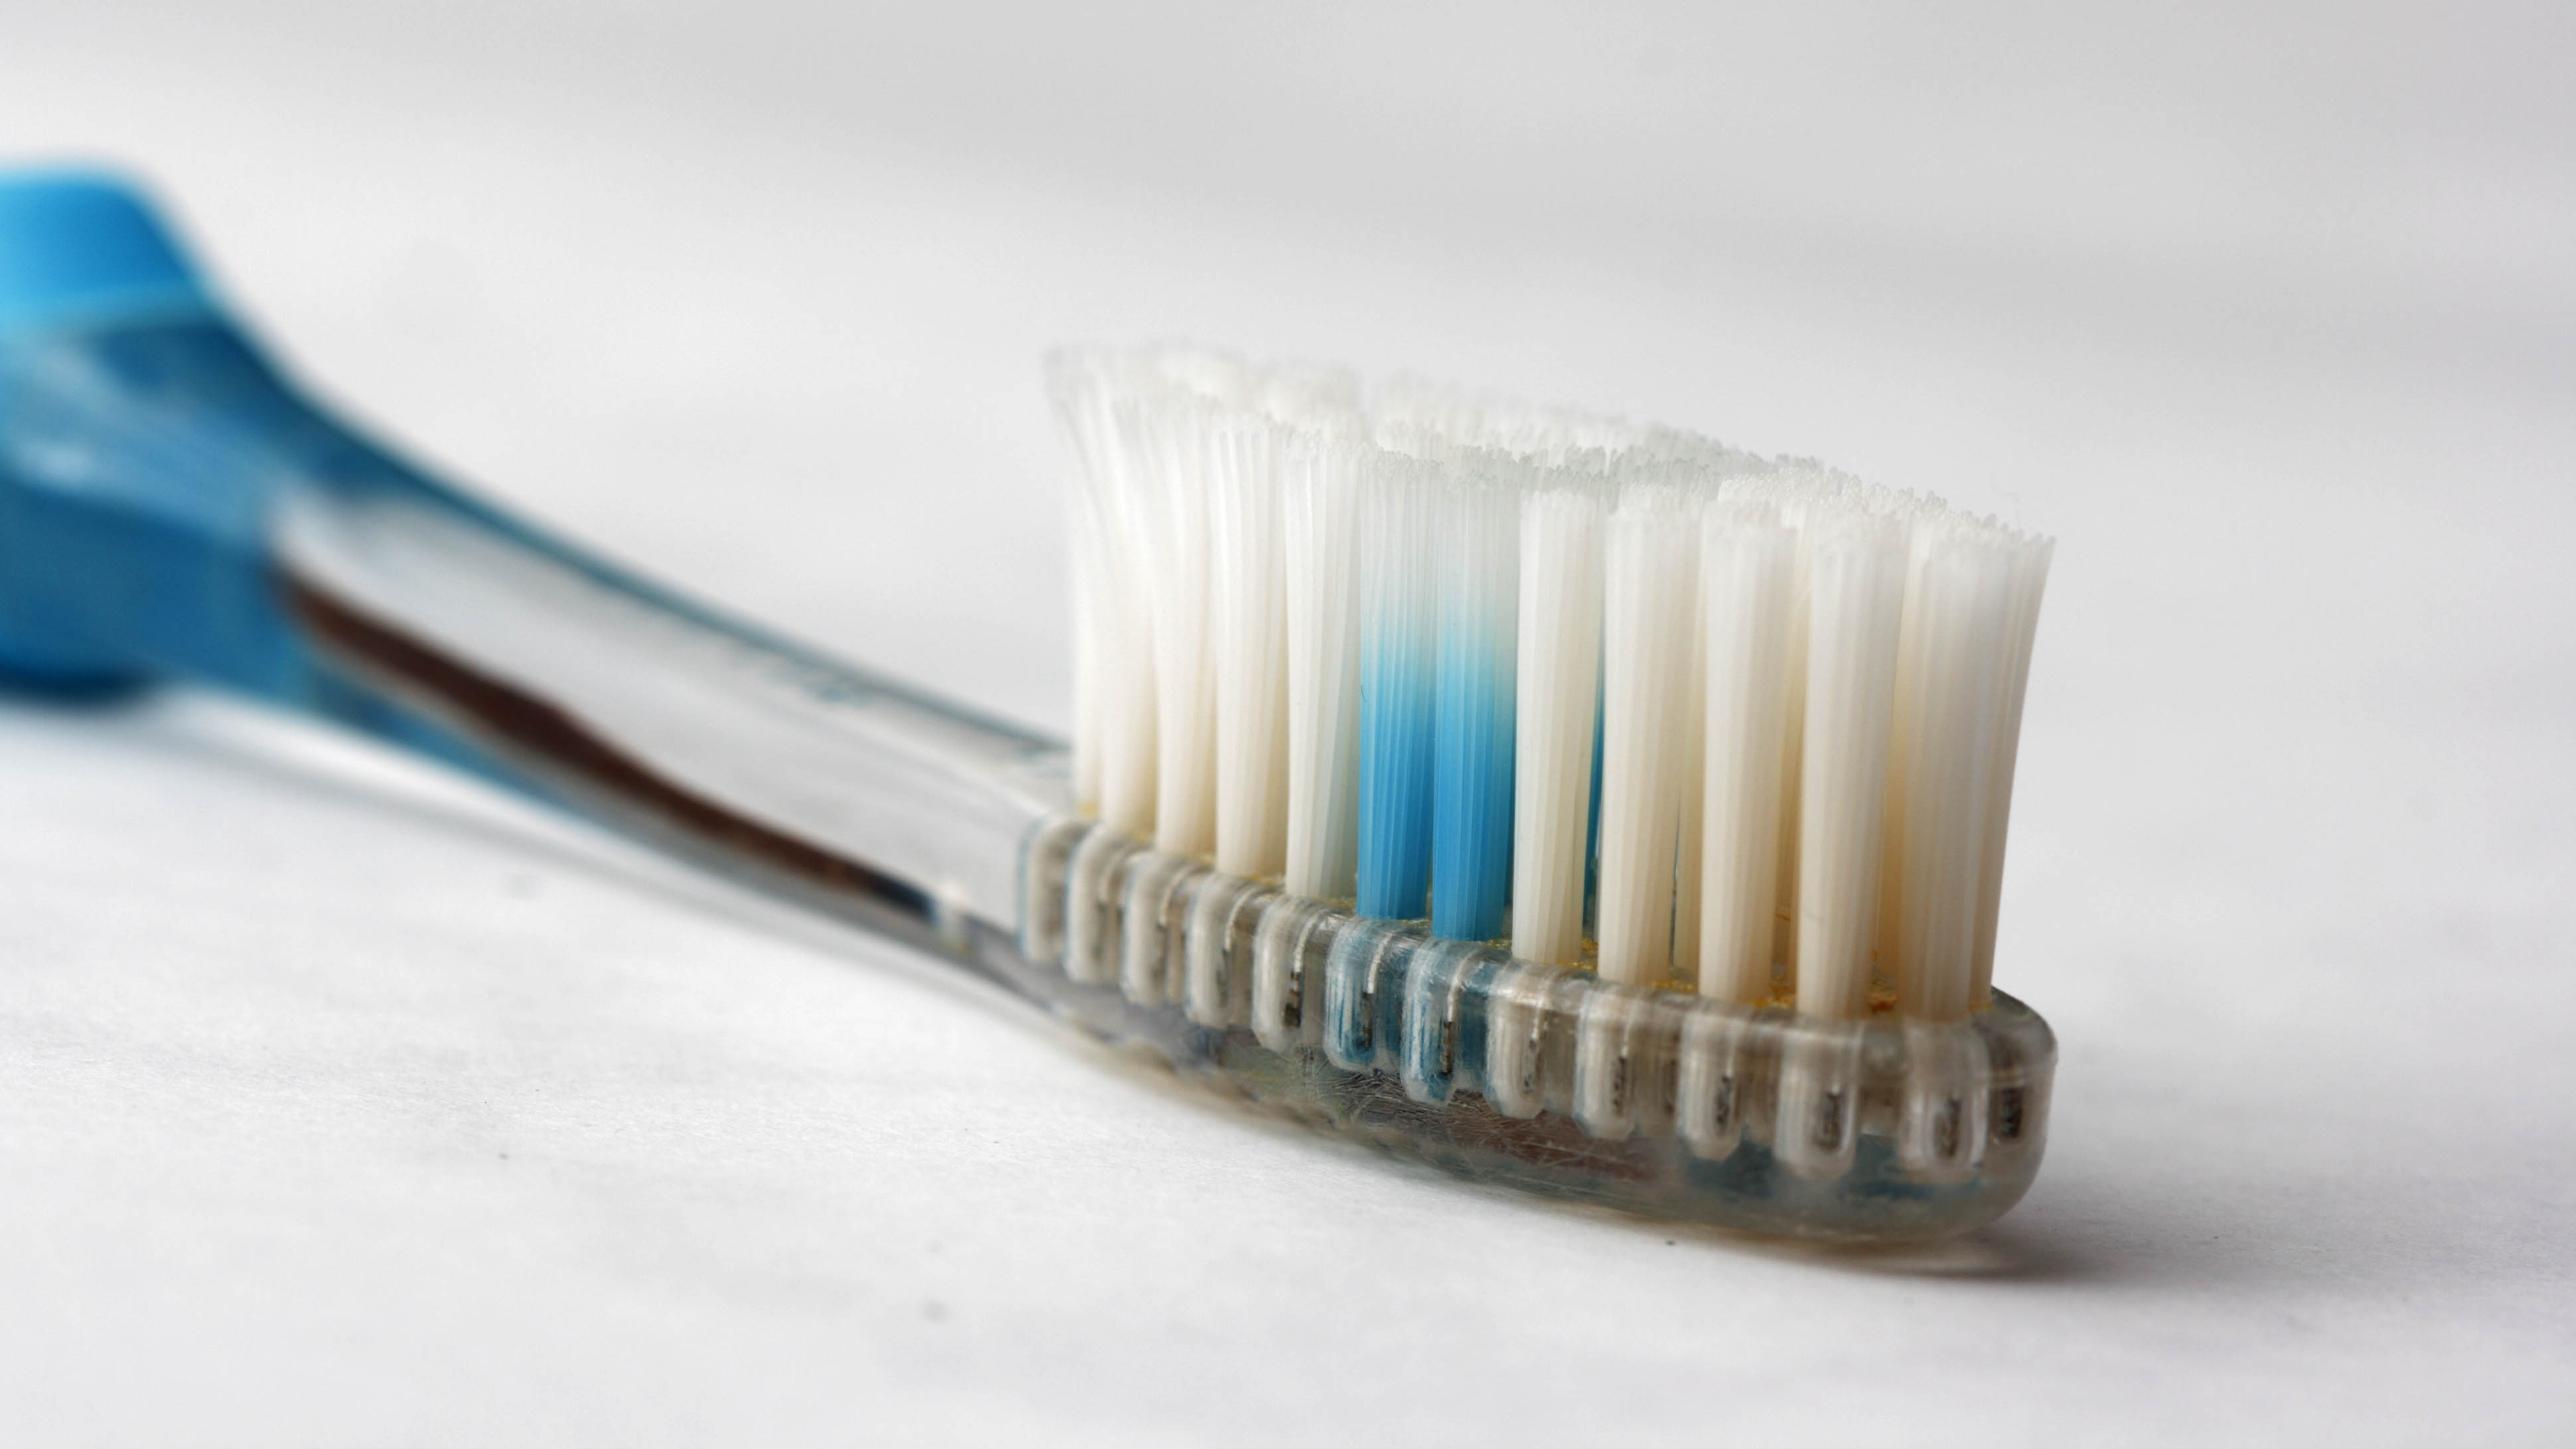
Removing the head of a Quip toothbrush may seem like a daunting task, especially if you're doing it for the first time. However, with the right technique and a little guidance, it can be a simple and straightforward process. Whether you're looking to replace the head, clean the handle, or simply inspect the components, knowing how to remove the toothbrush head is essential for maintaining your oral hygiene routine.
In this comprehensive guide, we will walk you through the step-by-step process of safely and effectively removing the head of your Quip toothbrush. By following these instructions, you'll be able to maintain the cleanliness and functionality of your toothbrush, ensuring that it continues to provide you with optimal oral care.
So, let's dive in and learn how to get a Quip toothbrush head off, allowing you to confidently manage your dental hygiene and keep your toothbrush in top condition.
Key Takeaways:
- Easily remove your Quip toothbrush head by gathering tools, gripping firmly, and twisting and pulling with patience. Keep the handle clean for a reliable and hygienic oral care routine.
- Master the art of removing your Quip toothbrush head to maintain cleanliness, functionality, and longevity. Confidence and capability empower proactive oral hygiene maintenance.
Read more: How To Open A Quip Toothbrush
Step 1: Gather the necessary tools
Before you begin the process of removing the head of your Quip toothbrush, it's important to gather the essential tools to ensure a smooth and hassle-free experience. Here's what you'll need:
-
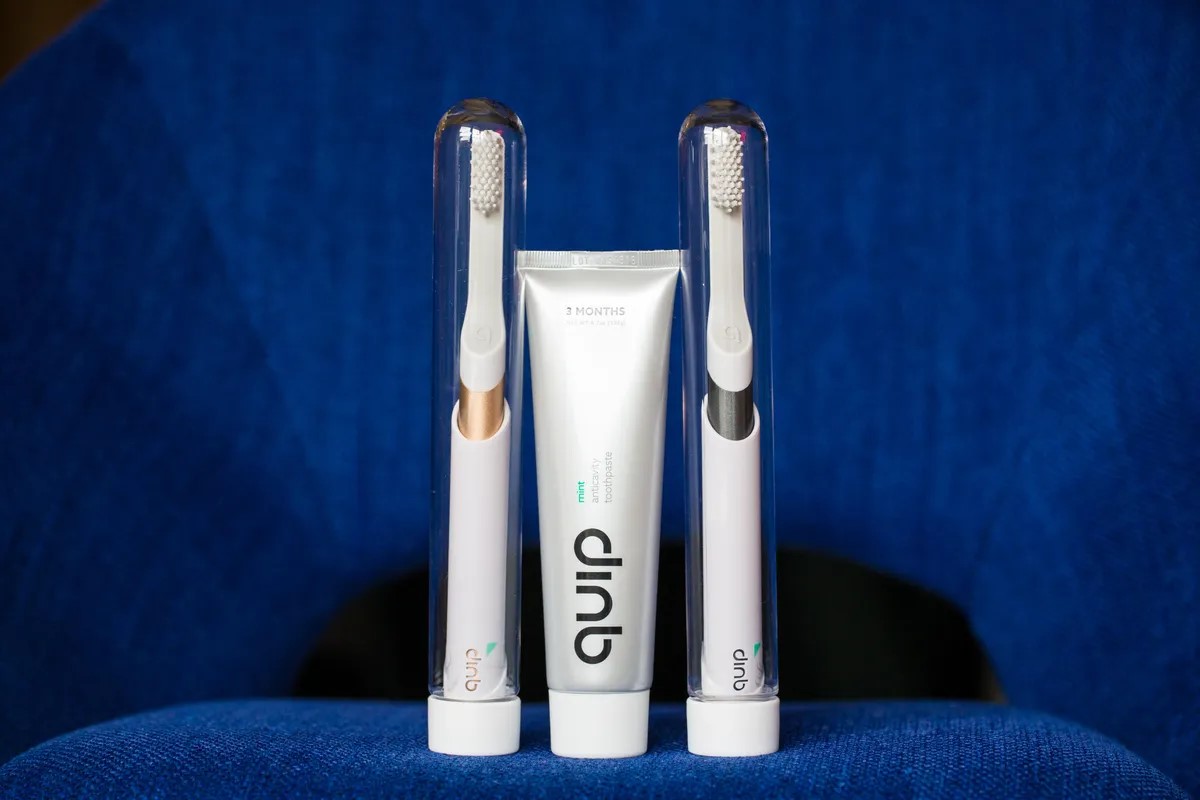
Quip Toothbrush: The first and most crucial tool is, of course, the Quip toothbrush itself. Ensure that it is clean and dry before proceeding with the head removal process.
-
Clean Cloth or Tissue: Having a clean cloth or tissue on hand is essential for wiping any excess water or debris from the toothbrush handle. This will help maintain a good grip and prevent slippage during the head removal process.
-
Sturdy Grip: While not a physical tool, a sturdy grip is crucial for successfully removing the toothbrush head. Ensure that your hands are dry and free from any slippery substances to maintain a firm hold on the toothbrush handle.
By gathering these essential tools, you'll be well-prepared to proceed with the subsequent steps of removing the Quip toothbrush head. With the right tools at your disposal, you can approach the process with confidence and precision, ensuring that your toothbrush remains in optimal condition for your oral care routine.
Step 2: Firmly grip the toothbrush handle
Once you have gathered the necessary tools, the next crucial step in removing the head of your Quip toothbrush is to firmly grip the toothbrush handle. This step is essential for providing stability and control as you proceed with the head removal process.
To begin, ensure that your hands are clean and dry. Any moisture or slippery substances on your hands can make it challenging to maintain a firm grip on the toothbrush handle. If needed, use a clean cloth or tissue to wipe the handle and your hands, removing any excess moisture or debris.
With a secure grip on the toothbrush handle, position your fingers around the handle, ensuring that your thumb and index finger provide the primary support. It's important to avoid gripping the handle too tightly, as this can lead to discomfort or strain on your hand. Instead, aim for a firm and balanced grip that allows you to maintain control without exerting excessive force.
As you prepare to remove the toothbrush head, take a moment to assess your grip and make any necessary adjustments. Ensuring that your grip is stable and comfortable will set the stage for a smooth and successful head removal process.
By firmly gripping the toothbrush handle, you establish the foundation for the subsequent steps of twisting and pulling the head. A secure grip not only provides control but also minimizes the risk of slippage or accidental damage to the toothbrush components.
With a steady hold on the handle, you are now ready to proceed to the next step of twisting and pulling the toothbrush head, which we will explore in detail in the following section.
Maintaining a firm grip on the toothbrush handle throughout the head removal process is essential for ensuring a seamless and effective experience. By prioritizing stability and control, you can confidently navigate the subsequent steps, ultimately achieving your goal of removing the Quip toothbrush head with ease and precision.
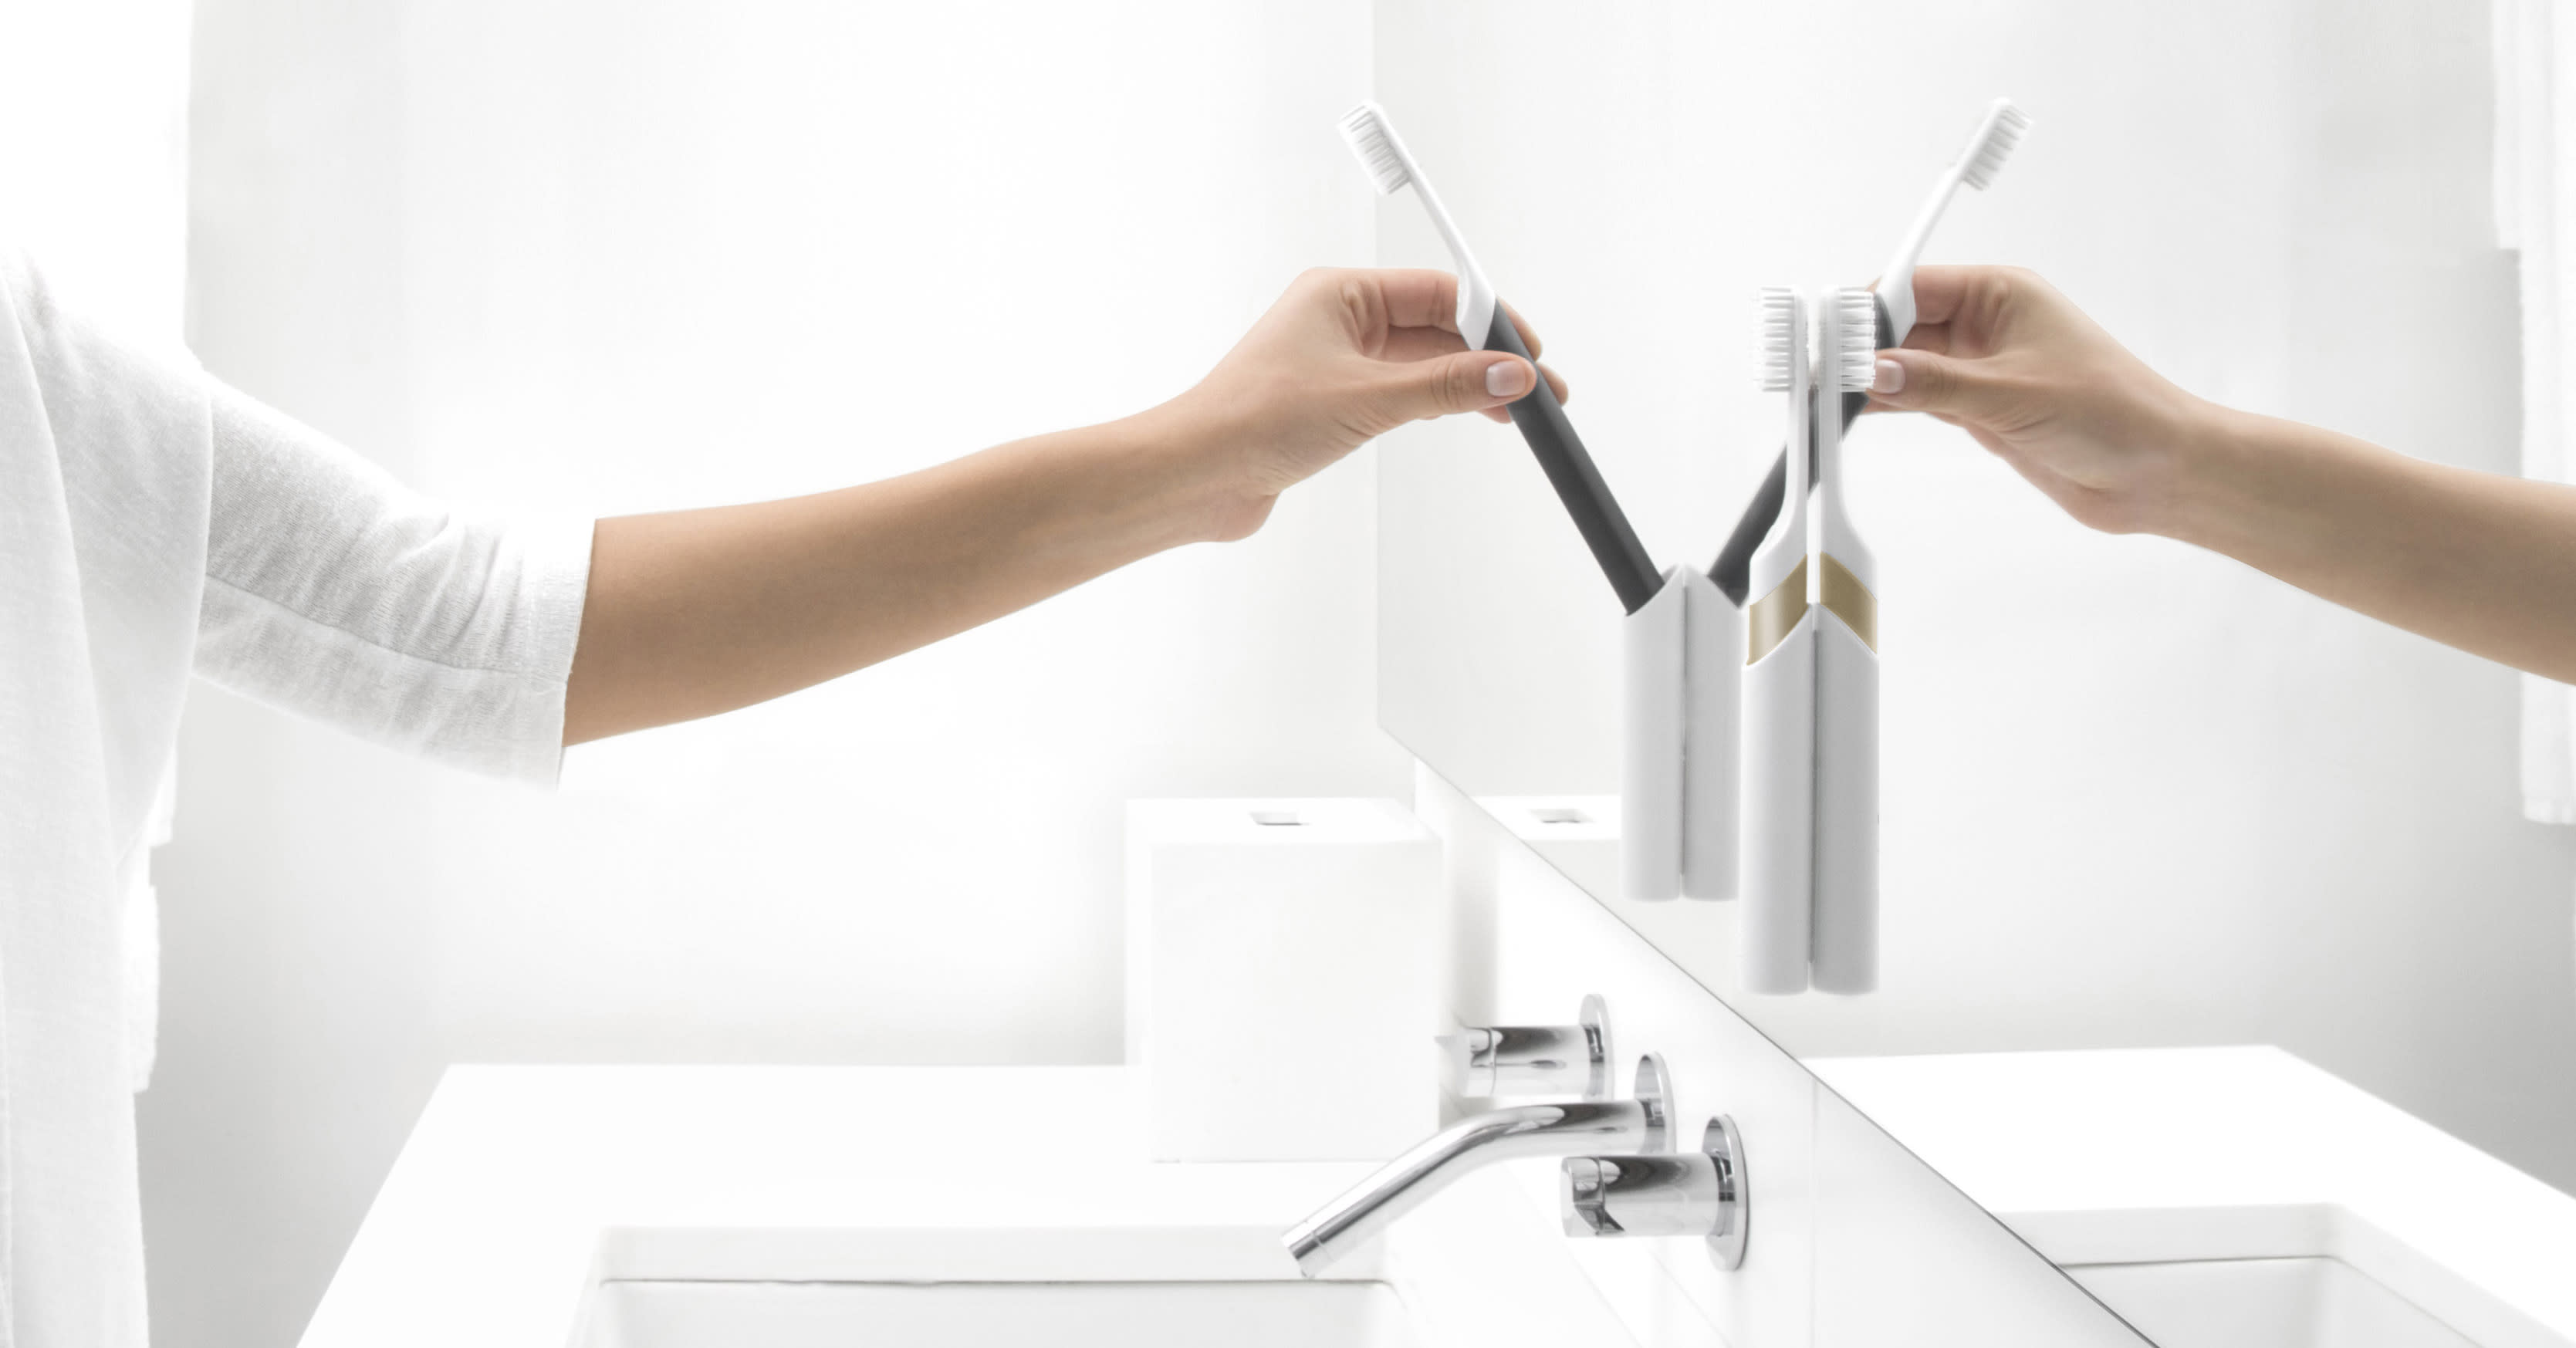
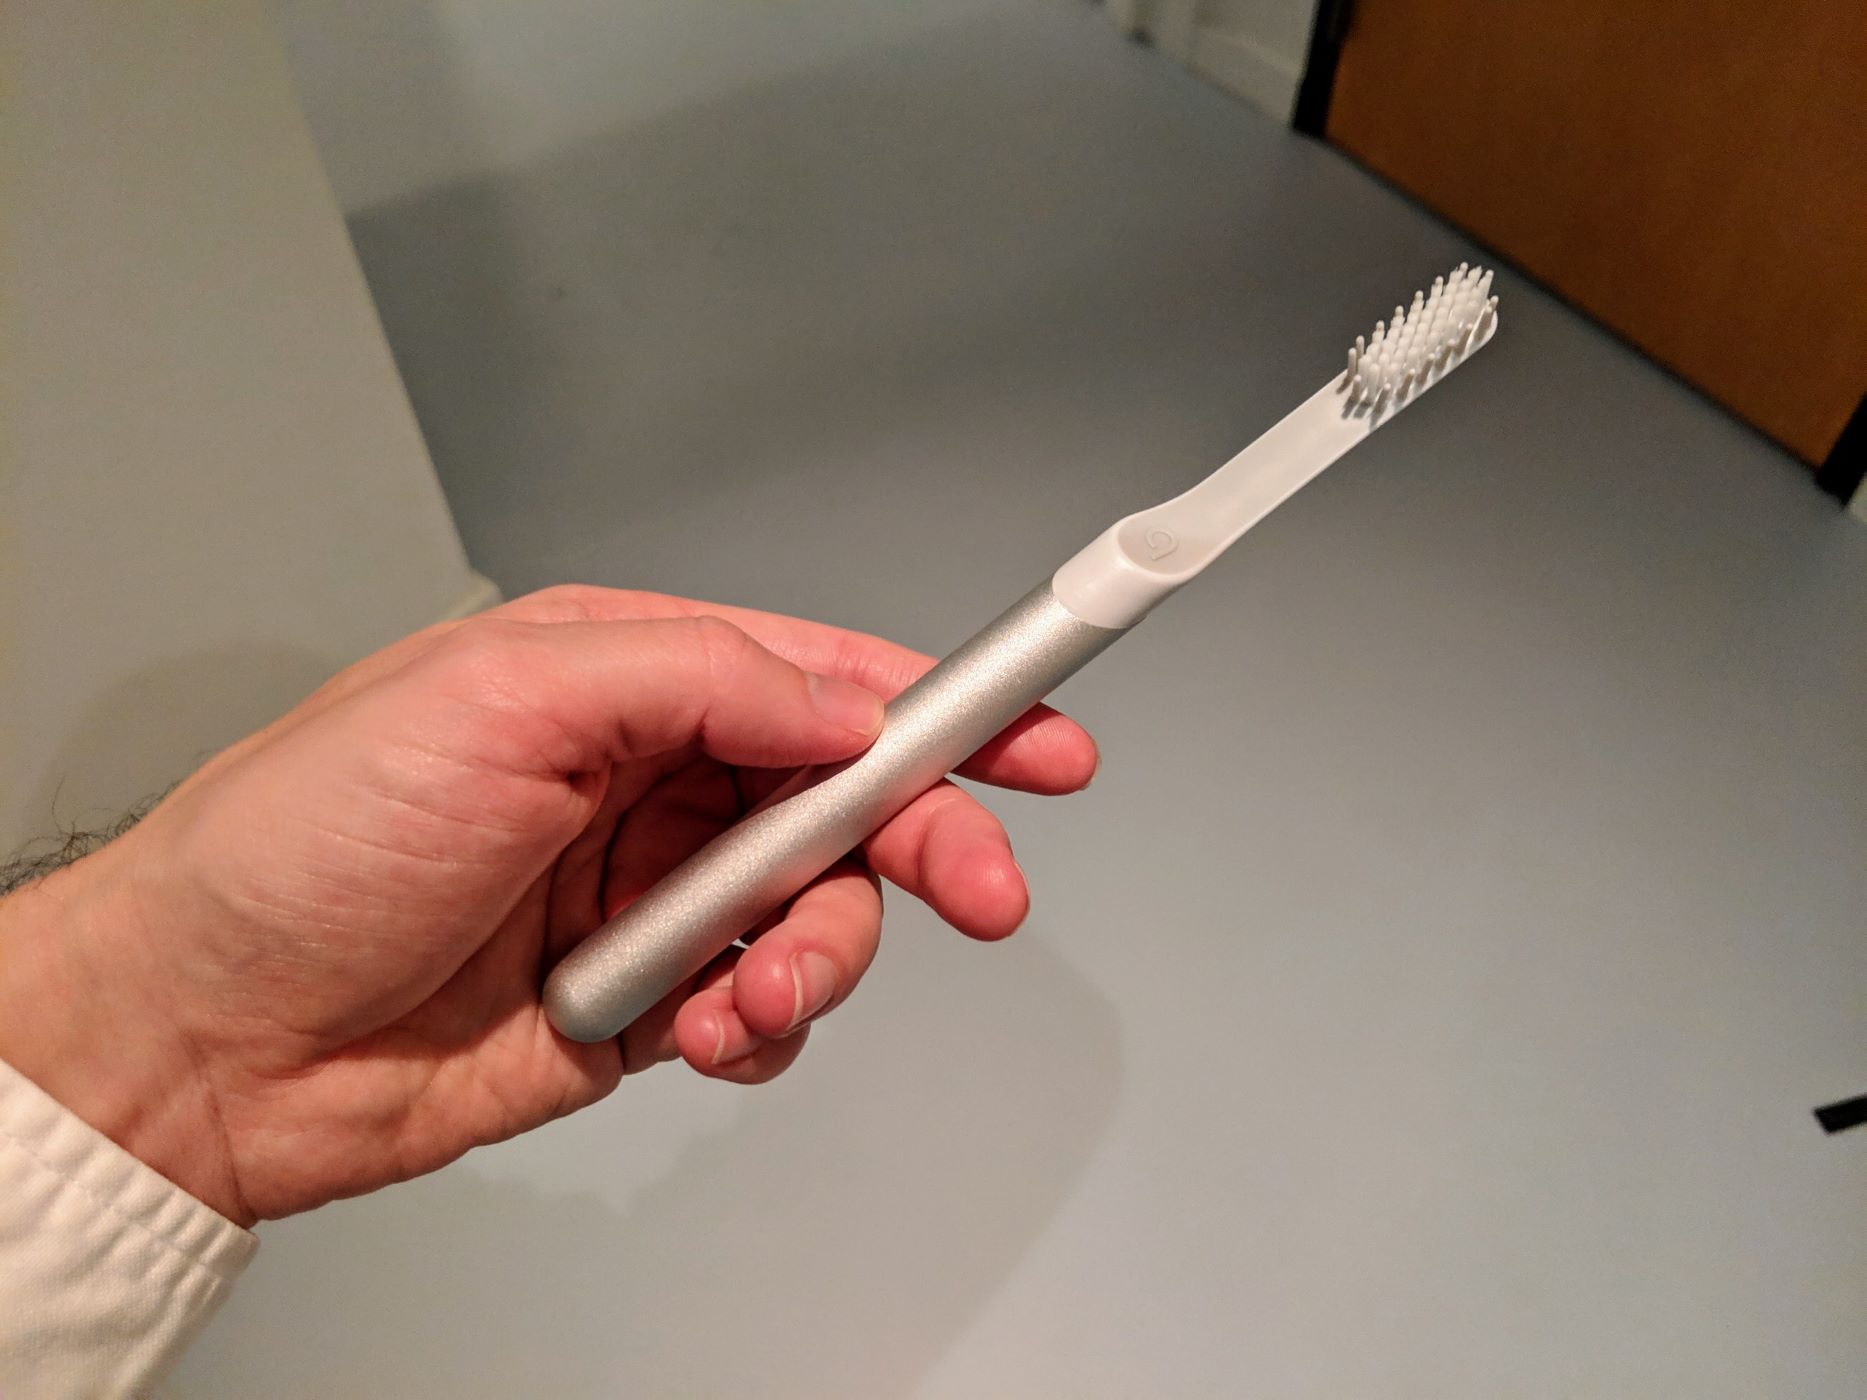
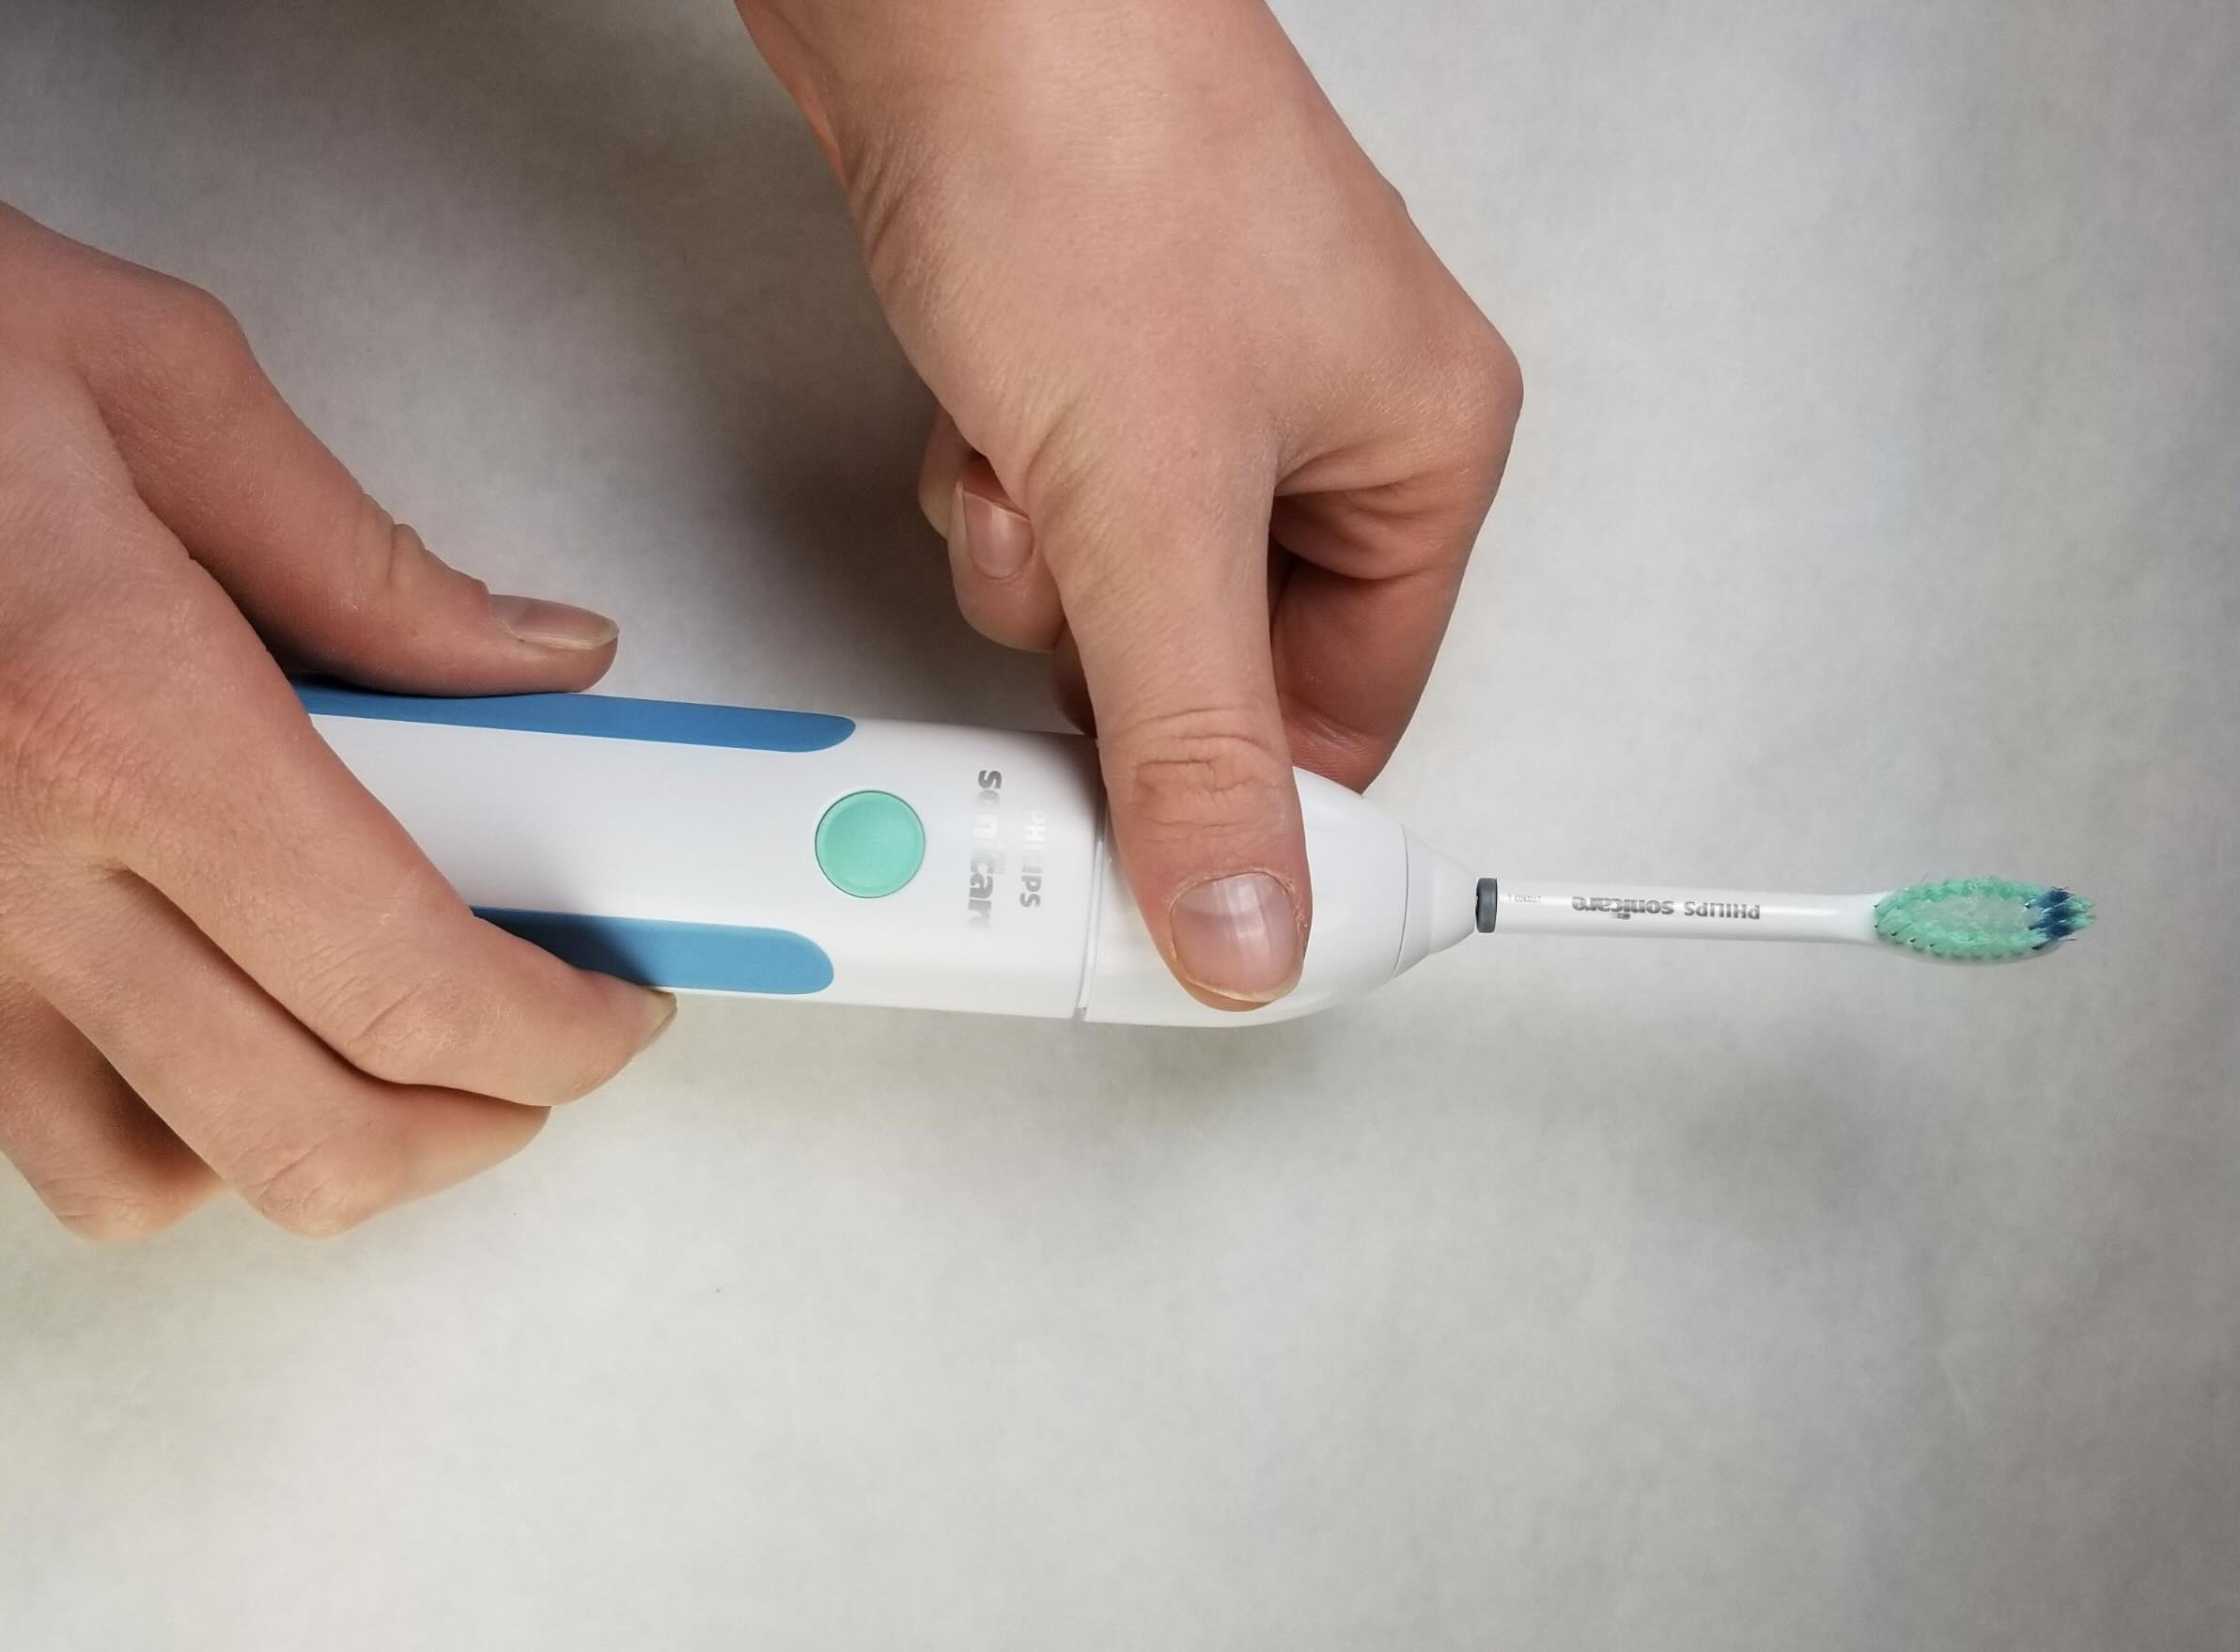
To remove a Quip toothbrush head, firmly grasp the handle and twist the head counterclockwise. It should easily come off, allowing you to replace it with a new one.
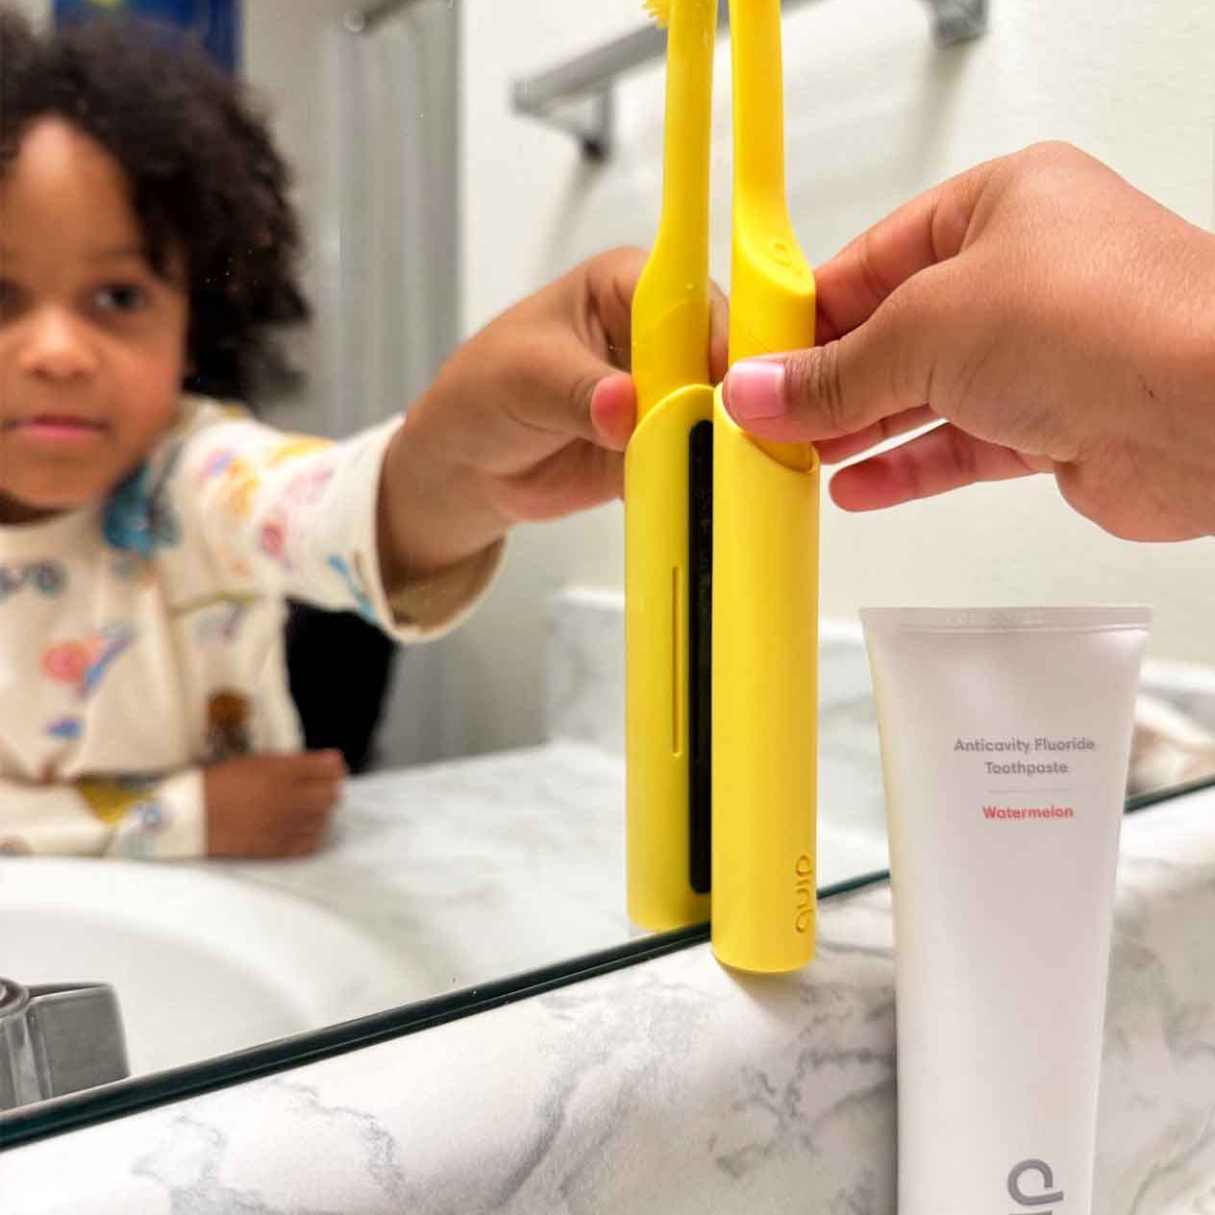
Step 3: Twist and pull the toothbrush head
With a firm grip on the toothbrush handle, the next step in removing the head of your Quip toothbrush involves the precise technique of twisting and pulling. This step requires a delicate balance of controlled force and dexterity to ensure the safe and effective separation of the head from the handle.
To initiate the process, gently place your thumb and index finger on the textured rubber grip located near the top of the toothbrush handle. This grip is designed to provide added traction and control, facilitating the twisting motion required to release the head. With your fingers positioned securely on the grip, apply gentle pressure and begin to twist the head in a counterclockwise direction.
As you initiate the twisting motion, it's important to maintain a steady and controlled force, avoiding sudden or excessive movements that could potentially damage the toothbrush components. The twisting action should be gradual and deliberate, allowing the head to loosen from its secured position on the handle.
As the head begins to loosen, you may feel a slight resistance, which is a natural part of the process. Continue to apply gentle pressure while maintaining the counterclockwise twisting motion. With patience and precision, the head will gradually disengage from the handle, signaling that it is ready to be removed.
Once the head has been sufficiently loosened through the twisting motion, it's time to proceed with the pulling action. With the same firm grip on the handle, use your other hand to grasp the head firmly, ensuring that your fingers are positioned securely around the base of the head. Applying even pressure, gently pull the head away from the handle in a straight, vertical motion.
As you pull the head, it's important to maintain a consistent and controlled force, allowing the head to detach smoothly from the handle. Avoid jerky or abrupt movements, as these can increase the risk of damage to the toothbrush components. By exerting steady and even pressure, you can ensure a seamless and safe removal of the head.
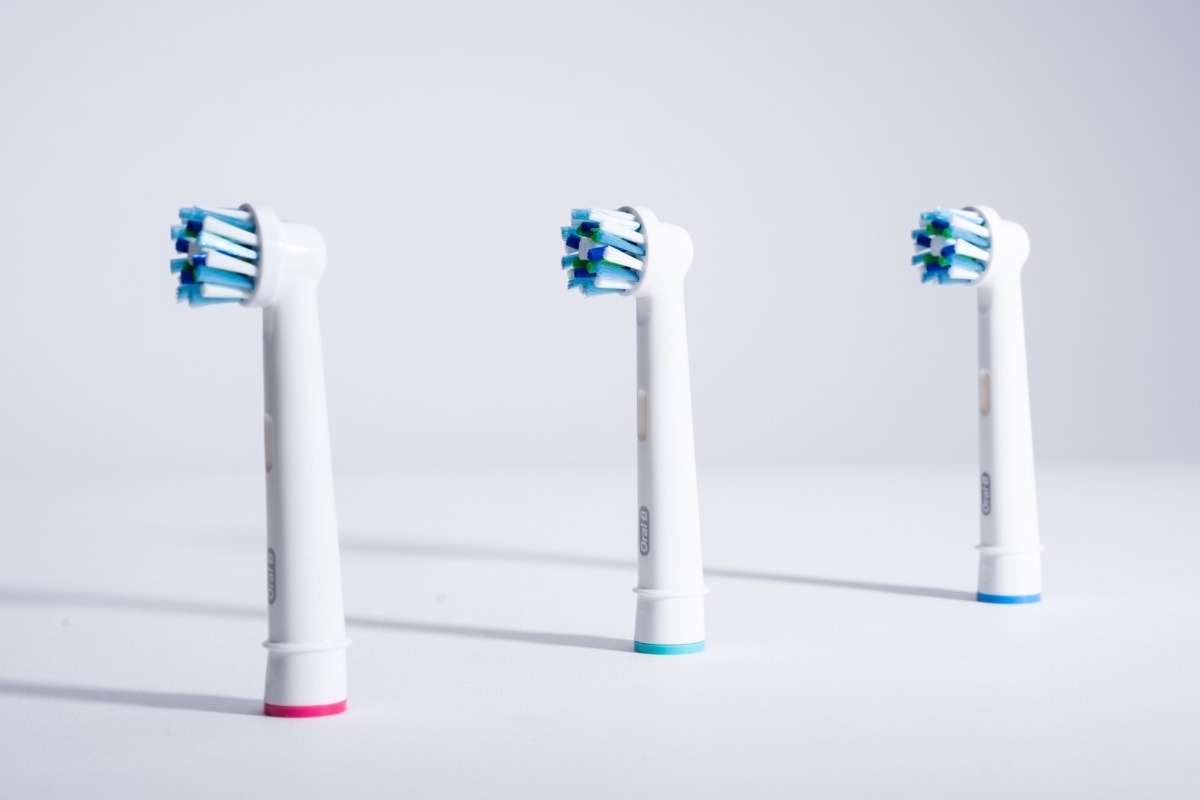
Once the head has been successfully removed, take a moment to inspect the handle and head for any residual moisture or debris. Wipe the components with a clean cloth or tissue to ensure that they are dry and free from any contaminants. This simple yet important step will help maintain the cleanliness and functionality of your Quip toothbrush.
By following these precise steps of twisting and pulling, you can confidently remove the head of your Quip toothbrush, allowing you to replace, clean, or inspect the components as needed. With patience and attention to detail, you can master the technique of head removal, ensuring that your toothbrush remains a reliable tool for your oral care routine.
Step 4: Clean the toothbrush handle
After successfully removing the head of your Quip toothbrush, it's essential to pay attention to the cleanliness of the handle. Cleaning the toothbrush handle not only maintains its aesthetic appeal but also ensures hygienic usage and prolongs the lifespan of the device.
Begin by inspecting the handle for any residual toothpaste, water, or debris that may have accumulated during regular use. Use a clean, damp cloth to wipe the entire handle, focusing on areas where buildup is commonly found. Pay close attention to the textured rubber grip, as it can harbor moisture and particles if not cleaned regularly.
For stubborn residue or discoloration, a gentle cleaning solution can be used. Mix a small amount of mild liquid soap with water to create a cleaning solution. Dampen a cloth with the solution and gently scrub the handle, taking care to avoid excessive moisture near the electronic components at the base of the toothbrush.
Once the handle is clean, use a dry cloth to thoroughly dry the entire surface, ensuring that no moisture remains. It's important to prevent water from seeping into the internal components of the toothbrush, as this can compromise its functionality.
In addition to external cleaning, it's beneficial to periodically sanitize the handle to eliminate any lingering bacteria or germs. This can be achieved by using a disinfectant wipe or a mild antibacterial solution. After applying the sanitizing agent, allow the handle to air dry completely before reattaching the toothbrush head.
By maintaining a clean and sanitized handle, you not only enhance the overall hygiene of your oral care routine but also contribute to the longevity of your Quip toothbrush. Regular cleaning and maintenance ensure that the handle remains in optimal condition, providing you with a reliable and hygienic tool for your daily oral care needs.
With the toothbrush handle now clean and refreshed, you can confidently reattach the head and continue to benefit from the effective and convenient oral care that the Quip toothbrush offers. Prioritizing the cleanliness and maintenance of the handle is a simple yet crucial step in preserving the functionality and hygiene of your toothbrush.
Read more: How To Charge A Quip Toothbrush
Conclusion
In conclusion, mastering the art of removing the head of a Quip toothbrush is a valuable skill that empowers individuals to maintain the cleanliness, functionality, and longevity of their oral care device. By following the step-by-step process outlined in this guide, you can confidently navigate the head removal process, ensuring that your Quip toothbrush remains a reliable tool for your daily oral hygiene routine.
The journey begins with gathering the necessary tools, including the Quip toothbrush itself, a clean cloth or tissue, and a sturdy grip. These essential tools set the stage for a seamless and effective head removal experience, providing you with the confidence and preparedness to proceed with the subsequent steps.
Firmly gripping the toothbrush handle is a critical step that establishes the foundation for the head removal process. By maintaining a secure and balanced grip, you lay the groundwork for the precise twisting and pulling actions that follow. A steady hold on the handle not only provides control but also minimizes the risk of slippage or accidental damage to the toothbrush components.
The technique of twisting and pulling the toothbrush head requires a delicate balance of controlled force and dexterity. Through gradual and deliberate motions, you can safely disengage the head from the handle, ultimately achieving a smooth and seamless removal. This precise technique ensures that the toothbrush components remain intact and undamaged throughout the process.
Once the head has been successfully removed, attention turns to the cleanliness of the toothbrush handle. By thoroughly cleaning and sanitizing the handle, you contribute to the overall hygiene and longevity of your Quip toothbrush, ensuring that it continues to provide you with optimal oral care.
In mastering the process of removing the Quip toothbrush head, you gain the confidence and capability to replace, clean, or inspect the components as needed. This empowerment allows you to take proactive measures in maintaining your oral hygiene routine, ensuring that your toothbrush remains a reliable and effective tool for your daily oral care needs.
By incorporating these steps into your oral care routine, you not only enhance the functionality and cleanliness of your Quip toothbrush but also contribute to the overall health and well-being of your oral cavity. With the knowledge and skill to confidently remove the head of your Quip toothbrush, you are well-equipped to prioritize your oral hygiene and maintain a healthy, radiant smile for years to come.
Frequently Asked Questions about How To Get A Quip Toothbrush Head Off
Was this page helpful?
At Storables.com, we guarantee accurate and reliable information. Our content, validated by Expert Board Contributors, is crafted following stringent Editorial Policies. We're committed to providing you with well-researched, expert-backed insights for all your informational needs.


0 thoughts on “How To Get A Quip Toothbrush Head Off”