Home>Furniture & Design>Bathroom Accessories>How To Clean A Moldy Toilet Brush

Bathroom Accessories
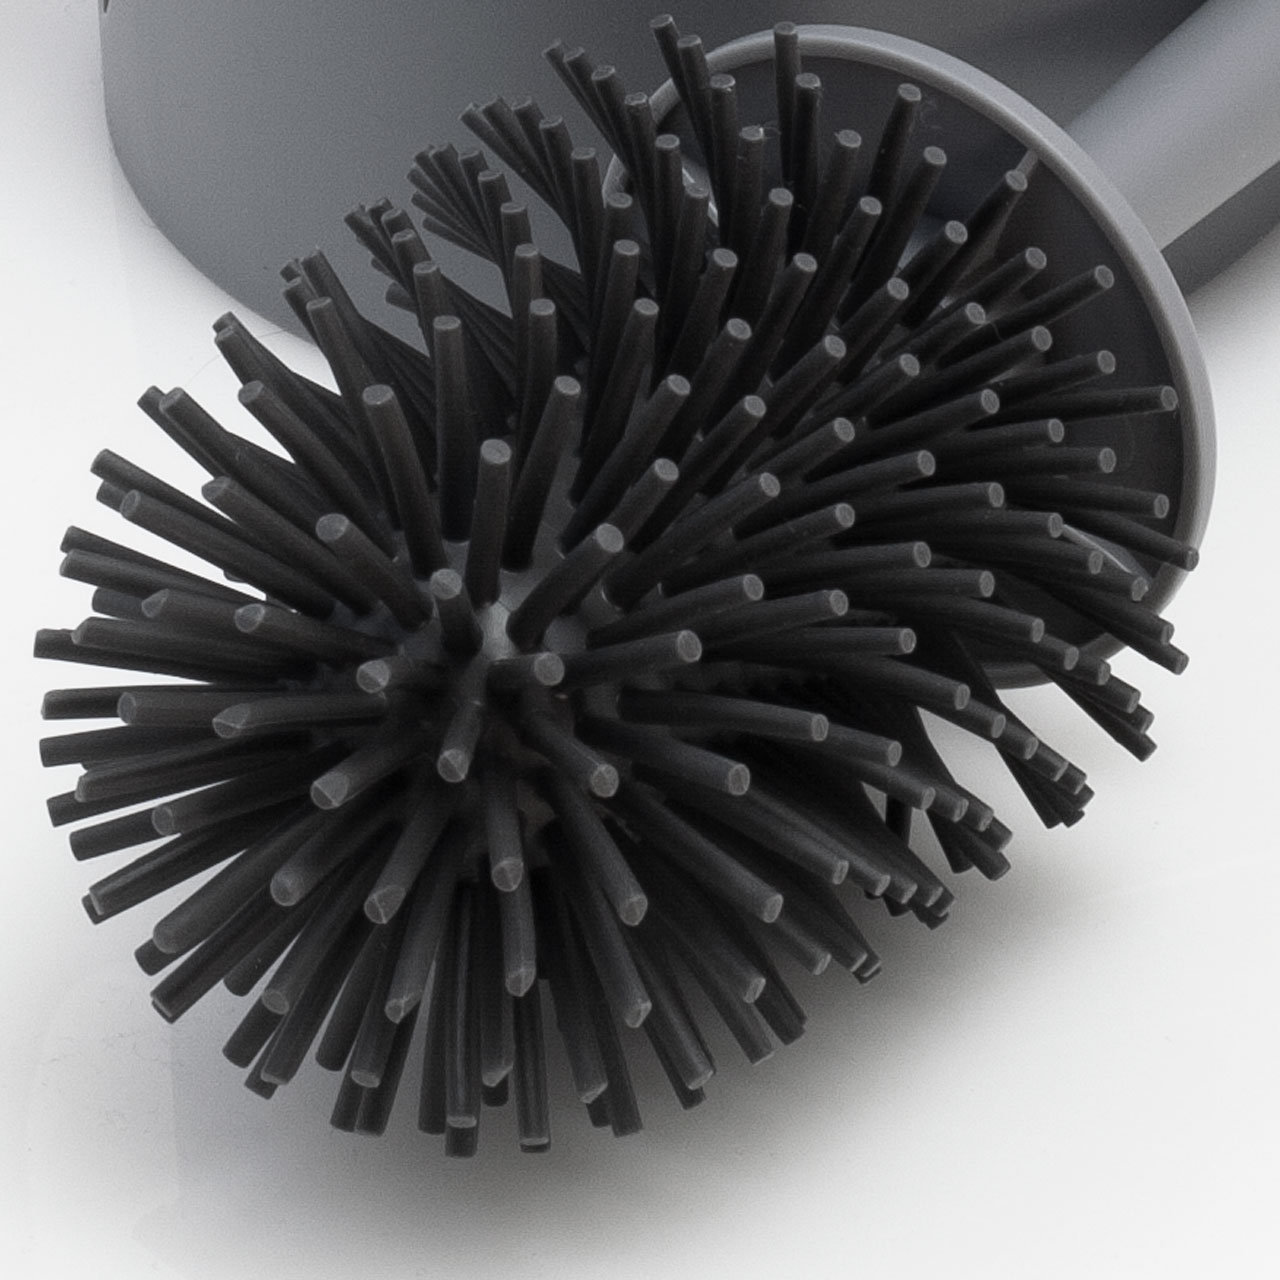
How To Clean A Moldy Toilet Brush
Modified: March 2, 2024
Learn how to effectively clean a moldy toilet brush and keep your bathroom accessories fresh and hygienic. Follow our simple tips for a cleaner, healthier bathroom.
(Many of the links in this article redirect to a specific reviewed product. Your purchase of these products through affiliate links helps to generate commission for Storables.com, at no extra cost. Learn more)
Introduction
Cleaning the bathroom is a chore that most of us would rather avoid, but it's a necessary task to maintain a hygienic and pleasant living environment. While we often focus on cleaning the toilet bowl, sink, and shower, one essential bathroom accessory that is often overlooked is the toilet brush. Over time, a toilet brush can become a breeding ground for mold, mildew, and bacteria, which can lead to unpleasant odors and potential health risks. Therefore, it's crucial to regularly clean and sanitize the toilet brush to ensure a clean and healthy bathroom.
In this comprehensive guide, we will walk you through the step-by-step process of effectively cleaning a moldy toilet brush. By following these simple yet effective methods, you can restore your toilet brush to a hygienic state and eliminate any unsightly mold and bacteria buildup. With the right supplies and a little effort, you can ensure that your toilet brush remains a clean and sanitary tool for maintaining a sparkling bathroom.
Cleaning a moldy toilet brush not only improves the overall cleanliness of your bathroom but also helps to prevent the spread of germs and bacteria. By incorporating this essential task into your regular cleaning routine, you can create a healthier and more inviting bathroom environment for yourself and your family. So, let's dive into the step-by-step process of reviving your moldy toilet brush and reclaiming a fresh and hygienic bathroom space.
Key Takeaways:
- Regularly cleaning and sanitizing your toilet brush is crucial for a clean and healthy bathroom. Use natural solutions like vinegar and baking soda for an eco-friendly approach.
- Thoroughly rinse, soak, scrub, and dry your toilet brush to eliminate mold and bacteria, ensuring a revitalized and hygienic bathroom accessory.
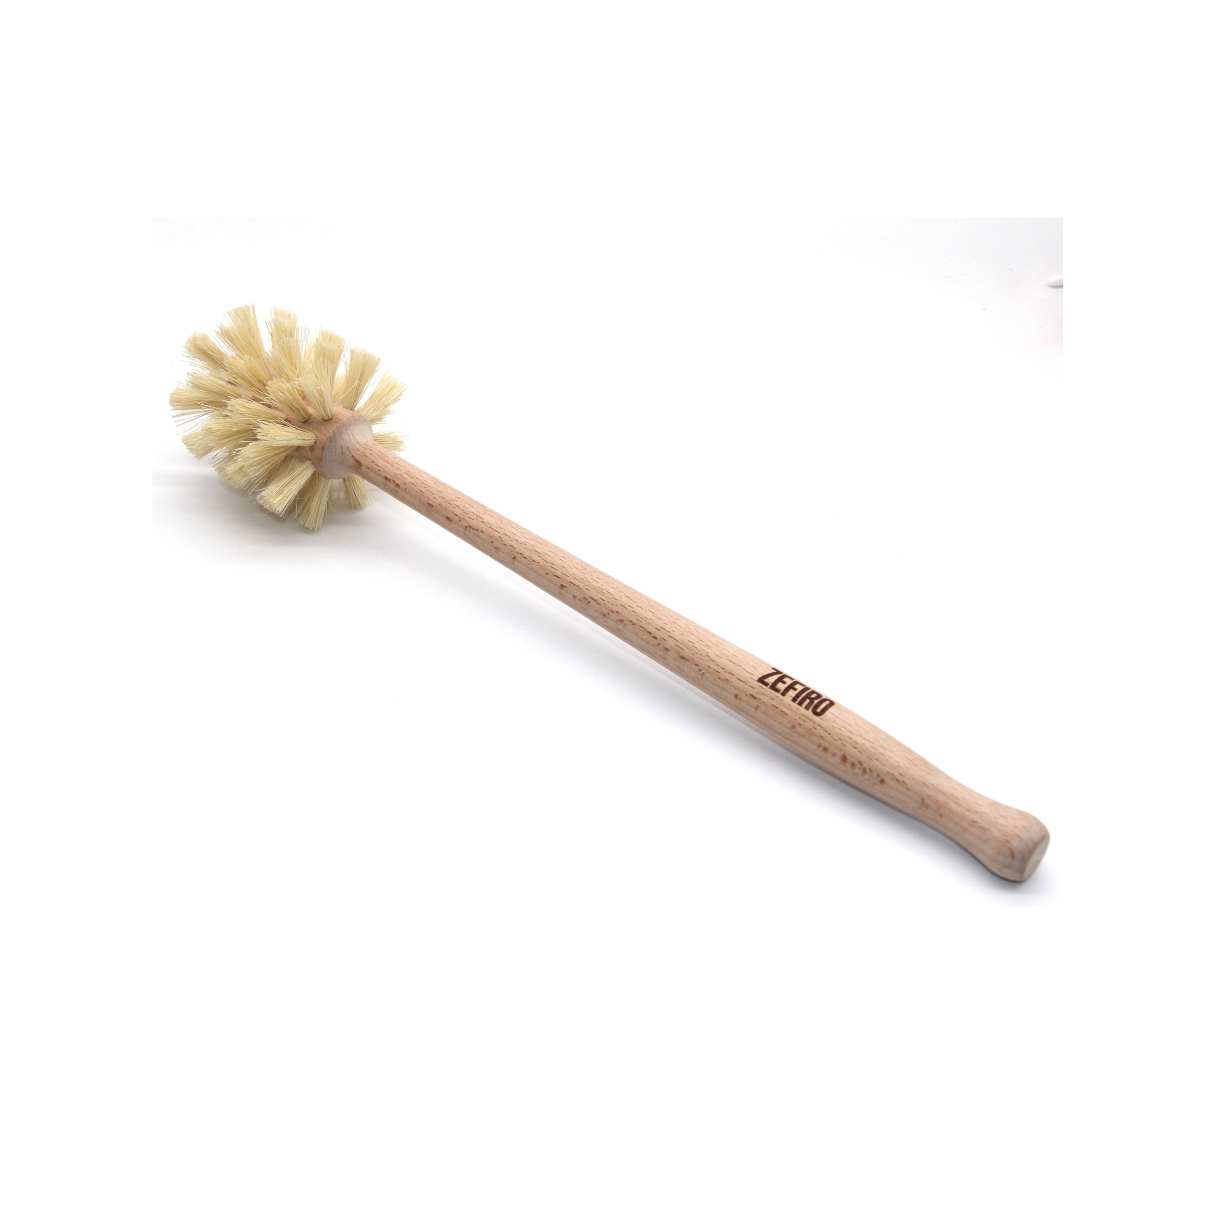
Read more: How To Clean A Toilet Brush
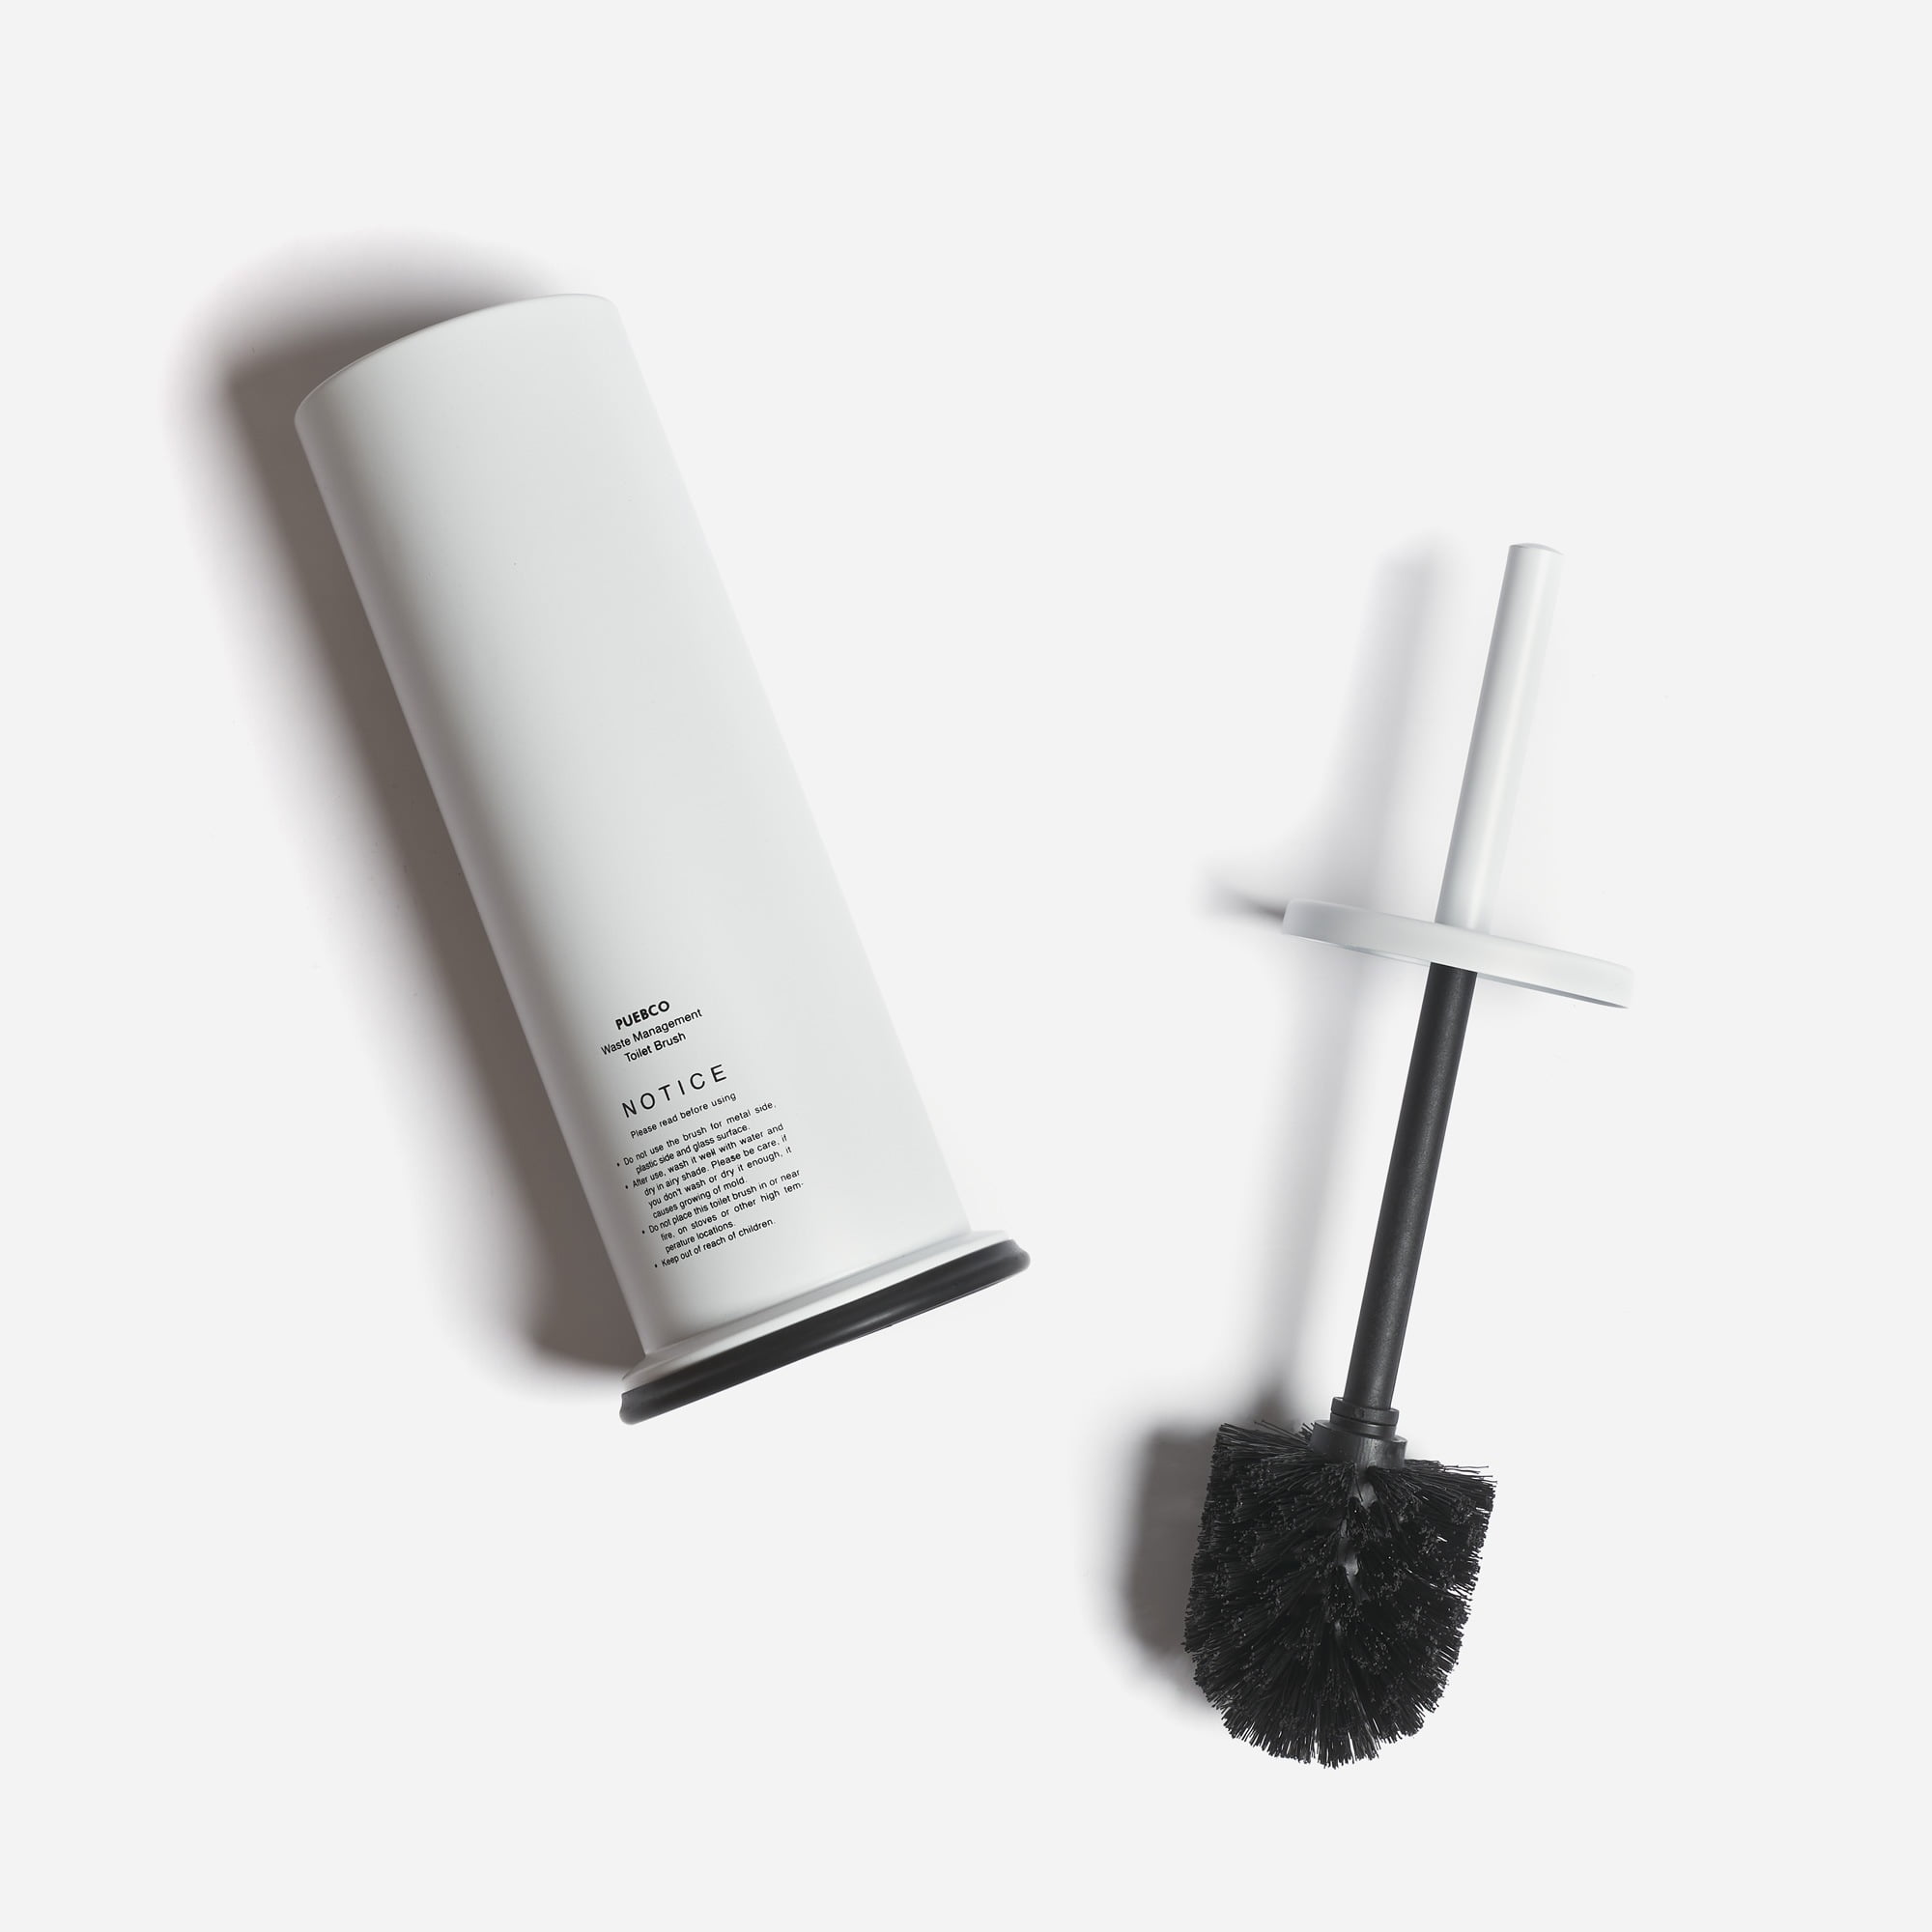
Step 1: Gather the necessary supplies
Before embarking on the task of cleaning a moldy toilet brush, it's essential to gather the necessary supplies to ensure an effective and thorough cleaning process. Having the right tools and cleaning agents at your disposal will streamline the task and help you achieve optimal results. Here's a comprehensive list of supplies you'll need:
-
Rubber Gloves: To protect your hands from coming into direct contact with any mold, mildew, or bacteria present on the toilet brush.
-
Cleaning Solution: You can opt for a commercial bathroom cleaner, bleach, or a natural cleaning solution such as white vinegar or baking soda. These cleaning agents are effective in disinfecting and removing mold and bacteria.
-
Bucket or Container: A container large enough to accommodate the toilet brush for soaking in the cleaning solution.
-
Scrub Brush: A separate scrub brush or an old toothbrush dedicated to cleaning tasks. This will be used to scrub the bristles of the toilet brush thoroughly.
-
Hot Water: Hot water is effective in loosening and removing stubborn mold and grime from the toilet brush.
-
Sink or Tub: A suitable area for rinsing and soaking the toilet brush.
-
Ventilated Area: Ensure that the cleaning process takes place in a well-ventilated area to minimize exposure to strong cleaning agents and odors.
By gathering these supplies, you'll be well-equipped to tackle the task of cleaning a moldy toilet brush effectively. With the right tools and cleaning agents in hand, you can proceed to the subsequent steps with confidence, knowing that you have everything you need to restore your toilet brush to a clean and sanitary condition.
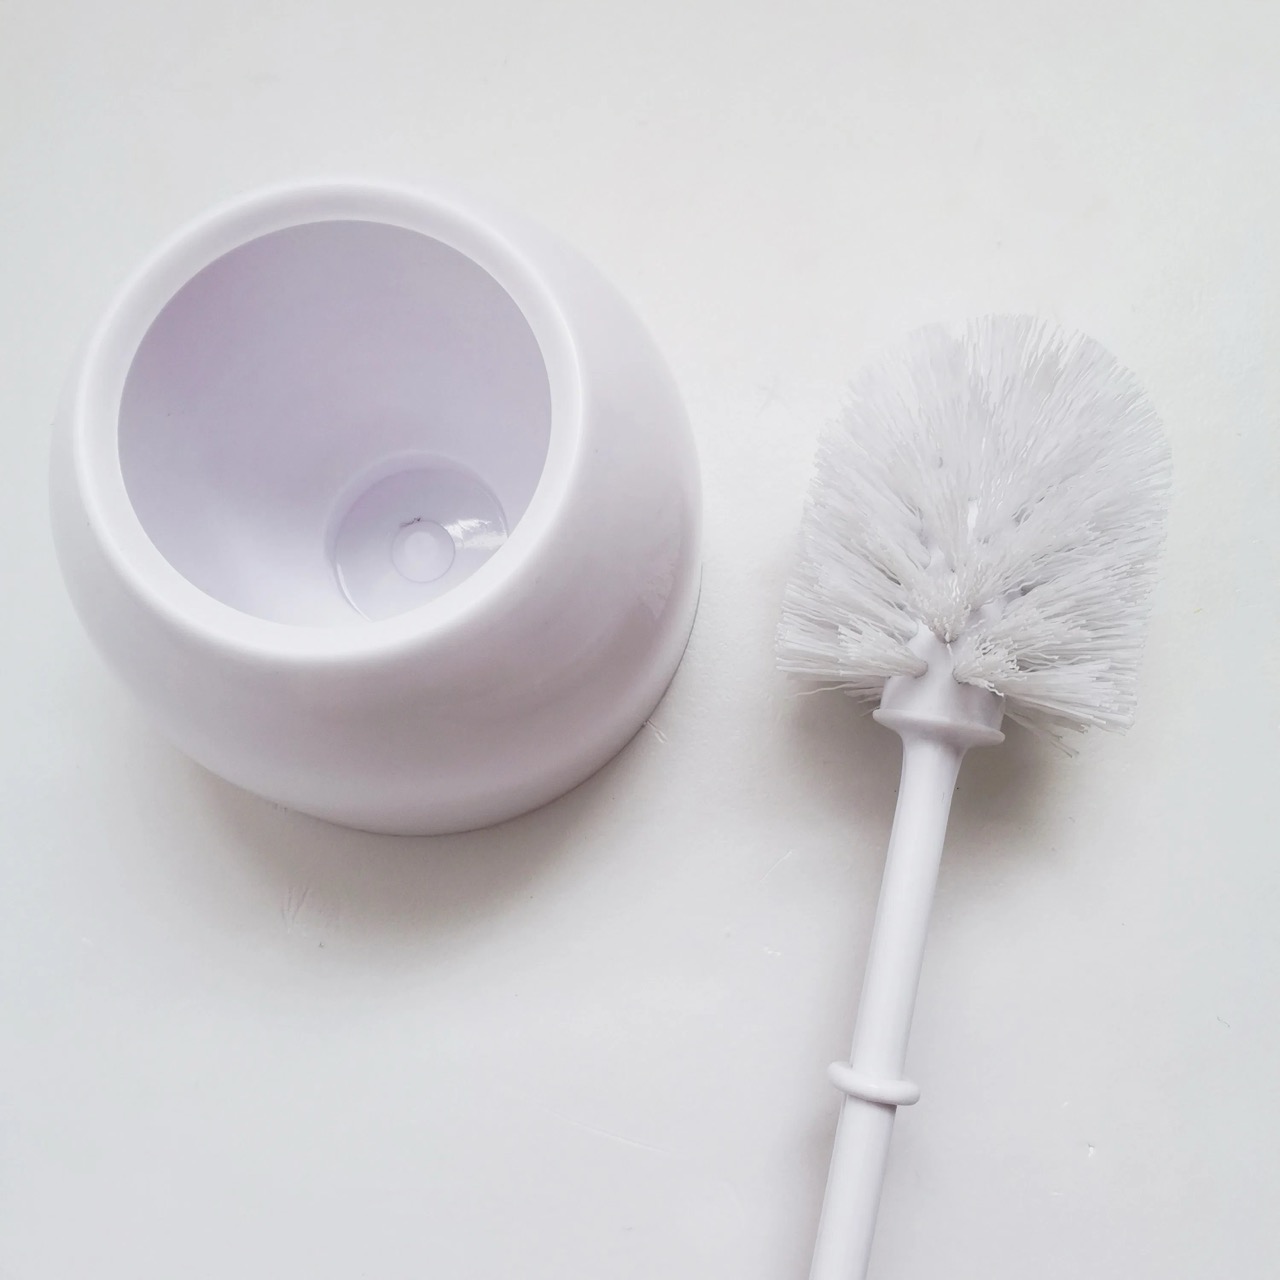
Step 2: Remove the toilet brush from its holder
To begin the process of cleaning a moldy toilet brush, the first step is to carefully remove the brush from its holder. Depending on the design of your toilet brush holder, you may need to twist, lift, or unclip the brush to detach it from the holder. It's essential to handle the brush with care to prevent any splattering of water or cleaning solution, especially if the brush has been used recently.
Once the brush is removed, it's advisable to place it on a suitable surface that can withstand potential drips or spills during the cleaning process. This could be a sink, bathtub, or a designated cleaning area. By removing the brush from its holder, you create a clear and accessible space to thoroughly clean and sanitize the entire brush, including the bristles and handle.
Removing the brush from its holder also allows for a closer inspection of any mold, mildew, or grime that may have accumulated not only on the bristles but also in the holder itself. This presents an opportunity to clean the holder and ensure that no residual mold or bacteria remains in the vicinity of the toilet brush.
By taking the time to properly remove the toilet brush from its holder, you set the stage for a comprehensive cleaning process that addresses all areas of potential mold and bacteria buildup. This initial step is crucial in preparing the brush for the subsequent cleaning and sanitizing procedures, ultimately leading to a fresh and hygienic toilet brush that is ready for future use.
With the toilet brush successfully removed from its holder, you are now ready to proceed to the next steps in the cleaning process, which will involve thorough rinsing, soaking, and scrubbing to eliminate any mold and bacteria present on the brush.
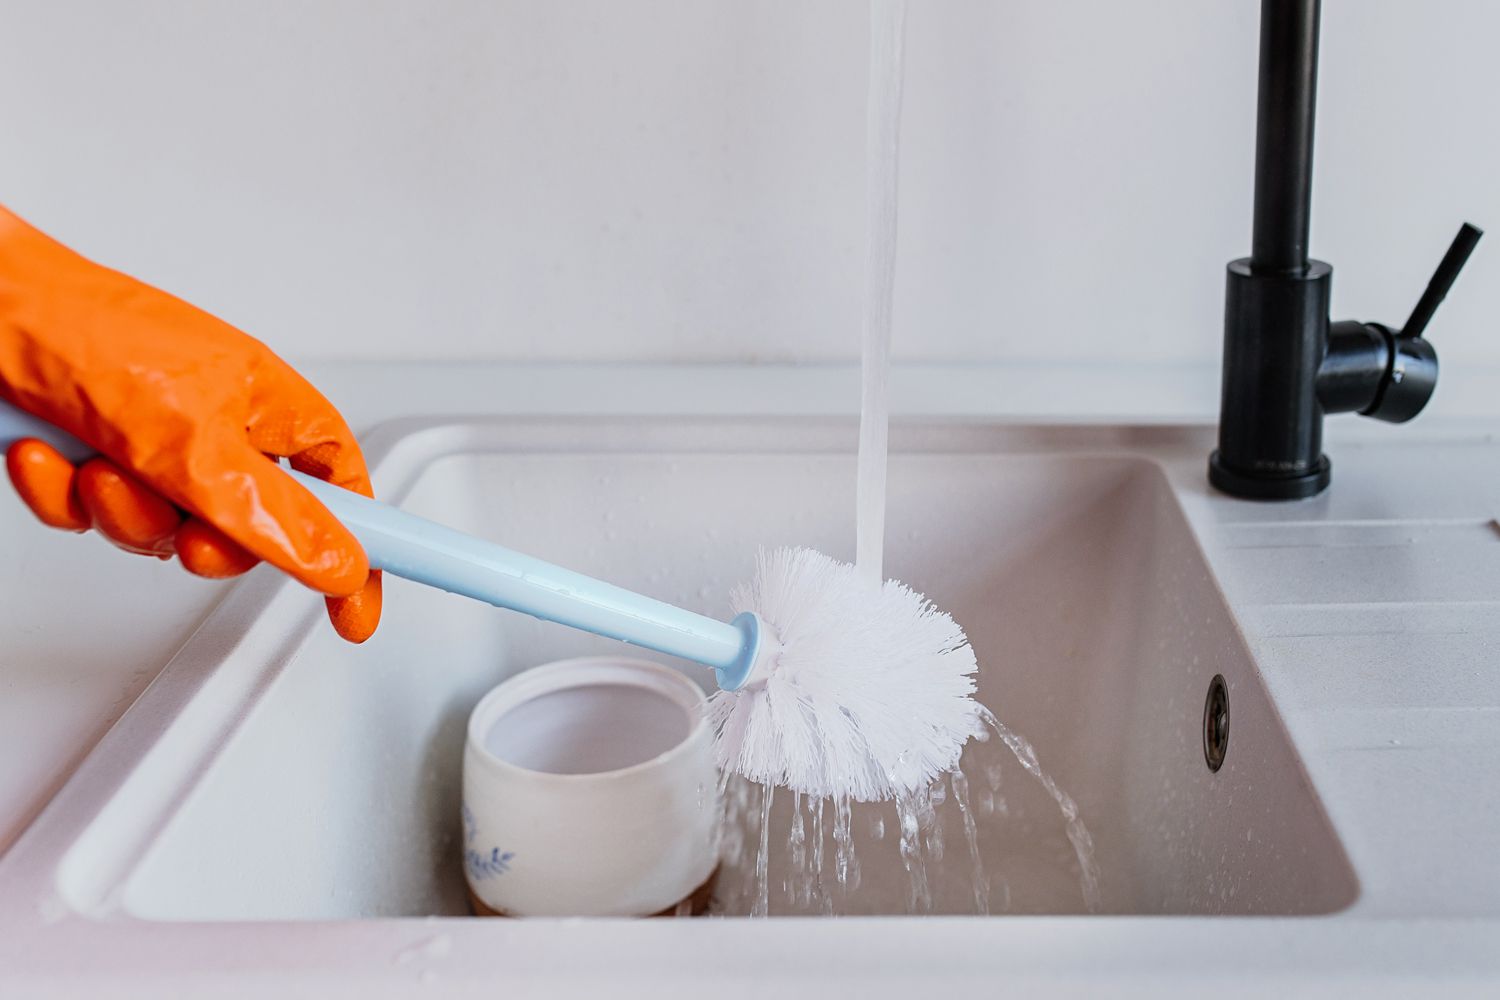
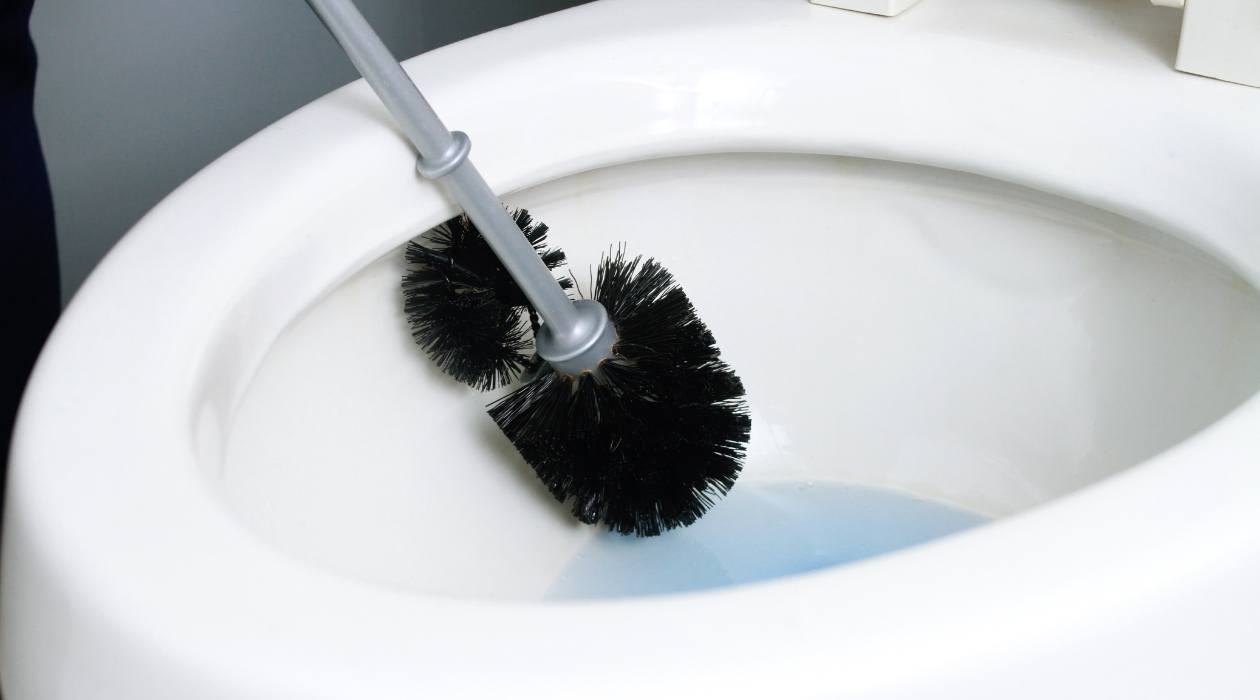
Step 3: Rinse the toilet brush
Rinsing the toilet brush is a crucial step in the cleaning process, as it helps to remove any loose debris, residual toilet bowl cleaner, and surface mold from the bristles and handle. This step sets the stage for the subsequent deep cleaning and sanitization of the brush, ensuring that it is thoroughly prepared for the removal of stubborn mold and bacteria.
To begin the rinsing process, place the toilet brush in a sink or bathtub and run hot water over the bristles and handle. The hot water helps to loosen any surface grime and mold, making it easier to remove during the subsequent cleaning steps. Using a gentle back-and-forth motion, agitate the bristles to dislodge any debris and ensure thorough rinsing.
Next, consider using a mild liquid dish soap or a small amount of your chosen cleaning solution to further cleanse the bristles and handle. Apply the soap directly to the bristles and use your hands to work it into a lather, paying particular attention to any areas with visible mold or discoloration. This gentle scrubbing action helps to dislodge any remaining debris and prepares the brush for the deep cleaning process.
After scrubbing the bristles with soap, rinse the entire brush thoroughly with hot water to remove the soap suds and any loosened debris. Ensure that the water runs clear, indicating that the bristles are free from surface contaminants and are ready for the next stage of cleaning.
Once the rinsing process is complete, shake the brush vigorously to remove excess water and allow it to air dry before proceeding to the next step. It's important to ensure that the brush is completely dry before moving on to the subsequent cleaning and sanitization steps, as moisture can promote the growth of mold and bacteria.
By thoroughly rinsing the toilet brush and preparing it for the next stages of cleaning, you are taking a proactive approach to eliminating surface contaminants and ensuring that the brush is ready for a deep and effective sanitization process. This meticulous rinsing process sets the foundation for restoring the toilet brush to a clean and hygienic state, ready for future use in maintaining a sparkling bathroom.
After using the toilet brush, rinse it thoroughly with hot water and dish soap. Then, soak the brush in a mixture of water and bleach for 10-15 minutes to kill any mold or bacteria. Rinse again and let it air dry.
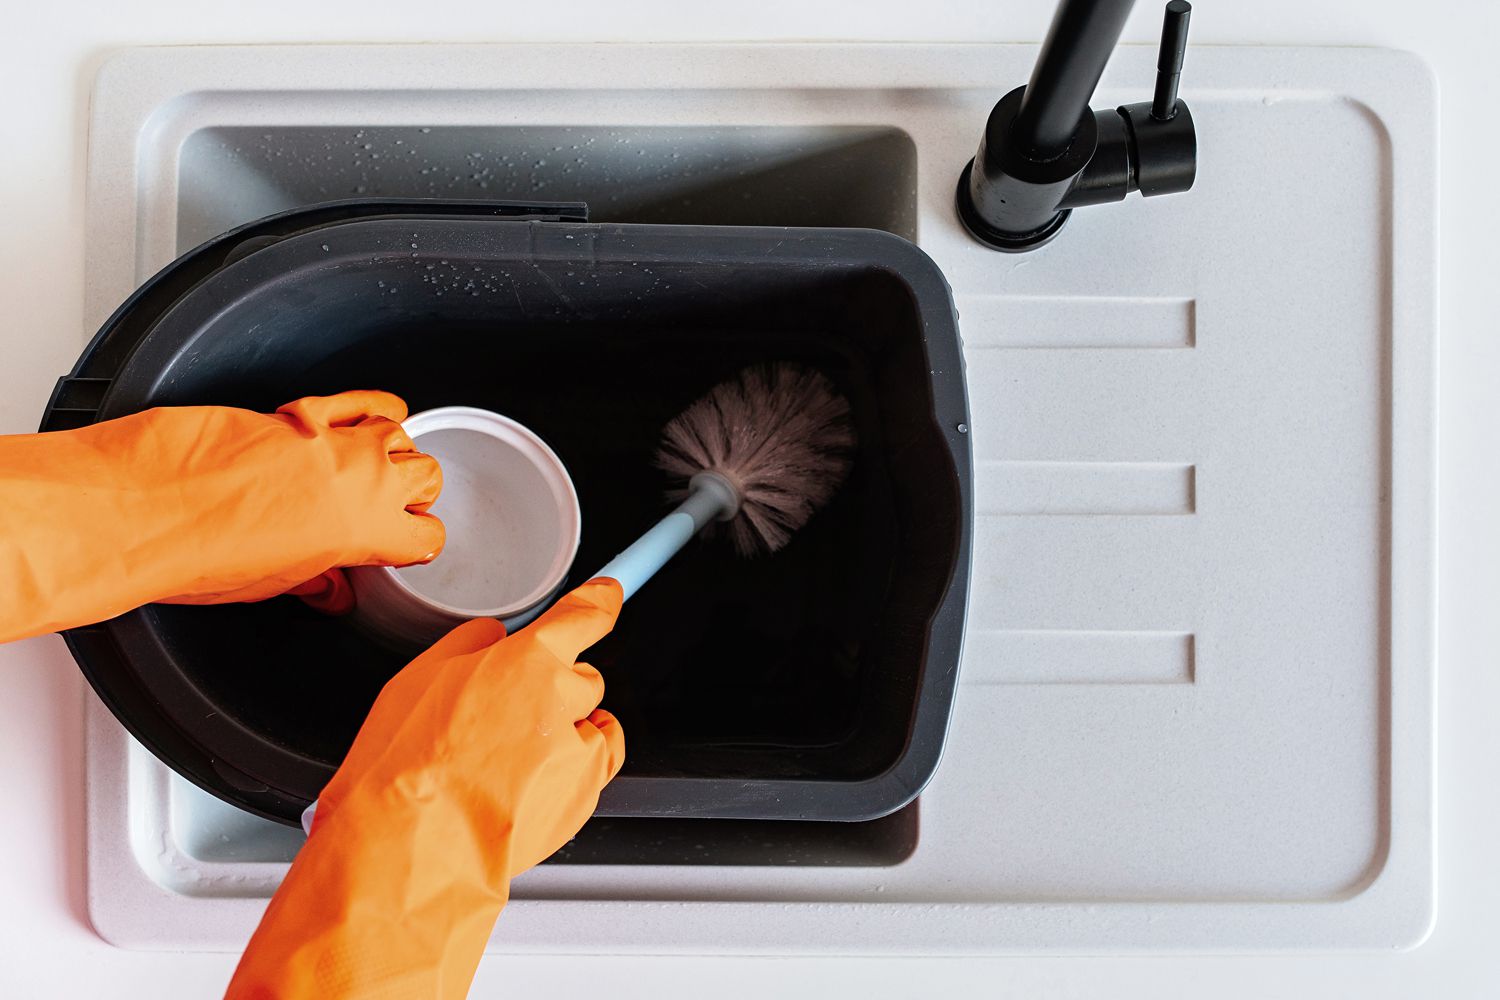
Step 4: Soak the toilet brush in a cleaning solution
After thoroughly rinsing the toilet brush, the next crucial step in the cleaning process involves soaking the brush in a potent cleaning solution. This step is essential for disinfecting the brush, eliminating stubborn mold and bacteria, and ensuring that it is thoroughly sanitized for future use.
To begin, prepare a cleaning solution by mixing hot water with a powerful disinfectant. You can opt for a commercial bathroom cleaner known for its antibacterial properties, or you can create a natural cleaning solution using ingredients such as white vinegar or baking soda. These natural alternatives are effective in combating mold and bacteria while being environmentally friendly.
Once the cleaning solution is ready, pour it into a suitable container or bucket large enough to accommodate the toilet brush. Ensure that the solution completely covers the bristles and handle of the brush, allowing for thorough soaking and disinfection. The hot water in the solution helps to further loosen any remaining grime and mold while facilitating the action of the cleaning agents.
Place the toilet brush in the cleaning solution, ensuring that it is fully submerged, and allow it to soak for a minimum of 30 minutes. This soaking period allows the cleaning solution to penetrate the bristles and handle, effectively killing any lingering bacteria and mold spores. For particularly stubborn mold or mildew, you may consider extending the soaking time to ensure comprehensive disinfection.
During the soaking process, consider agitating the brush gently to ensure that the cleaning solution reaches all areas of the bristles and handle. This agitation helps to dislodge any remaining debris and promotes thorough disinfection, ensuring that the entire brush is effectively sanitized.
After the designated soaking time has elapsed, remove the toilet brush from the cleaning solution and proceed to the next step in the cleaning process. The soaking stage serves as a critical phase in the comprehensive cleaning and sanitization of the toilet brush, effectively eliminating mold, bacteria, and any lingering odors, and preparing the brush for the final stages of the cleaning process.
By soaking the toilet brush in a potent cleaning solution, you are taking proactive measures to ensure that it is thoroughly disinfected and free from any mold or bacteria that may have accumulated over time. This meticulous approach sets the stage for a hygienic and revitalized toilet brush, ready to fulfill its role in maintaining a clean and inviting bathroom environment.
Read more: How To Clean A Toilet Without A Toilet Brush
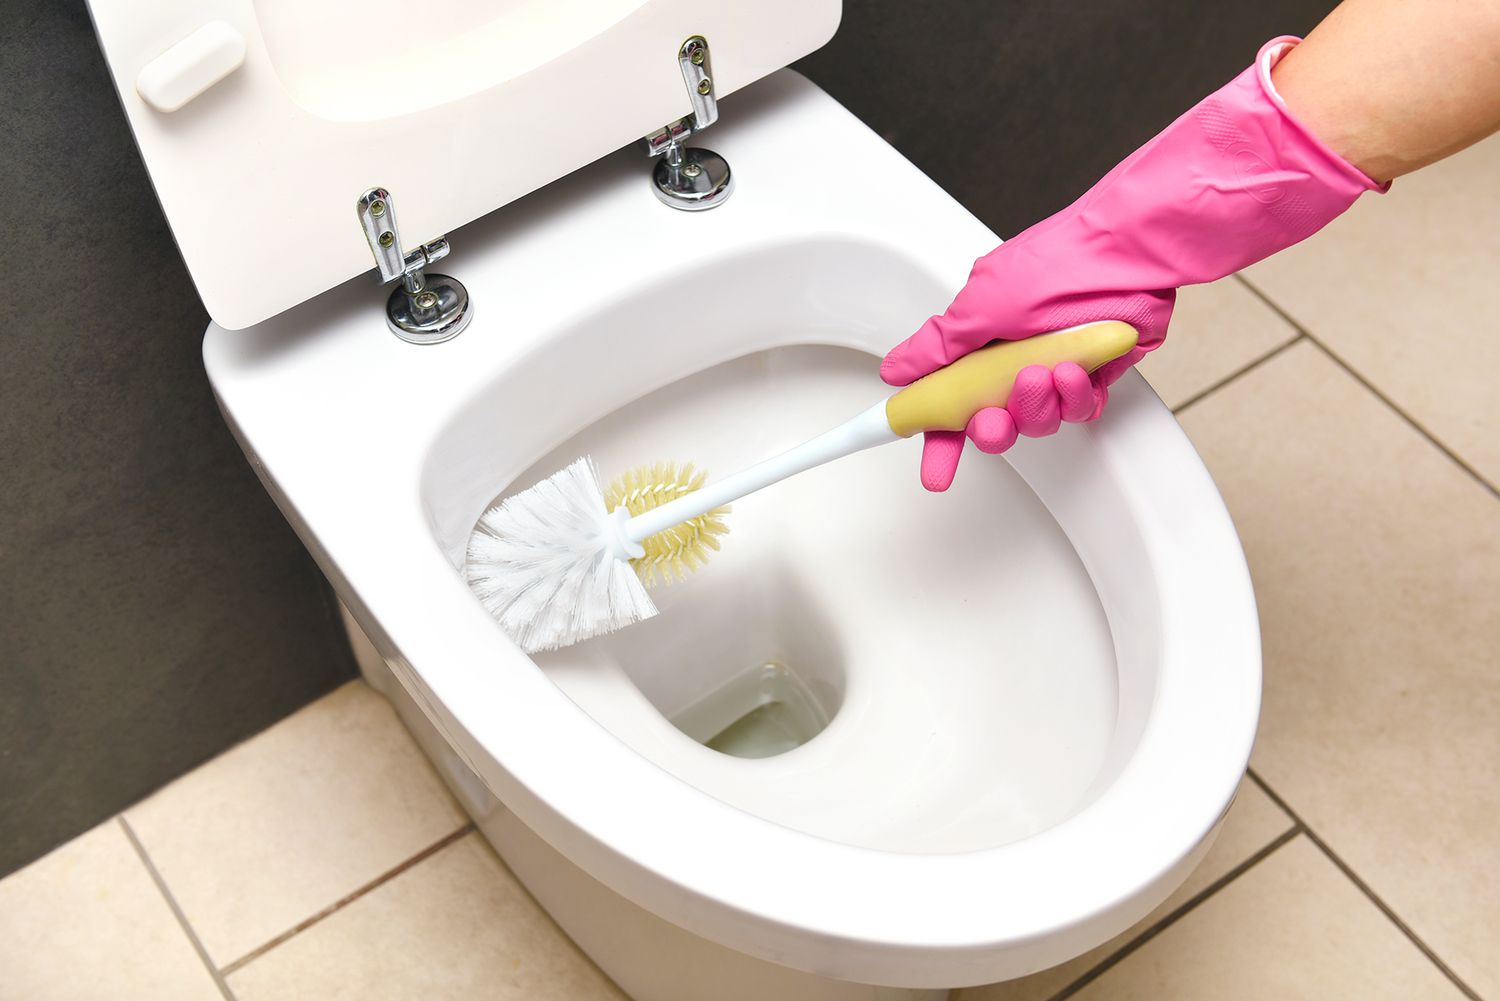
Step 5: Scrub the toilet brush
After the soaking process, the next critical step in reviving a moldy toilet brush is to thoroughly scrub the bristles and handle to remove any remaining mold, bacteria, and grime. This step is essential for achieving a deep and comprehensive clean, ensuring that the brush is free from any lingering contaminants and is ready for future use in maintaining a hygienic bathroom.
To begin the scrubbing process, retrieve the toilet brush from the cleaning solution and place it in a suitable location for scrubbing, such as a sink or bathtub. With the brush in hand, it's time to focus on the bristles and handle, paying particular attention to any areas where mold or discoloration is present.
Using a dedicated scrub brush or an old toothbrush, apply a generous amount of liquid dish soap or a cleaning solution directly to the bristles. Work the soap into a lather, ensuring that it reaches all areas of the bristles and handle. This thorough application of soap helps to further loosen any remaining mold and grime, preparing the brush for a deep and effective scrubbing.
With the soap applied, use the scrub brush or toothbrush to vigorously scrub the bristles and handle, employing back-and-forth and circular motions to dislodge any stubborn contaminants. Pay close attention to any areas where mold or discoloration is visible, ensuring that the scrubbing action is thorough and comprehensive.
For particularly stubborn mold or bacteria, consider applying additional cleaning solution directly to the affected areas and allowing it to sit for a few minutes before resuming the scrubbing process. This targeted approach helps to break down and remove any persistent contaminants, ensuring that the brush is thoroughly sanitized and revitalized.
After a thorough scrubbing, rinse the entire toilet brush under hot water to remove the soap suds and dislodged debris. Ensure that the water runs clear, indicating that the bristles and handle are free from any remaining contaminants. Once rinsed, shake the brush vigorously to remove excess water and allow it to air dry completely.
By diligently scrubbing the toilet brush, you are taking proactive measures to ensure that it is free from any lingering mold, bacteria, and grime, resulting in a revitalized and hygienic bathroom accessory. This meticulous scrubbing process sets the stage for a clean and sanitary toilet brush, ready to fulfill its role in maintaining a fresh and inviting bathroom environment.
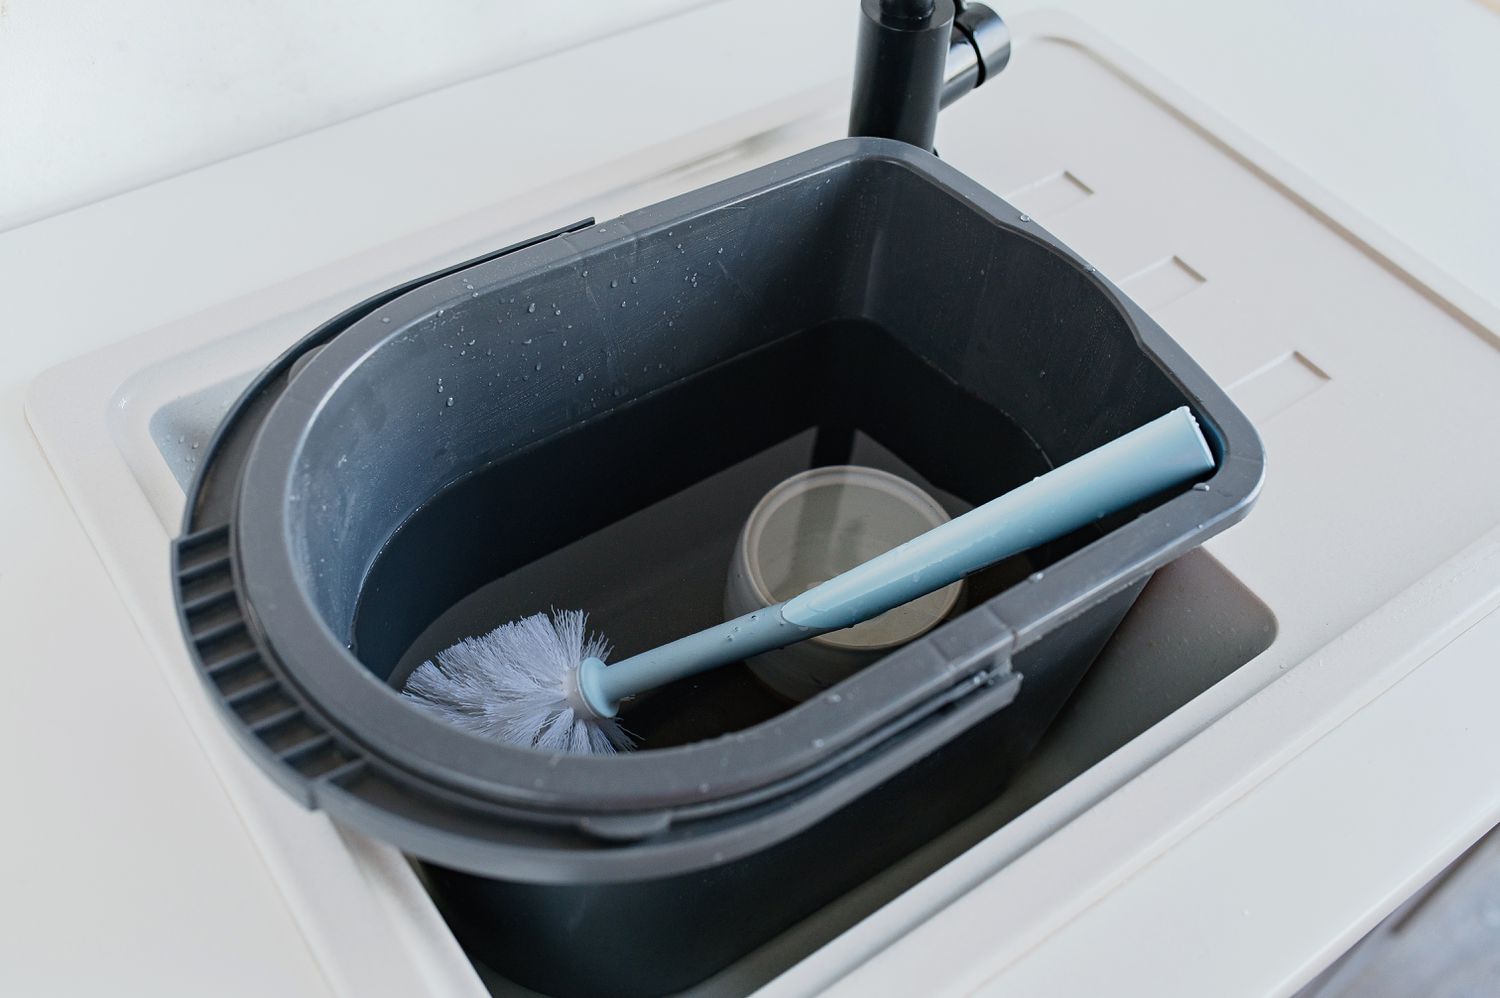
Step 6: Rinse and dry the toilet brush
After the thorough scrubbing process, the final step in the comprehensive cleaning of a moldy toilet brush involves rinsing and drying to ensure that it is completely free from any residual cleaning agents and moisture. This critical step is essential for preparing the brush for future use and maintaining its cleanliness and hygiene.
To begin the rinsing process, place the scrubbed toilet brush under a steady stream of hot water, ensuring that all traces of soap and debris are thoroughly washed away. Use your hands to gently squeeze the bristles and handle, allowing the water to flow through and remove any remaining contaminants. It's important to continue rinsing until the water runs clear, indicating that the brush is free from any lingering residue.
Once the rinsing process is complete, shake the brush vigorously to remove excess water. This shaking action helps to expel any trapped water from the bristles and handle, ensuring that the brush is well on its way to being completely dry. It's important to note that a dry toilet brush is essential for preventing the growth of mold and bacteria, making this step crucial in maintaining the brush's cleanliness.
After shaking the brush, place it in a well-ventilated area to air dry completely. Choose a location where the brush can remain undisturbed while drying, allowing for optimal airflow and evaporation of any remaining moisture. Depending on the climate and humidity levels, the drying process may take several hours to ensure that the brush is completely dry before returning it to its holder.
Throughout the drying period, periodically check the brush to ensure that it is drying evenly and free from any signs of moisture. Once the brush is completely dry to the touch, it is ready to be returned to its holder, where it will be readily available for future use in maintaining a clean and hygienic bathroom.
By diligently rinsing and drying the toilet brush, you are completing the final steps in the comprehensive cleaning process, ensuring that the brush is free from any residual contaminants and moisture. This meticulous approach sets the stage for a revitalized and hygienic toilet brush, ready to fulfill its role in maintaining a fresh and inviting bathroom environment.
Conclusion
In conclusion, the process of cleaning a moldy toilet brush is an essential task that contributes to the overall cleanliness and hygiene of the bathroom. By following the step-by-step methods outlined in this guide, you can effectively revitalize a moldy toilet brush, ensuring that it remains a clean and sanitary tool for maintaining a sparkling bathroom environment.
Regularly cleaning and sanitizing the toilet brush not only eliminates unsightly mold, mildew, and bacteria but also helps to prevent the spread of germs and odors in the bathroom. By incorporating this essential task into your cleaning routine, you can create a healthier and more inviting bathroom space for yourself and your family.
The thorough cleaning process involves gathering the necessary supplies, removing the toilet brush from its holder, rinsing, soaking, scrubbing, and finally, ensuring that the brush is completely dry. Each step plays a crucial role in eliminating mold, bacteria, and grime, ultimately resulting in a revitalized and hygienic toilet brush.
By diligently following these cleaning methods, you can extend the lifespan of your toilet brush and maintain a clean and inviting bathroom environment. Additionally, the use of natural cleaning solutions such as white vinegar and baking soda provides an environmentally friendly approach to disinfecting the toilet brush, aligning with sustainable and eco-conscious practices.
Incorporating the cleaning of the toilet brush into your regular bathroom maintenance routine is a proactive step towards creating a hygienic and pleasant living environment. By ensuring that all aspects of the bathroom, including often overlooked accessories like the toilet brush, are clean and well-maintained, you can enjoy a fresh and inviting space for personal hygiene and relaxation.
In essence, the process of cleaning a moldy toilet brush is a simple yet impactful task that contributes to the overall cleanliness and hygiene of the bathroom. By dedicating a small amount of time and effort to this essential chore, you can ensure that your bathroom remains a clean, healthy, and inviting space for yourself and your family.
Frequently Asked Questions about How To Clean A Moldy Toilet Brush
Was this page helpful?
At Storables.com, we guarantee accurate and reliable information. Our content, validated by Expert Board Contributors, is crafted following stringent Editorial Policies. We're committed to providing you with well-researched, expert-backed insights for all your informational needs.


0 thoughts on “How To Clean A Moldy Toilet Brush”