Articles
How To Remove A Toilet Paper Holder From Wall
Modified: October 19, 2024
Learn how to remove a toilet paper holder from the wall in our informative articles. Discover step-by-step instructions and handy tips for a hassle-free process.
(Many of the links in this article redirect to a specific reviewed product. Your purchase of these products through affiliate links helps to generate commission for Storables.com, at no extra cost. Learn more)
Introduction
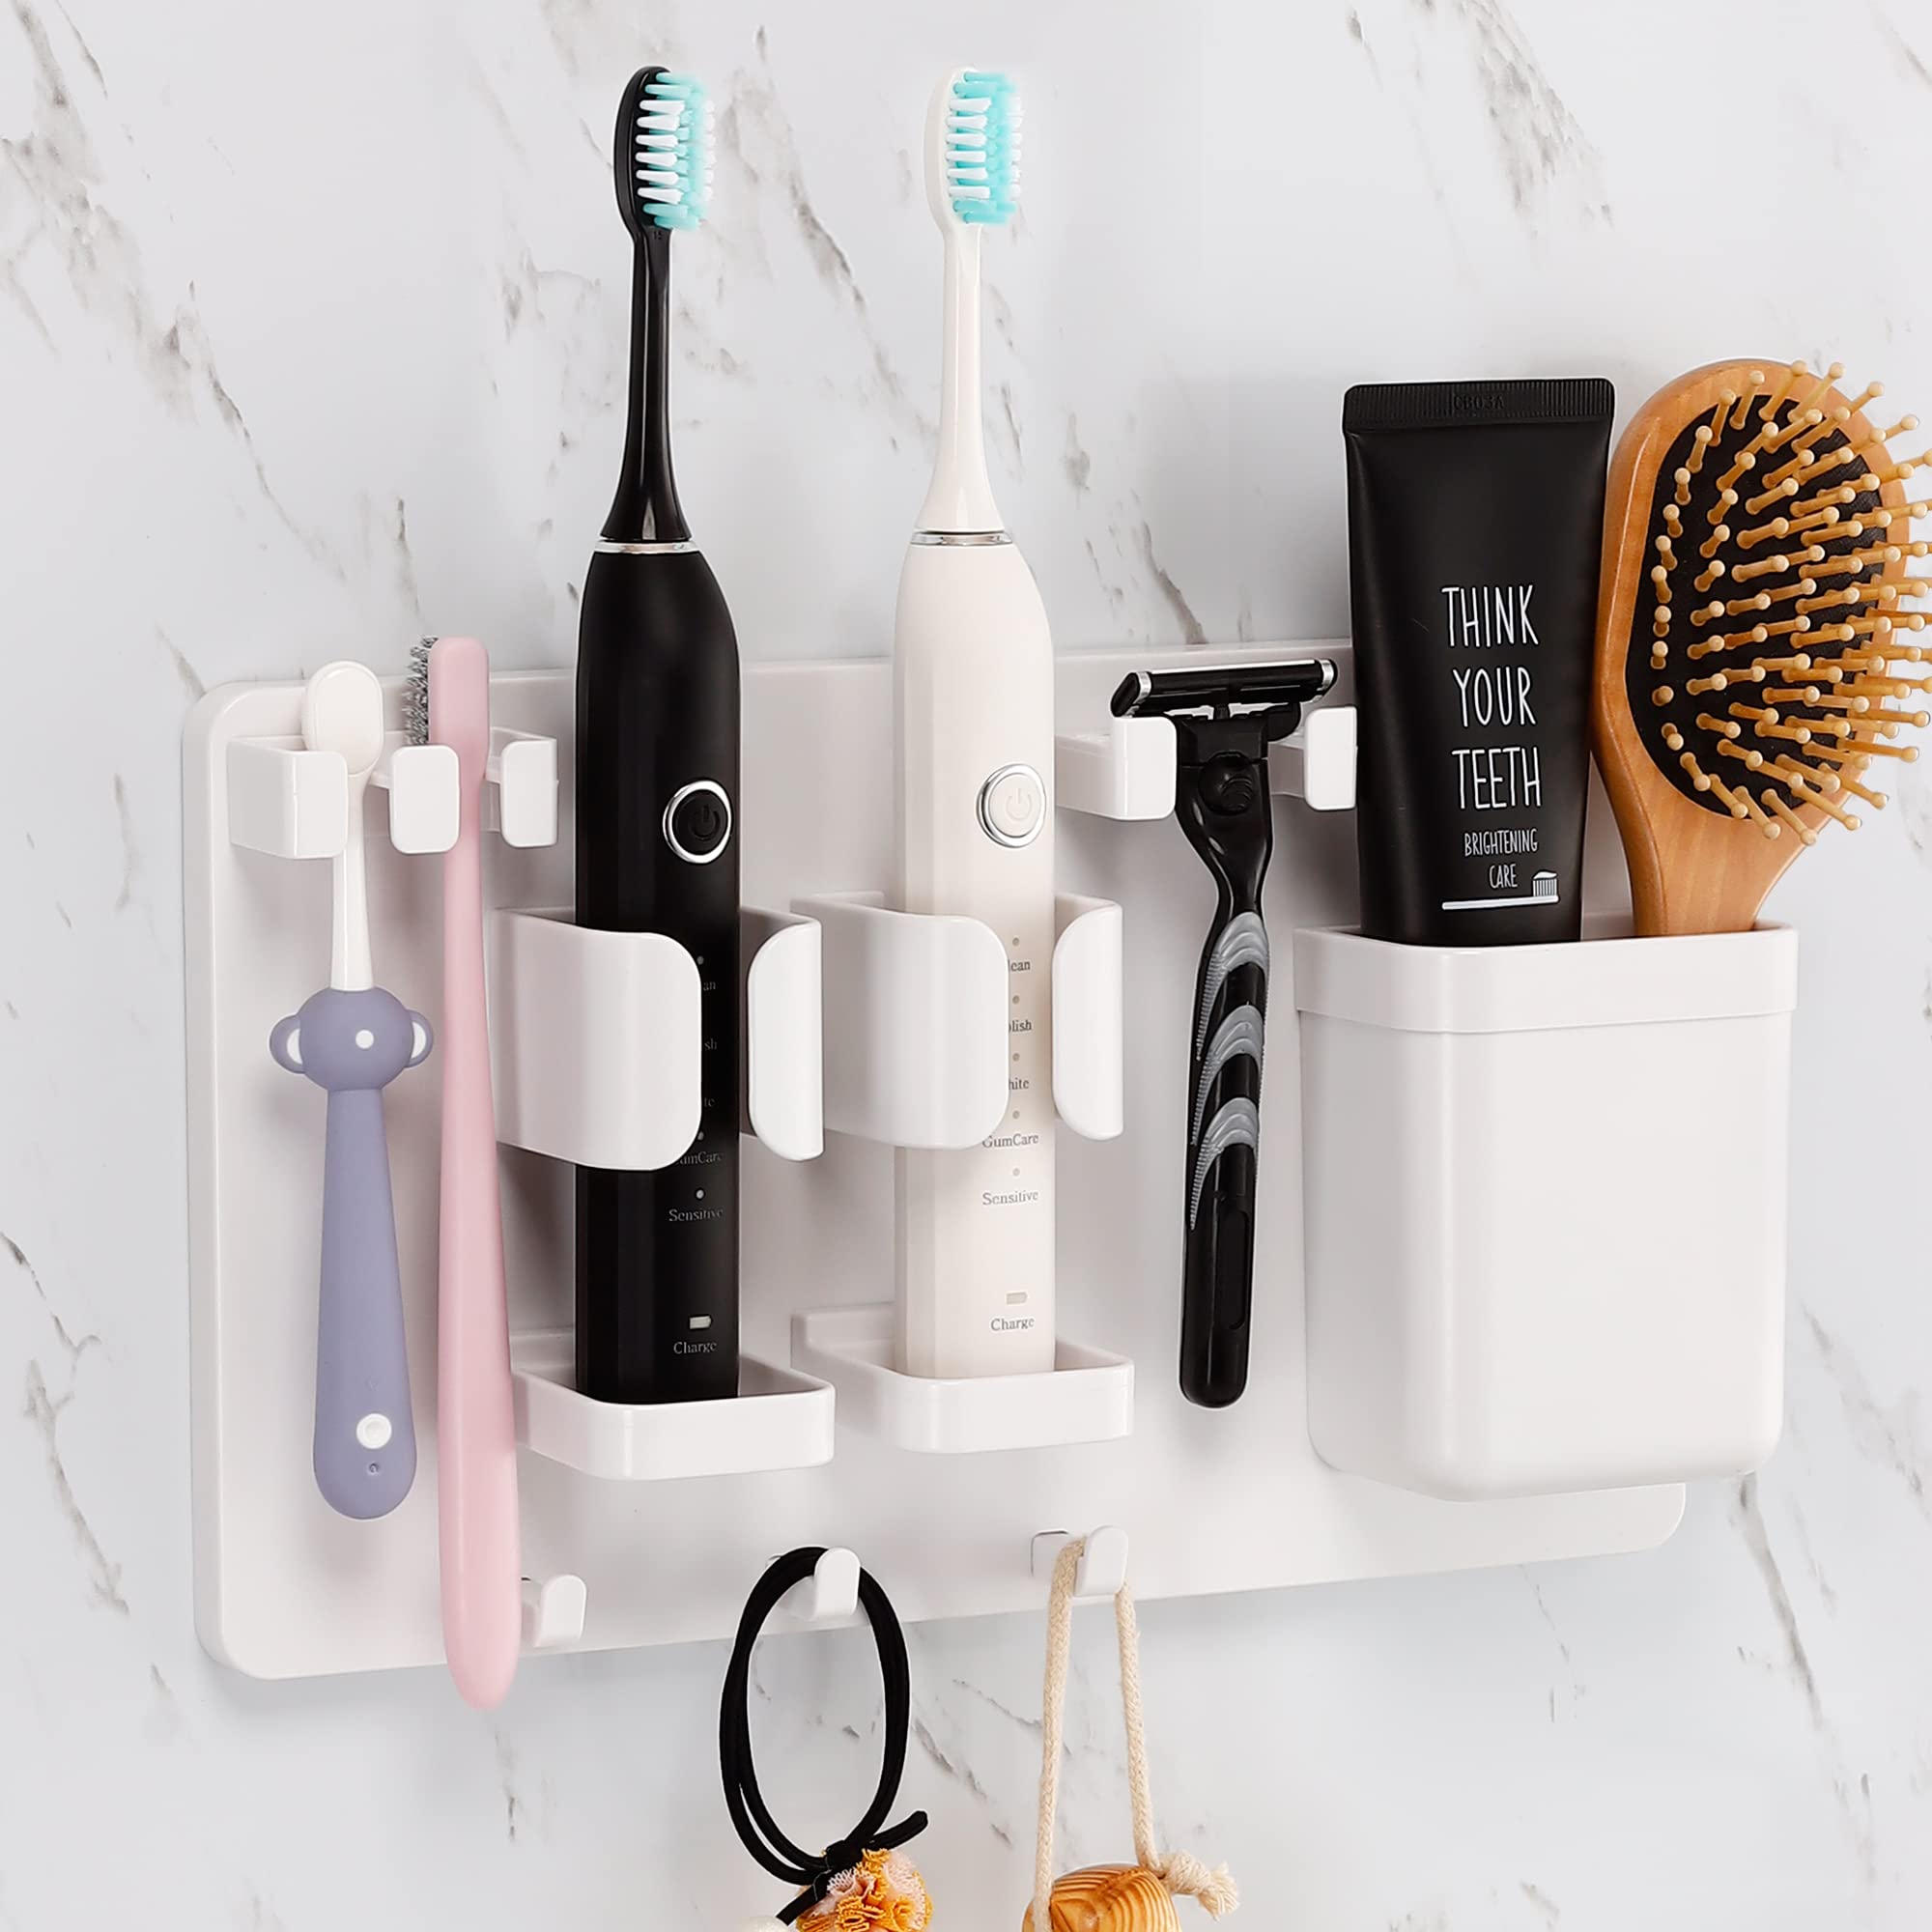
Having a functional and aesthetically pleasing toilet paper holder is essential for any bathroom. Whether you’re remodeling your bathroom or simply updating the fixtures, there may come a time when you need to remove a toilet paper holder from the wall. This could be to replace it with a new one or make repairs to the wall behind it. In this article, we will guide you through the step-by-step process of removing a toilet paper holder from the wall.
Before we begin, it’s important to gather the necessary tools for the task. You will need a screwdriver or wrench, depending on the type of fasteners used, and a putty knife or spackle for patching or repairing the wall once the holder is removed. With these tools in hand, you’ll be equipped to handle the job at hand.
It’s worth noting that the steps outlined in this article are applicable to most standard toilet paper holders. However, the specific hardware and installation methods may vary, so it’s essential to consult the manufacturer’s instructions if available. Now, let’s dive into the process of removing a toilet paper holder from the wall.
Key Takeaways:
- Removing a toilet paper holder is a manageable DIY task with the right tools and steps. From locating mounting brackets to patching the wall, this guide ensures a smooth and hassle-free process.
- Installing a new toilet paper holder can easily refresh your bathroom’s functionality and aesthetics. Follow manufacturer’s instructions for a quick and personalized upgrade.
Step 1: Gather necessary tools
Before you begin removing the toilet paper holder from the wall, it is important to gather the necessary tools to ensure a smooth and efficient process. Here are some essential tools you will need:
- Screwdriver or wrench: Depending on the type of fasteners used to secure the holder to the wall, you will need a screwdriver or wrench to loosen and remove them.
- Putty knife or spackle: Once the toilet paper holder is removed, there may be holes or damage on the wall. A putty knife or spackle will come in handy for patching or repairing the wall.
- Optional: Painter’s tape or masking tape: If you plan to paint the wall after removing the holder, using painter’s tape or masking tape can help protect the surrounding area from accidental spills or smudges.
- Optional: Sandpaper: If the wall requires extensive repairs or smoothing after removing the holder, sandpaper can be useful for achieving a seamless finish.
Having these tools readily available will save you time and frustration during the removal process. It’s always a good idea to gather them before you begin to ensure a smooth and hassle-free experience.
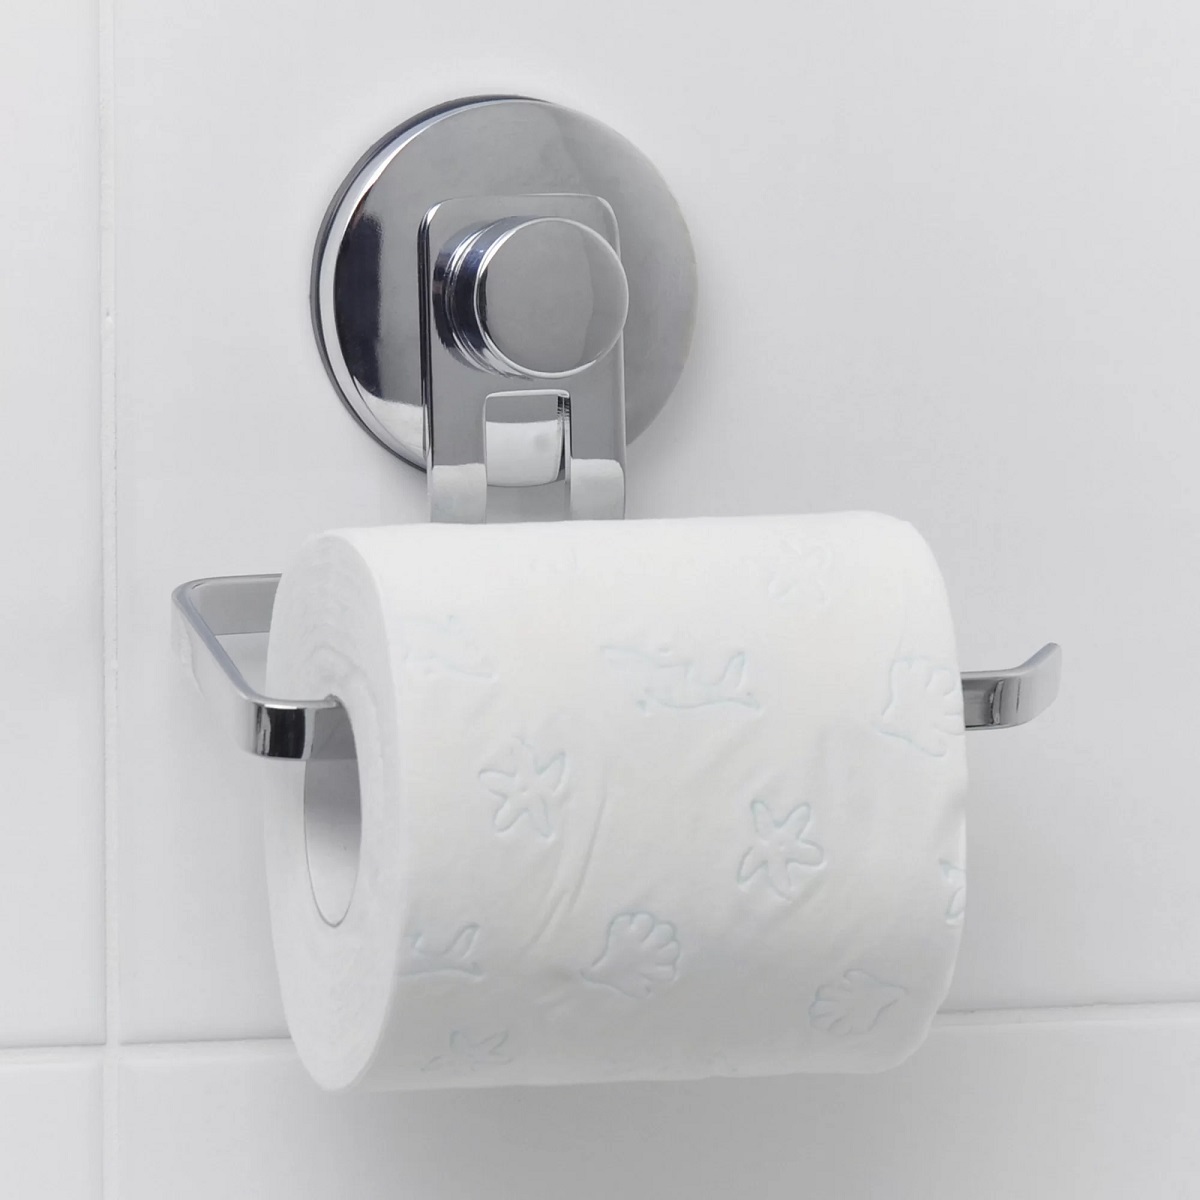
Step 2: Locate the mounting brackets
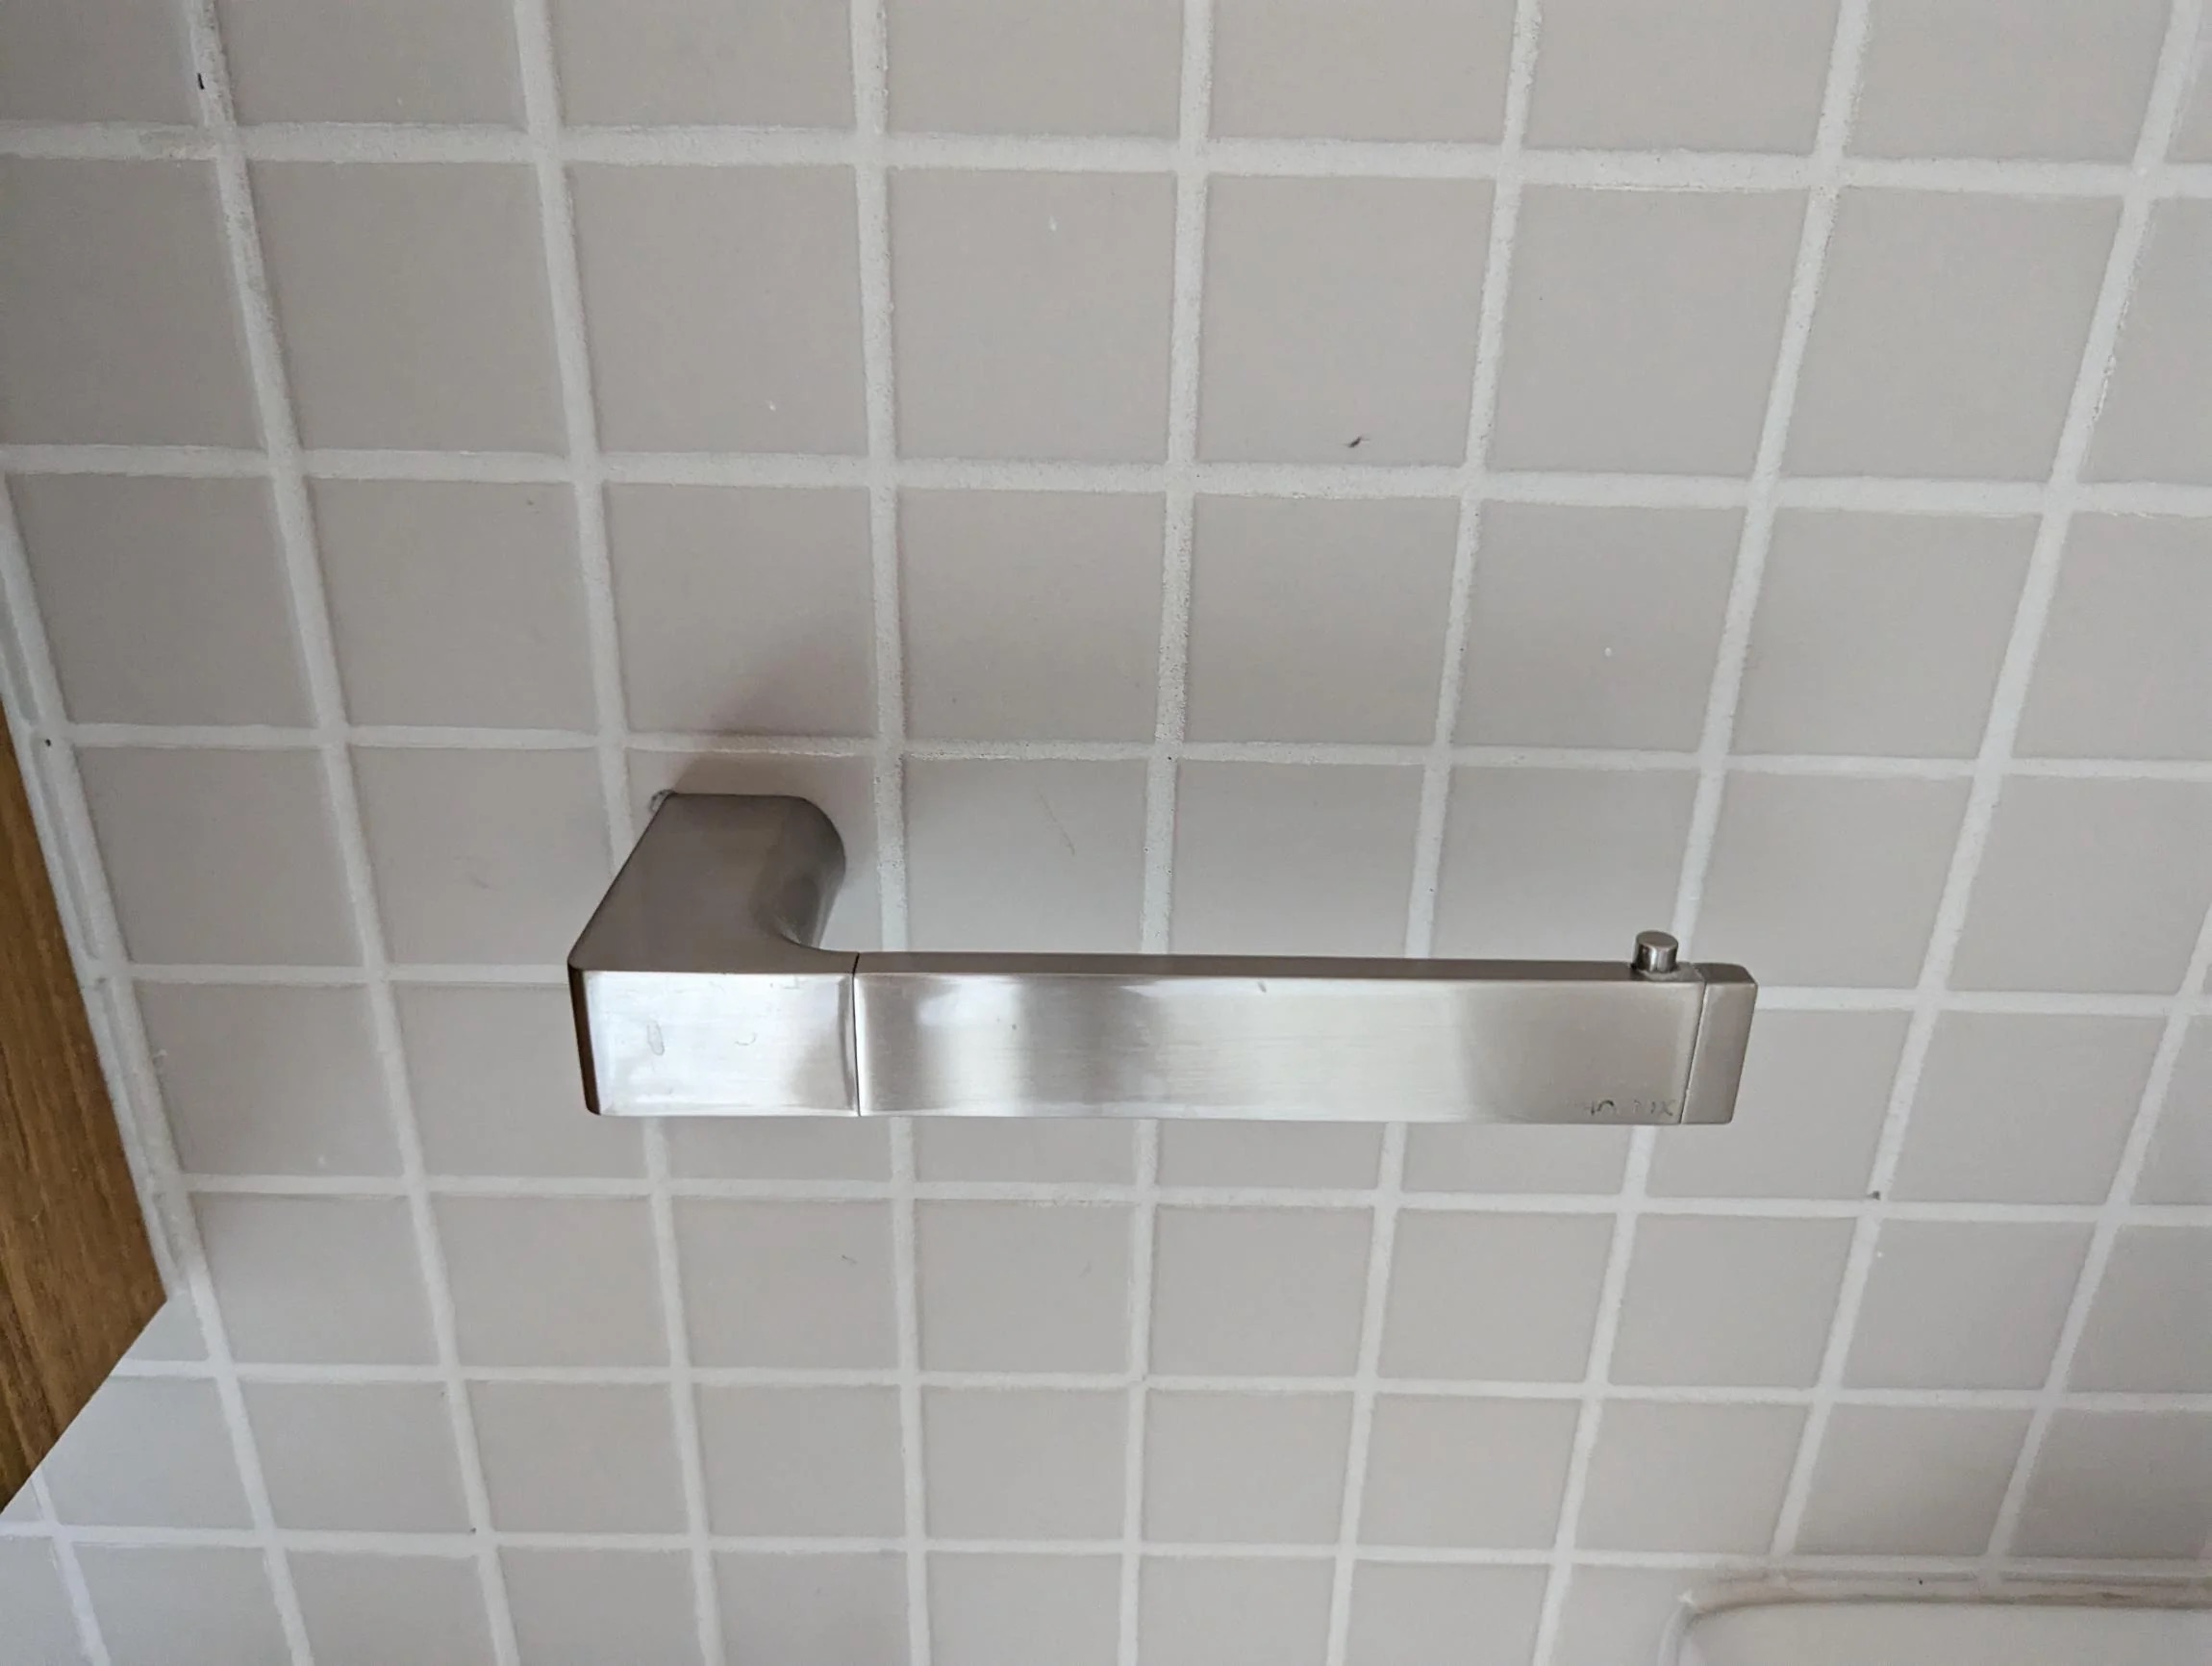
Once you have gathered the necessary tools, the next step is to locate the mounting brackets of the toilet paper holder. The mounting brackets are the hardware that secure the holder to the wall.
Start by examining the holder and identifying the areas where it is attached to the wall. Look for visible screws, bolts, or any other fasteners that may be holding the holder in place. It’s important to note that different types of toilet paper holders may have different mounting mechanisms.
If the mounting brackets are not immediately visible, you may need to do some exploring. Gently move the holder back and forth to see if there is any give or movement. This can help you locate the specific areas where the holder is attached to the wall.
In some cases, the mounting brackets may be concealed by a decorative cover or plate. Carefully inspect the holder for any covers that can be removed. You may need to unscrew or pry off these covers to access the mounting brackets underneath.
It’s worth mentioning that some toilet paper holders may have different mounting mechanisms, such as adhesive or suction cup attachments. If your holder uses one of these methods, the removal process may differ. Consult the manufacturer’s instructions or seek professional assistance for the appropriate removal method.
By locating the mounting brackets, you will have a clearer understanding of how the holder is attached to the wall, which will make it easier to proceed with the removal process.
Step 3: Loosen the screws or bolts
Now that you have located the mounting brackets of the toilet paper holder, the next step is to loosen the screws or bolts that secure it to the wall. This will allow you to remove the holder without damaging the wall or the holder itself.
If the holder is attached using screws, you will need a screwdriver that matches the type of screw head (such as flathead or Phillips) to loosen them. Insert the screwdriver into the screw head and turn it counterclockwise to loosen the screws. It’s important to note that not all holders will have visible screws. Some may have screws hidden under decorative covers or plates.
If the holder is attached using bolts, you will need a wrench that fits the size of the bolts to loosen them. Place the wrench around the bolt head and turn it counterclockwise to loosen the bolts. Again, keep in mind that bolts may be covered by decorative plates that need to be removed before accessing them.
It’s essential to use the appropriate tool and apply steady pressure while loosening the screws or bolts. Avoid using excessive force as it may damage the holder or the wall. If you encounter any resistance or if the screws or bolts are stuck, try applying some lubricant, such as WD-40, to loosen them.
As you loosen the screws or bolts, the holder will gradually become loose. Once all the screws or bolts are sufficiently loosened, you should be able to remove the holder easily from the wall.
If you are having difficulty loosening the screws or bolts or if they are stripped or damaged, you may need to use alternative methods such as prying the holder off or cutting the screws/bolts with a hacksaw. However, these should only be considered as last resorts and may cause damage to the wall or the holder.
By loosening the screws or bolts, you have successfully prepared the toilet paper holder for removal in the following step.
Use a screwdriver to remove any screws holding the toilet paper holder in place. If it’s adhesive, use a hairdryer to soften the adhesive and gently pry it off the wall.
Step 4: Remove the toilet paper holder from the wall
With the screws or bolts loosened, you are now ready to remove the toilet paper holder from the wall. Follow these steps to ensure a smooth removal process:
- Gently pull the holder away from the wall, applying even pressure. If the holder feels stuck or does not come off easily, double-check if any screws or bolts are still attached or if there are additional mounting mechanisms that need to be released.
- If necessary, use a putty knife or a small flathead screwdriver to carefully pry the holder away from the wall. Insert the tool between the holder and the wall and apply gentle pressure to separate them. Be cautious not to damage the wall or the holder during this process.
- Continue to pull or pry the holder until it is completely detached from the wall. Set it aside in a safe location to avoid any damage or tripping hazards.
After removing the holder, inspect the wall for any remaining screws, bolts, or adhesive residue. Use a screwdriver or a scraper to remove any leftover hardware or adhesive carefully.
You may also notice small holes or damage where the mounting brackets were attached. If you plan to install a new toilet paper holder or leave the wall as is, you can patch or repair these areas in the next step. However, if you are replacing the holder with a different style or in a different location, you may not need to worry about repairing the wall.
By following these steps, you have successfully removed the toilet paper holder from the wall. Now, you can proceed to the next step of patching or repairing the wall, depending on your needs and preferences.
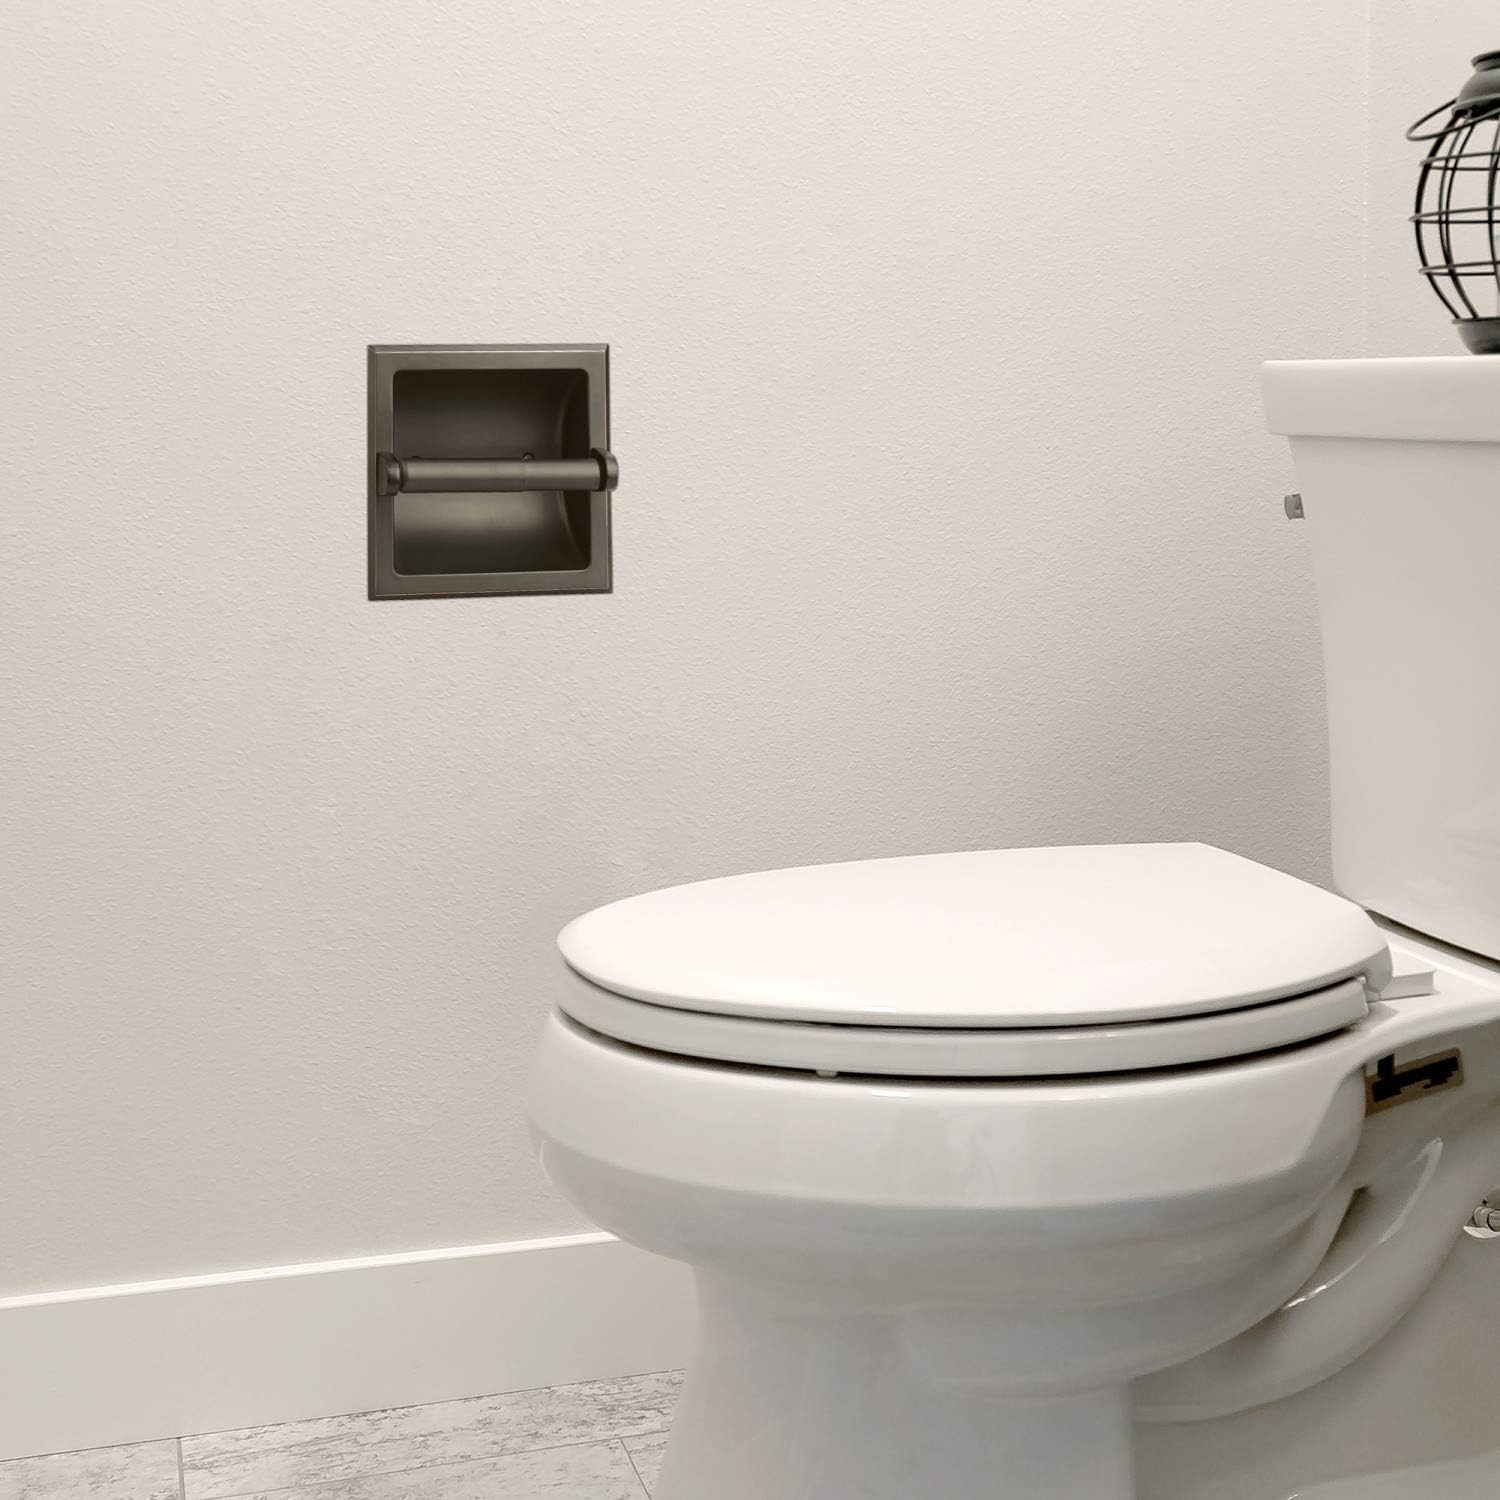
Read more: How To Remove Recessed Toilet Paper Holder
Step 5: Patch or repair the wall (optional)
Once you have removed the toilet paper holder from the wall, you may notice small holes, damage, or adhesive residue where the mounting brackets were attached. Depending on your preferences and plans for the wall, you may choose to patch or repair these areas.
Here are the steps to patch or repair the wall:
- Clean the area: Begin by cleaning the wall around the holes or damaged areas. Use a damp cloth or sponge to remove any dirt, dust, or debris.
- Fill the holes: If there are small holes left behind from the mounting brackets, use spackle, putty, or joint compound to fill them. Apply the patching material with a putty knife, ensuring it is level with the surrounding wall surface. Allow it to dry according to the manufacturer’s instructions.
- Sand the patched areas: Once the patching material is dry, use sandpaper to smooth and blend the patched areas with the rest of the wall. Gently sand in a circular motion until the surface feels even and smooth to the touch.
- Prime and paint (if necessary): If you plan to paint the wall or if the patched areas stand out from the surrounding wall, you may need to prime and paint the repaired areas. Apply a layer of primer to the patched areas and allow it to dry. Then, paint the wall, matching the color and finish to the rest of the bathroom. Remember to follow proper painting techniques and use appropriate tools.
Keep in mind that patching or repairing the wall is optional and depends on your preferences and plans for the bathroom. If you are installing a new toilet paper holder in the same location, or if the wall damage is minimal, you may choose to skip this step.
By patching or repairing the wall, you can restore its appearance and ensure a seamless finish. It allows you to create a clean canvas for future installations or updates in the bathroom.
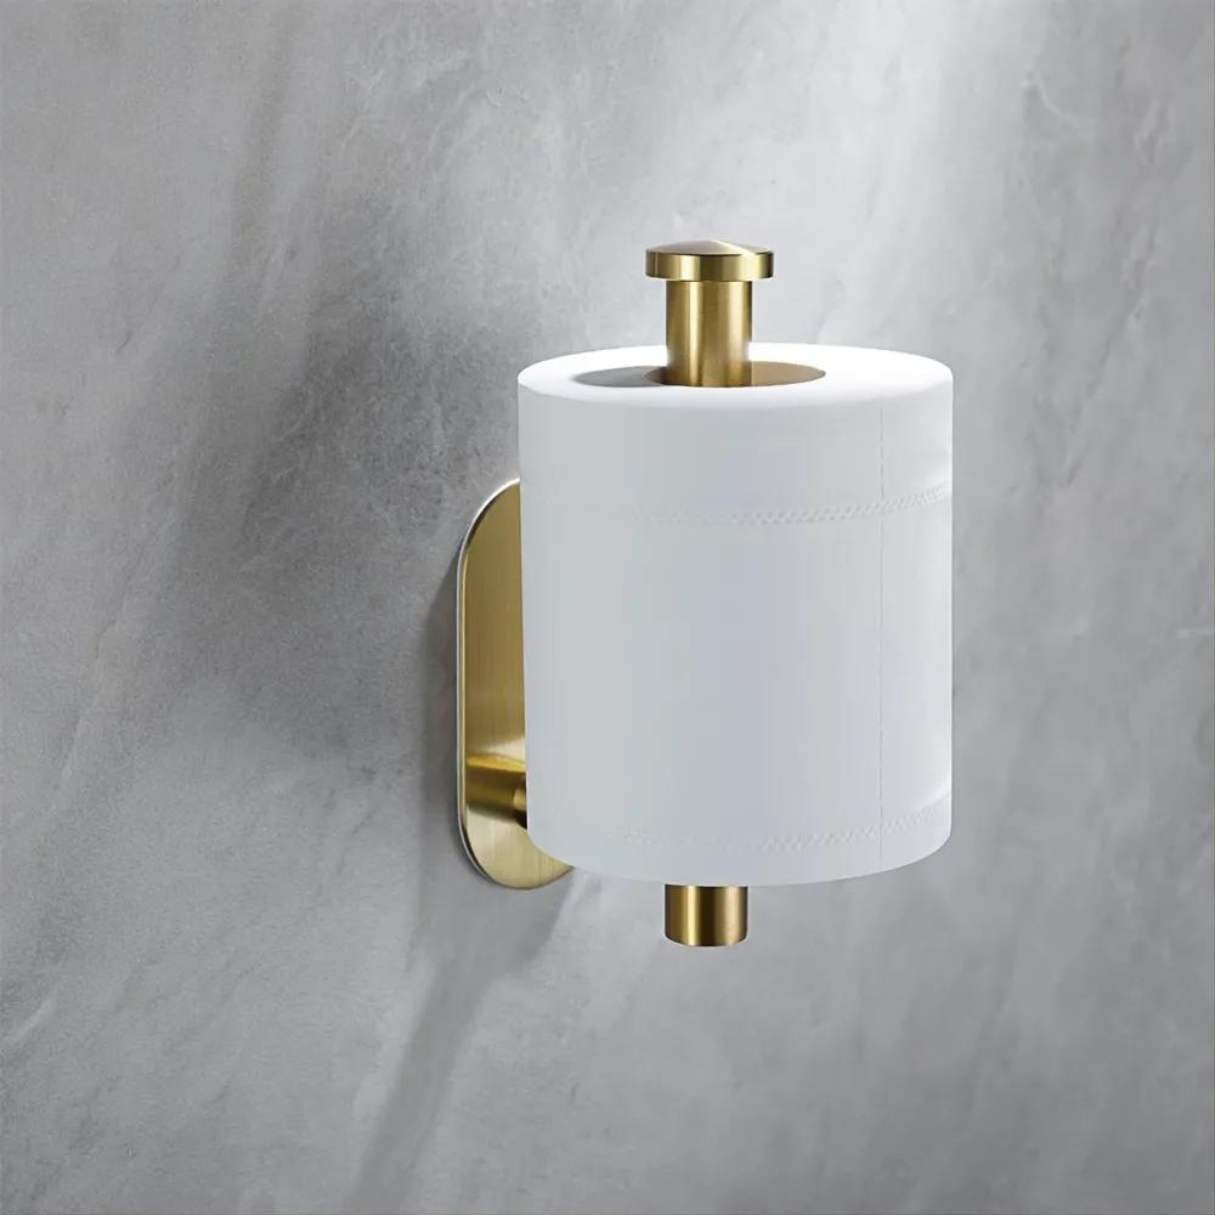
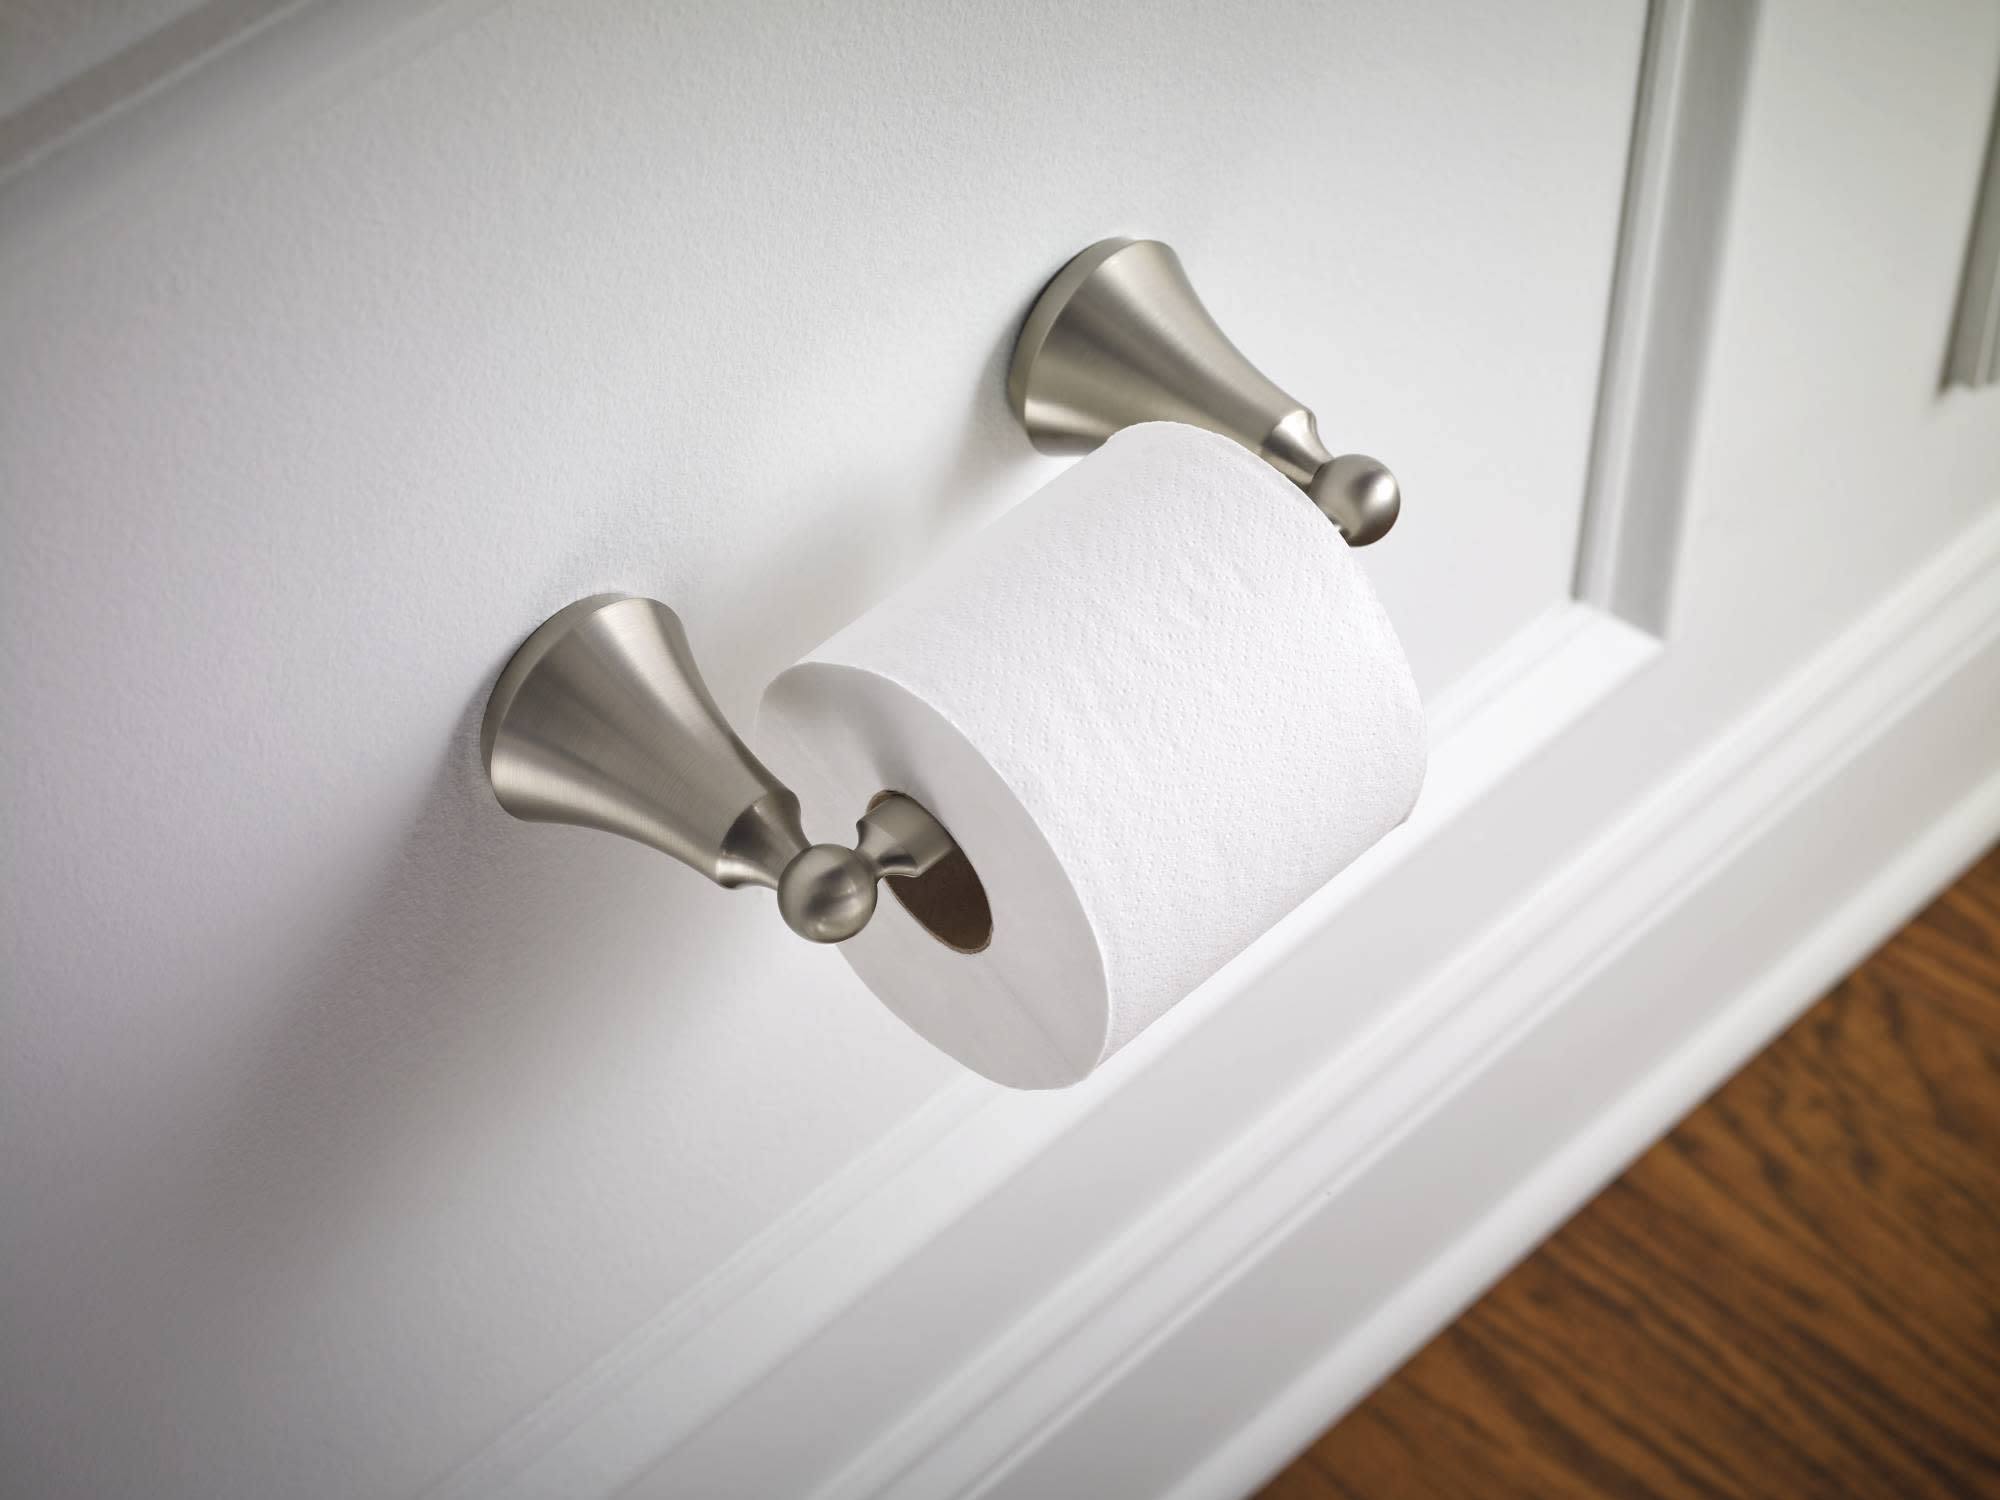
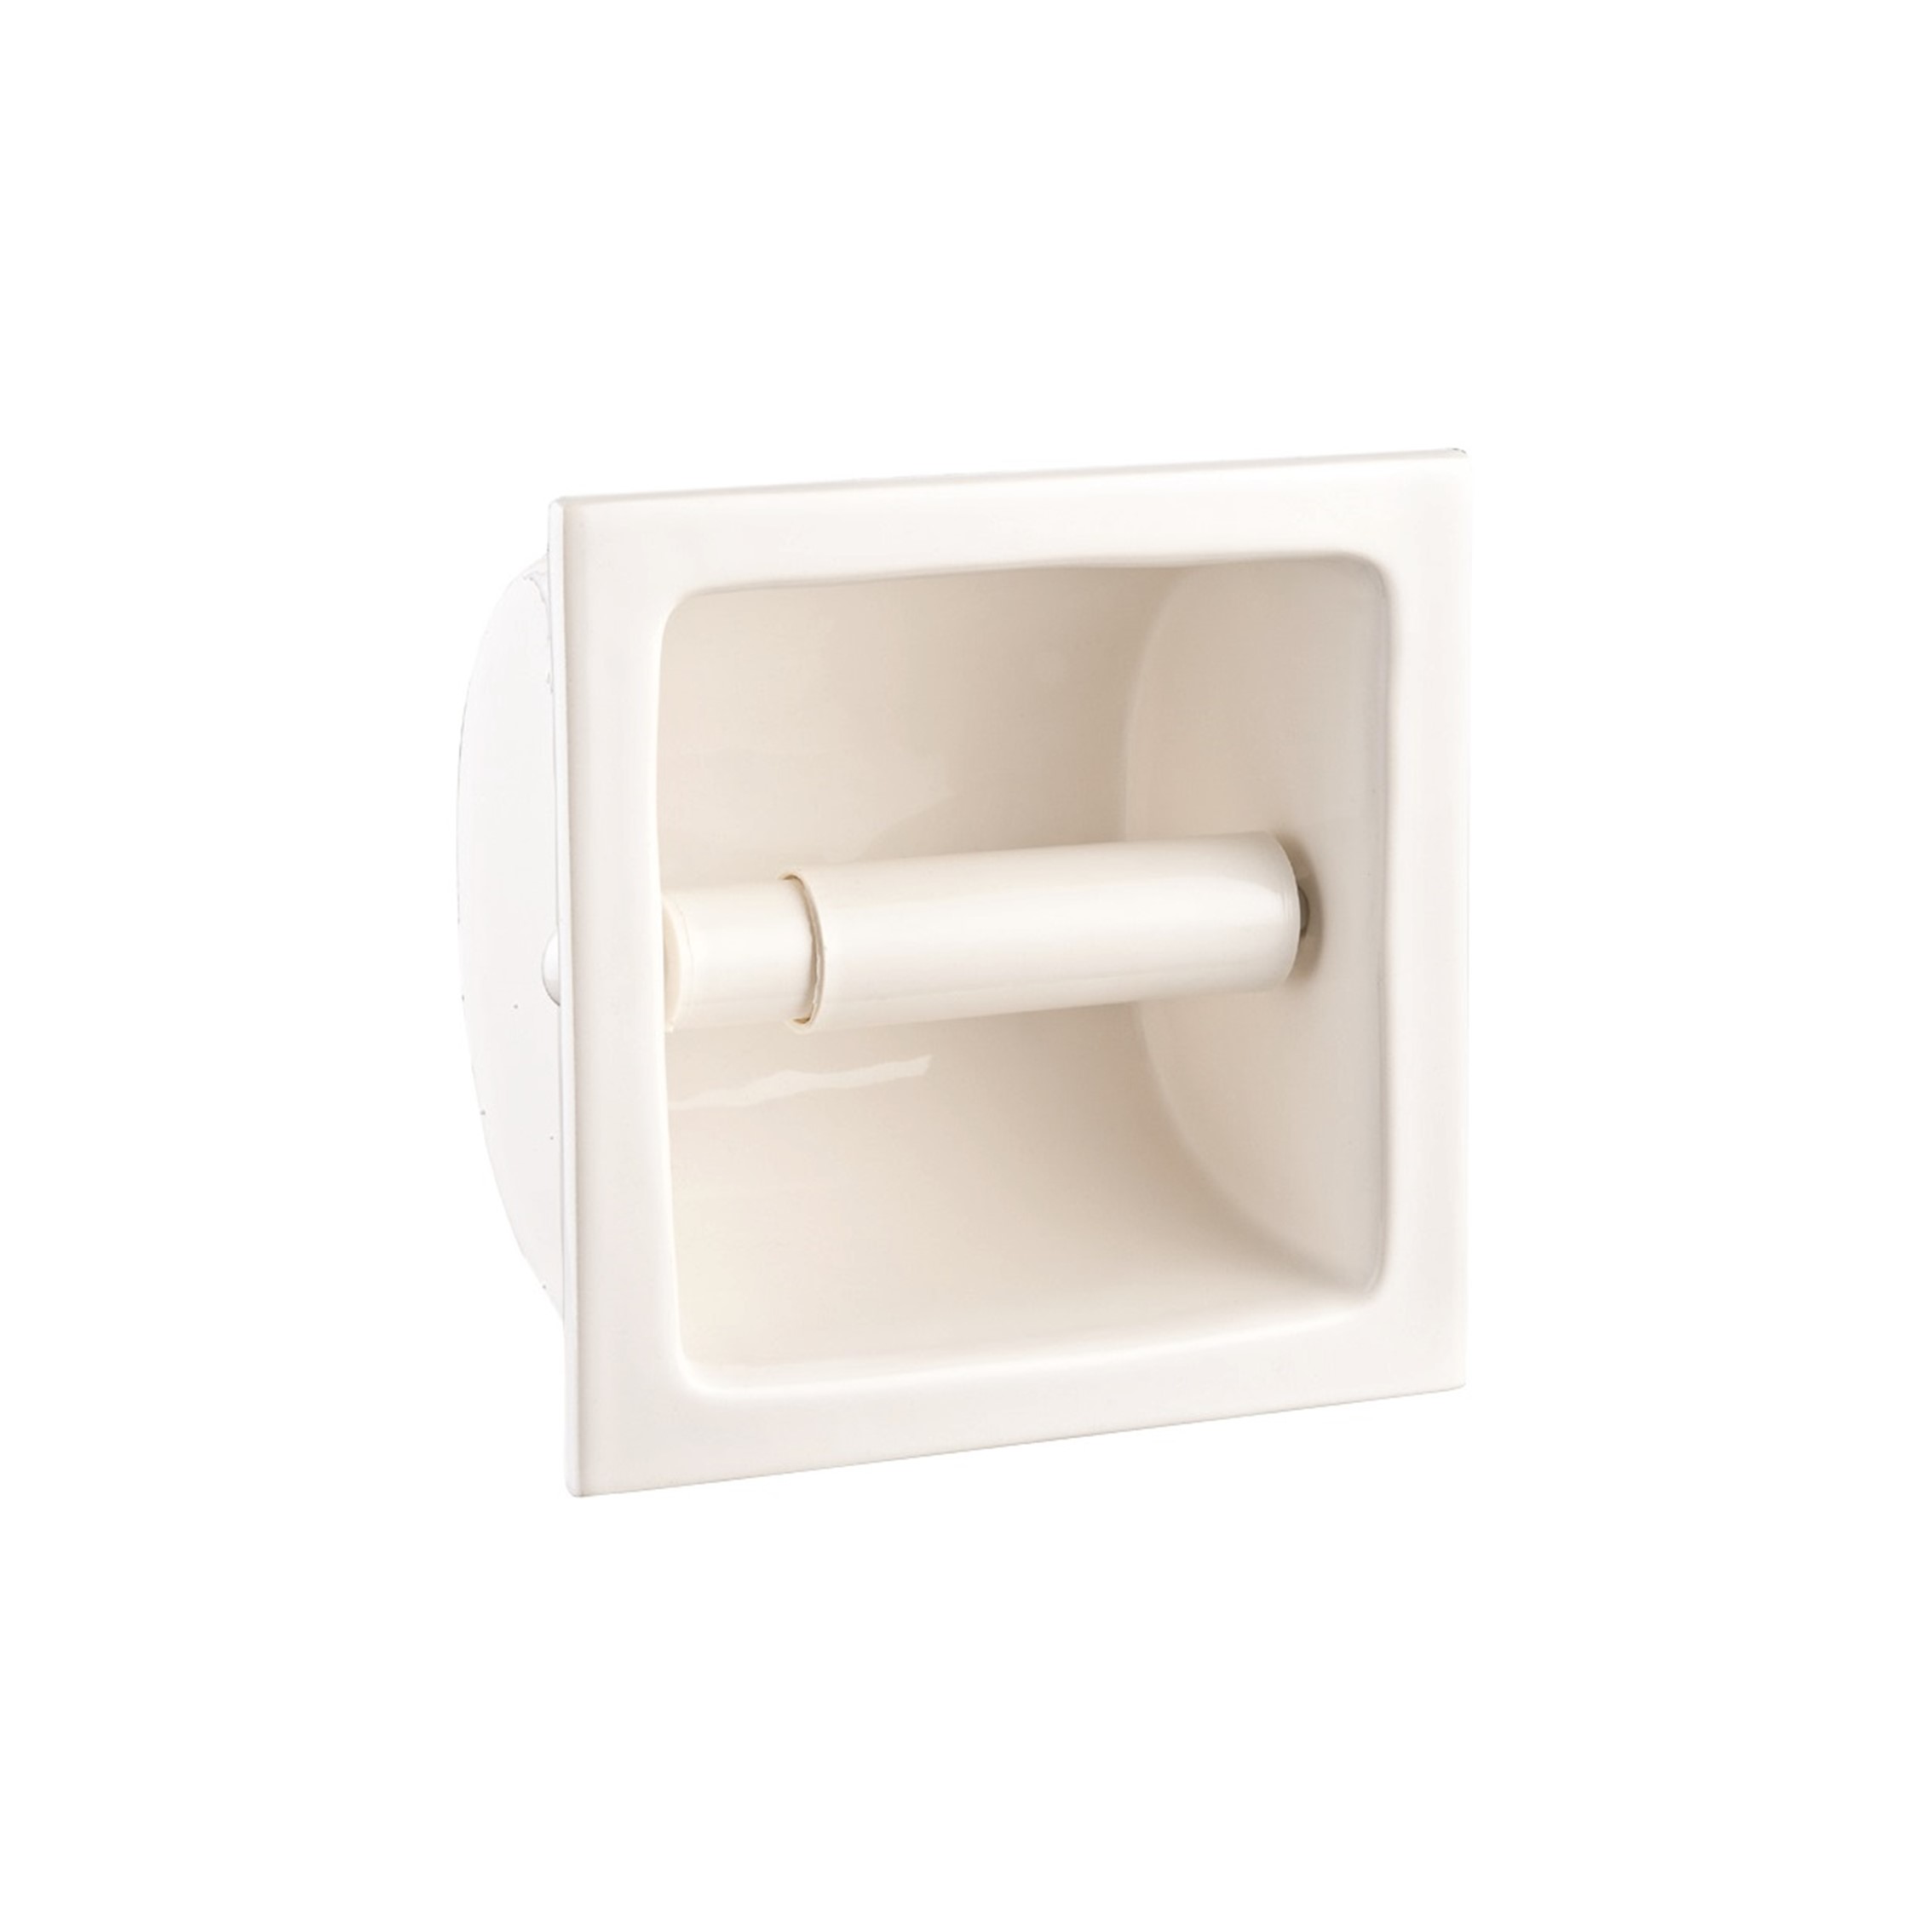
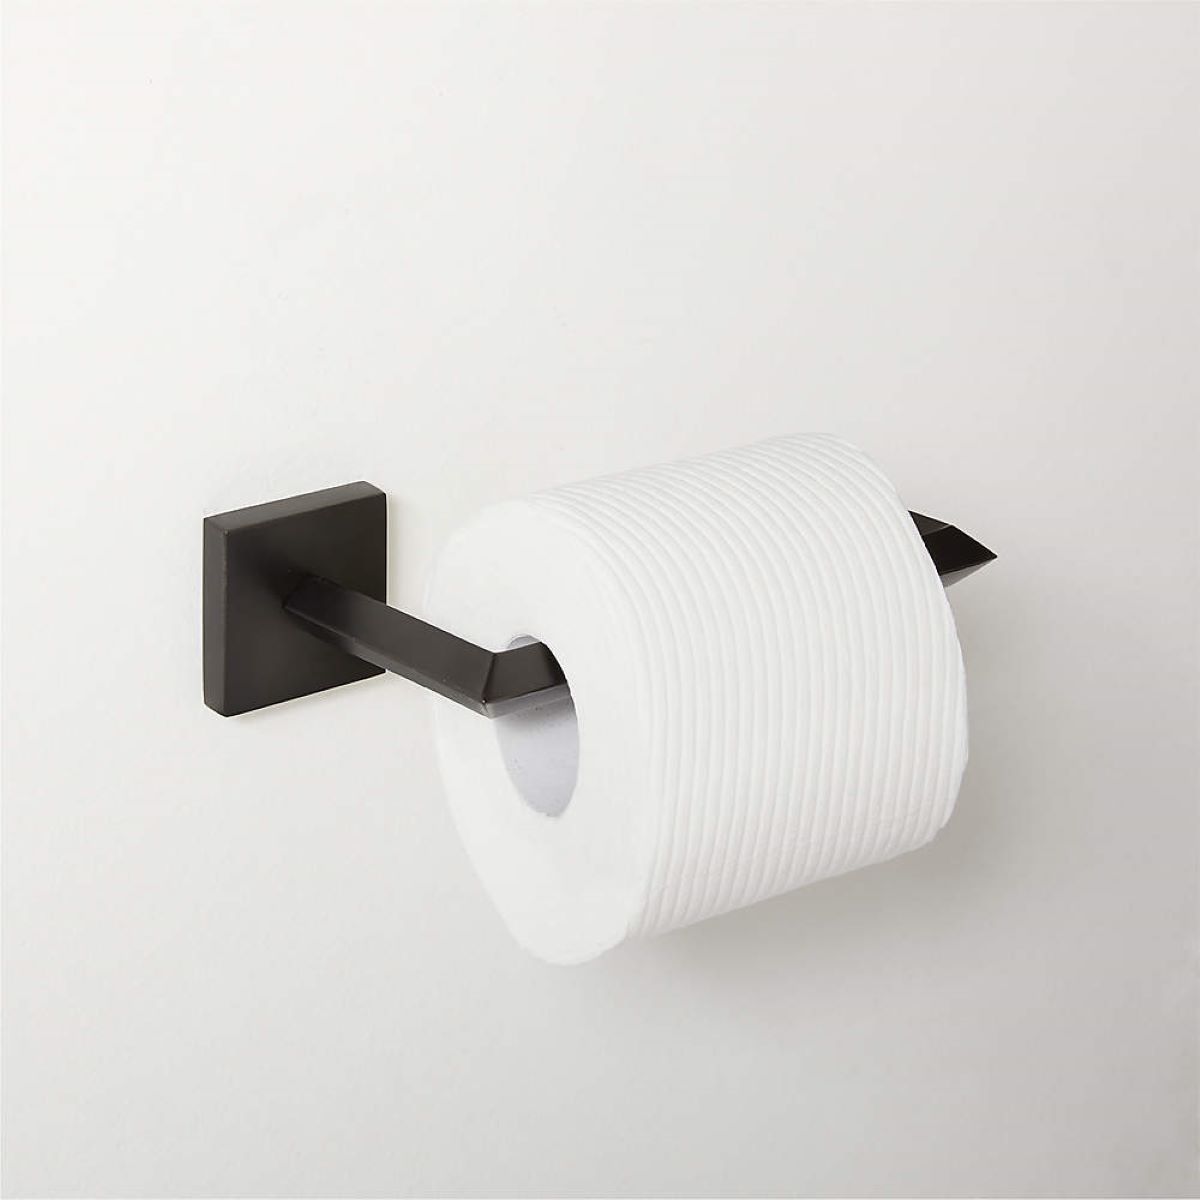
Step 6: Install a new toilet paper holder (optional)
If you have removed the old toilet paper holder and wish to replace it with a new one, or if you simply want to install a new holder in a different location, you can follow these steps to ensure a successful installation:
- Choose the location: Decide on the desired location for the new toilet paper holder. Consider the height, accessibility, and aesthetics of the placement. It’s also important to ensure there is enough space to comfortably reach the toilet paper. Use a pencil to mark the desired position on the wall.
- Prepare the mounting brackets: Depending on the type of holder you have, there may be specific instructions for preparing the mounting brackets. Follow the manufacturer’s guidelines to ensure proper installation.
- Mount the brackets: Attach the mounting brackets to the wall according to the manufacturer’s instructions. Use screws or other fasteners that are appropriate for your specific holder. Make sure the brackets are securely attached to the wall and level with each other.
- Attach the holder: Once the brackets are in place, attach the toilet paper holder to the brackets. Follow the manufacturer’s instructions for the specific model you have. This may involve sliding the holder onto the brackets or securing it with screws or other fasteners.
- Test and adjust: After attaching the holder, test its stability and ensure it is properly aligned. Adjust the position if needed to ensure the toilet paper rolls smoothly and is within easy reach.
It’s important to note that the installation process may vary depending on the type and model of the toilet paper holder you have chosen. Always refer to the manufacturer’s instructions for specific guidance.
Installing a new toilet paper holder can be a quick and easy way to update and enhance your bathroom’s functionality and aesthetics. It allows you to customize your space and ensure easy access to toilet paper for yourself and your guests.
Conclusion
Removing a toilet paper holder from the wall may seem like a daunting task, but with the right tools and step-by-step guidance, it can be a straightforward process. By following the steps outlined in this article, you can successfully remove the holder, patch or repair the wall (if desired), and even install a new holder if you wish.
Remember to gather the necessary tools before you begin, locate the mounting brackets of the holder, and carefully loosen the screws or bolts. With the holder detached, you can decide whether to patch or repair the wall, depending on your preferences and future plans for the bathroom. And if you’re looking for an upgrade or a new look, installing a new toilet paper holder in a different location can bring a fresh touch to your bathroom decor.
Always refer to the manufacturer’s instructions for specific guidance and variations in the installation process. Additionally, exercise caution when handling tools and ensure your safety throughout the removal and installation process.
Removing and replacing a toilet paper holder can be a DIY project that allows you to add your personal touch to your bathroom while maintaining functionality. So go ahead, take on the tasks, and transform your bathroom space with a new toilet paper holder or a refreshed wall surface.
Remember to enjoy the process and take pride in your accomplishment as you create a functional and visually appealing bathroom environment. Happy remodeling!
Frequently Asked Questions about How To Remove A Toilet Paper Holder From Wall
Was this page helpful?
At Storables.com, we guarantee accurate and reliable information. Our content, validated by Expert Board Contributors, is crafted following stringent Editorial Policies. We're committed to providing you with well-researched, expert-backed insights for all your informational needs.


0 thoughts on “How To Remove A Toilet Paper Holder From Wall”