Home>Furniture & Design>Bathroom Accessories>How To Clean Skid Marks From A Toilet Brush
Bathroom Accessories
How To Clean Skid Marks From A Toilet Brush
Modified: April 22, 2024
Learn effective ways to clean skid marks from your toilet brush and keep your bathroom accessories looking fresh and hygienic. Expert tips and tricks for maintaining a clean and sanitary bathroom.
(Many of the links in this article redirect to a specific reviewed product. Your purchase of these products through affiliate links helps to generate commission for Storables.com, at no extra cost. Learn more)
Introduction
Cleaning the bathroom is a chore that most people would rather avoid, but it's an essential task for maintaining a hygienic and pleasant living environment. One often overlooked item in the bathroom cleaning routine is the toilet brush. Over time, the bristles of a toilet brush can accumulate unsightly skid marks and bacteria, making it crucial to clean the brush regularly.
In this comprehensive guide, we will walk you through the step-by-step process of effectively removing skid marks from a toilet brush. By following these simple yet effective methods, you can ensure that your toilet brush remains clean, odor-free, and ready for its next use.
A clean toilet brush not only contributes to a more hygienic bathroom environment but also helps to prevent the spread of germs and bacteria. By incorporating this essential cleaning task into your regular bathroom maintenance routine, you can promote a healthier and more pleasant living space for yourself and your family.
Now, let's dive into the detailed steps for cleaning skid marks from a toilet brush, ensuring that this often-neglected bathroom accessory remains fresh and functional.
Key Takeaways:
- Keep your toilet brush clean by rinsing it thoroughly and soaking it in a cleaning solution to remove skid marks and bacteria, promoting a healthier bathroom environment.
- Scrub the bristles of your toilet brush with an old toothbrush and rinse it well to ensure it’s clean, odor-free, and ready for future use.
Read more: How To Clean A Toilet Brush
Step 1: Gather the necessary supplies
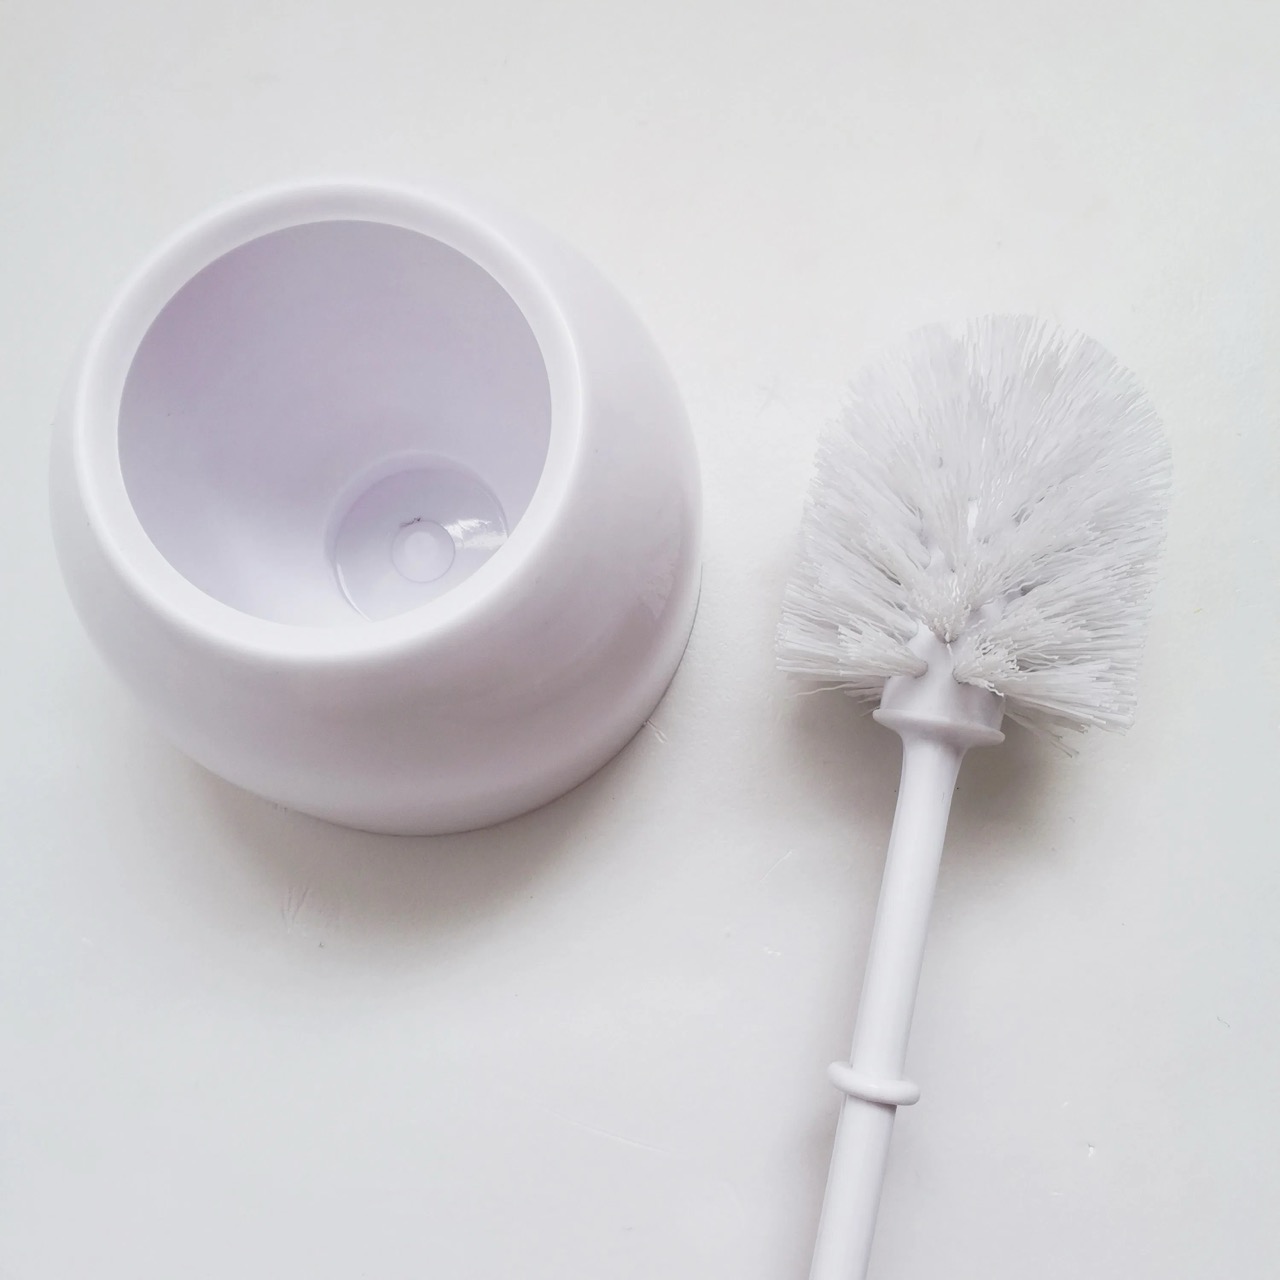
Before embarking on the task of cleaning skid marks from a toilet brush, it's essential to gather the necessary supplies to ensure a thorough and effective cleaning process. Here's a list of items you will need:
-
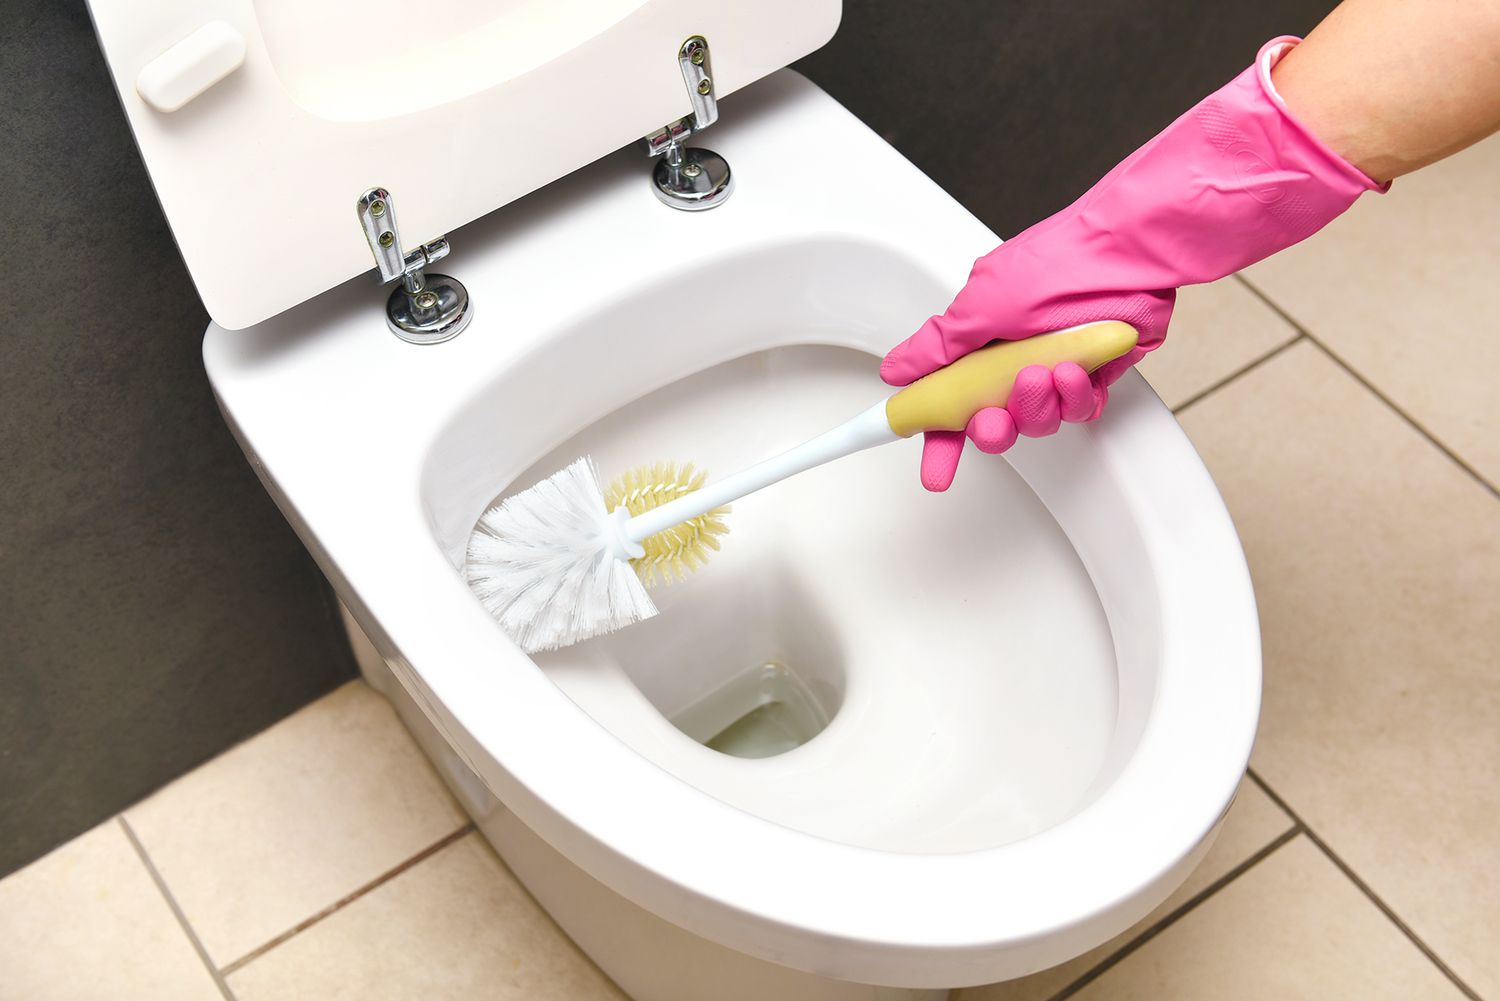
Rubber Gloves: It's important to protect your hands from coming into direct contact with any bacteria or residue on the toilet brush. Rubber gloves provide a barrier and keep your hands clean during the cleaning process.
-
Cleaning Solution: Choose a cleaning solution that is effective at breaking down grime and eliminating bacteria. You can opt for a commercial bathroom cleaner or create a DIY solution using household items such as white vinegar, baking soda, or a mild dish soap.
-
Bucket or Container: Select a bucket or container large enough to submerge the toilet brush completely. This will be used for soaking the brush and allowing the cleaning solution to work its magic.
-
Old Toothbrush or Scrub Brush: Having a small brush on hand will help you scrub the bristles of the toilet brush thoroughly, ensuring that all skid marks and residue are removed.
-
Hot Water: Hot water is an effective natural solvent that aids in dissolving grime and bacteria. It will be used for rinsing and soaking the toilet brush, promoting a more thorough cleaning process.
-
Vinegar: If you prefer a natural cleaning solution, vinegar can be an excellent addition to your cleaning arsenal. Its acidic properties help break down stains and eliminate odors, leaving the toilet brush fresh and clean.
-
Bleach (Optional): For an extra level of disinfection, you may choose to use bleach as part of your cleaning solution. However, it's important to use bleach in a well-ventilated area and handle it with care, as it can be harsh on skin and clothing.
By ensuring that you have all the necessary supplies at hand, you can streamline the cleaning process and achieve optimal results. With these items in your cleaning arsenal, you are well-equipped to tackle the task of removing skid marks from your toilet brush effectively and efficiently.
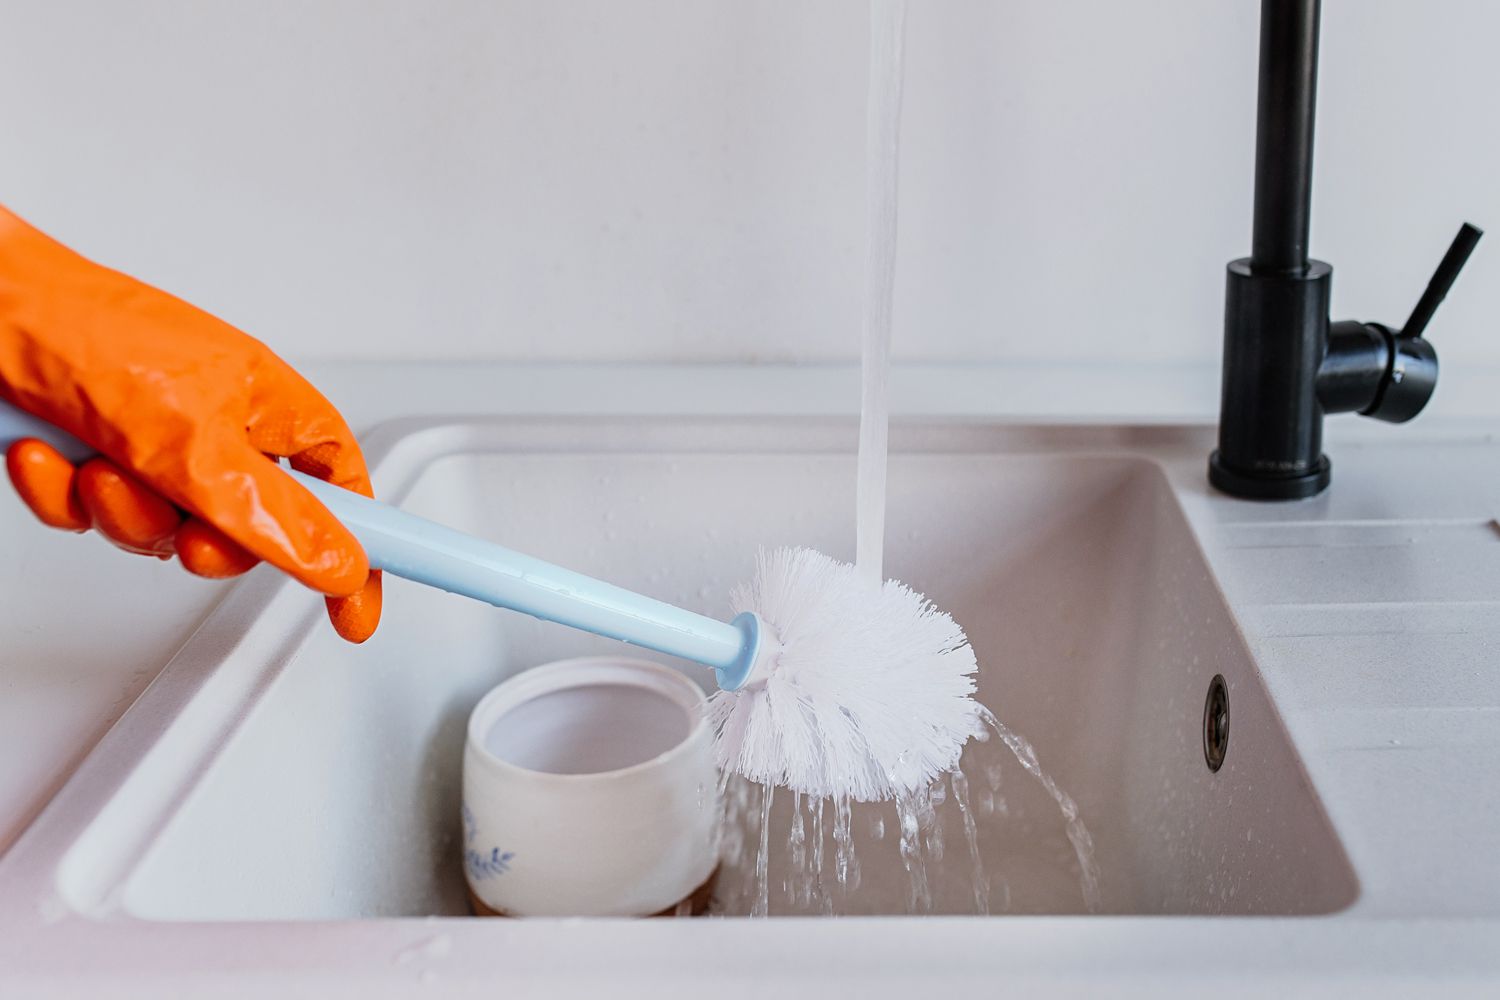
Step 2: Rinse the toilet brush
After gathering the necessary supplies, the next crucial step in the process of cleaning skid marks from a toilet brush is to thoroughly rinse the brush. This step is essential for removing surface debris, residual toilet bowl cleaner, and any loose particles that may have accumulated on the bristles.
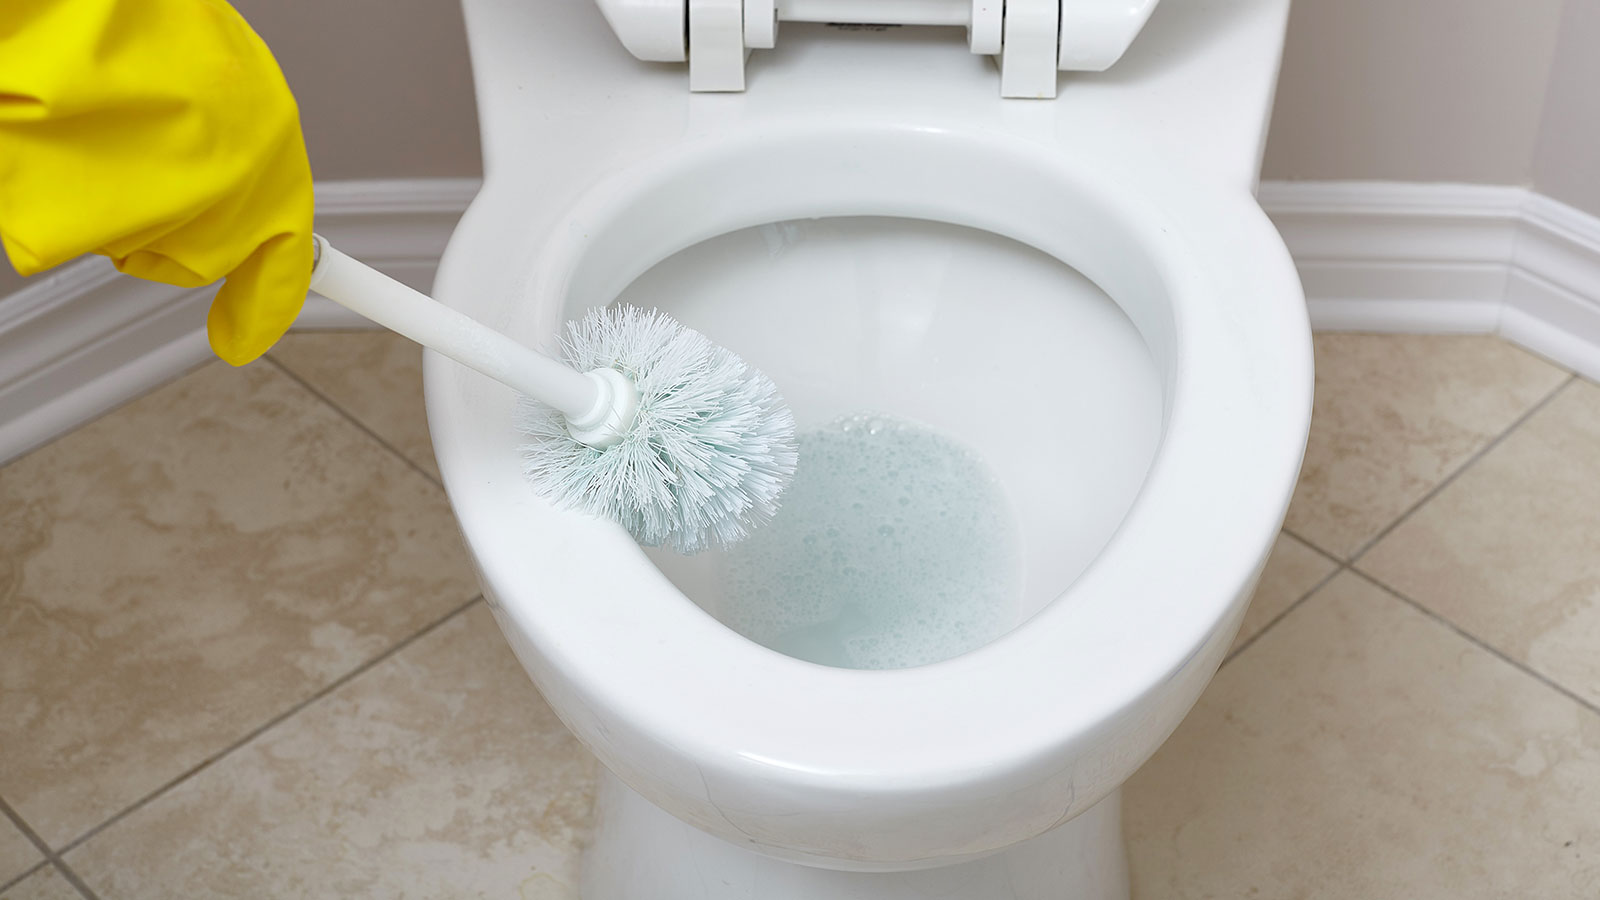
To begin, put on your rubber gloves to protect your hands from coming into contact with any lingering bacteria or residue on the toilet brush. Then, take the toilet brush to the nearest toilet and hold it over the bowl. Using the toilet bowl water, thoroughly rinse the bristles by repeatedly plunging the brush in and out of the water. This action helps dislodge any loose debris and prepares the brush for the next stage of the cleaning process.
Once the initial rinsing is complete, it's time to move to the sink for a more thorough cleaning. Turn on the hot water and hold the toilet brush under the running water, allowing it to flow through the bristles. Gently squeeze the bristles to ensure that the water reaches the base of the brush, effectively flushing out any remaining residue.
If you prefer to use a cleaning solution at this stage, you can apply a small amount of the chosen solution directly to the bristles. This will help to further break down any stubborn skid marks and sanitize the brush. After applying the cleaning solution, continue rinsing the brush under hot water, ensuring that all traces of the cleaning solution and debris are thoroughly flushed away.
Once the water runs clear and the bristles appear clean, give the toilet brush a few gentle shakes to remove excess water. It's important to ensure that the brush is free from any cleaning solution or debris before proceeding to the next step.
By diligently rinsing the toilet brush, you effectively remove surface contaminants and prepare the brush for the subsequent cleaning stages. This thorough rinsing process sets the foundation for achieving a deeply clean and sanitized toilet brush, ready to tackle future cleaning tasks with efficiency and effectiveness.
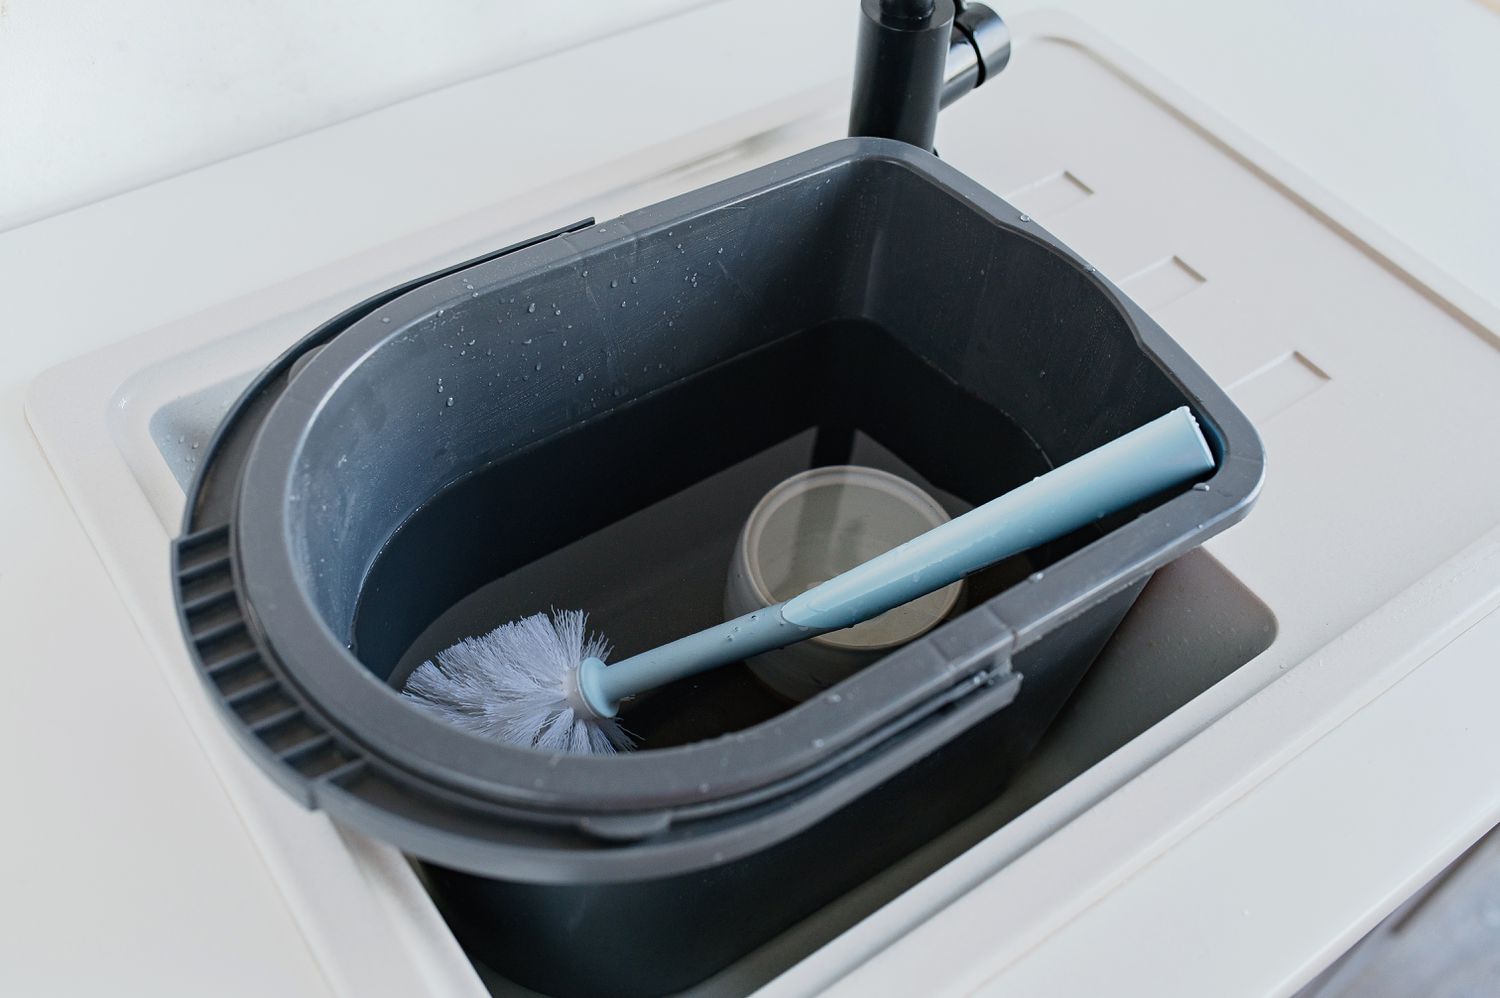
Step 3: Soak the toilet brush
After thoroughly rinsing the toilet brush, the next crucial step in the cleaning process is to soak the brush in a cleaning solution. This soaking stage is essential for penetrating the bristles and effectively breaking down any remaining skid marks, bacteria, and odors that may be lingering on the brush.
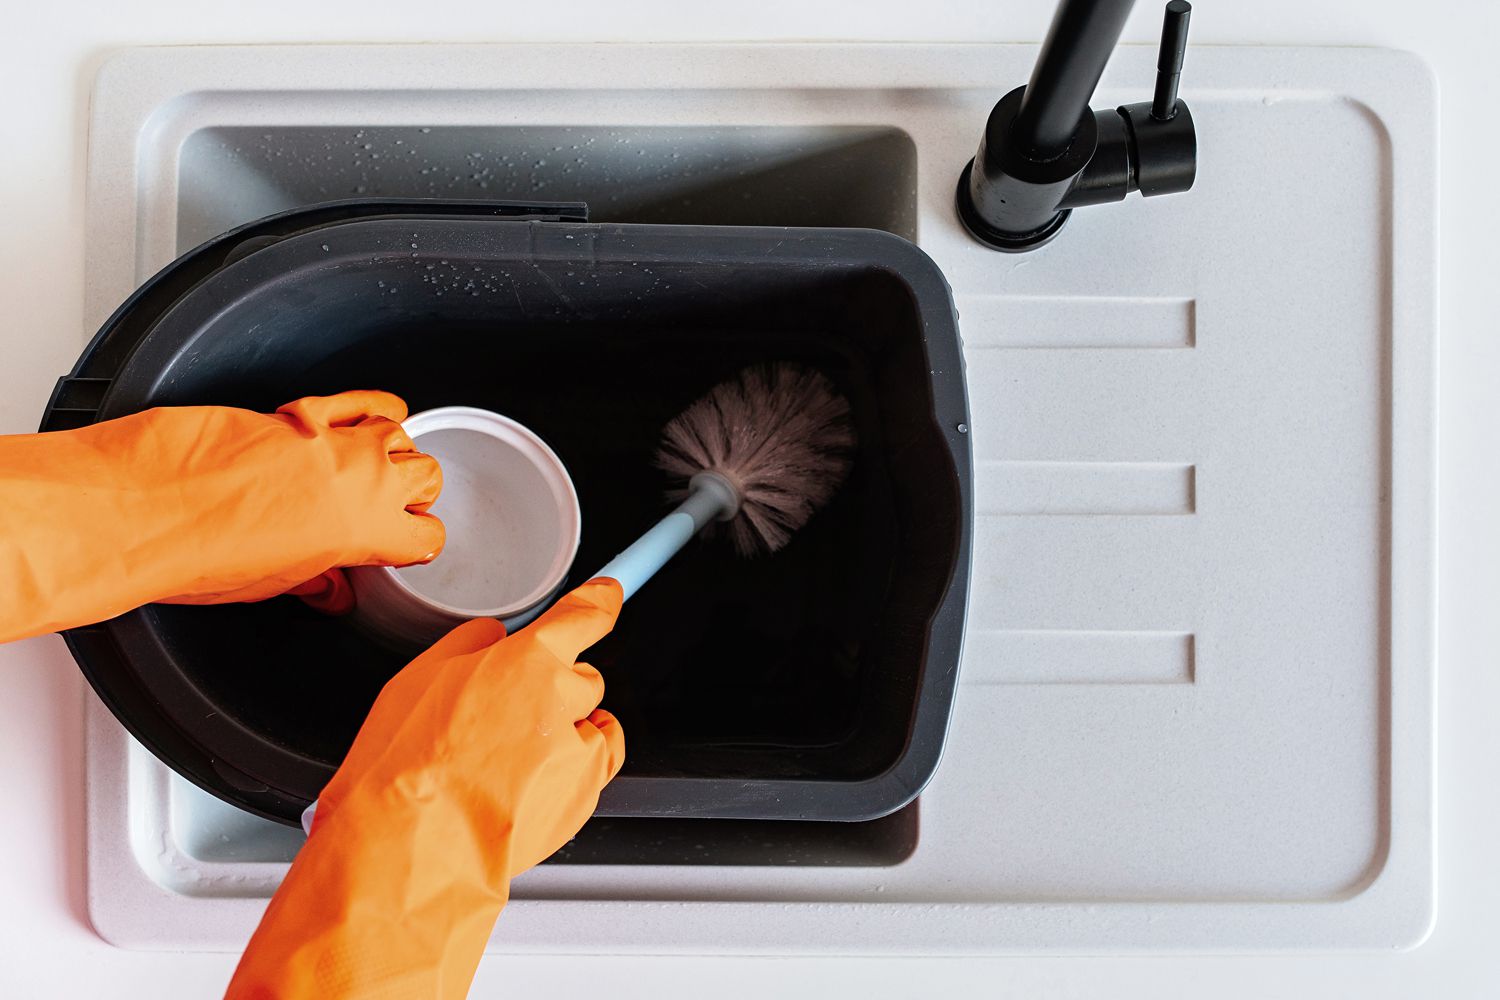
To begin, prepare a cleaning solution in the selected bucket or container. If you opted for a commercial bathroom cleaner, follow the manufacturer's instructions for dilution. If you prefer a DIY solution, a mixture of hot water and white vinegar or baking soda can serve as an effective soaking solution. The acidic properties of vinegar and the cleaning power of baking soda work together to dissolve grime and neutralize odors, leaving the toilet brush fresh and sanitized.
Once the cleaning solution is ready, immerse the toilet brush completely in the solution, ensuring that the bristles are fully submerged. The soaking time can vary depending on the level of soiling and the effectiveness of the cleaning solution. It is recommended to allow the brush to soak for at least 30 minutes to an hour, allowing the solution to work its magic and loosen any stubborn residue.
During the soaking period, the cleaning solution penetrates the bristles, effectively breaking down skid marks and eliminating bacteria. This process not only cleans the brush but also helps to neutralize any unpleasant odors that may have accumulated over time.
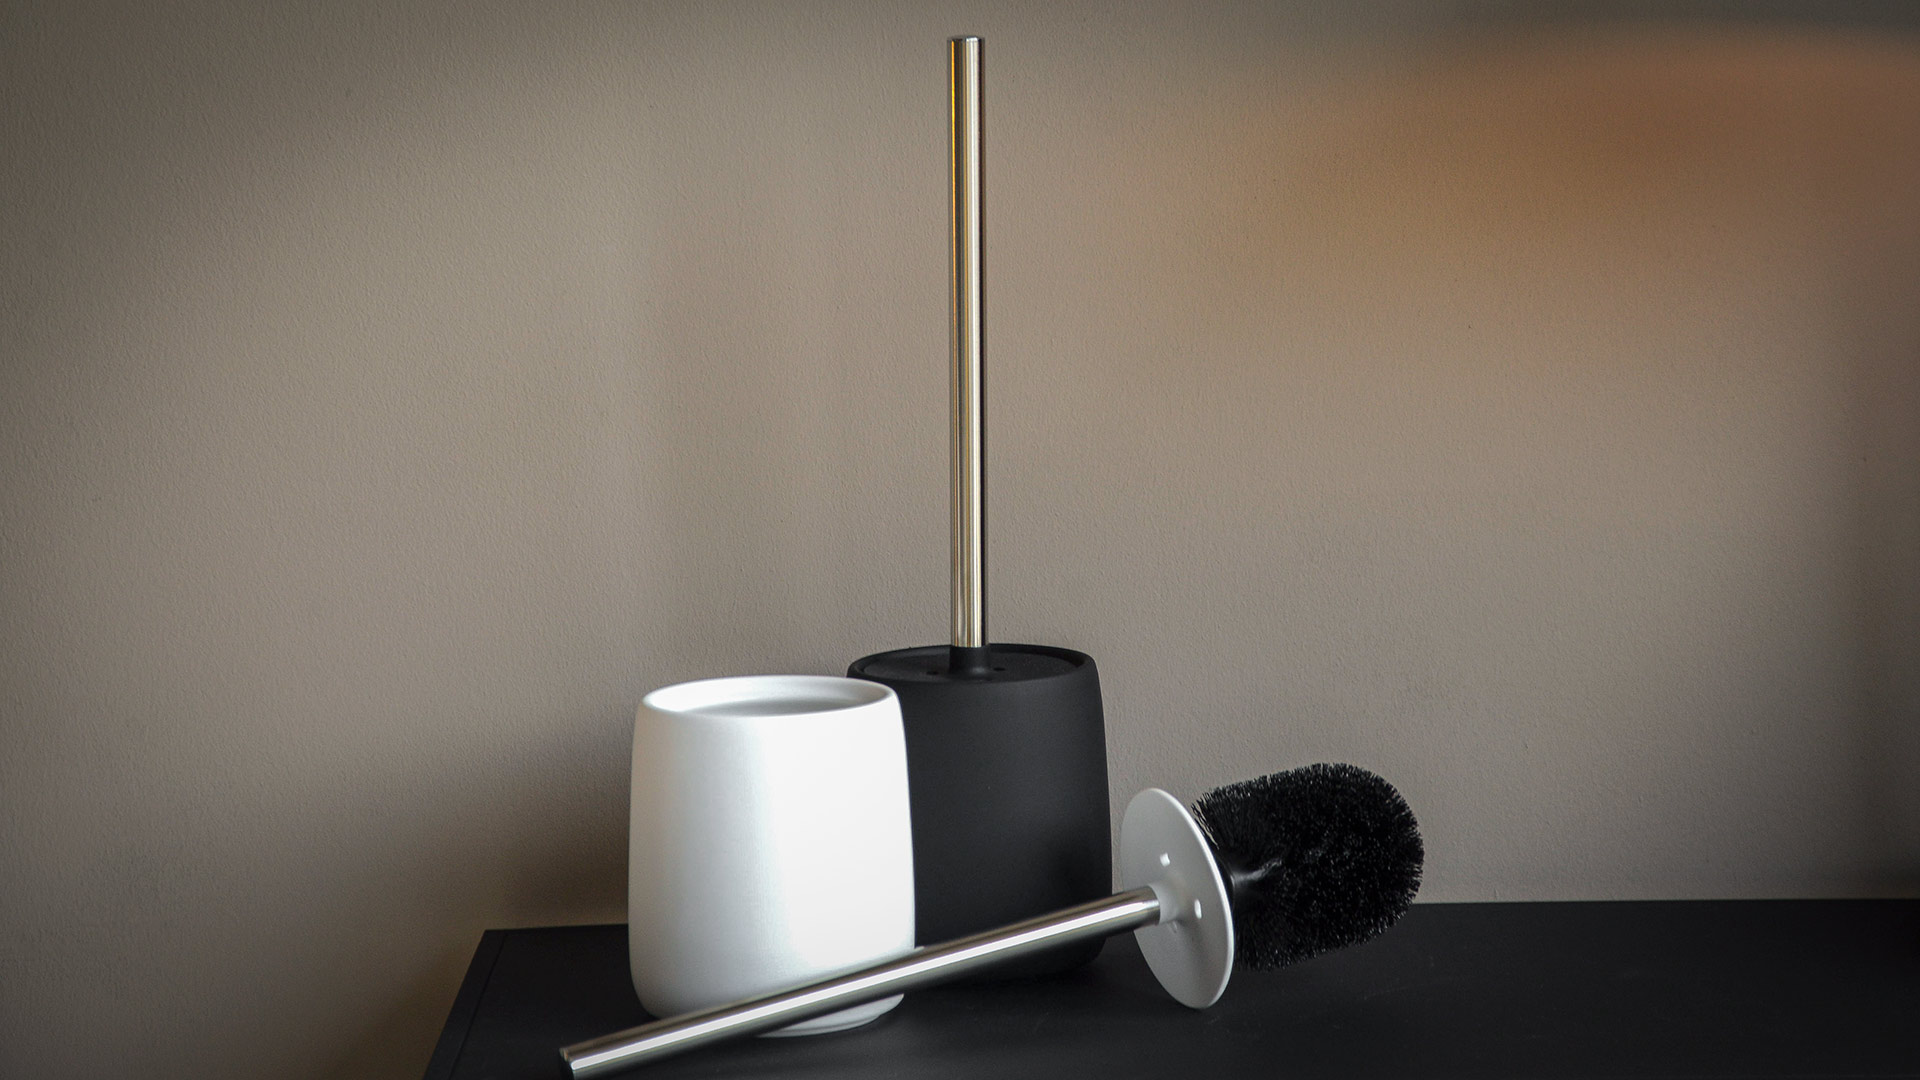
While the toilet brush is soaking, it's a good opportunity to clean the brush holder or container. If the holder is removable, wash it with hot, soapy water and rinse thoroughly. This ensures that the entire toilet brush set is clean and ready for use after the cleaning process is complete.
After the designated soaking time has elapsed, remove the toilet brush from the cleaning solution. Hold the brush over the bucket or sink and allow any excess solution to drain off. It's important to ensure that the brush is free from any residual cleaning solution before proceeding to the next step.
By soaking the toilet brush in a potent cleaning solution, you effectively break down skid marks, eliminate bacteria, and neutralize odors, ensuring that the brush is thoroughly sanitized and ready for the next stage of the cleaning process. This soaking stage plays a pivotal role in restoring the cleanliness and functionality of the toilet brush, contributing to a more hygienic bathroom environment.
To clean skid marks from a toilet brush, soak the brush in a mixture of hot water and bleach for 30 minutes, then scrub with a toilet bowl cleaner and rinse thoroughly.
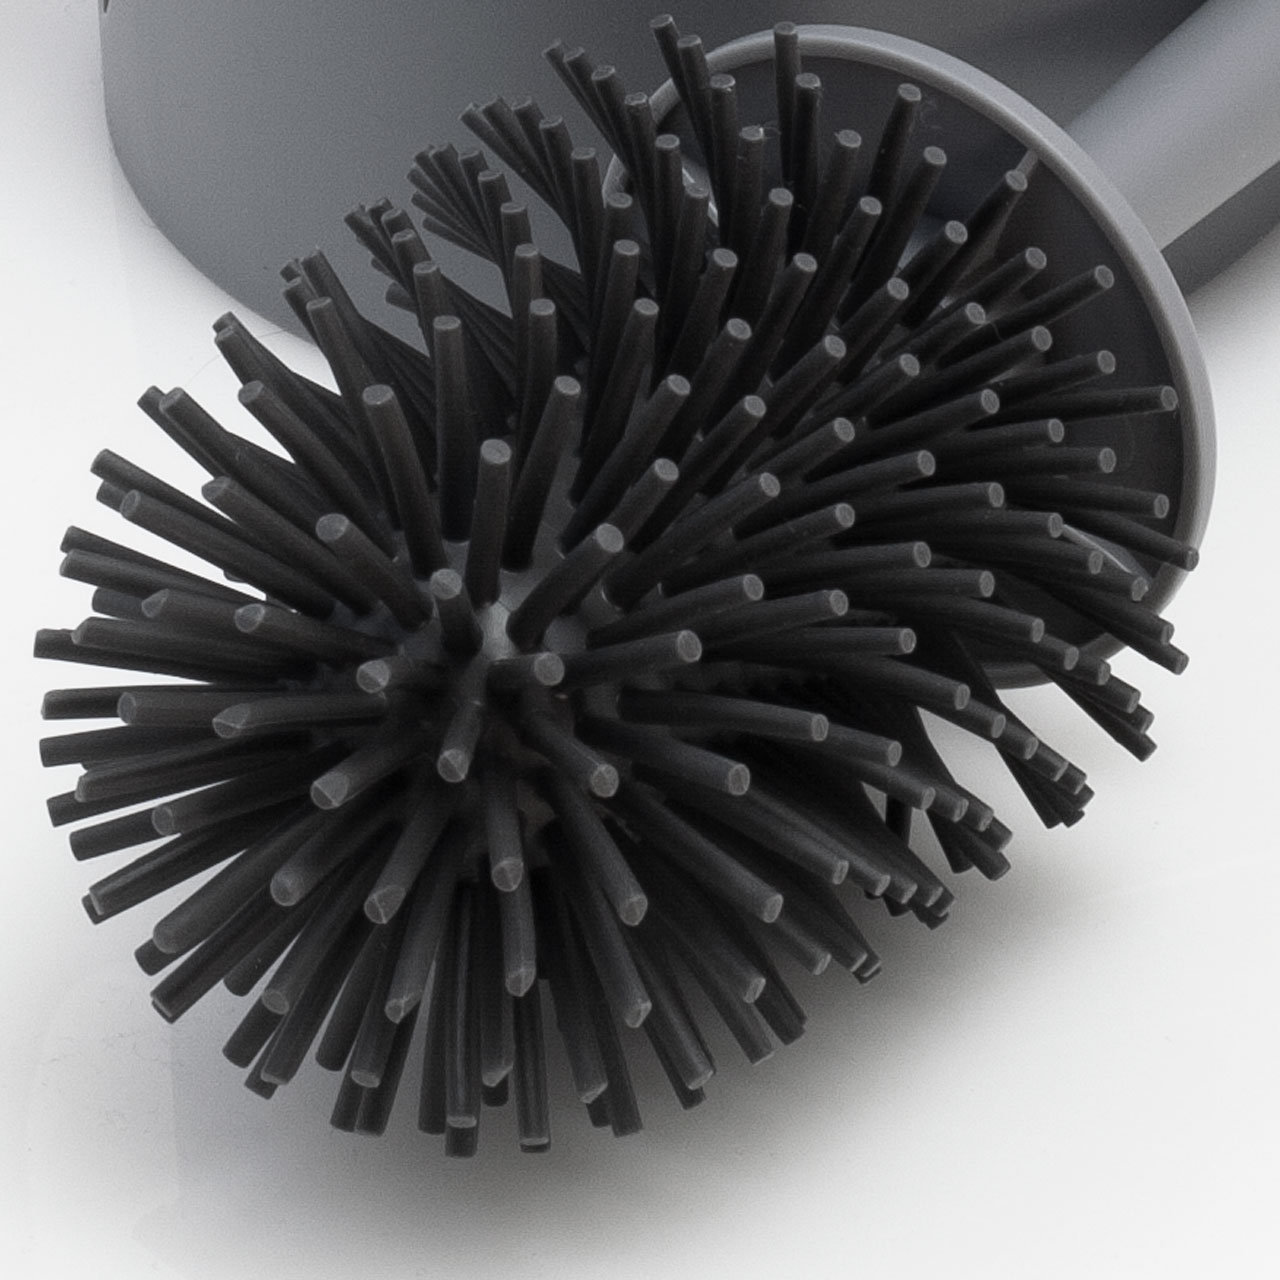
Step 4: Scrub the bristles
With the toilet brush thoroughly soaked and the cleaning solution having worked its magic, it's time to focus on scrubbing the bristles to ensure that all skid marks and residual debris are effectively removed. This step is crucial for restoring the bristles to their pristine condition and ensuring that the toilet brush is ready for future use.
To begin, retrieve the old toothbrush or scrub brush that you gathered as part of the necessary supplies. This small brush will serve as your tool for meticulously scrubbing the bristles of the toilet brush. If you opted for a commercial bathroom cleaner or a DIY cleaning solution, the abrasive action of the brush, combined with the cleaning solution, will effectively dislodge any remaining skid marks and stubborn residue.
Hold the toilet brush firmly and, using the old toothbrush or scrub brush, vigorously scrub the bristles in a back-and-forth motion. Pay close attention to areas where skid marks are most prevalent, ensuring that the bristles are thoroughly scrubbed from base to tip. The goal is to dislodge any remaining debris and ensure that the bristles are clean and free from any lingering stains.
If necessary, you can apply additional cleaning solution directly to the bristles to target stubborn areas. The combination of the cleaning solution and the abrasive action of the brush works in tandem to break down any remaining residue, leaving the bristles fresh and sanitized.
As you scrub the bristles, periodically rinse the brush under hot water to remove dislodged debris and assess the progress of the cleaning process. This intermittent rinsing allows you to monitor the cleanliness of the bristles and ensure that all skid marks are effectively removed.
Continue scrubbing the bristles until they appear clean, free from any visible skid marks, and odor-free. This thorough scrubbing process ensures that the toilet brush is restored to its optimal cleanliness, ready to fulfill its essential role in maintaining a hygienic bathroom environment.
Once the bristles are clean and free from skid marks, give the entire brush a final rinse under hot water to remove any residual cleaning solution or debris. After rinsing, shake the brush gently to remove excess water and allow it to air dry completely.
By diligently scrubbing the bristles, you ensure that all skid marks and residual debris are effectively removed, restoring the toilet brush to its pristine condition. This meticulous cleaning process sets the stage for a thoroughly sanitized and odor-free toilet brush, ready to tackle future cleaning tasks with efficiency and effectiveness.
Read more: How To Clean A Toilet Without A Toilet Brush
Step 5: Rinse and dry the toilet brush
After the thorough scrubbing process, the final step in cleaning skid marks from a toilet brush involves rinsing and drying the brush to ensure that it is completely clean and ready for future use.
Begin by holding the toilet brush under hot running water, allowing the water to flow through the bristles and rinse away any remaining cleaning solution or debris. Gently squeeze the bristles to ensure that all traces of the cleaning solution are thoroughly flushed out. It's essential to continue rinsing the brush until the water runs clear, indicating that the bristles are free from any residual cleaning solution or debris.
Once the rinsing process is complete, shake the brush gently to remove excess water. It's important to ensure that the brush is free from any lingering moisture to prevent the growth of bacteria or mold. To facilitate thorough drying, place the toilet brush in a well-ventilated area, such as near an open window or under a bathroom fan. Allowing the brush to air dry completely is crucial for maintaining its cleanliness and preventing the accumulation of moisture, which can lead to unpleasant odors and bacterial growth.
As the toilet brush dries, it's a good opportunity to clean the brush holder or container once again. If the holder is removable, wash it with hot, soapy water and rinse thoroughly to ensure that it is free from any residual debris or cleaning solution. A clean and dry holder contributes to the overall cleanliness of the toilet brush set, ensuring that every component is ready for future use.
Once the toilet brush is completely dry, visually inspect the bristles to confirm that they are clean, free from skid marks, and odor-free. Running your hand through the bristles can also help assess their cleanliness and dryness. If any residual debris or moisture is detected, consider repeating the rinsing and drying process to ensure that the brush is thoroughly clean and ready for storage.
By diligently rinsing and drying the toilet brush, you complete the comprehensive cleaning process, ensuring that the brush is completely sanitized and free from skid marks and bacteria. This final step sets the stage for a clean, odor-free, and hygienic toilet brush, ready to fulfill its essential role in maintaining a fresh and inviting bathroom environment.
Conclusion
In conclusion, maintaining a clean and hygienic bathroom environment involves paying attention to often-overlooked items such as the toilet brush. By following the step-by-step guide outlined in this comprehensive article, you can effectively remove skid marks from a toilet brush and ensure that it remains clean, odor-free, and ready for future use.
Regularly cleaning the toilet brush not only contributes to a more pleasant bathroom experience but also plays a crucial role in preventing the spread of germs and bacteria. The thorough cleaning process outlined in this guide addresses the accumulation of skid marks and bacteria, promoting a healthier and more hygienic bathroom environment for you and your family.
By gathering the necessary supplies, including rubber gloves, a cleaning solution, a bucket or container, an old toothbrush or scrub brush, hot water, and optional items such as vinegar or bleach, you set the stage for a thorough and effective cleaning process. These supplies equip you to tackle the task of removing skid marks from the toilet brush with efficiency and precision.
The step-by-step process, which includes rinsing the toilet brush, soaking it in a cleaning solution, and meticulously scrubbing the bristles, ensures that all skid marks and residual debris are effectively removed. The final steps of rinsing and drying the brush contribute to its overall cleanliness and readiness for future use.
By incorporating these cleaning methods into your regular bathroom maintenance routine, you can ensure that the toilet brush remains a reliable and hygienic tool for maintaining a clean and inviting bathroom. Additionally, the use of natural cleaning solutions such as vinegar and baking soda provides an eco-friendly and effective approach to sanitizing the toilet brush.
In essence, the thorough cleaning process outlined in this guide not only removes skid marks and bacteria from the toilet brush but also contributes to a more hygienic and inviting bathroom environment. By incorporating these cleaning methods into your regular routine, you can ensure that the toilet brush remains a functional and essential tool for maintaining a fresh and clean bathroom space.
With the knowledge and insights gained from this guide, you are well-equipped to tackle the task of cleaning skid marks from a toilet brush, promoting a healthier and more hygienic bathroom environment for yourself and your family.
Frequently Asked Questions about How To Clean Skid Marks From A Toilet Brush
Was this page helpful?
At Storables.com, we guarantee accurate and reliable information. Our content, validated by Expert Board Contributors, is crafted following stringent Editorial Policies. We're committed to providing you with well-researched, expert-backed insights for all your informational needs.


0 thoughts on “How To Clean Skid Marks From A Toilet Brush”