Home>Furniture & Design>Bathroom Accessories>How To Clean A Shower Curtain Liner
Bathroom Accessories
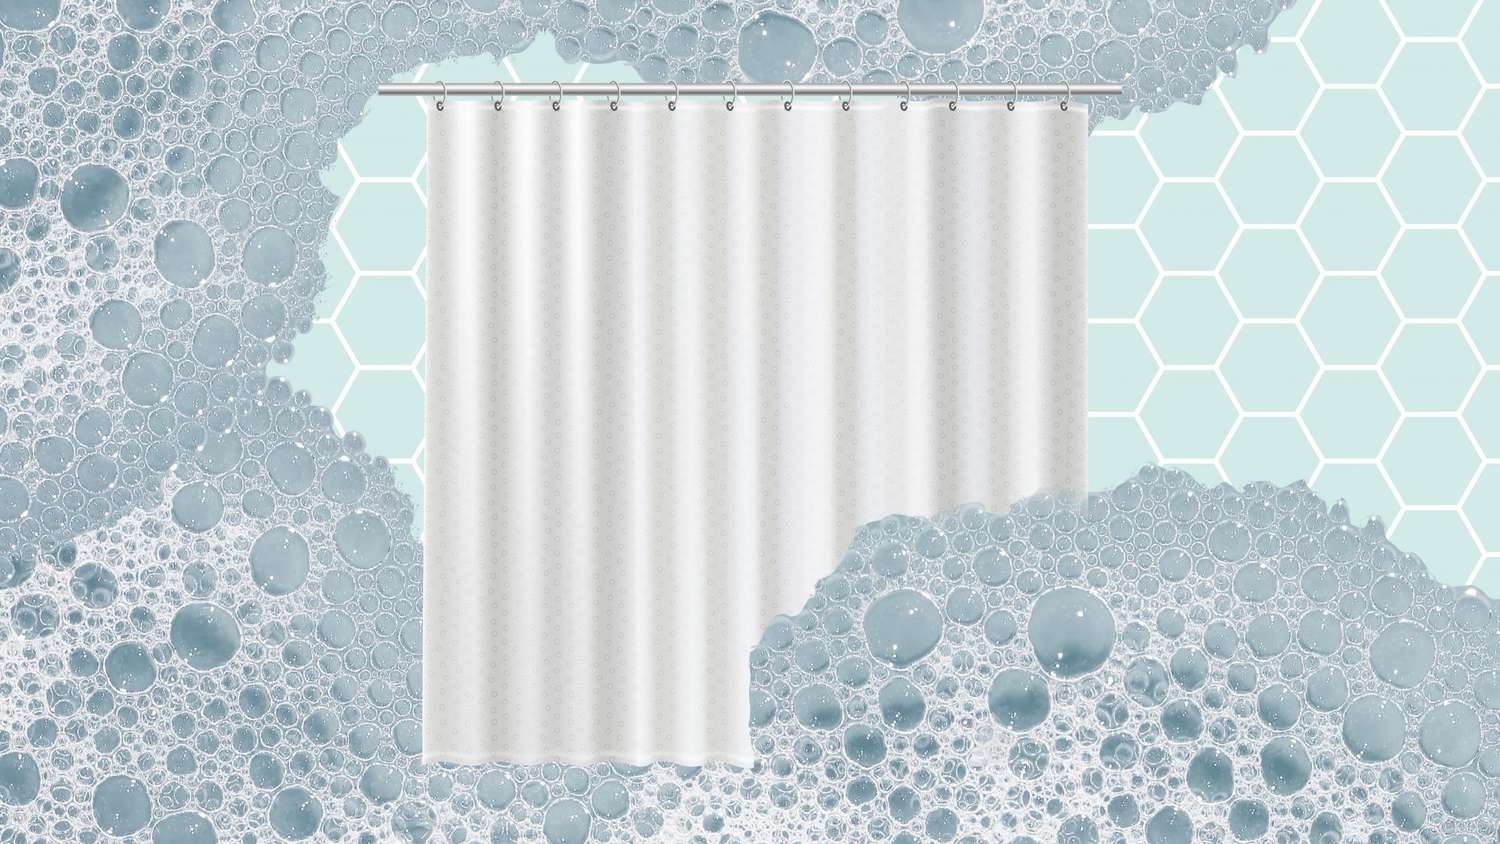
How To Clean A Shower Curtain Liner
Modified: March 2, 2024
Learn how to effectively clean your shower curtain liner and keep your bathroom accessories looking fresh and mold-free. Follow these simple tips for a sparkling clean bathroom.
(Many of the links in this article redirect to a specific reviewed product. Your purchase of these products through affiliate links helps to generate commission for Storables.com, at no extra cost. Learn more)
Introduction
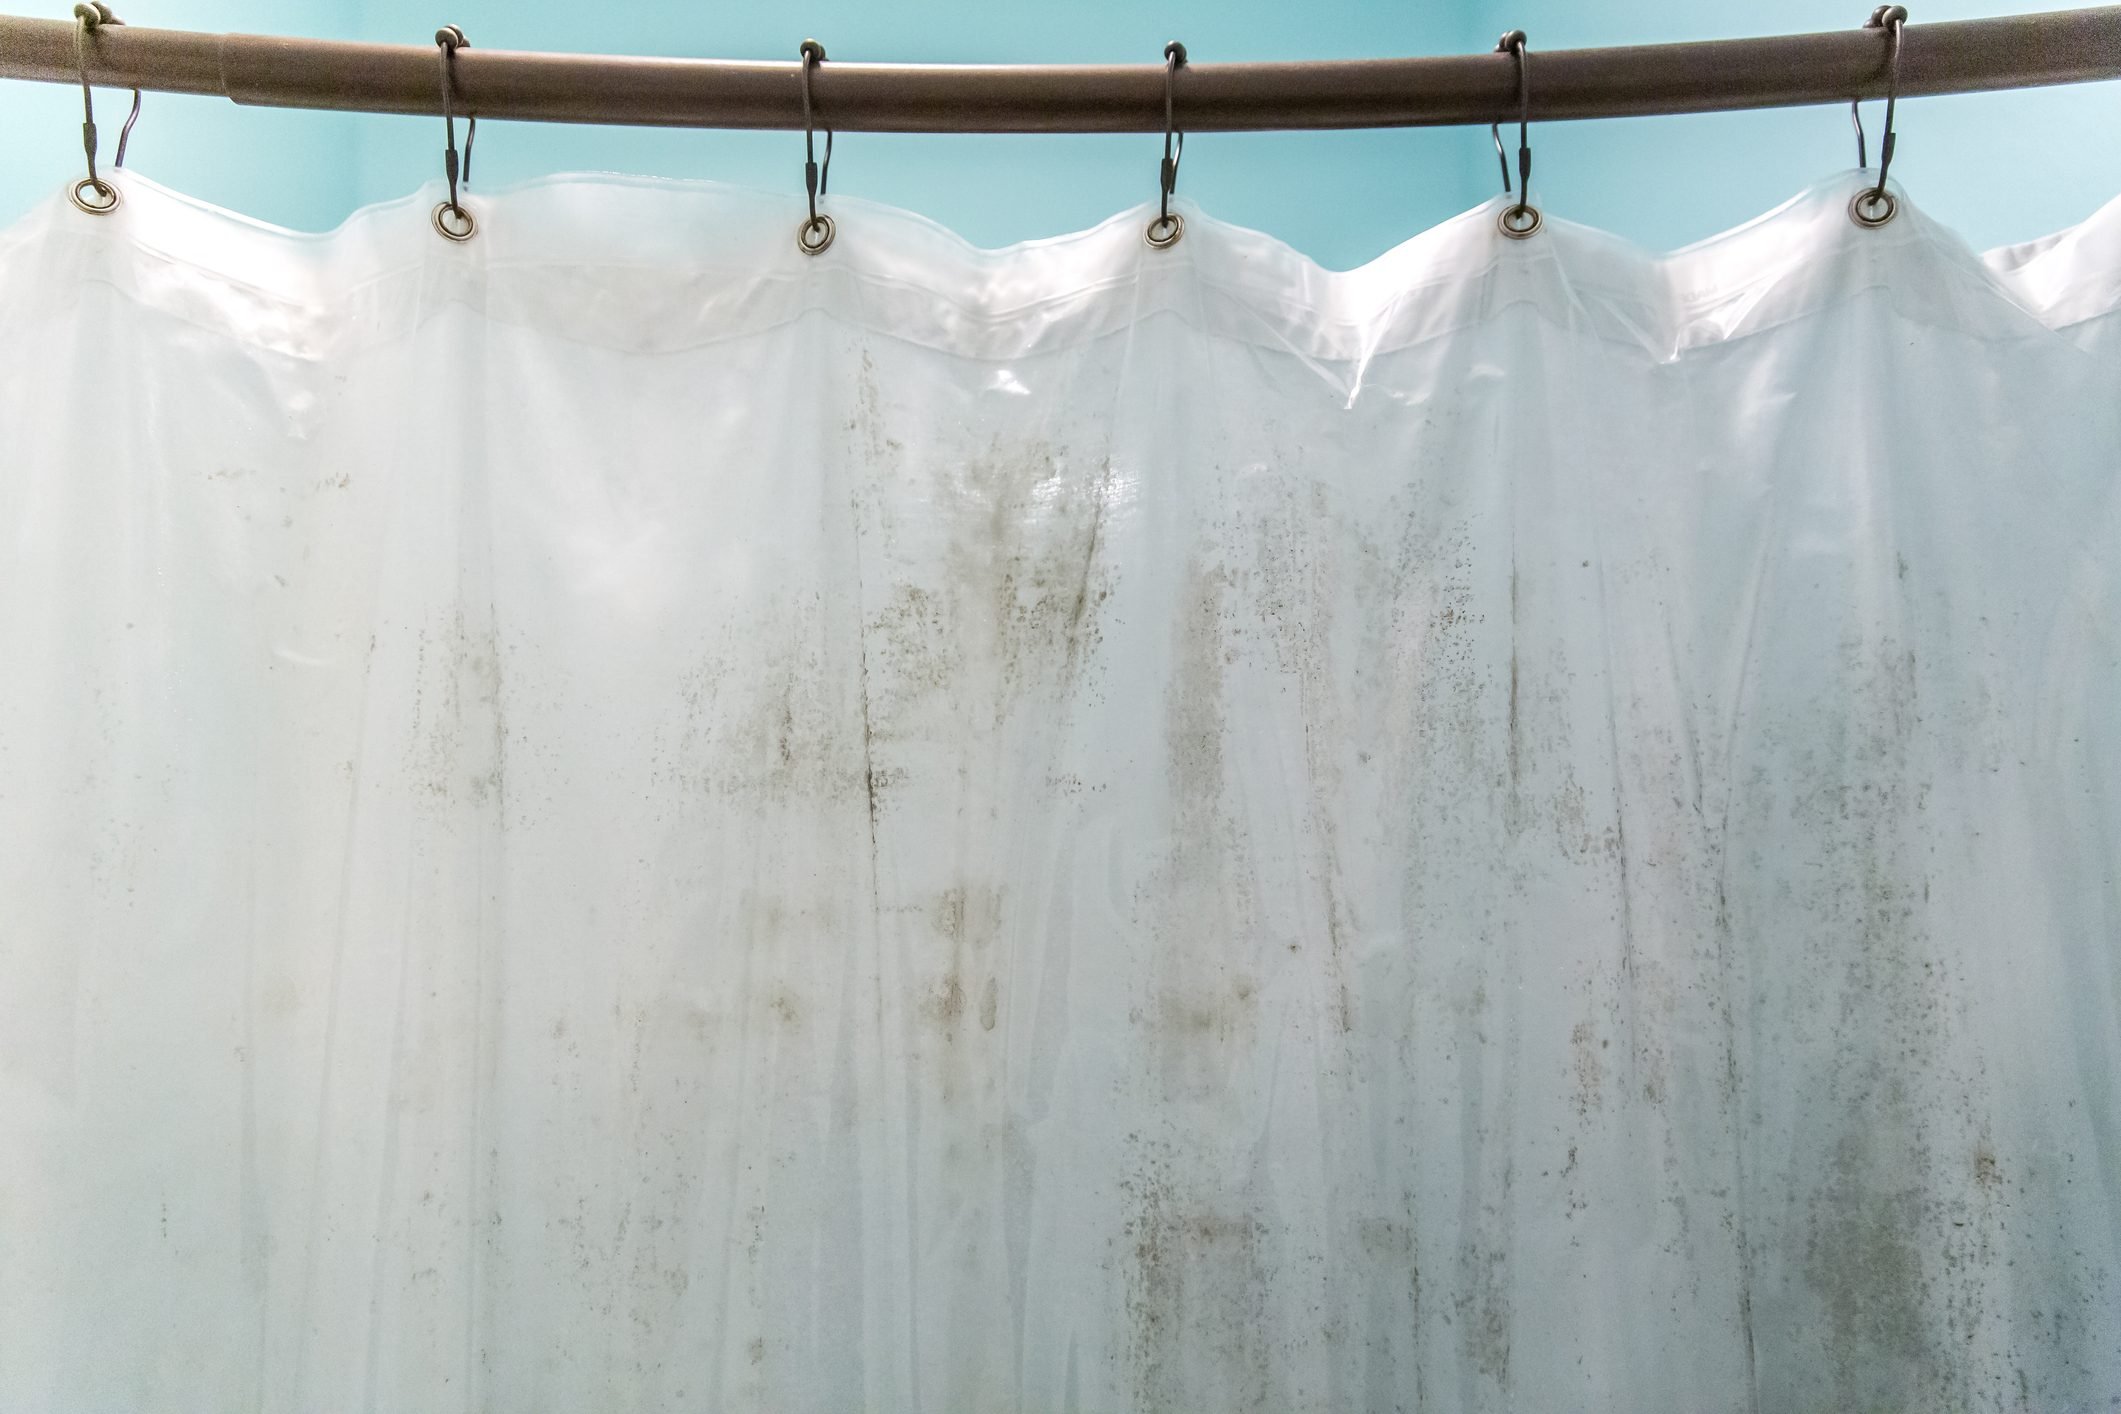
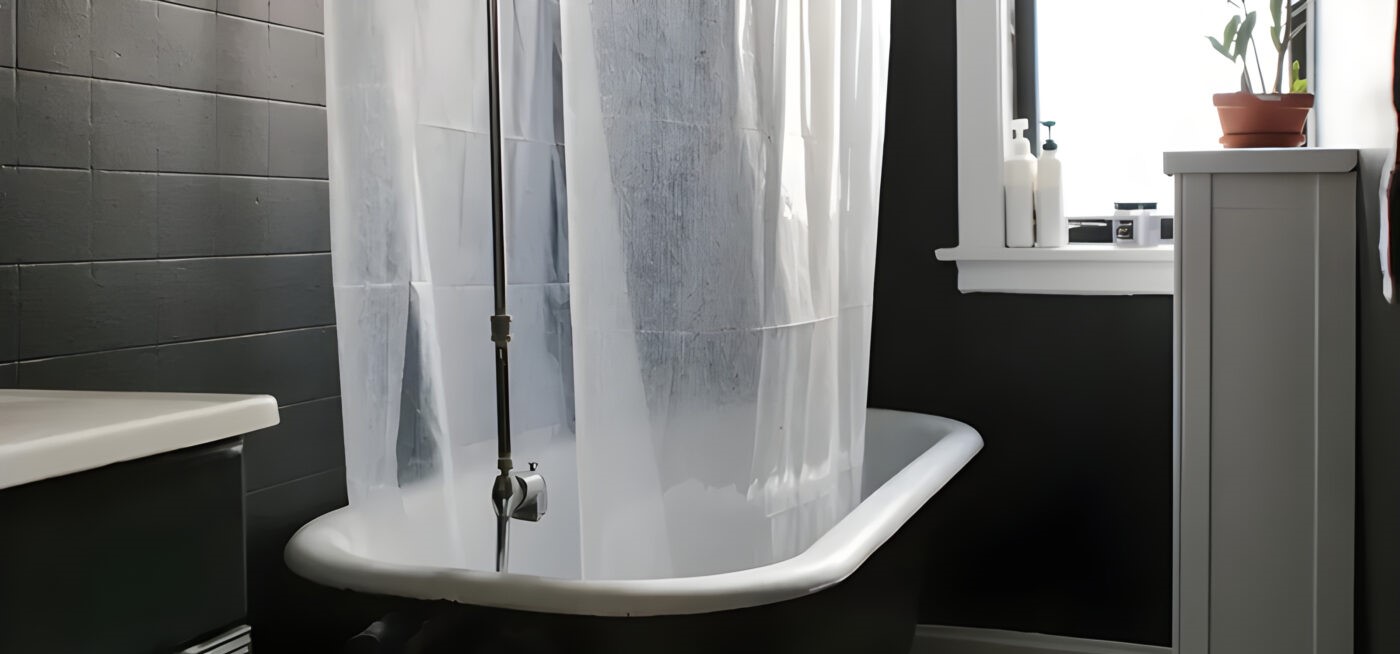
Cleaning a shower curtain liner may not be the most glamorous task, but it is an essential part of maintaining a clean and hygienic bathroom. Over time, shower curtain liners can accumulate soap scum, mildew, and other unsightly residues, detracting from the overall cleanliness of the bathroom. However, with the right approach and a bit of elbow grease, restoring your shower curtain liner to its pristine condition is a straightforward and rewarding endeavor.
A clean shower curtain liner not only enhances the aesthetic appeal of your bathroom but also contributes to a healthier environment by preventing the growth of mold and mildew. Additionally, regularly cleaning your shower curtain liner can prolong its lifespan, saving you money in the long run.
In this comprehensive guide, we will walk you through the step-by-step process of effectively cleaning your shower curtain liner. From removing the liner to preparing a powerful cleaning solution and executing the cleaning process, we will cover everything you need to know to achieve sparkling results. Whether you have a fabric, plastic, or vinyl shower curtain liner, these cleaning techniques are applicable and will leave your liner looking as good as new.
By following the methods outlined in this guide, you can bid farewell to dingy, grimy shower curtain liners and welcome a fresh, revitalized look to your bathroom. So, roll up your sleeves and get ready to transform your shower curtain liner from lackluster to lustrous!
Key Takeaways:
- Say goodbye to dingy shower curtain liners by following these easy steps to a sparkling clean bathroom essential. Regular cleaning can prolong its lifespan and save you money in the long run.
- Transform your lackluster shower curtain liner to a lustrous one with a simple process. Enjoy a revitalized and immaculate bathroom ambiance for years to come.
Read more: How To Clean A Shower Curtain And Its Liner
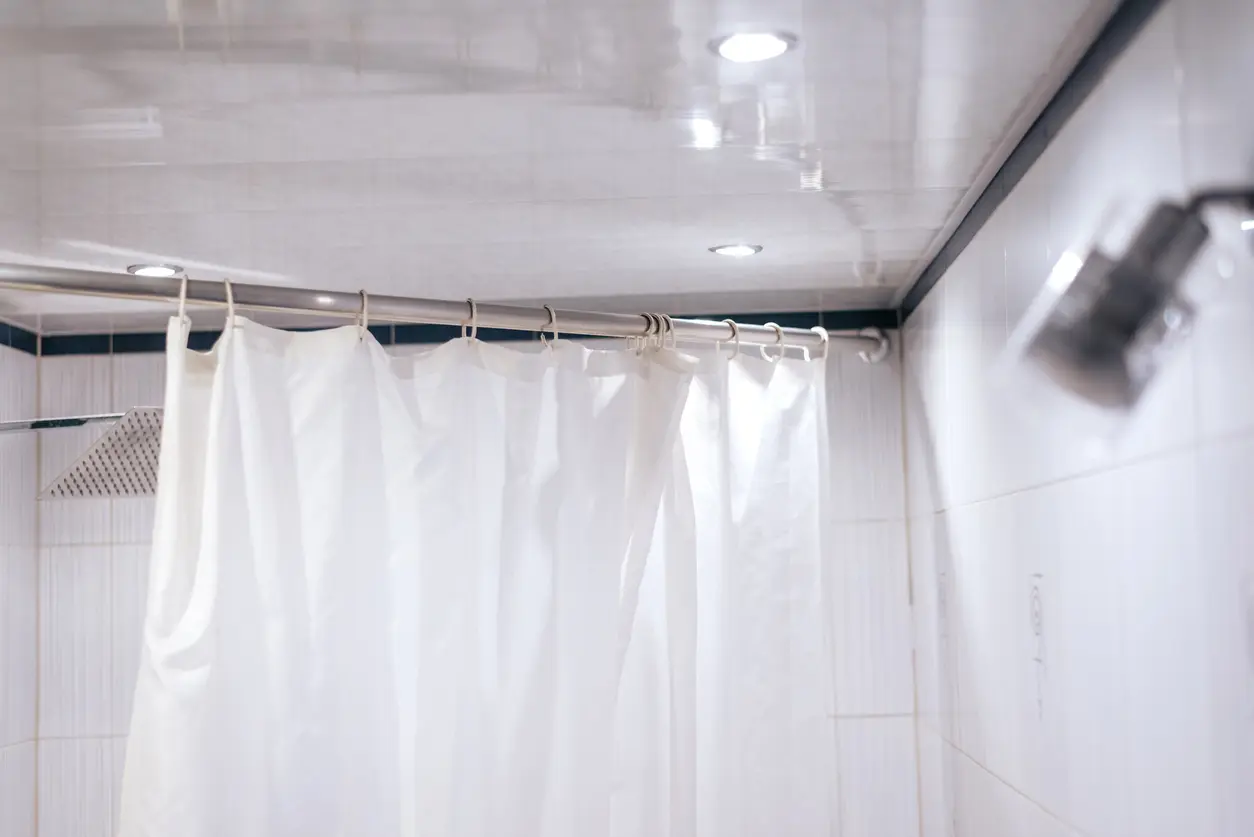
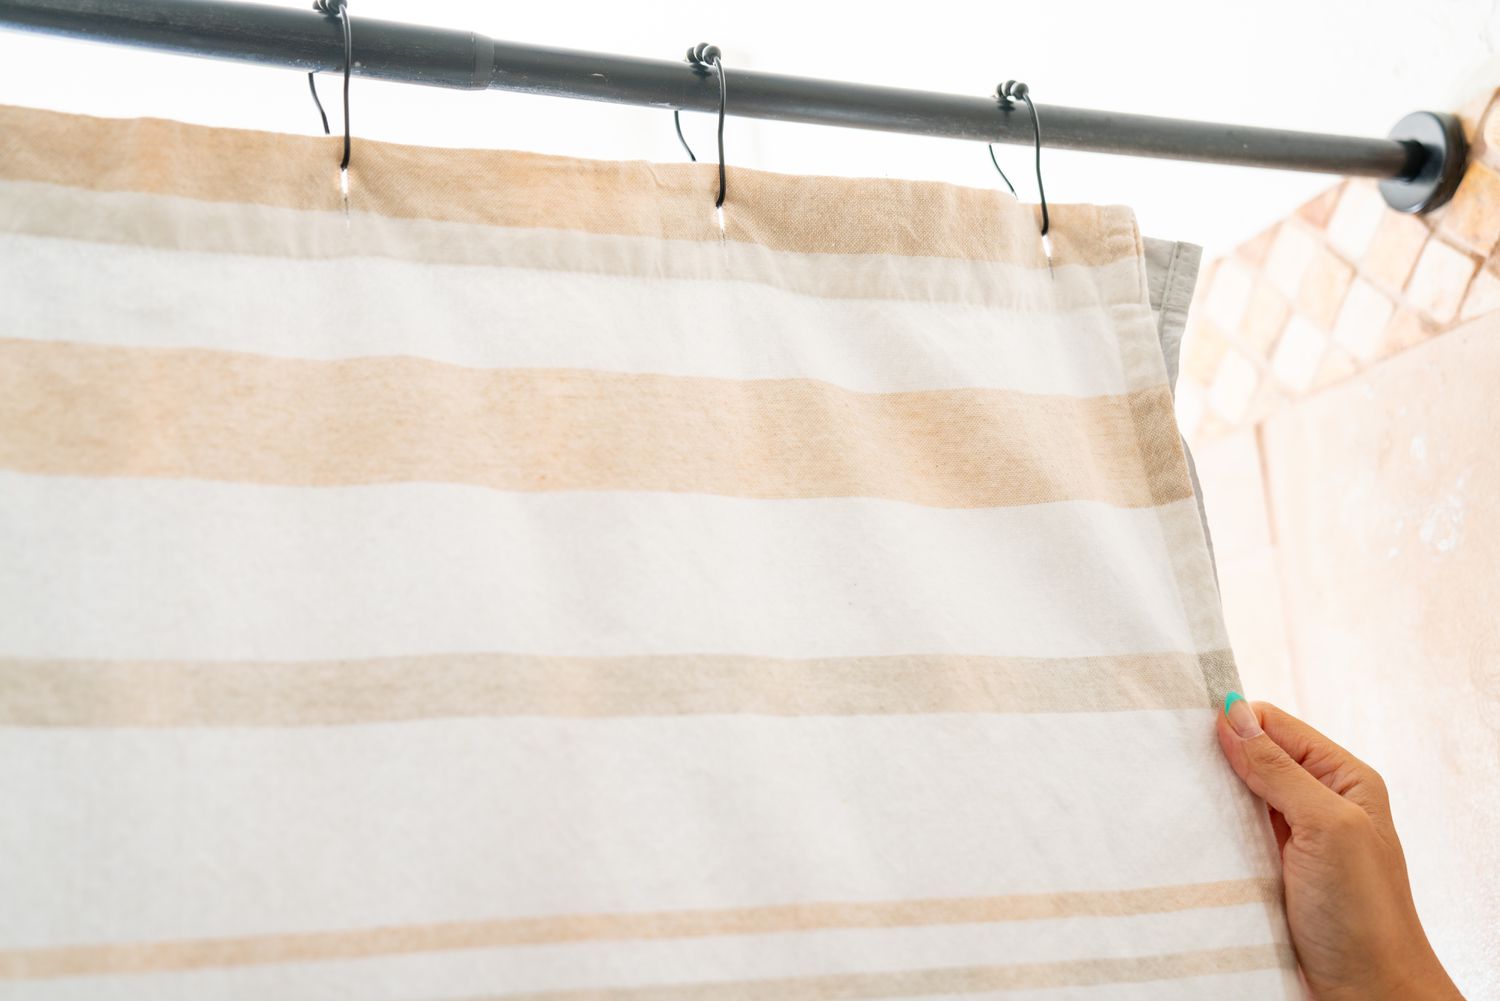
Step 1: Remove the Shower Curtain Liner
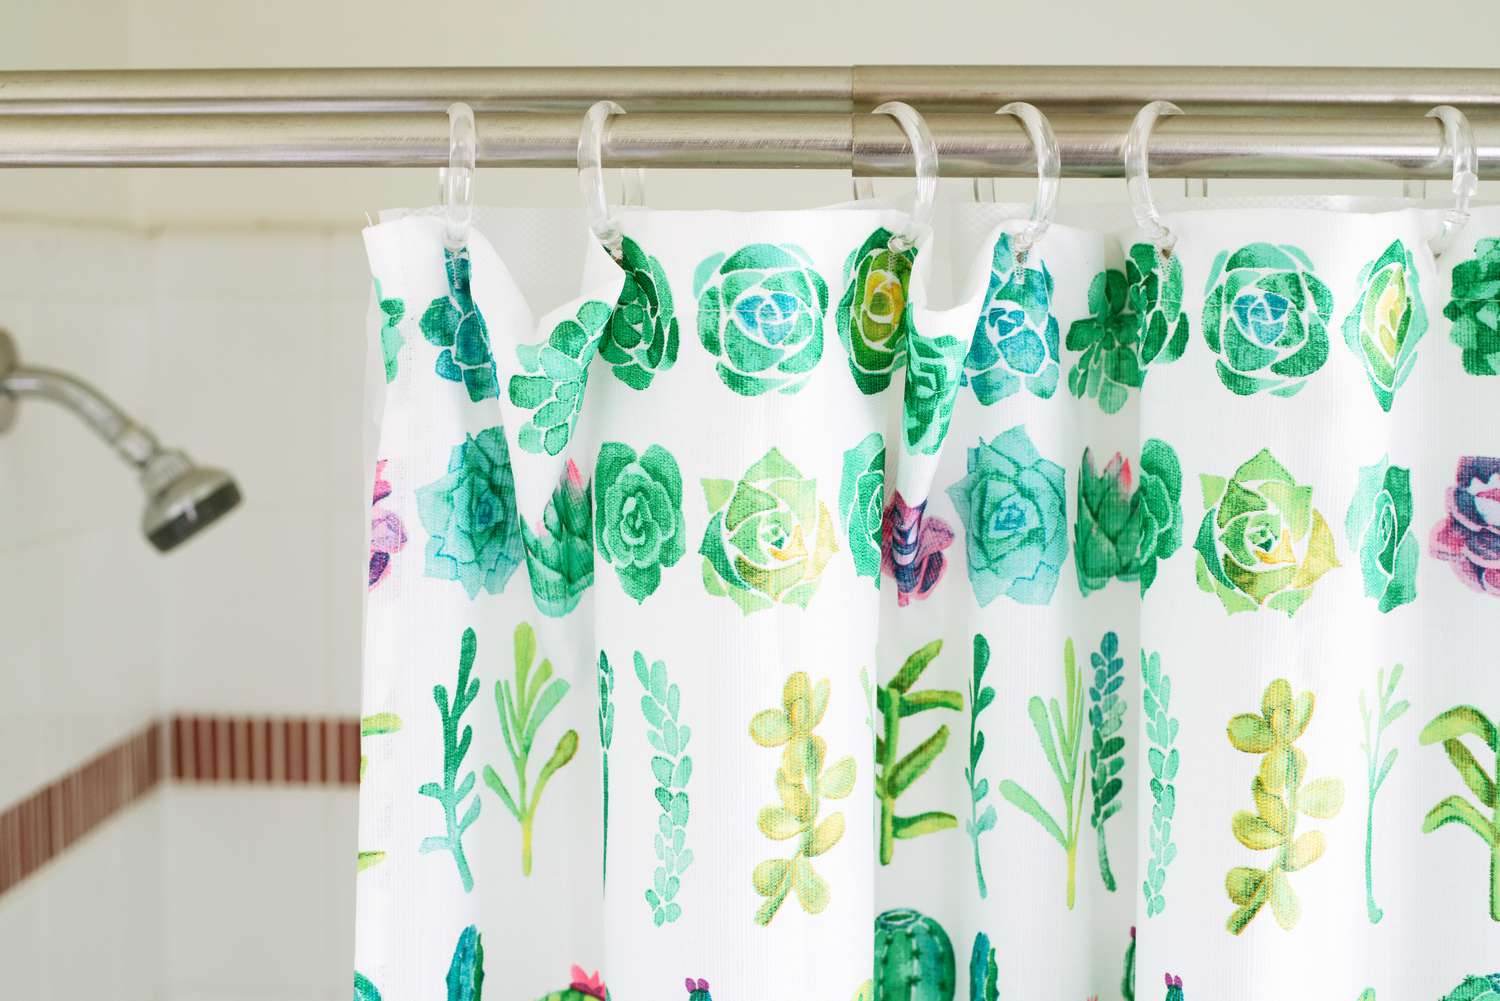
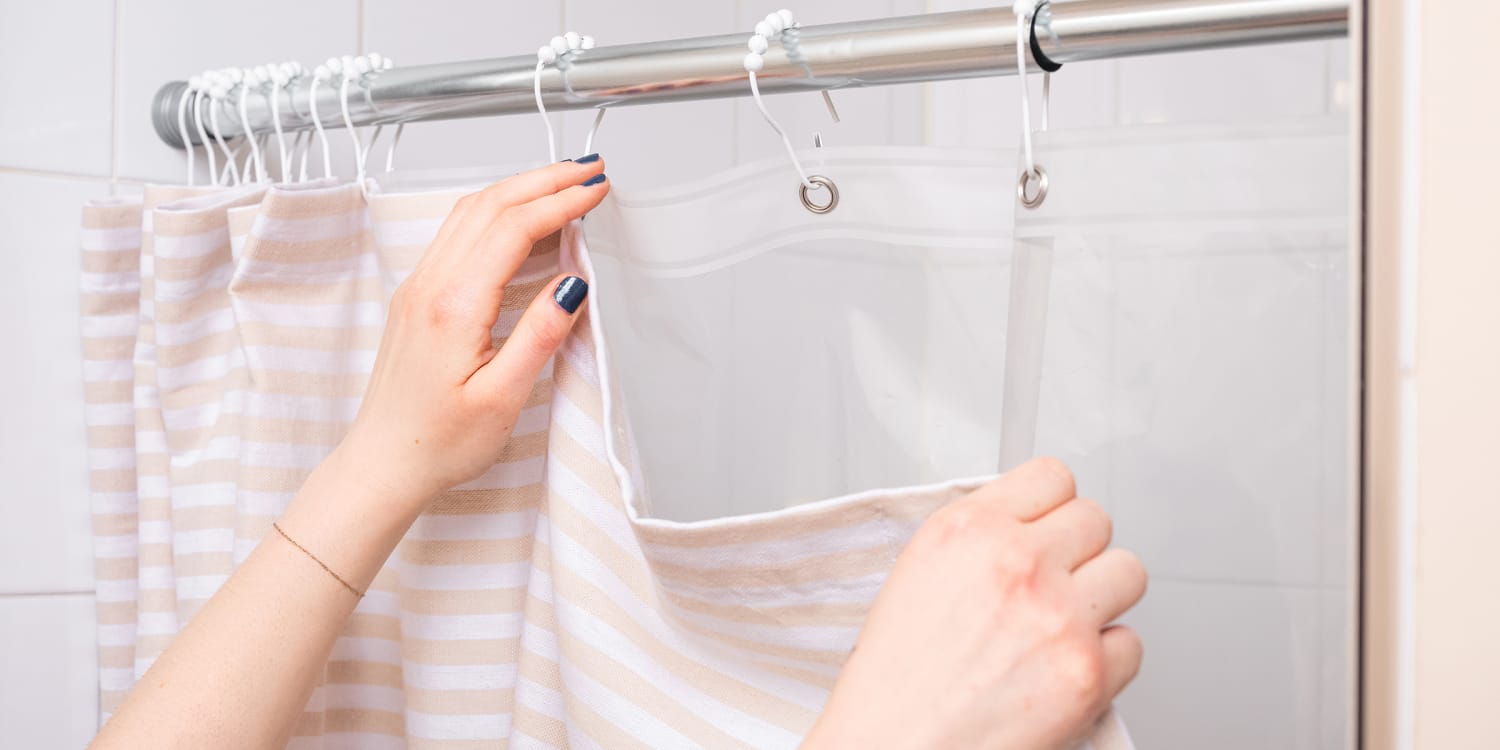
Before embarking on the cleaning process, it's crucial to remove the shower curtain liner from the hooks or rings. Start by carefully detaching the liner, ensuring that it doesn't snag or tear. If your shower curtain liner is fabric, gently unhook it from the rings, taking care to avoid any delicate stitching or embellishments. For plastic or vinyl liners, simply unhook them from the rings or hooks, being mindful of any sharp edges that could cause damage.
Once the liner is detached, lay it flat on a clean surface to assess the extent of cleaning required. This step allows you to identify areas with the most buildup of soap scum, mildew, or stains, enabling you to target these areas during the cleaning process. By removing the liner from the shower area, you also prevent any cleaning solution from dripping onto the shower floor, minimizing the need for additional cleaning afterward.
Removing the shower curtain liner provides a clear canvas for thorough cleaning, ensuring that no spots are overlooked. It also allows for easier maneuvering and handling during the cleaning process, as you can access both sides of the liner without any obstructions. This step sets the stage for a comprehensive and effective cleaning process, setting the foundation for a revitalized and immaculate shower curtain liner.
With the liner successfully removed, you are now ready to proceed to the next step of preparing the cleaning solution. This pivotal stage will equip you with the necessary tools to tackle the accumulated grime and restore your shower curtain liner to its former glory. So, let's move on to the next step and delve into the process of preparing the cleaning solution to breathe new life into your shower curtain liner.
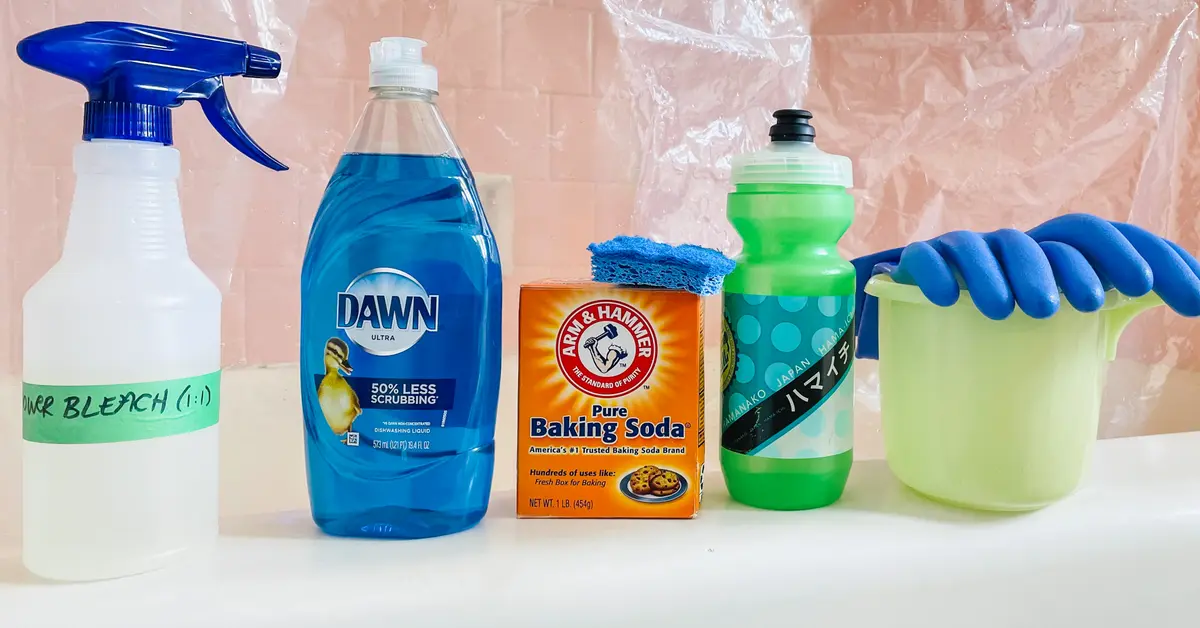
Step 2: Prepare the Cleaning Solution
Preparing an effective cleaning solution is a crucial step in revitalizing your shower curtain liner. The cleaning solution serves as the powerhouse that eradicates soap scum, mildew, and other stubborn residues, restoring the liner to its pristine condition. Depending on the material of your shower curtain liner, there are several cleaning solutions to choose from, each tailored to deliver optimal results.
For fabric shower curtain liners, a gentle yet potent cleaning solution can be concocted using common household ingredients. Start by filling a large basin or bathtub with warm water. To this, add a generous amount of mild laundry detergent or liquid soap. The gentle yet effective nature of these cleaning agents ensures that the fabric is not damaged while effectively lifting dirt and grime from the fibers. For an extra boost of cleaning power, consider incorporating a cup of white vinegar into the solution. Vinegar's acidic properties work wonders in combating mildew and mold, leaving the fabric fresh and sanitized.
In the case of plastic or vinyl shower curtain liners, a slightly different approach is warranted. Begin by preparing a solution of warm water and a mild, non-abrasive dish soap. This gentle yet effective combination is adept at breaking down soap scum and grime without causing damage to the plastic or vinyl material. For an added touch of potency, consider introducing a few drops of tea tree oil into the solution. Renowned for its natural antifungal and antibacterial properties, tea tree oil provides an extra layer of defense against mildew and mold, ensuring a thorough and hygienic clean.
Once the cleaning solution is prepared, it's essential to thoroughly mix the ingredients to ensure a uniform distribution of cleaning agents. This ensures that every part of the shower curtain liner receives the same level of cleaning potency, leaving no area untouched. The carefully prepared cleaning solution sets the stage for the next step in the process: soaking the liner.
With the cleaning solution ready to go, you are now equipped with the essential tools to embark on the revitalization journey for your shower curtain liner. The next step involves immersing the liner in the cleaning solution, allowing the potent mixture to work its magic in lifting away accumulated grime and residues. So, let's move on to the next step and delve into the process of soaking the liner to achieve a thorough and effective clean.
Step 3: Soak the Liner
With the meticulously prepared cleaning solution at the ready, it's time to immerse the shower curtain liner for a thorough soaking. This crucial step allows the potent cleaning agents to penetrate the fabric or material, effectively loosening and lifting embedded grime, soap scum, and mildew. The soaking process is instrumental in preparing the liner for the subsequent cleaning and ensures a comprehensive revitalization.
For fabric shower curtain liners, gently submerge the entire liner into the prepared cleaning solution, ensuring that it is fully immersed. Use your hands to agitate the solution, allowing it to permeate the fabric and reach all areas of the liner. The warm water and cleaning agents work in tandem to break down and dislodge accumulated residues, preparing the fabric for a deep clean. Depending on the severity of the buildup, allow the liner to soak for at least 30 minutes, ensuring that the cleaning solution has ample time to work its magic.
In the case of plastic or vinyl shower curtain liners, the soaking process follows a similar approach. Submerge the liner in the prepared cleaning solution, ensuring that it is fully immersed. Use a soft sponge or cloth to gently agitate the solution, facilitating the breakdown of soap scum and grime. The warm water and mild cleaning agents work harmoniously to dislodge and dissolve stubborn residues, preparing the liner for a thorough cleansing. Allow the liner to soak for approximately 30 minutes, providing sufficient time for the cleaning solution to effectively penetrate and lift away accumulated grime.
During the soaking period, periodically agitate the liner by gently swishing it in the cleaning solution. This action helps dislodge embedded residues and ensures that the cleaning solution reaches every part of the liner. Additionally, inspect the liner for any particularly stubborn areas of buildup and focus on agitating those specific areas to facilitate the cleaning process.
The soaking stage sets the foundation for a successful and comprehensive cleaning, allowing the cleaning solution to work its magic in preparing the liner for the next step. Once the soaking process is complete, it's time to transition to the pivotal stage of scrubbing the liner, where the accumulated residues are targeted and eradicated, paving the way for a revitalized and immaculate shower curtain liner.
To clean a shower curtain liner, simply remove it from the hooks and wash it in the washing machine with a mild detergent and a few towels to help scrub off any mildew. Hang it back up to dry.
Step 4: Scrub the Liner
After the soaking process has effectively loosened and lifted the accumulated grime, soap scum, and mildew, it's time to proceed to the pivotal stage of scrubbing the shower curtain liner. This step involves targeted and thorough cleaning, focusing on areas with stubborn residues to ensure a comprehensive revitalization.
For fabric shower curtain liners, gently lift the liner from the cleaning solution and lay it flat on a clean surface. Using a soft-bristled brush or sponge, begin scrubbing the liner in gentle, circular motions. Pay special attention to areas with visible buildup, such as the bottom hem and any creases or folds. The gentle scrubbing action helps dislodge embedded residues, allowing the cleaning solution to lift them away effectively. Take care to avoid vigorous scrubbing, especially if the fabric is delicate, to prevent any damage or fraying.
In the case of plastic or vinyl shower curtain liners, the scrubbing process follows a similar approach. With the liner laid flat, use a soft sponge or cloth to gently scrub the surface, focusing on areas with stubborn soap scum and grime. For particularly resistant residues, consider applying slightly more pressure while ensuring that the material is not stretched or damaged. The goal is to systematically target and eradicate the accumulated residues, leaving the liner looking refreshed and revitalized.
During the scrubbing process, periodically rinse the liner with clean water to remove dislodged residues and assess the progress. This step allows you to gauge the effectiveness of the cleaning process and identify any areas that may require additional attention. By systematically scrubbing and rinsing, you ensure that no spot is overlooked, and the entire liner receives a thorough and meticulous cleaning.
As you progress through the scrubbing process, take the time to inspect the liner for any lingering residues or areas that may require further attention. Target these areas with focused scrubbing, allowing the cleaning solution to work its magic in lifting away the last traces of grime and mildew. By approaching the scrubbing process with patience and attention to detail, you can achieve a revitalized and immaculate shower curtain liner that enhances the overall cleanliness and aesthetic appeal of your bathroom.
With the scrubbing process complete, the next step involves rinsing and drying the shower curtain liner, bringing it one step closer to its revitalized and pristine state. Let's move on to the final step and delve into the process of rinsing and drying the liner to achieve a sparkling finish.
Read more: What Is A Shower Curtain Liner
Step 5: Rinse and Dry the Liner
After the thorough scrubbing process, it's time to proceed with rinsing and drying the shower curtain liner, bringing it one step closer to its revitalized and pristine state. This crucial stage ensures that any remaining cleaning solution, residues, and moisture are effectively removed, leaving the liner fresh, clean, and ready to be rehung in the bathroom.
Begin by rinsing the shower curtain liner thoroughly with clean water. If possible, use a handheld showerhead or a detachable faucet sprayer to facilitate the rinsing process. Alternatively, you can fill a clean bathtub with a few inches of water and swish the liner around to remove any lingering cleaning solution. The goal is to ensure that all traces of the cleaning solution are completely washed away, leaving the liner free from any residual soap, detergent, or vinegar.
As you rinse the liner, pay close attention to areas where residues may have accumulated, such as folds, hems, and seams. Gently run your hands over these areas to ensure that any remaining grime or cleaning solution is thoroughly rinsed away. Periodically inspect the liner to confirm that it is free from any soapy residues, indicating a successful rinsing process.
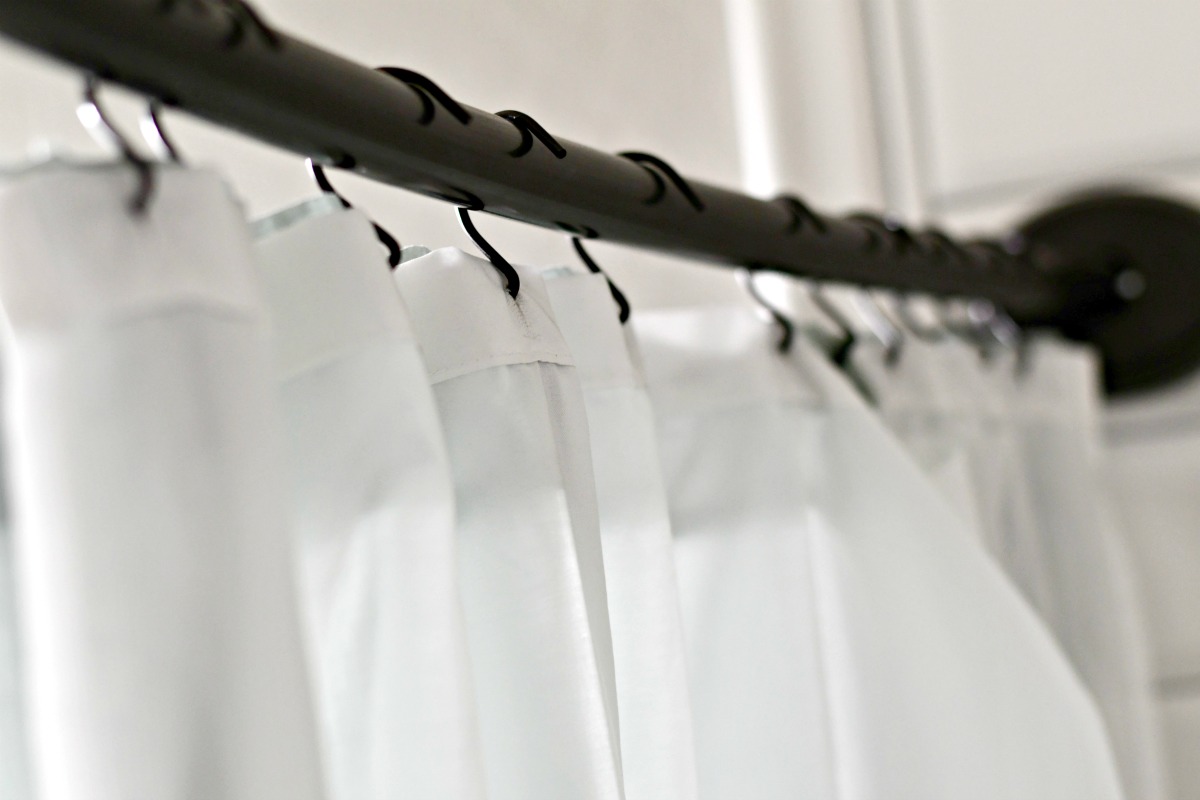
Once the rinsing process is complete, it's time to focus on drying the shower curtain liner. For fabric shower curtain liners, gently shake off any excess water and hang the liner on a sturdy clothesline or shower curtain rod. Ensure that the liner is evenly spread out to facilitate efficient drying. If weather permits, hanging the liner outdoors allows for natural air circulation and sunlight exposure, which can aid in eliminating any remaining moisture and inhibiting the growth of mold and mildew.
In the case of plastic or vinyl shower curtain liners, gently shake off excess water and hang the liner to dry. To expedite the drying process, use a clean, dry cloth to blot any remaining moisture from the surface of the liner. Ensure that the liner is hung evenly to prevent water from pooling at the bottom, promoting uniform drying.
Throughout the drying process, periodically adjust the position of the liner to promote even drying and prevent any creases or folds from setting in. Depending on the ambient humidity and airflow, the drying time may vary. It's essential to allow the liner to dry completely before rehanging it in the bathroom to prevent the development of musty odors or mold.
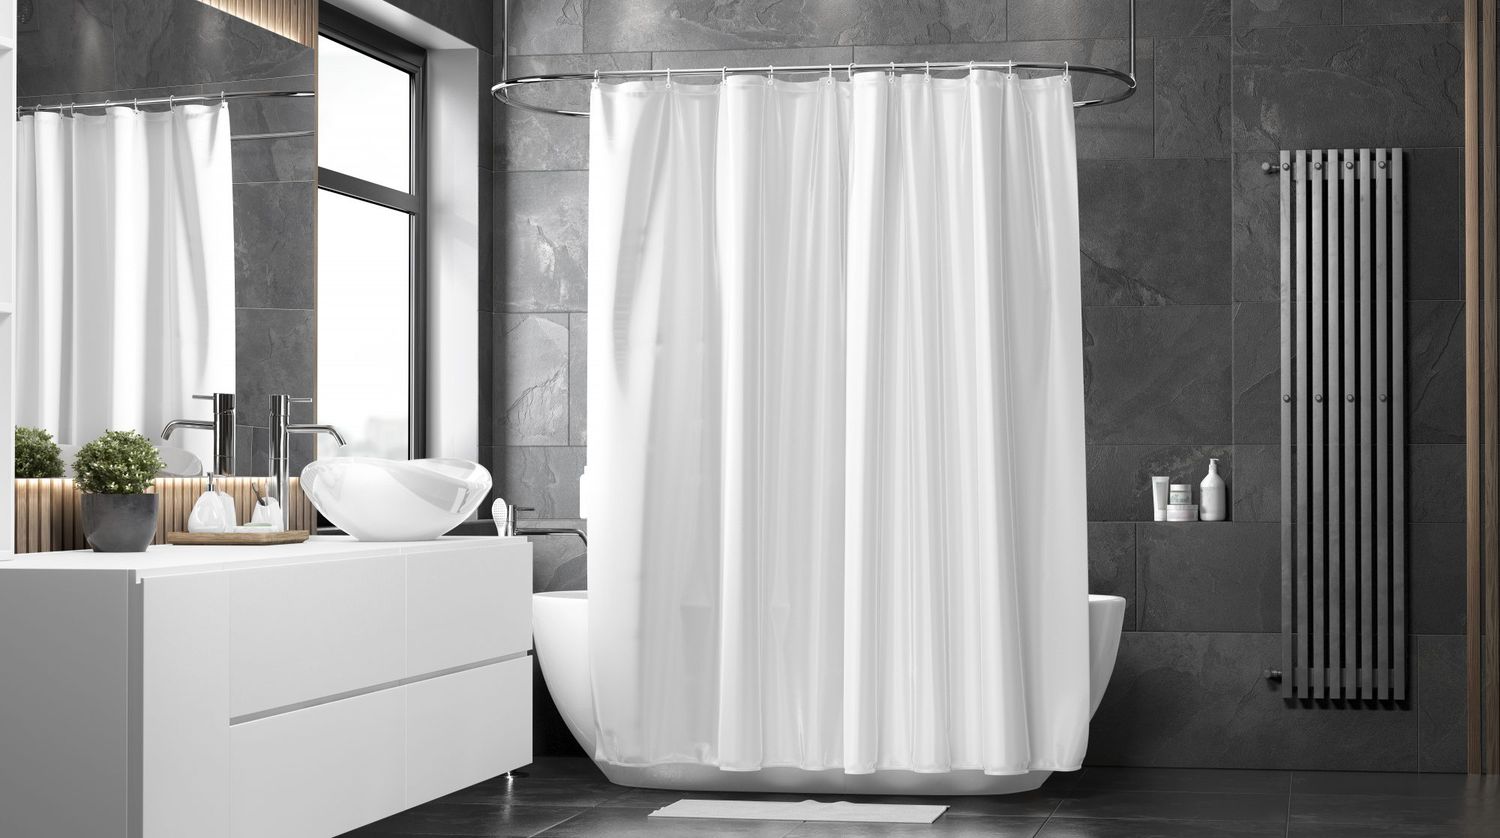
By meticulously rinsing and drying the shower curtain liner, you ensure that it emerges from the cleaning process fresh, clean, and free from any residual moisture or cleaning agents. Once the liner is thoroughly dry, it's ready to be reinstalled in the bathroom, adding a revitalized and immaculate touch to the overall ambiance.
Conclusion
In conclusion, the process of cleaning a shower curtain liner is a transformative journey that rejuvenates not only the liner itself but also the overall ambiance of the bathroom. By following the step-by-step guide outlined in this comprehensive tutorial, you have gained valuable insights into effectively revitalizing your shower curtain liner, regardless of its material or the extent of accumulated grime and residues.
The journey begins with the essential step of removing the shower curtain liner, setting the stage for a thorough and comprehensive cleaning process. This initial step allows for a clear assessment of the cleaning requirements and ensures that no spot is overlooked during the revitalization process.
The subsequent steps, including preparing the cleaning solution, soaking the liner, scrubbing away accumulated residues, and rinsing and drying the liner, collectively contribute to the successful transformation of the shower curtain liner. Each stage is meticulously designed to target and eradicate stubborn grime, soap scum, and mildew, resulting in a revitalized and immaculate liner that enhances the overall cleanliness and aesthetic appeal of the bathroom.
By immersing the liner in a carefully prepared cleaning solution, you harness the power of gentle yet potent cleaning agents to lift away embedded residues, preparing the liner for targeted scrubbing and revitalization. The scrubbing process, executed with patience and attention to detail, ensures that every part of the liner receives a thorough and meticulous cleaning, leaving no trace of accumulated grime or mildew.
The final stages of rinsing and drying the shower curtain liner mark the culmination of the revitalization journey, ensuring that the liner emerges fresh, clean, and free from any residual moisture or cleaning agents. This meticulous approach sets the foundation for a revitalized and immaculate shower curtain liner that contributes to a healthier and more inviting bathroom environment.
As you rehang the revitalized shower curtain liner in your bathroom, take a moment to appreciate the transformative impact of the cleaning process. Not only does the revitalized liner enhance the visual appeal of the bathroom, but it also contributes to a hygienic and welcoming space for relaxation and rejuvenation.
In embracing the art of shower curtain liner revitalization, you have empowered yourself with the knowledge and techniques to maintain a clean and inviting bathroom environment. With regular cleaning and maintenance, you can prolong the lifespan of your shower curtain liner and enjoy a revitalized and immaculate bathroom ambiance for years to come.
Frequently Asked Questions about How To Clean A Shower Curtain Liner
Was this page helpful?
At Storables.com, we guarantee accurate and reliable information. Our content, validated by Expert Board Contributors, is crafted following stringent Editorial Policies. We're committed to providing you with well-researched, expert-backed insights for all your informational needs.


0 thoughts on “How To Clean A Shower Curtain Liner”