
Articles
How To Hang Shower Curtains
Modified: February 9, 2024
Learn how to hang shower curtains with our helpful articles, providing step-by-step instructions and tips for a hassle-free installation.
(Many of the links in this article redirect to a specific reviewed product. Your purchase of these products through affiliate links helps to generate commission for Storables.com, at no extra cost. Learn more)
Introduction
Hanging a shower curtain may seem like a simple task, but ensuring it is done correctly can make a big difference in your bathroom’s overall appearance and functionality. A properly hung shower curtain not only keeps water contained within the shower area but also adds a touch of style and privacy to your bathroom.
In this article, we will walk you through the step-by-step process of hanging a shower curtain, from measuring and marking to final adjustments. We will also provide you with some helpful tips and considerations to make the installation process smooth and efficient.
Before you jump right into hanging your shower curtain, it’s essential to gather all the necessary tools and materials. Make sure you have the following items ready:
- Shower curtain
- Curtain rod
- Curtain rings or hooks
- Tape measure
- Pencil or marker
- Drill and appropriate drill bit
- Screwdriver
- Level
Once you have everything on hand, it’s time to move on to the first step: measuring and marking the height at which the curtain rod should be installed. Keep reading to learn how to hang your shower curtain like a pro!
Key Takeaways:
- Elevate your bathroom’s style and functionality by following our step-by-step guide to hanging a shower curtain. From measuring and marking to securing and testing, create a visually appealing and water-resistant shower space.
- Consider additional tips such as regular maintenance, choosing the right curtain, and experimenting with different patterns to enhance your shower curtain hanging experience. Create a functional and aesthetically pleasing bathroom space with these expert suggestions.
Read more: How To Hang A Shower Curtain And Liner
Tools and Materials Needed
Hanging a shower curtain requires a few essential tools and materials to ensure a successful installation. Here’s a list of what you’ll need:
- Shower curtain: Choose a shower curtain that fits your bathroom’s style and dimensions. Ensure it is wide enough to cover the entire shower area.
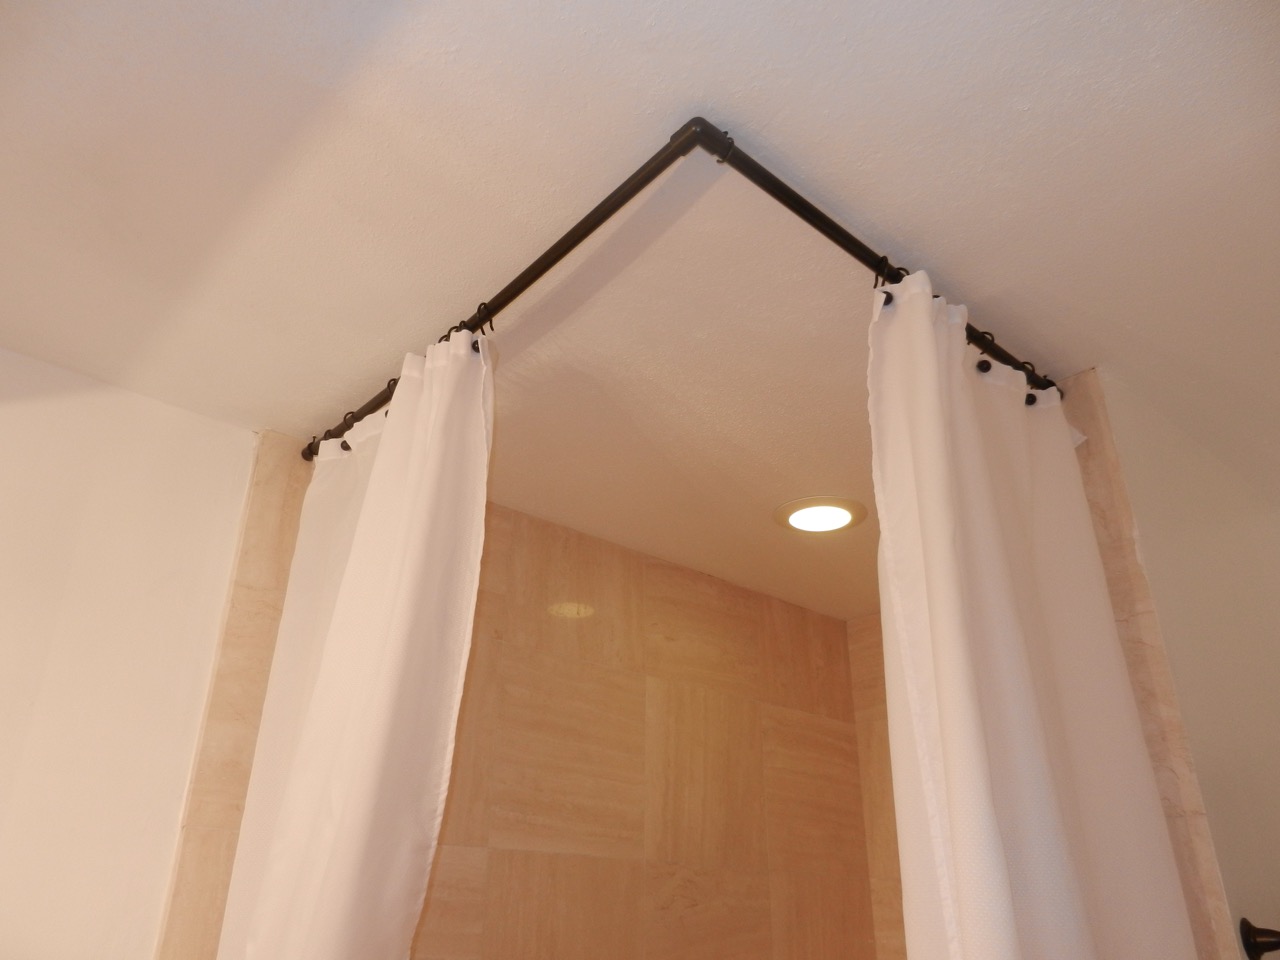
- Curtain rod: Select a curtain rod that matches the size and style of your shower area. You can choose from tension rods, which do not require drilling, or mounted rods, which are secured to the wall with brackets.
- Curtain rings or hooks: Depending on the type of curtain rod you have selected, you will need curtain rings or hooks to attach the shower curtain. Make sure you have enough rings or hooks to accommodate the width of your curtain.
- Tape measure: Use a tape measure to accurately measure the height at which the curtain rod should be installed. This ensures the curtain hangs at the appropriate level.
- Pencil or marker: Marking the correct height for the curtain rod installation requires a pencil or marker. This will help guide you during the installation process.
- Drill and appropriate drill bit: If you are installing a mounted curtain rod, you will need a drill to create holes in the wall. Choose the appropriate drill bit for your specific wall type, such as drywall or tile.
- Screwdriver: A screwdriver is necessary to secure the curtain rod brackets to the wall, if applicable. Choose the appropriate size and type of screwdriver based on the screws provided with the curtain rod.
- Level: To ensure your curtain rod is straight and level, use a small level during the installation process. This will help prevent the curtain from hanging unevenly.
Having all these tools and materials ready will ensure a smooth and efficient installation process. Now that you know what you need, let’s move on to the step-by-step guide on how to properly hang your shower curtain!
Step 1: Measure and Mark
The first step in hanging a shower curtain is to measure and mark the height at which you want the curtain rod to be installed. This step ensures that the curtain will hang at the appropriate level and cover the shower area effectively. Follow these steps to measure and mark:
- Start by measuring the distance from the floor to the desired height of the curtain rod. This will typically be around 72 inches (182 cm) above the floor, but you can adjust it based on your preference and the height of your shower.
- Using a tape measure, measure and mark the desired height on both sides of the shower wall. Make sure your marks are level to ensure a straight curtain rod installation.
- If you are using a mounted curtain rod, measure the distance between the outer edges of the brackets. Divide this measurement in half and mark the center point on each side of the shower wall.
- Ensure that your marks are centered and aligned with each other. Use a level across the marks to double-check that they are straight.
- With your marks in place, you are now ready to move on to the next step: installing the curtain rod.
Taking the time to measure and mark accurately will result in a well-aligned and visually appealing shower curtain installation. It is essential to pay attention to these details for a professional-looking finished product. Now that you have measured and marked the height, let’s move on to the next step: installing the curtain rod.
Step 2: Install Curtain Rod
Now that you have measured and marked the height for your curtain rod, it’s time to install it. The installation method will depend on the type of curtain rod you have chosen, whether it’s a tension rod or a mounted rod. Follow these steps to install the curtain rod:
- If you have a tension rod, extend it to the desired width by twisting the smaller rod within the larger one. Make sure it fits snugly between the walls of your shower area. If necessary, adjust the length using the rod’s tension mechanism.
- If you are using a mounted curtain rod, position the brackets on the marked points, ensuring they align with each other horizontally. Use a level to make sure the brackets are straight.
- Once the brackets are in position, use a pencil or marker to mark the screw holes on the wall through the bracket’s mounting holes.
- Set the curtain rod or brackets aside and grab a drill with the appropriate drill bit for your wall type.
- Drill pilot holes into the marked spots on the wall. These pilot holes will guide the screws and help prevent the wall from cracking or splintering during installation.
- With the pilot holes drilled, align the brackets with the holes and attach them to the wall using screws and a screwdriver. Make sure the brackets are securely fastened.
- If you are using a tension rod, simply fit it securely into the brackets. If you have a mounted rod, follow the manufacturer’s instructions for attaching the rod to the brackets. It may involve tightening screws or snaps.
Whether you have a tension rod or a mounted rod, ensure that the curtain rod is securely installed and level. A properly installed curtain rod will provide stability and support for your shower curtain. Now that you have the rod in place, it’s time to move on to the next step: attaching the curtain rings or hooks.
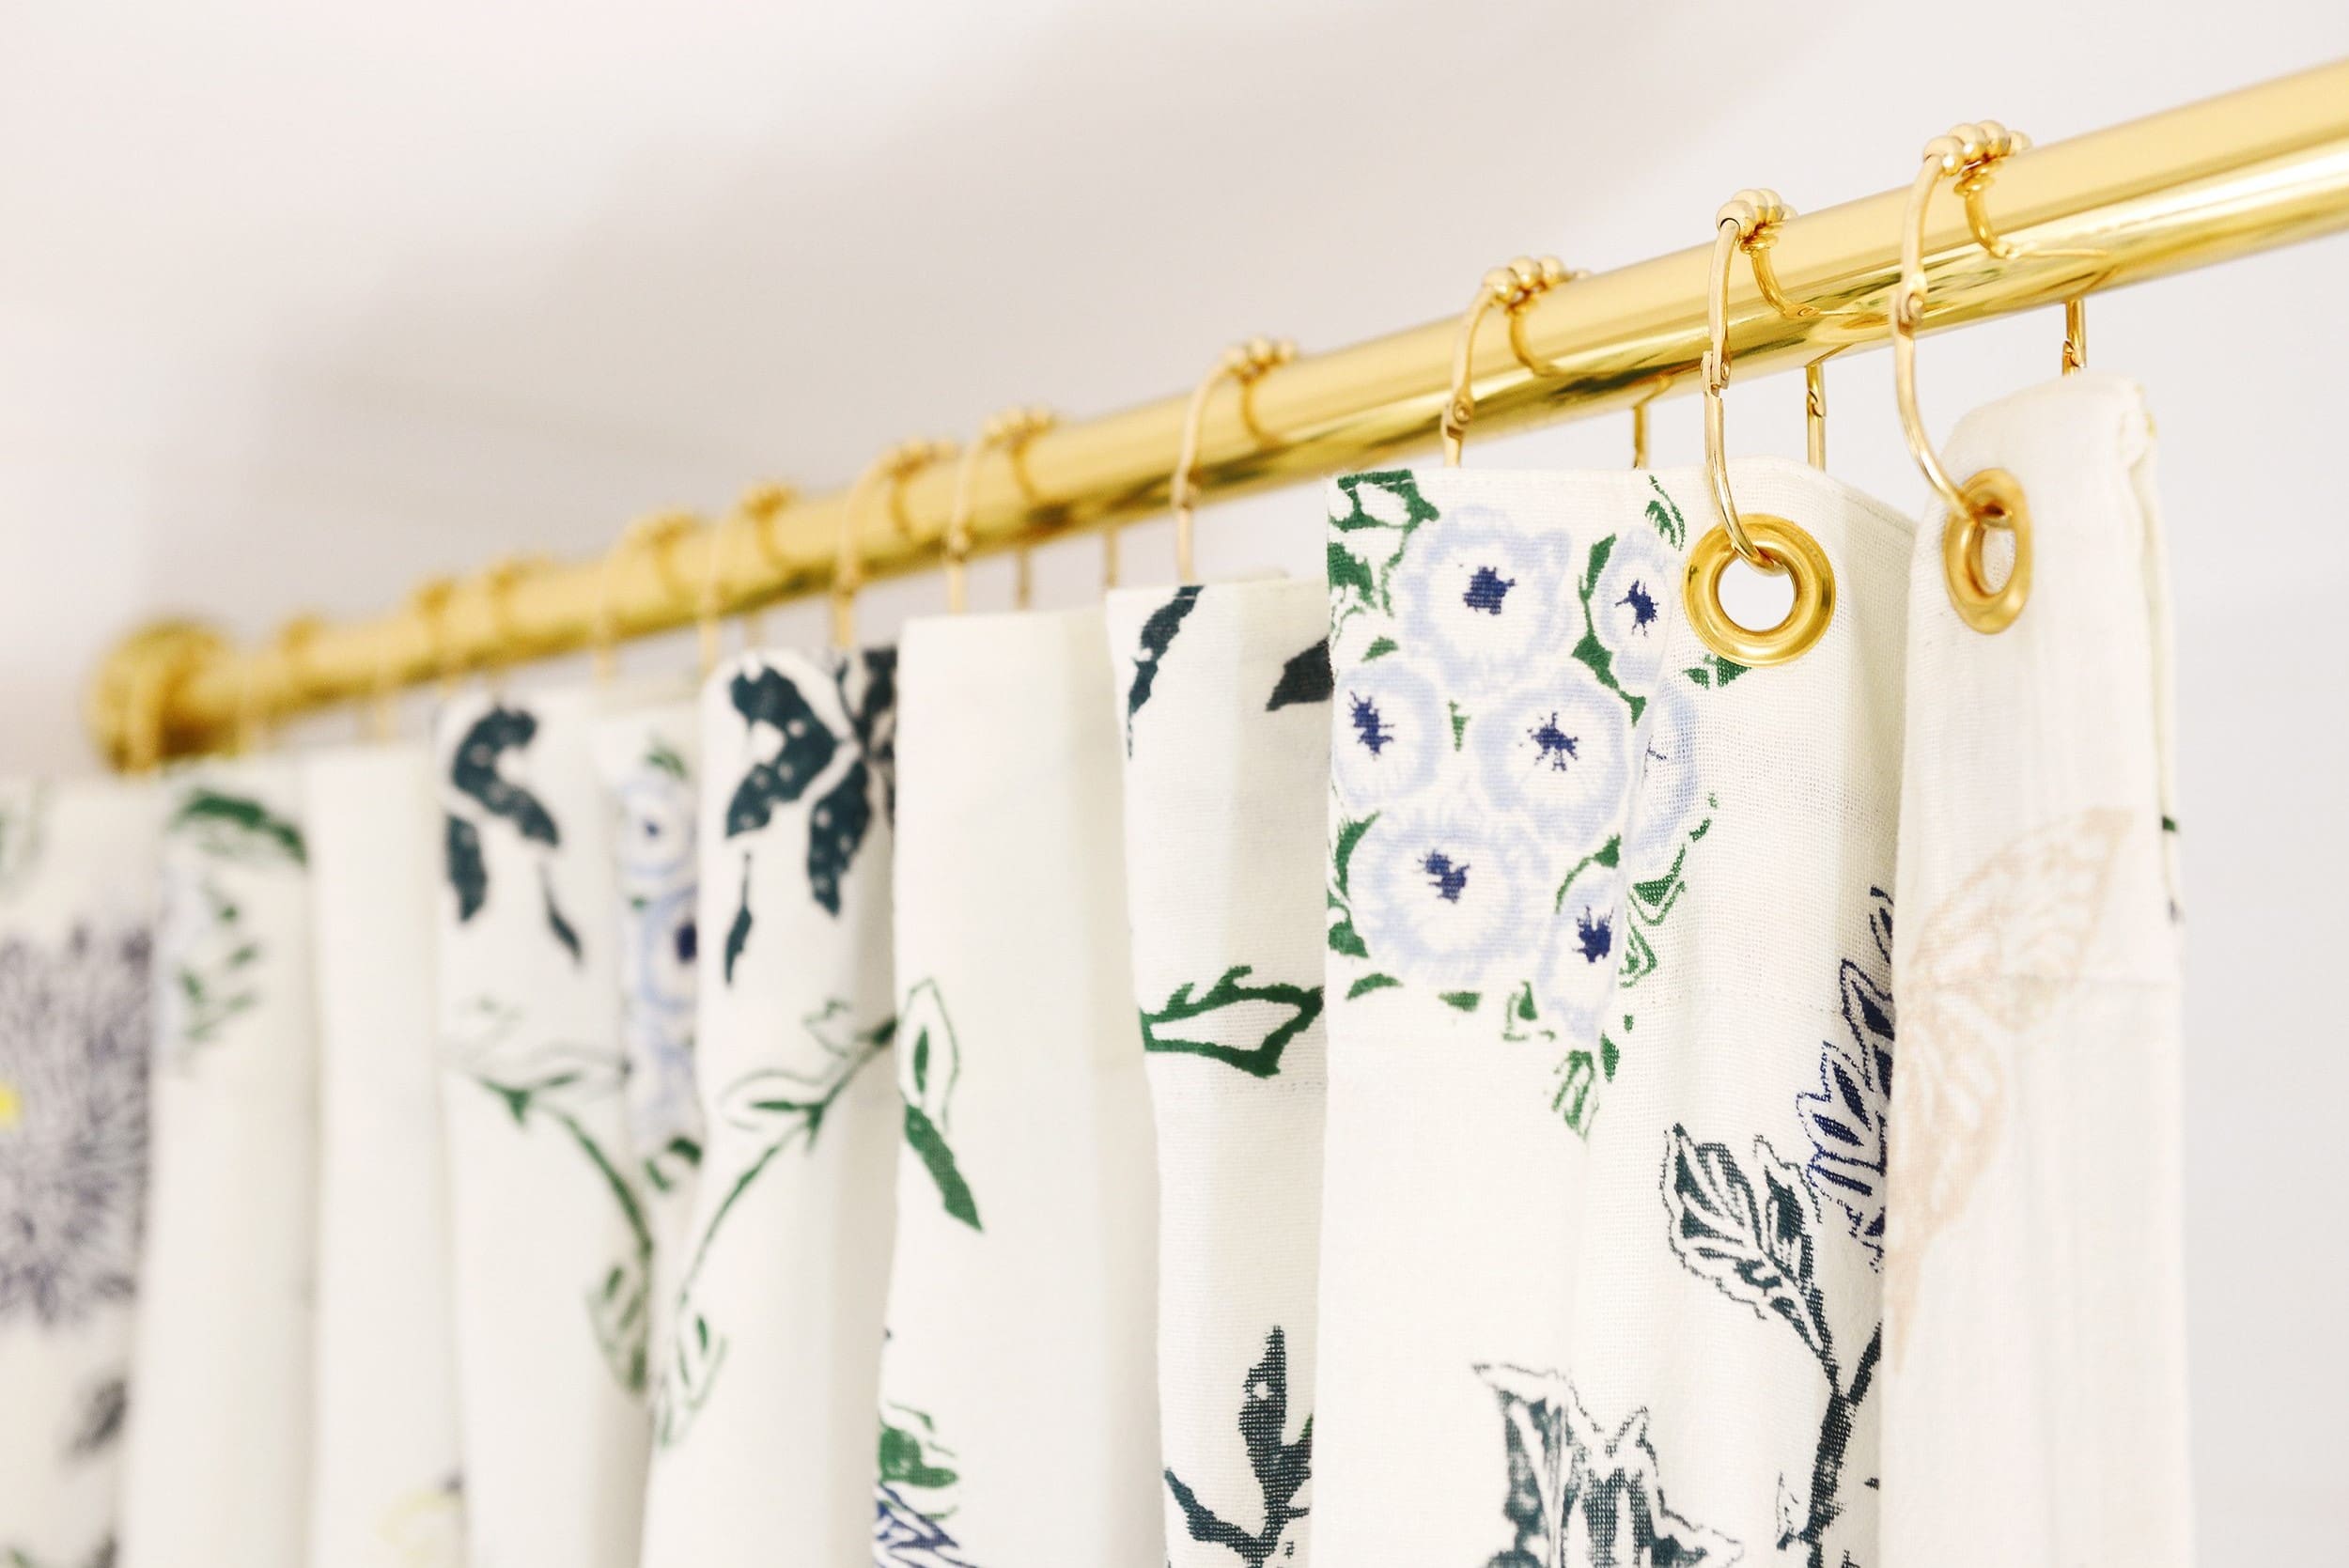
Step 3: Attach Curtain Rings
Once you have installed the curtain rod in your shower area, it’s time to attach the curtain rings or hooks. These accessories will hold the shower curtain and allow it to easily slide open and closed. Follow these steps to attach the curtain rings:
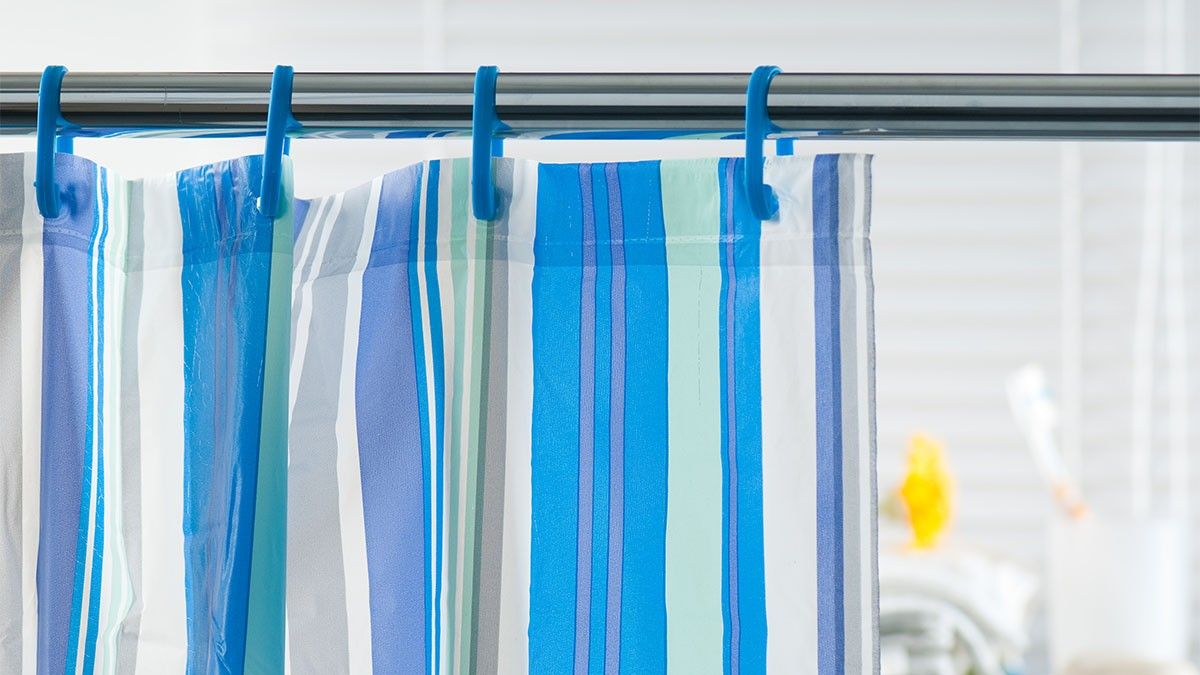
- Take your curtain rings or hooks and open them up.
- If you have curtain rings with clips, open the clips by pinching them together.
- Slide the rings or hooks onto the curtain rod, ensuring they are evenly spaced and aligned.
- If your shower curtain has built-in holes or grommets, thread the rings or hooks through them.
- If your shower curtain does not have holes or grommets, use curtain rings with clips. Simply clip the rings onto the top edge of the curtain fabric.
- Continue attaching the rings or hooks along the length of the curtain, making sure the curtain is evenly distributed and not bunched up in any areas.
- Once all the rings are attached, give them a gentle tug to ensure they are securely held in place.
Attaching the curtain rings or hooks is a straightforward process but ensure that they are evenly spaced along the curtain and securely attached to prevent any mishaps. Now that the rings are in place, it’s time to move on to the next step: hanging the shower curtain.
Use a tension rod for easy installation. Measure the width of your shower and buy a rod that fits. Twist to adjust the length and hang your curtain.
Read more: How To Hang Shower Curtain Hooks
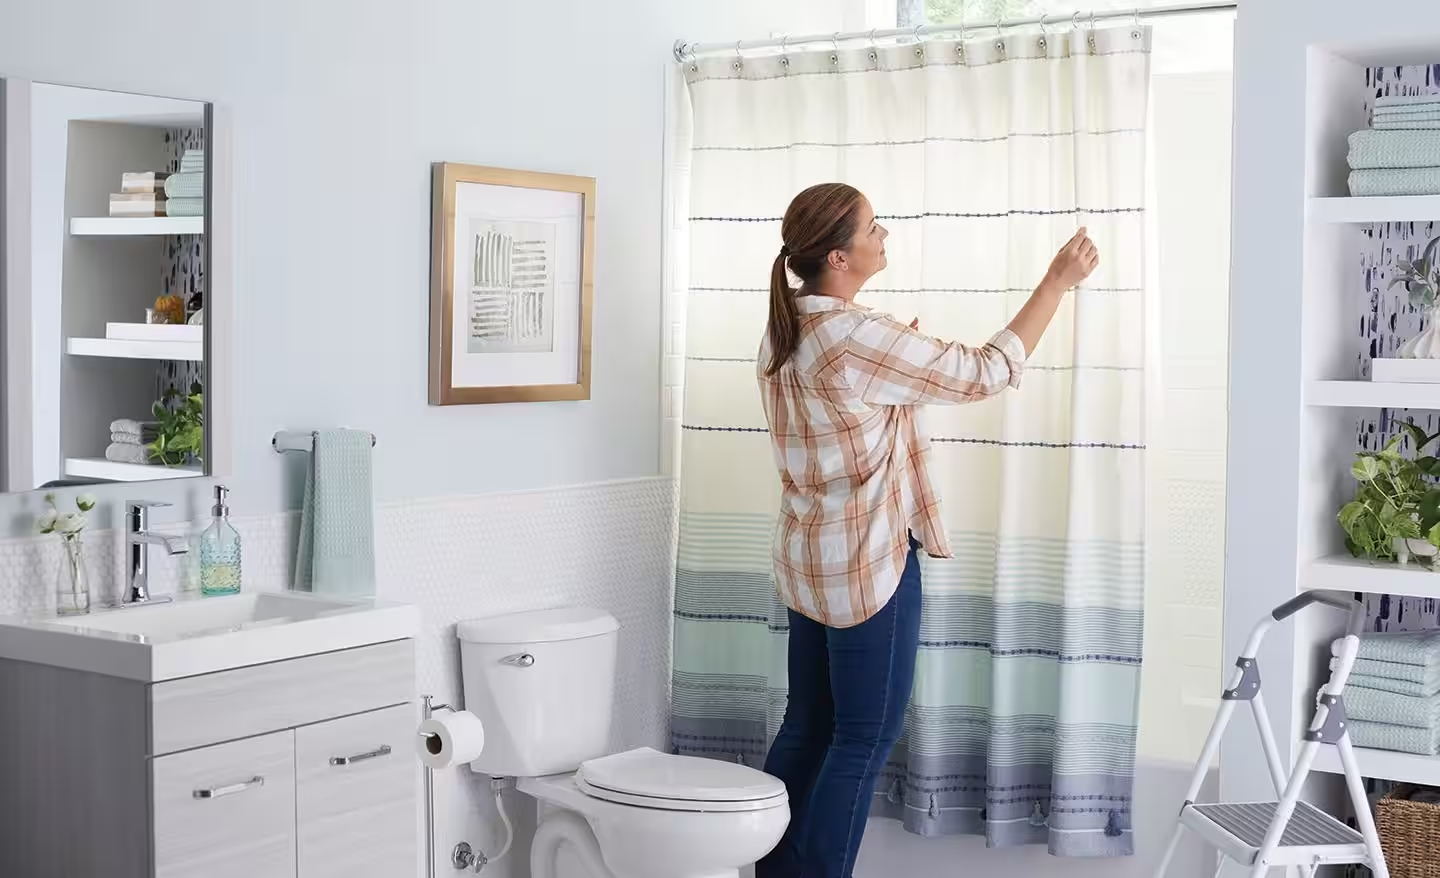
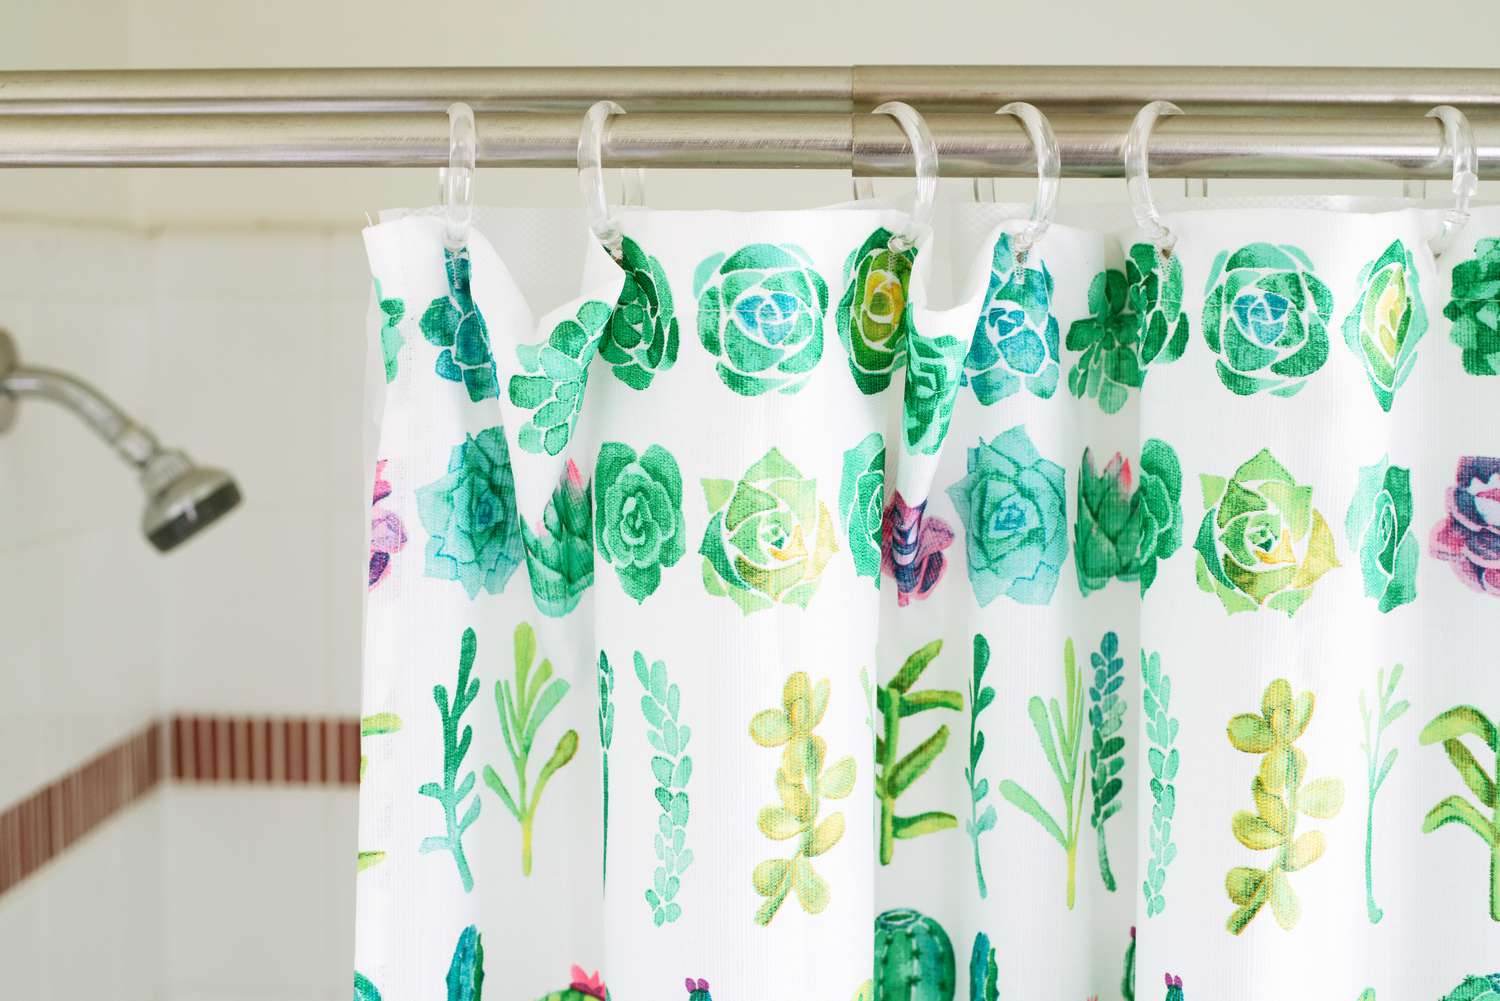
Step 4: Hang the Shower Curtain
With the curtain rod installed and the rings or hooks in place, it’s time to hang the shower curtain. Follow these steps to hang your shower curtain:
- Start by gathering the shower curtain in your hands, making sure the top edge is evenly distributed.
- Begin at one end of the curtain rod and locate the first ring or hook.
- Slide the ring or hook off the curtain rod and thread it through the corresponding hole or grommet on the shower curtain, or attach it to the clip if you’re using rings with clips.
- Continue moving along the curtain rod, attaching each ring or hook to the curtain in the same manner.
- Make sure that the curtain is evenly distributed along the rod, with no sections bunched up or hanging too loosely.
- Once all the rings or hooks are attached, double-check that the curtain is hanging straight and evenly along the rod.
As you hang the shower curtain, take your time to ensure it is properly aligned. Additionally, make any necessary adjustments to ensure the curtain is hanging at the desired height and not touching the floor. Once you have finished hanging the shower curtain, it’s time to move on to the next step: adjusting and straightening.
Step 5: Adjust and Straighten
After hanging the shower curtain, it’s important to make any necessary adjustments and ensure that it is straight and properly aligned. Here’s how you can adjust and straighten your shower curtain:
- Stand back and observe the curtain from a distance to evaluate its alignment and overall appearance.
- If the curtain appears uneven or crooked, gently tug on the rings or hooks to reposition and straighten it.
- If needed, adjust the height of the curtain by sliding the rings or hooks up or down on the curtain rod.
- Keep adjusting and straightening until the curtain hangs evenly and presents a visually appealing appearance.
- Ensure that the curtain is not touching the floor or getting caught in the shower tray, as this can lead to water leakage and damage.
- Use a small level to double-check that the curtain rod is still straight and level after making adjustments.
Taking the time to adjust and straighten your shower curtain will enhance its overall aesthetic appeal and functionality. It may take a few tries to get it just right, so be patient and make the necessary adjustments until you’re satisfied with the result. Once your shower curtain is properly aligned and straightened, it’s time to move on to the next step: securing and testing.
Step 6: Secure and Test
After you have adjusted and straightened the shower curtain to your liking, the final step is to secure it in place and perform a quick test to ensure everything is properly installed. Follow these steps to secure and test your shower curtain:
- If you are using a tension rod, ensure that it is securely tightened in place. Give it a gentle tug to make sure it doesn’t move or come loose.
- If you have a mounted curtain rod, check that the brackets are firmly attached to the wall. Give the rod a slight shake to ensure it is stable and does not wobble.
- Step into the shower area and pull the curtain closed to test its functionality. Make sure it slides open and closed smoothly along the rod without any obstructions or resistance.
- While the curtain is closed, check it from the outside to verify that it provides adequate coverage and does not leave any gaps where water can escape.
- If needed, make any final adjustments to the curtain’s alignment or height to ensure it functions properly and provides the desired level of privacy.
Securing the curtain rod and performing a quick test will give you confidence in the stability and functionality of your shower curtain. It’s important to ensure that the curtain is securely in place and provides effective water containment during showering. With these steps completed, you can now enjoy your newly hung shower curtain!
Before we conclude, let’s go through some additional tips and considerations to enhance your shower curtain hanging experience.
Additional Tips and Considerations
As you hang your shower curtain, consider the following tips to ensure a successful installation:
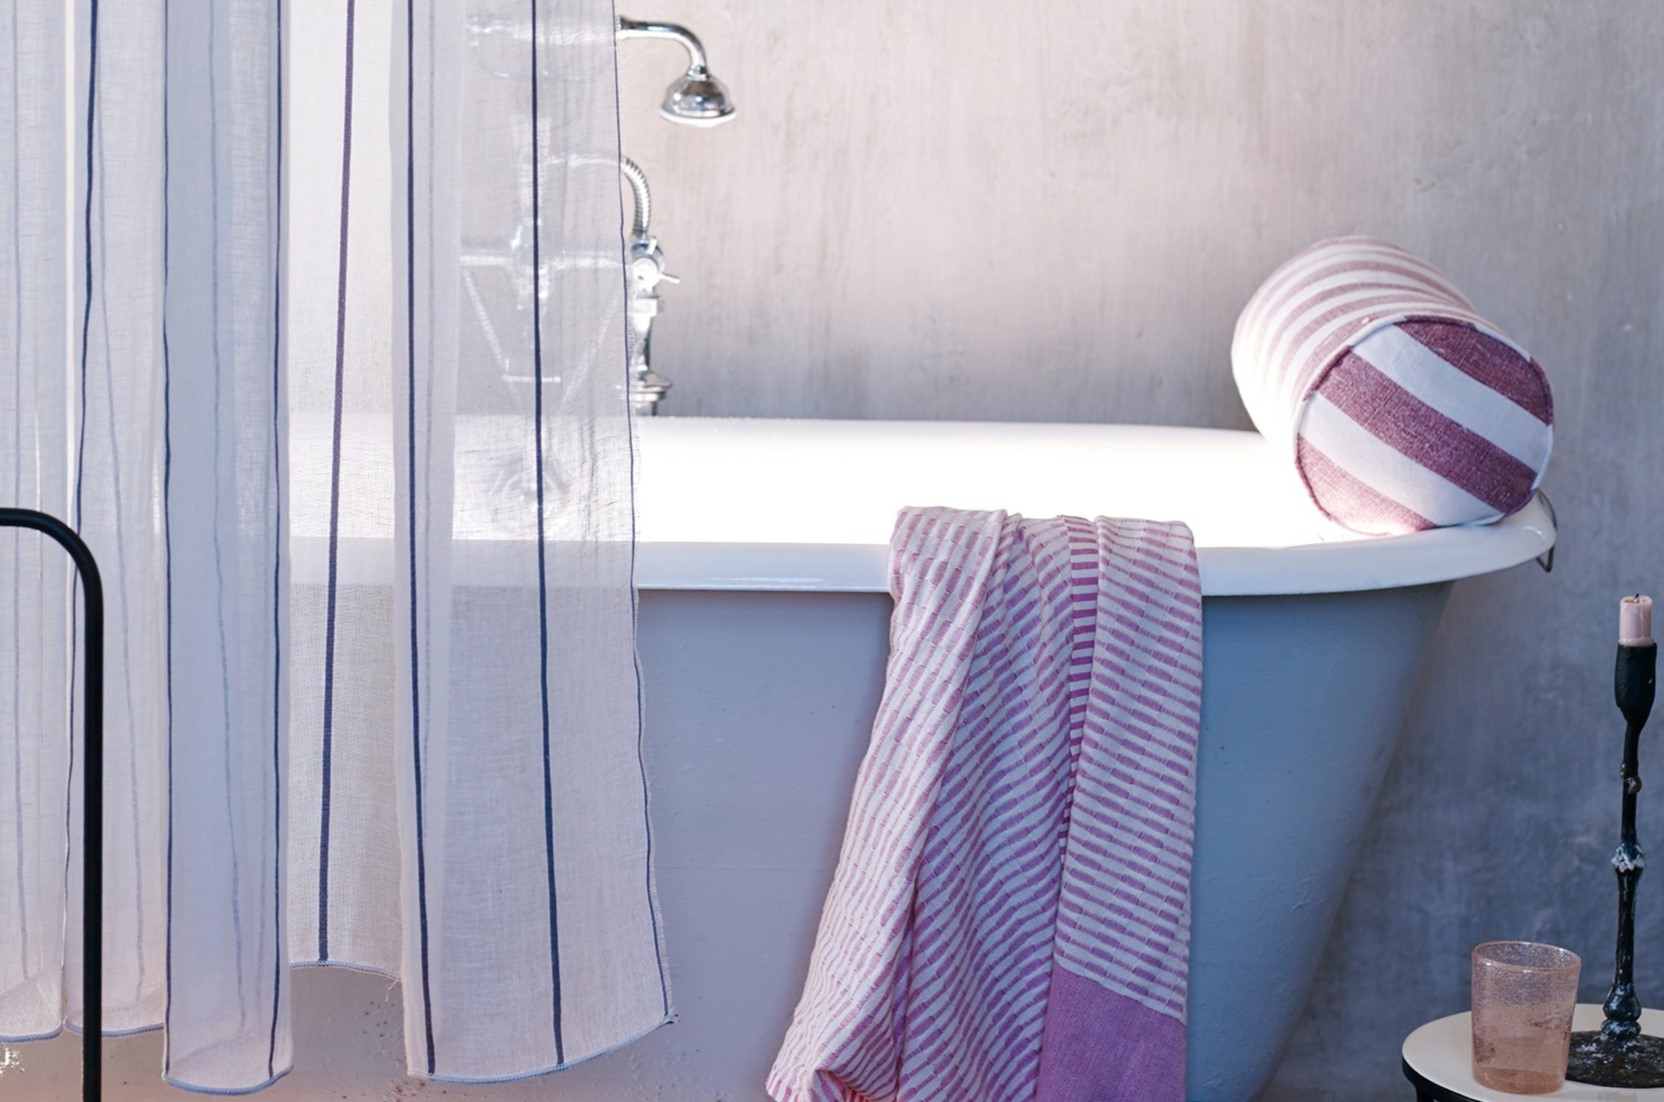
- Choose a shower curtain that complements your bathroom decor and matches your personal style.
- Measure the width of your shower area to ensure that the curtain is wide enough to cover it fully.
- If using a tension rod, periodically check its tightness to prevent it from slipping or falling down.
- For heavy or long curtains, consider using additional support, such as wall anchors or extra brackets, to prevent sagging.
- Regularly clean and maintain your shower curtain to prevent mold and mildew buildup. Follow the manufacturer’s instructions for proper care.
- Invest in a shower curtain liner to provide an extra layer of protection against water splashes and stains.
- Consider using curtain weights or magnets at the bottom of the curtain to prevent it from billowing and sticking to your body while showering.
- Experiment with different curtain patterns, colors, and textures to add personality and style to your bathroom.
- If you have children or pets, consider using a shower curtain with fun and playful designs to make bath time more enjoyable.
By keeping these additional tips and considerations in mind, you can elevate your shower curtain hanging experience and create a functional and aesthetically pleasing bathroom space. Remember, the goal is not only to hang a shower curtain but also to enhance the overall ambiance of your bathroom.
With that, you have reached the end of our comprehensive guide on how to hang a shower curtain. We hope this step-by-step tutorial and the additional tips have been helpful to you. Enjoy your newly installed shower curtain and the refreshed look of your bathroom!
For any further assistance or inquiries, don’t hesitate to reach out. Happy showering!
Read more: How To Hang A Shower Curtain Without A Rod
Conclusion
Hanging a shower curtain may seem like a simple task, but it plays a significant role in enhancing the functionality and style of your bathroom. By following the step-by-step process outlined in this guide and considering the additional tips and considerations, you can achieve a successful and visually appealing shower curtain installation.
From measuring and marking to installing the curtain rod, attaching curtain rings, hanging the shower curtain, adjusting and straightening, securing and testing, each step is crucial in ensuring that your shower curtain functions properly and adds a touch of elegance to your bathroom space.
Remember, when choosing a shower curtain, opt for one that not only matches your bathroom decor but also fits the dimensions of your shower area. Regular maintenance and cleaning will help prevent mold and mildew buildup, ensuring the longevity of your curtain.
By putting thought and care into your shower curtain installation, you can transform your bathroom into a personal oasis that reflects your style and creates a pleasant and functional environment for every shower.
We hope this guide has provided you with the knowledge and confidence to hang your shower curtain like a pro. If you have any further questions or need assistance, feel free to reach out. Happy showering!
Frequently Asked Questions about How To Hang Shower Curtains
Was this page helpful?
At Storables.com, we guarantee accurate and reliable information. Our content, validated by Expert Board Contributors, is crafted following stringent Editorial Policies. We're committed to providing you with well-researched, expert-backed insights for all your informational needs.


0 thoughts on “How To Hang Shower Curtains”