Home>Furniture & Design>Bathroom Accessories>How To Clean A Shower Curtain By Hand
Bathroom Accessories
How To Clean A Shower Curtain By Hand
Modified: August 17, 2024
Learn how to effectively clean your shower curtain by hand to keep your bathroom accessories looking fresh and free from mold and mildew. Follow these simple steps for a sparkling clean curtain.
(Many of the links in this article redirect to a specific reviewed product. Your purchase of these products through affiliate links helps to generate commission for Storables.com, at no extra cost. Learn more)
Introduction
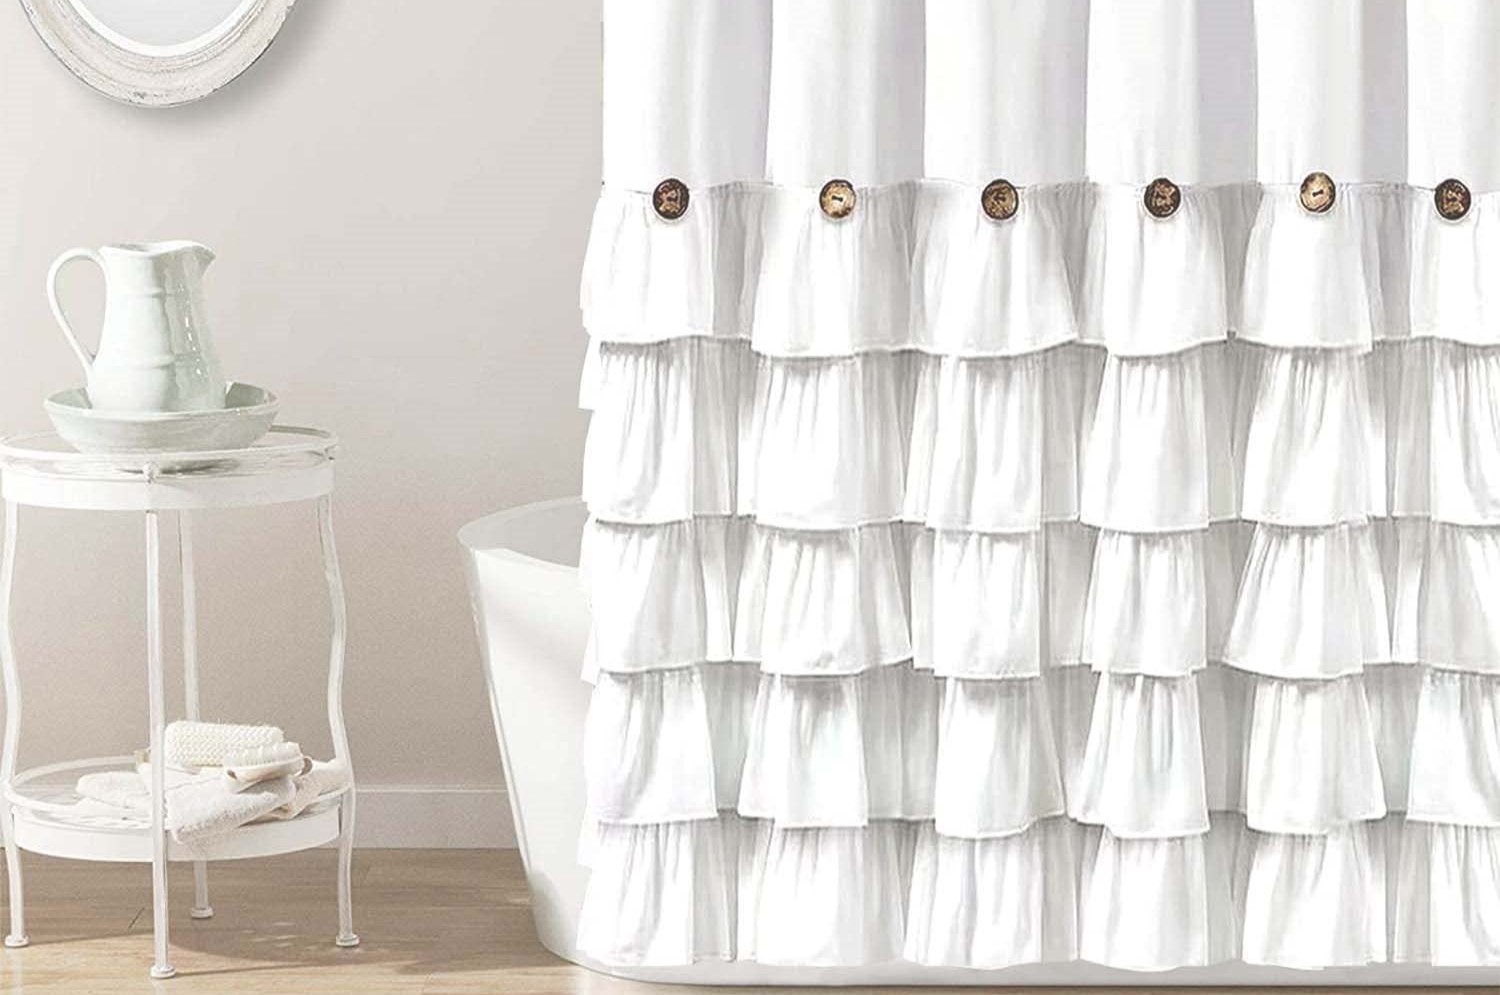
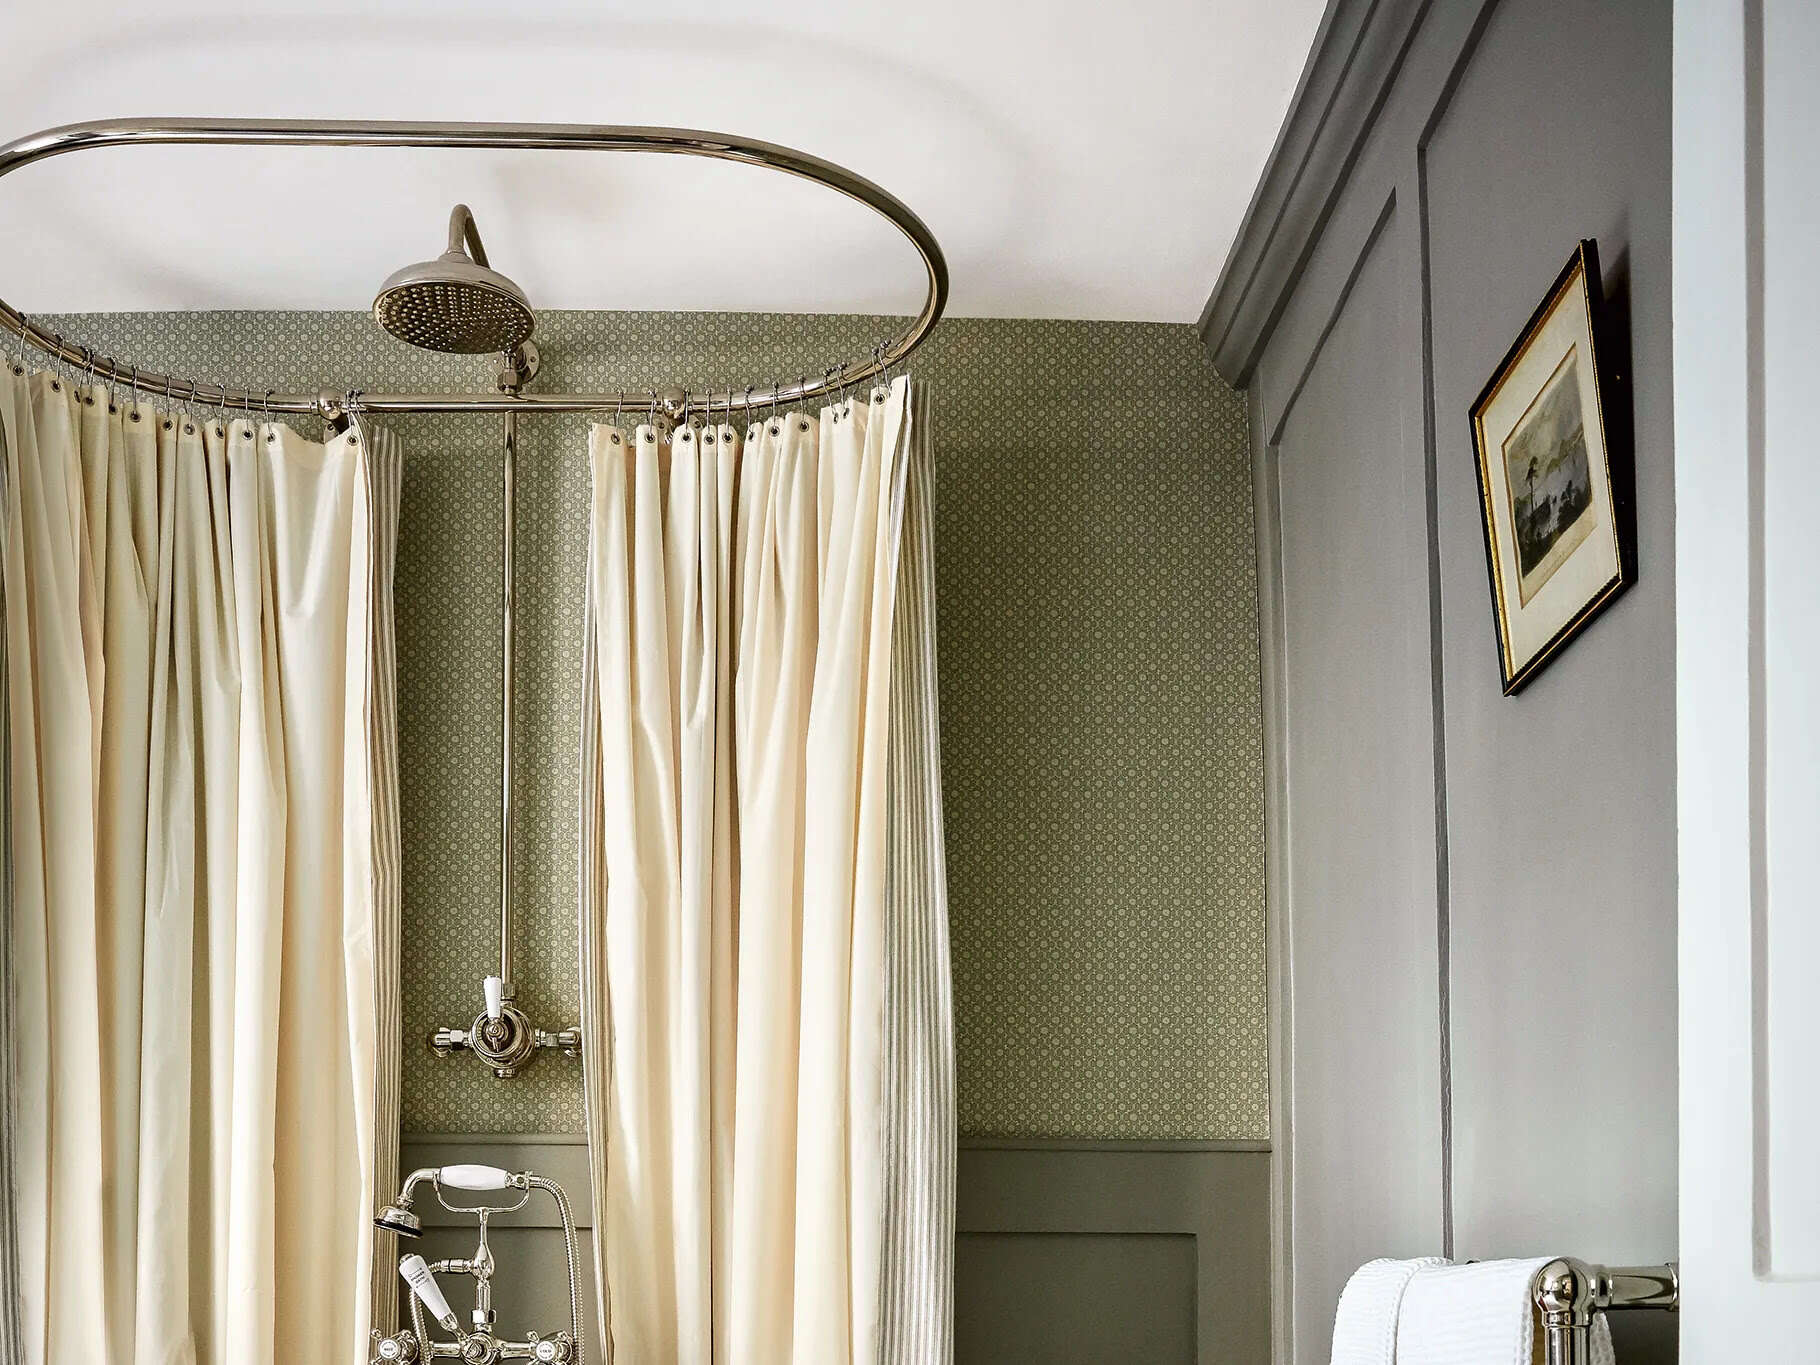
Cleaning a shower curtain by hand is a simple yet essential task that often gets overlooked in our regular cleaning routines. Over time, shower curtains can accumulate soap scum, mildew, and other unsightly residues, detracting from the overall cleanliness and appeal of the bathroom. By taking the time to hand-clean your shower curtain, you can effectively remove these buildups and restore the curtain to its pristine condition.
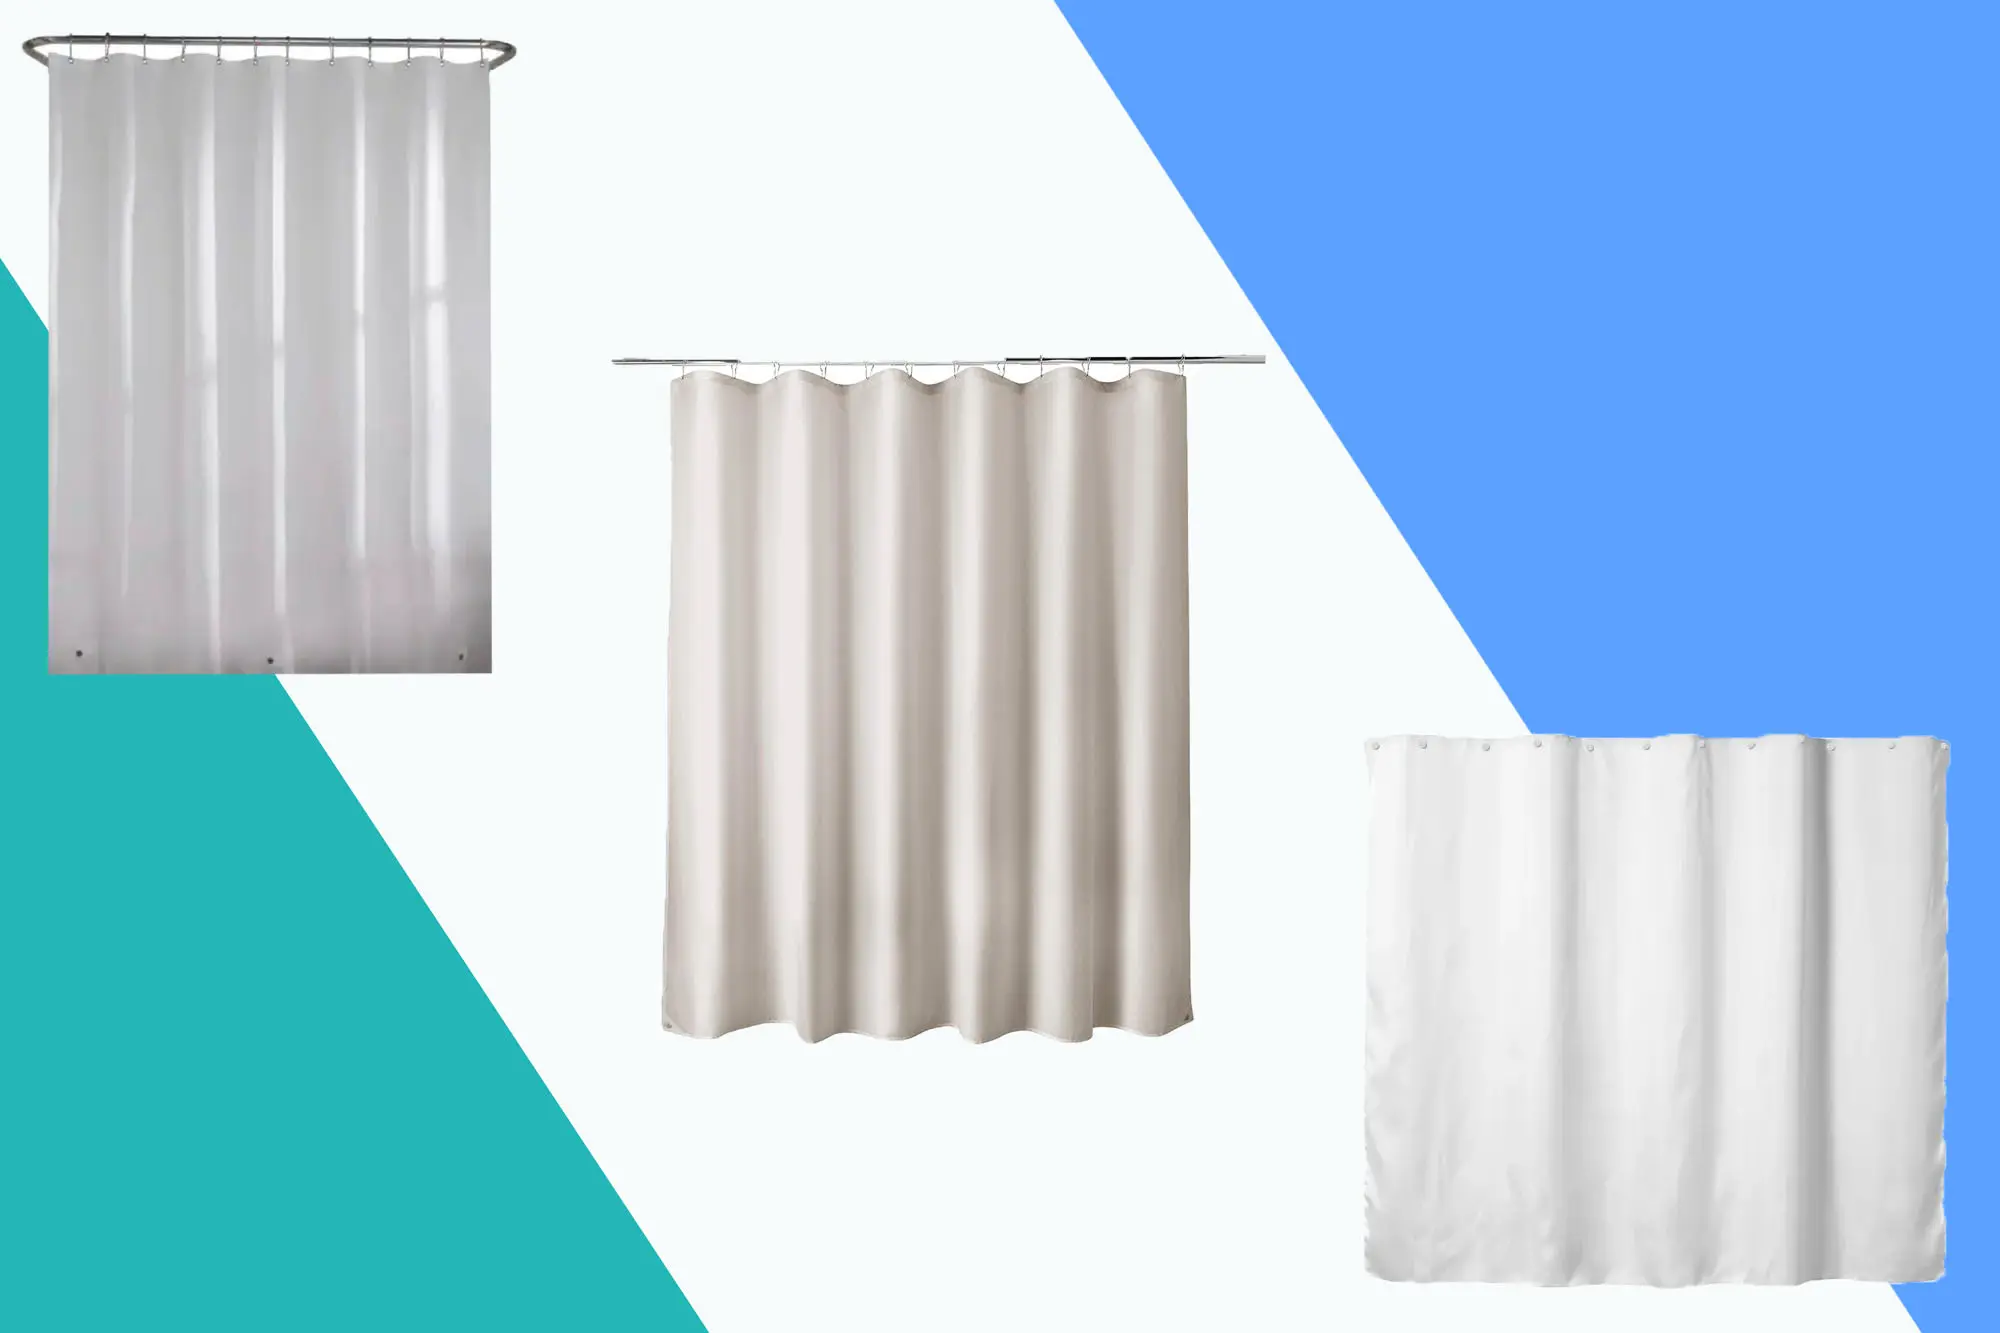
Whether your shower curtain is made of fabric, vinyl, or another material, giving it a thorough hand-cleaning can help prolong its lifespan and maintain a fresh, hygienic environment in your bathroom. Additionally, regular cleaning can prevent the growth of mold and mildew, which not only pose health risks but also contribute to unpleasant odors.
In this comprehensive guide, we will walk you through the step-by-step process of cleaning your shower curtain by hand. From removing the curtain to preparing a cleaning solution and carrying out the cleaning process, we will cover everything you need to know to achieve sparkling results. By following these simple yet effective techniques, you can ensure that your shower curtain remains a clean and inviting feature in your bathroom.
So, let's roll up our sleeves and dive into the process of hand-cleaning your shower curtain. With a few basic supplies and a little bit of effort, you can revitalize your shower curtain and maintain a fresh, welcoming atmosphere in your bathroom. Let's get started!
Key Takeaways:
- Regularly hand-cleaning your shower curtain removes stains and mildew, maintaining a fresh and hygienic bathroom environment. It’s a simple yet impactful task that revitalizes your space.
- By carefully removing, scrubbing, rinsing, and drying your shower curtain, you can ensure a clean and inviting bathroom. Tailoring the cleaning process to the curtain’s material is key.
Read more: How To Clean A Shower Curtain And Its Liner
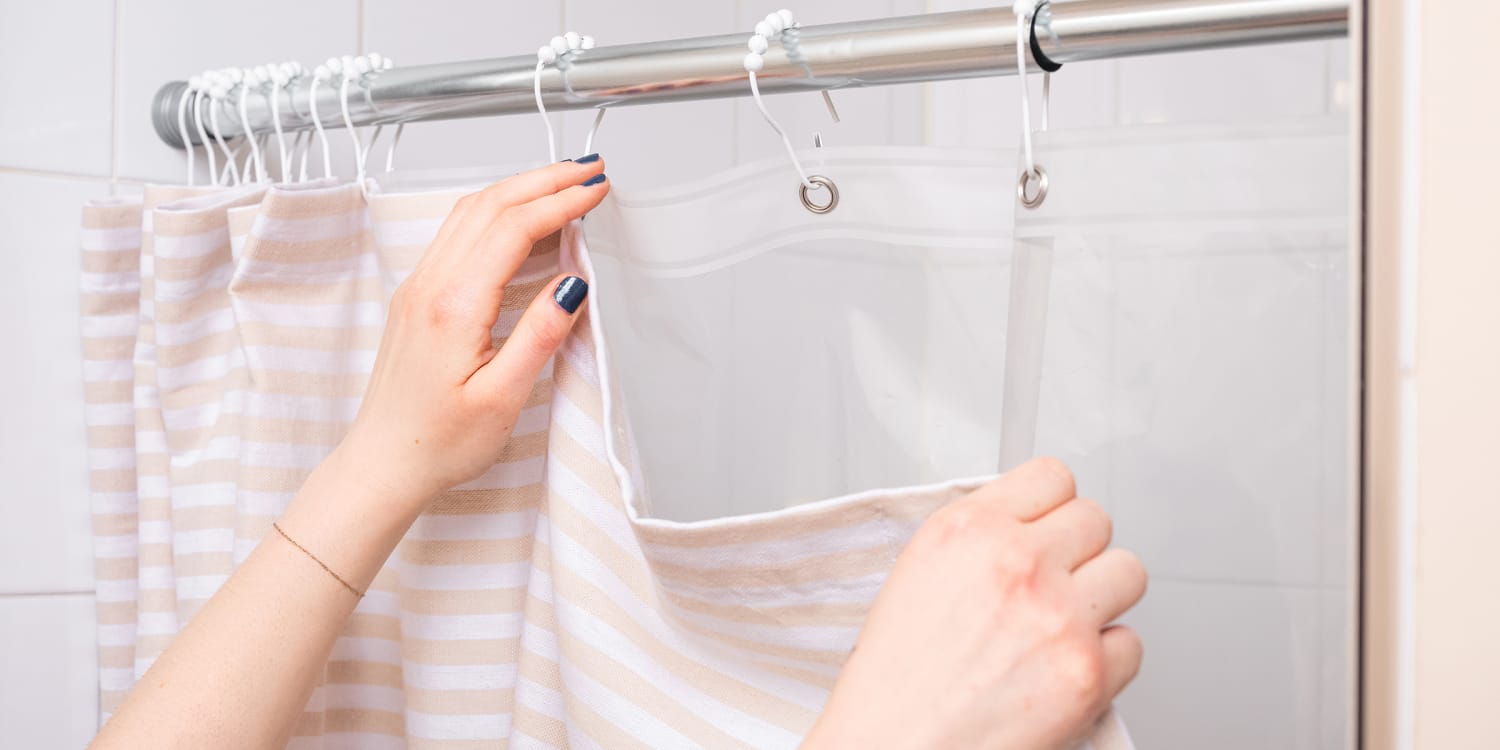
Step 1: Remove the Shower Curtain
Before beginning the cleaning process, it's essential to remove the shower curtain from its hooks or rings. Start by carefully sliding the curtain along the rod, ensuring that the rings or hooks are detached without causing any damage. If your shower curtain has a liner, it's advisable to remove it as well, as both the curtain and liner may require cleaning.
Once the curtain and liner are detached, lay them flat on a clean surface, such as a bathroom floor or a large, smooth area. This step allows for easy access and thorough cleaning without the constraints of the shower enclosure.
Removing the shower curtain also provides an opportunity to inspect it for any signs of wear, tear, or mold. By taking the curtain down, you can closely examine its condition and address any specific areas that may require extra attention during the cleaning process.
As you handle the shower curtain, be mindful of any decorative elements, such as embellishments or patterns, to ensure that they are not damaged during the cleaning process. Additionally, if the curtain is made of a delicate material, such as lace or embroidered fabric, gentle handling is crucial to preserve its integrity.
By taking the time to remove the shower curtain and liner carefully, you set the stage for a thorough and effective cleaning process. This initial step allows for a close inspection of the curtain's condition and ensures that the subsequent cleaning efforts can be carried out with precision and care.
With the shower curtain and liner successfully removed, we are ready to move on to the next step: preparing the cleaning solution.
Step 2: Prepare the Cleaning Solution
Preparing the cleaning solution is a crucial step in the process of hand-cleaning your shower curtain. The choice of cleaning solution depends on the material of the curtain and the nature of the stains or residues to be removed. Here are several effective cleaning solutions tailored to different types of shower curtains:
For Fabric Shower Curtains:
-
Mild Detergent Solution: Fill a basin or bucket with warm water and add a small amount of mild detergent. Stir the solution to create a gentle soapy mixture. This solution is ideal for removing general dirt and stains from fabric shower curtains without causing damage to the material.
-
Vinegar and Baking Soda: For tougher stains or mildew, a combination of vinegar and baking soda can be highly effective. Mix equal parts of white vinegar and water in a spray bottle. Sprinkle baking soda directly onto the stained areas of the curtain. Spray the vinegar solution over the baking soda to create a foaming reaction, which helps to lift and remove stubborn stains.
For Vinyl or Plastic Shower Curtains:
-
Warm Soapy Water: Fill a basin or bathtub with warm water and add a small amount of gentle liquid soap or dishwashing detergent. This solution effectively removes soap scum, hard water deposits, and other residues from vinyl or plastic shower curtains.
-
Bleach Solution: To tackle mold and mildew on vinyl or plastic curtains, a diluted bleach solution can be used. Mix one part bleach with four parts water in a well-ventilated area. Submerge the affected areas of the curtain in the solution for a few minutes before rinsing thoroughly.
Read more: How To Clean Your Plastic Shower Curtain
General Tips for Preparing the Cleaning Solution:
- Always refer to the care instructions provided by the curtain's manufacturer to ensure compatibility with the chosen cleaning solution.
- Test the cleaning solution on a small, inconspicuous area of the curtain to check for any adverse reactions or color fading.
- Use a soft-bristled brush or sponge to apply the cleaning solution to the curtain, gently working it into the fabric or surface to effectively lift and remove stains.
By selecting the appropriate cleaning solution based on the curtain's material and the specific cleaning needs, you can ensure that the hand-cleaning process is tailored to deliver optimal results without compromising the integrity of the curtain. With the cleaning solution prepared, we are now ready to proceed to the next step: scrubbing the shower curtain.
Step 3: Scrub the Shower Curtain
Once the cleaning solution is prepared, it's time to proceed with scrubbing the shower curtain. This step involves applying the cleaning solution to the curtain and using gentle yet effective scrubbing techniques to remove stains, mildew, and soap scum. Here's a detailed guide on how to scrub the shower curtain based on its material and the chosen cleaning solution:
For Fabric Shower Curtains:
-
Using a Soft-Bristled Brush: Dip a soft-bristled brush or a sponge into the prepared cleaning solution. Gently scrub the entire surface of the fabric shower curtain, paying particular attention to any visible stains or discolorations. Work in small, circular motions to effectively lift and remove the residues without causing damage to the fabric.
-
Targeting Stubborn Stains: For stubborn stains or areas affected by mildew, apply additional cleaning solution and allow it to sit for a few minutes before scrubbing. This extra soaking time helps to loosen tough stains and facilitates their removal during the scrubbing process.
-
Focusing on Hem and Seams: Pay special attention to the curtain's hems, seams, and any folds where residues may accumulate. Thoroughly scrub these areas to ensure comprehensive cleaning and prevent the buildup of dirt and grime.
For Vinyl or Plastic Shower Curtains:
-
Applying the Cleaning Solution: Using a sponge or cloth, apply the prepared cleaning solution to the entire surface of the vinyl or plastic shower curtain. Ensure that the solution reaches all areas affected by soap scum, hard water deposits, or mildew.
-
Scrubbing with Care: Employ a gentle yet firm scrubbing motion to effectively remove the residues from the curtain's surface. Focus on areas where stains are prominent, such as the bottom edge or any textured patterns where dirt may accumulate.
-
Addressing Mold and Mildew: If the curtain exhibits signs of mold or mildew, concentrate on these areas during the scrubbing process. Thoroughly work the cleaning solution into the affected areas to eradicate the unsightly growth and prevent its recurrence.
Read more: How To Clean Mildew Off A Shower Curtain
General Tips for Scrubbing the Shower Curtain:
-
Work in Sections: Divide the curtain into manageable sections and focus on one area at a time to ensure thorough cleaning. This approach prevents the cleaning solution from drying out before it can effectively lift the residues.
-
Rinsing as You Go: Periodically rinse the scrubbed areas with clean water to remove the loosened residues and prevent the cleaning solution from drying on the curtain's surface.
By following these tailored scrubbing techniques based on the curtain's material and the specific cleaning solution, you can effectively eliminate stains, mildew, and soap scum, restoring the curtain to its pristine condition. With the scrubbing process completed, we can now proceed to the final step: rinsing and drying the shower curtain.
Step 4: Rinse and Dry the Shower Curtain
After scrubbing the shower curtain to remove stains, mildew, and soap scum, the final step involves thorough rinsing and proper drying to ensure a clean and refreshed result.
Rinsing the Curtain
For fabric shower curtains, begin by rinsing the entire surface under a gentle stream of cool water. This helps to wash away the loosened residues and any remaining cleaning solution. Pay close attention to the folds, hems, and seams, ensuring that all areas are thoroughly rinsed.
When dealing with vinyl or plastic shower curtains, rinse the surface with cool water, focusing on areas where soap scum or cleaning solution may have accumulated. Use a handheld showerhead or a bucket of water to ensure comprehensive rinsing.
Drying Techniques
Once the curtain is thoroughly rinsed, it's essential to employ proper drying techniques to prevent the formation of mold and mildew. Here are effective methods for drying different types of shower curtains:
Fabric Shower Curtains:
-
Air Drying: Hang the fabric shower curtain on a sturdy rod or clothesline in a well-ventilated area. Ensure that the curtain is evenly spread out to promote air circulation. Leave it to air dry completely, periodically adjusting its position to facilitate drying on both sides.
-
Machine Drying: If the fabric curtain is machine washable, it can be placed in a dryer on a low heat setting. Add a few clean towels to the dryer to help absorb moisture and prevent wrinkling. Remove the curtain promptly when it is dry to prevent creases from setting in.
Vinyl or Plastic Shower Curtains:
-
Wiping with Towels: After rinsing, use clean, dry towels to wipe the surface of the vinyl or plastic curtain. This helps to remove excess water and accelerates the drying process. Pay attention to textured patterns or folds where water may accumulate.
-
Hanging to Dry: Hang the vinyl or plastic curtain back on the shower rod, ensuring that it is evenly spread out. Leave it to air dry, and periodically pat it with a dry towel to absorb any lingering moisture.
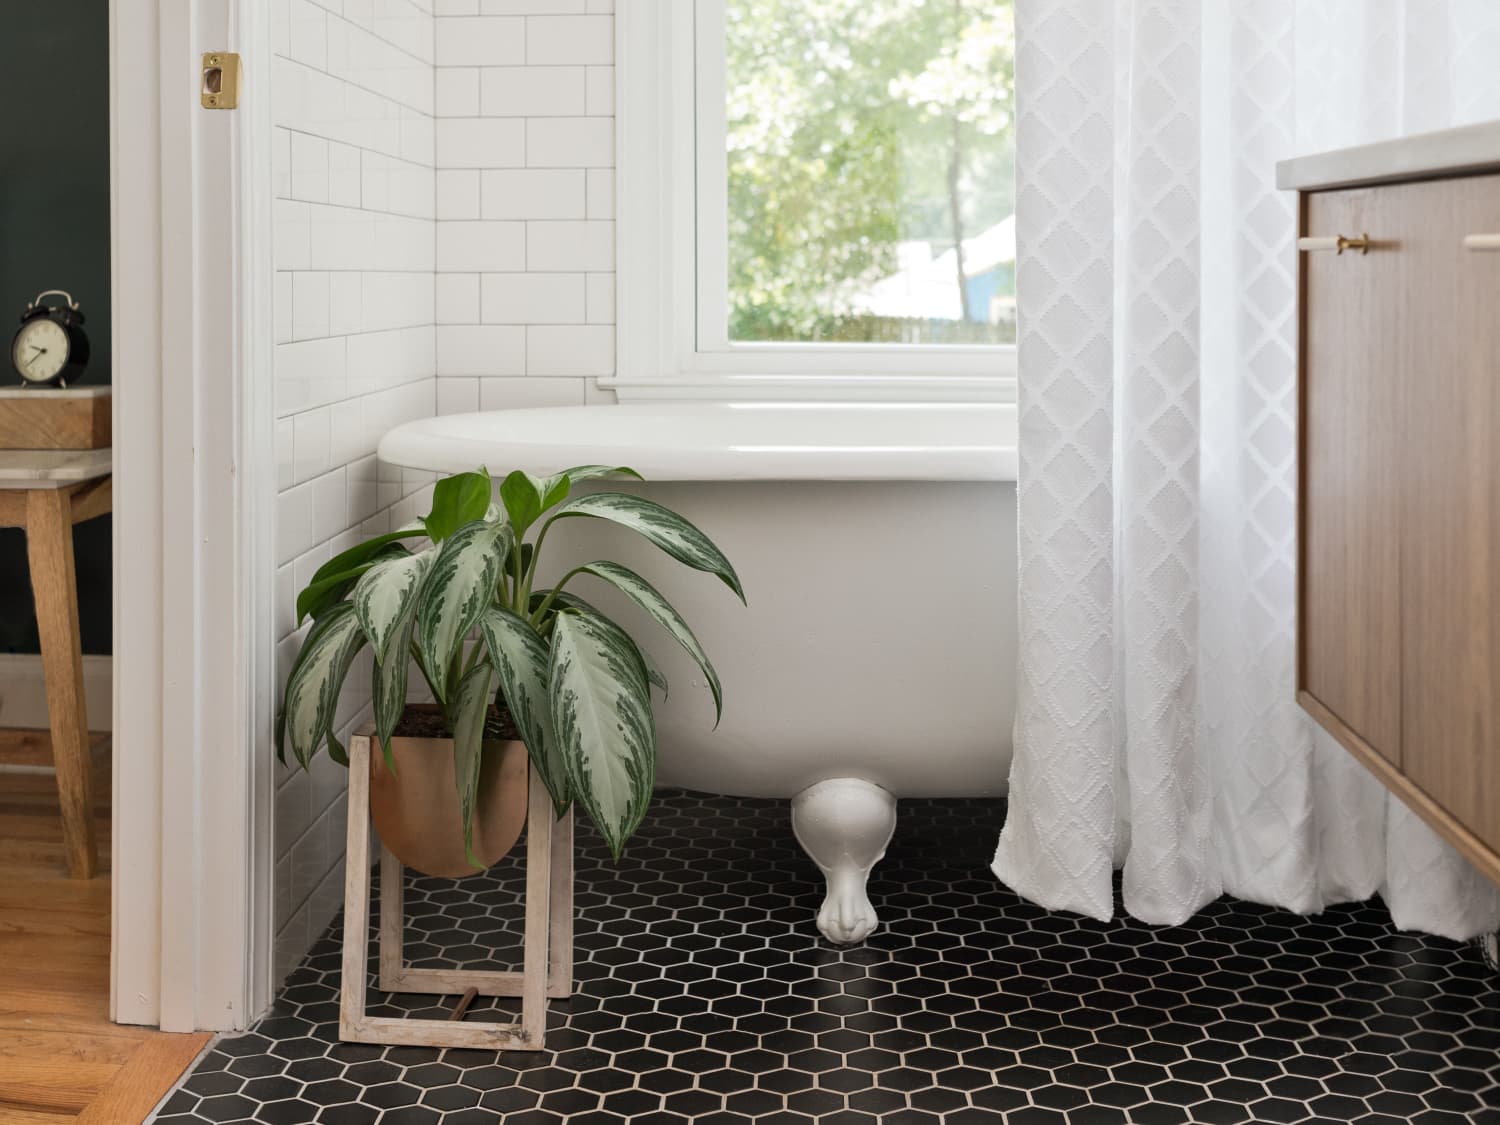
By following these rinsing and drying techniques tailored to the specific material of the shower curtain, you can ensure that it is thoroughly clean and ready to be rehung in the bathroom. With the curtain now clean and refreshed, you can enjoy a revitalized bathroom space that exudes cleanliness and comfort.
Conclusion
Hand-cleaning a shower curtain is a simple yet impactful task that contributes to the overall cleanliness and appeal of the bathroom. By following the step-by-step process outlined in this guide, you can effectively remove stains, mildew, and soap scum, revitalizing the appearance of the shower curtain and maintaining a hygienic environment in your bathroom.
The first step of removing the shower curtain and carefully inspecting it sets the stage for a thorough cleaning process. This initial assessment allows for targeted cleaning and ensures that specific areas requiring attention, such as stains or mildew growth, are addressed effectively.
Preparing the appropriate cleaning solution tailored to the curtain's material is essential for achieving optimal results. Whether it's a mild detergent solution for fabric curtains or a bleach solution for vinyl or plastic curtains, selecting the right cleaning agent is crucial for lifting and removing residues without compromising the integrity of the material.
The scrubbing process, tailored to the specific material and cleaning solution, is a pivotal step in restoring the shower curtain to its pristine condition. By employing gentle yet effective scrubbing techniques, you can eliminate stubborn stains and prevent the buildup of dirt and grime, ensuring that the curtain emerges clean and refreshed.
Thorough rinsing and proper drying techniques are the final steps that seal the cleaning process. Ensuring that the curtain is completely free of cleaning solution and moisture is essential for preventing the growth of mold and mildew, preserving the cleanliness and longevity of the curtain.
By investing a little time and effort into hand-cleaning your shower curtain, you can enjoy a fresh, inviting bathroom space that reflects cleanliness and attention to detail. Regularly incorporating this cleaning routine into your maintenance regimen not only enhances the appearance of the bathroom but also contributes to a hygienic and comfortable environment for you and your family.
So, the next time you notice signs of wear or residues on your shower curtain, remember the simple yet effective techniques outlined in this guide. With a few basic supplies and a systematic approach, you can maintain a clean and welcoming bathroom by hand-cleaning your shower curtain.
Frequently Asked Questions about How To Clean A Shower Curtain By Hand
Was this page helpful?
At Storables.com, we guarantee accurate and reliable information. Our content, validated by Expert Board Contributors, is crafted following stringent Editorial Policies. We're committed to providing you with well-researched, expert-backed insights for all your informational needs.


0 thoughts on “How To Clean A Shower Curtain By Hand”