Home>Furniture & Design>Bathroom Accessories>How To Attach An Oxo Toilet Brush Replacement Head That Does Not Fit
Bathroom Accessories
How To Attach An Oxo Toilet Brush Replacement Head That Does Not Fit
Modified: August 25, 2024
Learn how to easily attach an Oxo toilet brush replacement head that doesn't fit, and keep your bathroom accessories in top condition. Follow our step-by-step guide now!
(Many of the links in this article redirect to a specific reviewed product. Your purchase of these products through affiliate links helps to generate commission for Storables.com, at no extra cost. Learn more)
Introduction
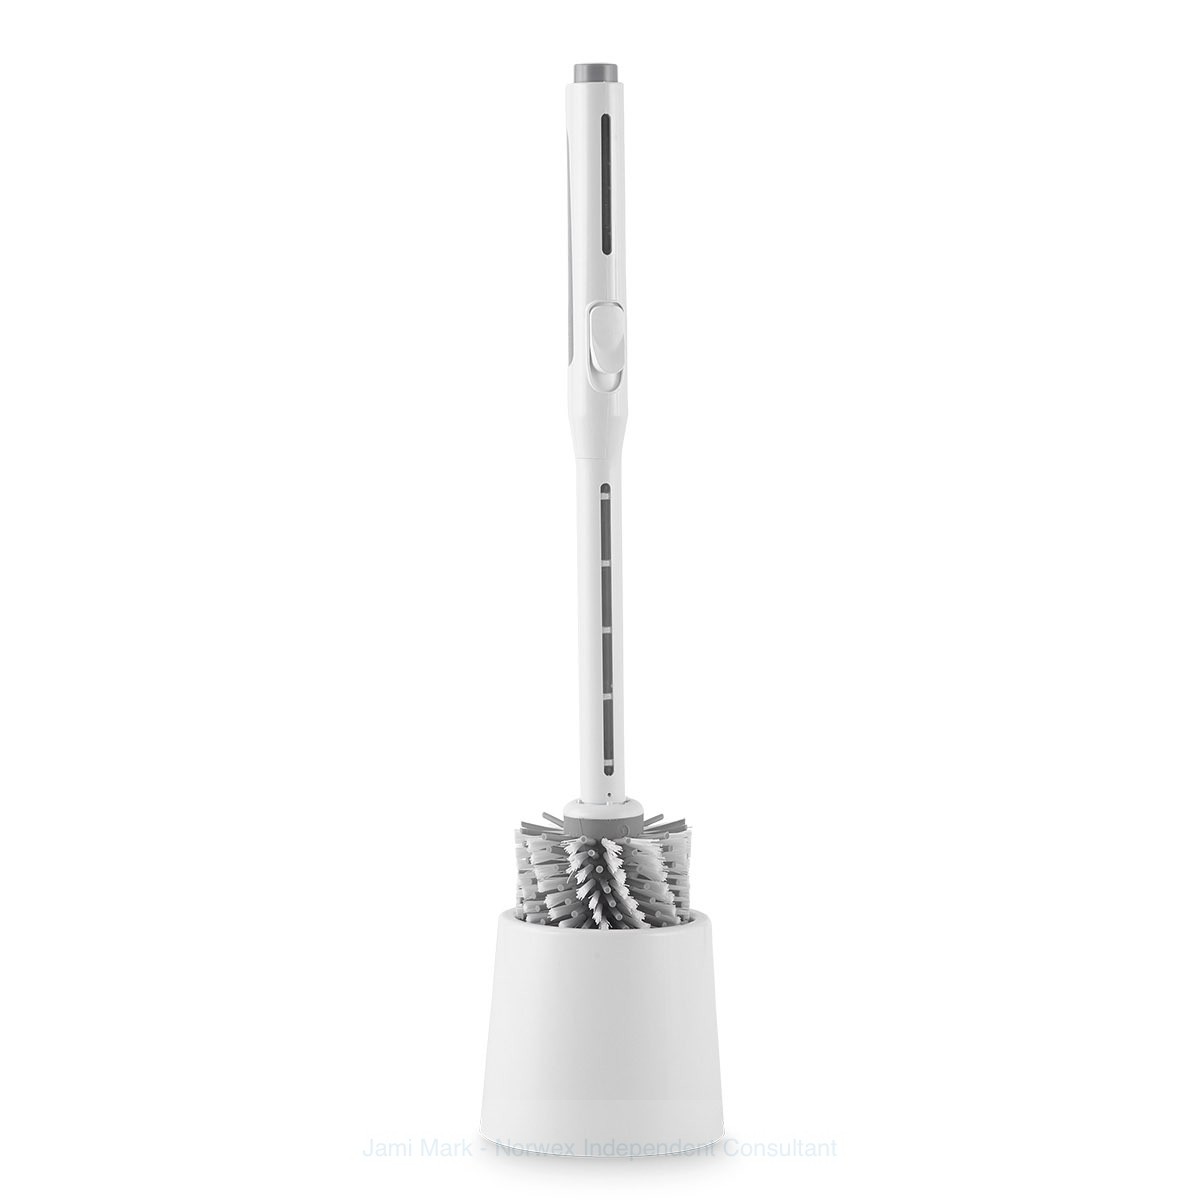
When it comes to maintaining a clean and hygienic bathroom, having a reliable toilet brush is essential. However, encountering a situation where the replacement head for your Oxo toilet brush does not fit can be frustrating. Fortunately, with a few simple modifications and the right approach, you can easily attach the replacement head and restore the functionality of your toilet brush.
In this comprehensive guide, we will walk you through the process of addressing the issue of an ill-fitting Oxo toilet brush replacement head. By following the steps outlined in this article, you will be able to effectively modify the replacement head and securely attach it to your Oxo toilet brush handle. Whether you are a DIY enthusiast or simply looking to troubleshoot this common household dilemma, this guide will equip you with the knowledge and techniques needed to overcome the challenge.
So, if you've found yourself in a predicament where the replacement head for your Oxo toilet brush doesn't quite fit as expected, fear not. With the guidance provided in the following steps, you'll soon be able to resolve this issue and restore your toilet brush to its fully functional state. Let's dive into the process and get your Oxo toilet brush back in action.
Key Takeaways:
- Don’t fret if your Oxo toilet brush replacement head doesn’t fit! With patience and precision, you can modify and attach it for a fully functional toilet brush. Get ready to troubleshoot and conquer household challenges like a pro!
- By carefully assessing, modifying, and attaching the replacement head, you’ll transform a frustrating fitment issue into a successful DIY victory. Embrace the empowerment of practical problem-solving and confidently maintain a clean and hygienic bathroom!
Read more: How Often Should You Replace A Toilet Brush
Step 1: Assessing the Situation
Before diving into the process of attaching an Oxo toilet brush replacement head that does not fit, it's crucial to assess the situation thoroughly. By taking the time to evaluate the specific issues causing the replacement head to not fit properly, you can gain valuable insights that will inform the subsequent steps of the modification and attachment process.
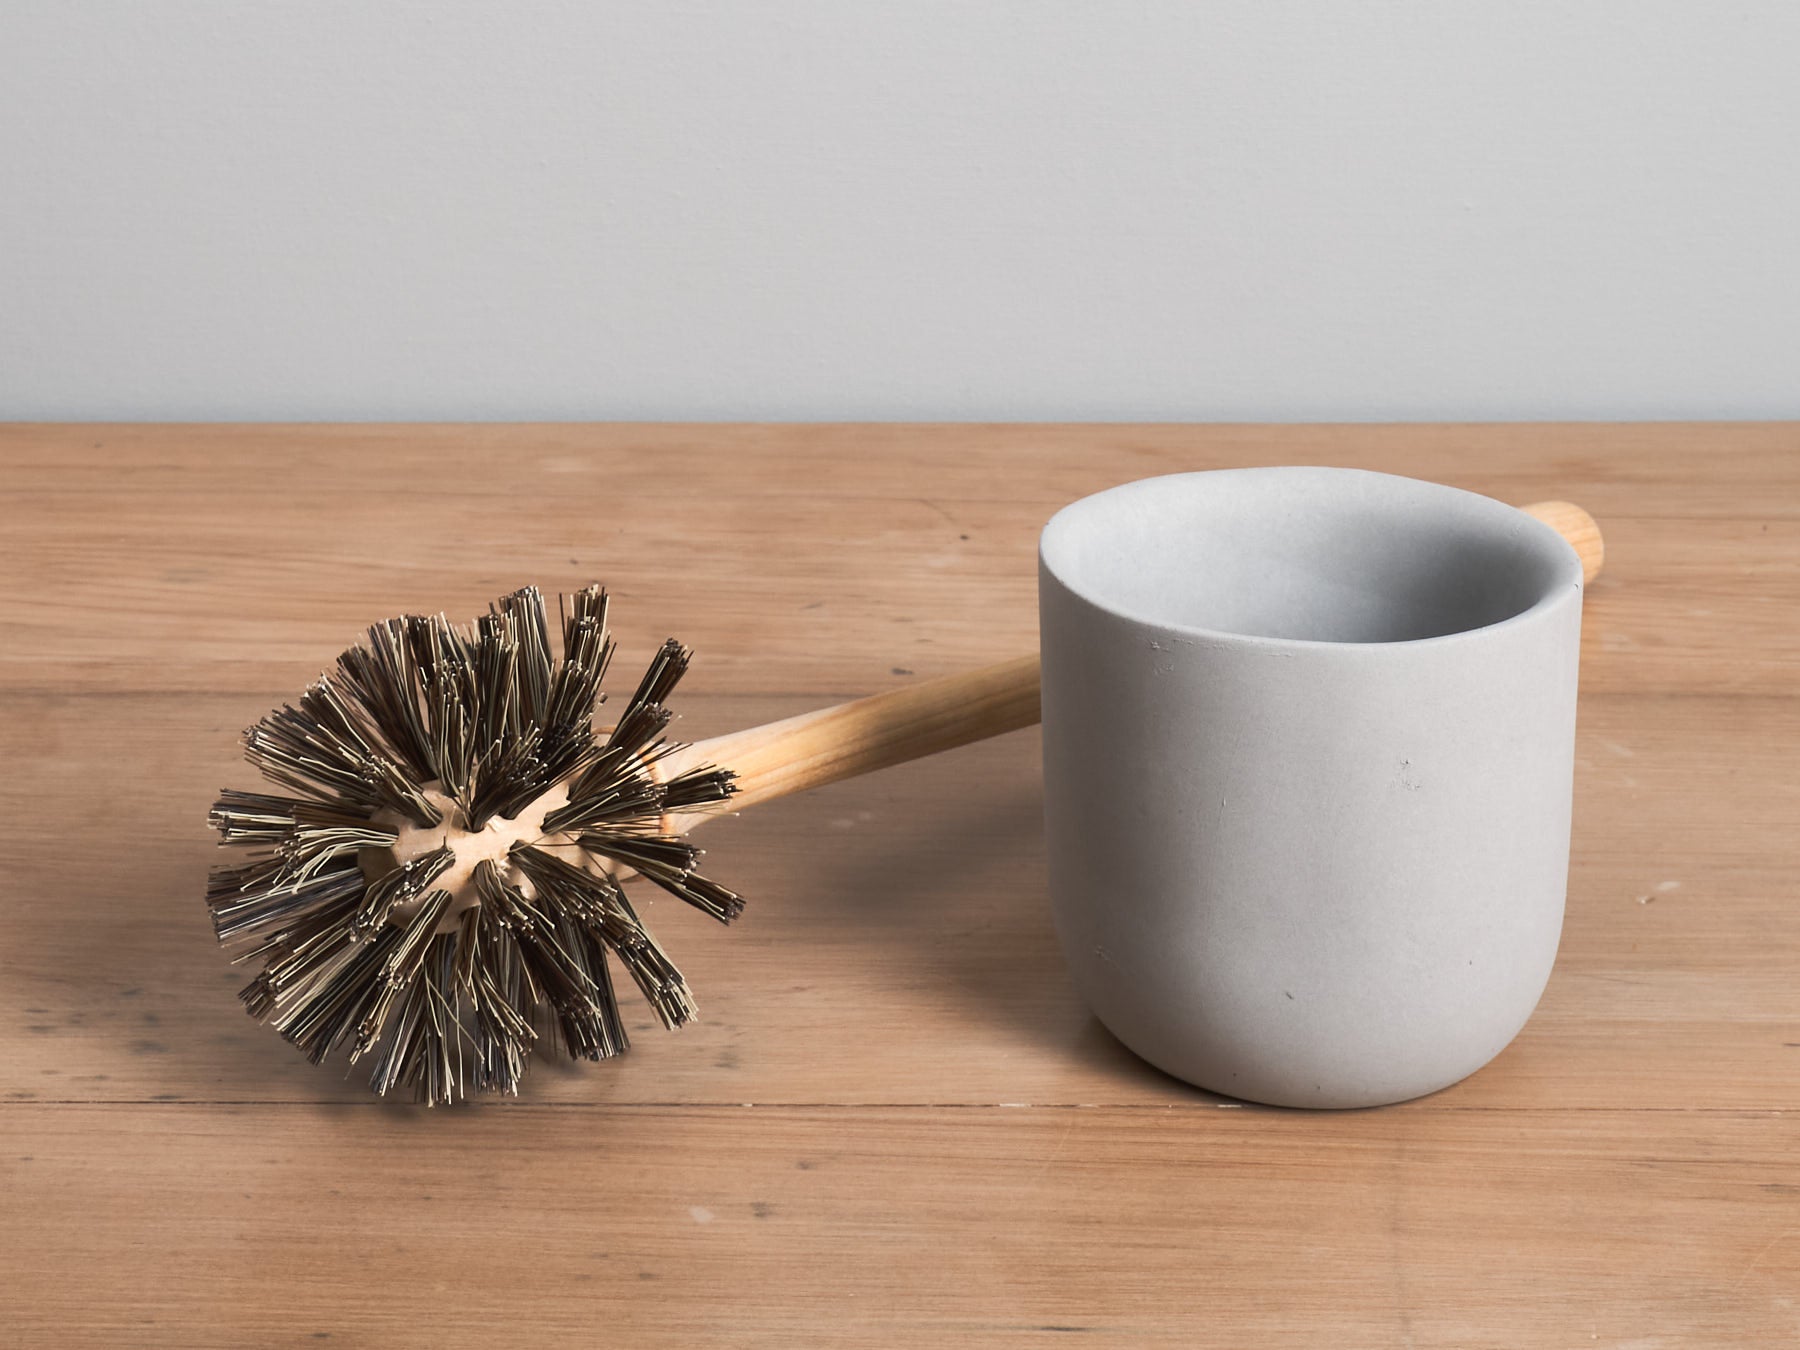
Start by examining the replacement head and the Oxo toilet brush handle. Identify any visible discrepancies in size or shape between the two components. Pay close attention to the attachment mechanism of the replacement head and the corresponding area on the handle. Look for any signs of damage, wear, or deformation that may be impeding the proper fit.
Next, consider the material and flexibility of the replacement head. Some Oxo toilet brush replacement heads are designed to be flexible to accommodate a range of handle sizes, while others may have a more rigid construction. Understanding the characteristics of the replacement head will help determine the extent of modification required for a secure fit.
Additionally, take note of any manufacturer instructions or guidelines provided with the replacement head. These resources may offer valuable insights into potential compatibility issues and recommended solutions for attaching the replacement head to the handle.
It's also important to consider the underlying cause of the ill-fitting replacement head. Whether it's a manufacturing defect, dimensional discrepancy, or wear and tear over time, pinpointing the root cause will guide your approach to resolving the issue effectively.
By thoroughly assessing the situation and gathering pertinent information about the replacement head and the Oxo toilet brush handle, you'll be better equipped to proceed with the subsequent steps of modifying and attaching the replacement head. This initial evaluation sets the stage for a targeted and informed approach to addressing the challenge at hand, ultimately leading to a successful resolution.
Step 2: Modifying the Replacement Head
After assessing the situation and identifying the specific issues causing the replacement head to not fit properly, the next crucial step is to proceed with modifying the replacement head. This process involves making targeted adjustments to the replacement head to ensure a secure and snug fit onto the Oxo toilet brush handle.
Evaluation of Fit
Begin by carefully evaluating the areas of the replacement head that are not aligning properly with the handle. Pay close attention to any protrusions, ridges, or locking mechanisms that are preventing a seamless fit. By pinpointing the exact points of misalignment, you can devise a precise plan for modifying the replacement head to overcome these obstacles.
Precision Trimming
Depending on the nature of the misfit, precision trimming may be necessary to reshape specific sections of the replacement head. Utilize a sharp utility knife or a pair of precision scissors to carefully trim away excess material or protrusions that are impeding the fit. Exercise caution and patience during this process to avoid over-trimming, ensuring that the modifications are incremental and targeted.
Read more: How To Attach A Shower Head To A Bathtub
Flexibility Enhancement
If the replacement head exhibits a lack of flexibility that hinders its ability to conform to the handle, consider enhancing its flexibility through strategic manipulation. Gently apply pressure and flex the material of the replacement head to gradually increase its pliability. This can be particularly effective for replacement heads made of rubber or silicone, allowing them to adapt to the contours of the handle more effectively.
Customized Adaptation
In cases where the replacement head requires more extensive modifications, consider customizing its adaptation to the handle. This may involve creating small indentations, notches, or complementary features on the replacement head that align with corresponding elements on the handle. By tailoring the replacement head to seamlessly integrate with the handle, you can achieve a customized fit that ensures stability and functionality.
Iterative Testing
Throughout the modification process, it's essential to conduct iterative testing to assess the impact of each adjustment. Fit the modified replacement head onto the handle and evaluate the improvements in alignment and stability. Iterate the modifications as needed, refining the adjustments until the replacement head fits securely and seamlessly onto the Oxo toilet brush handle.
By methodically approaching the modification of the replacement head, you can effectively overcome the initial fit challenges and prepare the replacement head for successful attachment to the Oxo toilet brush handle. This targeted modification process sets the stage for the final step of attaching the modified replacement head, bringing you closer to resolving the issue and restoring the functionality of your toilet brush.
Step 3: Attaching the Modified Replacement Head
With the modified replacement head prepared to address the fitment issues, the final step involves securely attaching it to the Oxo toilet brush handle. This pivotal stage marks the culmination of the troubleshooting process, as the successful attachment will restore the functionality of the toilet brush and ensure its effectiveness in maintaining a clean and hygienic bathroom.
Read more: How Many Germs Does A Toilet Brush Have
Alignment Verification
Before proceeding with the attachment, carefully verify the alignment of the modified replacement head with the handle. Ensure that any modifications made have resulted in a snug and secure fit, with the replacement head sitting flush and stable on the handle. This visual inspection is crucial in confirming that the modifications have effectively addressed the initial fitment challenges.
Firm Press-Fit
To attach the modified replacement head, apply firm and consistent pressure while pressing it onto the handle. Begin by aligning the modified sections of the replacement head with the corresponding features on the handle. With a steady and controlled motion, press the replacement head onto the handle, exerting sufficient force to facilitate a secure attachment. The goal is to achieve a tight and stable connection between the replacement head and the handle.
Rotational Locking
In cases where the replacement head features a rotational locking mechanism, follow the manufacturer's guidelines or instructions for engaging the lock. Typically, this involves twisting the replacement head in a specified direction to activate the locking mechanism, ensuring that it securely fastens onto the handle. Pay close attention to any audible clicks or tactile feedback that indicate the successful engagement of the locking mechanism.
Functional Testing
After attaching the modified replacement head, perform functional testing to validate its stability and effectiveness. Gently maneuver the toilet brush to simulate its typical usage, ensuring that the replacement head remains securely attached during movements and cleaning motions. Verify that the modifications have resulted in a seamless integration, allowing the toilet brush to function as intended without any compromise in stability.
Adjustment Iteration
In the event that the initial attachment does not yield the desired stability, consider iterative adjustments to further refine the fit. Revisit the modified sections of the replacement head and the corresponding areas on the handle, identifying any areas that may require additional refinement. By iteratively fine-tuning the attachment, you can optimize the fit and stability of the replacement head on the handle.
By following these steps, you can effectively attach the modified replacement head to the Oxo toilet brush handle, overcoming the initial fitment challenges and restoring the functionality of the toilet brush. This meticulous approach ensures that the attachment is secure, stable, and conducive to the effective use of the toilet brush in maintaining a clean and hygienic bathroom.
Conclusion
In conclusion, addressing the issue of an ill-fitting Oxo toilet brush replacement head is a manageable task that can be effectively resolved through a systematic approach. By following the steps outlined in this guide, you can navigate the process of modifying and attaching the replacement head with confidence and precision, ultimately restoring the functionality of your toilet brush.
The initial step of assessing the situation provides a foundational understanding of the fitment challenges and sets the stage for targeted modifications. Through a thorough evaluation of the replacement head and the Oxo toilet brush handle, you gain valuable insights that inform the subsequent steps, ensuring a tailored approach to resolving the fitment issues.
The process of modifying the replacement head involves precision trimming, flexibility enhancement, and customized adaptation, tailored to address the specific misalignments and obstacles hindering the fit. By iteratively testing and refining the modifications, you prepare the replacement head for successful attachment, laying the groundwork for the final step.
Attaching the modified replacement head to the Oxo toilet brush handle marks the culmination of the troubleshooting process. With a focus on alignment verification, firm press-fit, rotational locking (if applicable), and functional testing, you ensure a secure and stable attachment that enables the toilet brush to function as intended.
Throughout this journey of troubleshooting and resolution, the key takeaway lies in the empowerment gained through practical problem-solving. By approaching the fitment challenges with a methodical mindset and the willingness to adapt and modify, you have successfully overcome a common household dilemma, reaffirming your capability to address similar issues in the future.
As you reflect on the process and the successful resolution achieved, it's important to acknowledge the valuable skills and insights gained through this experience. Whether you are a DIY enthusiast, a homeowner, or simply someone seeking to troubleshoot a specific household issue, the knowledge and techniques acquired in this guide serve as a testament to your resourcefulness and ability to navigate practical challenges effectively.
With your Oxo toilet brush now equipped with a securely attached replacement head, you can confidently maintain a clean and hygienic bathroom, knowing that you have the skills and know-how to address fitment challenges with practicality and precision. This newfound confidence and capability exemplify the essence of empowered problem-solving, enriching your household maintenance endeavors and reinforcing your ability to overcome similar challenges in the future.
Frequently Asked Questions about How To Attach An Oxo Toilet Brush Replacement Head That Does Not Fit
Was this page helpful?
At Storables.com, we guarantee accurate and reliable information. Our content, validated by Expert Board Contributors, is crafted following stringent Editorial Policies. We're committed to providing you with well-researched, expert-backed insights for all your informational needs.

0 thoughts on “How To Attach An Oxo Toilet Brush Replacement Head That Does Not Fit”