Home>Furniture & Design>Bathroom Accessories>How To Get Plunger Marks Out Of A Toilet
Bathroom Accessories
How To Get Plunger Marks Out Of A Toilet
Modified: October 19, 2024
Learn effective ways to remove plunger marks from your toilet with simple bathroom accessories. Say goodbye to unsightly marks with these easy tips!
(Many of the links in this article redirect to a specific reviewed product. Your purchase of these products through affiliate links helps to generate commission for Storables.com, at no extra cost. Learn more)
Introduction
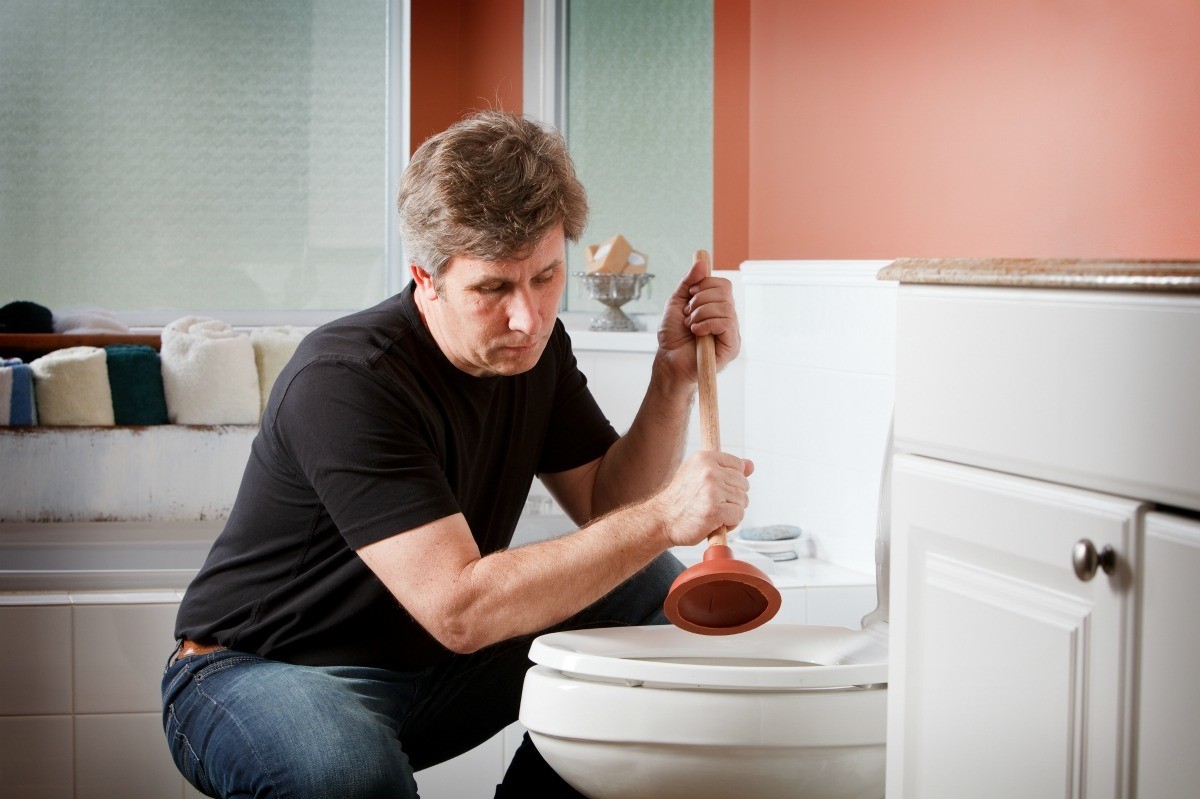
Dealing with plunger marks in a toilet can be a frustrating and unsightly issue for many homeowners. These marks, often caused by the suction and pressure of a plunger during a clog removal, can leave stubborn stains that seem challenging to remove. However, with the right approach and tools, you can effectively eliminate these marks and restore the pristine appearance of your toilet bowl.
In this comprehensive guide, we will delve into the process of removing plunger marks from a toilet, providing you with step-by-step instructions and valuable insights. By following these methods, you can effectively tackle this common household problem and achieve a sparkling clean toilet bowl once again.
Understanding the nature of plunger marks and the appropriate cleaning techniques is essential for achieving optimal results. By gaining a deeper understanding of the factors contributing to these marks and the most effective cleaning solutions, you can approach the task with confidence and precision. With the right tools and a systematic approach, you can restore your toilet bowl to its original condition, ensuring a hygienic and visually appealing bathroom environment for you and your family.
Now, let's delve into the details of how to effectively remove plunger marks from your toilet and restore its pristine appearance. With the right knowledge and approach, you can tackle this common issue with ease, ensuring that your bathroom remains a clean and inviting space for all who use it.
Key Takeaways:
- Say goodbye to plunger marks in your toilet by using natural acidic agents like white vinegar or lemon juice, coupled with a targeted cleaning solution and thorough scrubbing. Restore your toilet’s pristine appearance with confidence and precision.
- Prepare for success by donning rubber gloves, ventilating the bathroom, and gathering essential tools and materials. Follow a systematic approach to remove plunger marks and ensure a clean, inviting bathroom space for your family.
Read more: How To Store A Toilet Plunger
Understanding Plunger Marks
Plunger marks, also known as plunger streaks or plunger scratches, are unsightly marks that can mar the appearance of a toilet bowl. These marks are typically caused by the repeated back-and-forth motion of a plunger during the process of clearing a clog. The suction and pressure exerted by the plunger against the porcelain surface can leave behind stubborn streaks and scratches, creating an unattractive and seemingly permanent blemish.
Understanding the nature of plunger marks is crucial for effectively addressing this issue. These marks are often more than just surface stains; they can penetrate the top layer of the porcelain, making them particularly challenging to remove. Additionally, the abrasive action of the plunger against the toilet bowl can create fine scratches that trap dirt and grime, further exacerbating the appearance of the marks.
It's important to note that plunger marks are not indicative of poor cleaning habits or neglect. They are a common occurrence in households where clogs necessitate the use of a plunger. While the primary purpose of a plunger is to clear clogs, it can inadvertently leave behind these marks, causing frustration for homeowners seeking to maintain a clean and presentable bathroom.
To effectively address plunger marks, it's essential to use cleaning methods and solutions that can penetrate and lift the stains while being gentle on the porcelain surface. By understanding the nature of these marks and the factors contributing to their persistence, you can select the most appropriate cleaning products and techniques to achieve optimal results.
By gaining a deeper understanding of plunger marks and their impact on the appearance of a toilet bowl, you can approach the cleaning process with confidence and precision. With the right knowledge and tools at your disposal, you can effectively restore the pristine condition of your toilet bowl, eliminating these unsightly marks and ensuring a clean and welcoming bathroom environment for you and your family.
Tools and Materials Needed
To effectively remove plunger marks from a toilet, you will need a few essential tools and materials to facilitate the cleaning process. By ensuring that you have the right supplies at your disposal, you can approach the task with confidence and efficiency. Here are the tools and materials you will need:
1. Rubber Gloves
Rubber gloves are essential for protecting your hands during the cleaning process. They provide a barrier against harsh cleaning solutions and help prevent direct contact with any residual grime or stains in the toilet bowl.
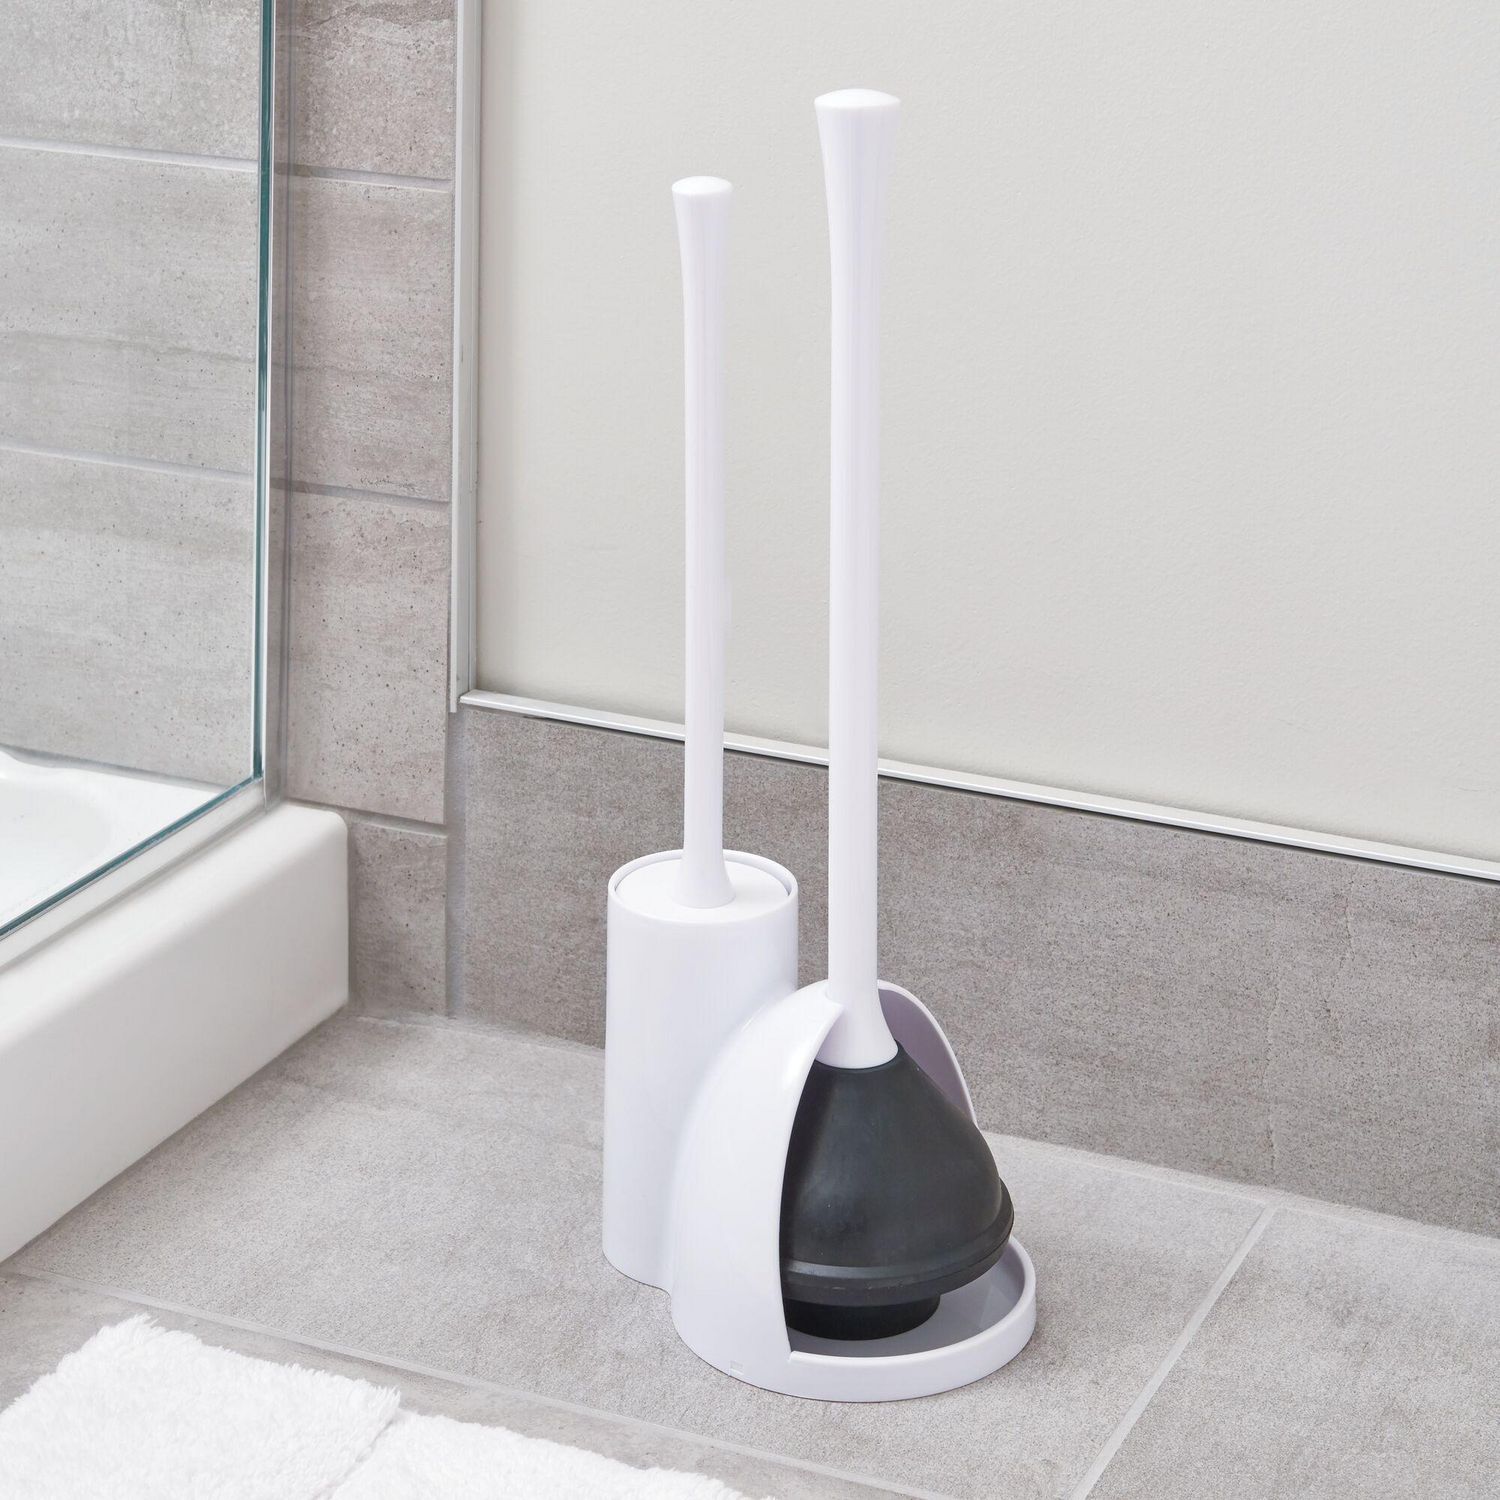
2. Toilet Brush
A high-quality toilet brush with sturdy bristles is indispensable for scrubbing and agitating the cleaning solution within the toilet bowl. Look for a brush with a durable handle and effective bristle design to ensure thorough cleaning.
Read more: How To Get A Toothbrush Out Of A Toilet
3. White Vinegar or Lemon Juice
White vinegar and lemon juice are natural acidic agents that can effectively break down and dissolve stubborn stains, including plunger marks. These household items are gentle on the porcelain surface while being powerful enough to tackle tough stains.
4. Baking Soda
Baking soda serves as a mild abrasive agent that aids in lifting and removing stains from the toilet bowl. Its gentle yet effective nature makes it a valuable addition to your cleaning arsenal.
5. Cleaning Solution or Toilet Bowl Cleaner
Select a high-quality cleaning solution or toilet bowl cleaner specifically formulated to remove tough stains. Look for products that target mineral deposits and stains, ensuring that they are safe for use on porcelain surfaces.
6. Microfiber Cloth
A microfiber cloth is ideal for wiping down the exterior of the toilet and achieving a streak-free finish. Its soft and absorbent texture helps in removing any residual cleaning solution or water marks.
Read more: How To Get Toy Out Of Toilet
7. Plastic or Rubber Scrubbing Pad (Optional)
For particularly stubborn plunger marks, a plastic or rubber scrubbing pad can provide additional abrasion to lift the stains. Use this tool with caution to avoid scratching the porcelain surface.
By gathering these essential tools and materials, you can prepare yourself for the task of removing plunger marks from your toilet effectively. With the right supplies at hand, you can proceed with the cleaning process confidently, knowing that you have everything you need to achieve a sparkling clean result.
Step 1: Preparation
Before embarking on the process of removing plunger marks from your toilet, thorough preparation is essential to ensure a smooth and effective cleaning experience. By taking the time to prepare the toilet and gather the necessary tools and materials, you can set the stage for successful stain removal. Here's a detailed breakdown of the preparation steps:
-
Put on Rubber Gloves: Begin by donning a pair of rubber gloves to protect your hands during the cleaning process. This simple yet crucial step will shield your skin from direct contact with cleaning solutions and any residual grime within the toilet bowl.
-
Gather Cleaning Supplies: Ensure that you have all the required cleaning supplies within easy reach. This includes white vinegar or lemon juice, baking soda, a toilet brush, a cleaning solution or toilet bowl cleaner, a microfiber cloth, and, if needed, a plastic or rubber scrubbing pad. Having these items readily available will streamline the cleaning process and prevent interruptions.
-
Ventilate the Bathroom: Proper ventilation is important when working with cleaning solutions. Open a window or turn on the bathroom fan to ensure adequate airflow. This will help dissipate any fumes from the cleaning products and create a more comfortable environment for the cleaning process.
-
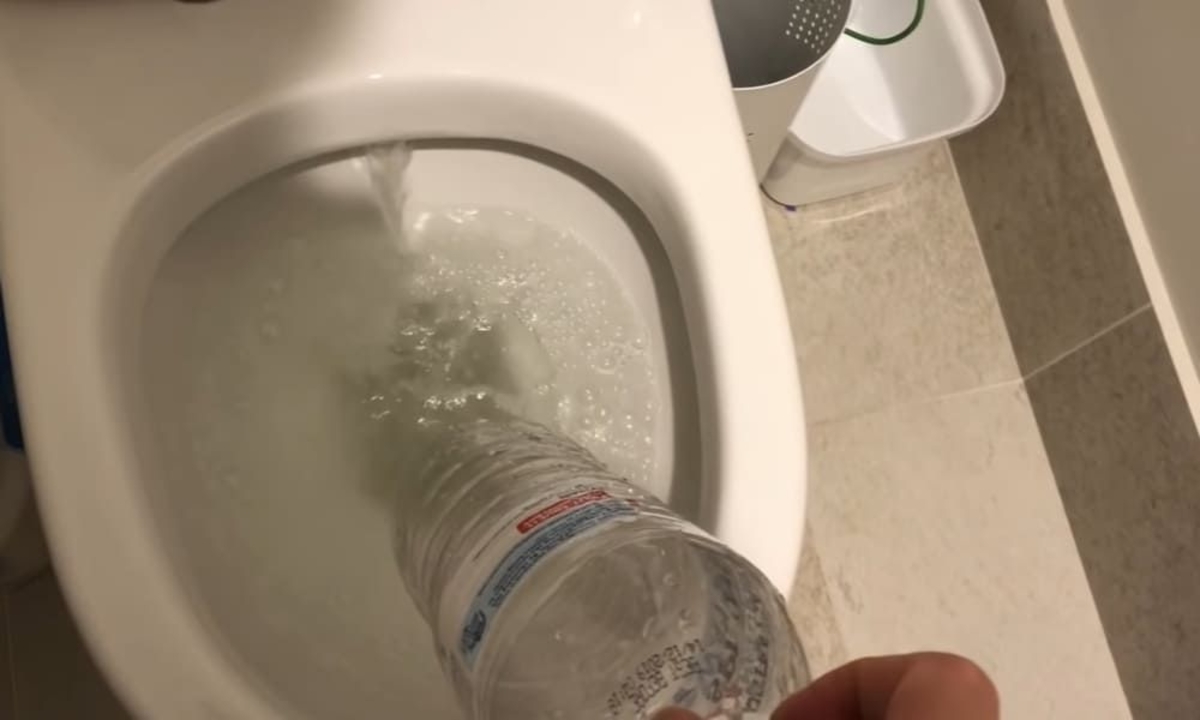
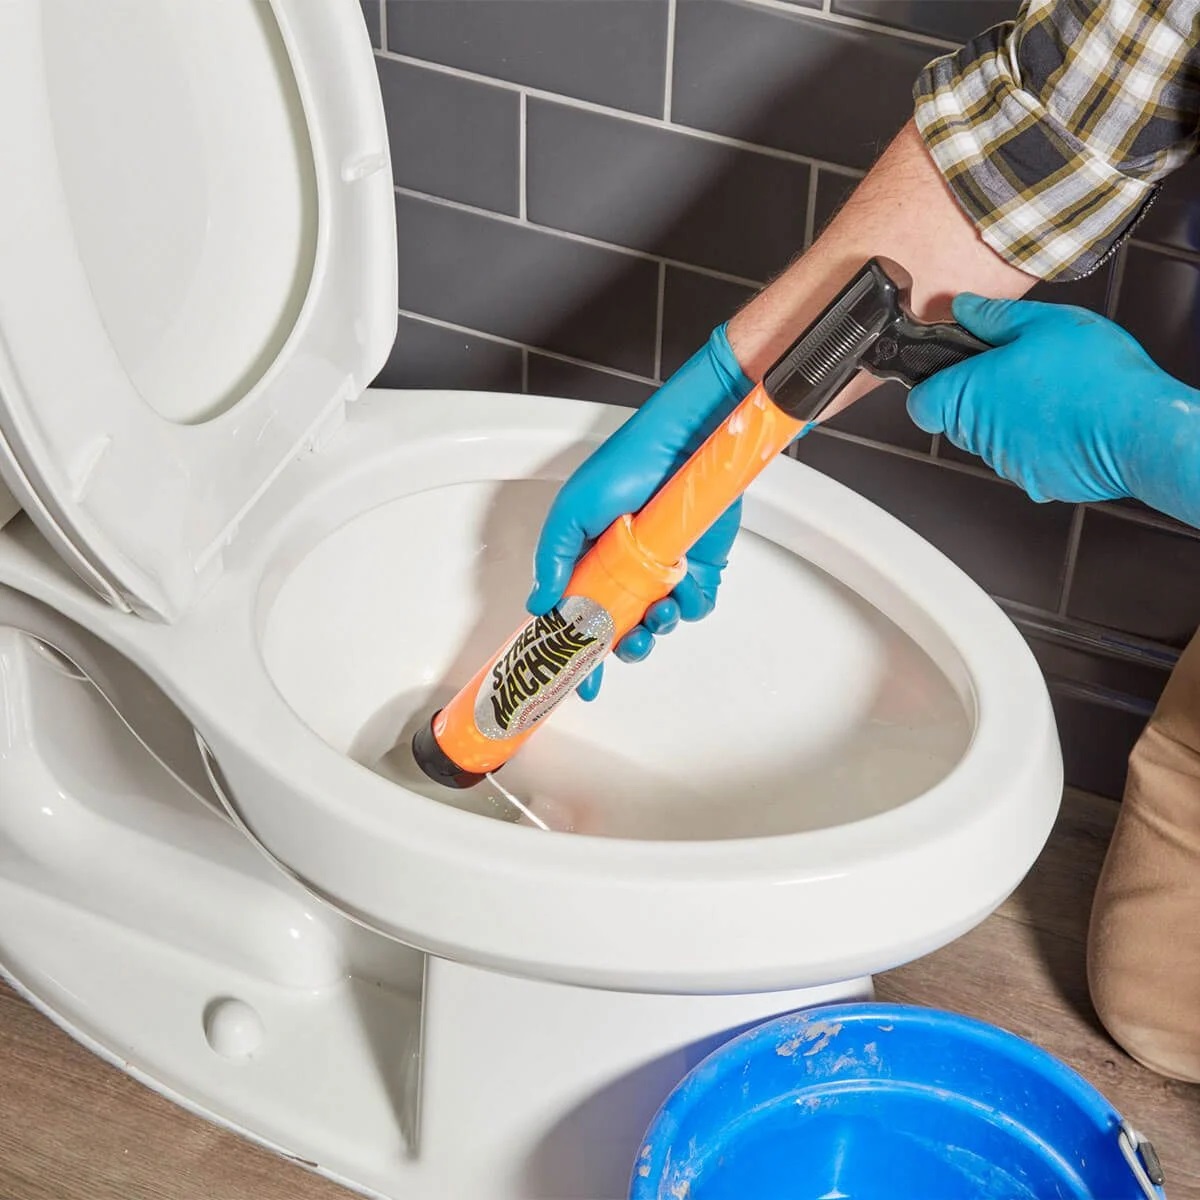
Flush the Toilet: Before applying any cleaning solutions, flush the toilet to remove any standing water. This will allow the cleaning products to make direct contact with the plunger marks and stains, ensuring maximum effectiveness.
-
Apply White Vinegar or Lemon Juice: For a natural and effective pre-treatment, pour white vinegar or lemon juice directly onto the plunger marks in the toilet bowl. Allow the acidic properties of these substances to begin breaking down the stains while you prepare the cleaning solution.
By meticulously preparing the toilet and assembling the necessary tools and materials, you can set the stage for a successful plunger mark removal process. This thoughtful preparation will streamline the subsequent cleaning steps and contribute to achieving a sparkling clean result.
Step 2: Application of Cleaning Solution
Once the preparation steps are complete, the next crucial phase in removing plunger marks from a toilet involves the application of a targeted cleaning solution. This step is essential for effectively breaking down and lifting the stubborn stains, preparing the toilet bowl for thorough scrubbing and stain removal. Here's a detailed breakdown of the application of the cleaning solution:
-
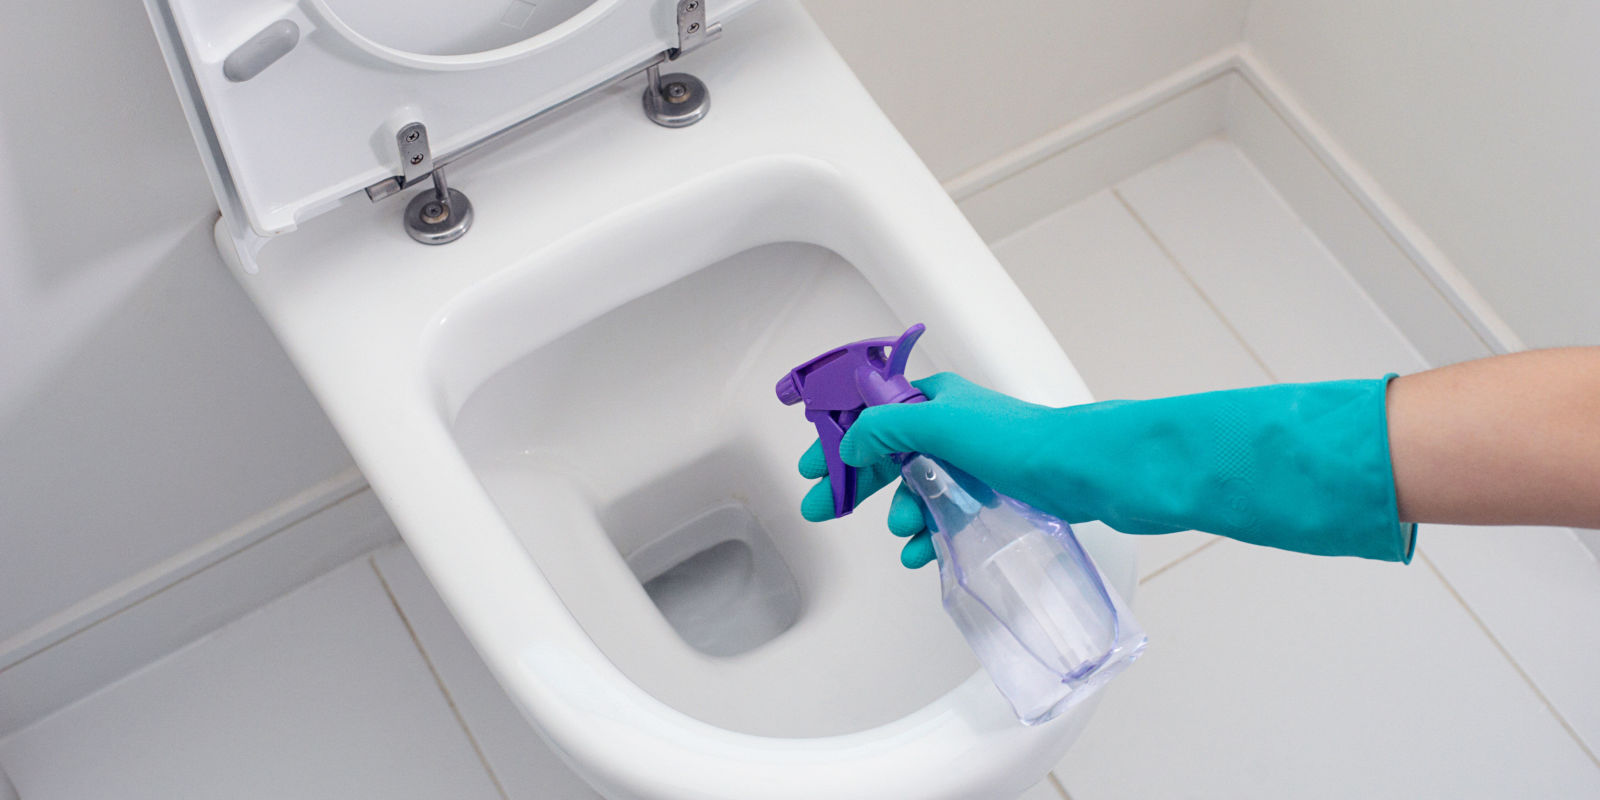
Selecting the Cleaning Solution: Choose a high-quality cleaning solution or toilet bowl cleaner specifically formulated to tackle tough stains, including plunger marks. Look for products that are safe for use on porcelain surfaces and designed to dissolve mineral deposits and stubborn discolorations. Ensure that the chosen cleaning solution aligns with the material of your toilet bowl to prevent any potential damage.
-
Application Method: Carefully follow the instructions provided on the cleaning solution's packaging. In most cases, you will need to apply the solution directly to the interior of the toilet bowl, ensuring that it makes direct contact with the plunger marks and any other visible stains. Some products may require a waiting period to allow the solution to penetrate and dissolve the stains effectively.
-
Agitation and Distribution: Use a toilet brush to agitate the cleaning solution within the toilet bowl, ensuring thorough coverage of the stained areas. The bristles of the brush will help distribute the solution and facilitate its penetration into the porous surface of the porcelain, targeting the plunger marks and preparing them for removal.
-
Allowing Dwell Time: Depending on the specific cleaning solution used, it may be necessary to allow for a designated dwell time. This period allows the active ingredients in the solution to work on breaking down the stains, ensuring maximum effectiveness. Refer to the product instructions to determine the appropriate dwell time for optimal results.
-
Precautions and Safety: While applying the cleaning solution, ensure proper ventilation in the bathroom to minimize exposure to fumes. Additionally, avoid mixing different cleaning products, as this can result in hazardous chemical reactions. Adhering to safety guidelines during the application process is essential for a safe and effective cleaning experience.
By meticulously following these steps for the application of the cleaning solution, you can effectively prepare the toilet bowl for the subsequent scrubbing and stain removal process. This methodical approach ensures that the cleaning solution penetrates and targets the plunger marks, setting the stage for successful stain removal and a restored, pristine toilet bowl.
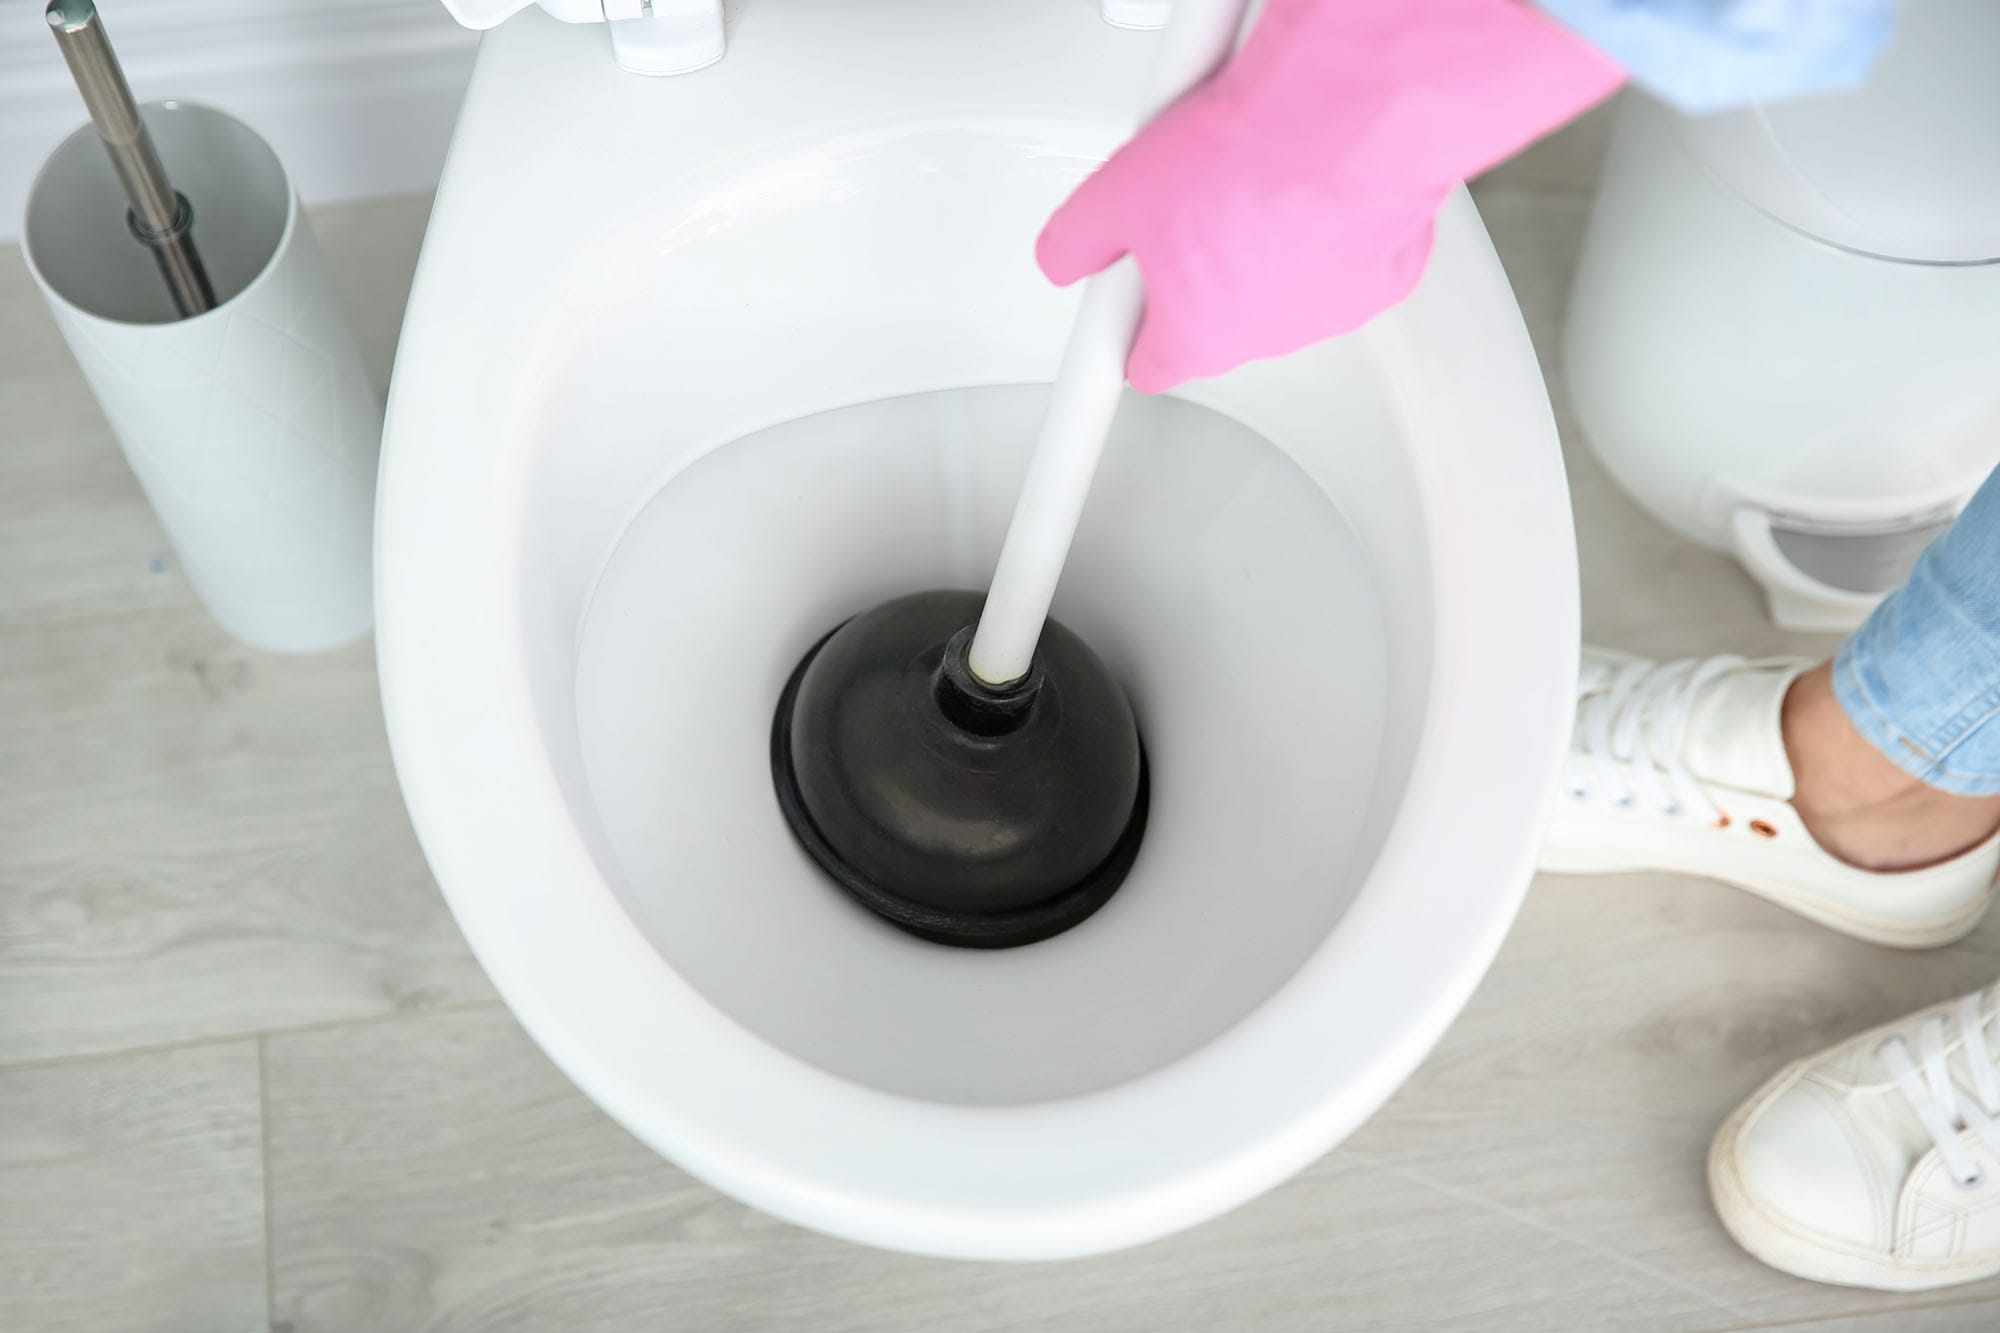
Step 3: Scrubbing the Toilet Bowl
After the application of the cleaning solution, the next critical step in the process of removing plunger marks from a toilet involves thorough scrubbing of the interior surfaces. This step is essential for agitating the cleaning solution, lifting the stubborn stains, and restoring the pristine appearance of the toilet bowl. Here's a detailed breakdown of the scrubbing process:
-
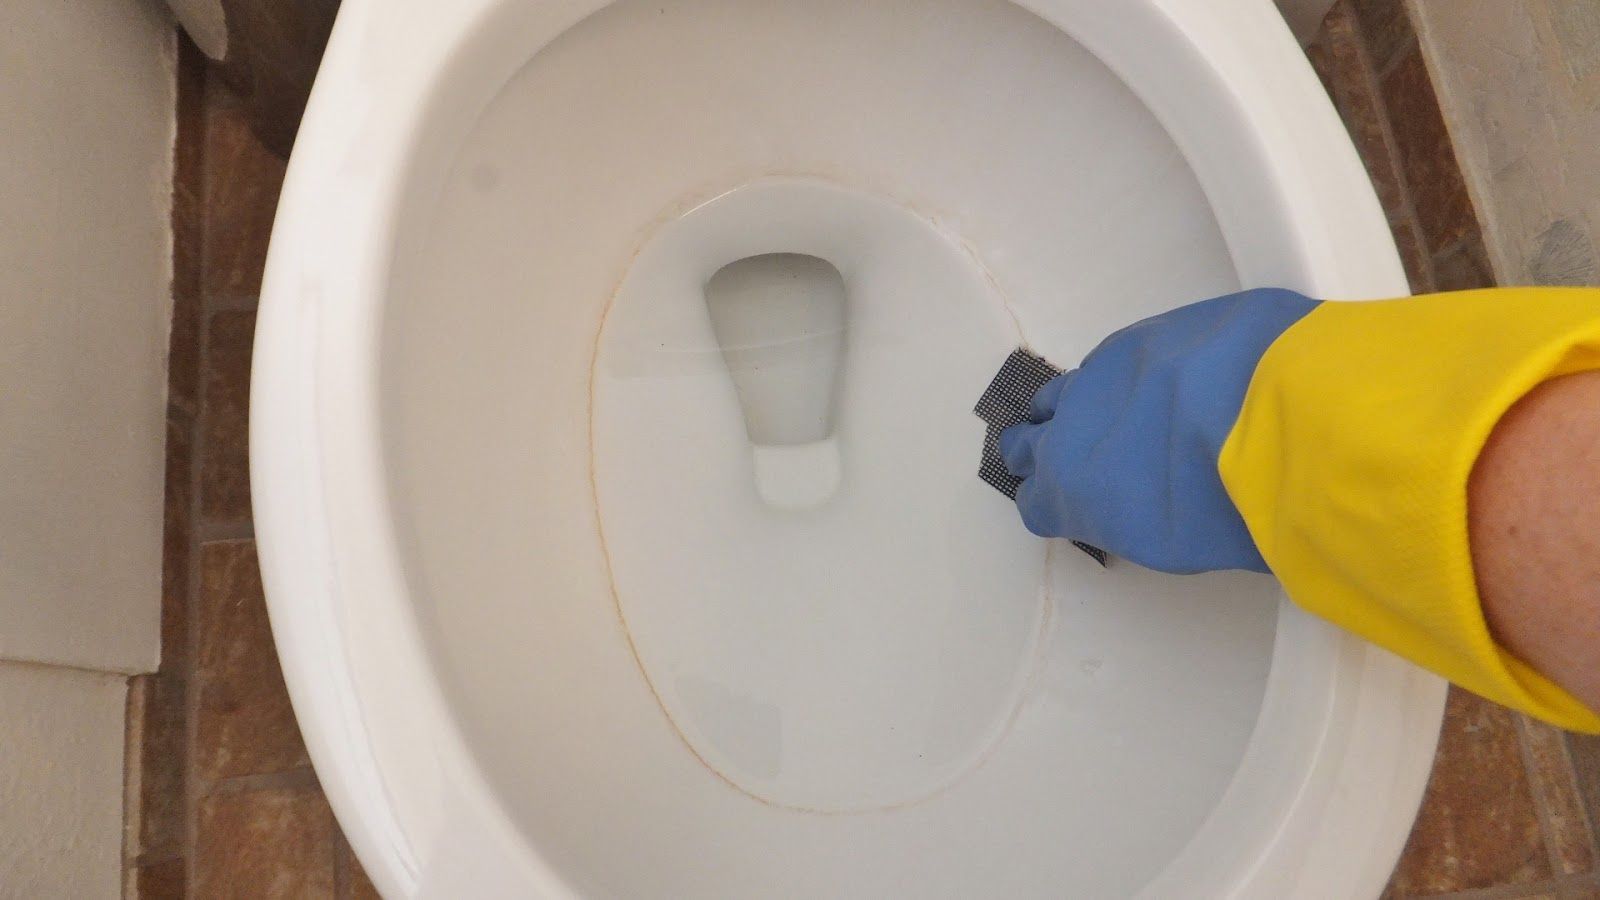
Agitate the Cleaning Solution: Using a high-quality toilet brush, begin agitating the cleaning solution within the toilet bowl. Ensure that the bristles of the brush make direct contact with the plunger marks and any visible stains. The vigorous back-and-forth motion will help dislodge the stains and facilitate their removal.
-
Focus on Stubborn Areas: Pay particular attention to areas where plunger marks are most prominent. Apply additional pressure and scrubbing action to these areas to effectively lift the stubborn stains. The goal is to break down the residue left by the plunger and restore the porcelain surface to its original condition.
-
Circular and Upward Strokes: Utilize circular and upward strokes with the toilet brush to cover the entire interior surface of the toilet bowl. This comprehensive approach ensures that all areas affected by plunger marks receive thorough attention, maximizing the effectiveness of the scrubbing process.
-
Reapplication if Necessary: If the plunger marks prove resistant to initial scrubbing, consider reapplying the cleaning solution and allowing for an extended dwell time. This will further loosen the stains and make them more responsive to scrubbing, ultimately leading to successful removal.
-
Caution with Abrasive Tools: If using a plastic or rubber scrubbing pad for additional abrasion, exercise caution to avoid scratching the porcelain surface. Gentle yet persistent scrubbing action is key to effectively removing plunger marks without causing damage to the toilet bowl.
-
Rinse and Inspect: Once the scrubbing process is complete, flush the toilet to rinse away the cleaning solution and dislodged stains. Inspect the interior of the toilet bowl to ensure that the plunger marks have been successfully removed, and the surface appears clean and restored.
By meticulously following these steps for scrubbing the toilet bowl, you can effectively lift and remove plunger marks, restoring the pristine appearance of the porcelain surface. This methodical approach ensures that the stubborn stains are targeted and eliminated, resulting in a clean and visually appealing toilet bowl.
Read more: How To Make A Plunger For A Toilet
Step 4: Flushing and Final Touches
After completing the scrubbing process to remove plunger marks from the toilet bowl, the final steps involve flushing the toilet and adding a few extra touches to ensure a pristine finish. These concluding actions are essential for ensuring that the cleaning process is thorough and that the toilet bowl is left sparkling clean.
Flushing the Toilet
Once the scrubbing process is complete, flush the toilet to rinse away the cleaning solution, dislodged stains, and any residual grime. This step serves to remove all traces of the cleaning solution and ensures that the interior of the toilet bowl is thoroughly cleansed. As the water flows through the bowl, it carries away any remaining debris, leaving behind a fresh and clean surface.
Inspecting the Results
After flushing, take a moment to inspect the interior of the toilet bowl. Carefully examine the areas that were affected by plunger marks to ensure that the stains have been successfully removed. Look for any lingering discolorations or residue, and if necessary, repeat the scrubbing process in targeted areas to achieve a uniform and pristine finish.
Wiping Down the Exterior
With the interior of the toilet bowl thoroughly cleansed, turn your attention to the exterior surfaces. Use a microfiber cloth to wipe down the exterior of the toilet, removing any water marks, cleaning solution residue, or dust. This final touch adds a polished look to the toilet and ensures that the entire fixture is clean and presentable.
Read more: How To Get Yellow Stains Out Of Toilet
Final Assessment
Once the flushing and exterior wiping are complete, take a moment to conduct a final assessment of the toilet's overall cleanliness. Ensure that the bowl is free from any remaining plunger marks, stains, or streaks. Confirm that the exterior surfaces are dry and free from any residual cleaning solution. This comprehensive assessment ensures that the cleaning process has been thorough and that the toilet is restored to its original pristine condition.
By meticulously following these final steps, you can complete the process of removing plunger marks from the toilet, leaving behind a clean and visually appealing fixture. The combination of flushing, inspecting, and adding final touches ensures that the cleaning process is comprehensive and that the toilet bowl is ready for use, free from unsightly plunger marks and stains.
Conclusion
In conclusion, the process of removing plunger marks from a toilet requires a systematic approach, the right tools, and effective cleaning solutions. By understanding the nature of plunger marks and their impact on the appearance of a toilet bowl, homeowners can approach the task with confidence and precision. The comprehensive guide provided here offers valuable insights and step-by-step instructions for successfully eliminating plunger marks and restoring the pristine condition of the toilet.
Through meticulous preparation, including the use of rubber gloves, proper ventilation, and the application of natural acidic agents such as white vinegar or lemon juice, homeowners can set the stage for effective stain removal. The subsequent application of a targeted cleaning solution, coupled with thorough scrubbing using a high-quality toilet brush, ensures that plunger marks are lifted and eliminated from the porcelain surface.
The final steps, including flushing the toilet, inspecting the results, and wiping down the exterior, contribute to a comprehensive cleaning process that leaves the toilet bowl sparkling clean and free from unsightly marks. This methodical approach, combined with attention to detail and the use of essential tools and materials, ensures that homeowners can achieve optimal results in restoring the pristine appearance of their toilet.
By following the detailed steps outlined in this guide, homeowners can effectively address the common issue of plunger marks, ensuring a clean and visually appealing bathroom environment for themselves and their families. The knowledge and techniques shared here empower homeowners to tackle this challenge with confidence, knowing that they have the necessary tools and expertise to achieve a sparkling clean result.
In essence, the process of removing plunger marks from a toilet is not only about achieving a clean and presentable fixture but also about creating a hygienic and inviting bathroom space. With the right approach and a commitment to thorough cleaning, homeowners can effectively eliminate plunger marks, ensuring that their toilet bowl remains a pristine and welcoming feature in their home.
Frequently Asked Questions about How To Get Plunger Marks Out Of A Toilet
Was this page helpful?
At Storables.com, we guarantee accurate and reliable information. Our content, validated by Expert Board Contributors, is crafted following stringent Editorial Policies. We're committed to providing you with well-researched, expert-backed insights for all your informational needs.

0 thoughts on “How To Get Plunger Marks Out Of A Toilet”