Home>Home Maintenance>How to Paint a Bathtub With 5 Best Bathtub Paint Picks

Home Maintenance
How to Paint a Bathtub With 5 Best Bathtub Paint Picks
Modified: December 6, 2023
Bathroom renovations can be expensive, so is there a DIY trick to cut costs? A fresh coat of paint on your bathtub could be the answer. Find more out here!
(Many of the links in this article redirect to a specific reviewed product. Your purchase of these products through affiliate links helps to generate commission for Storables.com, at no extra cost. Learn more)
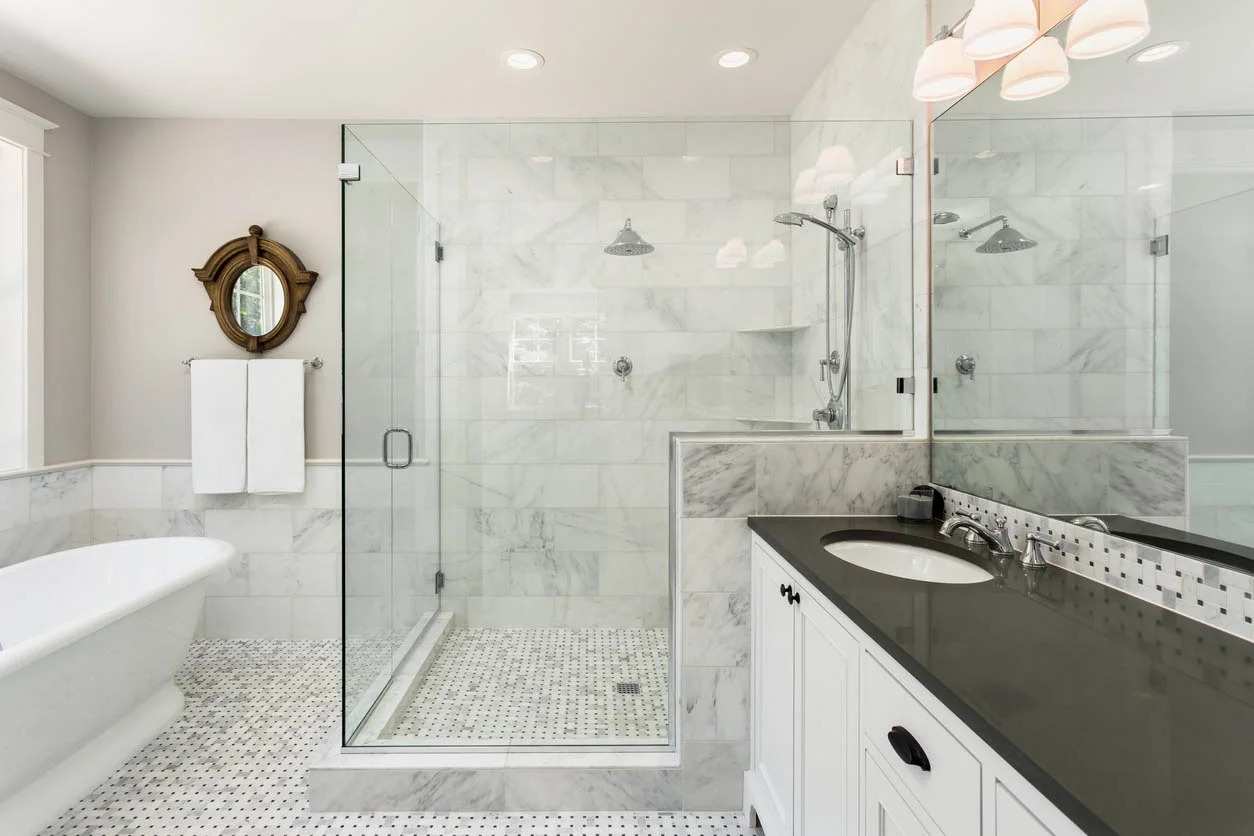
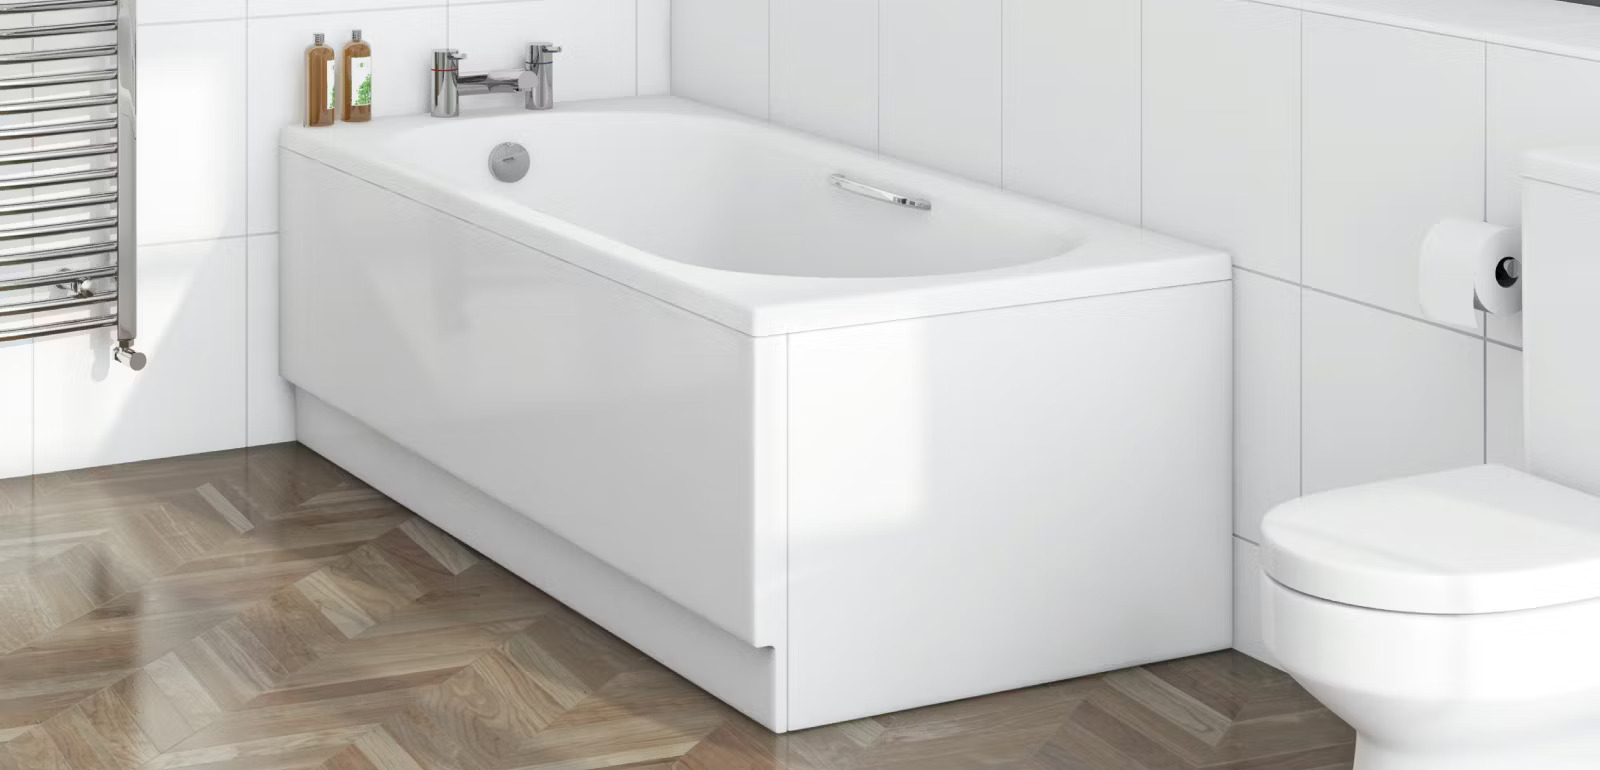
Having a shiny tub to sink into is an excellent reward at the end of a long day. Fortunately, you don’t need a brand new tub to achieve that modern look and feel. Learning how to paint a bathtub saves you money and gives you a new way to spruce up your bathroom whenever you feel like it. Let’s explore the process and the different bathtub paints you can use for this DIY project.
What Is Bathtub Paint?
There are many types of paints you can use on your tub. It’s all about choosing the paint that’ll stick to your bathtub’s material. Acrylic polymer paints, for instance, are great on acrylic bathtubs, and oil-based paints are good on metal ones.
One easy way to make sure the paint you’re picking will work for your tub is to grab a refinishing kit. These tub and tile kits come with many of the things you’ll need to paint your bathtub, including the primer, paint, and so on. Alternatively, if you already have all the other materials, you can just search for refinishing paint.
In the end, just be sure to read the fine print. This will let you know if the paint you’re using will adhere to your bathtub’s material. In addition, you may find out that the paint can be used to revitalize the bath’s surrounding tiles as well.
Read more: How To Polish A Bathtub
Why Paint Your Bathtub
You may be wondering why you’d want to paint your bathtub in the first place. While the process isn’t too complicated, it’ll still take a good amount of time and effort. The main reasons people turn to bathtub paint kits are for appearance, repair, and refinishing.
Appearance
One good way to date a bathroom is from the appearance of its tub. Stains and discoloration will naturally occur over time. Also, while colored tubs are by no means out of fashion, some older color choices can easily age a bathroom. Bathtub paint will even out the color and can be used to give your tub a more modern shade.
Repair and Refinishing
Damages to the tub’s surface are also commonplace. You may find scratches or even gouges and holes in your tub depending on its history. In addition, some rusty patches can be expected in older metal tubs. Painting your tub can help repair these flaws.
In the case of deeper imperfections and rusty patches, you’ll need to put in a little more work. Just fill in any holes and sand down the rust before painting. The final coat of refinishing tub paint will help keep these areas from further water damage.
Bathtub Painting Pros and Cons
Now that you know a little more about what bathtub paint is and why you’d want to paint your tub, it’s time to look at the pros and cons.
Read more: How To Cover A Bathtub
Pros
Tub and tile paint is an affordable way to give your bathroom a makeover. Even if you only paint your bathtub, the room’s overall appearance is affected. The process is a lot kinder to your wallet than, say, a full renovation and tub replacement. In addition to this, it’s a great way to revitalize an old tub. You get to cut down on waste and give new life to an older fixture. The project is a lot easier than you might think too.
Cons
Now, tub paint unfortunately comes with a few drawbacks. The first of these is that, when applied incorrectly, it can easily ruin the finish of your bathtub. You may end up with a bumpy, uneven surface if you’re not careful. Also, while the process is rather simple, it’s still going to take a good amount of effort and time on your part to complete. If you’re not ready to sit hunched over the tub cleaning and painting for a couple of hours, you might need to hire a professional.
Pros and Cons Summary
Pros
- More affordable renovation option
- Revitalizes older bathtubs
- Cuts down on renovation waste
- The process is easy to understand
Cons
- Risks ruining your bathtub finish
- Labor and time-intensive
Tools for How to Paint a Bathtub
If you’ve made your decision to paint your bathtub, it’s time to gear up. This section goes over the basic tools you’ll need to get the project started.
Read more: How To Frame A Bathtub
Protective Gear
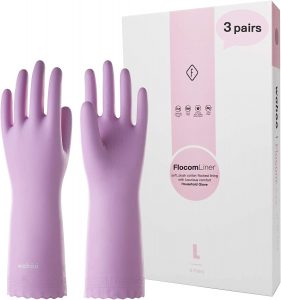
Protective gear is the last thing you want to skip out on. You’ll be handling strong chemicals and paints throughout the process, so make sure to keep yourself safe. A set of gloves is a must-have, as well as a well-ventilated room.
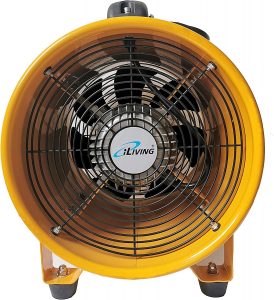
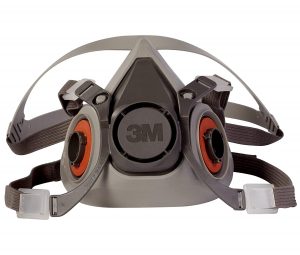
If the bathroom you’re working in has poor ventilation, consider using a ventilator fan or a respirator. For many painting materials, these tools might be a must-have, so check the warning labels before starting.
Cleaning Gear
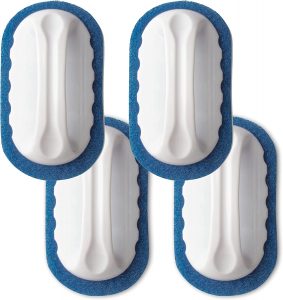
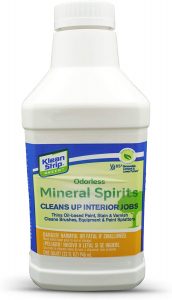
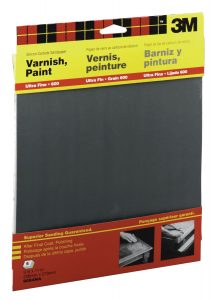
Scrubbing down the tub is an essential part of the painting process. You’ll want to have some rough scouring pads on-hand, especially for the drain and faucet areas. Depending on what refinishing kit you buy, you may also need some paint thinner and cleaner to help strip down some of the shiny finish. Finally, sandpaper will help you get rid of any rusty spots while preparing the surface for the paint.
Painting Gear
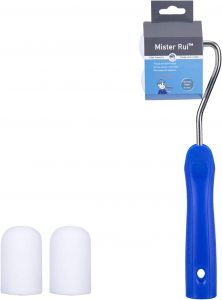
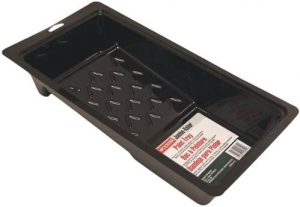
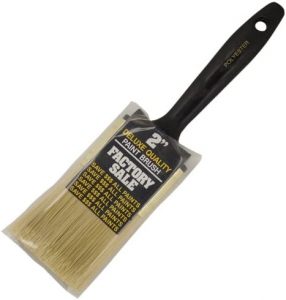
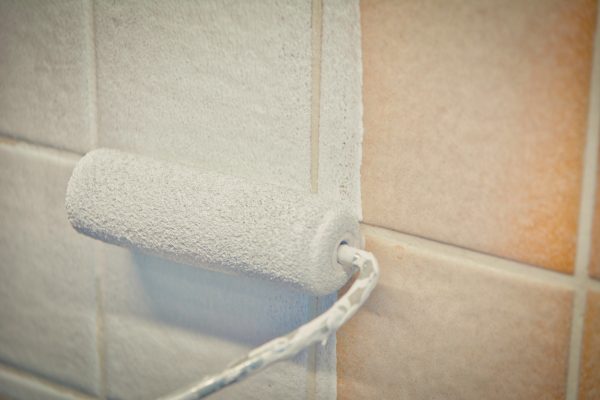
The painting gear you need will often depend on the type of tub paint you have. For instance, refinishing spray paint won’t need any of this! If you bought the traditional bathtub paint though, try picking up a paint roller and a paint tray. A normal paintbrush will also come in handy for any tight edges and corners.
How to Paint a Bathtub
With your tools at the ready, it’s time to learn how to paint a bathtub. Each bathtub is different and there are a couple of optional steps. For instance, many may choose to remove the caulk from their tub before washing and reapply it later for a cleaner finish. This section will go over general tips and tricks that can be applied to most models.
Read more: How To Shower In A Bathtub?
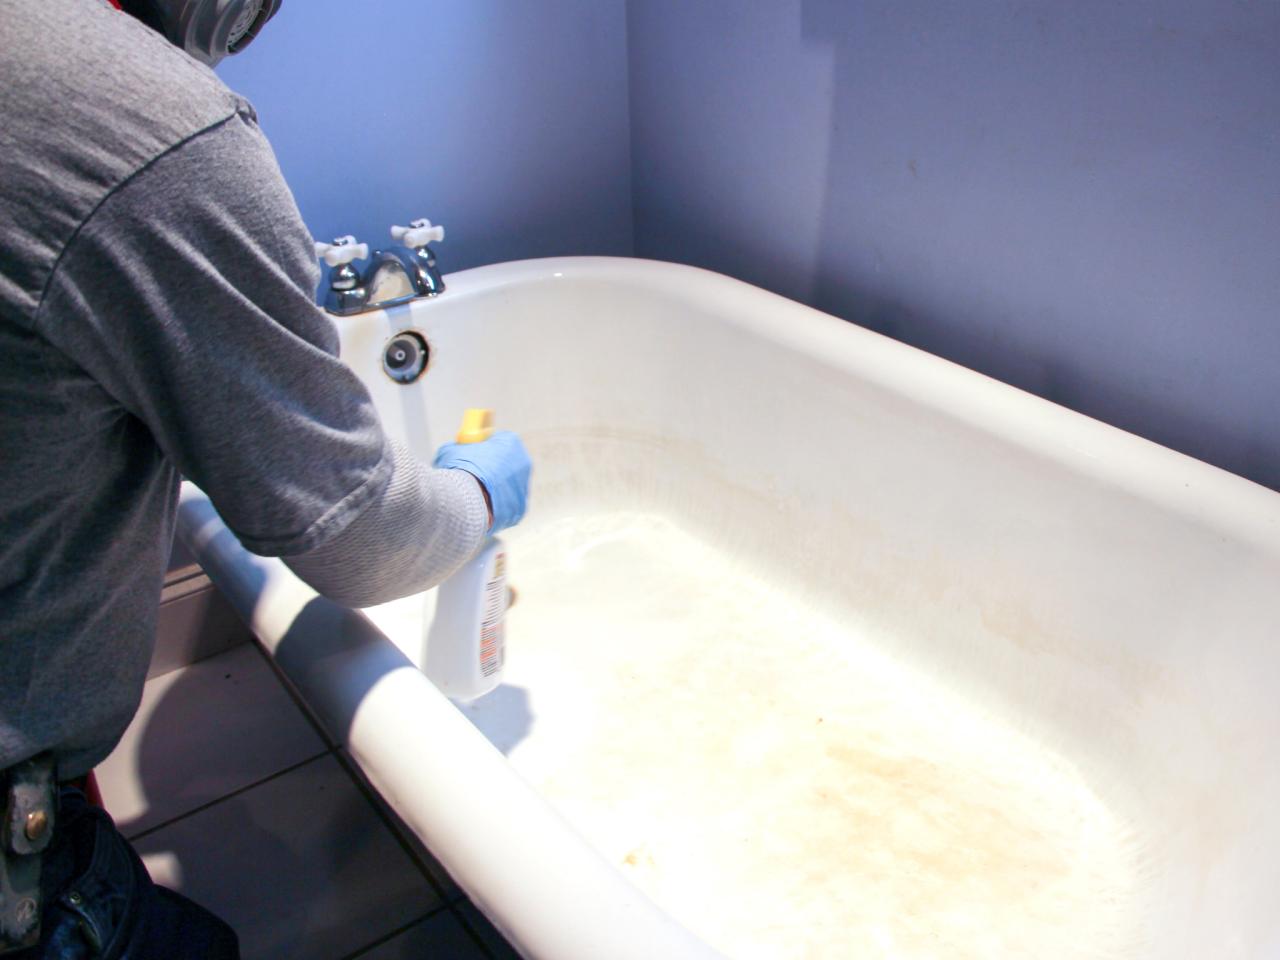
Cleaning and Sanding
Before you can paint your tub, you need to make sure the surface is prepped. It needs to be squeaky clean and sanded down or you’ll end up with problems down the line. Go over the tub with some soap and water, scrubbing it down with your scouring pads to get all the dirt and buildup off. Pay extra close attention to the drains and any tight corners.
Afterward, rinse the tub down until the sides are no longer oily or covered in residue. It may take a few rounds of water but keep at it. This is one of the most important steps.
Once you’re sure the tub is as clean as it can get, sand it down to make the surface grippier for the paint. Remove any rust in this step as well. Rinse and follow up by rubbing the whole tub down with some paint thinner and cleaner. This will help get rid of any particularly stubborn oils or soap.
Preparing the Tub
After the tub is cleaned and fully dry, it’s time to tape it up with painter’s tape. If you’ve removed the caulk before cleaning, you’ll want to tape the edges up a little earlier. Otherwise, this step can go after the cleaning and sanding.
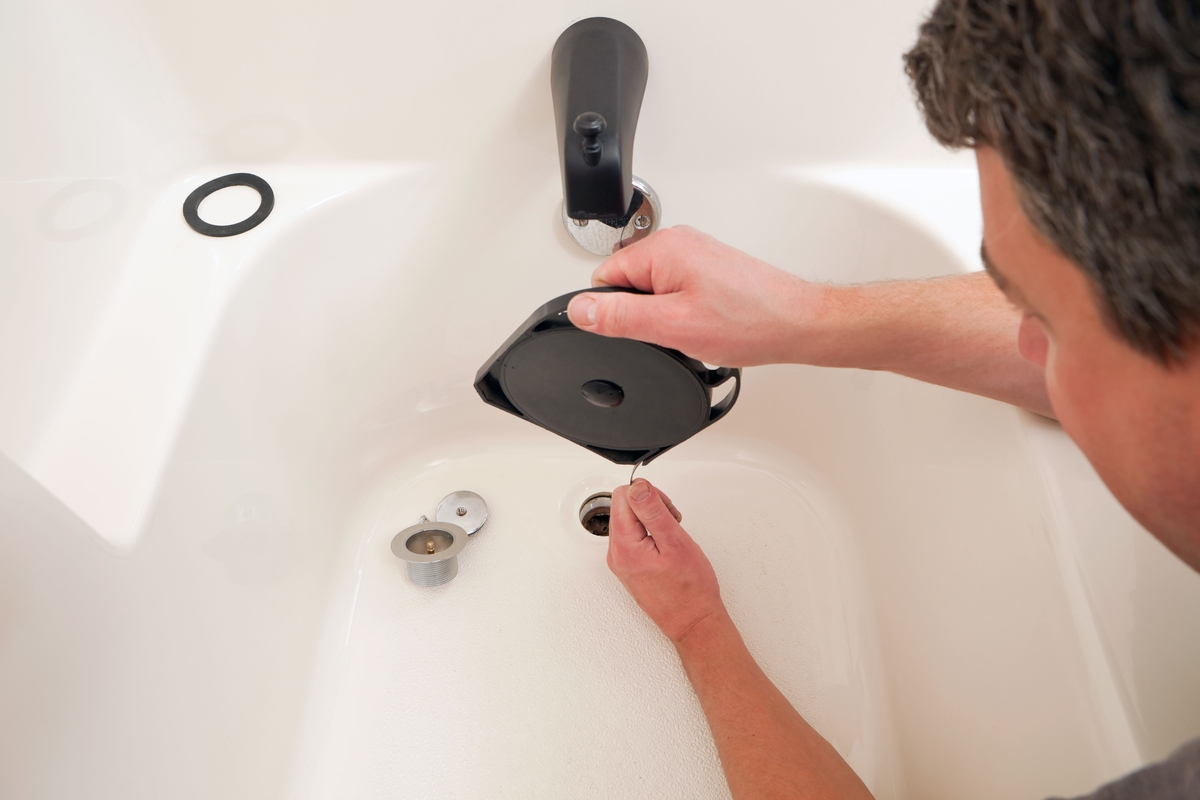
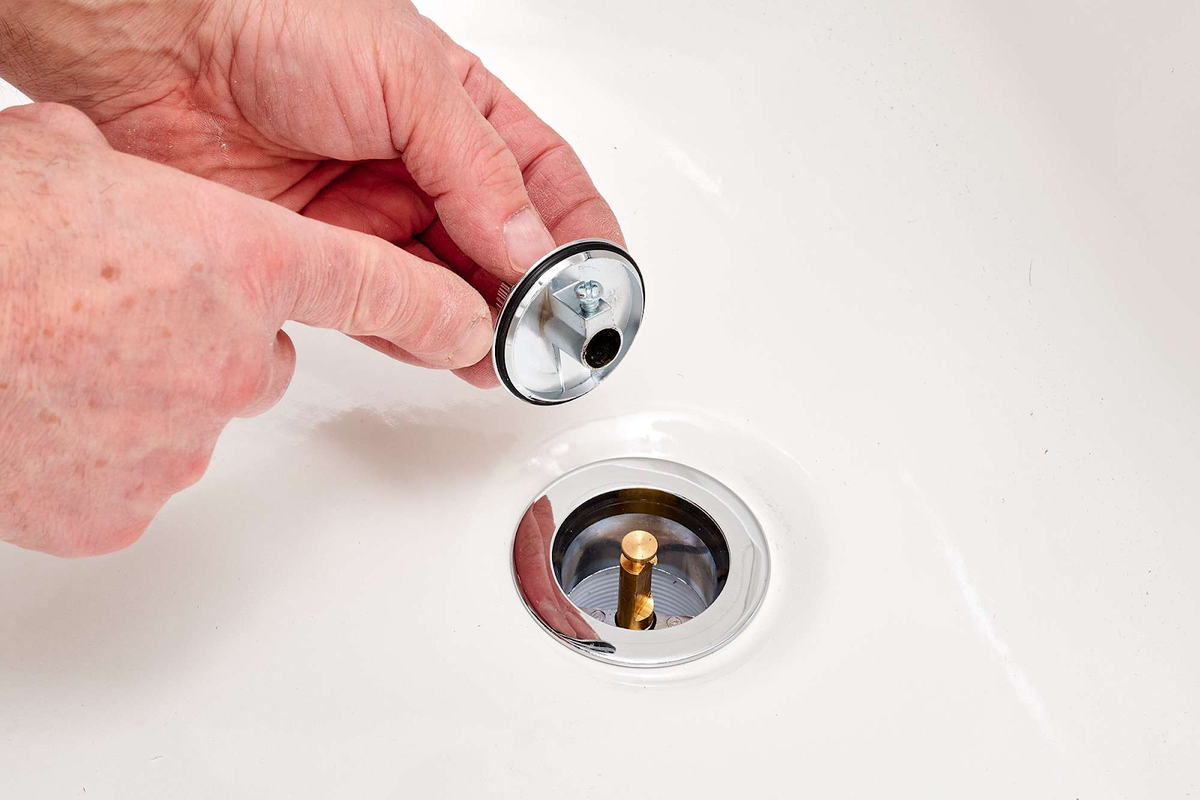
With the tape, protect any areas that you don’t want paint on. This will include the drains and the edges of the tub attached to the walls and floor. For extra protective coverage, you may also want to spread some plastic sheets on your floor.
Don’t forget to tie up any faucets or showerheads that may drip onto your drying paint. The water will ruin any paint it touches, so secure these areas well. Usually, a latex glove and a plastic bag tied over them will do the trick.
Preparing the Paint
The paint preparation will differ on the kind of kit and paint you have. Often, you’ll need to mix two different parts to create a paint solution and stir thoroughly. There will sometimes be a primer to apply beforehand or an additional non-slip liquid that you can mix into the bathtub floor paint. Whatever the case, it’s best to check the instructions in your particular kit for reference.
Painting
Finally, we come to the painting. To start, go over any hard-to-reach corners or edges with a paintbrush. This gives you more control and less of a mess than if you start with a roller. The drain areas and parts attached to the wall will benefit from this.
When the finer brushstrokes are in place, you can go in with a roller. Paint with even strokes and try not to go off in too many directions. In this case, it’s usually best to go with quick, short strokes towards and away from yourself. The roller head should always be very wet so don’t scrimp on the paint here. You want to avoid dry-rolling as much as possible.
Depending on the paint, you may need to wait for the first coat to dry before going in for a second round. This will also determine how long you need to wait in total for the paint to dry after application. Usually, it’s best to leave your bathtub alone for a few days; just to make sure that the paint is set before subjecting it to water.
Read more: How To Not Slip In The Bathtub
Best Bathtub Paint Picks
If you’re itching to get started, you’ll want to pick up a good can of bathtub paint. Luckily, we’ve compiled a list of some of our favorites from Amazon. You can take special note of their key features, specifications, and pros and cons before buying.
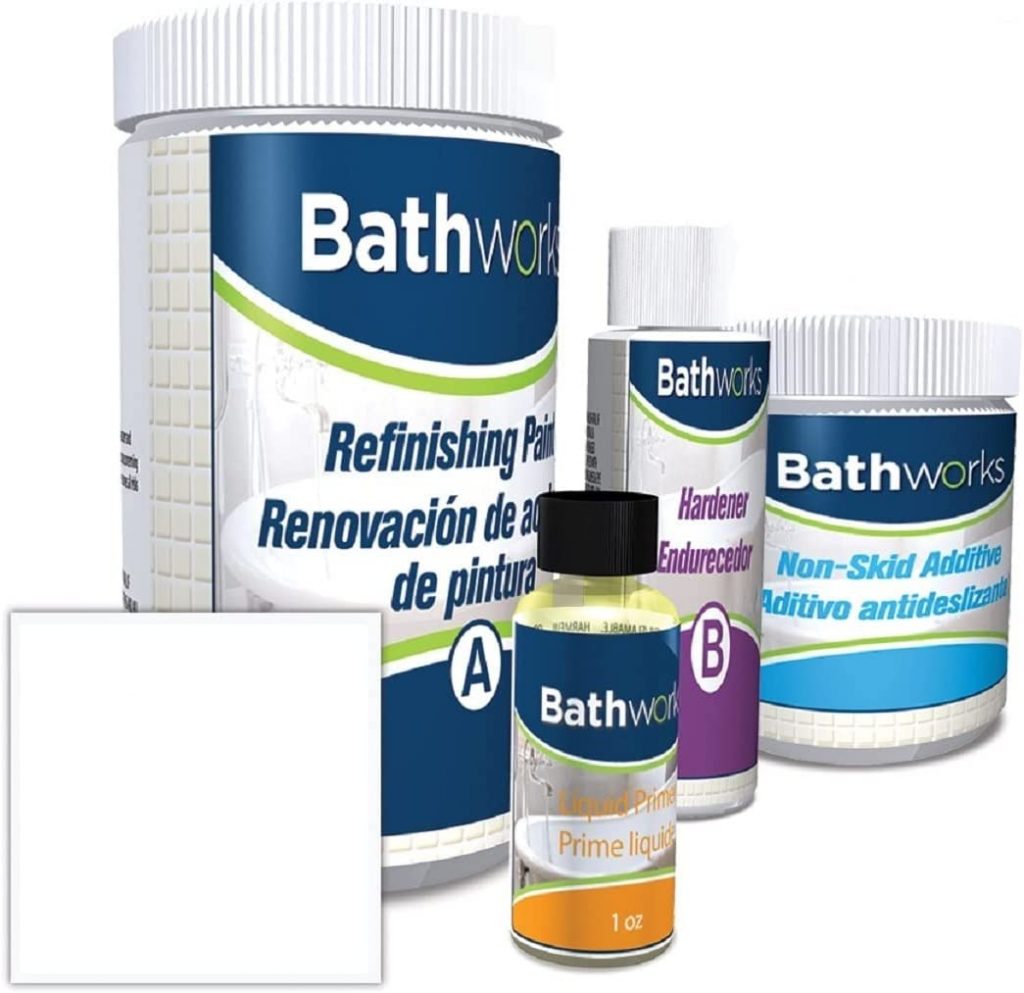
The Complete Bathtub Refinishing Kit from Bathworks is a popular choice for many looking to refurbish their tubs. This particular set even comes with a non-slip additive for the floor coat. With this tub paint laid down, your tub will have a fresh new look and be much safer to use.
Key Features
- Includes refinishing paint and liquid primer
- Some tools provided with the kit
- Non-slip protection liquid supplied
Specifications
- 42 fluid ounces
- Package dimensions: 14 inches x 14 inches x 12 inches
Pros
- Results in excellent tub transformations
- Fairly easy to use
- Helpful and clear instructions
Cons
- Multiple kits needed for full coverage
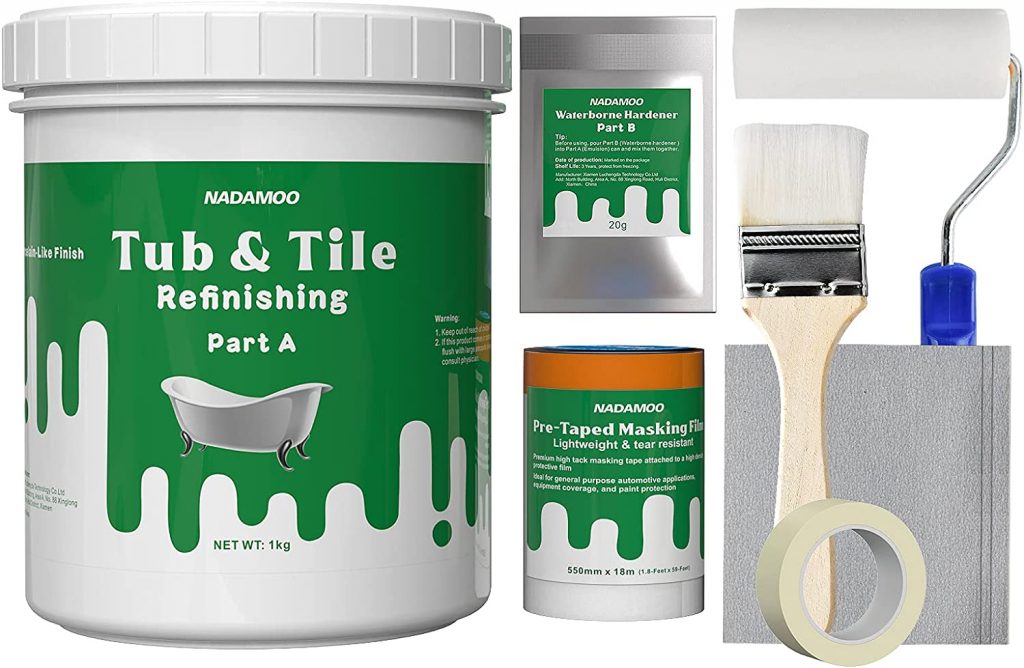
If you’re sensitive to fumes, try the Tub and Tile Refinishing Kit from NADAMOO. This kit’s low-odor property keeps your bathroom from smelling like paint for days. It also has a semi-matte finish that adds an interesting new texture to the room.
Key Features
- Works on multiple different surfaces
- Water-based formula with a semi-matte finish
- Less odor after application
Specifications
- 35 fluid ounces
- Package dimensions: 8.19 inches x 5.75 inches x 4.92 inches
Pros
- Has little to no odor or fumes
- Easy to apply
- Beautiful appearance and finish
Cons
- Hard to control the paint on vertical surfaces
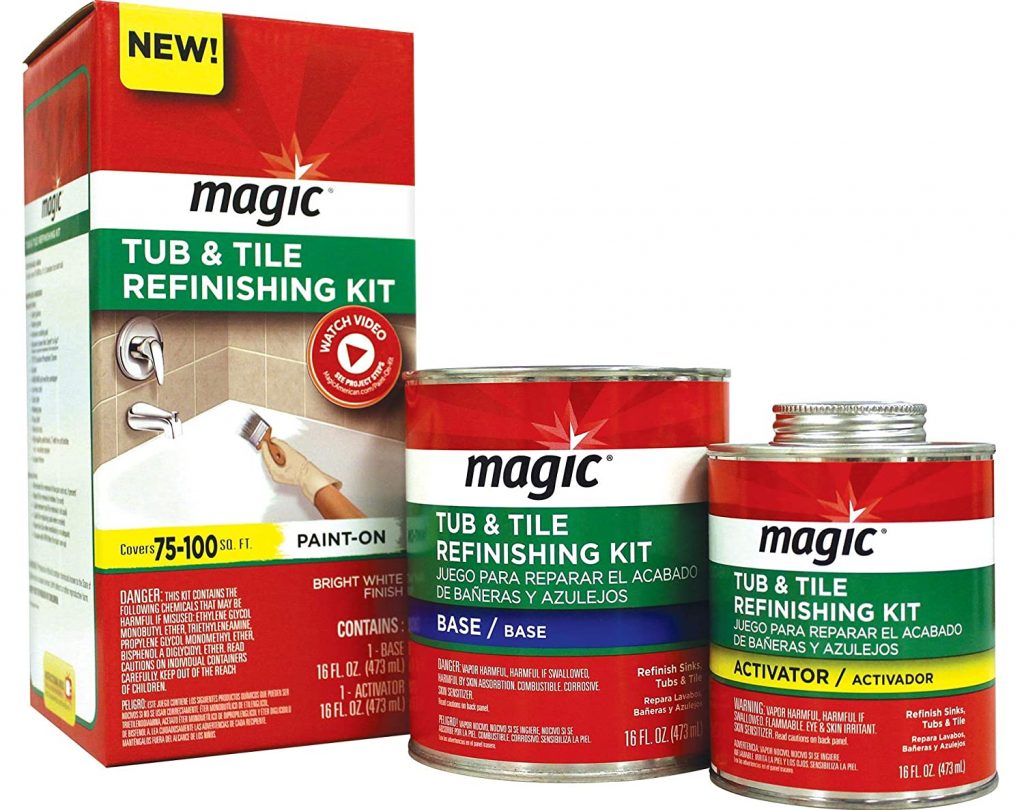
For an extra-shiny finish, pick up the Tub and Tile Painting Set from MAGIC. This tub and tile painting kit is a high-gloss epoxy mix that promises a polished final look. Since it’s made for painting both ceramic and porcelain, you can even color-match your tile walls to your freshly painted tub.
Key Features
- Acrylic-type paint
- Works well on ceramic and porcelain
- High-gloss finish
- Two-part, moisture-resistant epoxy mix
Specifications
- 32 fluid ounces
- 4.31 inches x 3.3 inches x 9.5 inches
Pros
- More affordable than a full bathroom overhaul
- Good coverage
- Mistakes can be repaired with succeeding layers
Cons
- Can destroy your paintbrushes
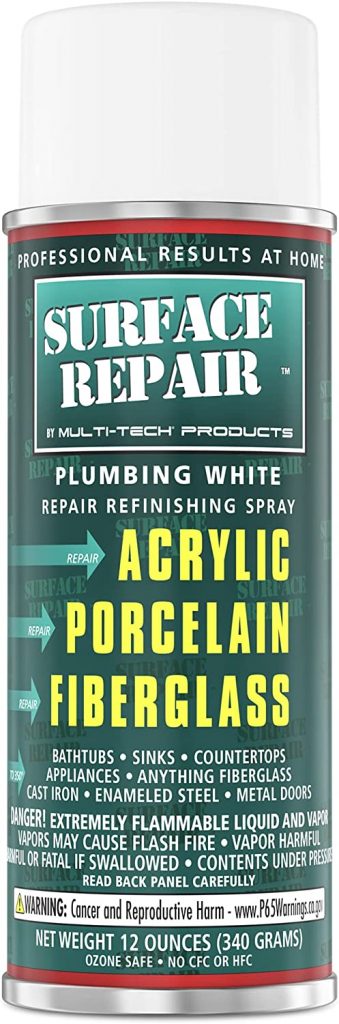
The Bathroom Refinishing Spray Paint from MULTI-TECH PRODUCTS might be the most convenient option on this list. No brushes or rollers are needed here! Simply spray the finish onto a prepared surface and wait for the product to dry.
Key Features
- Works on ceramic, glass, porcelain, and metal
- Hard, durable coating with a gloss finish
- Spray-on application
Specifications
- 12 fluid ounces
- 3 inches x 3 inches x 8.9 inches
Pros
- Self-levels and fills in small imperfections
- Revitalizes older fixtures
- Reasonably easy to apply
Cons
- Not very glossy
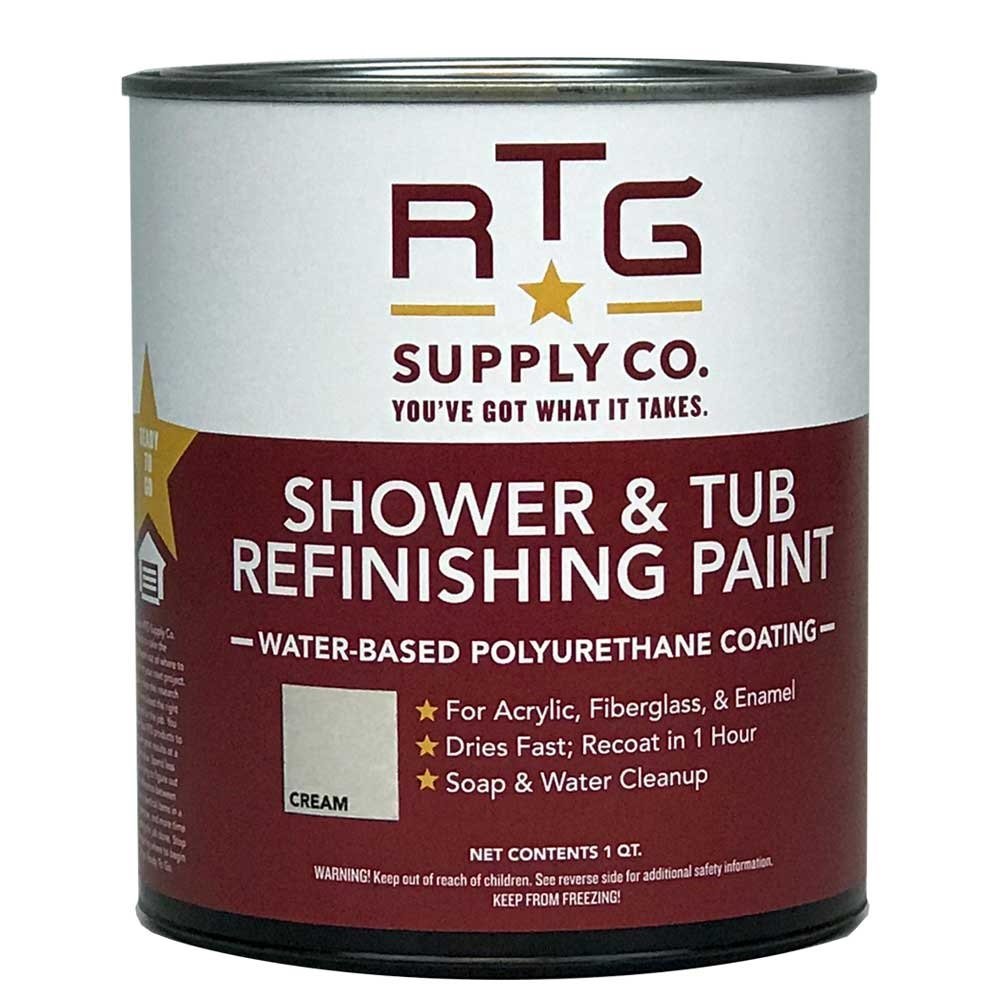
Cleanup is a breeze with the Shower and Tub Refinishing Paint from RTG. Spilling paint on your floor is never ideal, but at least you can wash it off easily with some soap and water. This water-based paint also has no toxic fumes and low odor after application, making the aftermath of your project less troubling for your nose.
Key Features
- Dries quickly for additional coats
- No toxic fumes
- Low-sheen finish
- Soap and water cleanup
Specifications
- 32 fluid ounces
- Package dimensions: 6.22 inches x 6.06 inches x 5.63 inches
Pros
- Easy to use
- Minimal odor
- Easy cleanup
Cons
- Requires several coats
How to Clean Your Newly-Painted Tub
A good bathtub paint won’t rub off easily once it dries, but it never hurts to be careful. Try to avoid unnecessary force when you clean. Also, harsher cleaners can damage the paint on your tub when used too often in concentrated doses. Stick with gentler, neutral cleaners that you know will get rid of the grime without too much scrubbing.
One good option is the classic baking soda and vinegar mix. Simply spread the baking soda onto the bottom of your tub and hit it with a splash of vinegar. This will help clean the tub while getting rid of stubborn grime and mucky buildup. You can pick up a gentle bathtub scrubber too if you need to get into the little nooks and crevices.
Frequently Asked Questions about How To Paint A Bathtub
-
Read more: How To Select A Bathtub
What kind of paint do you use on bathtubs?
There are many types of paint for bathtubs on the market today. Some common ones are oil-based or made of acrylic polymer. Others have a mix of epoxy. If you want to look for more types, another name for these bathtub paints is refinishing paint.
-
Can I paint my bathtub myself?
Yes, painting your bathtub is a simple process that you can DIY. All it takes is a good clean, proper prep work, and some carefully-applied bathtub paint.
-
Is it worth it to paint a tub?
Painting a tub is relatively easy to understand and can save you a lot of money. Unfortunately, it does take quite a bit of work and a good number of hours to finish. It’s ultimately up to you if you’re willing to go through the DIY process or not.
Conclusion
Bathroom renovations can often cost a pretty penny. Thankfully, painting a bathtub costs a fraction of a full renovation and has a host of other benefits as well. You’d be surprised how much difference a tub can make once it’s revitalized. In the end, we think learning how to paint a bathtub is certainly worth your time.
Was this page helpful?
At Storables.com, we guarantee accurate and reliable information. Our content, validated by Expert Board Contributors, is crafted following stringent Editorial Policies. We're committed to providing you with well-researched, expert-backed insights for all your informational needs.

0 thoughts on “How to Paint a Bathtub With 5 Best Bathtub Paint Picks”