Home>Furniture & Design>Bathroom Accessories>How To Remove Luxe Bidet
Bathroom Accessories
How To Remove Luxe Bidet
Modified: October 18, 2024
Learn how to remove Luxe Bidet and upgrade your bathroom accessories with our step-by-step guide. Say goodbye to outdated fixtures and hello to modern luxury.
(Many of the links in this article redirect to a specific reviewed product. Your purchase of these products through affiliate links helps to generate commission for Storables.com, at no extra cost. Learn more)
Introduction
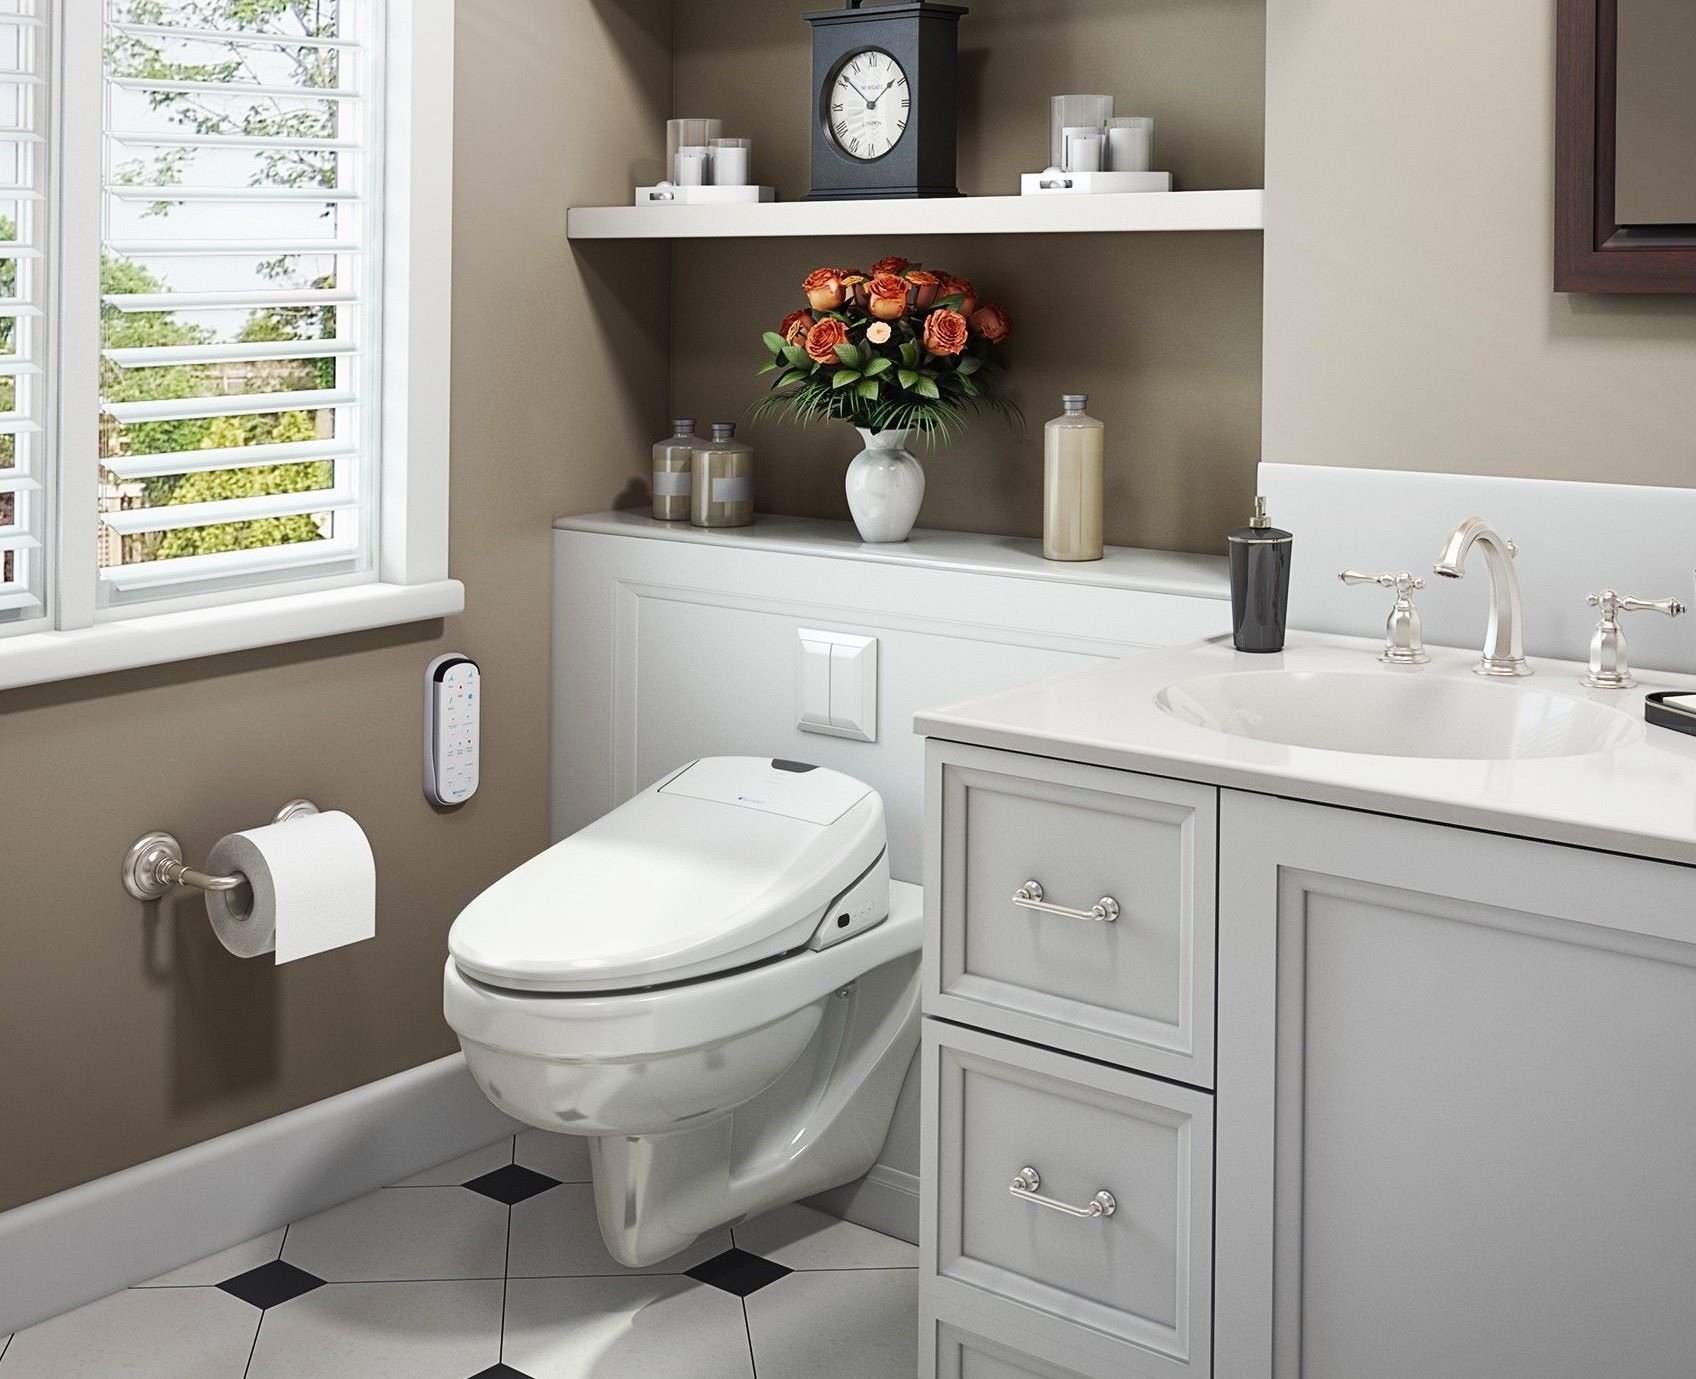
Removing a Luxe bidet attachment may seem like a daunting task, but with the right guidance, it can be a straightforward process. Whether you are replacing it with a new model or reverting to a traditional toilet setup, understanding the steps involved can help you navigate the process with confidence. In this comprehensive guide, we will walk you through the necessary steps to remove a Luxe bidet attachment effectively.
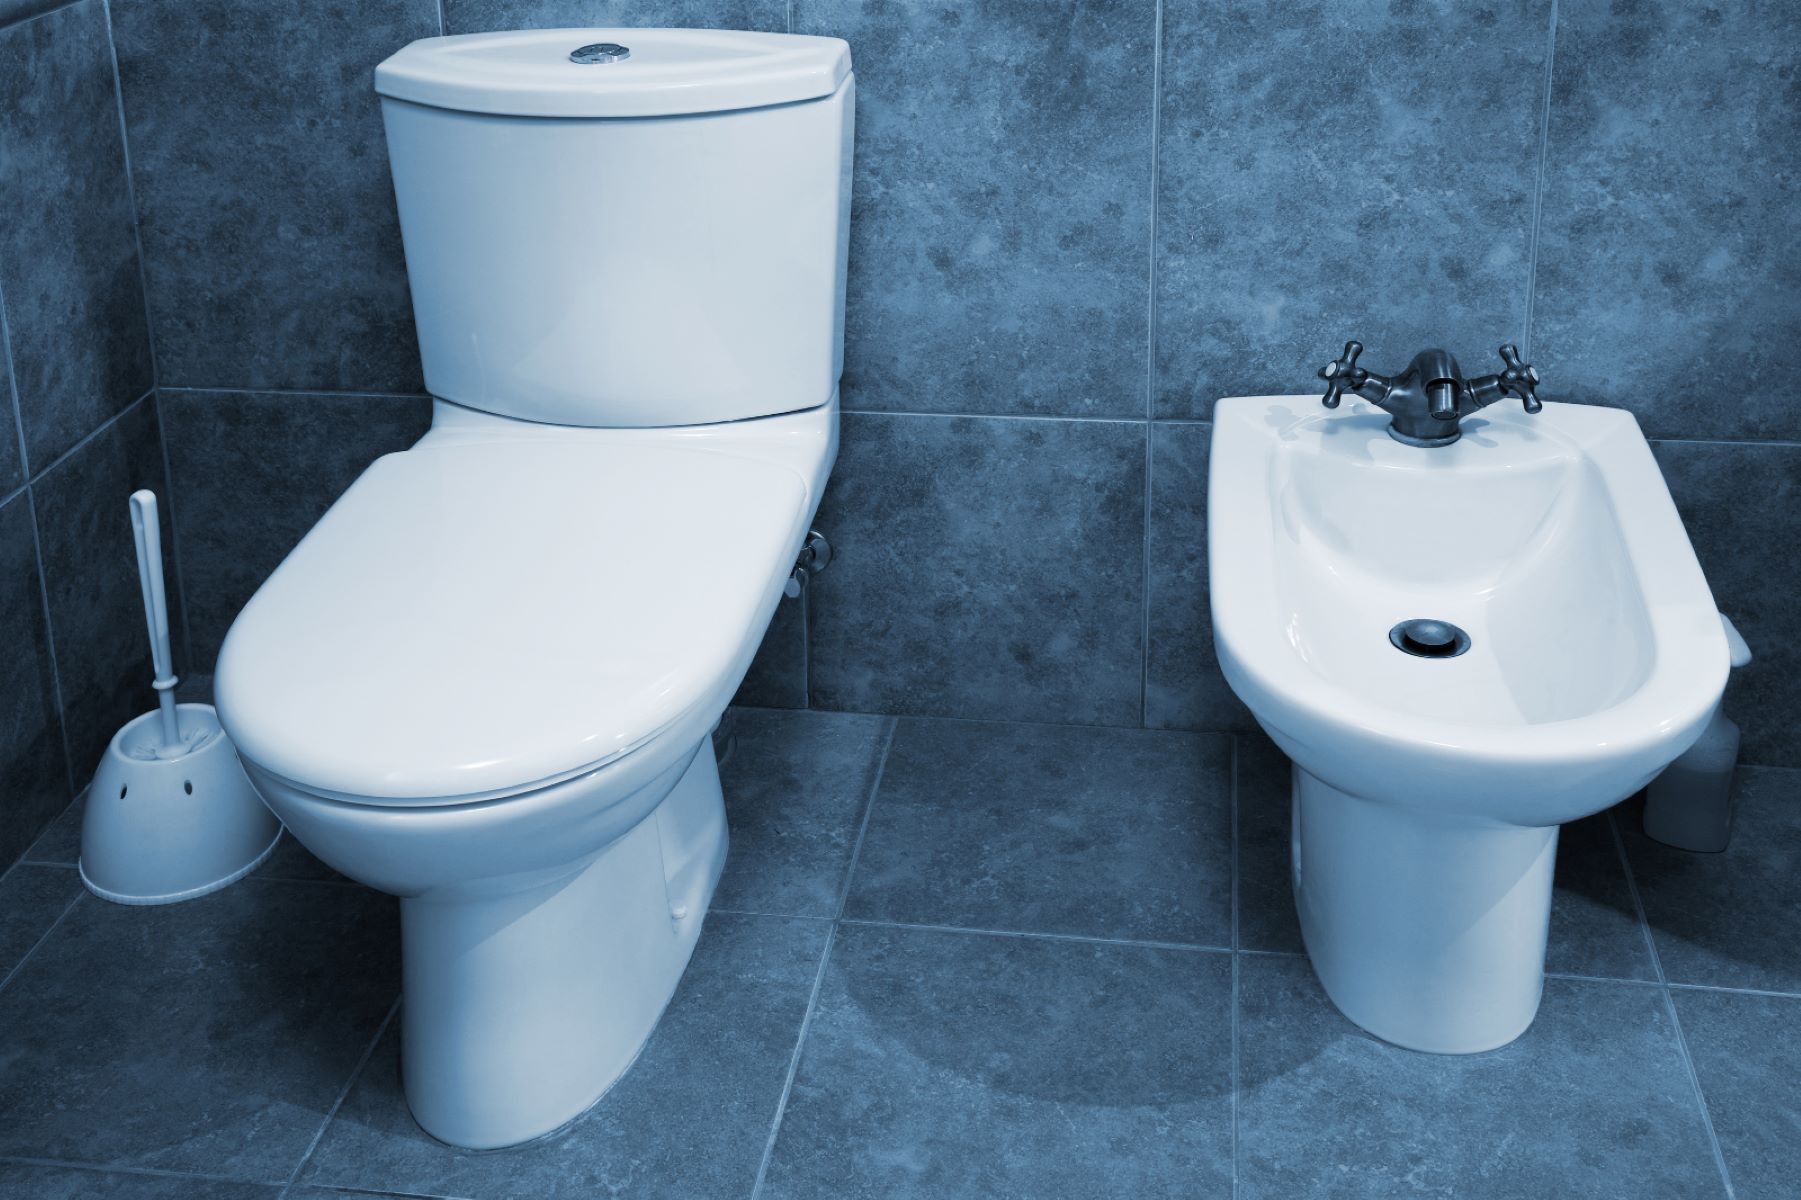
A Luxe bidet attachment is a popular addition to many bathrooms, offering a convenient and hygienic alternative to traditional toilet paper. However, there are instances when you may need to remove the bidet attachment, such as when upgrading to a new model, relocating to a new home, or making adjustments to your bathroom fixtures. Regardless of the reason, knowing how to properly remove the bidet attachment is essential to ensure a smooth transition.
By following the step-by-step instructions provided in this guide, you will gain the knowledge and confidence to tackle the removal process efficiently. From turning off the water supply to cleaning the area after removal, each step is crucial in ensuring a successful outcome. Whether you are a seasoned DIY enthusiast or a first-time bidet user, this guide is designed to equip you with the essential information needed to complete the task with ease.
As we delve into the specific steps for removing a Luxe bidet attachment, it's important to approach the process with a clear understanding of the components involved. Familiarizing yourself with the layout of the bidet attachment and its connection to the toilet will enable you to proceed with precision and avoid potential complications. Additionally, being prepared with the necessary tools and a basic understanding of plumbing concepts will contribute to a seamless removal experience.
With a focus on clarity and practicality, this guide aims to empower you with the knowledge and confidence to remove a Luxe bidet attachment without unnecessary stress or confusion. As we embark on this journey together, let's embrace the opportunity to enhance our understanding of bathroom accessories and master the art of bidet attachment removal.
Key Takeaways:
- Safely remove a Luxe bidet by turning off the water supply, detaching the unit, disconnecting the water hose, and cleaning the area. Consider reinstalling or responsibly disposing of the bidet after removal.
- When removing a Luxe bidet, ensure safety by turning off the water supply, carefully detaching the unit, disconnecting the water hose, and cleaning the area. Decide whether to reinstall or responsibly dispose of the bidet.
Read more: How To Remove Bidet Toilet Seat
Step 1: Turn Off Water Supply
Before initiating the process of removing a Luxe bidet attachment, it is crucial to start by turning off the water supply to the bidet. This step is essential to prevent any water leakage or potential mess during the removal process. Here's a detailed breakdown of the procedure:
-
Locate the Water Shut-Off Valve: Begin by identifying the water shut-off valve connected to the bidet. This valve is typically located on the wall or the plumbing line near the toilet. It is essential to familiarize yourself with the valve's location to ensure a smooth shut-off process.
-
Turn Off the Water: Once you have located the shut-off valve, turn it clockwise to shut off the water supply to the bidet. This action will stop the flow of water to the bidet attachment, minimizing the risk of leaks or spills during the removal process.
-
Test the Water Supply: After turning off the water supply, flush the toilet and operate the bidet to ensure that the water flow has been successfully halted. This step is crucial for verifying that the shut-off valve has effectively stopped the water supply to the bidet attachment.
By following these steps to turn off the water supply, you can create a safe and controlled environment for the subsequent stages of bidet removal. This proactive approach minimizes the risk of water-related mishaps and sets the stage for a smooth and efficient removal process.
Remember, safety should always be a top priority when working with plumbing fixtures. By taking the time to turn off the water supply properly, you can proceed with confidence and peace of mind as you move on to the next steps in the bidet removal process.
Step 2: Remove Bidet Attachment
With the water supply successfully turned off, the next crucial step in the process of removing a Luxe bidet attachment is the actual detachment of the unit from the toilet. This step requires careful attention to detail and a systematic approach to ensure a smooth and efficient removal process. Here's a detailed breakdown of the procedure:
-
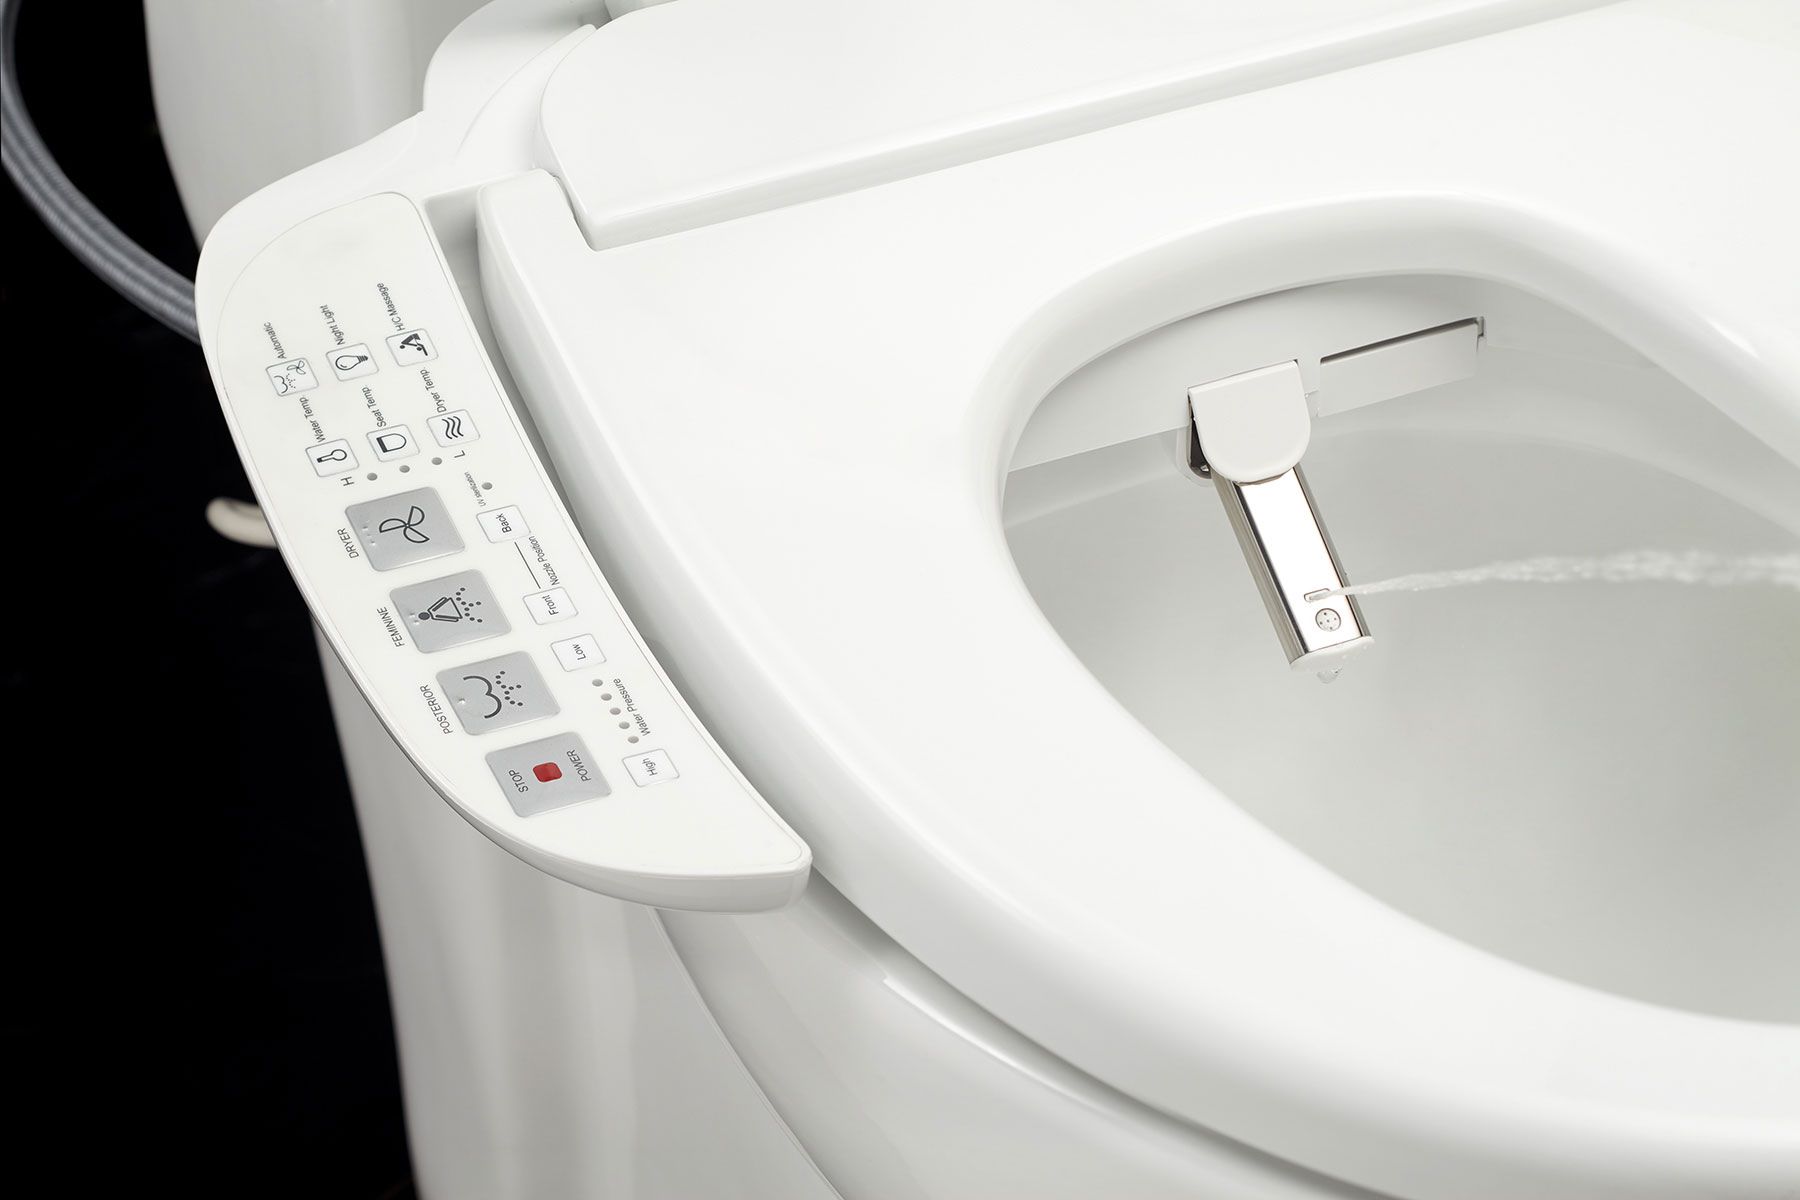
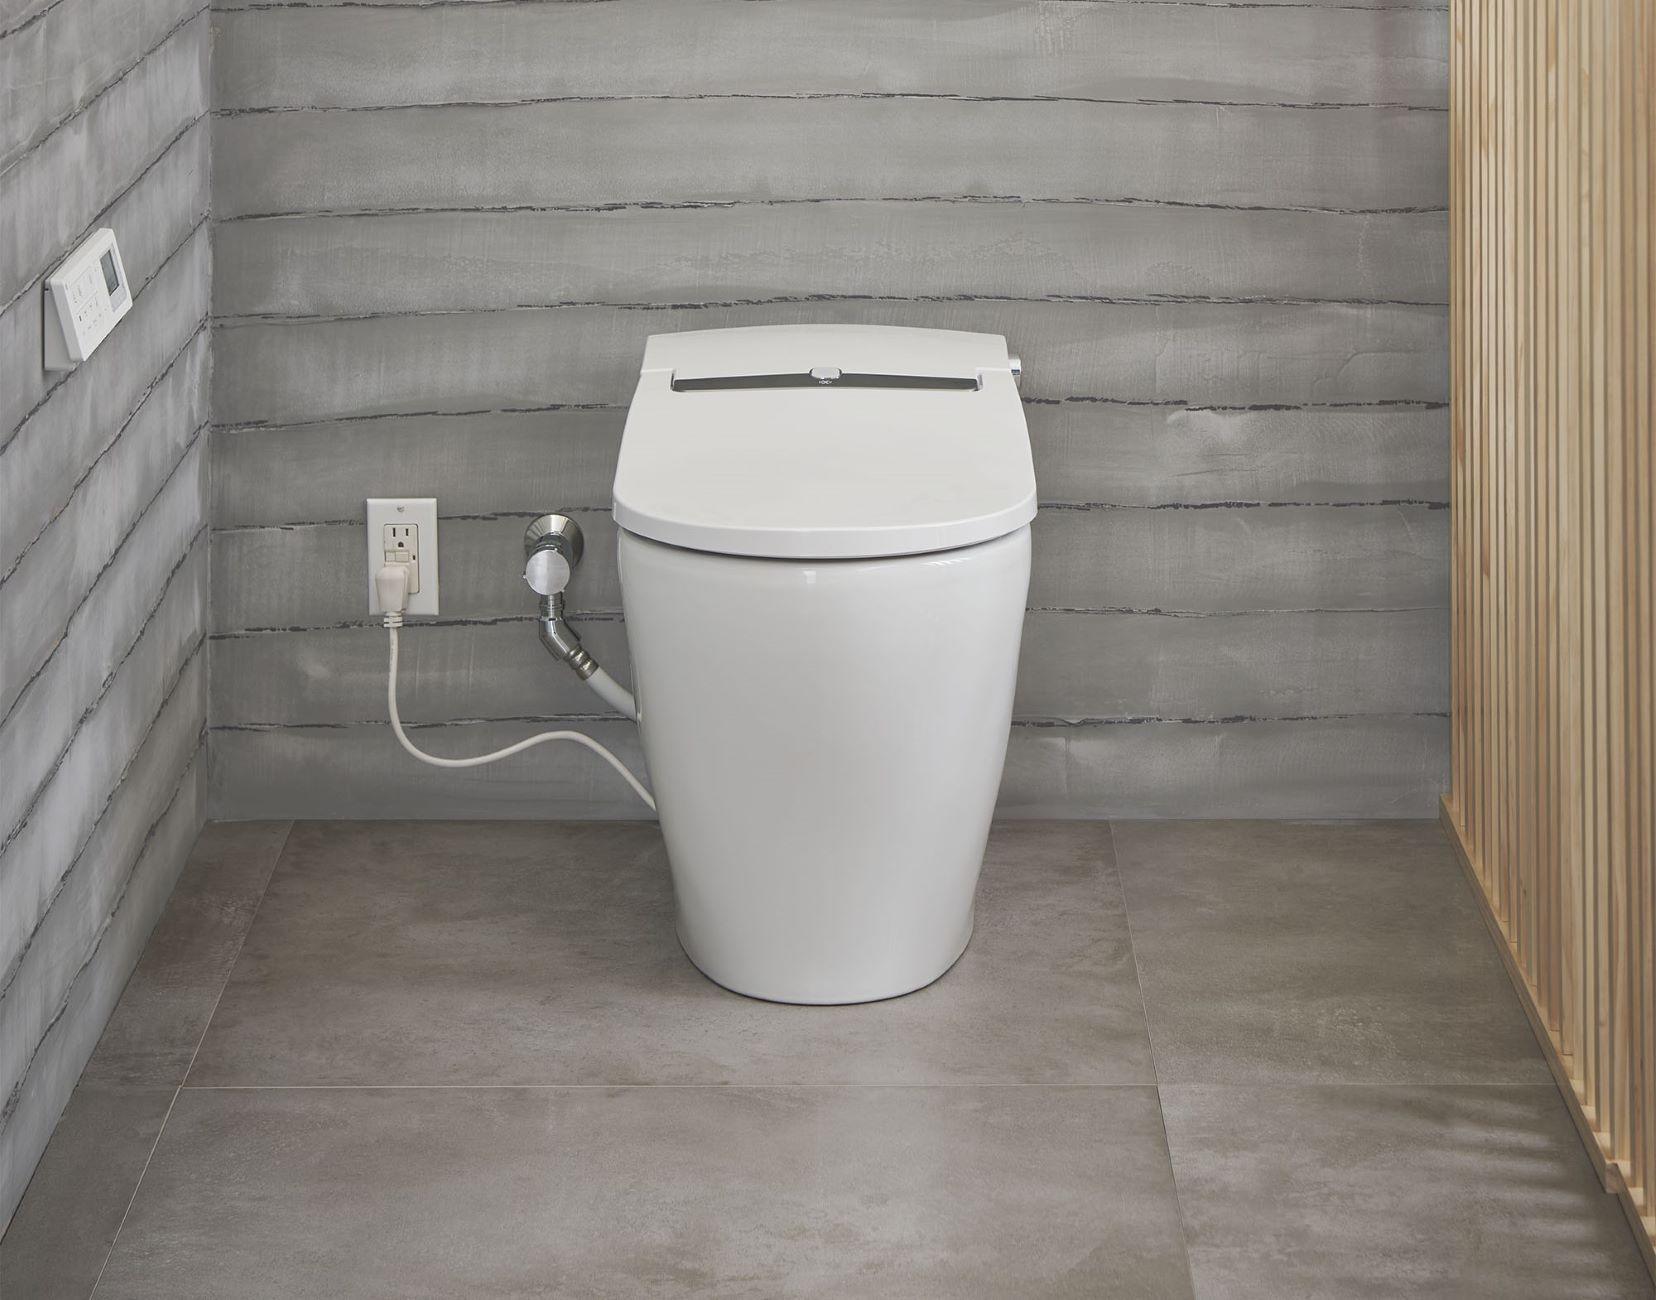
Unplug the Power Cord (If Applicable): If your Luxe bidet attachment is equipped with electronic features that require a power source, such as a heated seat or water temperature control, it is essential to unplug the power cord from the electrical outlet. This precautionary measure ensures safety and prevents any electrical mishaps during the removal process.
-
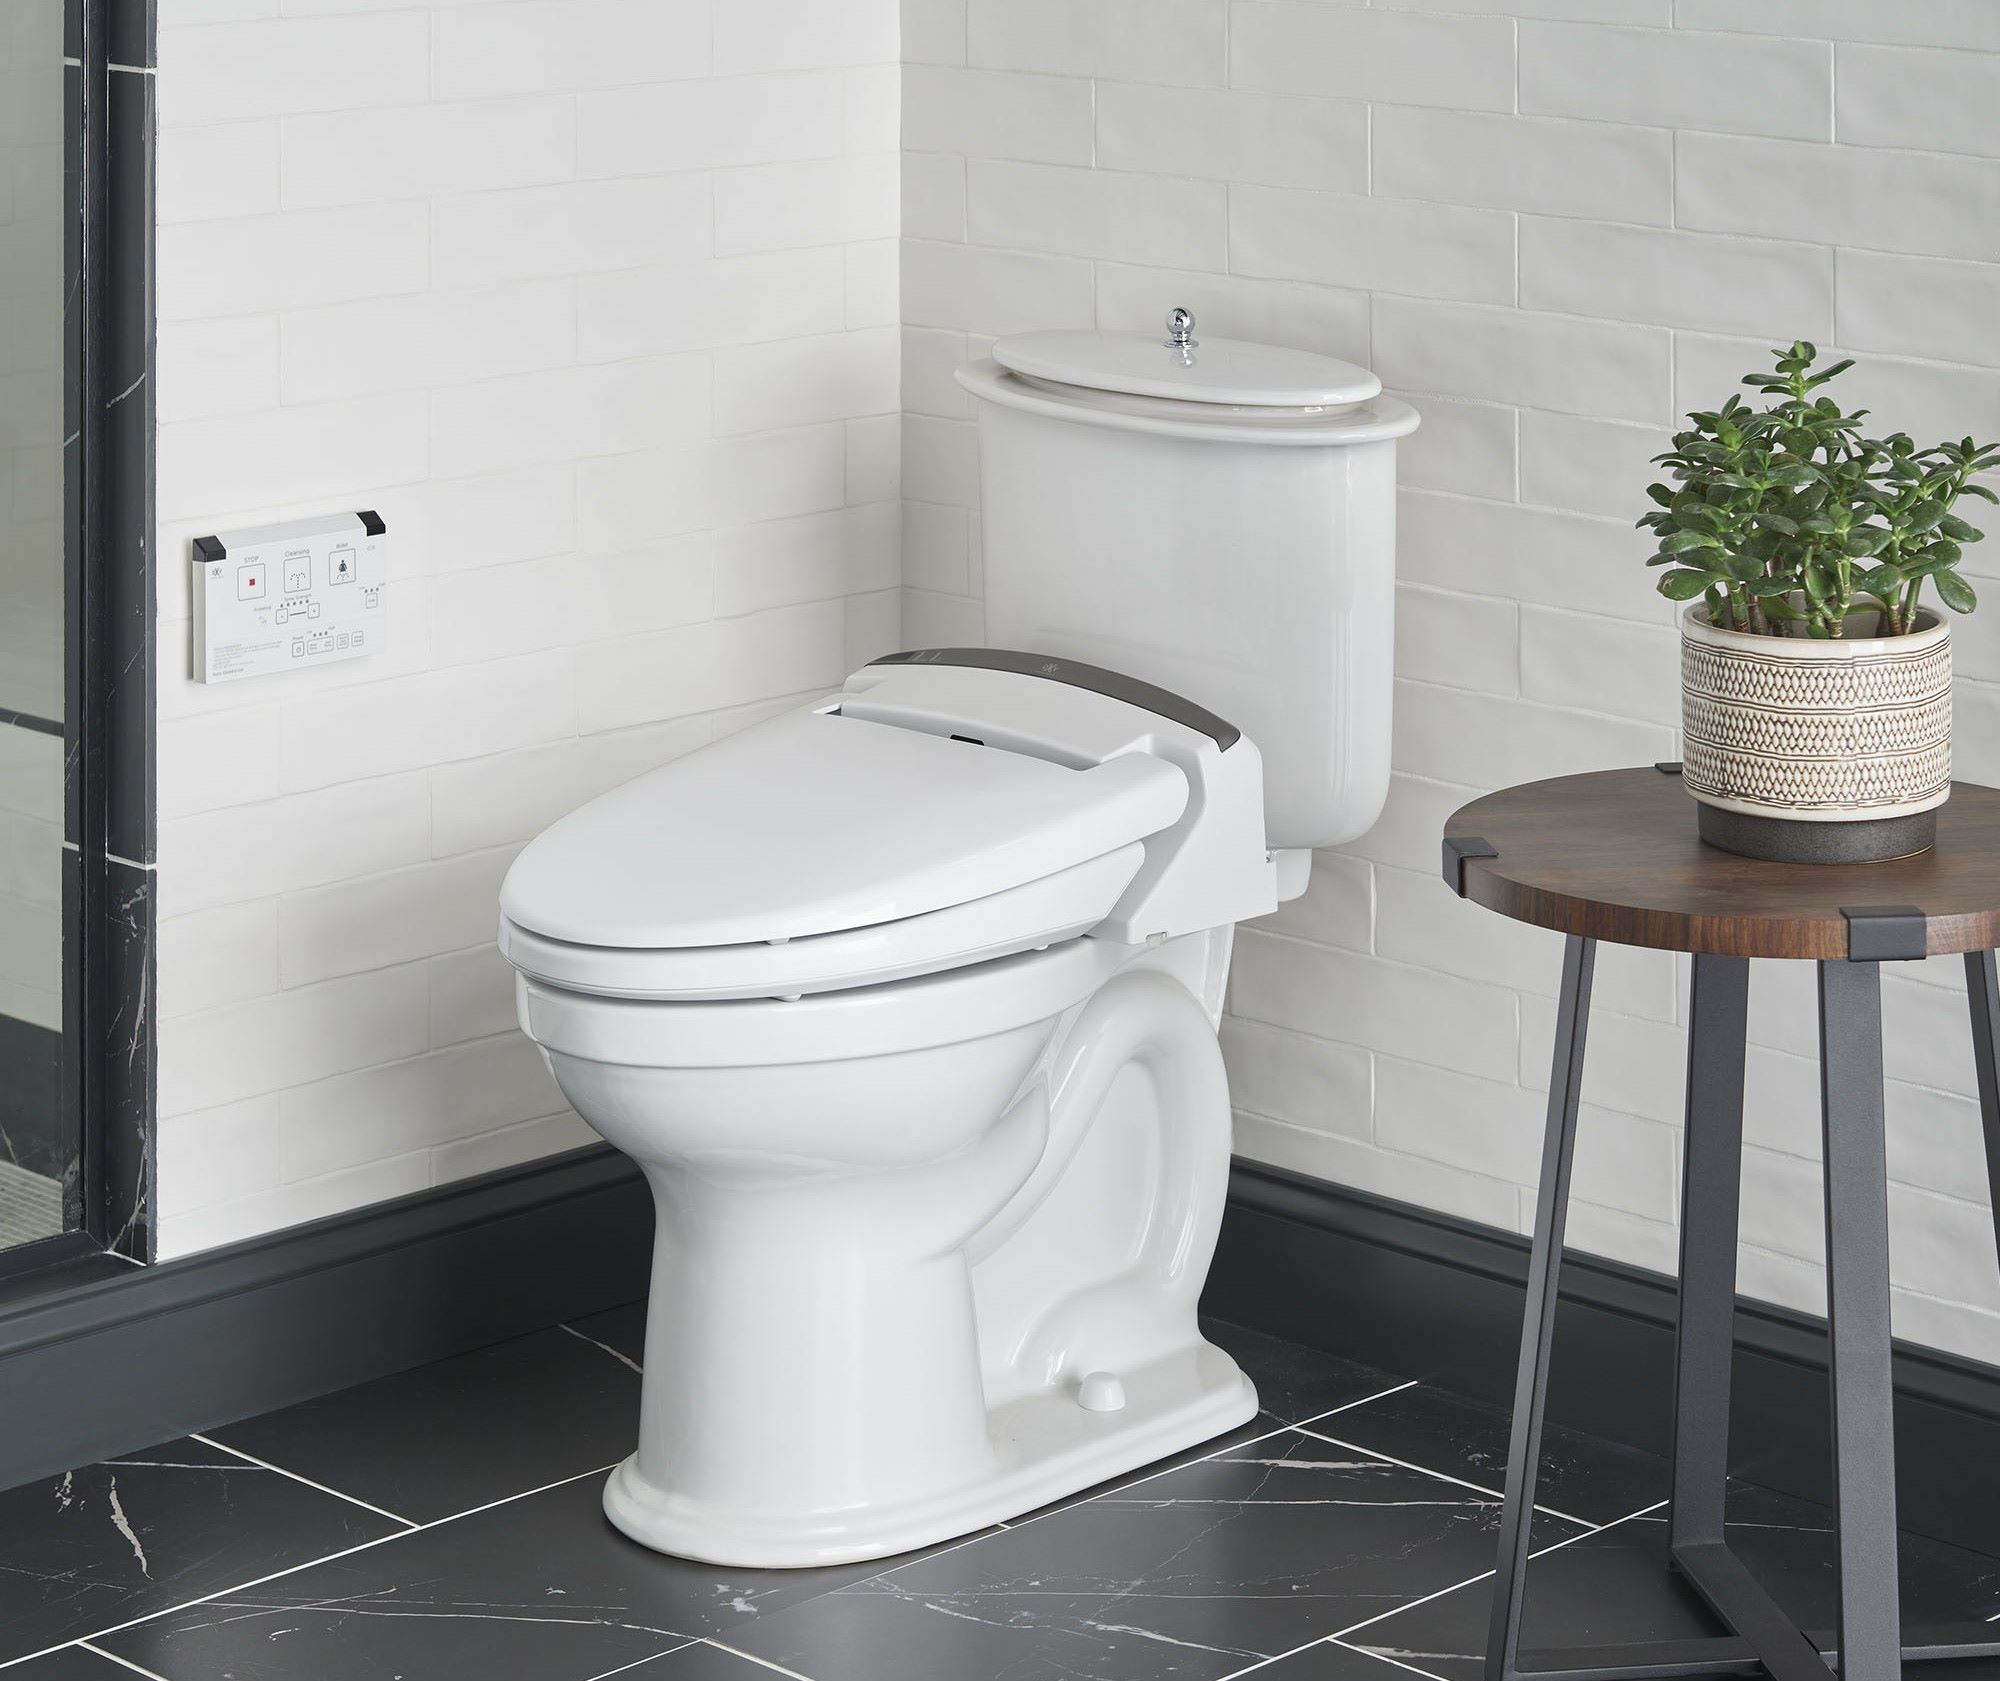
Detach the Bidet Attachment: Depending on the specific model of the Luxe bidet attachment, there are typically mounting brackets or screws securing the unit to the toilet. Using the appropriate tools, carefully remove these mounting components to detach the bidet from the toilet. It is important to exercise caution and precision to avoid damaging the bidet or the toilet during this step.
-
Lift and Remove the Bidet: Once the mounting brackets or screws have been loosened or removed, gently lift the bidet attachment away from the toilet. Be mindful of any remaining water in the bidet's internal components and ensure that it does not spill during the removal process. If necessary, have a towel or container ready to catch any residual water.
-
Inspect the Toilet Surface: After removing the bidet attachment, take a moment to inspect the surface of the toilet where the bidet was previously installed. Look for any signs of damage, residue, or debris that may have accumulated during the attachment's tenure. Cleaning the area at this stage can help prepare the toilet for the next steps in the removal process.
By following these detailed steps to remove the Luxe bidet attachment, you can navigate the process with confidence and precision. Each action is designed to facilitate a seamless detachment of the bidet from the toilet, setting the stage for the subsequent stages of bidet removal. With the bidet successfully removed, you are now ready to proceed to the next critical steps in the removal process.
Step 3: Disconnect Water Hose
Disconnecting the water hose is a pivotal step in the process of removing a Luxe bidet attachment. This step involves separating the water supply hose that connects the bidet to the toilet's water source. By carefully disconnecting the water hose, you can effectively prepare the bidet for complete removal and ensure a smooth transition back to a traditional toilet setup. Here's a detailed breakdown of the procedure:
-
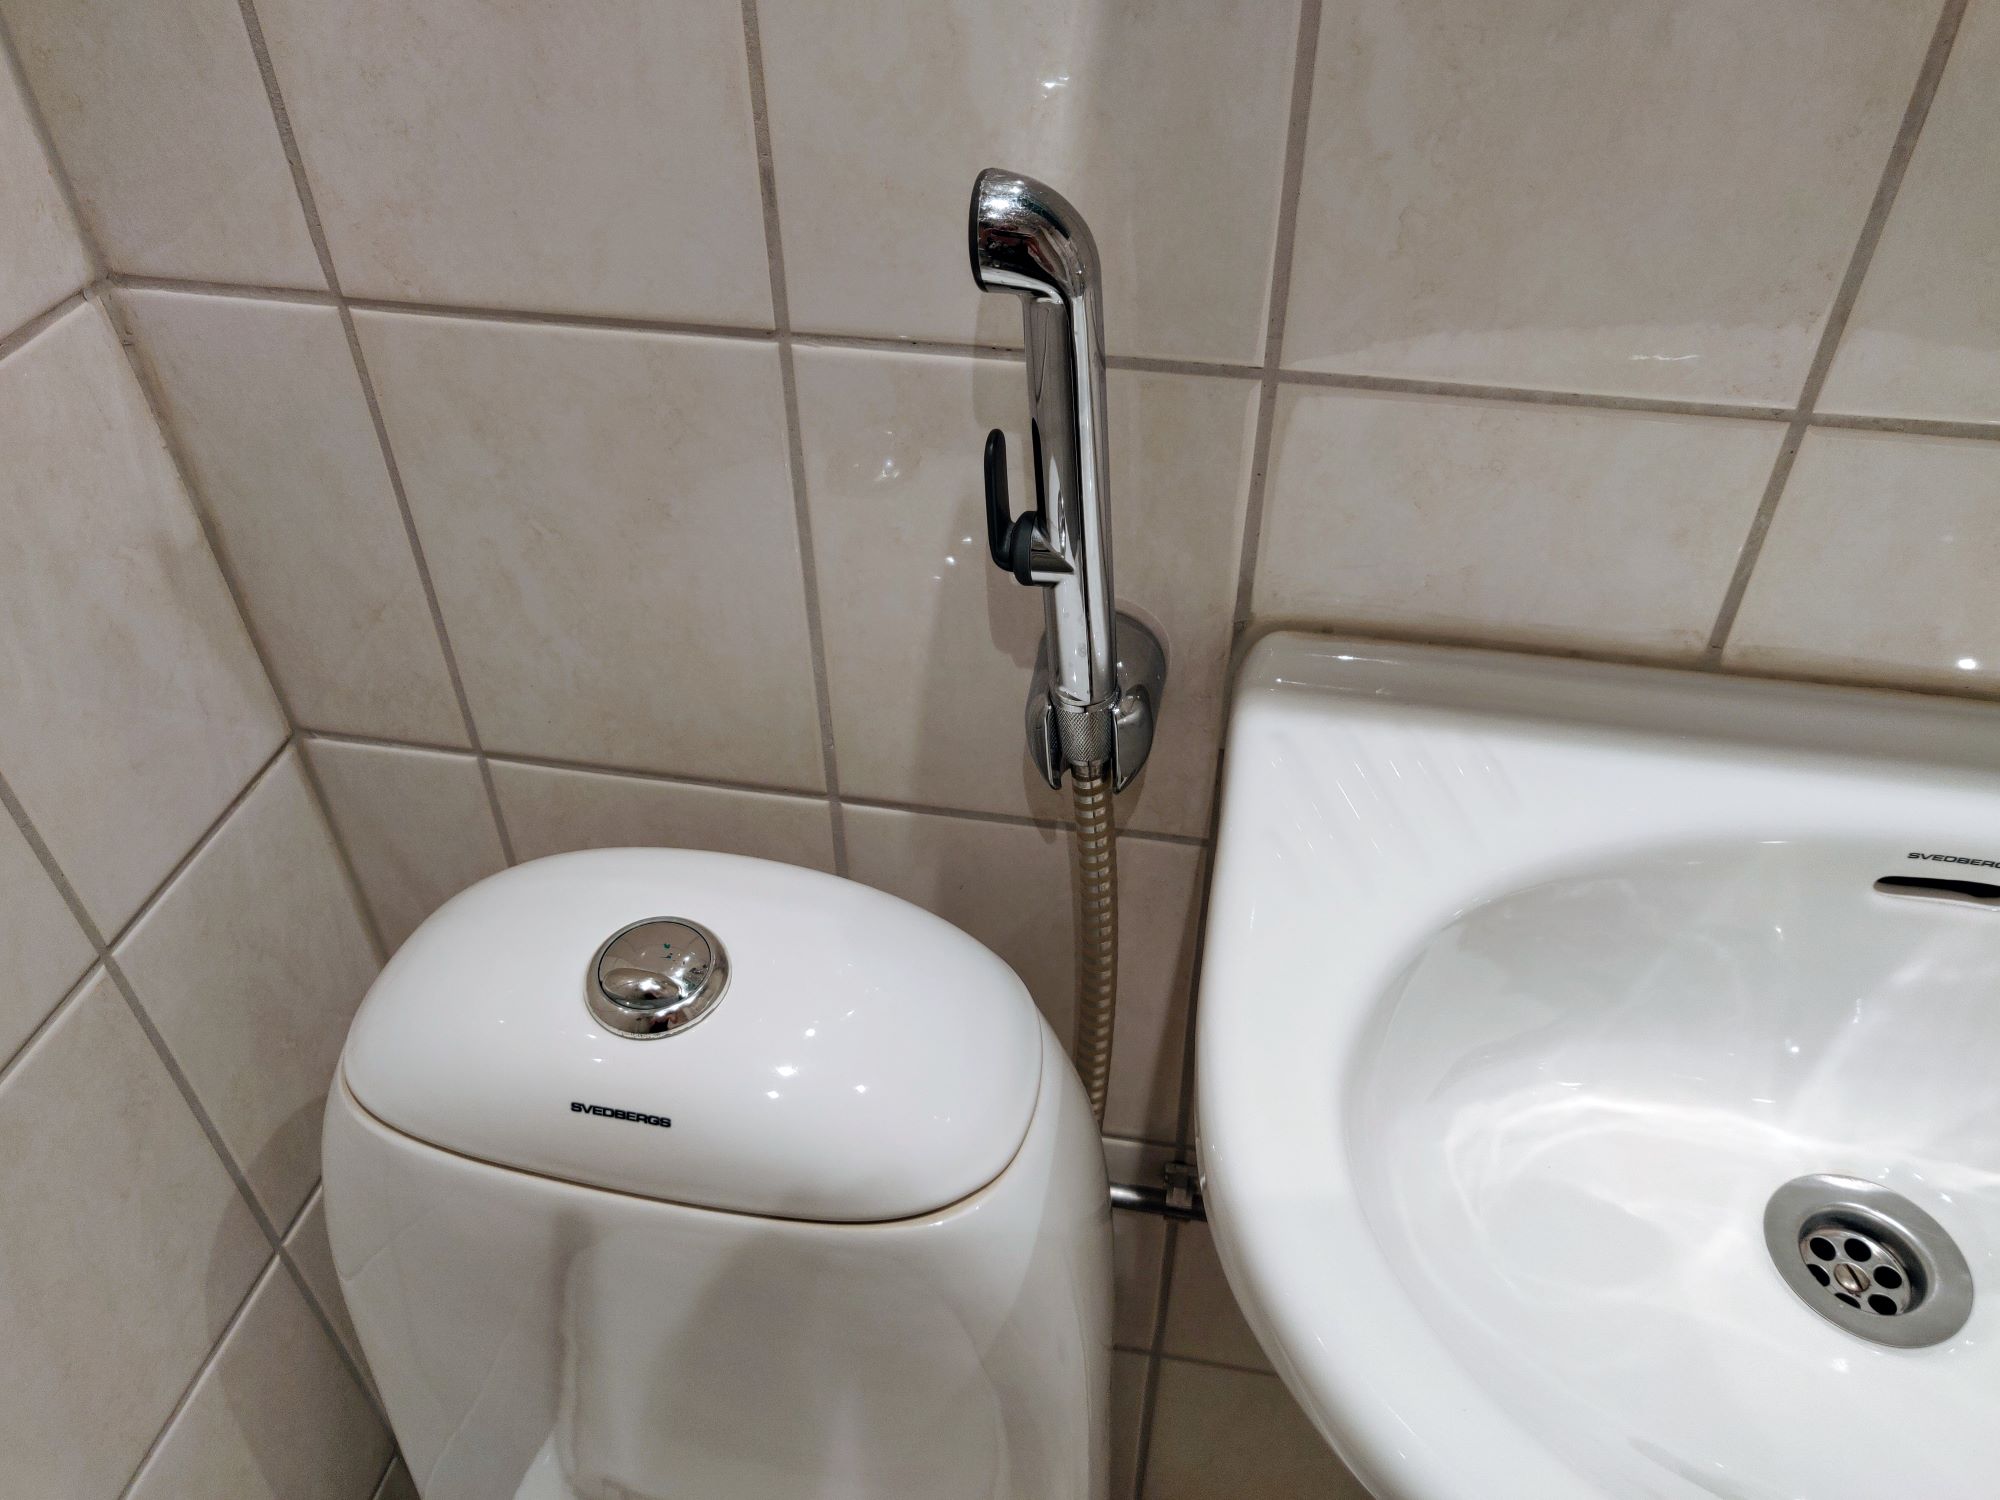
Locate the Water Hose Connection: Begin by identifying the water hose that connects the bidet to the toilet's water supply. This hose is typically located at the rear or underside of the bidet unit, where it connects to the plumbing fixture on the toilet. Take a moment to familiarize yourself with the hose's position to facilitate a smooth disconnection process.
-
Turn Off the Water Hose Valve: Before disconnecting the water hose, it is essential to turn off the water supply valve connected to the hose. This valve is often located near the point where the hose connects to the toilet's plumbing. By turning the valve clockwise, you can shut off the water flow to the hose, minimizing the risk of leaks or spills during the disconnection process.
-
Release the Hose Connector: Once the water supply valve is turned off, carefully release the connector that secures the water hose to the toilet's plumbing fixture. Depending on the type of connector used, this may involve unscrewing a threaded connection or pressing a release button to detach the hose. Exercise caution to avoid damaging the hose or the plumbing fixture during this step.
-
Drain Residual Water: After disconnecting the water hose, it is common for residual water to be present in the hose and the bidet's internal components. To prevent any potential spills or leaks, gently tilt the bidet to allow any remaining water to drain into a suitable container or absorbent material. This proactive measure helps maintain a clean and controlled environment during the removal process.
By meticulously following these steps to disconnect the water hose, you can effectively prepare the bidet for complete removal. This process sets the stage for the final stages of bidet removal, allowing you to proceed with confidence and precision. With the water hose successfully disconnected, you are now ready to advance to the subsequent critical steps in the bidet removal process.
To remove a Luxe Bidet, start by turning off the water supply and disconnecting the bidet hose. Then, unscrew the mounting nut and remove the bidet from the toilet. Finally, clean the area and cap the water supply.
Step 4: Clean the Area
After successfully removing the Luxe bidet attachment and disconnecting the water hose, the next crucial step in the bidet removal process is to thoroughly clean the area where the bidet was previously installed. This step is essential for ensuring that the toilet surface is free from any residue, debris, or potential contaminants that may have accumulated during the bidet's tenure. By approaching the cleaning process with attention to detail and thoroughness, you can restore the toilet to its pristine condition and prepare it for the next steps in the removal process.
Here's a detailed breakdown of the procedure for cleaning the area after bidet removal:
-
Inspect the Toilet Surface: Begin by closely examining the surface of the toilet where the bidet attachment was previously installed. Look for any signs of residue, water spots, or accumulated debris that may have been concealed by the bidet. This visual inspection provides valuable insights into the specific areas that require cleaning and sets the stage for targeted cleaning efforts.
-
Use Mild Cleaning Solution: Prepare a mild cleaning solution by mixing a gentle liquid soap or dish detergent with warm water. This solution is ideal for effectively removing any residual grime or stains from the toilet surface without causing damage or discoloration. Avoid using harsh chemicals or abrasive cleaners that may compromise the integrity of the toilet's finish.
-
Clean the Toilet Surface: Using a soft sponge or cloth dampened with the mild cleaning solution, gently scrub the entire toilet surface, paying particular attention to areas that were previously concealed by the bidet attachment. Focus on removing any lingering residue, water marks, or mineral deposits to restore the toilet to its original cleanliness.
-
Rinse and Dry Thoroughly: After cleaning the toilet surface, thoroughly rinse the area with clean water to remove any traces of the cleaning solution. Once rinsed, use a dry cloth or towel to carefully dry the toilet surface, ensuring that no moisture or cleaning residue remains. This step is crucial for achieving a spotless and streak-free finish.
-
Inspect for Residual Debris: Take a moment to inspect the cleaned area for any residual debris or spots that may require additional attention. Address any remaining imperfections or marks with gentle cleaning techniques to achieve a uniformly clean and polished toilet surface.
By meticulously following these steps to clean the area after bidet removal, you can effectively restore the toilet to its pristine condition and prepare it for the next phase of the removal process. This proactive approach ensures that the toilet surface is free from any remnants of the bidet attachment, setting the stage for a seamless transition back to a traditional toilet setup. With the area thoroughly cleaned, you are now ready to proceed to the final critical step in the bidet removal process.
Read more: How To Sit On A Bidet
Step 5: Reinstall or Dispose of Bidet
After successfully removing the Luxe bidet attachment, you are now faced with the decision of whether to reinstall the bidet or dispose of it. This critical step in the bidet removal process requires careful consideration and a clear understanding of your preferences and future plans for the bidet attachment. Whether you intend to reinstall the bidet in the same or a different location, or opt to dispose of it due to upgrades or changes in bathroom fixtures, this step marks the culmination of the bidet removal process.
Reinstalling the Bidet
If your intention is to reinstall the Luxe bidet attachment, it is essential to approach the process with a methodical and detail-oriented mindset. Reinstalling the bidet involves carefully assessing the condition of the unit, ensuring that all components are intact and functional, and preparing the designated toilet for the bidet's return. Here are the key considerations for reinstalling the bidet:
-
Inspect the Bidet: Thoroughly examine the bidet attachment to assess its overall condition, including the electronic features, water connections, and mounting components. Verify that all parts are undamaged and in working order before proceeding with the reinstallation process.
-
Prepare the Toilet: Clean and dry the area where the bidet was previously installed, ensuring that the toilet surface is free from any residue or debris. If necessary, make any adjustments to the toilet's plumbing or electrical connections to accommodate the bidet's reinstallation.
-
Secure Mounting Components: Carefully reattach the bidet to the toilet using the appropriate mounting brackets or screws. Ensure that the unit is securely fastened to the toilet to prevent any instability or movement during use.
-
Reconnect Water Hose: Reestablish the connection between the bidet's water hose and the toilet's water supply, ensuring a secure and leak-free attachment. Turn on the water supply valve and test the bidet to verify that the water flow and electronic features are functioning as intended.
Disposing of the Bidet
If your decision is to dispose of the Luxe bidet attachment, it is important to approach the disposal process with environmental consciousness and proper waste management practices. Disposing of the bidet involves responsibly handling the unit and its components to minimize environmental impact and ensure compliance with local regulations. Here are the key considerations for disposing of the bidet:
-
Dismantle the Bidet: Disassemble the bidet attachment, separating its components into recyclable and non-recyclable materials. Remove any electronic components, batteries, or hazardous materials according to local disposal guidelines.
-
Recycle or Dispose: Recycle the recyclable components of the bidet, such as plastic parts and metal elements, in accordance with local recycling programs. Dispose of non-recyclable materials responsibly, following waste disposal regulations to minimize environmental impact.
-
Electronic Waste Management: If the bidet contains electronic components or batteries, ensure that these items are disposed of in compliance with electronic waste management regulations. Many communities offer electronic waste recycling programs for safe and environmentally friendly disposal.
By carefully considering whether to reinstall or dispose of the Luxe bidet attachment, you can effectively conclude the bidet removal process with a clear plan for the unit's future. Whether you choose to reintegrate the bidet into your bathroom setup or responsibly dispose of it, this final step marks the successful completion of the bidet removal journey.
Frequently Asked Questions about How To Remove Luxe Bidet
Was this page helpful?
At Storables.com, we guarantee accurate and reliable information. Our content, validated by Expert Board Contributors, is crafted following stringent Editorial Policies. We're committed to providing you with well-researched, expert-backed insights for all your informational needs.


0 thoughts on “How To Remove Luxe Bidet”