Home>Furniture & Design>Bathroom Accessories>How To Uninstall Tushy Bidet
Bathroom Accessories
How To Uninstall Tushy Bidet
Modified: October 19, 2024
Learn how to properly uninstall a Tushy bidet and remove it from your bathroom. Find step-by-step instructions and tips for removing bathroom accessories.
(Many of the links in this article redirect to a specific reviewed product. Your purchase of these products through affiliate links helps to generate commission for Storables.com, at no extra cost. Learn more)
Introduction
Uninstalling a Tushy bidet may seem like a daunting task, but with the right guidance and tools, it can be a straightforward process. Whether you're moving to a new home, replacing the bidet with a different model, or simply need to uninstall it for maintenance, this step-by-step guide will walk you through the process with ease.
Tushy bidets have gained popularity for their eco-friendly and hygienic features, offering a refreshing and sustainable alternative to traditional toilet paper. However, there are instances when uninstalling the bidet becomes necessary, and understanding the proper steps is essential to ensure a smooth removal process without causing any damage to your toilet or plumbing.
In the following sections, we will delve into the necessary tools required for the uninstallation, the steps to turn off the water supply, disconnect the bidet from the water supply, remove the bidet from the toilet, clean and prepare the toilet for the next steps, and finally, reinstall the original toilet seat. By following these steps, you can effectively uninstall your Tushy bidet and prepare your toilet for the next phase, whether it's installing a new bidet or reverting to the traditional setup.
Uninstalling a Tushy bidet requires attention to detail and a systematic approach to ensure that each step is executed accurately. With this comprehensive guide, you'll be equipped with the knowledge and confidence to navigate the uninstallation process smoothly, allowing you to maintain the functionality and aesthetics of your bathroom space.
Now, let's dive into the first step: gathering the necessary tools for the uninstallation process.
Key Takeaways:
- Uninstalling a Tushy bidet is a manageable task with the right tools and steps. Follow the guide to safely remove the bidet and prepare your toilet for the next phase, whether it’s reinstallation or a new setup.
- By carefully following the steps, you can seamlessly transition from a bidet-equipped toilet to a traditional setup, maintaining the comfort and functionality of your bathroom space. The process ensures a smooth and hygienic removal of the bidet.
Read more: What Is A Tushy Bidet
Step 1: Gather Necessary Tools
Before embarking on the uninstallation of your Tushy bidet, it's essential to gather the necessary tools to ensure a smooth and efficient process. Having the right tools at your disposal will not only streamline the uninstallation but also minimize the risk of causing any damage to your toilet or plumbing system. Here's a comprehensive list of tools you'll need for this task:
-
Adjustable Wrench: This versatile tool will be essential for loosening and disconnecting the nuts and bolts that secure the bidet to the toilet.
-
Bucket or Container: Keep a bucket or container handy to catch any residual water that may be present in the bidet's water supply line or during the removal process.
-
Towel or Rag: Having a towel or rag nearby will help in cleaning up any water spills and ensuring a dry work area.
-
Plastic Gloves: It's advisable to wear plastic gloves to protect your hands from any dirt or grime that may be encountered during the uninstallation.
-
Screwdriver: Depending on the specific model of your Tushy bidet, a screwdriver may be needed to remove any screws or fasteners holding the bidet in place.
-
Plumber's Tape: This tape can be useful for resealing the water supply line if needed, ensuring a secure connection when reinstalling the original toilet seat.
-
Safety Glasses: While not always necessary, safety glasses can provide an extra layer of protection, especially when working in tight spaces or dealing with potential splashing water.
By ensuring that you have these tools readily available, you'll be well-prepared to tackle each step of the uninstallation process with confidence and precision. With the necessary tools in hand, you're now ready to proceed to the next step: turning off the water supply.
Step 2: Turn Off Water Supply
Before beginning the uninstallation process, it's crucial to turn off the water supply to the Tushy bidet. This step is essential to prevent any water leakage or spills during the removal process. Here's a detailed guide on how to safely turn off the water supply:
-
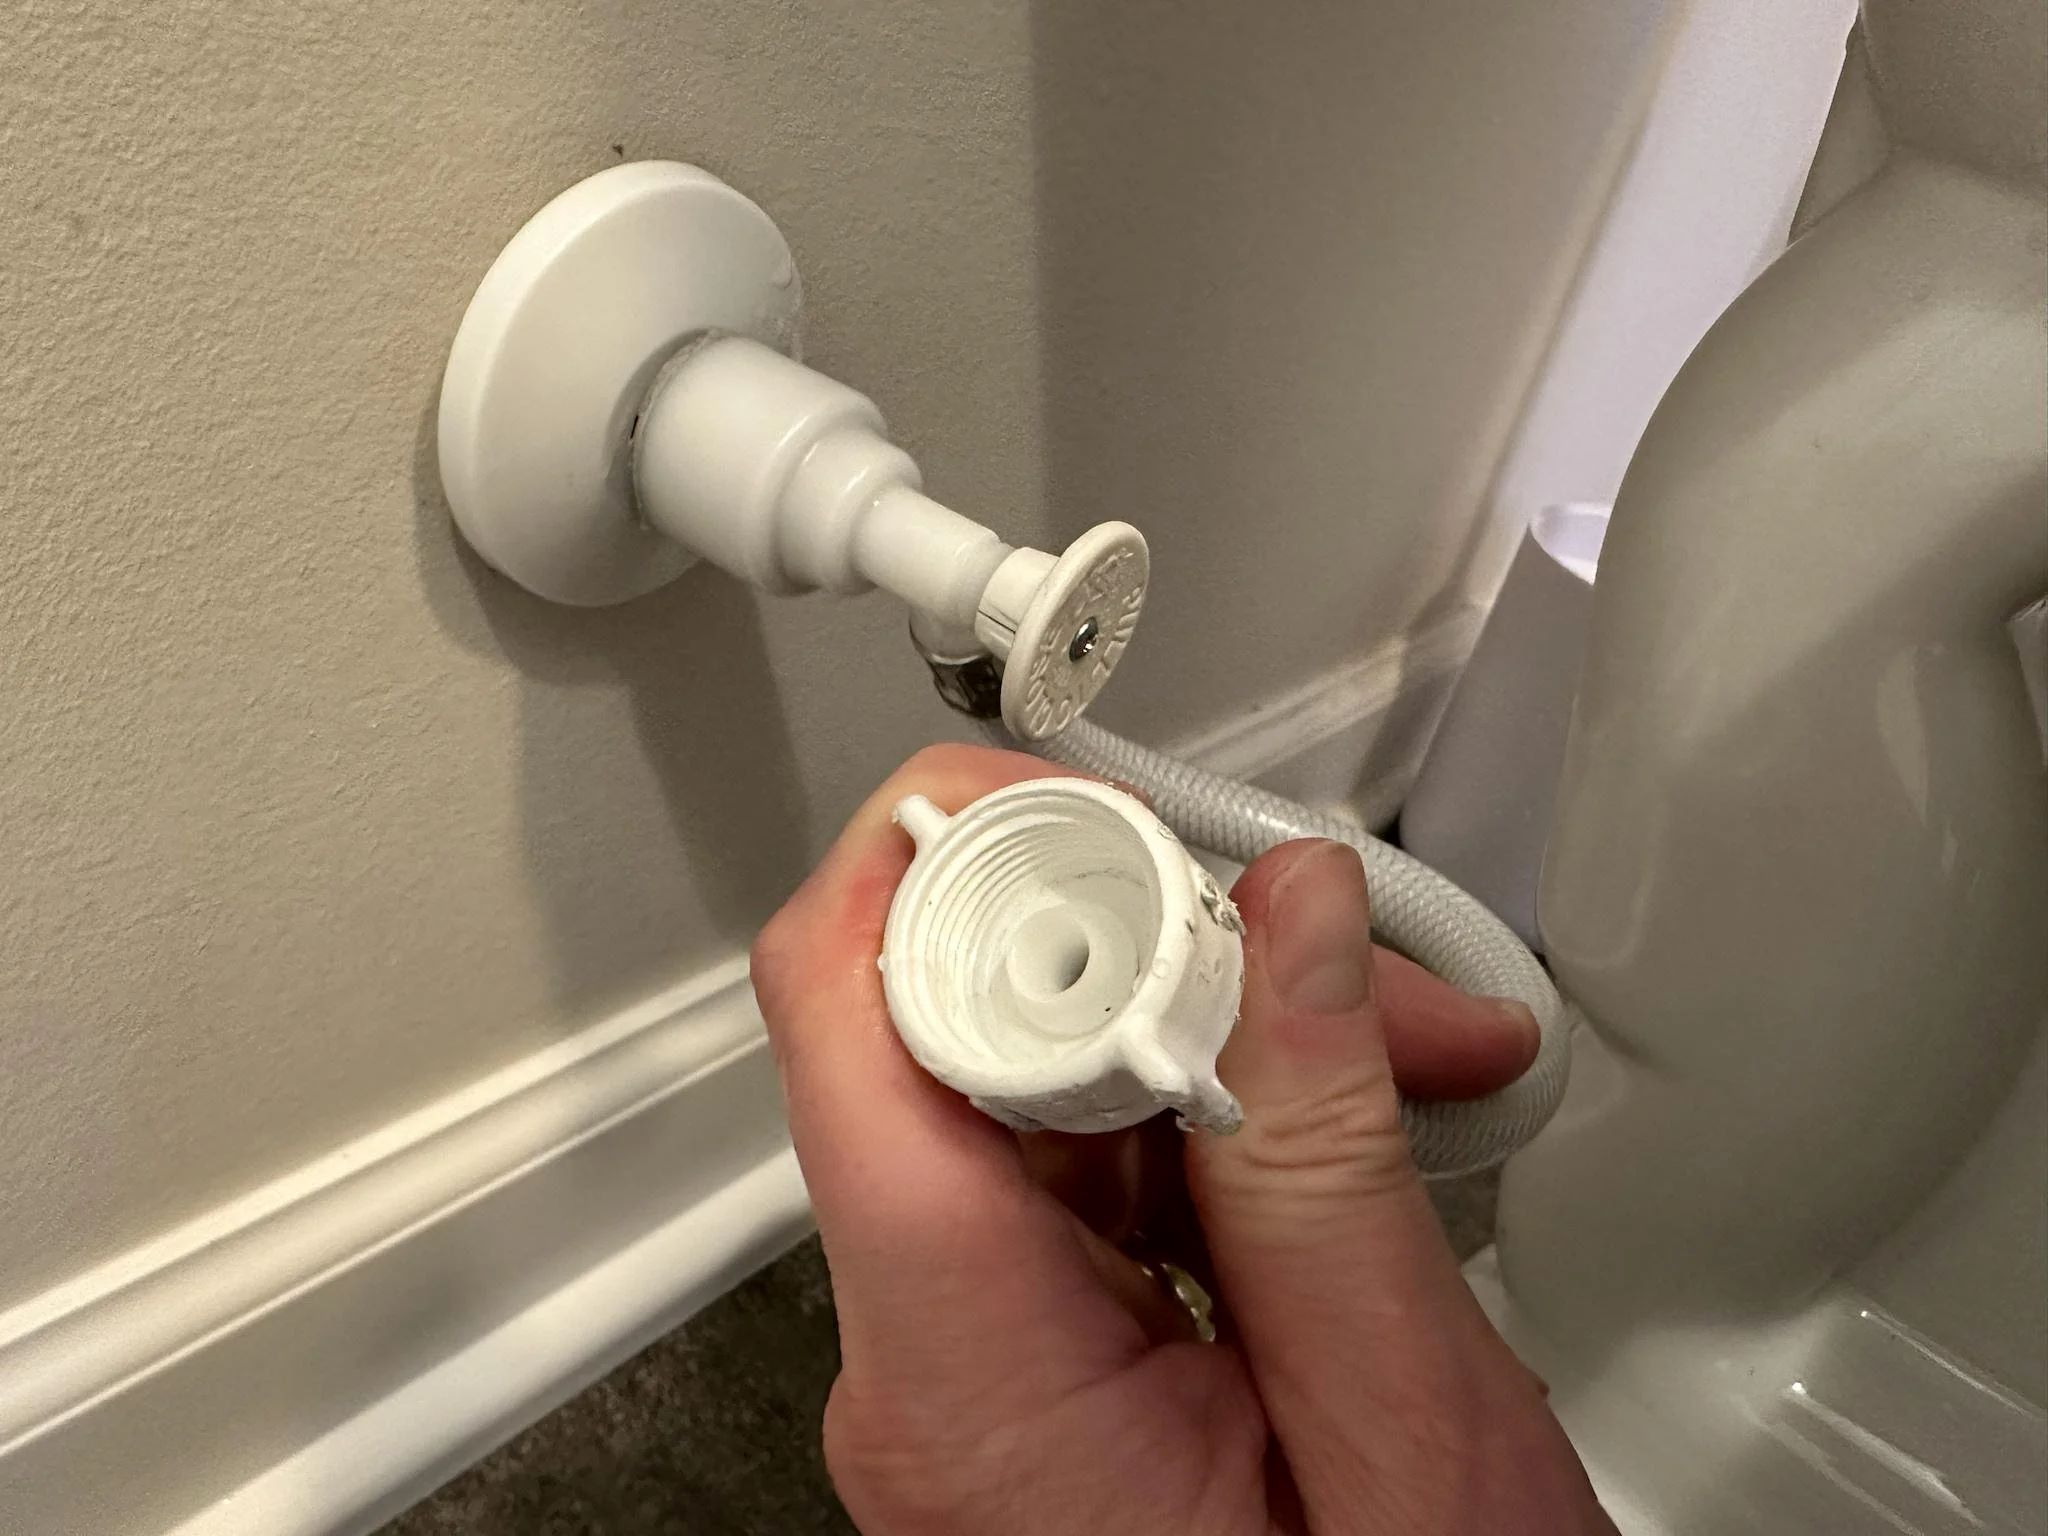
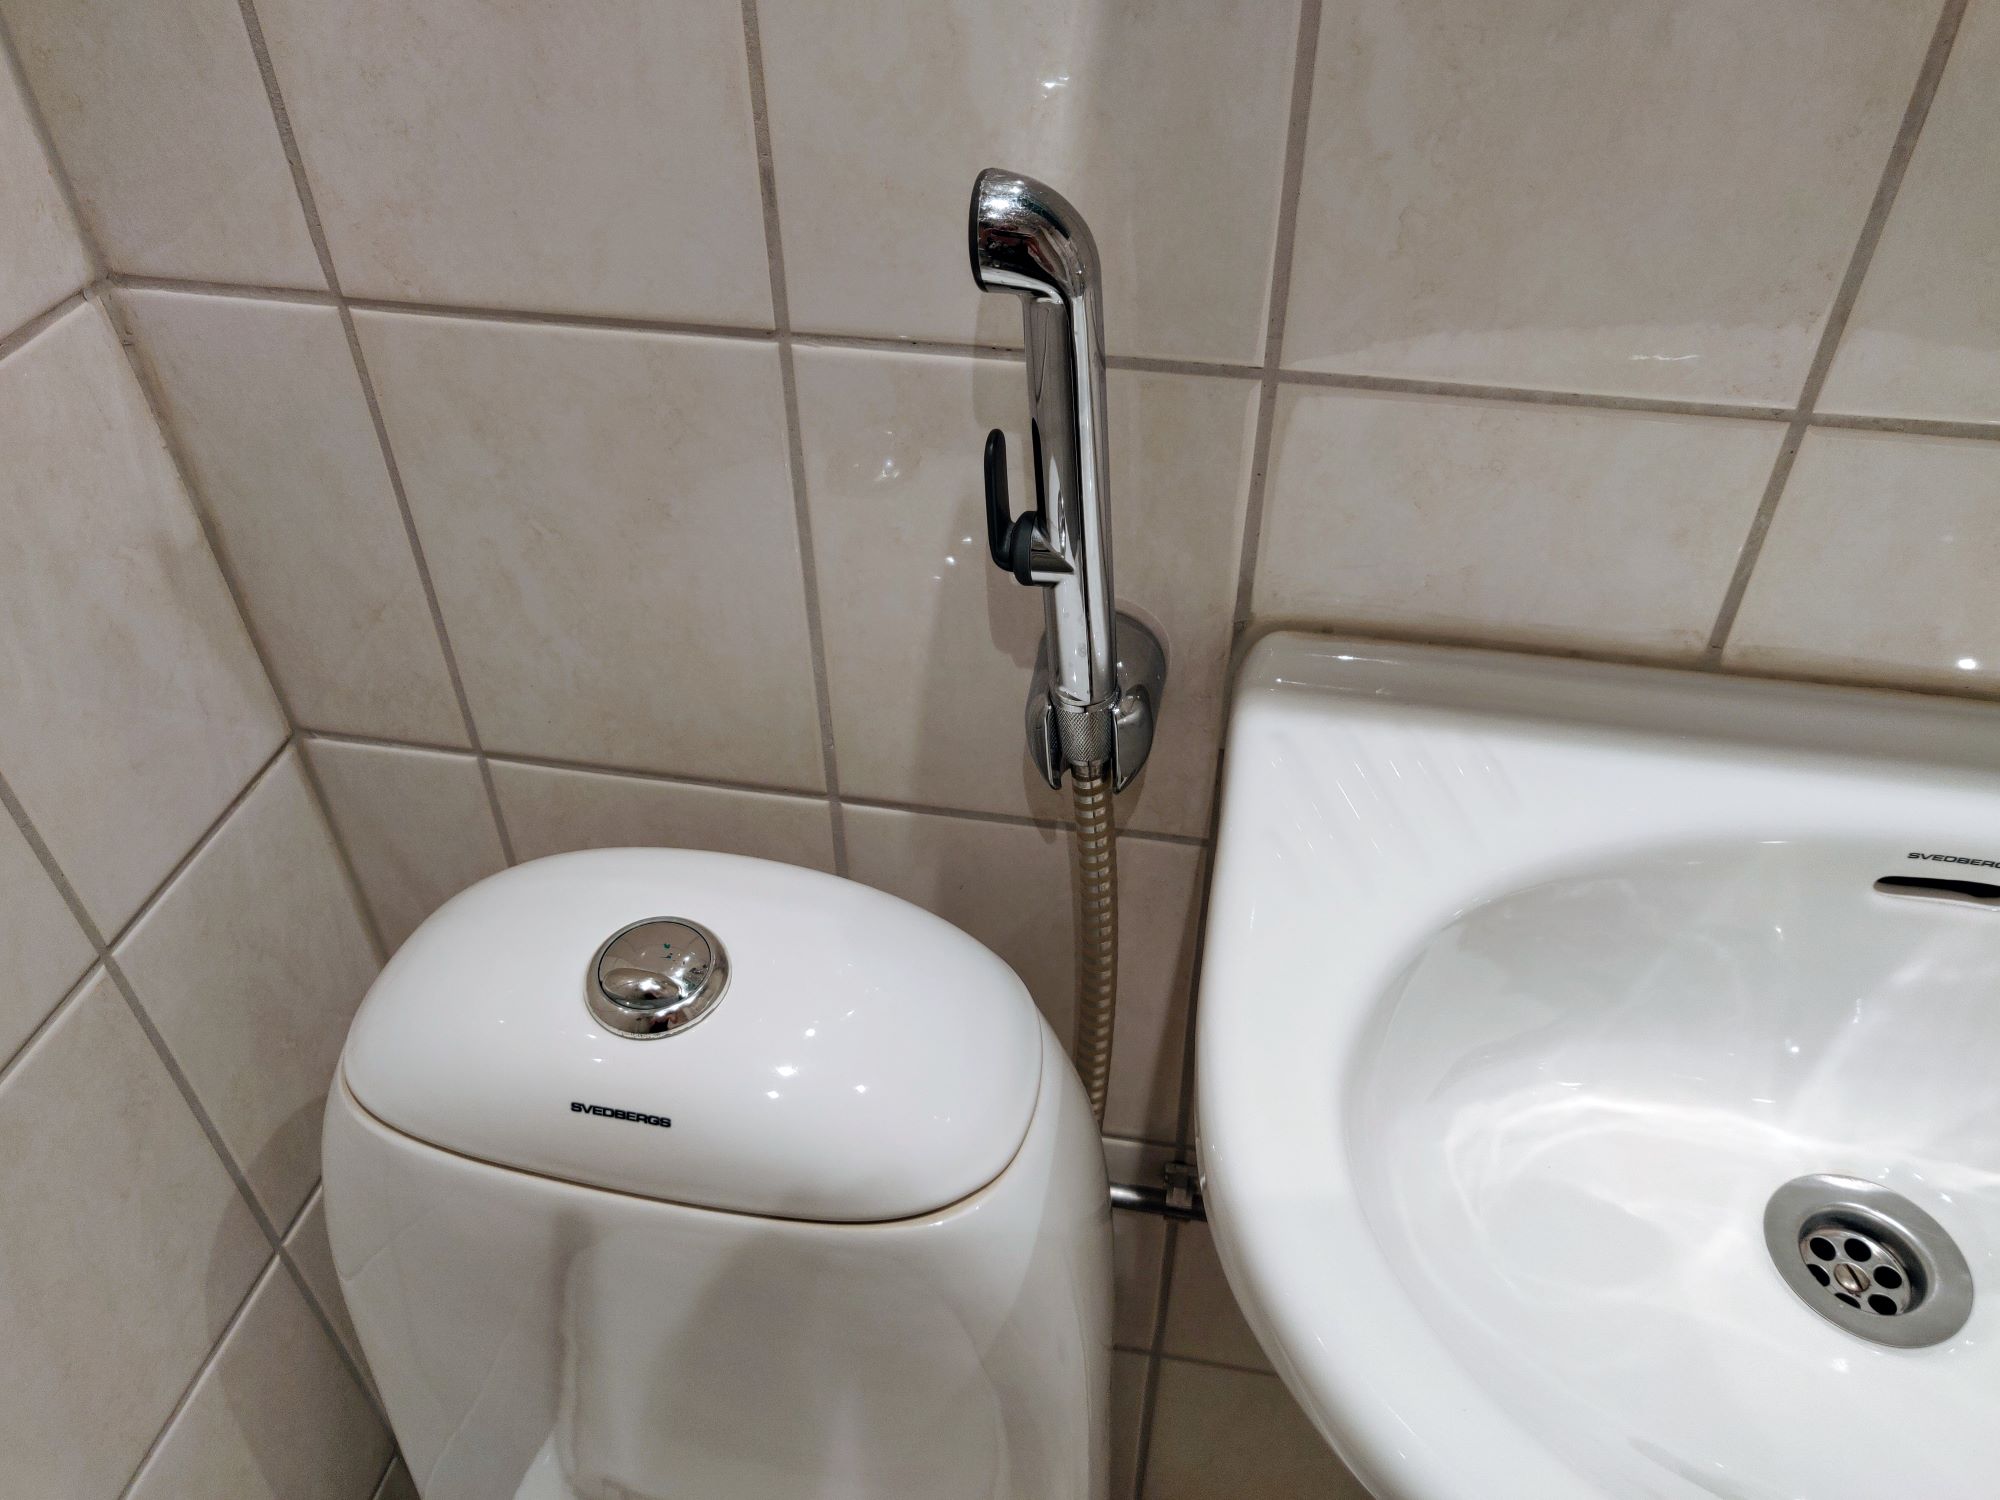
Locate the Water Shut-Off Valve: The water shut-off valve is typically located behind the toilet near the wall. It is a small valve connected to the water supply line. Turn off the valve by rotating it clockwise until it is fully closed. This action will stop the flow of water to the bidet.
-
Flush the Toilet: After shutting off the water supply, flush the toilet to drain any remaining water from the tank and the bidet's water supply line. This step will help minimize the amount of water that may spill during the disconnection process.
-
Check for Residual Water: Even after flushing, there may still be some residual water in the bidet's water supply line. To address this, use a towel or rag to soak up any remaining water in the line and the bidet's connections. Placing a bucket or container beneath the connections can help catch any additional water that may drip during this process.
By turning off the water supply and ensuring that any remaining water is removed, you'll create a safer and more manageable environment for the subsequent steps of disconnecting the bidet from the water supply and removing it from the toilet. With the water supply safely turned off, you're now ready to proceed to the next step of disconnecting the bidet from the water supply.
Step 3: Disconnect Bidet from Water Supply
With the water supply turned off and any residual water cleared, the next crucial step in uninstalling your Tushy bidet is disconnecting it from the water supply. This process involves carefully detaching the bidet's water supply line and ensuring a secure and leak-free disconnection. Here's a detailed guide on how to effectively disconnect the bidet from the water supply:
-
Locate the Water Supply Line: The water supply line is typically connected to the bottom of the bidet, often near the rear of the toilet bowl. Identify the connection point and familiarize yourself with the components involved in the connection.
-
Use an Adjustable Wrench: To disconnect the water supply line, use an adjustable wrench to loosen the nut securing the connection. Turn the nut counterclockwise to loosen it, allowing the water supply line to detach from the bidet. It's important to have a bucket or container nearby to catch any residual water that may drain from the line.
-
Inspect for Leaks: Once the water supply line is disconnected, carefully inspect the connection point for any signs of leaks or water drips. Wipe the area with a towel or rag to ensure it is dry before proceeding to the next step.
-
Cap the Water Supply Line (If Necessary): In some cases, you may need to cap the water supply line to prevent any residual water from leaking. Placing a cap or using plumber's tape to seal the open end of the water supply line can help maintain a clean and dry environment as you continue with the uninstallation process.
By following these steps, you can effectively disconnect your Tushy bidet from the water supply, ensuring a smooth and controlled removal process. With the bidet successfully disconnected, you're now ready to proceed to the next step of removing the bidet from the toilet.
To uninstall a Tushy bidet, first turn off the water supply. Then, disconnect the bidet from the water line and unscrew the mounting bracket. Finally, remove the bidet from the toilet and clean the area.
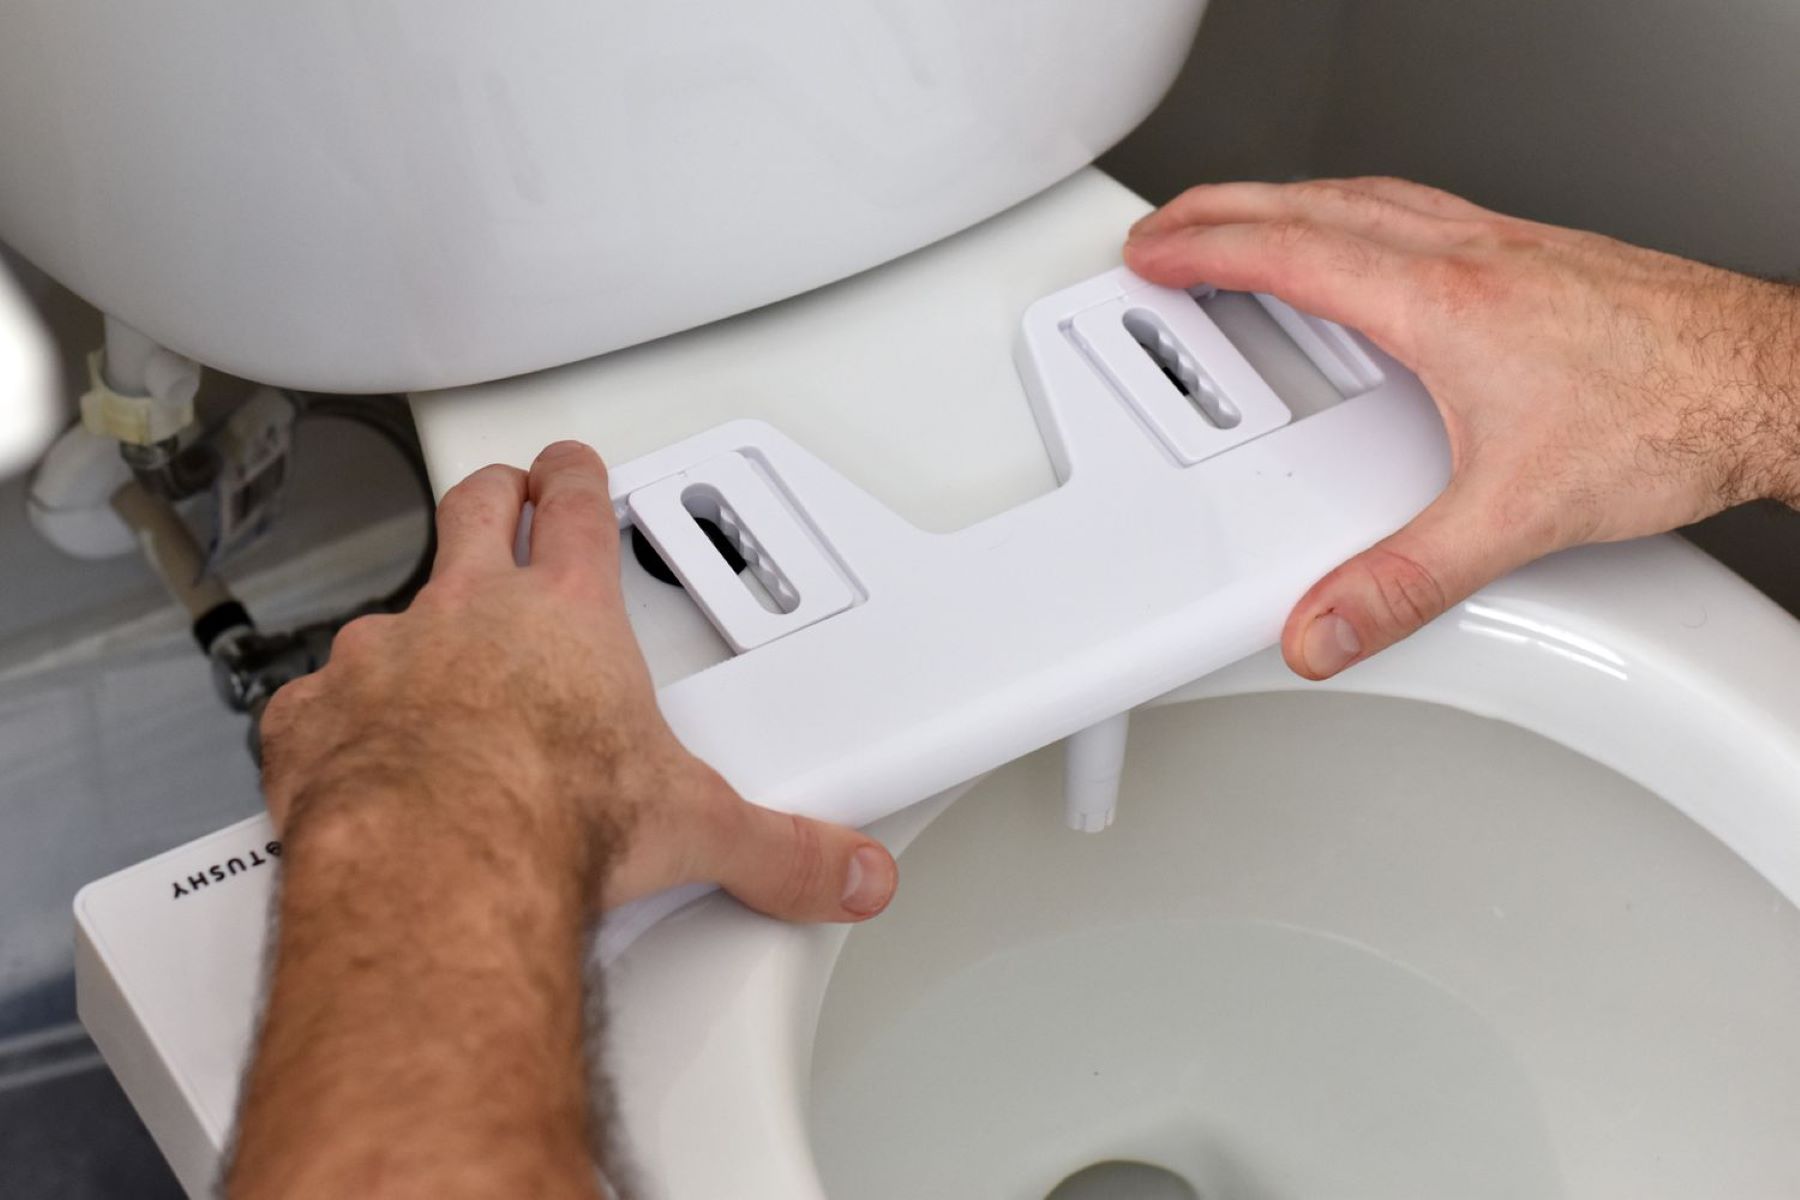
Step 4: Remove Bidet from Toilet
Removing the Tushy bidet from the toilet is a pivotal step in the uninstallation process, requiring careful attention to detail and precision to ensure a seamless transition back to a traditional toilet setup. Here's a comprehensive guide on how to effectively remove the bidet from the toilet:
-
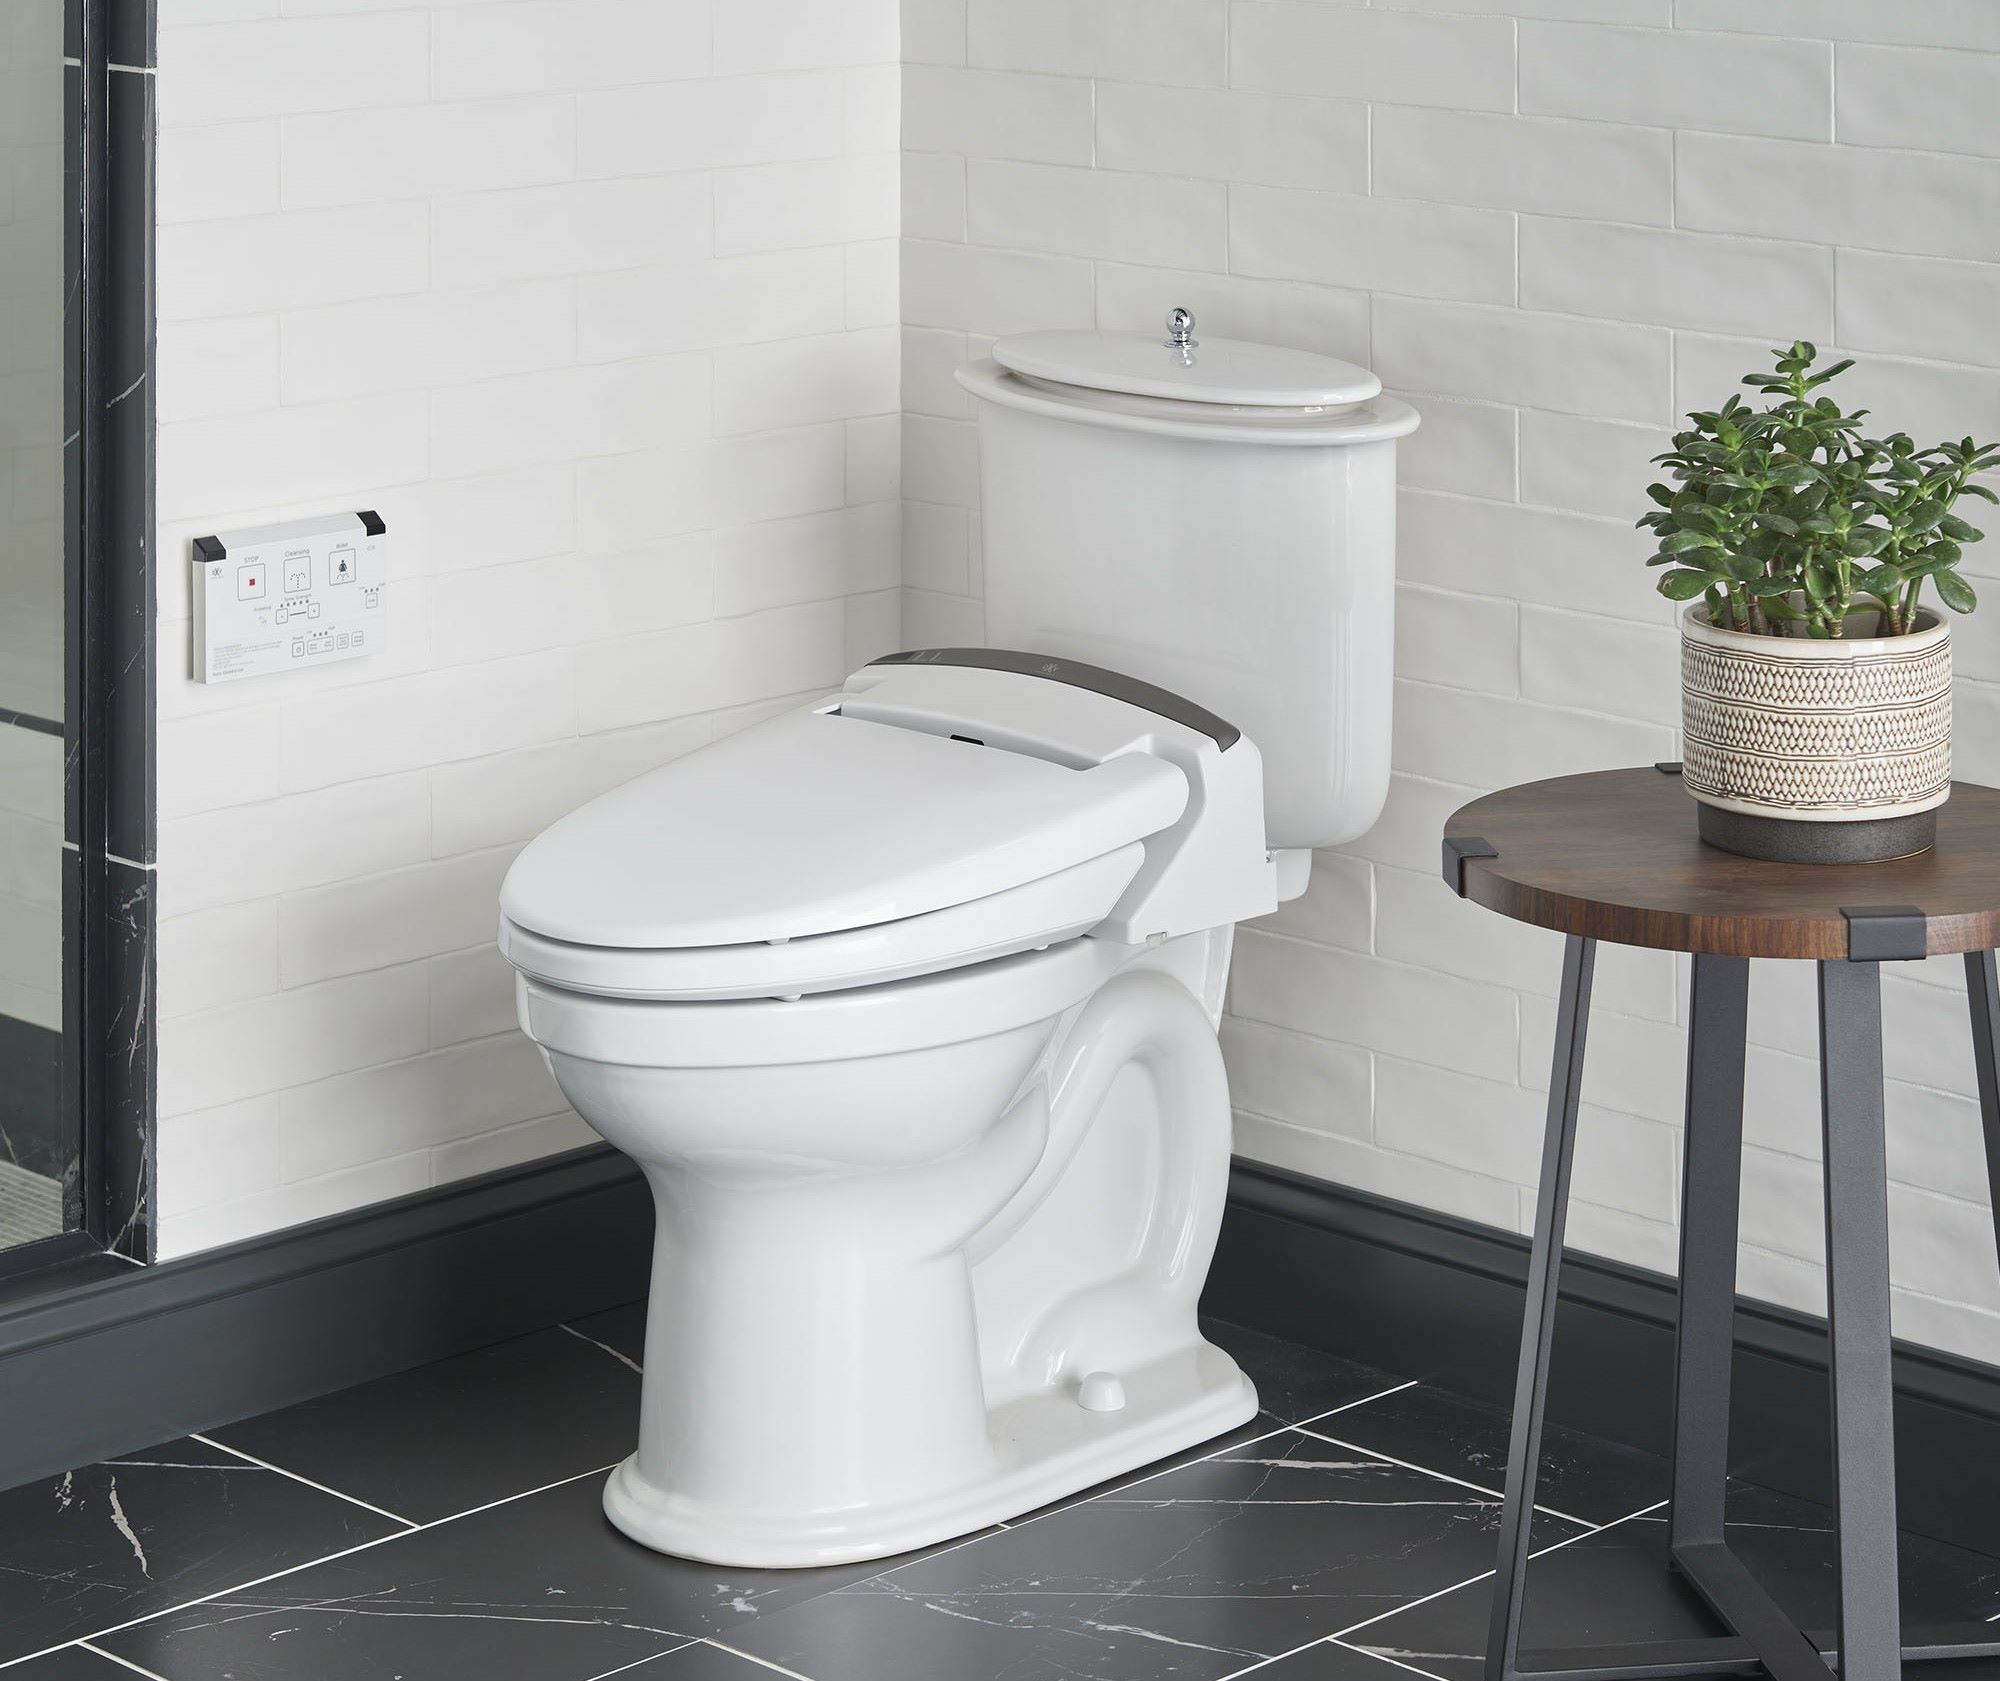
Unscrew the Mounting Bracket: Begin by locating the mounting bracket that secures the bidet to the toilet bowl. Using a screwdriver, carefully unscrew the fasteners that hold the bidet in place. Depending on the specific model of your Tushy bidet, there may be multiple mounting points that need to be addressed. Ensure that all fasteners are fully removed to release the bidet from the toilet.
-
Lift and Detach the Bidet: Once the mounting bracket is detached, gently lift the bidet upward to release it from the toilet bowl. It's essential to handle the bidet with care to avoid any damage to the toilet or the bidet itself. If the bidet is connected to the toilet seat, ensure that any additional fasteners or connections are addressed before fully detaching the bidet.
-
Inspect for Residue: After removing the bidet, inspect the area where it was mounted for any residue or marks. Depending on the installation method, there may be adhesive or mounting residue left on the toilet bowl. Use a gentle cleaning solution and a soft cloth to remove any remaining residue, ensuring that the toilet surface is clean and free from any marks or blemishes.
-
Prepare the Toilet for Reinstallation: With the bidet successfully removed, take this opportunity to clean and prepare the toilet for the next steps. Wipe down the area where the bidet was mounted, ensuring that it is dry and free from any debris. This preparation will facilitate the smooth reinstallation of the original toilet seat or any subsequent modifications to the toilet setup.
By following these steps, you can effectively remove your Tushy bidet from the toilet, setting the stage for the next phase of the uninstallation process. With the bidet successfully detached, you're now ready to proceed to the next step of cleaning and preparing the toilet for the subsequent reinstallation of the original toilet seat.
Read more: How To Clean A Tushy Bidet
Step 5: Clean and Prepare Toilet
After removing the Tushy bidet from the toilet, it's essential to thoroughly clean and prepare the toilet for the next phase, whether it involves reinstallation of the original toilet seat or any other modifications to the setup. This step not only ensures a hygienic environment but also sets the stage for a seamless transition back to a traditional toilet configuration.
Here's a detailed guide on how to effectively clean and prepare the toilet:
-
Clean the Mounting Area: Begin by thoroughly cleaning the area where the bidet was previously mounted. Use a mild cleaning solution and a soft cloth to remove any residual marks, adhesive, or mounting residue. Pay close attention to the edges and contours of the toilet bowl to ensure that it is free from any debris or blemishes.
-
Inspect for Damage: Take this opportunity to inspect the toilet bowl for any signs of damage or wear that may have been concealed by the bidet. Look for any scratches, discoloration, or imperfections that may require attention. Addressing any minor issues at this stage can help maintain the aesthetics and functionality of the toilet.
-
Sanitize the Area: Once the mounting area is clean, consider using a disinfectant or sanitizing solution to ensure that the toilet surface is free from any germs or bacteria. This step is particularly important for maintaining a hygienic environment, especially after the removal of the bidet.
-
Dry the Surface: After cleaning and sanitizing, thoroughly dry the toilet surface using a clean towel or cloth. Ensuring that the area is completely dry will facilitate the next steps of reinstallation and help prevent any potential issues associated with moisture.
-
Prepare for Reinstallation: If you plan to reinstall the original toilet seat or make any modifications to the toilet setup, ensure that all necessary components and tools are readily available. This may include the original toilet seat, fasteners, and any additional accessories required for the reinstallation process.
By following these steps, you can effectively clean and prepare the toilet for the next phase, whether it involves reinstallation of the original toilet seat or any subsequent modifications. This meticulous approach ensures that the toilet is in optimal condition for the next steps, allowing for a smooth and hassle-free transition following the removal of the Tushy bidet.
Step 6: Reinstall Original Toilet Seat
Reinstalling the original toilet seat marks the final phase of the uninstallation process, bringing the toilet back to its traditional configuration. Whether you removed the original seat to accommodate the Tushy bidet or simply need to revert to the standard setup, this step requires precision and attention to detail to ensure a secure and functional reinstallation.
Here's a comprehensive guide on how to effectively reinstall the original toilet seat:
-
Retrieve the Original Toilet Seat: Locate the original toilet seat that was in place before the installation of the Tushy bidet. Ensure that all components, including the seat, lid, and fasteners, are intact and in good condition.
-
Position the Seat and Lid: Place the toilet seat and lid over the bowl, aligning them with the mounting holes on the toilet. Ensure that the seat is oriented correctly, with the front portion positioned towards the front of the bowl.
-
Secure the Fasteners: Using the appropriate fasteners or bolts, secure the toilet seat to the bowl. Depending on the specific type of fasteners, this may involve aligning the bolts with the mounting holes and tightening them using a screwdriver or wrench. Ensure that the seat is firmly secured to the bowl to prevent any shifting or instability.
-
Adjust the Seat Alignment: Once the seat is secured, check the alignment and positioning to ensure that it is centered and level on the bowl. Make any necessary adjustments to the seat's position to achieve a balanced and symmetrical fit.
-
Test the Stability: With the seat reinstalled, test its stability by gently applying pressure and ensuring that it remains firmly in place. Address any wobbling or instability by adjusting the fasteners and ensuring a secure fit.
-
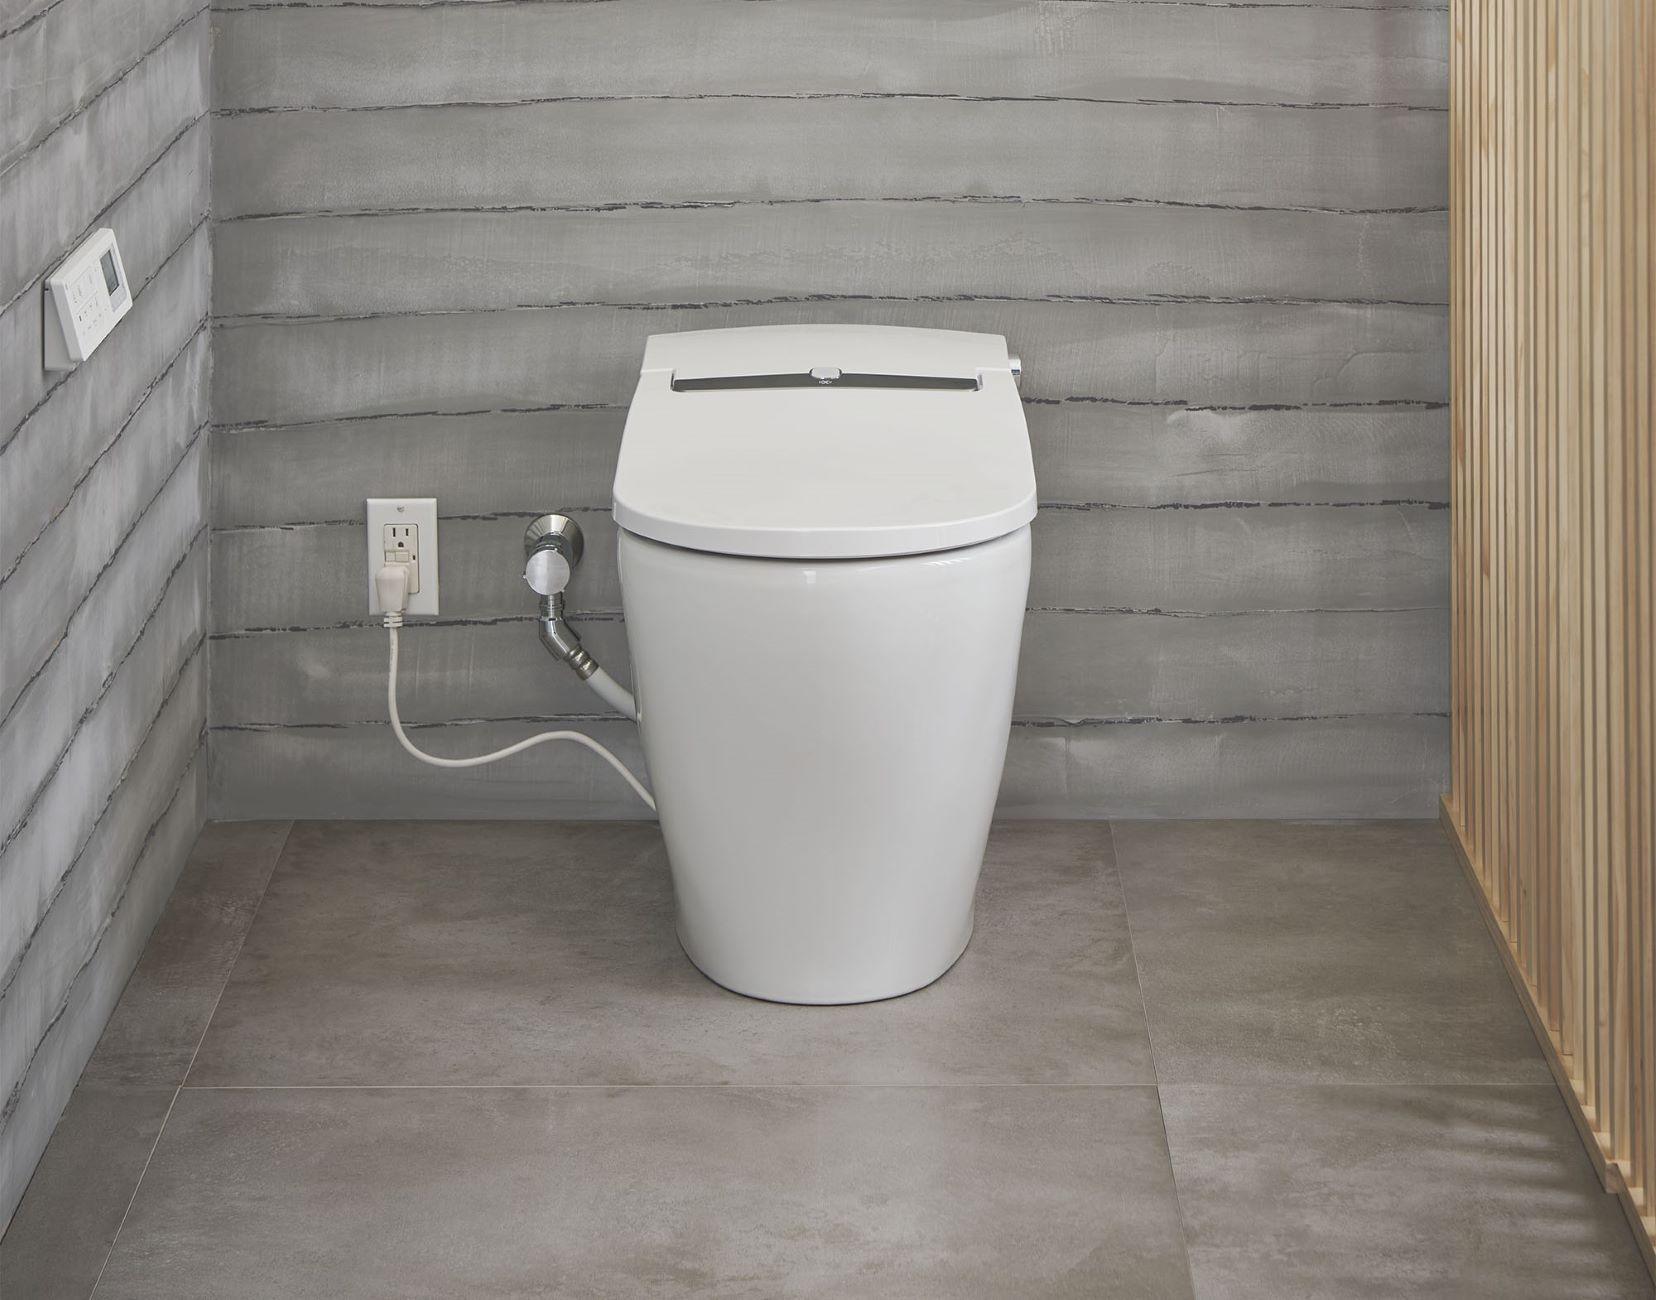
Reconnect the Water Supply (If Applicable): If the original toilet seat features a bidet function or requires a water supply connection, carefully reconnect the water supply line, ensuring a secure and leak-free connection. Test the water supply to ensure that there are no leaks or issues with the reconnection.
-
Final Inspection: Conduct a final inspection of the reinstalled toilet seat, checking for any signs of instability, misalignment, or issues with the fasteners. Ensure that the seat and lid function smoothly, and there are no visible defects or concerns.
By following these steps, you can effectively reinstall the original toilet seat, completing the uninstallation process and restoring the toilet to its standard configuration. This meticulous approach ensures that the toilet seat is securely and accurately reinstalled, allowing you to enjoy a fully functional and aesthetically pleasing bathroom space.
Conclusion
In conclusion, the process of uninstalling a Tushy bidet involves a systematic approach and attention to detail to ensure a smooth transition back to a traditional toilet setup. By following the step-by-step guide outlined in this article, you can effectively remove the bidet and prepare the toilet for the next phase, whether it involves reinstallation of the original toilet seat or any subsequent modifications.
Throughout the uninstallation process, the importance of gathering the necessary tools, turning off the water supply, disconnecting the bidet from the water supply, removing the bidet from the toilet, and cleaning and preparing the toilet cannot be overstated. Each step plays a crucial role in maintaining the functionality and aesthetics of the bathroom space while ensuring a seamless transition following the bidet's removal.
By carefully following the outlined steps, you can minimize the risk of damage to the toilet and plumbing system, creating a safe and controlled environment for the uninstallation process. Additionally, the emphasis on thorough cleaning and preparation of the toilet sets the stage for a hygienic and visually appealing space, allowing for a smooth reinstallation of the original toilet seat or any subsequent modifications.
It's important to approach the uninstallation process with patience and precision, ensuring that each step is executed accurately. By doing so, you can navigate the process with confidence, knowing that the toilet will be restored to its standard configuration in a secure and functional manner.
Whether you're uninstalling the Tushy bidet for maintenance, relocation, or to accommodate a different toilet accessory, the knowledge and insights gained from this guide will empower you to tackle the uninstallation process with ease. By prioritizing the proper tools, safety measures, and meticulous attention to detail, you can seamlessly transition from a bidet-equipped toilet to a traditional setup, maintaining the comfort and functionality of your bathroom space.
In essence, the uninstallation of a Tushy bidet is a manageable task when approached with the right tools and a clear understanding of the necessary steps. With this comprehensive guide, you're well-equipped to navigate the uninstallation process and ensure a successful transition back to a traditional toilet configuration.
Now that you've mastered uninstalling your Tushy bidet, why stop there? Refreshing your bathroom doesn't need to be a puzzle. Curious about the time commitment for a full makeover? Dive into our detailed guide on the duration of bathroom renovations. Packed with practical tips and realistic timelines, this article demystifies the entire process, ensuring you're well-prepared for your next big project.
Frequently Asked Questions about How To Uninstall Tushy Bidet
Was this page helpful?
At Storables.com, we guarantee accurate and reliable information. Our content, validated by Expert Board Contributors, is crafted following stringent Editorial Policies. We're committed to providing you with well-researched, expert-backed insights for all your informational needs.

0 thoughts on “How To Uninstall Tushy Bidet”