Home>Furniture & Design>Bathroom Accessories>How To Remove Bidet Toilet Seat
Bathroom Accessories
How To Remove Bidet Toilet Seat
Modified: October 20, 2024
Learn how to remove a bidet toilet seat with our step-by-step guide. Upgrade your bathroom accessories hassle-free. Expert tips for easy removal.
(Many of the links in this article redirect to a specific reviewed product. Your purchase of these products through affiliate links helps to generate commission for Storables.com, at no extra cost. Learn more)
Introduction
Removing a bidet toilet seat may seem like a daunting task, but with the right guidance, it can be a straightforward process. Whether you're looking to replace the bidet seat with a traditional one or need to perform maintenance, understanding the steps involved is crucial. By following a few simple steps, you can successfully remove the bidet toilet seat without encountering any major challenges.
Bidet toilet seats have gained popularity due to their hygienic and comfortable features, offering a luxurious and convenient bathroom experience. However, there are instances when you may need to remove the bidet seat, such as when conducting repairs, cleaning, or replacing it with a standard toilet seat. Regardless of the reason, having a clear understanding of the removal process is essential to ensure a smooth transition.
In the following sections, we will walk through the step-by-step process of removing a bidet toilet seat. From turning off the water supply to disconnecting and removing the seat, each step will be outlined in detail to provide a comprehensive guide. Additionally, we will cover the essential aspects of cleaning the area and, if necessary, installing a regular toilet seat. By the end of this guide, you will have the knowledge and confidence to tackle the task of bidet toilet seat removal with ease.
Now, let's delve into the specific steps required to remove a bidet toilet seat and gain a deeper understanding of the process. Whether you're a seasoned DIY enthusiast or a novice looking to expand your home maintenance skills, this guide will equip you with the necessary information to accomplish the task effectively. Let's get started!
Key Takeaways:
- Removing a bidet toilet seat involves turning off the water supply, disconnecting the seat, and cleaning the area. It’s a systematic process that ensures a safe and efficient transition to a traditional toilet seat.
- If you’re replacing a bidet toilet seat, select a new seat, position it securely, and test its functionality. This optional step completes the transition to a comfortable and functional traditional seating arrangement.
Read more: What Is A Bidet Toilet Seat
Step 1: Turn off the water supply
Before beginning the process of removing a bidet toilet seat, it is crucial to turn off the water supply to ensure a safe and efficient procedure. This step is essential to prevent any water leakage or potential mess during the removal process. Here's a detailed guide on how to turn off the water supply for a bidet toilet seat:
-
Locate the Water Shut-Off Valve: The water shut-off valve is typically located behind the toilet, near the wall. It is essential to identify the correct valve to avoid shutting off the water supply to the entire house.
-
Turn Off the Water Supply: Once you have located the shut-off valve, turn it clockwise to shut off the water supply. It is important to ensure that the valve is fully closed to prevent any water from flowing into the bidet toilet seat.
-
Flush the Toilet: After turning off the water supply, flush the toilet to remove any remaining water in the tank and bowl. This will help minimize the water present in the bidet toilet seat's plumbing system.
-
Verify the Water Supply: To confirm that the water supply has been successfully turned off, try operating the bidet functions to ensure that no water is flowing. This step will help prevent any unexpected water discharge during the removal process.
By following these steps to turn off the water supply, you can effectively prepare the bidet toilet seat for removal without the risk of water leakage or unnecessary mess. This initial step sets the stage for a smooth and hassle-free removal process, ensuring that the subsequent steps can be carried out with ease and precision.
With the water supply successfully turned off, you are now ready to proceed to the next step of disconnecting the bidet toilet seat. This crucial preparatory step lays the foundation for a seamless removal process, allowing you to proceed with confidence and clarity as you navigate through the subsequent stages of bidet toilet seat removal.
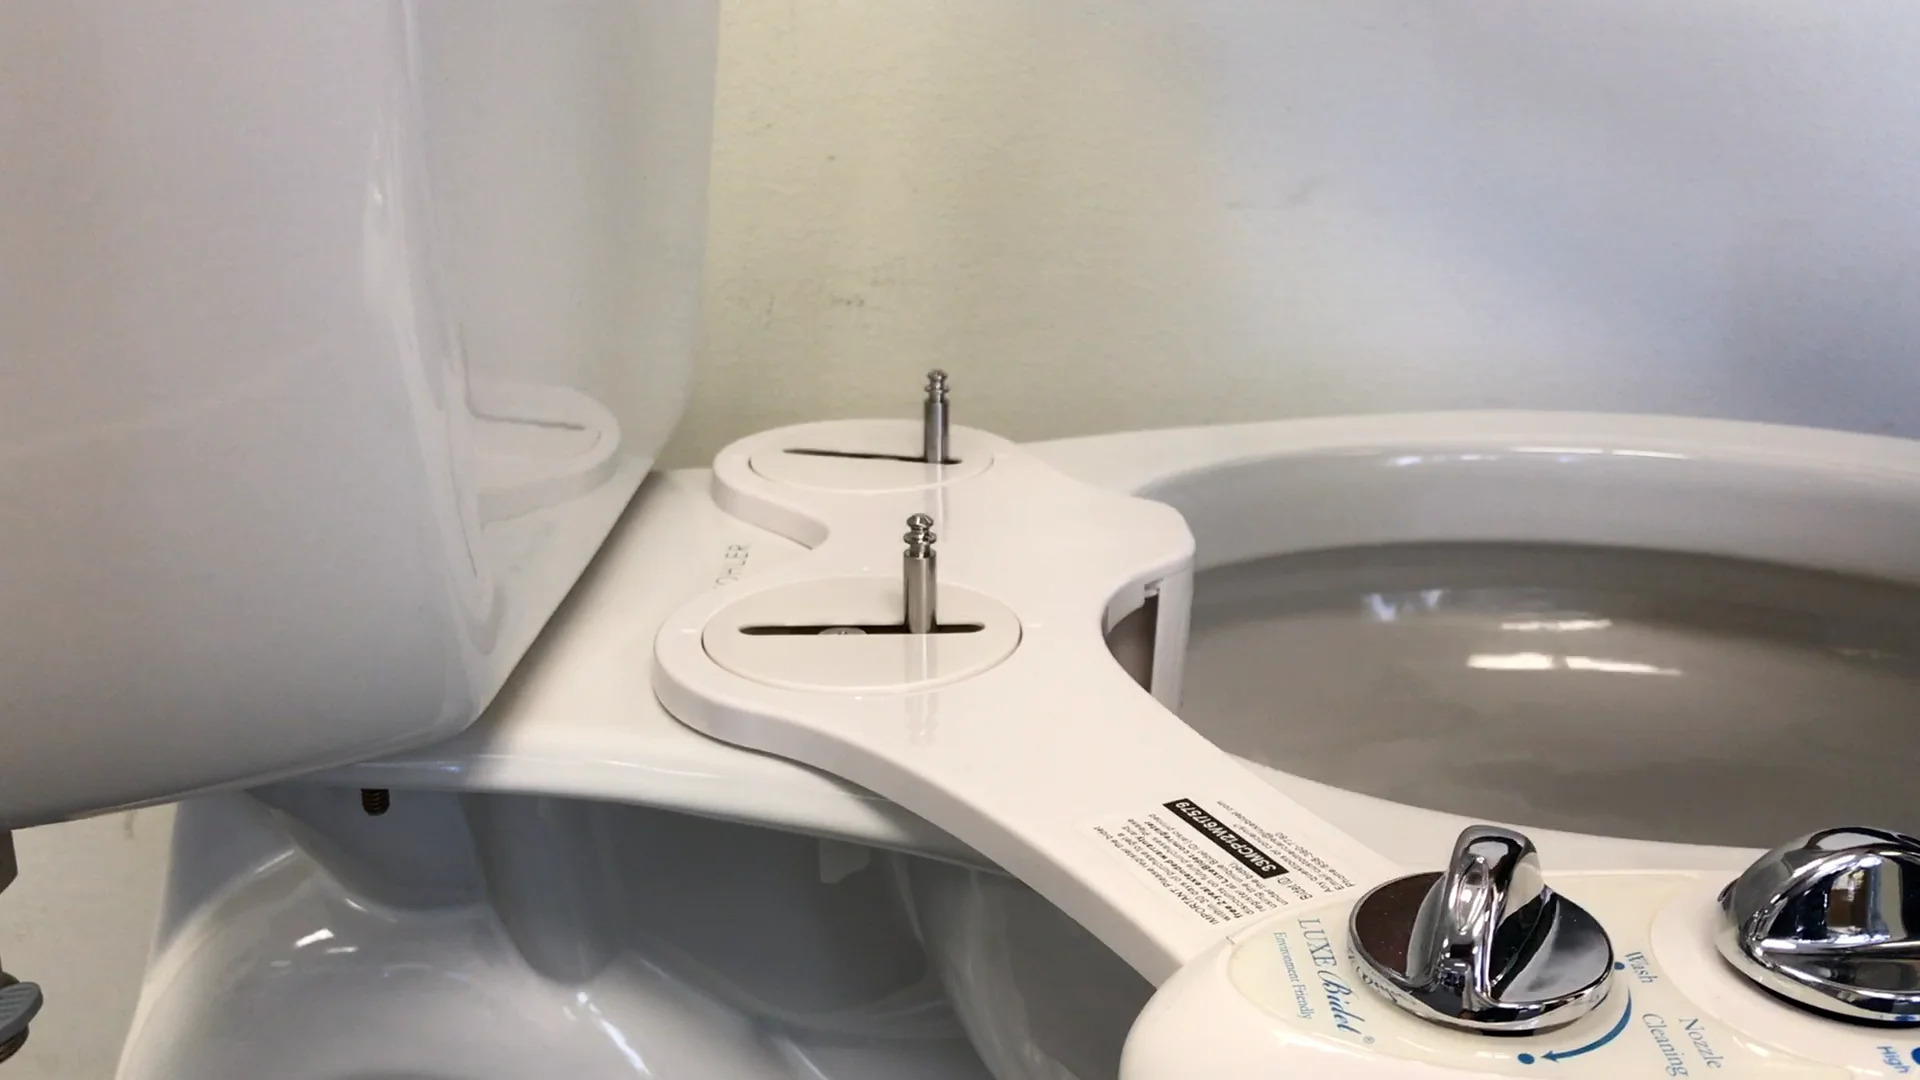
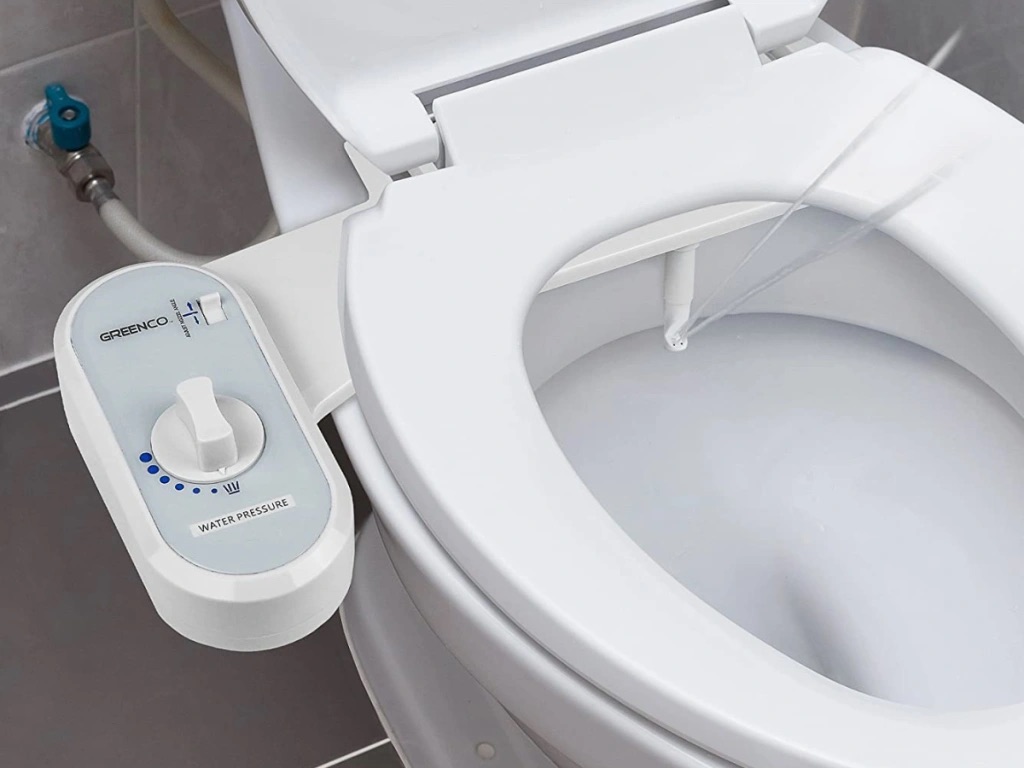
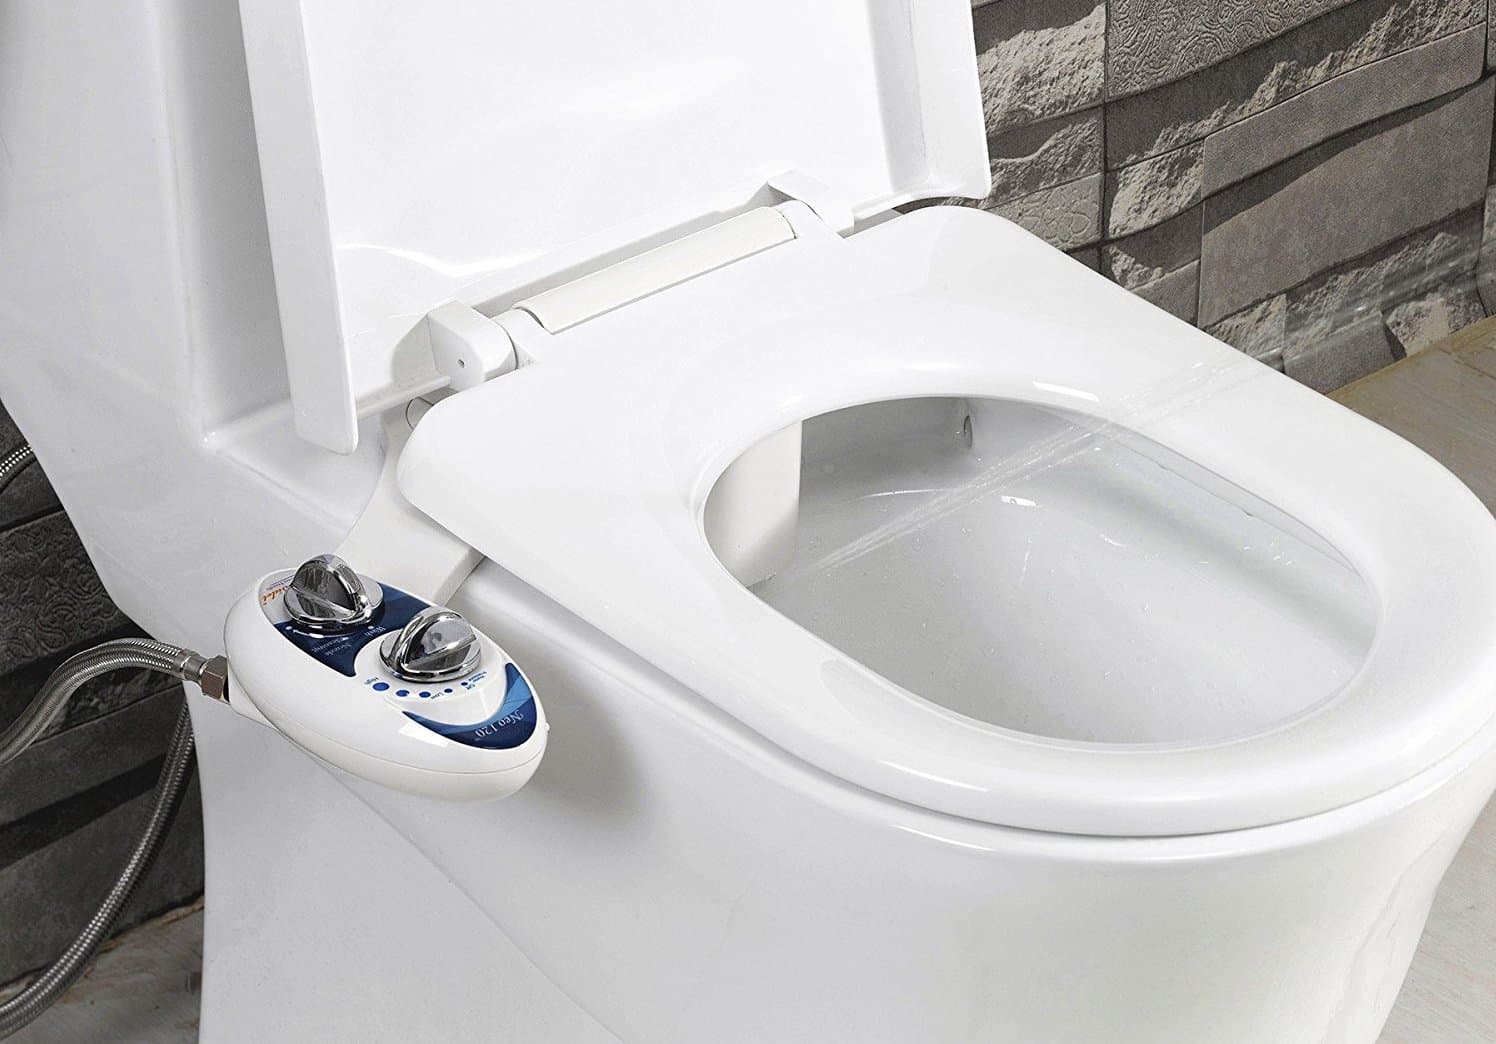
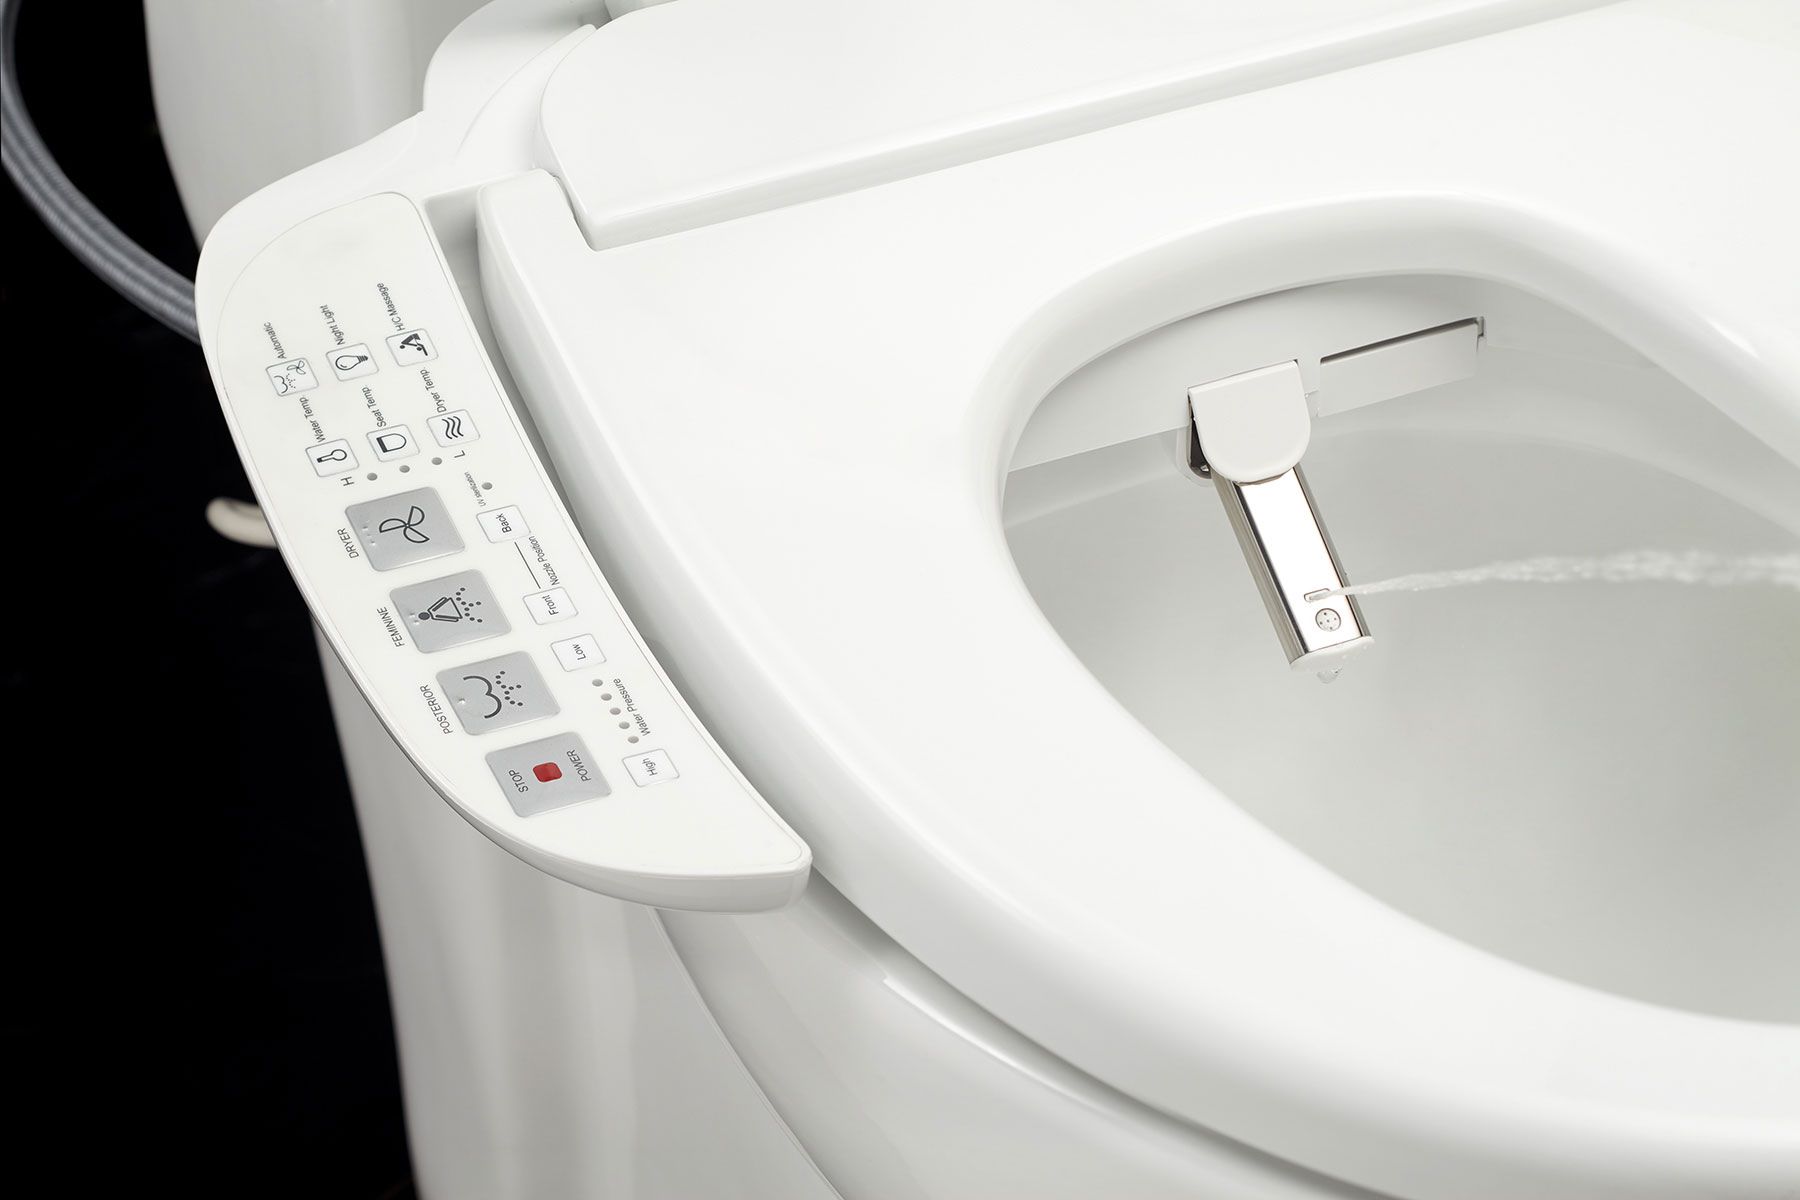
Step 2: Disconnect the bidet toilet seat
Once the water supply has been successfully turned off, the next step in removing a bidet toilet seat is to disconnect it from the toilet bowl. This process involves detaching the electrical and plumbing connections, allowing for the safe and efficient removal of the bidet seat. Here's a detailed guide on how to disconnect the bidet toilet seat:
-
Unplug the Power Cord: Begin by locating the power cord connected to the bidet toilet seat. Carefully unplug the power cord from the electrical outlet to ensure that the seat is no longer receiving power. This step is crucial for safety and prevents any electrical mishaps during the disconnection process.
-
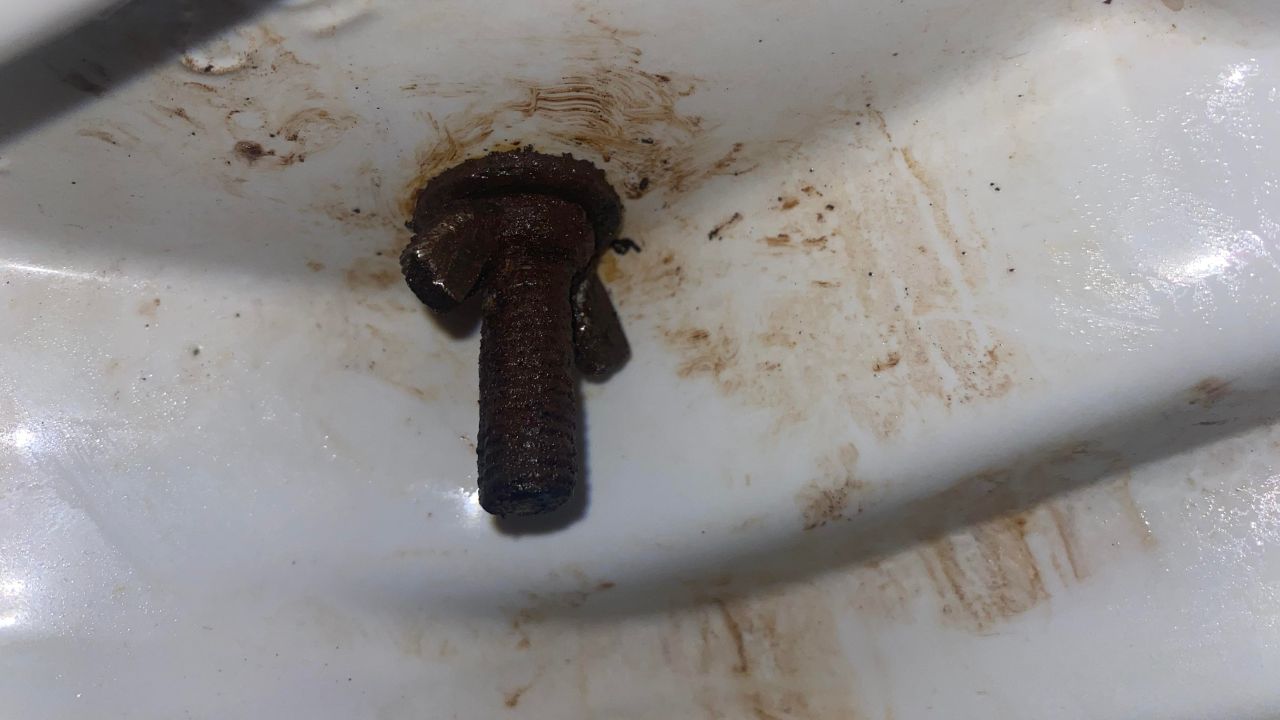
Remove the Seat Mounting Bolts: Most bidet toilet seats are secured to the toilet bowl with mounting bolts. Using a wrench or screwdriver, carefully remove the mounting bolts that secure the bidet seat to the toilet bowl. It's important to keep track of the bolts and any accompanying hardware to facilitate the reinstallation process if needed.
-
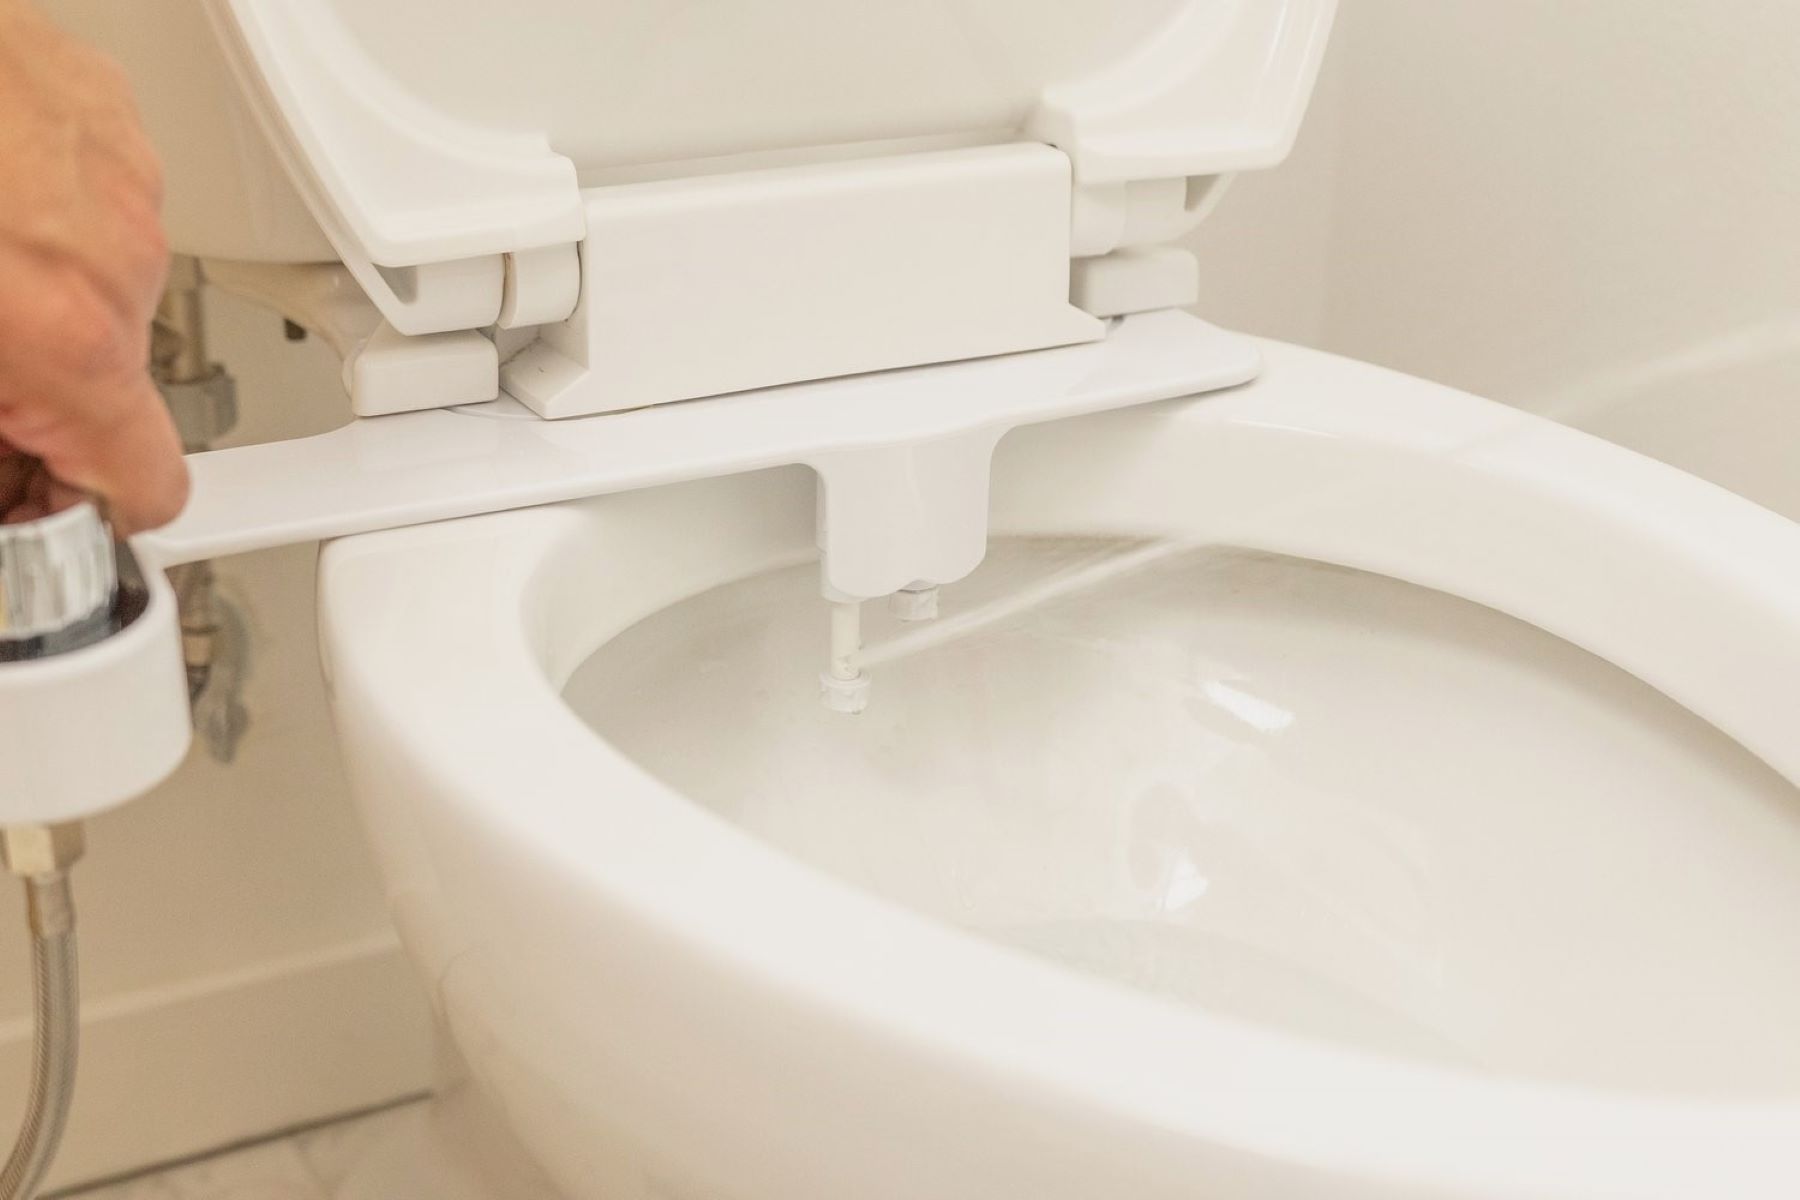
Disconnect the Water Supply Hose: Locate the water supply hose connected to the bidet toilet seat. Using an adjustable wrench, carefully loosen the nut connecting the water supply hose to the bidet seat. Once the nut is loosened, gently detach the water supply hose from the bidet seat. Be prepared for a small amount of water to drain from the hose during this step.
-
Detach the Seat: With the mounting bolts and water supply hose disconnected, carefully lift the bidet toilet seat away from the toilet bowl. Take care to handle the seat with caution to avoid any damage or mishaps during the removal process.
By following these steps to disconnect the bidet toilet seat, you can effectively prepare the seat for complete removal. Ensuring that the electrical and plumbing connections are safely detached sets the stage for a seamless and hassle-free removal process. With the bidet seat successfully disconnected, you are now ready to proceed to the next step of removing the seat from the toilet bowl and preparing the area for cleaning and potential reinstallation.
The careful execution of the disconnection process is essential for a smooth transition to the subsequent steps of bidet toilet seat removal. By following these detailed steps, you can navigate the disconnection process with confidence and precision, setting the stage for a successful and efficient bidet toilet seat removal.
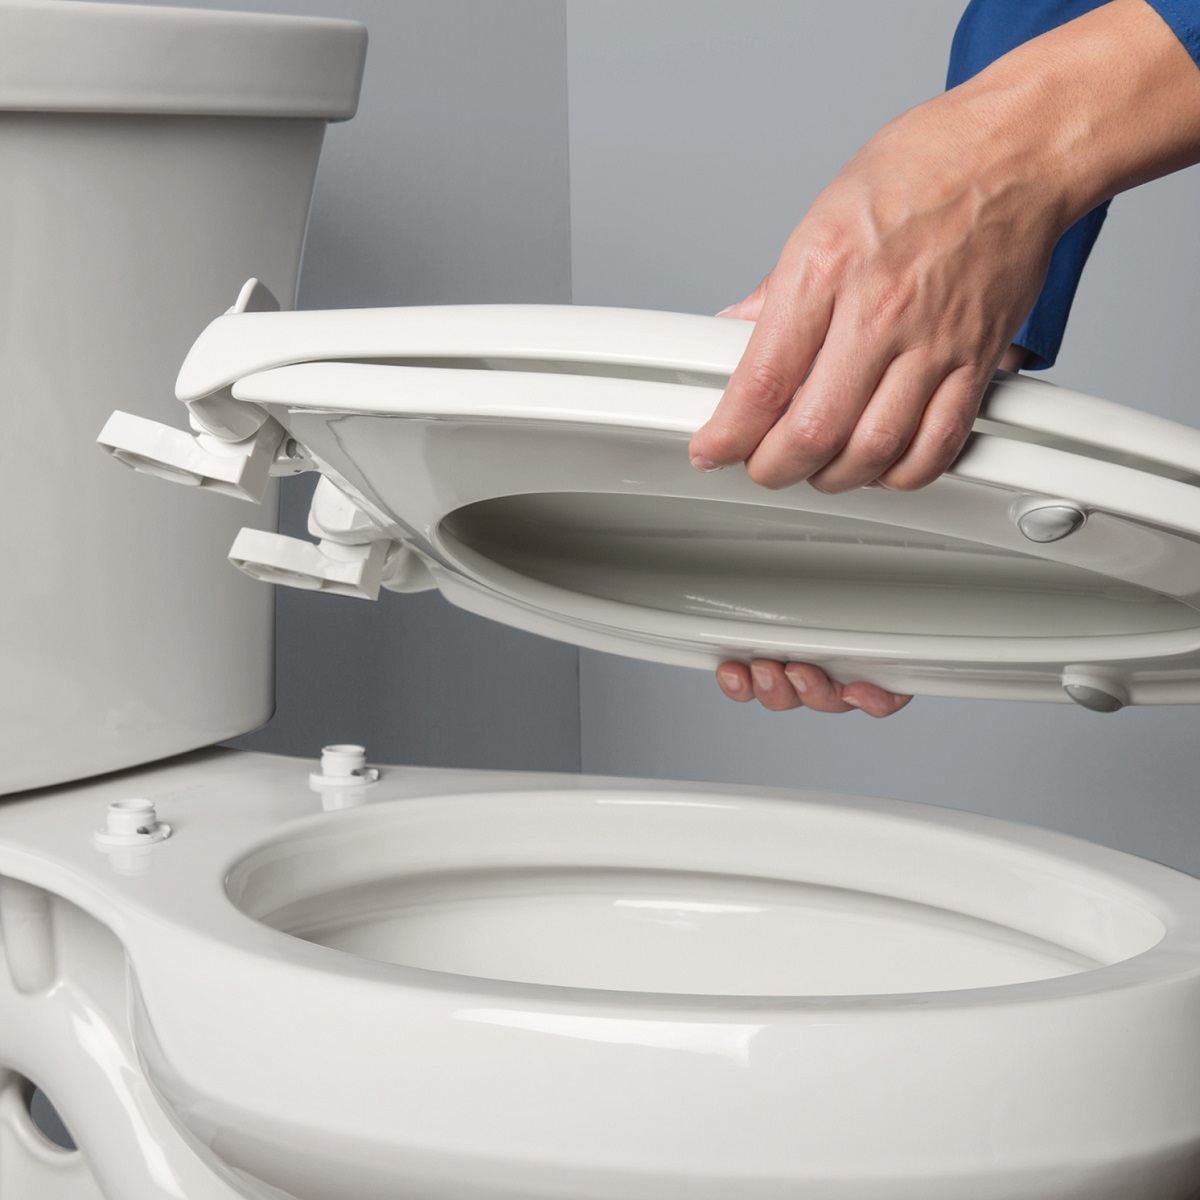
Step 3: Remove the bidet toilet seat
With the bidet toilet seat successfully disconnected from the electrical and plumbing connections, the next crucial step is to remove the seat from the toilet bowl. This process involves carefully lifting the bidet seat away from the toilet and preparing the area for cleaning or potential reinstallation. Here's a detailed guide on how to remove the bidet toilet seat:
-
Lift the Seat: Carefully lift the bidet toilet seat away from the toilet bowl, ensuring a firm grip to prevent any accidental dropping or damage to the seat or surrounding area. It's important to handle the seat with care and attention to detail during this step.
-
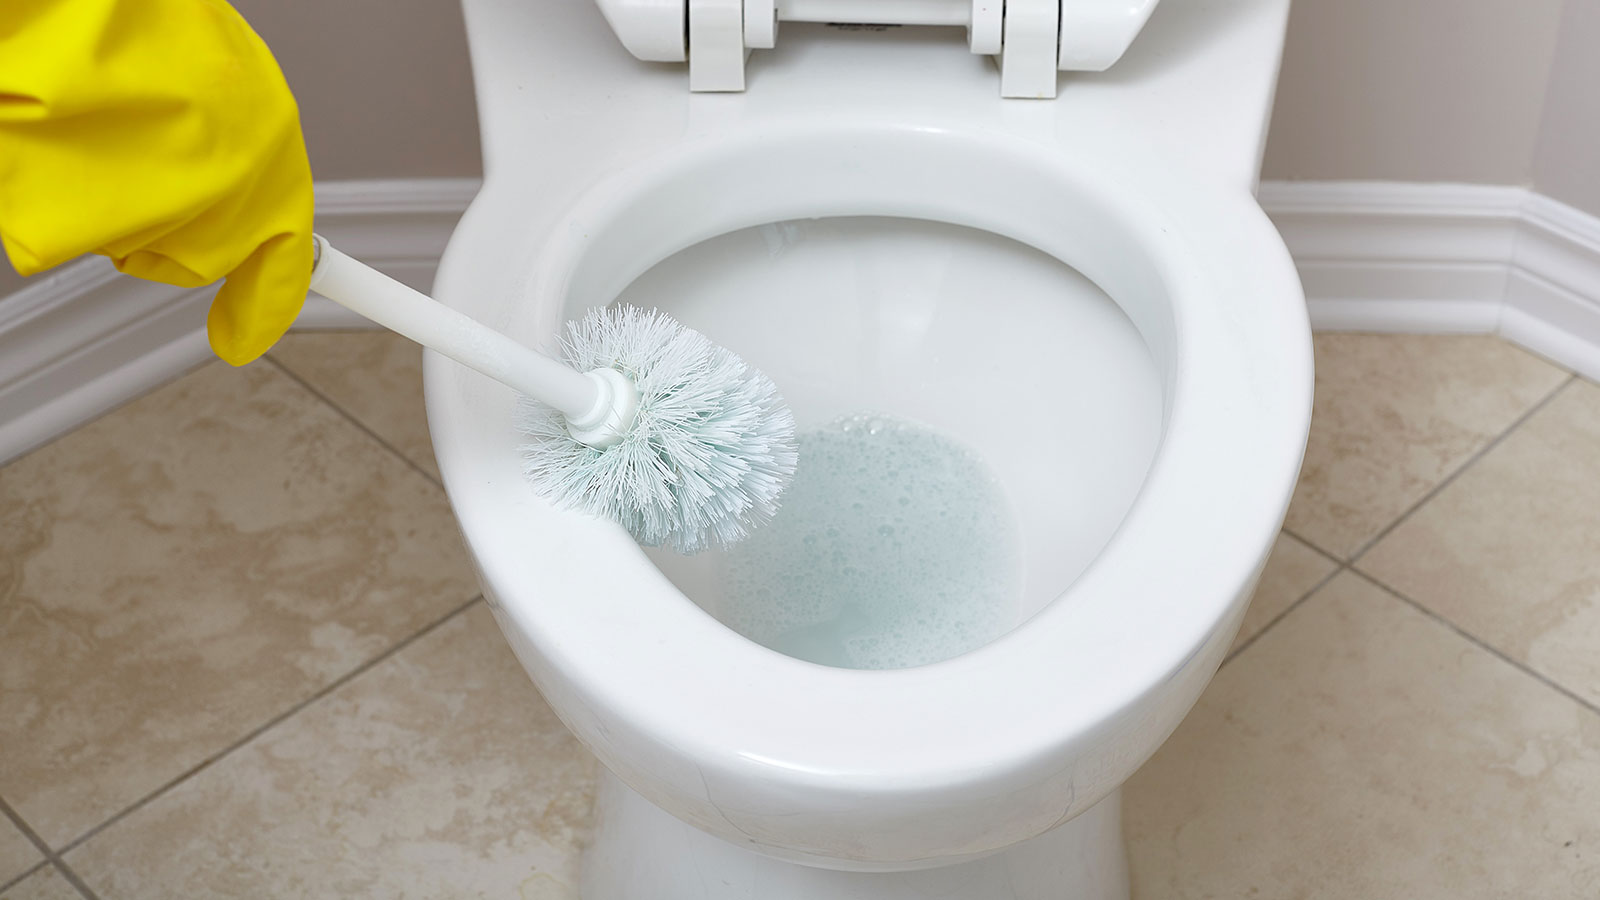
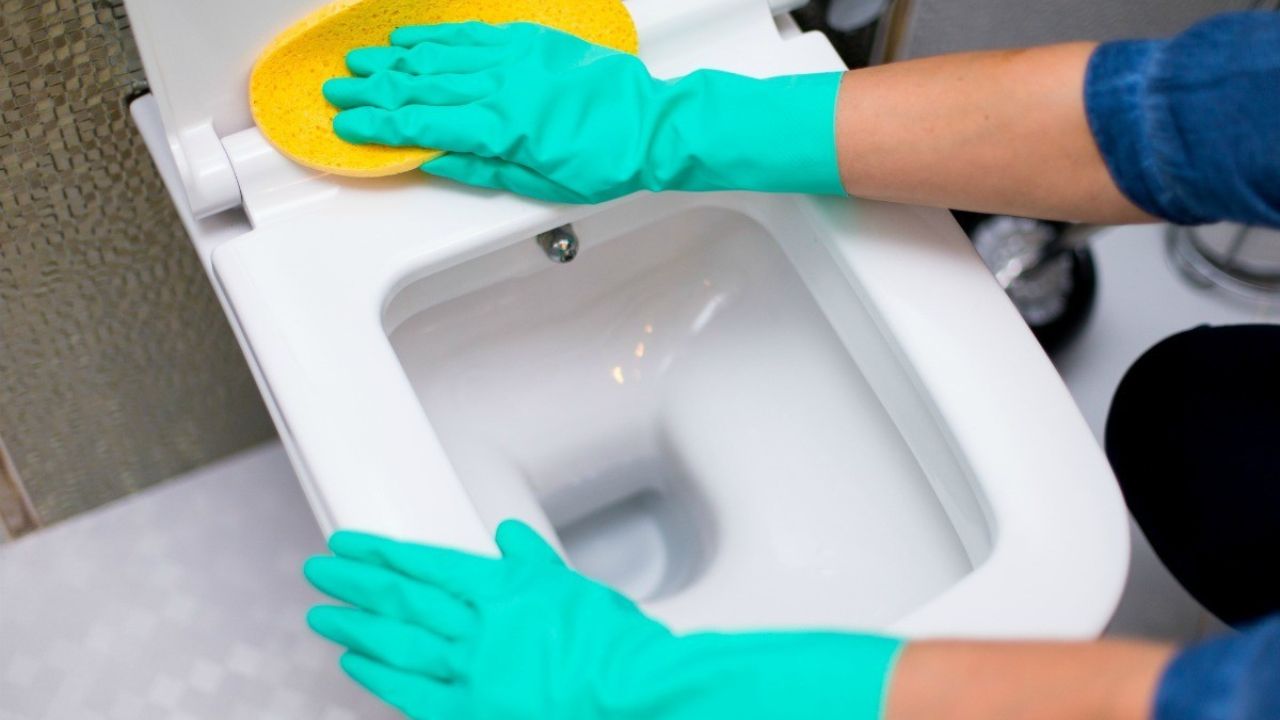
Inspect for Residue: Upon removing the bidet seat, inspect the area on the toilet bowl for any residue or debris that may have accumulated beneath the seat. Use a flashlight if necessary to ensure thorough visibility and identify any areas that require cleaning.
-
Clean the Toilet Bowl: If there is any residue or dirt present on the toilet bowl surface, use a mild cleaning solution and a soft cloth to gently clean the area. Ensure that the surface is thoroughly cleaned and free from any debris before proceeding with the next steps.
-
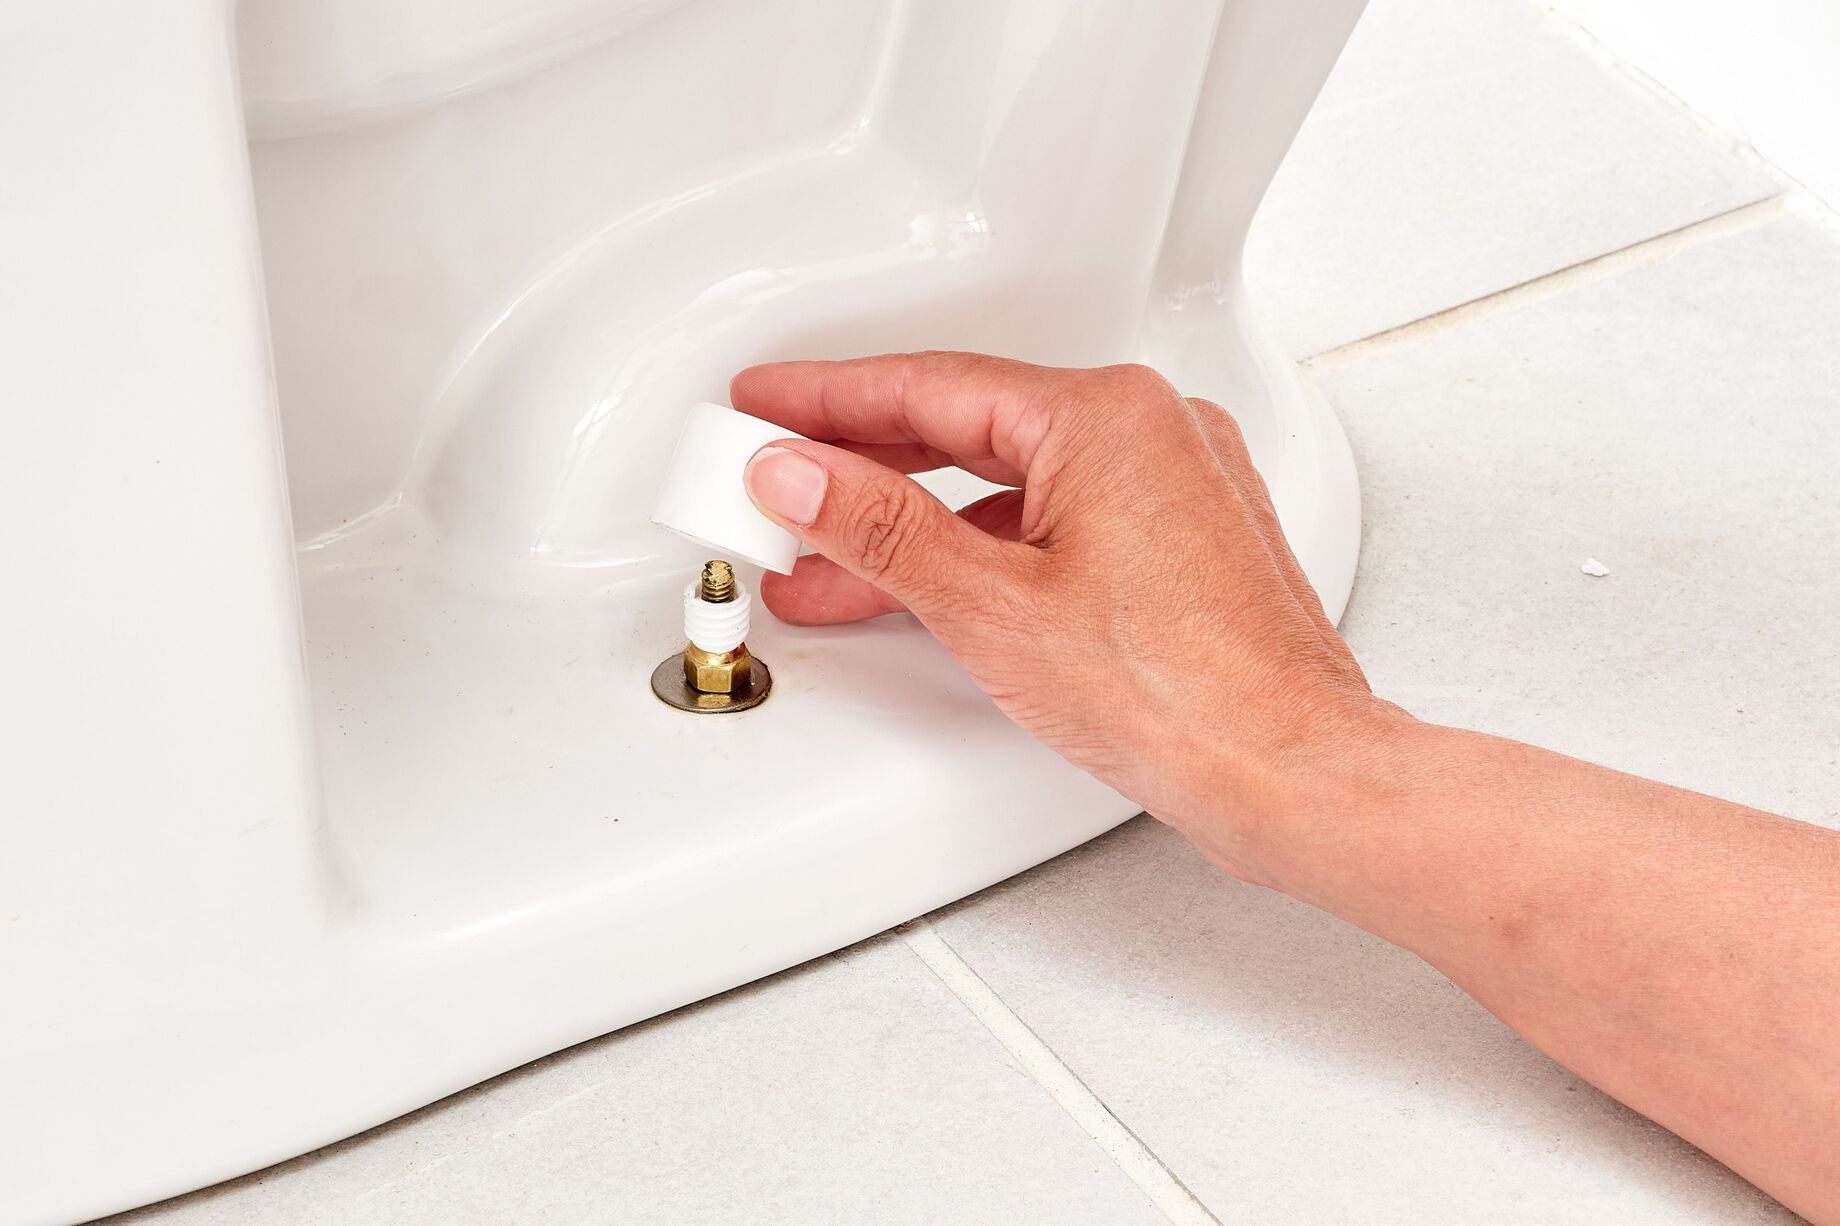
Inspect the Mounting Area: Take a moment to inspect the mounting area on the toilet bowl where the bidet seat was previously attached. Ensure that the mounting surface is clean and free from any obstructions or damage that may hinder the installation of a new seat in the future.
-
Prepare for Reinstallation (Optional): If you plan to reinstall a regular toilet seat or a new bidet seat, ensure that the mounting area is ready for the installation process. Keep any necessary hardware and components readily accessible for the reinstallation, allowing for a smooth and efficient transition.
By following these steps to remove the bidet toilet seat and prepare the area for potential reinstallation or cleaning, you can ensure a thorough and meticulous process. The careful handling and inspection of the area contribute to a seamless transition from bidet seat removal to the subsequent steps, providing a comprehensive and well-executed procedure.
With the bidet toilet seat successfully removed and the area prepared for the next steps, you are now ready to proceed to the final stages of the removal process, which may involve cleaning the area and, if necessary, installing a regular toilet seat. This preparatory step sets the stage for a successful and efficient bidet toilet seat removal, ensuring that the subsequent tasks can be carried out with precision and confidence.
To remove a bidet toilet seat, first turn off the water supply. Then, unscrew the seat from the toilet bowl using a screwdriver. Disconnect any remaining hoses or attachments. Lift the seat off the bowl and dispose of it properly.
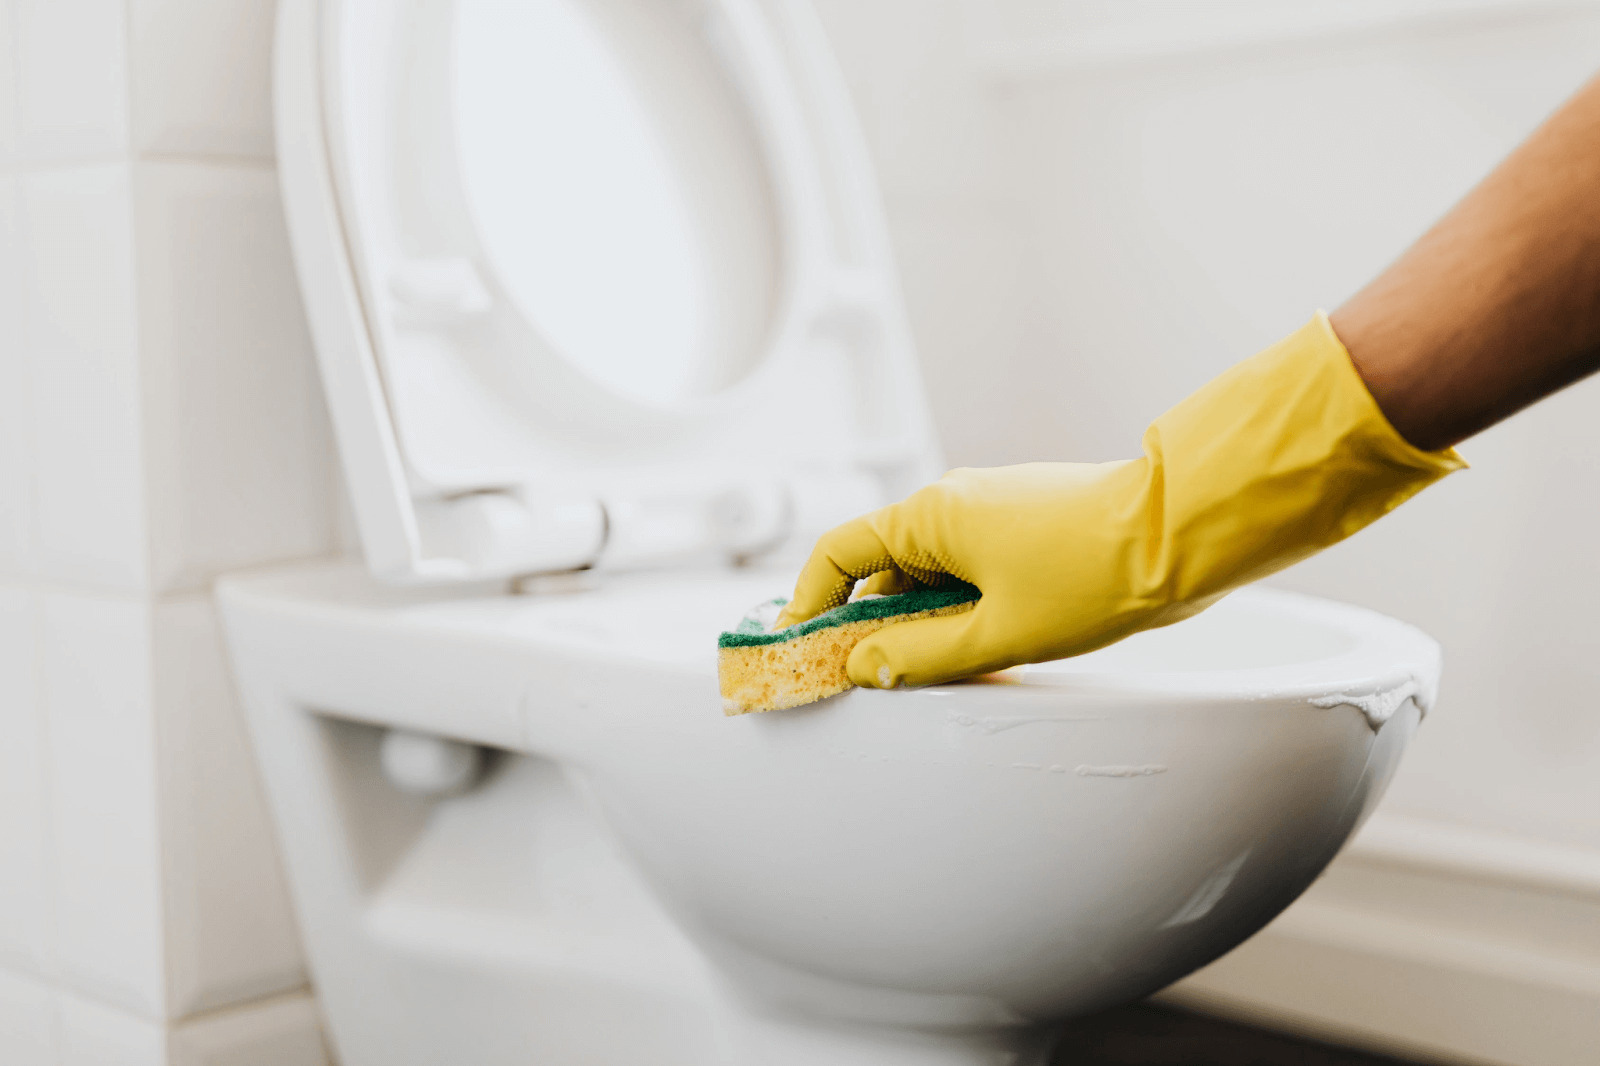
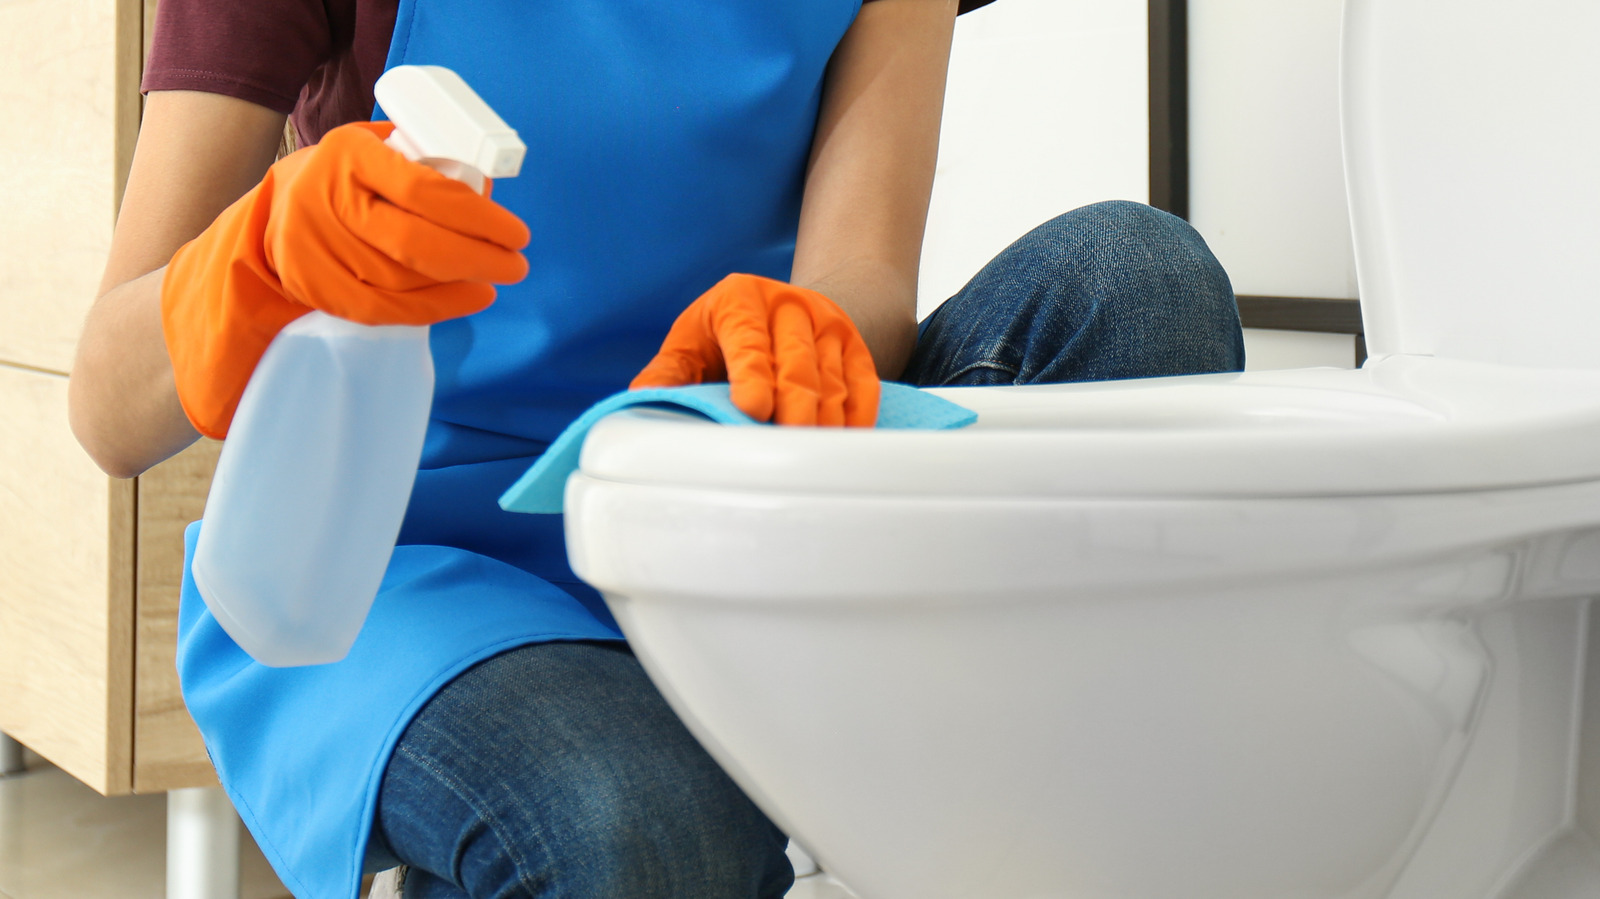
Step 4: Clean the area
After removing the bidet toilet seat and preparing the area for potential reinstallation, it is essential to focus on cleaning the surrounding area to ensure a hygienic and pristine environment. Cleaning the area where the bidet seat was previously installed not only enhances the overall aesthetics of the toilet but also contributes to a thorough maintenance process. Here's a detailed guide on how to clean the area effectively:
-
Sanitize the Surface: Begin by sanitizing the area where the bidet toilet seat was installed. Use a mild disinfectant or antibacterial cleaning solution to thoroughly sanitize the surface, ensuring that any lingering germs or bacteria are effectively eliminated. Pay close attention to areas that were previously concealed by the bidet seat to ensure comprehensive sanitation.
-
Remove Residue and Stains: Inspect the surface for any residue or stains that may have accumulated beneath the bidet seat. Use a gentle cleaning solution and a soft cloth to remove any stubborn residue or discoloration. Pay special attention to areas around the mounting points and hinges, as these areas may require additional cleaning to achieve a spotless finish.
-
Clean the Mounting Area: Focus on cleaning the mounting area on the toilet bowl where the bidet seat was previously attached. Ensure that any residual adhesive or debris is carefully removed to provide a clean and smooth surface for potential reinstallation. Use a non-abrasive cleaning solution to avoid damaging the porcelain surface of the toilet bowl.
-
Inspect for Hidden Debris: Take a moment to inspect the area for any hidden debris or dirt that may have accumulated in hard-to-reach spots. Use a flashlight if necessary to ensure thorough visibility and address any overlooked areas that require cleaning. Pay attention to crevices and edges where debris may have accumulated.
-
Dry the Area: Once the cleaning process is complete, use a clean, dry cloth to thoroughly dry the area where the bidet seat was installed. Ensuring that the surface is completely dry helps prevent the accumulation of moisture and maintains a clean and hygienic environment.
By following these steps to clean the area after bidet toilet seat removal, you can ensure that the surrounding space is impeccably maintained and ready for potential reinstallation or use with a traditional toilet seat. The meticulous cleaning process contributes to a hygienic and visually appealing environment, enhancing the overall cleanliness and comfort of the bathroom.
With the area thoroughly cleaned and prepared for potential reinstallation, you have successfully completed the essential steps of bidet toilet seat removal. Whether you choose to reinstall a regular toilet seat or leave the area as is, the comprehensive cleaning process ensures that the space is primed for optimal hygiene and functionality.
Read more: How To Use A Bidet Toilet Seat
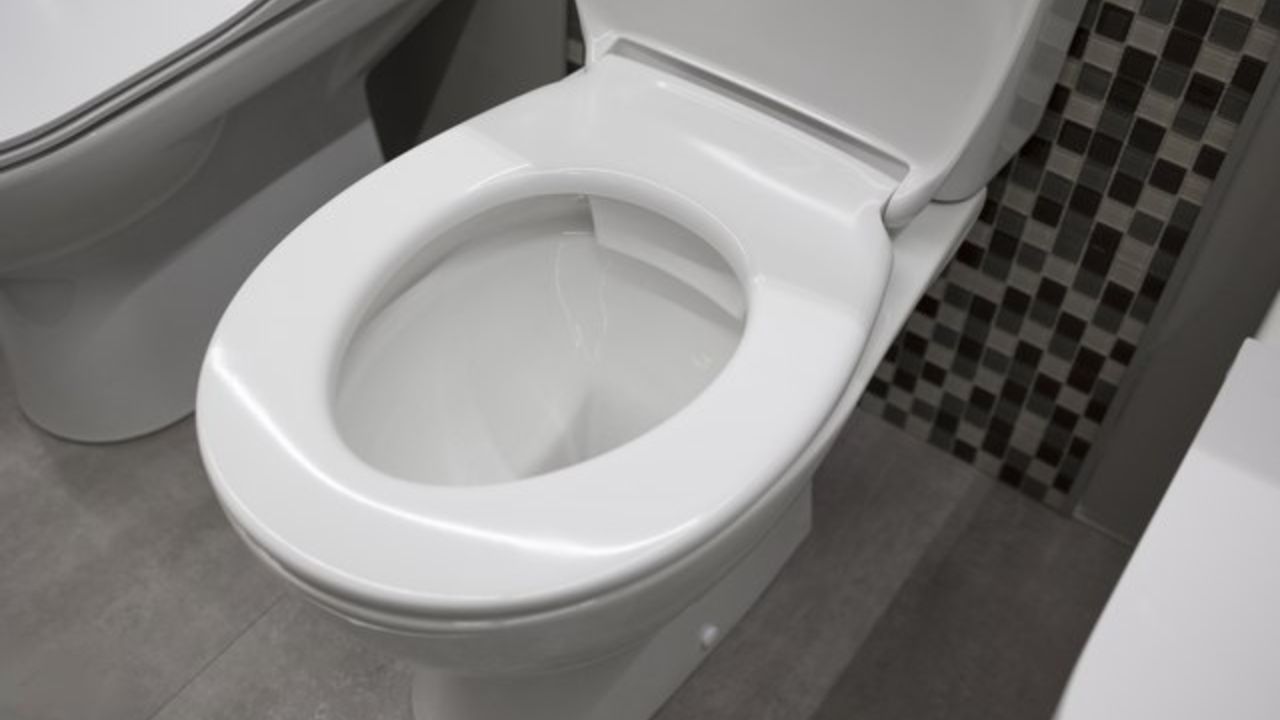
Step 5: Install a regular toilet seat (optional)
If you've decided to replace the bidet toilet seat with a traditional one, the installation process is relatively straightforward and can be accomplished with a few simple steps. Whether you prefer a standard toilet seat or plan to upgrade to a premium model with enhanced features, the installation procedure remains consistent. Here's a detailed guide on how to install a regular toilet seat as part of the bidet toilet seat removal process:
-
Select the New Toilet Seat: Begin by selecting a suitable replacement toilet seat that aligns with your preferences and bathroom decor. Consider factors such as material, shape, and additional features to ensure that the new seat meets your requirements. Whether you opt for a basic model or a luxurious upgrade, choosing the right seat is essential for a successful installation.
-
Position the Seat: Place the new toilet seat over the bowl, aligning it with the mounting holes on the toilet. Ensure that the seat is positioned evenly and securely to facilitate a stable and comfortable seating experience. Take note of any alignment indicators or markings on the seat to guide the positioning process.
-
Secure the Mounting Bolts: Using the provided hardware, secure the mounting bolts through the designated holes on the toilet bowl. Tighten the bolts evenly to ensure a balanced and secure fit. It's important to avoid over-tightening the bolts, as this may lead to damage or instability.
-
Attach the Seat Cover and Lid: If the new toilet seat includes a cover and lid, carefully attach these components according to the manufacturer's instructions. Ensure that the cover and lid are securely fastened to the seat to provide a complete and functional seating arrangement.
-
Adjust and Test: Once the new toilet seat is installed, take a moment to adjust the positioning and alignment as needed. Test the seat to ensure that it opens and closes smoothly, and that it remains securely in place during use. Making any necessary adjustments at this stage will contribute to a comfortable and reliable seating experience.
-
Final Checks: Inspect the installed toilet seat to ensure that it is securely fastened and aligned with the bowl. Verify that the seat cover and lid function properly and that there are no issues with the installation. Address any minor adjustments or tightening if required to achieve an optimal result.
By following these steps to install a regular toilet seat as part of the bidet toilet seat removal process, you can seamlessly transition to a traditional seating arrangement with ease. Whether you opt for a standard seat or a premium upgrade, the installation process sets the stage for a comfortable and functional addition to your bathroom. With the new toilet seat successfully installed, you have completed the optional step of the bidet toilet seat removal process, ensuring a smooth and efficient transition to a traditional seating arrangement.
Conclusion
In conclusion, the process of removing a bidet toilet seat involves a series of systematic steps that ensure a safe, efficient, and thorough transition. By following the outlined steps, individuals can successfully navigate through the removal process with confidence and precision, whether they are preparing for maintenance, repairs, or a transition to a traditional toilet seat.
The initial step of turning off the water supply sets the stage for a controlled and mess-free removal process, preventing any potential water leakage or mishaps. This crucial preparatory step ensures a safe working environment and minimizes the risk of unexpected water discharge during the removal process.
Subsequently, disconnecting the bidet toilet seat from the electrical and plumbing connections is essential for a seamless transition. By carefully unplugging the power cord, removing the seat mounting bolts, and disconnecting the water supply hose, individuals can prepare the bidet seat for safe removal, setting the stage for a well-executed disconnection process.
The meticulous removal of the bidet toilet seat from the toilet bowl, followed by a thorough cleaning of the area, contributes to a hygienic and visually appealing environment. Inspecting for residue, cleaning the toilet bowl surface, and preparing the mounting area for potential reinstallation ensure that the space is impeccably maintained and ready for use with a traditional toilet seat if desired.
For those opting to install a regular toilet seat, the optional step of installing the new seat provides a seamless transition to a traditional seating arrangement. By carefully selecting, positioning, and securing the new seat, individuals can enjoy a comfortable and functional addition to their bathroom, completing the bidet toilet seat removal process with a successful installation.
In essence, the comprehensive guide to removing a bidet toilet seat equips individuals with the knowledge and confidence to navigate through each step of the process effectively. Whether it's for maintenance, repairs, or a transition to a traditional toilet seat, the detailed steps outlined in this guide ensure a smooth and hassle-free removal process, contributing to a well-maintained and functional bathroom environment.
Frequently Asked Questions about How To Remove Bidet Toilet Seat
Was this page helpful?
At Storables.com, we guarantee accurate and reliable information. Our content, validated by Expert Board Contributors, is crafted following stringent Editorial Policies. We're committed to providing you with well-researched, expert-backed insights for all your informational needs.
0 thoughts on “How To Remove Bidet Toilet Seat”