Home>Furniture & Design>Bathroom Accessories>How To Install Bidet On Tankless Toilet
Bathroom Accessories
How To Install Bidet On Tankless Toilet
Modified: March 25, 2024
Learn how to easily install a bidet on a tankless toilet with our step-by-step guide. Upgrade your bathroom with this essential bathroom accessory today!
(Many of the links in this article redirect to a specific reviewed product. Your purchase of these products through affiliate links helps to generate commission for Storables.com, at no extra cost. Learn more)
Introduction
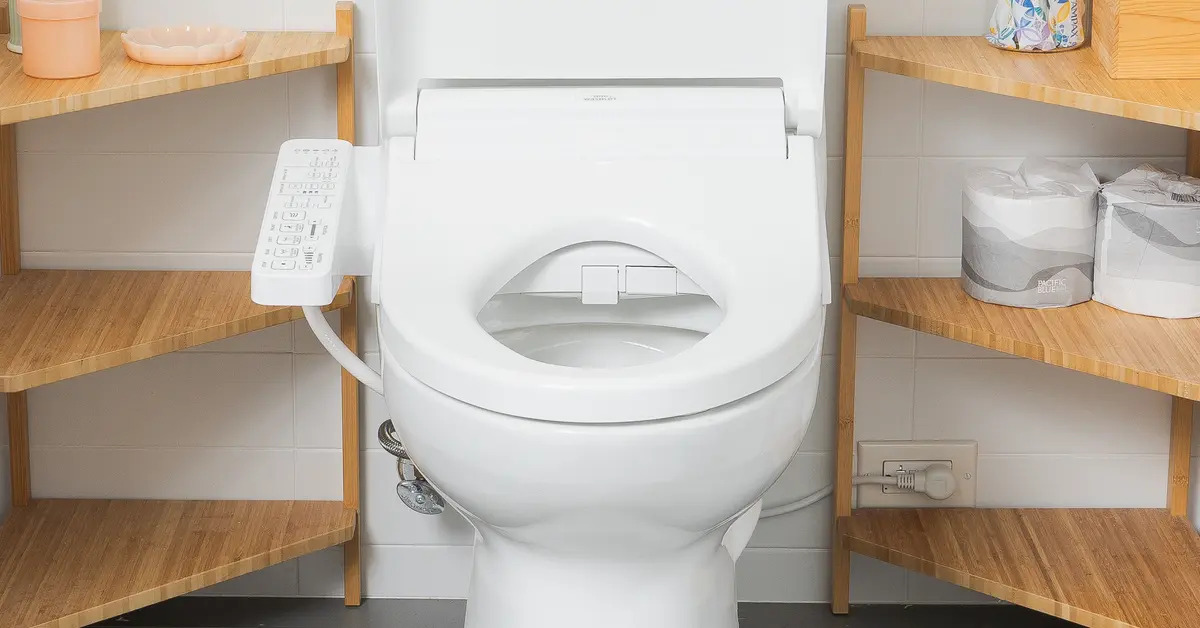
Installing a bidet on a tankless toilet can significantly enhance your bathroom experience, providing a convenient and hygienic way to cleanse after using the toilet. Bidet attachments are becoming increasingly popular due to their ease of installation and the numerous benefits they offer. By following a few simple steps, you can transform your tankless toilet into a luxurious and functional space that promotes cleanliness and comfort.
In this comprehensive guide, we will walk you through the process of installing a bidet attachment on a tankless toilet. Whether you are a seasoned DIY enthusiast or a novice in the world of home improvement, this step-by-step tutorial will equip you with the knowledge and confidence to complete the installation successfully. From gathering the necessary tools and materials to testing the bidet functionality, each stage of the process will be explained in detail, ensuring that you can enjoy the benefits of a bidet-equipped toilet in no time.
By the end of this guide, you will have a clear understanding of the installation process and be ready to embark on this rewarding home improvement project. With the right tools, a bit of patience, and a willingness to explore new possibilities, you can elevate your bathroom experience and embrace the convenience and cleanliness that a bidet attachment offers.
So, let's dive into the world of bidet installations and discover how you can easily and effectively enhance your tankless toilet with this innovative and practical addition. Get ready to transform your bathroom into a space that prioritizes hygiene, comfort, and modern convenience.
Key Takeaways:
- Upgrade your tankless toilet with a bidet for a cleaner, more comfortable bathroom experience. Follow simple steps to install and enjoy the benefits of modern hygiene and convenience.
- By installing a bidet attachment, you can personalize your bathroom experience, reduce environmental impact, and embrace modern technology for enhanced cleanliness and comfort.
Read more: Bidet Toilet: How To Install
Step 1: Gather Necessary Tools and Materials
Before embarking on the installation of a bidet attachment on your tankless toilet, it is essential to gather all the necessary tools and materials. By ensuring that you have everything required for the installation process, you can streamline the project and minimize any potential interruptions. Here's a comprehensive list of tools and materials you will need:
Tools:
- Adjustable Wrench: This versatile tool will be essential for loosening and tightening various connections during the installation process.
- Screwdriver Set: A set of screwdrivers, including both flathead and Phillips head varieties, will be necessary for removing the toilet seat and accessing the toilet's mounting hardware.
- Teflon Tape: Teflon tape, also known as plumber's tape, will help create a secure and leak-free seal when connecting the bidet attachment to the water supply.
- Bucket or Container: Having a bucket or container on hand will allow you to catch any water that may drain from the toilet's water supply line when it is disconnected.
- Towel or Rag: Keeping a towel or rag nearby will be useful for wiping up any spills or drips that may occur during the installation process.
Materials:
- Bidet Attachment: Select a bidet attachment that is compatible with a tankless toilet and meets your specific preferences in terms of features and design.
- Water Supply Adapter: Depending on the type of bidet attachment you have chosen, you may need a water supply adapter to facilitate the connection between the bidet and the toilet's water supply.
- Rubber Washers: These small but crucial components will help create a watertight seal when connecting the bidet attachment to the toilet.
- Optional: Gloves: While not essential, wearing gloves can help protect your hands during the installation process, especially if you are working with any cleaning agents or adhesives.
By ensuring that you have all the necessary tools and materials at your disposal, you can approach the installation process with confidence and efficiency. With these items on hand, you will be well-prepared to move on to the next steps of installing the bidet attachment on your tankless toilet.
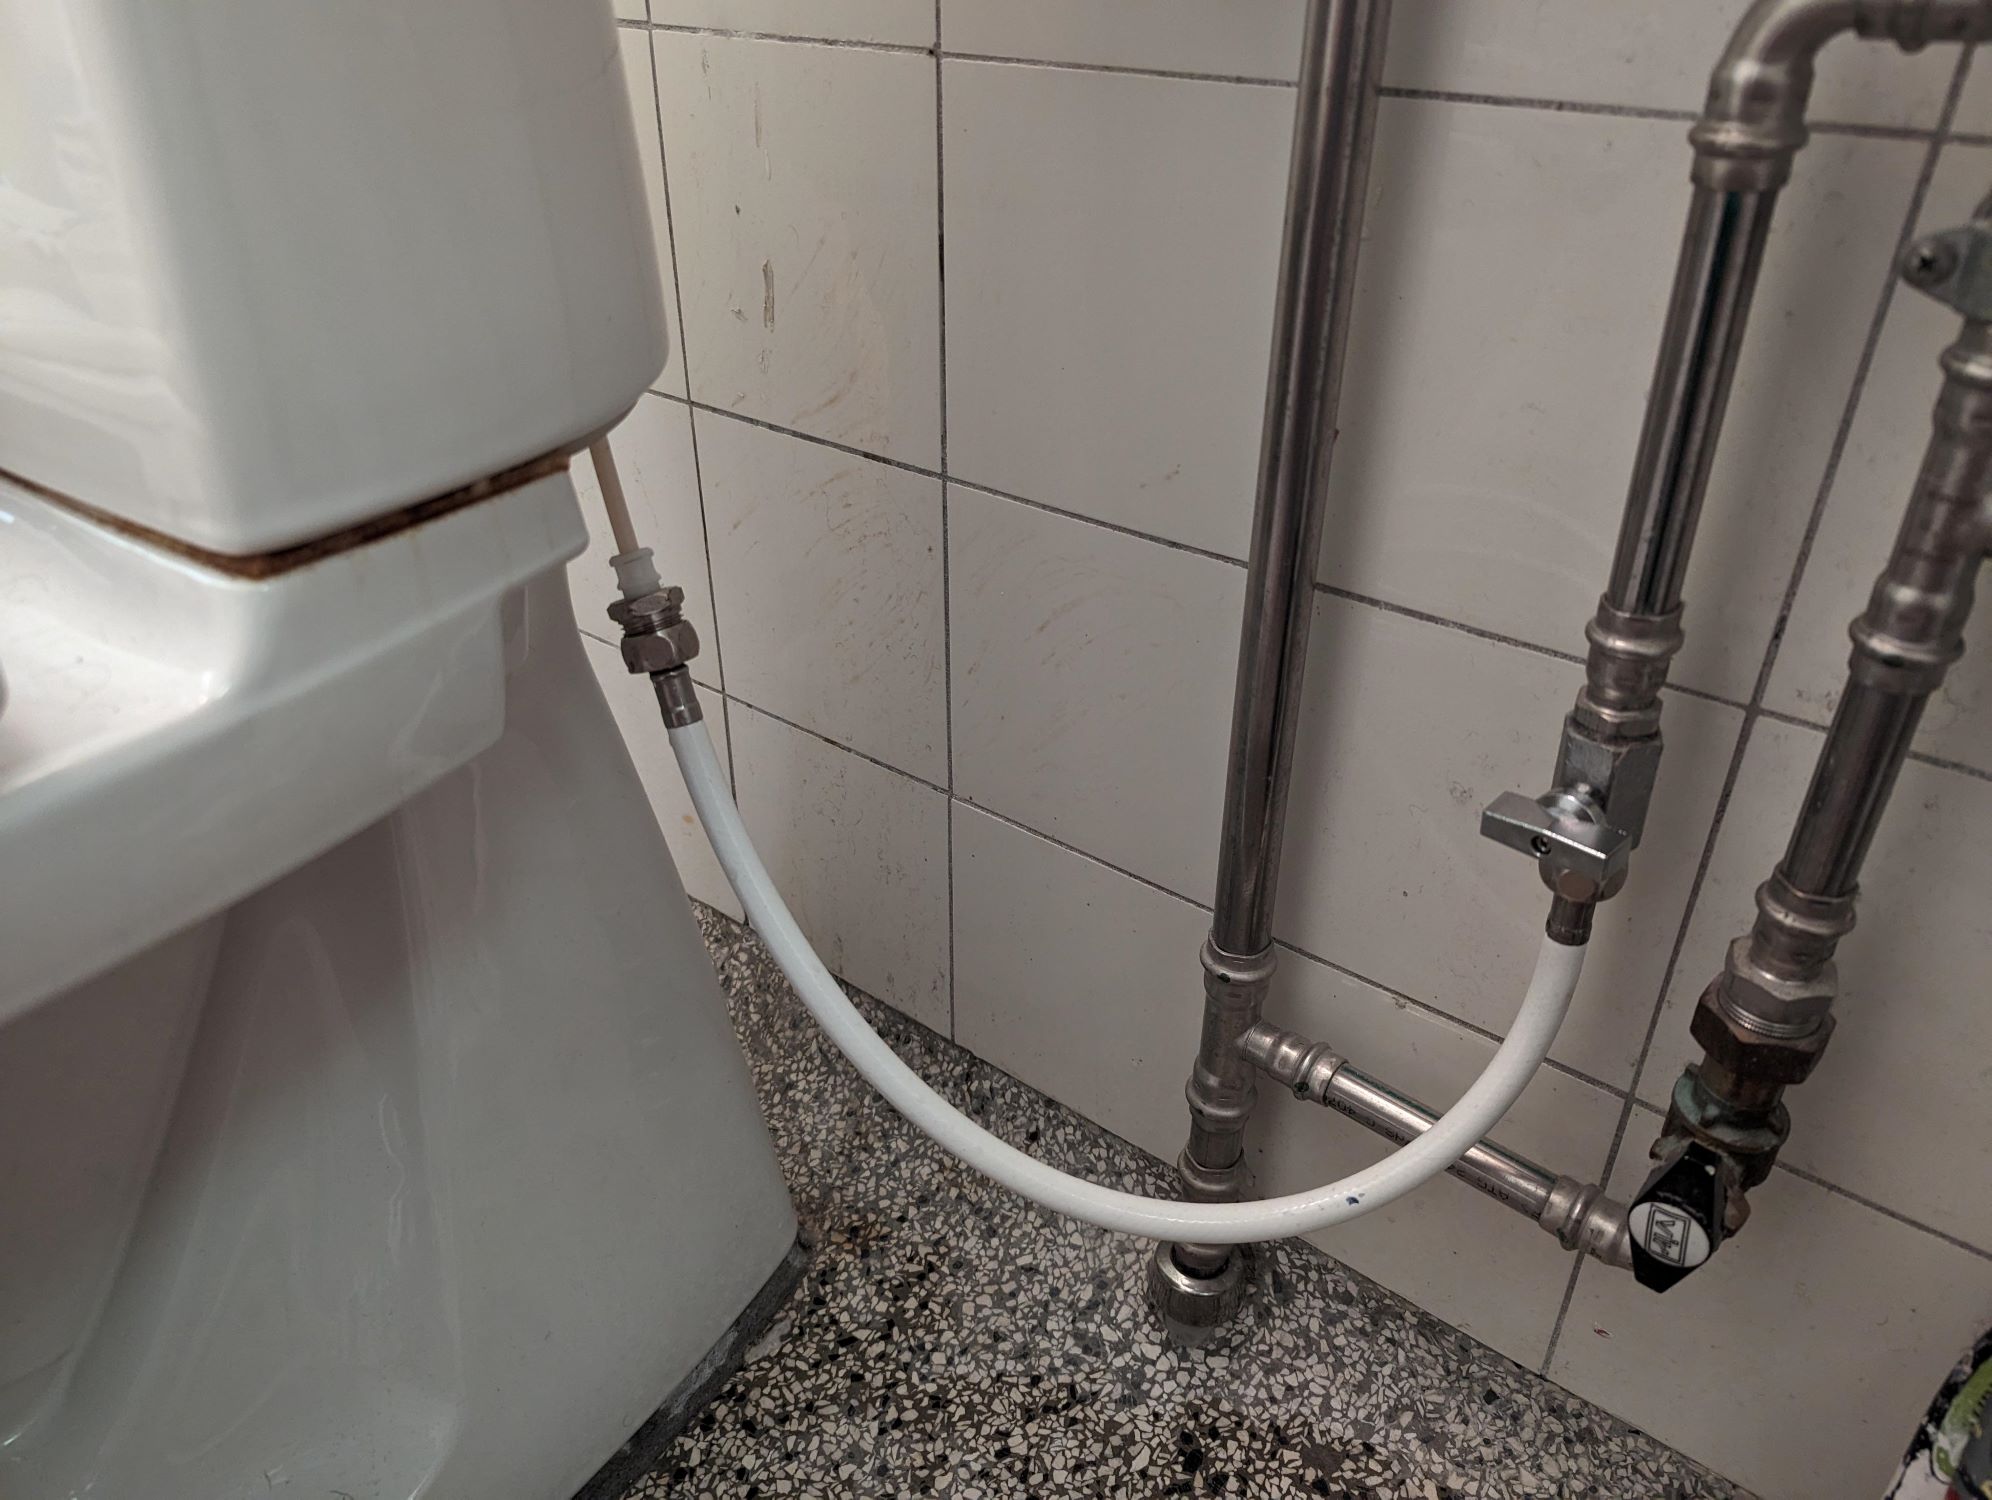
Step 2: Turn Off Water Supply
Before beginning the installation process, it is crucial to turn off the water supply to the tankless toilet. This step is essential to prevent any water leakage or potential mess during the installation of the bidet attachment. Here's a detailed guide on how to safely and effectively turn off the water supply:
-
Locate the Shut-Off Valve: The shut-off valve is typically located behind the toilet, near the floor or on the wall. It is a small valve connected to the water supply line leading to the toilet's tankless system.
-
Turn the Valve Clockwise: To shut off the water supply, turn the valve clockwise until it is fully closed. This will stop the flow of water to the toilet, ensuring that you can proceed with the installation without any water-related issues.
-
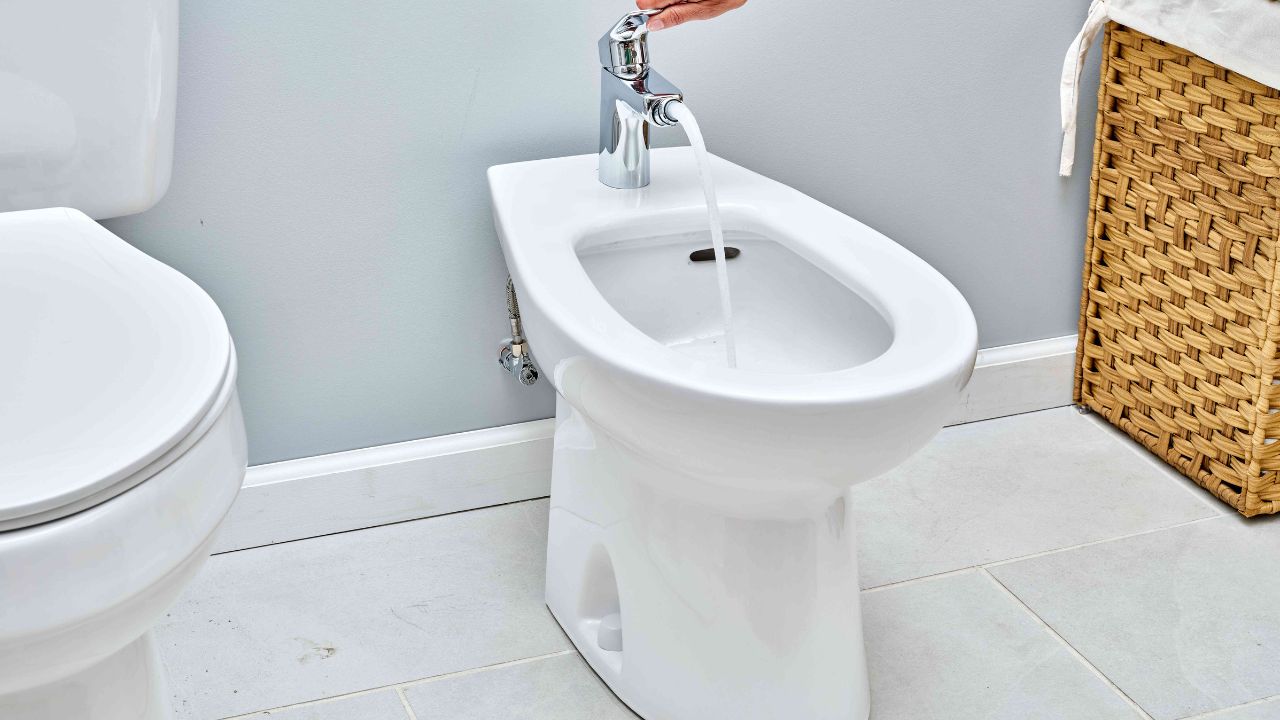
Flush the Toilet: After turning off the water supply, flush the toilet to remove any remaining water from the tankless system. This will minimize the amount of water that may spill or leak during the subsequent steps of the installation process.
-
Check for Water Flow: Once the water supply is turned off and the toilet is flushed, check for any remaining water flow by briefly pressing the toilet's flush handle. If water continues to flow, double-check the shut-off valve to ensure it is fully closed.
By following these steps to turn off the water supply, you can create a safe and controlled environment for installing the bidet attachment on your tankless toilet. This proactive measure will help prevent any potential water-related mishaps and ensure a smooth and efficient installation process.
With the water supply securely turned off, you are now ready to proceed to the next steps of the installation, confident in the knowledge that you have taken the necessary precautions to facilitate a successful bidet attachment installation on your tankless toilet.
Read more: How To Install Bidet Toilet Seat
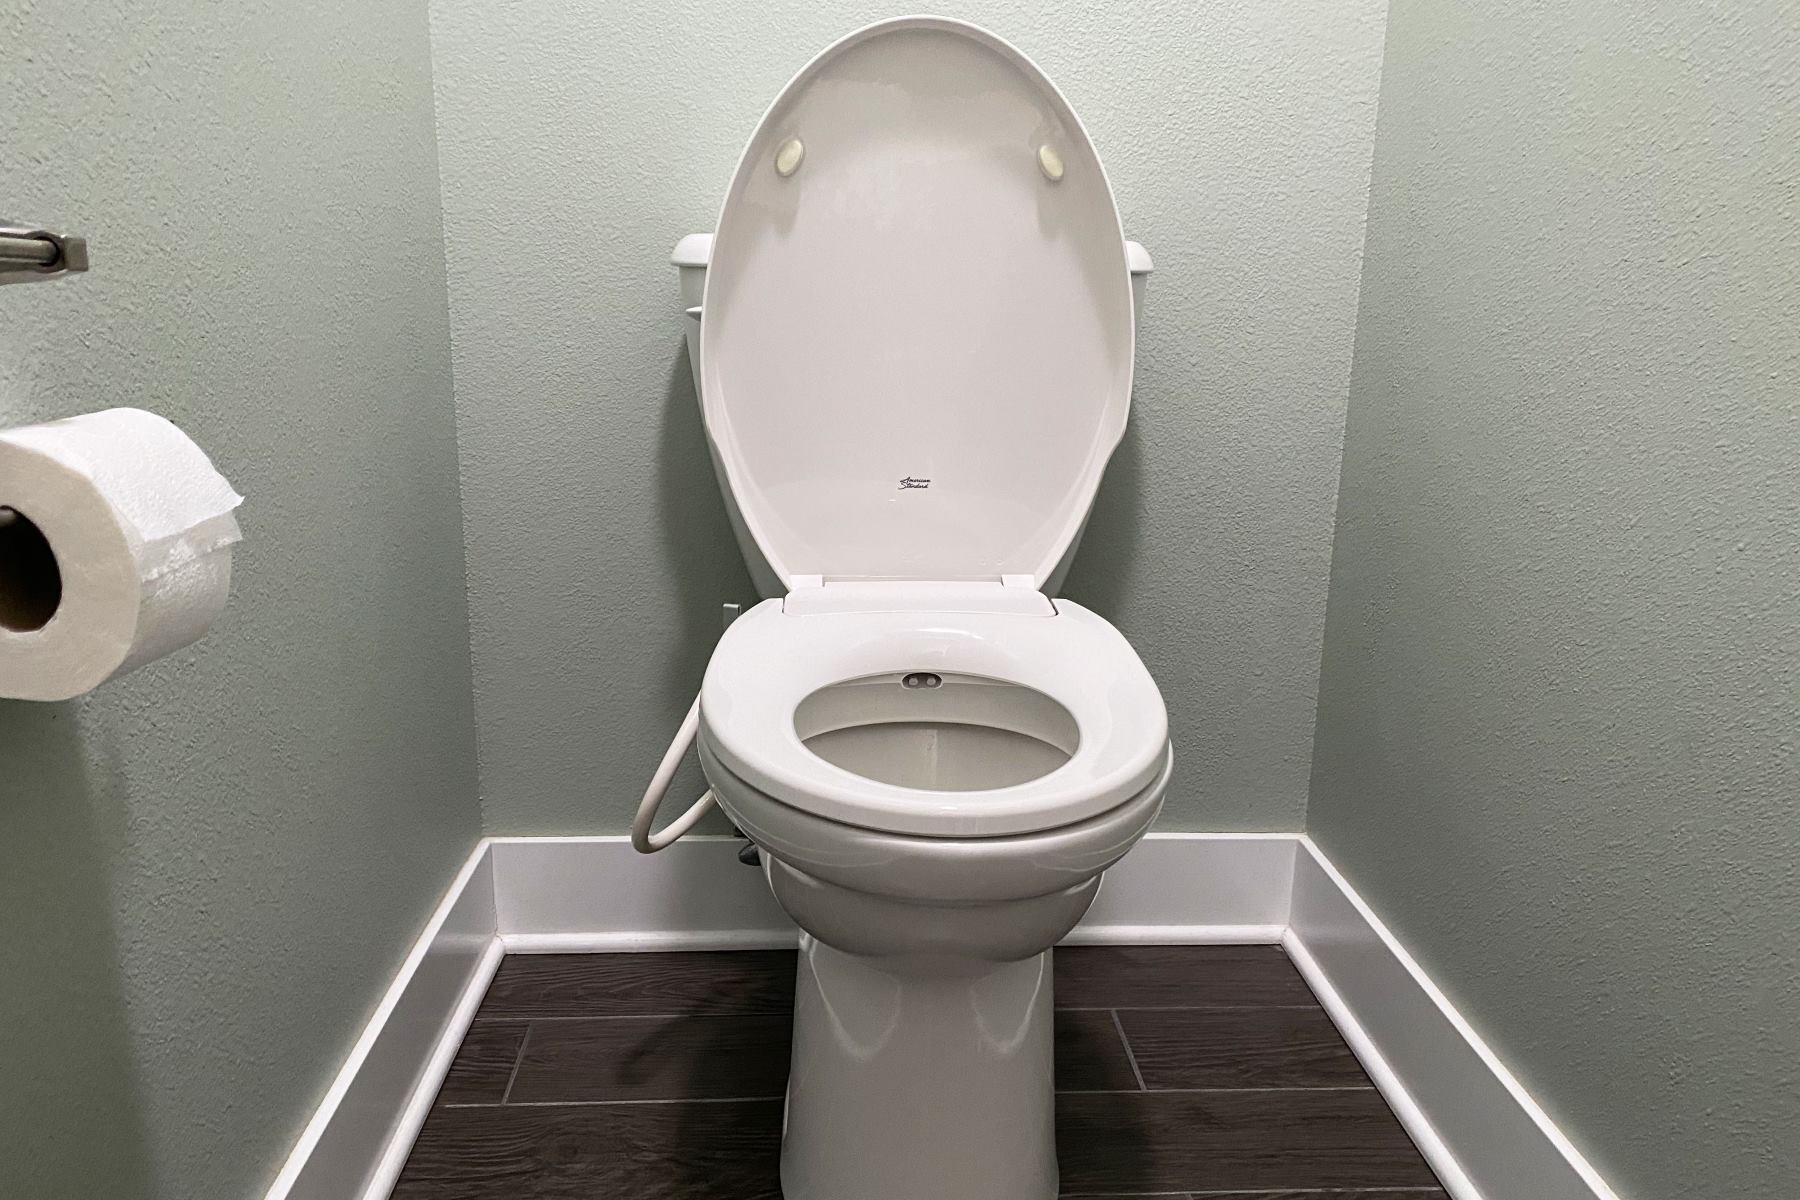
Step 3: Remove Toilet Seat
Removing the toilet seat is a crucial step in the process of installing a bidet attachment on a tankless toilet. This step requires careful attention to detail and a systematic approach to ensure that the toilet seat is safely and effectively detached. Here's a detailed guide on how to remove the toilet seat:
-
Locate the Seat Mounting Bolts: The toilet seat is typically attached to the toilet bowl with mounting bolts located at the rear underside of the bowl. These bolts may be covered by decorative caps that can be pried off to reveal the fastening hardware.
-
Use a Screwdriver: Once the mounting bolts are exposed, use a screwdriver to loosen and remove the nuts securing the bolts. Depending on the type of toilet seat, you may encounter either plastic wing nuts or metal nuts. Turn the nuts counterclockwise to loosen them and detach the seat from the toilet bowl.
-
Lift and Remove the Seat: With the nuts and bolts removed, carefully lift the toilet seat and lid assembly away from the toilet bowl. It's important to handle the seat with care to avoid any damage to the toilet or surrounding areas.
-
Clean and Inspect the Mounting Area: After removing the toilet seat, take the opportunity to clean the mounting area on the toilet bowl. Wipe away any accumulated debris or residue to ensure a clean surface for attaching the bidet.
-
Set Aside the Toilet Seat: Once removed, set the toilet seat and lid assembly aside in a safe and designated area. This will prevent any accidental damage and ensure that the seat is readily accessible when it's time to reattach it after installing the bidet attachment.
By following these steps to remove the toilet seat, you can prepare the tankless toilet for the installation of the bidet attachment. With the seat safely detached, you are now ready to proceed to the next steps of the installation process, bringing you one step closer to enjoying the benefits of a bidet-equipped toilet.
Step 4: Install Bidet Attachment
With the toilet seat removed and the water supply turned off, you are now ready to install the bidet attachment on your tankless toilet. This step marks a significant milestone in the installation process, bringing you closer to experiencing the convenience and comfort that a bidet-equipped toilet offers. Here's a detailed guide on how to install the bidet attachment:
-
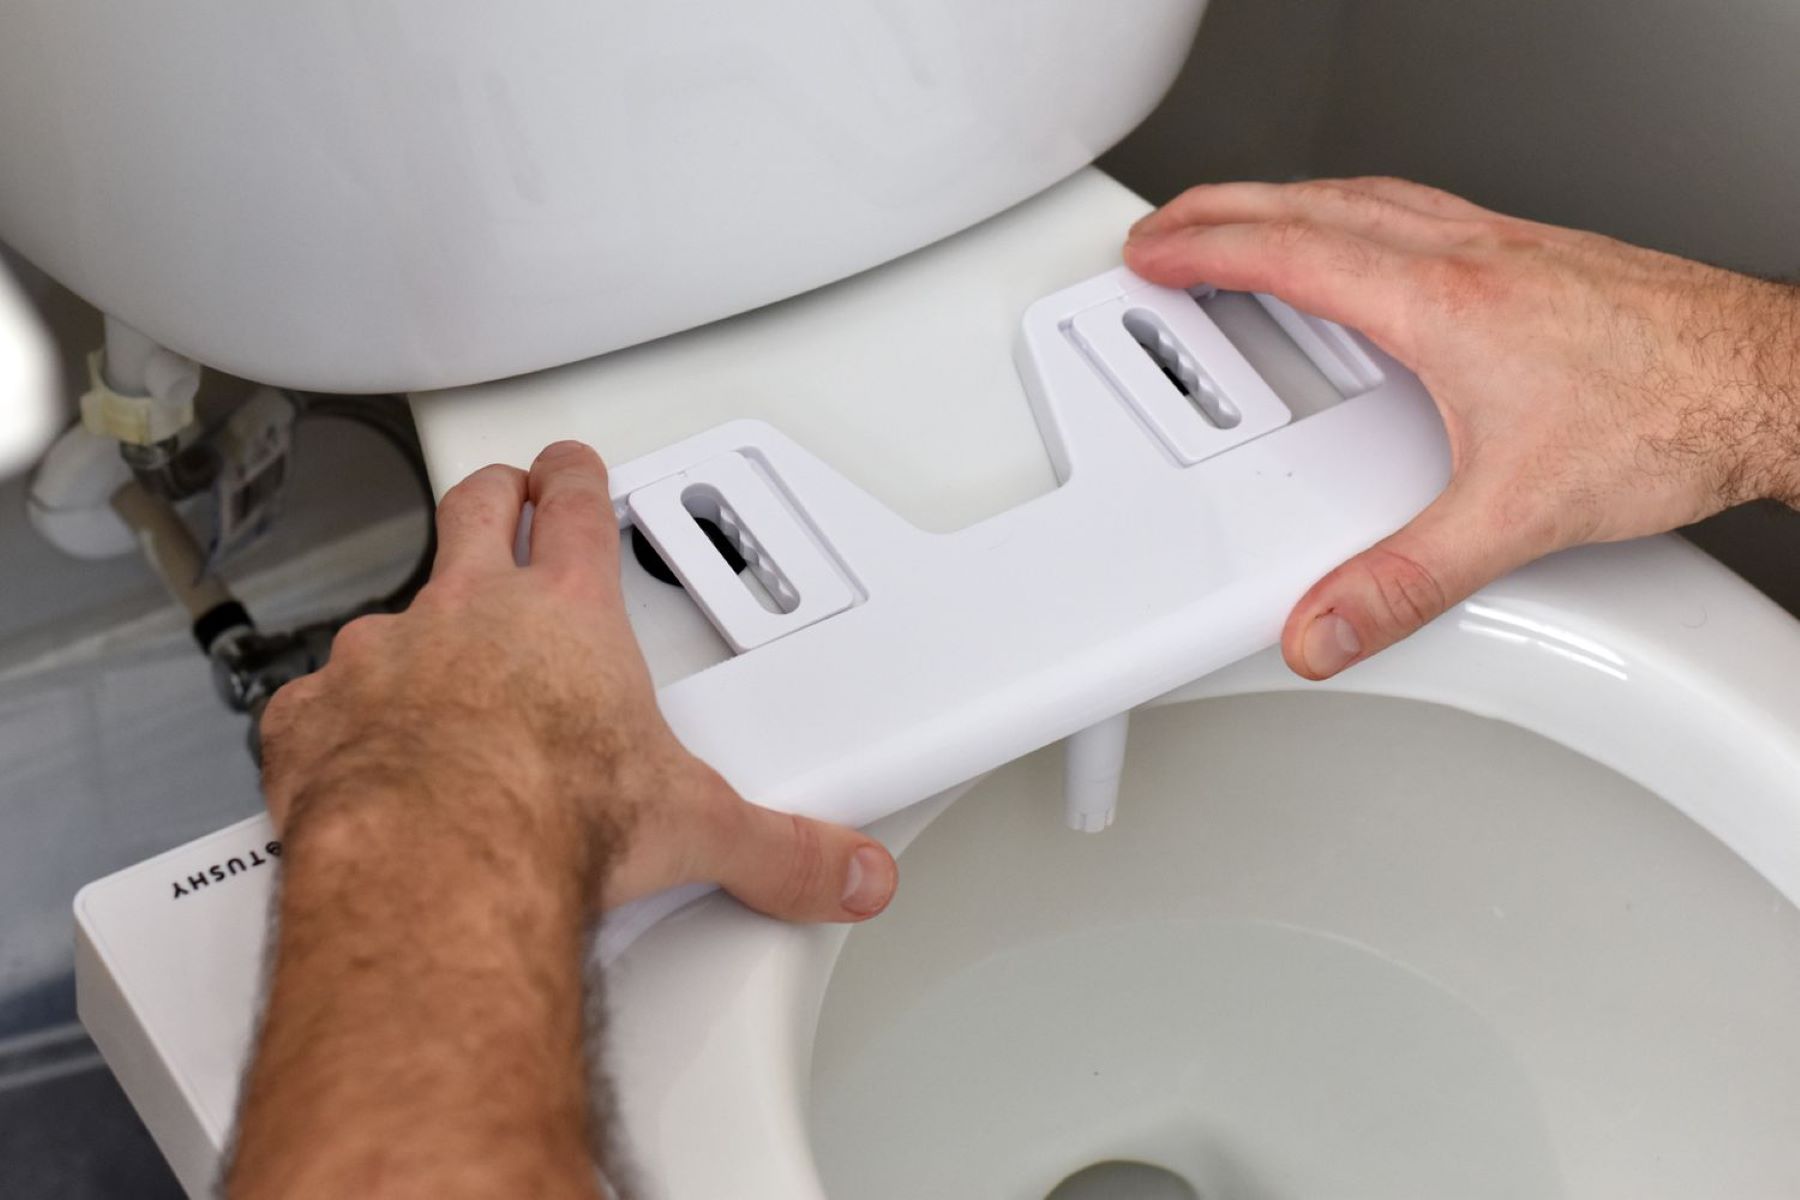
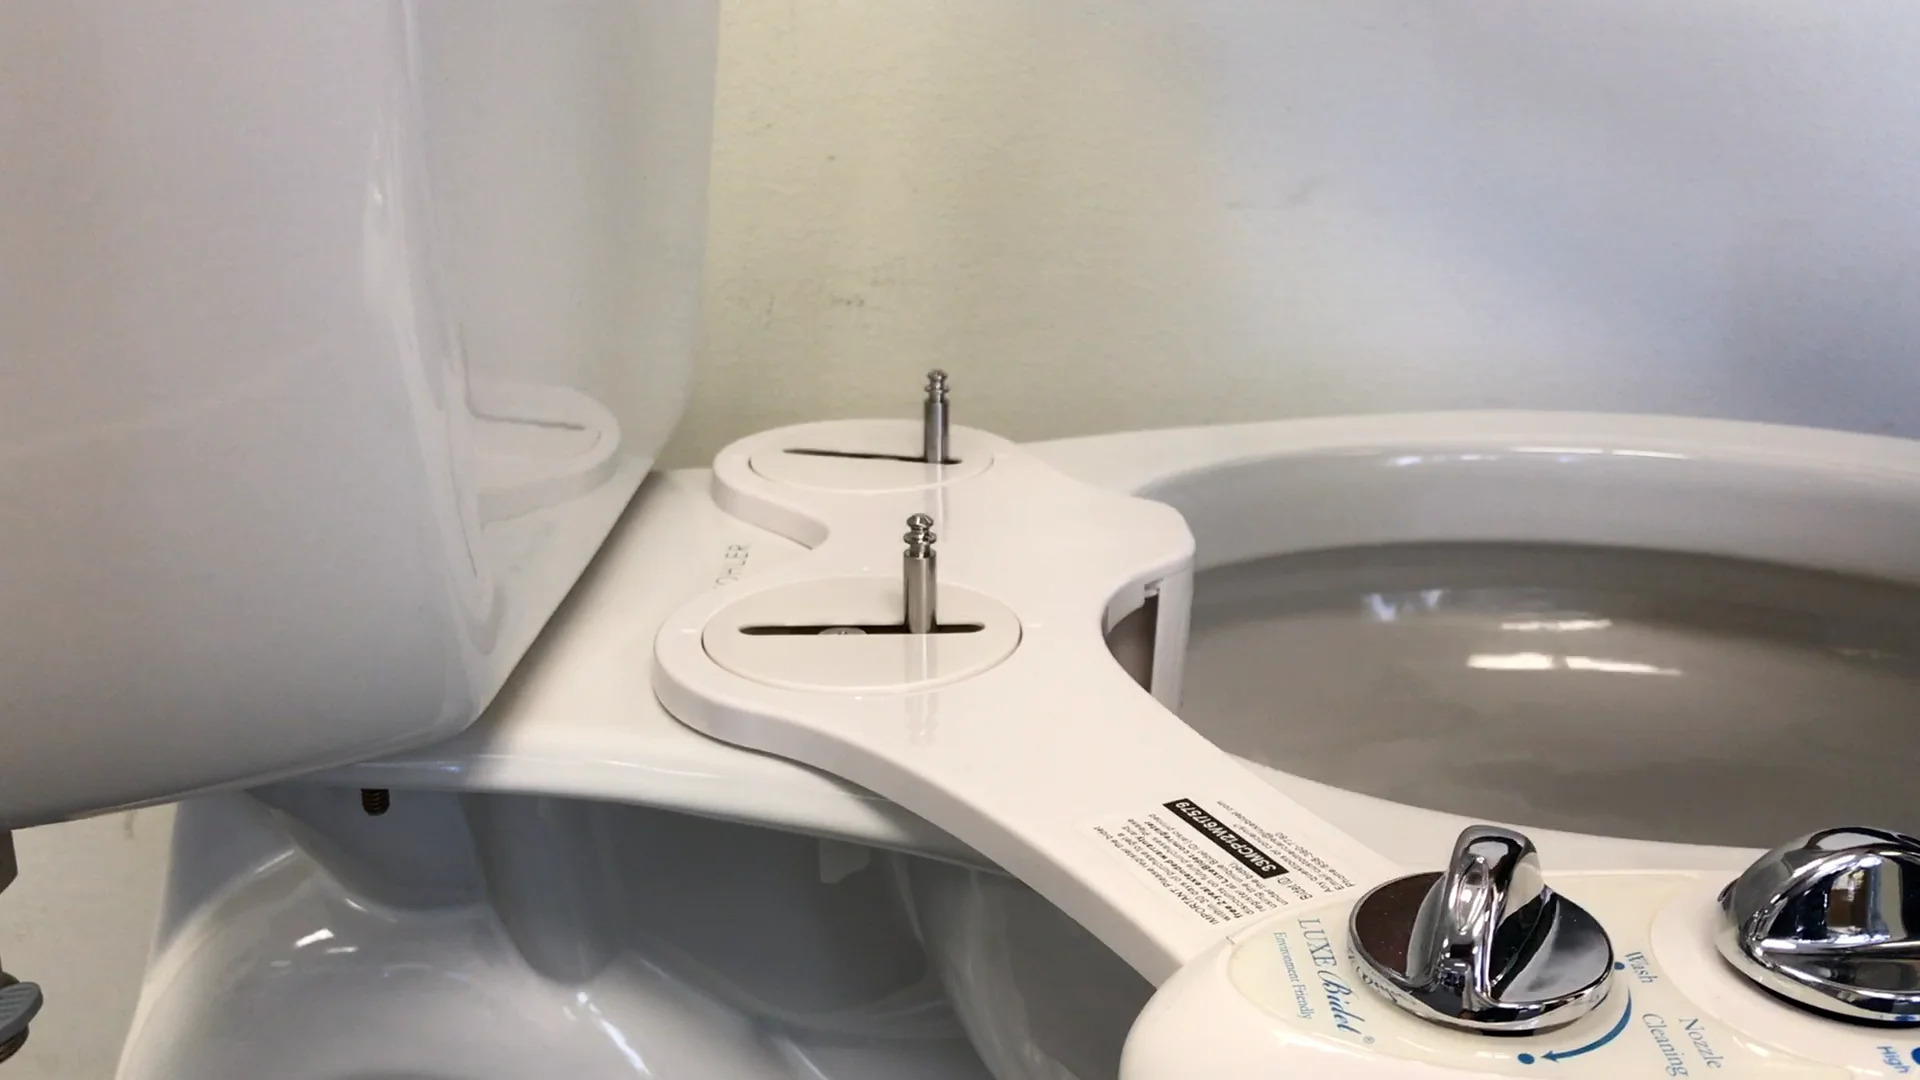
Position the Bidet Attachment: Begin by positioning the bidet attachment on the toilet bowl according to the manufacturer's instructions. Ensure that the attachment aligns with the mounting holes on the toilet bowl, allowing for a secure and stable installation.
-
Secure the Attachment: Once the bidet attachment is properly positioned, use the provided mounting hardware to secure it to the toilet bowl. This may involve attaching brackets or fastening screws to ensure that the bidet attachment is firmly in place.
-
Connect the Water Supply: Depending on the type of bidet attachment you have selected, you will need to connect it to the toilet's water supply. Follow the manufacturer's instructions to make the necessary connections, ensuring that the water supply lines are securely attached and free from any leaks.
-
Check for Stability: After installing the bidet attachment and connecting the water supply, carefully check for any signs of instability or loose fittings. Gently test the attachment to ensure that it is securely mounted and does not wobble or shift when in use.
-
Adjust Settings (if applicable): If your bidet attachment includes adjustable settings such as water pressure or nozzle position, take the time to customize these settings according to your preferences. Familiarize yourself with the control options provided and make any necessary adjustments to optimize the bidet's functionality.
By following these steps to install the bidet attachment, you can effectively integrate this innovative and practical addition into your tankless toilet. With the attachment securely in place and the water supply connected, you are one step closer to enjoying the enhanced hygiene and comfort that a bidet-equipped toilet provides.
As you proceed with the installation, it's important to refer to the manufacturer's instructions and guidelines specific to your bidet attachment model. By adhering to these instructions and taking a methodical approach to the installation process, you can ensure a successful and rewarding outcome, bringing you closer to experiencing the numerous benefits of a bidet-equipped toilet.
Before installing a bidet on a tankless toilet, make sure to turn off the water supply and disconnect the toilet seat. Follow the manufacturer’s instructions for attaching the bidet and reconnecting the water supply. Double check for any leaks before using.
Step 5: Connect Water Supply
Connecting the water supply is a critical step in the installation of a bidet attachment on a tankless toilet. This step involves establishing a secure and leak-free connection between the bidet attachment and the toilet's water supply, ensuring that the bidet functions effectively and reliably. Here's a detailed guide on how to connect the water supply to the bidet attachment:
-
Prepare the Water Supply Adapter: If your bidet attachment requires a water supply adapter to facilitate the connection, ensure that it is compatible with your toilet's water supply line. The adapter may be included with the bidet attachment or may need to be purchased separately based on the specific requirements of your installation.
-
Turn Off the Water Supply: Before making any connections, double-check that the water supply to the toilet is still turned off. This precautionary measure helps prevent any potential leaks or water-related mishaps during the installation process.
-
Attach the Water Supply Adapter: If a water supply adapter is required, carefully attach it to the toilet's water supply line according to the manufacturer's instructions. This may involve securing the adapter with fittings or connectors to ensure a tight and reliable connection.
-
Connect the Bidet Attachment: With the water supply adapter in place, proceed to connect the bidet attachment to the water supply line. Depending on the design of the bidet attachment, this may involve screwing on a hose or making a direct connection using the provided fittings.
-
Use Teflon Tape: To create a secure and leak-free seal, apply Teflon tape to the threaded connections between the water supply line and the bidet attachment. This simple yet effective step helps prevent water leaks and ensures a reliable connection.
-
Tighten the Connections: Once the bidet attachment is connected to the water supply line, use an adjustable wrench to tighten the connections securely. Avoid over-tightening, as this can damage the fittings, but ensure that the connections are snug and free from any play or movement.
-
Check for Leaks: After connecting the water supply, carefully inspect the connections for any signs of leaks. Turn on the water supply momentarily to pressurize the system and check for any drips or seepage around the connections. If any leaks are detected, promptly address them by adjusting the connections and reapplying Teflon tape if necessary.
By following these steps to connect the water supply, you can ensure that the bidet attachment is seamlessly integrated with the toilet's water supply, ready to deliver the convenience and hygiene benefits that a bidet offers. With the water supply securely connected, you are now prepared to proceed to the final steps of the installation process, bringing you closer to experiencing the enhanced comfort and cleanliness of a bidet-equipped tankless toilet.
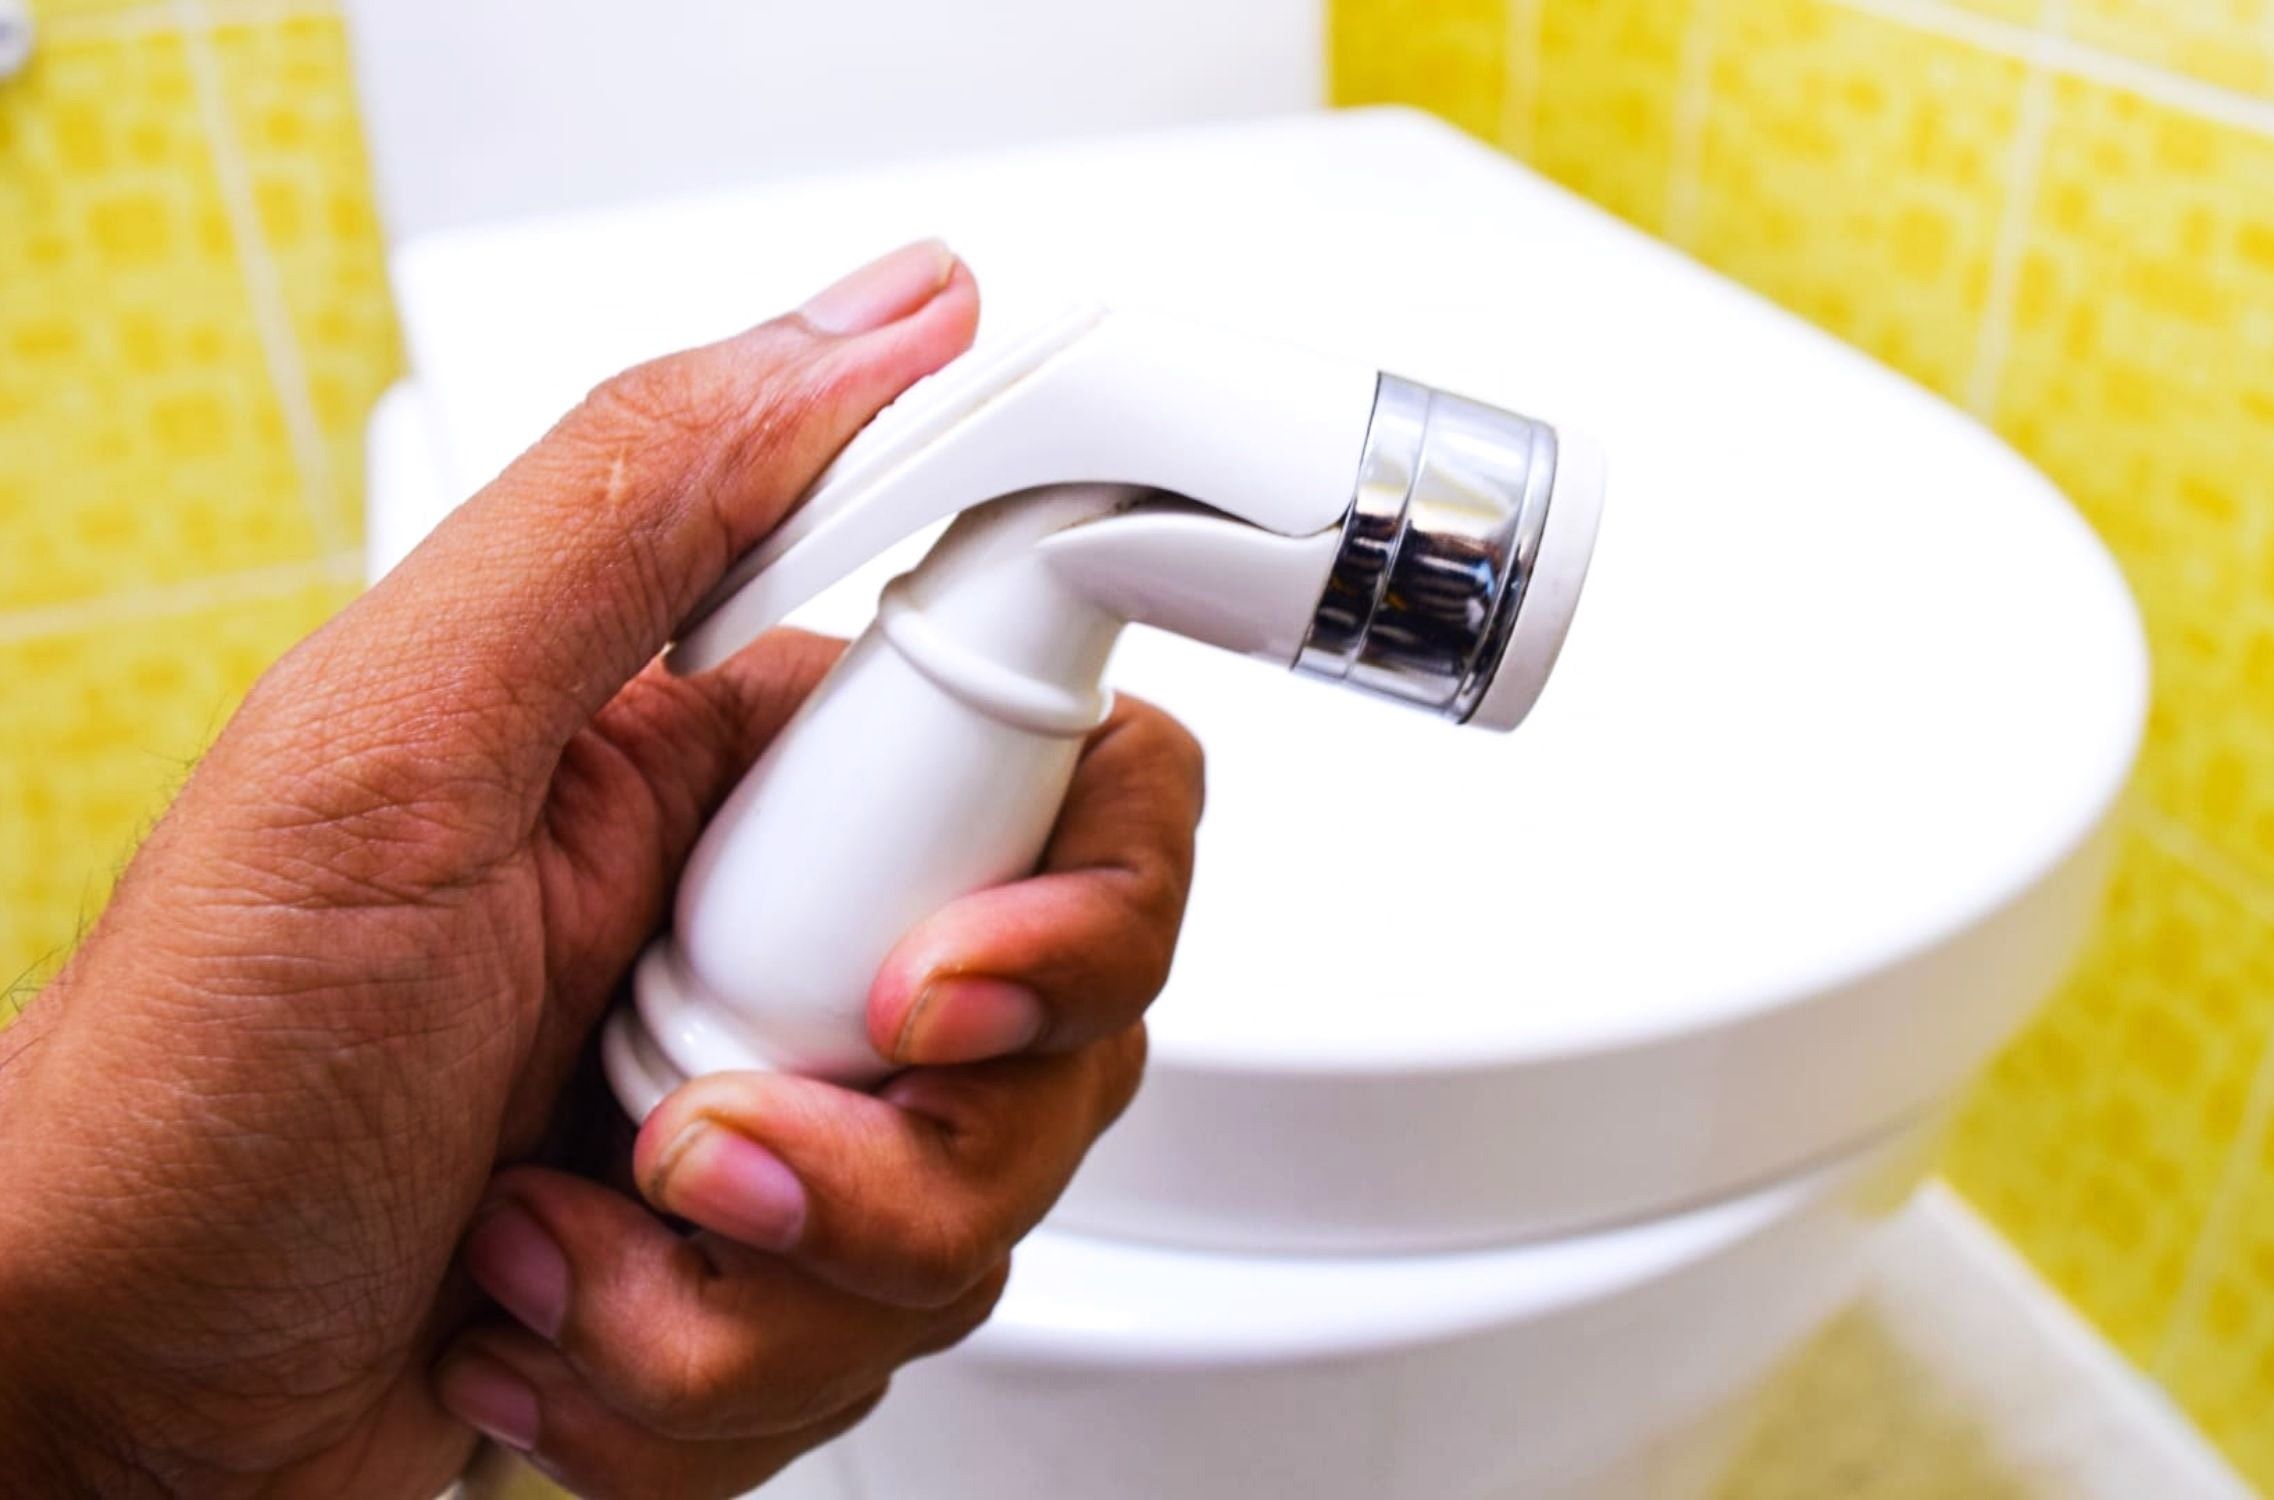
Step 6: Test Bidet Functionality
With the bidet attachment successfully installed and the water supply connected, it is essential to test the functionality of the bidet to ensure that it operates as intended. This crucial step allows you to verify that the bidet attachment functions reliably and delivers the expected level of comfort and cleanliness. Here's a detailed guide on how to test the bidet functionality:
-
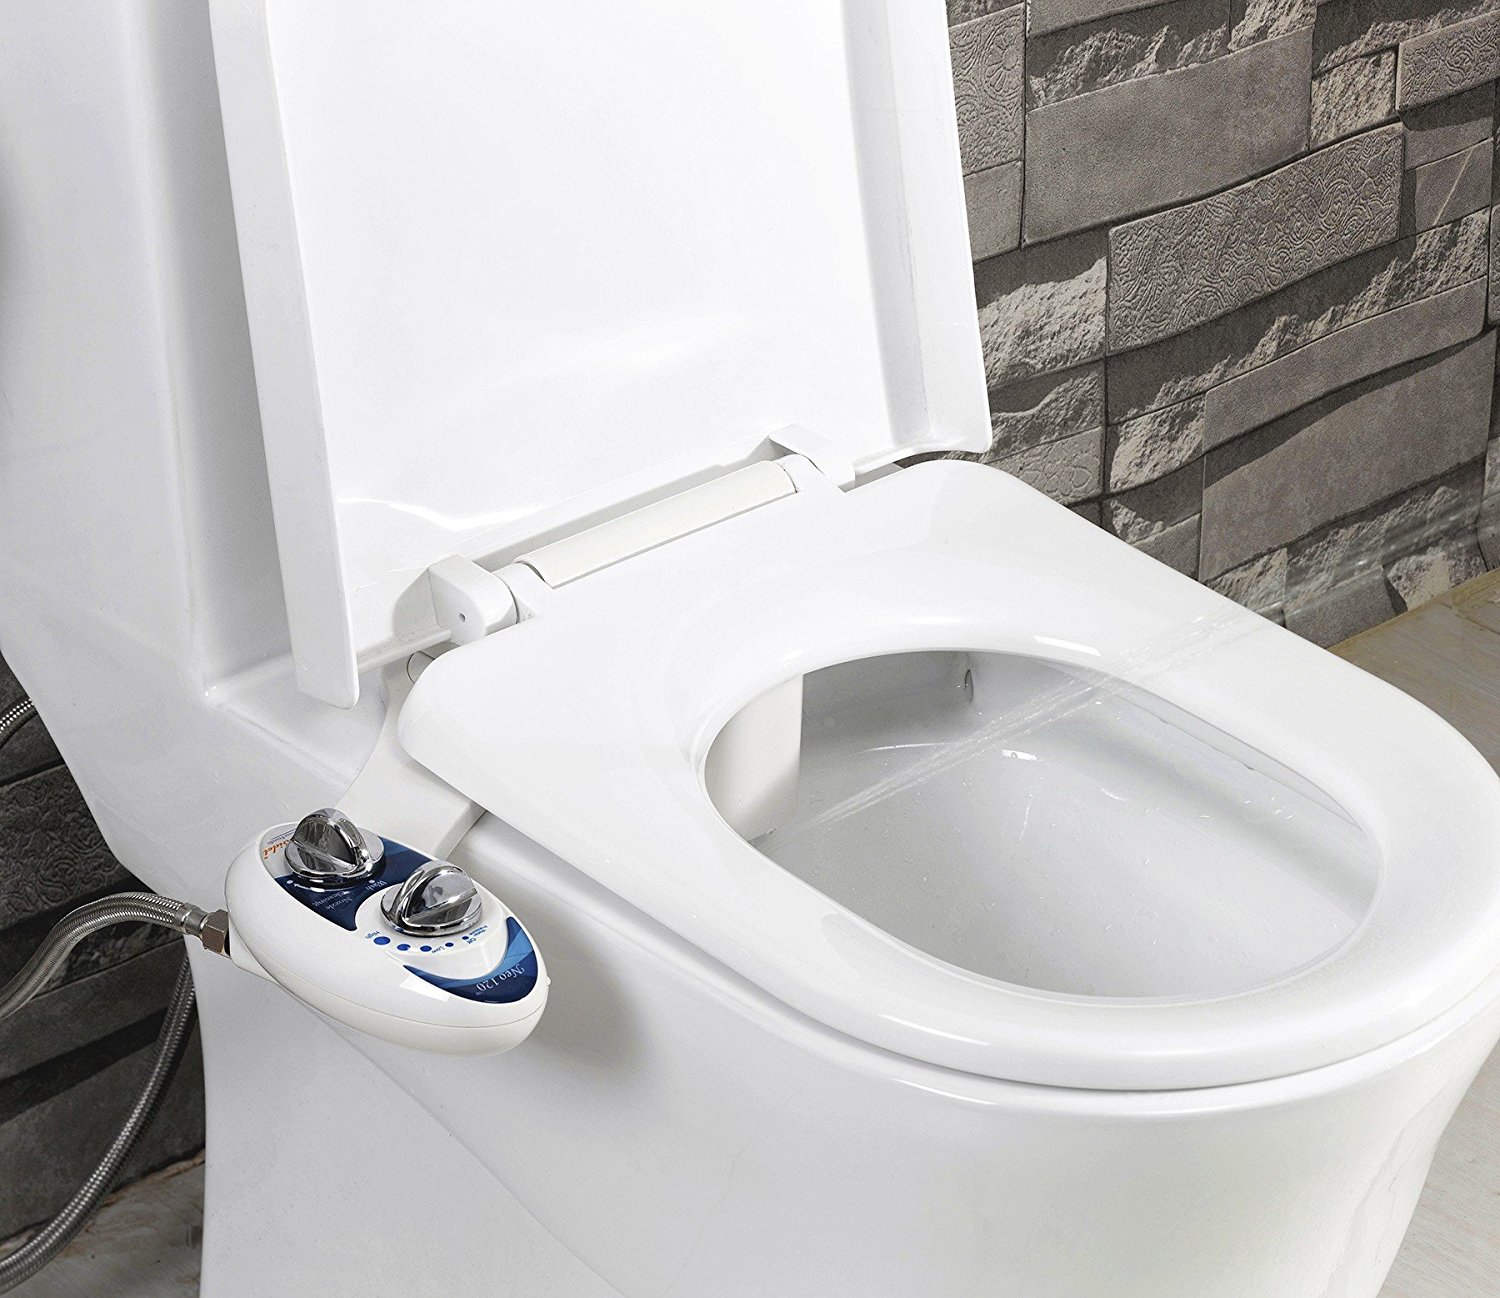
Activate the Bidet: Begin by activating the bidet attachment according to the manufacturer's instructions. This may involve pressing a button, adjusting a control panel, or using a remote control to initiate the cleansing process. Familiarize yourself with the bidet's operation and ensure that you understand how to activate and adjust its settings.
-
Observe Water Flow: As the bidet is activated, carefully observe the water flow and nozzle movement to ensure that the cleansing action is directed accurately and effectively. Verify that the water pressure is consistent and that the nozzle position aligns with your preferences for optimal cleansing.
-
Assess Comfort and Convenience: Sit on the toilet and experience the bidet's functionality firsthand. Pay attention to the level of comfort and convenience it provides, taking note of any adjustments or settings that may enhance your overall experience. The goal is to ensure that the bidet attachment delivers a comfortable and effective cleansing process.
-
Check for Leaks or Malfunctions: While the bidet is in operation, inspect the connections and components for any signs of leaks or malfunctions. Look for any water seepage around the connections, and listen for any unusual sounds that may indicate a problem with the bidet's operation. Address any issues promptly to ensure the bidet functions reliably.
-
Adjust Settings (if applicable): If the bidet attachment offers adjustable settings such as water pressure, nozzle position, or temperature control, take the time to customize these settings to your preferences. Experiment with different settings to find the optimal combination that suits your comfort and cleansing needs.
-
Evaluate User-Friendliness: Consider the overall user-friendliness of the bidet attachment, including the ease of activation, adjustment of settings, and any additional features it may offer. Assess how intuitive and convenient the bidet is to use, ensuring that it enhances your bathroom experience without unnecessary complexity.
By following these steps to test the bidet functionality, you can confirm that the installation has been successful and that the bidet attachment operates as intended. This thorough evaluation allows you to experience the benefits of a bidet-equipped tankless toilet firsthand, ensuring that it meets your expectations for comfort, cleanliness, and convenience. With the bidet functionality successfully tested, you can confidently embrace the enhanced hygiene and comfort that a bidet attachment brings to your bathroom.
Read more: How To Use A Bidet Toilet
Conclusion
Congratulations on successfully installing a bidet attachment on your tankless toilet! By following the step-by-step guide provided in this tutorial, you have transformed your bathroom experience, embracing the convenience, cleanliness, and modern comfort that a bidet-equipped toilet offers. As you reflect on the installation process and prepare to enjoy the benefits of your newly installed bidet attachment, it's important to consider the impact this upgrade will have on your daily routine and overall well-being.
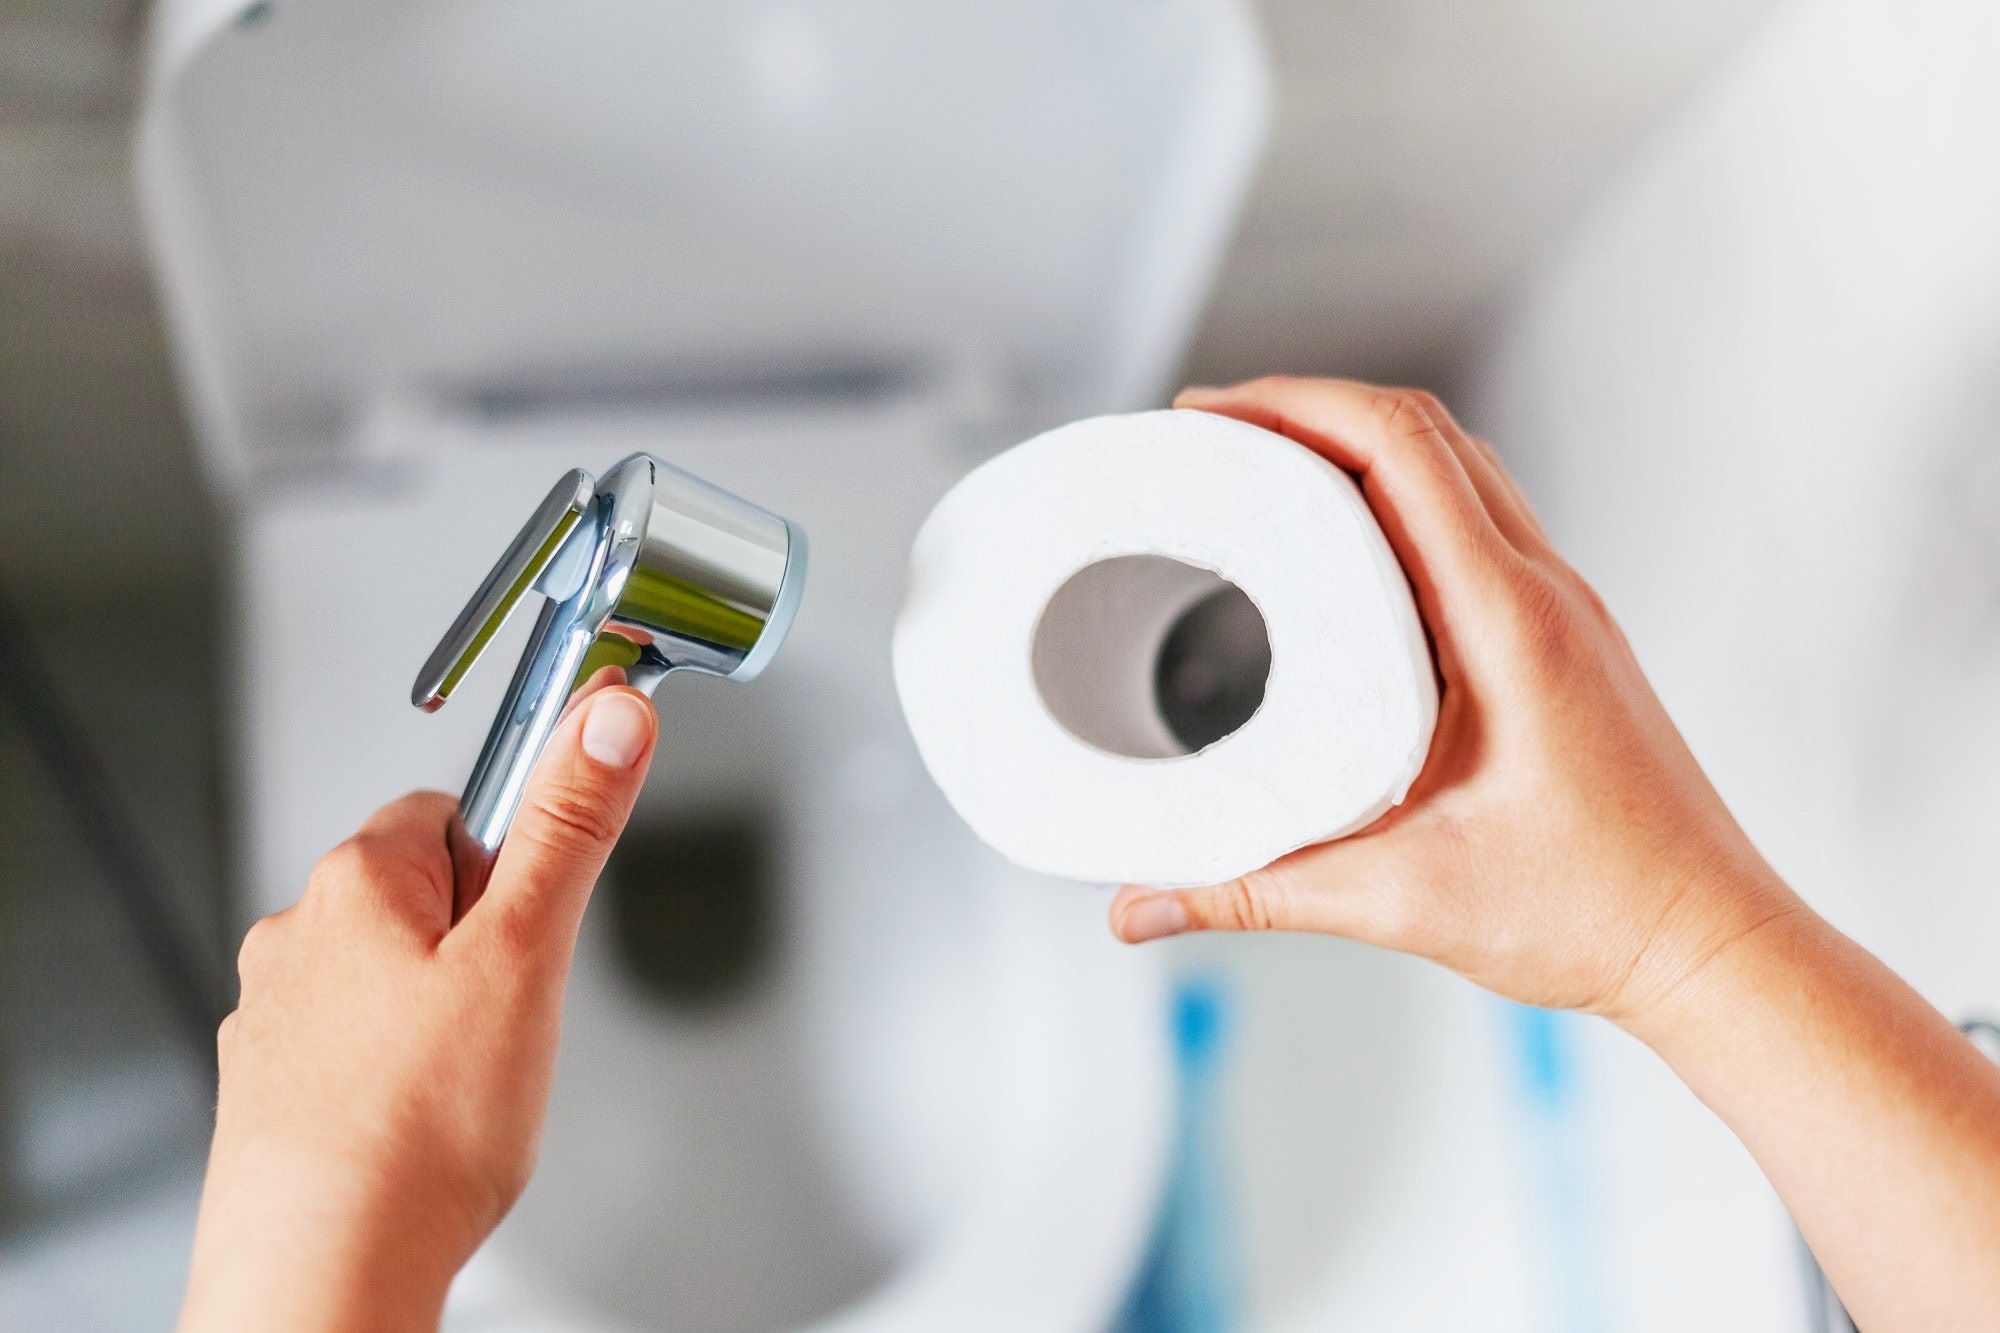
With the bidet attachment seamlessly integrated into your tankless toilet, you can look forward to a range of advantages that enhance your bathroom experience. The gentle and effective cleansing provided by the bidet promotes a heightened sense of cleanliness and hygiene, offering a refreshing alternative to traditional toilet paper. This shift towards a more sustainable and eco-friendly approach to personal hygiene aligns with the growing awareness of environmental responsibility and resource conservation.
Furthermore, the convenience and comfort afforded by the bidet attachment contribute to a more enjoyable and personalized bathroom experience. The customizable settings, such as water pressure and nozzle position, allow you to tailor the cleansing process to your preferences, ensuring that you feel refreshed and rejuvenated after each use. The user-friendly operation and intuitive controls make the bidet attachment a seamless addition to your bathroom, enhancing its functionality without unnecessary complexity.
As you embrace the benefits of a bidet-equipped tankless toilet, you are also contributing to a broader movement towards modernizing and optimizing bathroom spaces. The integration of innovative and practical solutions, such as bidet attachments, reflects a commitment to enhancing personal well-being and embracing technological advancements that elevate everyday experiences.
In conclusion, the installation of a bidet attachment on your tankless toilet represents a significant step towards prioritizing cleanliness, comfort, and sustainability in your bathroom. By taking the initiative to explore and implement this upgrade, you have positioned yourself at the forefront of modern bathroom practices, embracing a holistic approach to personal hygiene and well-being. As you enjoy the convenience and benefits of your newly installed bidet attachment, take pride in the positive impact it has on your daily routine and the environment, reflecting a thoughtful and forward-thinking approach to home improvement and personal care.
Frequently Asked Questions about How To Install Bidet On Tankless Toilet
Was this page helpful?
At Storables.com, we guarantee accurate and reliable information. Our content, validated by Expert Board Contributors, is crafted following stringent Editorial Policies. We're committed to providing you with well-researched, expert-backed insights for all your informational needs.
0 thoughts on “How To Install Bidet On Tankless Toilet”