Home>Furniture & Design>Bathroom Accessories>How To Repair An Acrylic Bathtub?
Bathroom Accessories
How To Repair An Acrylic Bathtub?
Modified: April 22, 2024
Learn how to repair your acrylic bathtub with our expert tips and bathroom accessories. Keep your bathroom looking its best with our easy-to-follow repair guide.
(Many of the links in this article redirect to a specific reviewed product. Your purchase of these products through affiliate links helps to generate commission for Storables.com, at no extra cost. Learn more)
Assessing the Damage
Before diving into the repair process, it's crucial to thoroughly assess the extent of damage to your acrylic bathtub. By carefully examining the bathtub's surface, you can identify the specific areas that require attention and determine the most suitable repair techniques. Here's how to effectively assess the damage:
-
Inspecting for Cracks and Chips: Begin by visually inspecting the entire surface of the bathtub, paying close attention to any signs of cracks, chips, or other forms of damage. Use a flashlight to illuminate the bathtub's surface, as this can help reveal subtle imperfections that might otherwise go unnoticed.
-
Checking for Structural Integrity: While examining the bathtub, assess the structural integrity of the damaged areas. Determine whether the damage is purely cosmetic or if it extends deeper into the material. This evaluation will guide you in selecting the appropriate repair methods and materials.
-
Assessing the Size and Depth of Damage: Measure the size and depth of any cracks, chips, or gouges present on the bathtub. This information will be valuable when determining the type of repair products needed and the level of effort required to restore the bathtub's surface.
-
Identifying Discoloration or Staining: Look for any discoloration or staining around the damaged areas. Discoloration can indicate water penetration, which may necessitate additional steps to prevent future damage and ensure a lasting repair.
-
Documenting the Damage: Take photographs of the damaged areas from various angles. These visual references will serve as valuable documentation throughout the repair process, enabling you to track the progress and ensure that all damaged areas are effectively addressed.
By meticulously assessing the damage to your acrylic bathtub, you can gain a comprehensive understanding of the repair requirements and proceed with confidence in restoring its pristine condition. This initial evaluation sets the stage for the subsequent cleaning and repair steps, ultimately leading to a rejuvenated and visually appealing bathtub surface.
Key Takeaways:
- Assessing the Damage
Thoroughly inspect your acrylic bathtub for cracks, structural integrity, size, and discoloration. Document the damage with photos to guide your repair process effectively. - Repairing Small Cracks and Chips
Repair small cracks and chips in your acrylic bathtub using a repair kit. Apply acrylic filler, sand, and polish the surface for a seamless and lasting restoration.
Read more: What Is An Acrylic Bathtub?
Cleaning the Bathtub
Proper cleaning is a fundamental step in preparing an acrylic bathtub for repair. By meticulously removing dirt, grime, and residue, you create an optimal surface for the subsequent repair materials to adhere to. Here's a detailed guide on effectively cleaning your bathtub:
-
Gather Cleaning Supplies: Before commencing the cleaning process, assemble the necessary supplies. This typically includes a non-abrasive sponge or cloth, mild liquid detergent, white vinegar, baking soda, and a spray bottle.
-
Rinse the Bathtub: Start by rinsing the bathtub with warm water to eliminate loose debris and surface impurities. Use a handheld showerhead or a bucket to ensure thorough coverage.
-
Prepare a Cleaning Solution: In a spray bottle, mix equal parts of white vinegar and water. This natural solution serves as an effective cleaner for removing soap scum, mineral deposits, and water stains.
-
Apply the Cleaning Solution: Liberally spray the vinegar and water solution onto the bathtub's surface, focusing on areas with visible buildup or discoloration. Allow the solution to sit for several minutes to loosen stubborn residues.
-
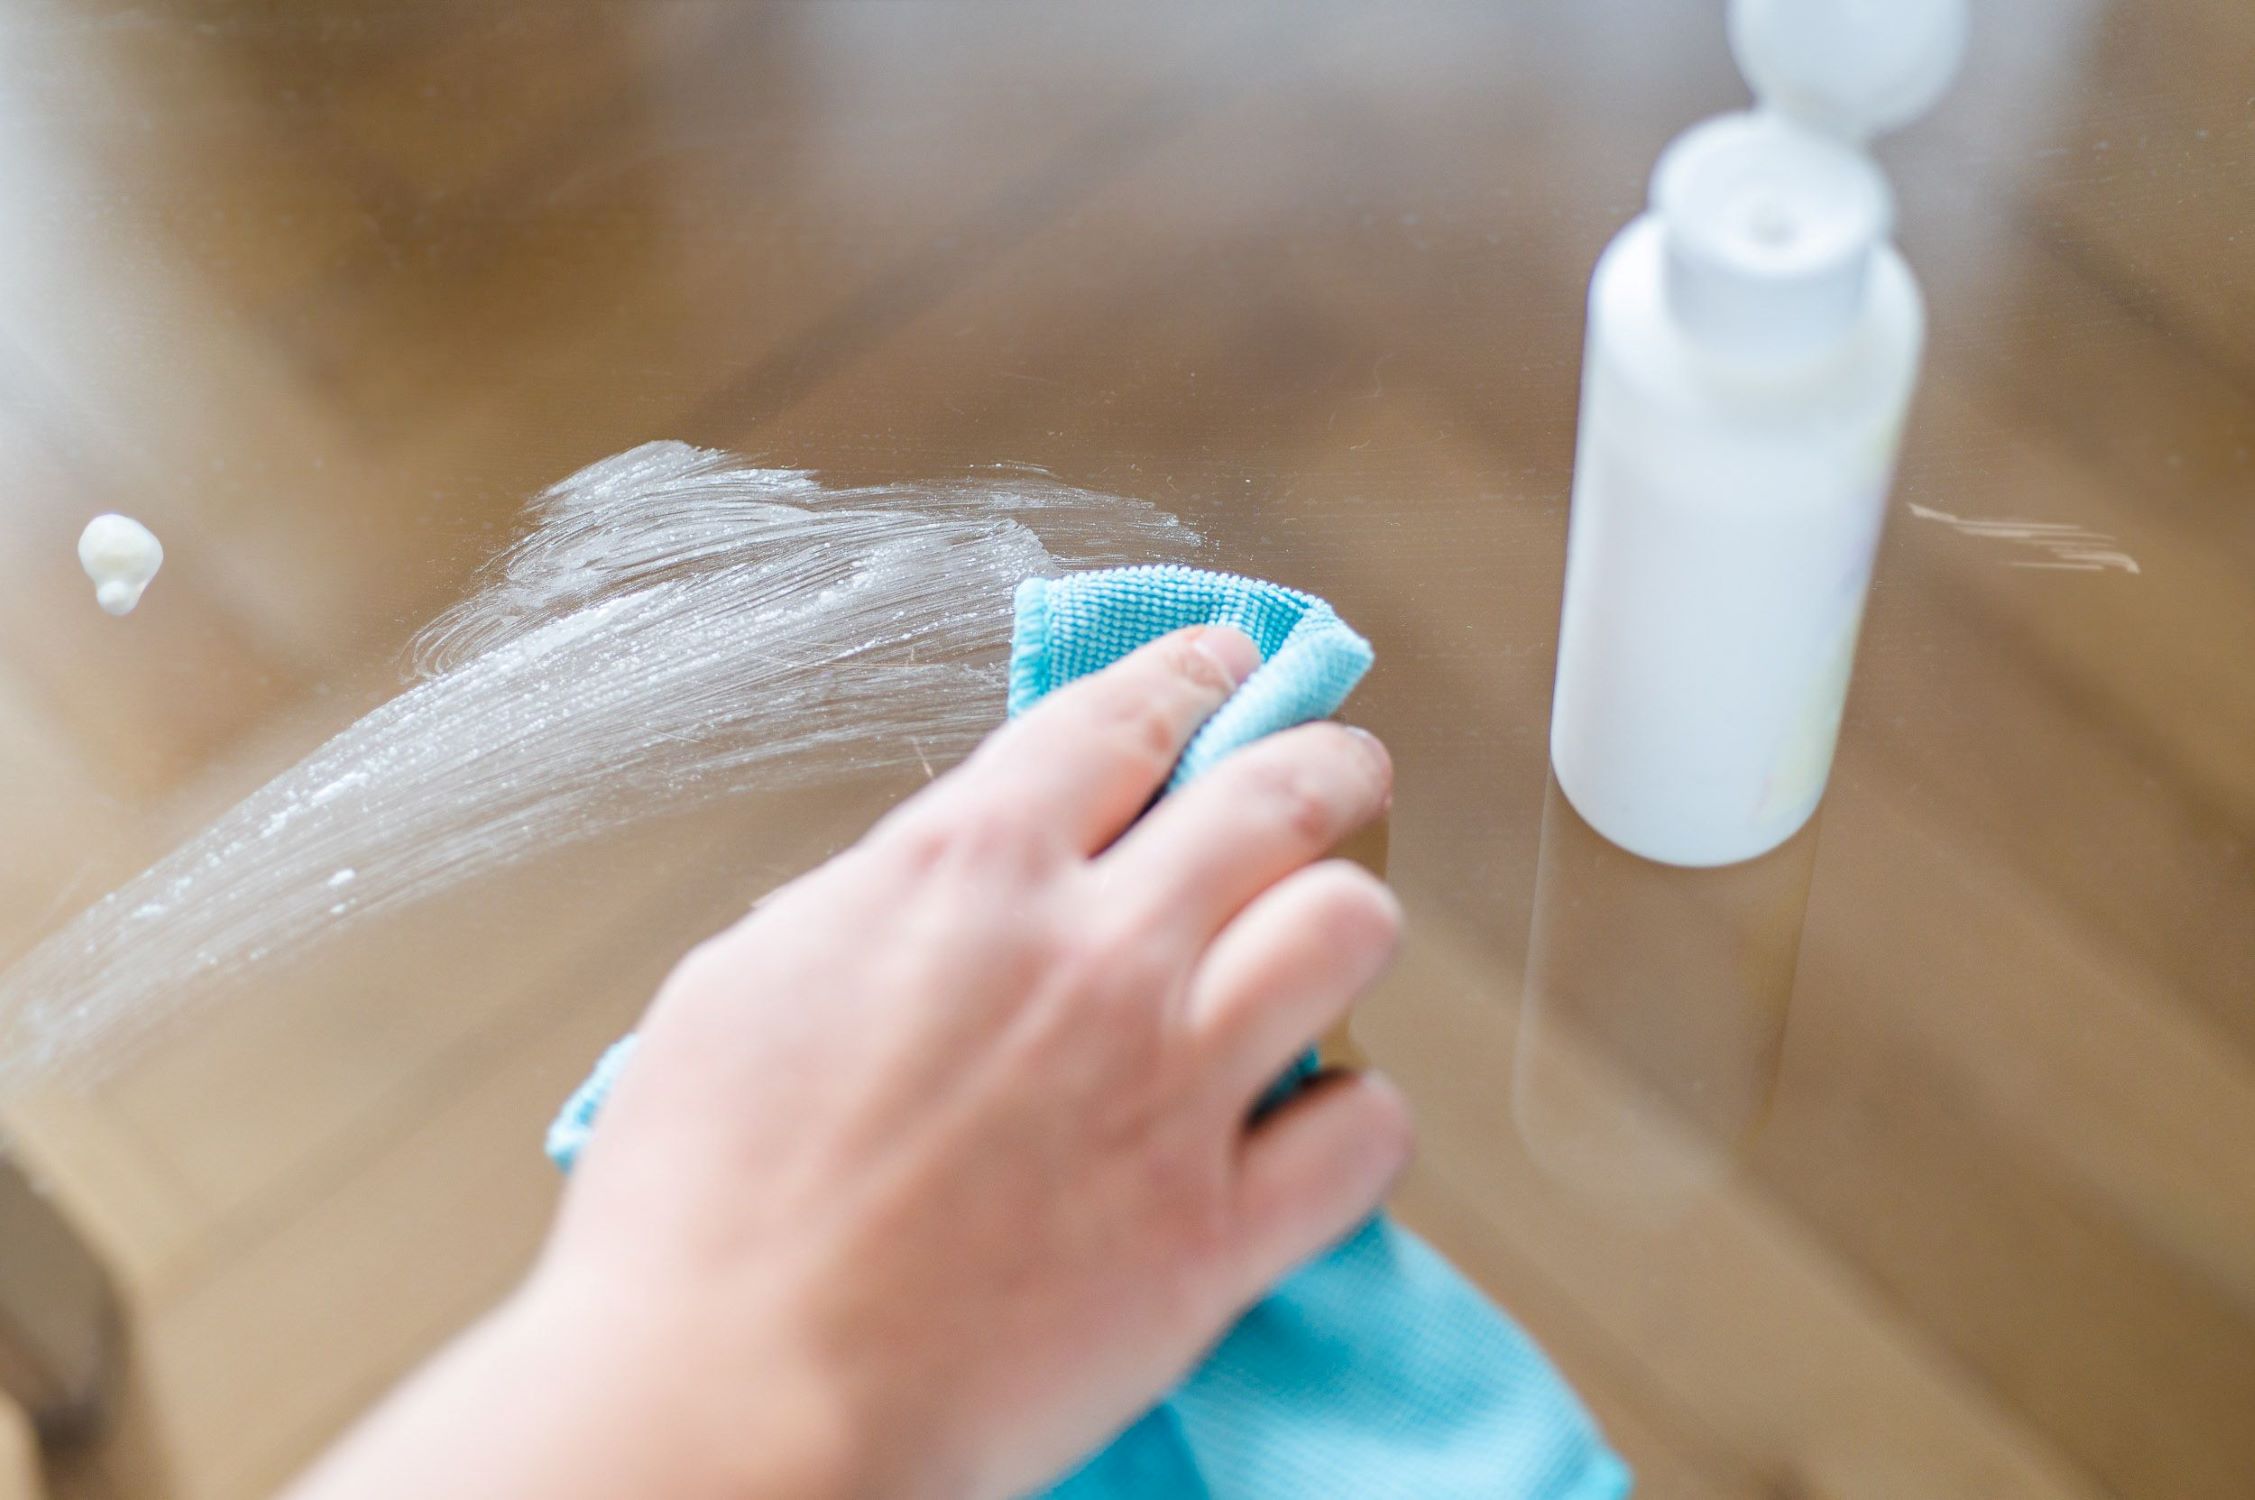
Scrub with a Non-Abrasive Sponge: Dip a non-abrasive sponge or cloth into a mixture of mild liquid detergent and warm water. Gently scrub the bathtub's surface, paying particular attention to areas where grime and soap scum are concentrated. Avoid using abrasive cleaners or scouring pads, as these can cause micro-scratches on the acrylic surface.
-
Address Stubborn Stains with Baking Soda: For persistent stains or tough-to-remove residue, create a paste using baking soda and water. Apply the paste to the affected areas and gently scrub with a soft sponge. Baking soda's mild abrasive properties help lift stains without damaging the acrylic material.
-
Rinse Thoroughly: Once the cleaning process is complete, thoroughly rinse the bathtub with warm water. Ensure that all cleaning residues and loosened debris are completely washed away.
-
Dry the Surface: Use a clean, dry cloth to wipe the bathtub's surface, removing any remaining moisture. Pay attention to seams, corners, and around fixtures to prevent water accumulation.
By diligently following these steps, you can effectively cleanse your acrylic bathtub, creating an optimal foundation for the subsequent repair procedures. This thorough cleaning process sets the stage for successful repairs, ensuring that the surface is free from contaminants and ready to undergo restoration.
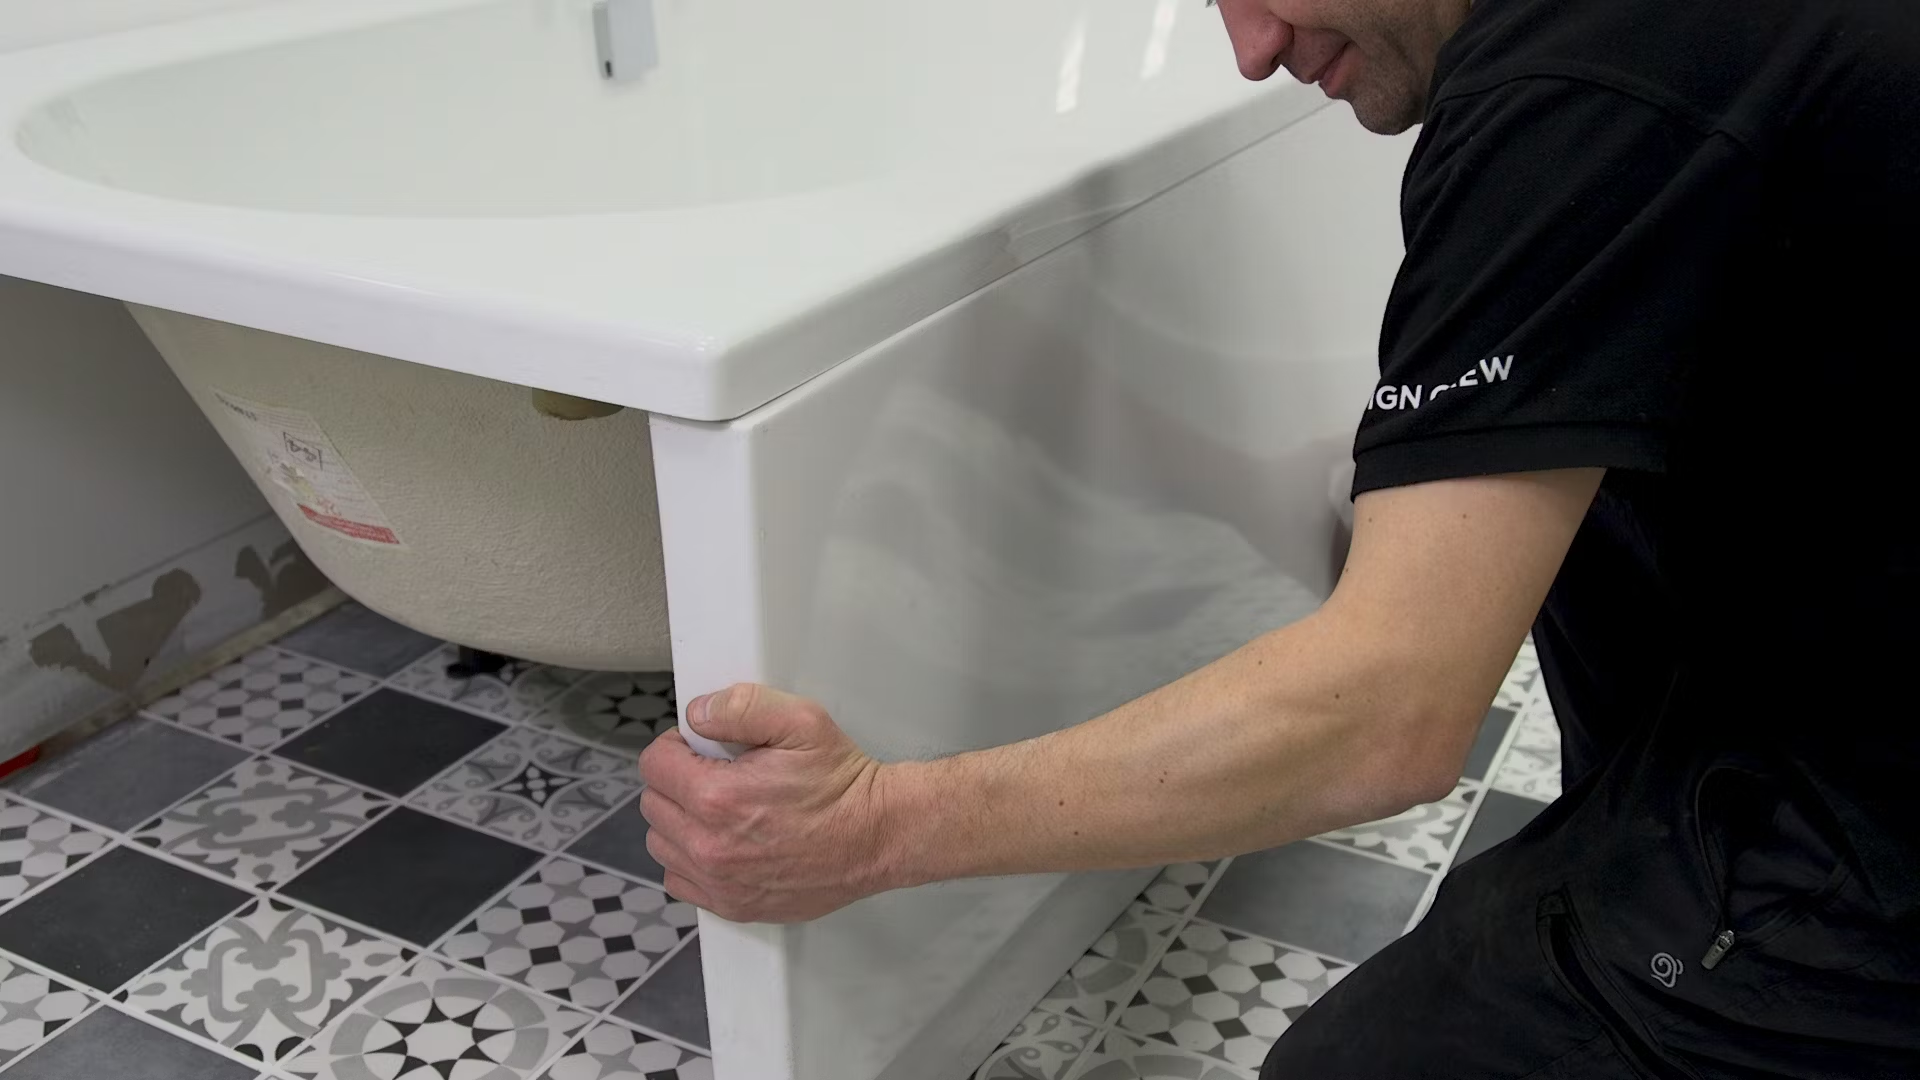
Repairing Small Cracks and Chips
Small cracks and chips in an acrylic bathtub can detract from its visual appeal and compromise its structural integrity. Fortunately, addressing these minor imperfections is achievable with the right approach and materials. Here's a comprehensive guide on effectively repairing small cracks and chips in your acrylic bathtub:
-
Assess the Damage: Begin by carefully examining the small cracks and chips to determine their extent and depth. Ensure that the affected areas are clean and free from any debris or moisture.
-
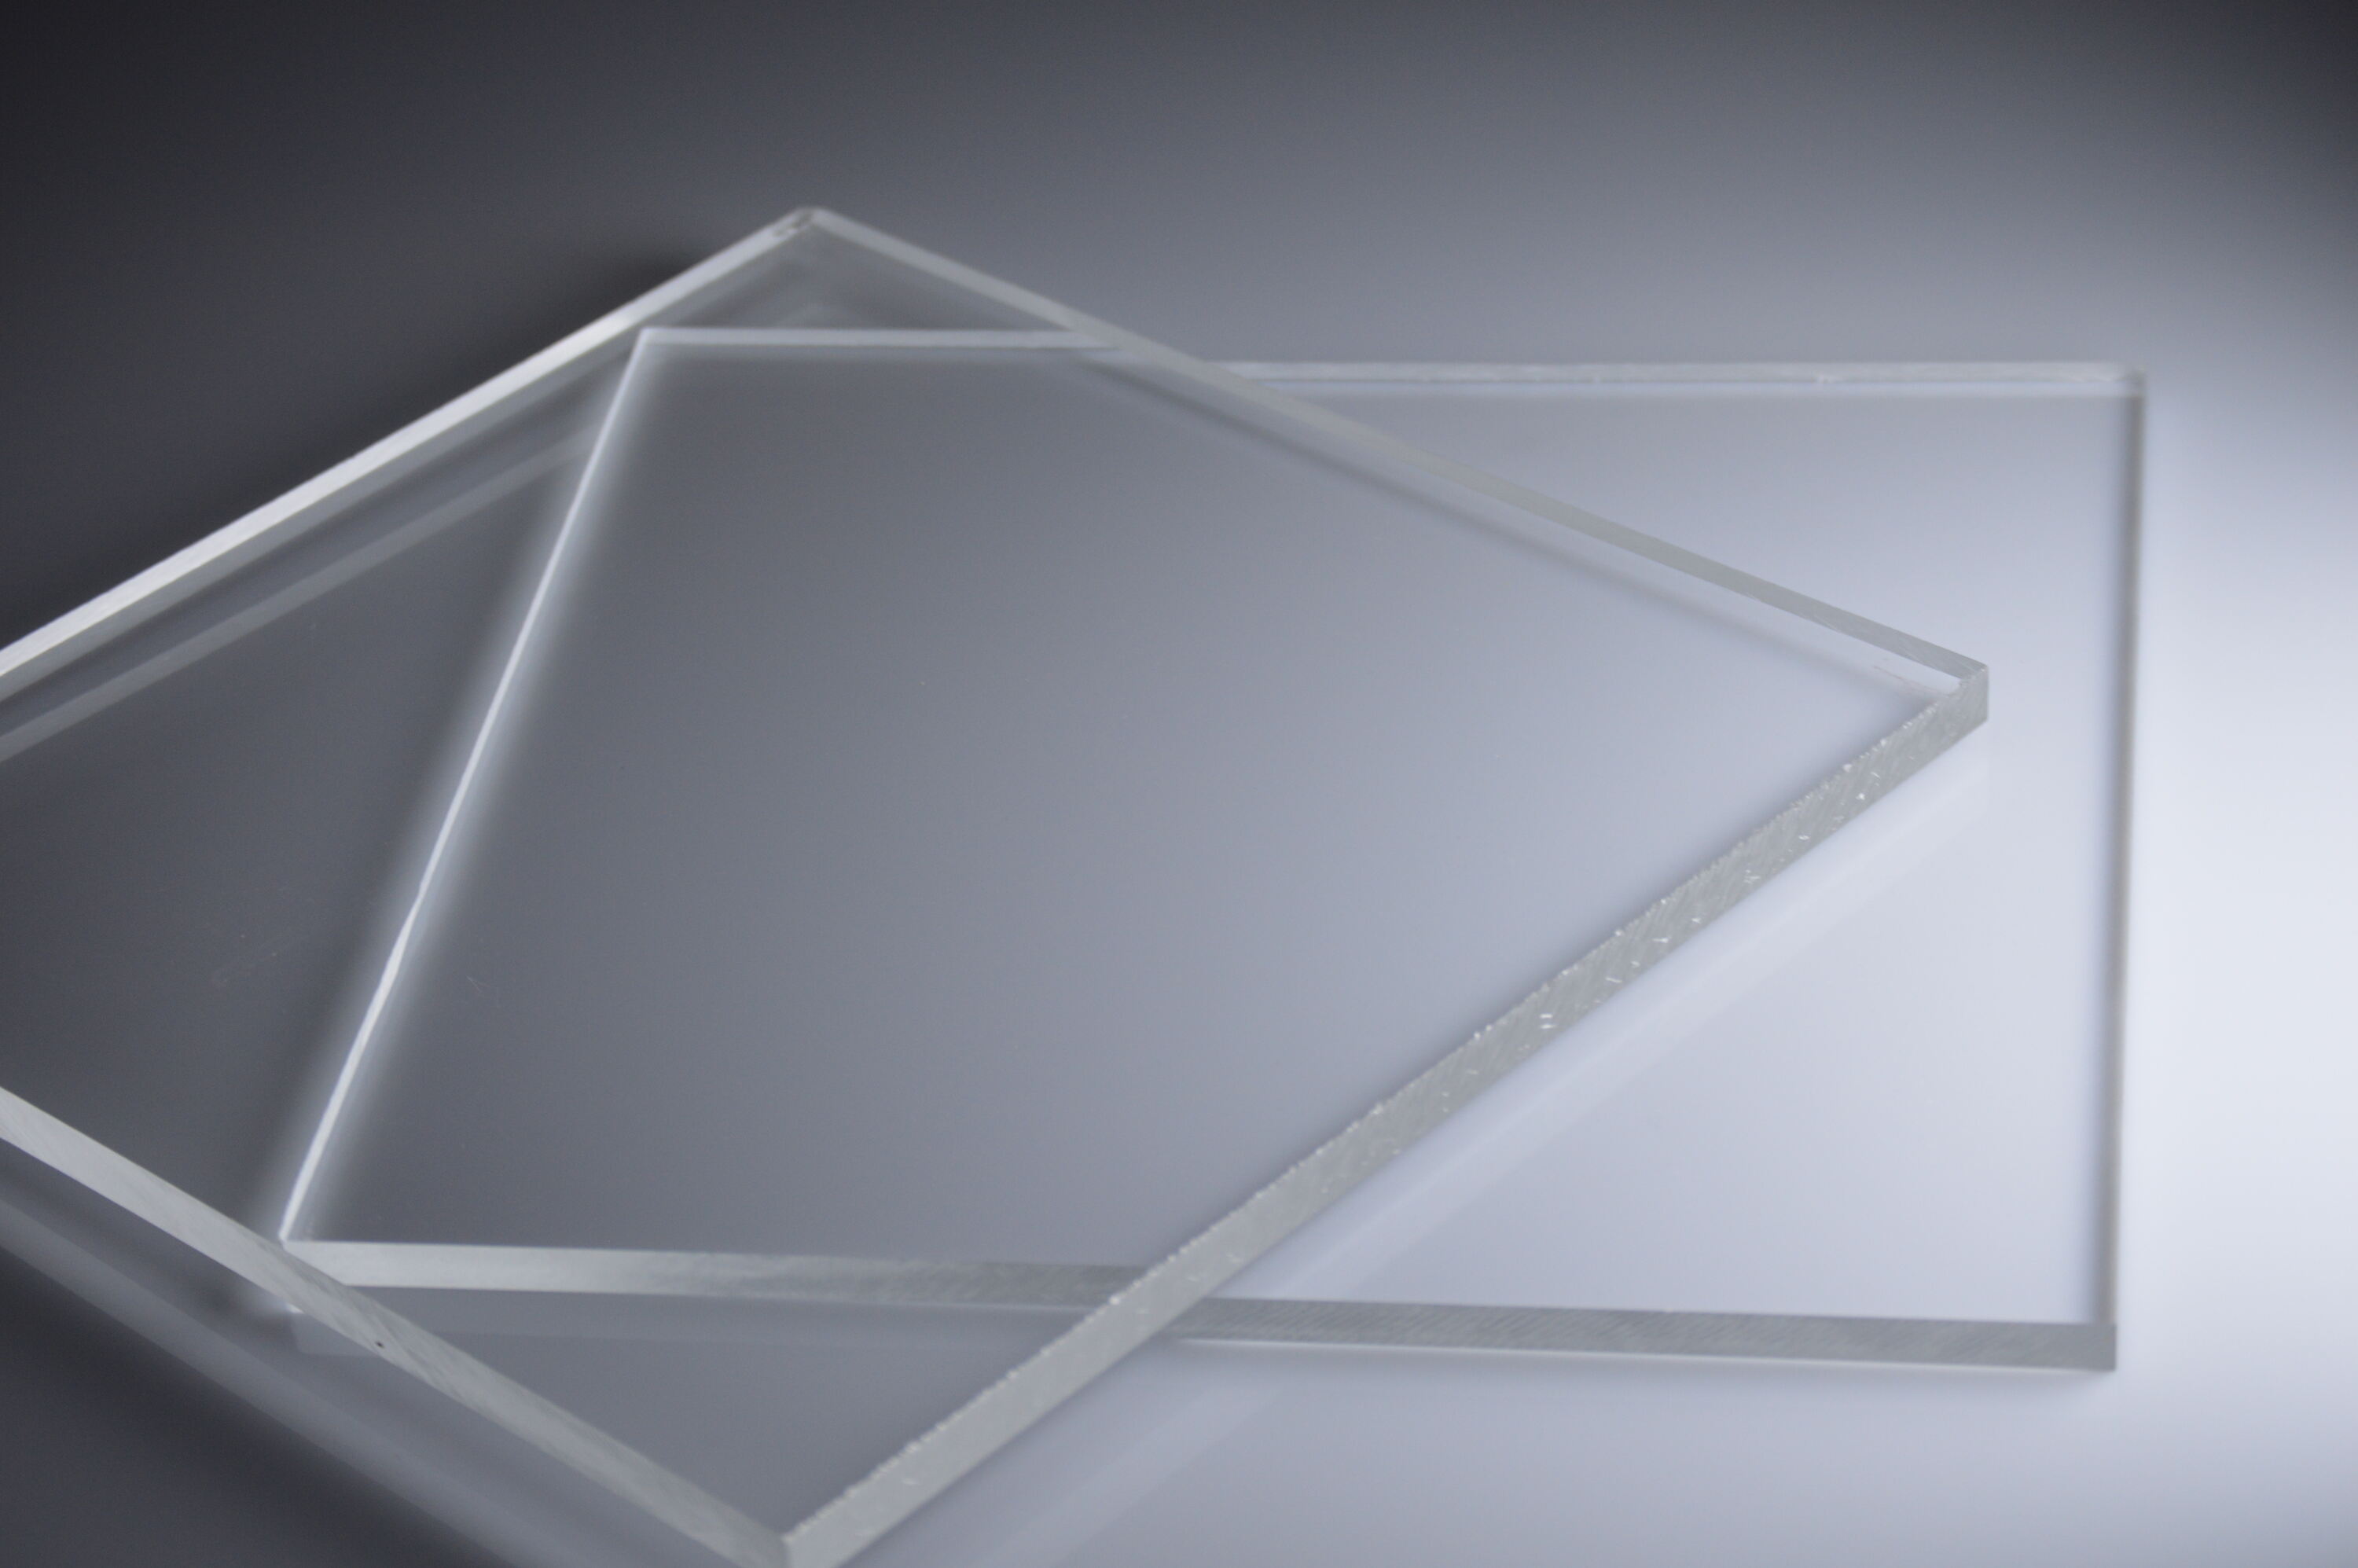
Select a Repair Kit: Acrylic bathtub repair kits, readily available at hardware stores or online, contain specialized materials designed specifically for repairing small cracks and chips. These kits typically include acrylic filler, sandpaper, and a polishing compound.
-
Prepare the Surface: Clean the damaged areas with a mild detergent and water, ensuring that they are completely dry before proceeding with the repair. Use a soft cloth to gently remove any residual dirt or particles.
-
Apply the Acrylic Filler: Using a putty knife or a similar tool, carefully apply the acrylic filler to the cracks and chips, ensuring that the material evenly fills the damaged areas. Follow the manufacturer's instructions regarding the application and curing time of the filler.
-
Smooth the Surface: Once the filler has cured, gently sand the repaired areas using fine-grit sandpaper. This step helps to level the surface and blend the repaired areas with the surrounding bathtub surface. Take care to maintain a consistent pressure during sanding to avoid over-removal of the filler.
-
Polish the Surface: After sanding, use the provided polishing compound from the repair kit to restore the shine and smoothness of the bathtub surface. Apply the compound using a soft cloth, working in circular motions until the repaired areas seamlessly blend with the rest of the bathtub.
-
Inspect and Refine: Thoroughly inspect the repaired areas to ensure that the cracks and chips have been effectively addressed. If necessary, repeat the filling, sanding, and polishing process to achieve the desired result.
By following these steps, you can successfully repair small cracks and chips in your acrylic bathtub, restoring its appearance and structural integrity. This proactive approach not only enhances the bathtub's aesthetic appeal but also prevents the minor damage from escalating into more significant issues over time.
Filling Larger Gouges and Holes
When faced with larger gouges and holes in an acrylic bathtub, it's essential to approach the repair process with precision and care. These substantial imperfections not only compromise the bathtub's visual appeal but also pose a risk of further damage if left unaddressed. By following a systematic approach and utilizing the appropriate materials, you can effectively fill larger gouges and holes, restoring the bathtub to its original condition.
Assess the Extent of Damage
Before initiating the repair, thoroughly assess the size and depth of the gouges and holes in the bathtub. Use a measuring tool to determine the dimensions of the damaged areas, as this information will guide you in selecting the appropriate repair materials and estimating the quantity needed for a comprehensive restoration.
Read more: How To Polish An Acrylic Bathtub
Gather the Necessary Supplies
Acrylic bathtub repair kits designed for addressing larger gouges and holes typically include a two-part epoxy filler, mixing tools, sandpaper, and detailed instructions. Ensure that you have all the required supplies readily available before commencing the repair process to facilitate a seamless workflow.
Prepare the Surface
Clean the damaged areas meticulously, removing any debris, residue, or moisture that could interfere with the bonding of the repair materials. Use a non-abrasive sponge or cloth along with a mild detergent to ensure that the bathtub's surface is free from contaminants, allowing for optimal adhesion of the filler.
Mix and Apply the Epoxy Filler
Follow the manufacturer's instructions to prepare the two-part epoxy filler, ensuring thorough mixing to activate the bonding agents. Using a putty knife or a similar tool, carefully apply the mixed filler to the gouges and holes, ensuring that the material uniformly fills the damaged areas. Work methodically to achieve a smooth and level surface, minimizing the need for extensive sanding.
Allow for Proper Curing
Once the filler has been applied, allow sufficient time for it to cure and harden as per the manufacturer's recommendations. This crucial step ensures the structural integrity of the repaired areas and sets the stage for the subsequent finishing processes.
Sand and Refine the Surface
After the filler has fully cured, gently sand the repaired areas using fine-grit sandpaper. Aim to achieve a seamless transition between the filled areas and the surrounding bathtub surface, ensuring a uniform and polished appearance. Exercise caution to avoid over-sanding, which can compromise the integrity of the repair.
Final Inspection and Touch-Ups
Thoroughly inspect the repaired areas, ensuring that the gouges and holes have been effectively filled and blended with the rest of the bathtub surface. If necessary, perform additional touch-ups to refine the finish and achieve a flawless result.
By diligently following these steps, you can effectively fill larger gouges and holes in your acrylic bathtub, rejuvenating its appearance and reinforcing its structural integrity. This proactive approach not only restores the bathtub's functionality but also prolongs its lifespan, ensuring long-term satisfaction and enjoyment.
Sanding and Smoothing the Surface
Sanding and smoothing the surface of an acrylic bathtub is a critical step in the repair process, essential for achieving a seamless and visually appealing finish. This meticulous procedure involves refining the repaired areas and ensuring that they seamlessly blend with the surrounding bathtub surface. By following a systematic approach and employing the appropriate techniques, you can effectively restore the bathtub to its original luster.
Assess the Repaired Areas
Before initiating the sanding process, carefully assess the repaired areas to ensure that the filler has adequately addressed the cracks, chips, gouges, or holes. Verify that the filler has cured completely, as sanding premature or uncured filler can compromise the repair and necessitate additional corrective measures.
Read more: How To Repair An Acrylic Bathtub Crack
Select the Right Sandpaper
Choosing the appropriate sandpaper is crucial for achieving optimal results. Opt for fine-grit sandpaper, typically ranging from 220 to 400 grit, as it facilitates gradual and controlled smoothing of the repaired areas without causing damage to the acrylic surface. The fine grit effectively refines the filler and blends it with the surrounding bathtub material.
Begin the Sanding Process
Using gentle and consistent pressure, begin sanding the repaired areas in smooth, circular motions. Aim to create a uniform and level surface, ensuring that the transition between the filled areas and the rest of the bathtub is seamless. Take care to maintain a steady hand and avoid applying excessive force, as this can result in over-sanding and compromise the integrity of the repair.
Check for Smoothness and Consistency
Periodically pause during the sanding process to assess the smoothness and consistency of the repaired areas. Run your fingers lightly over the sanded surface to detect any irregularities or rough patches. This tactile evaluation allows you to identify areas that require further attention, ensuring a refined and polished finish.
Refine the Edges and Contours
Pay special attention to the edges and contours of the repaired areas, as these areas require meticulous sanding to achieve a seamless integration with the rest of the bathtub surface. Use a light touch and precise movements to refine the edges, ensuring that they blend harmoniously with the surrounding acrylic material.
Clean and Inspect the Surface
Once the sanding process is complete, thoroughly clean the bathtub surface to remove any sanding residue and ensure a pristine finish. Use a soft cloth or sponge to gently wipe away the fine particles, revealing the smooth and polished result of the sanding process. Inspect the surface under adequate lighting to confirm that the repaired areas have been seamlessly integrated and exhibit a consistent texture.
By diligently following these steps, you can effectively sand and smooth the surface of your acrylic bathtub, achieving a flawless and uniform finish. This meticulous process not only enhances the visual appeal of the bathtub but also ensures the longevity of the repair, providing a durable and aesthetically pleasing surface for years to come.
Applying a New Finish
Applying a new finish to an acrylic bathtub serves as the crowning step in the repair process, culminating in a rejuvenated and lustrous surface that exudes a pristine allure. This transformative phase involves the application of a specialized coating that not only enhances the visual appeal of the bathtub but also provides an additional layer of protection, ensuring long-lasting durability. Here's a comprehensive guide on effectively applying a new finish to your acrylic bathtub:
Gather the Necessary Materials
Before embarking on the finishing process, ensure that you have all the essential materials at hand. Acrylic bathtub refinishing kits typically include a refinishing agent, protective gloves, a respirator mask, stirring sticks, and detailed application instructions. Additionally, gather masking tape, drop cloths, and adequate ventilation to create a conducive work environment.
Prepare the Bathtub Surface
Thoroughly clean the bathtub surface to remove any residual dust, debris, or contaminants that could compromise the adhesion of the new finish. Use a mild detergent and water to cleanse the surface, ensuring that it is completely dry before proceeding with the refinishing process. Employing a solvent-based cleaner can further eliminate any lingering residues and promote optimal bonding.
Read more: How Much Does An Acrylic Bathtub Weigh
Mask and Protect Surrounding Areas
Carefully apply masking tape to protect the surrounding fixtures, tiles, and surfaces from inadvertent overspray during the refinishing process. Lay down drop cloths to safeguard the bathroom floor and create a controlled workspace. This meticulous preparation minimizes the risk of unintended contact with the refinishing agent, preserving the integrity of the bathroom environment.
Apply the Refinishing Agent
Following the manufacturer's instructions, apply the refinishing agent evenly and methodically across the entire bathtub surface. Utilize a high-quality brush or spray applicator to achieve a smooth and uniform coating, ensuring comprehensive coverage of all areas. Exercise precision and patience during the application, as a consistent finish is essential for a professional-quality result.
Allow for Proper Curing
Once the refinishing agent has been applied, allow ample time for it to cure and bond with the bathtub surface. This curing period is critical for the formation of a resilient and enduring finish that withstands daily use and maintains its aesthetic appeal. Adhering to the recommended curing duration is essential for optimizing the durability and longevity of the new finish.
Inspect and Finalize
Thoroughly inspect the refinished bathtub surface to ensure that the new finish has been uniformly applied and exhibits a flawless appearance. Address any minor imperfections or irregularities promptly to achieve a polished result. Once the finish has fully cured, remove the masking tape and protective coverings, unveiling the revitalized bathtub in its entirety.
By meticulously following these steps, you can effectively apply a new finish to your acrylic bathtub, elevating its visual allure and fortifying its resilience. This transformative process not only restores the bathtub to its former glory but also imbues it with a renewed vibrancy that enhances the overall ambiance of the bathroom space.
Frequently Asked Questions about How To Repair An Acrylic Bathtub?
Was this page helpful?
At Storables.com, we guarantee accurate and reliable information. Our content, validated by Expert Board Contributors, is crafted following stringent Editorial Policies. We're committed to providing you with well-researched, expert-backed insights for all your informational needs.


0 thoughts on “How To Repair An Acrylic Bathtub?”