Articles
How To Fix Leaky Faucet Bathtub
Modified: January 19, 2024
Learn how to fix a leaky faucet in your bathtub with these helpful articles. Discover step-by-step instructions and expert tips to easily repair your plumbing issue.
(Many of the links in this article redirect to a specific reviewed product. Your purchase of these products through affiliate links helps to generate commission for Storables.com, at no extra cost. Learn more)
Introduction
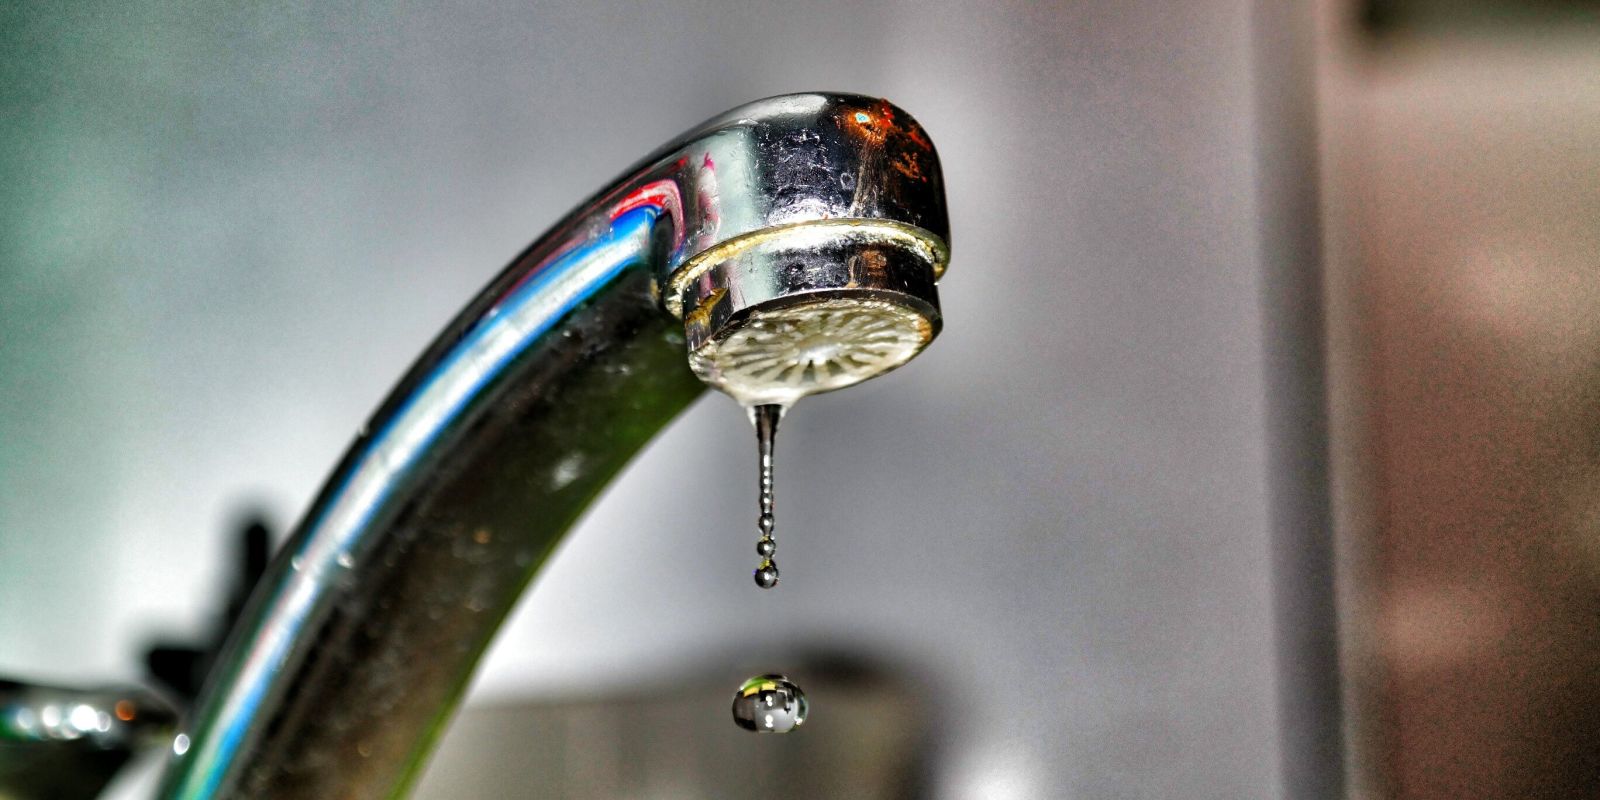
Having a leaky faucet in your bathtub can be a frustrating and annoying problem. Not only does it waste water, but the constant dripping can disturb your peace and increase your water bills. Luckily, fixing a leaky faucet in the bathtub is a task that you can easily tackle on your own with minimal tools and materials.
In this step-by-step guide, you will learn how to fix a leaky faucet in your bathtub, saving you both time and money. By following these simple instructions, you’ll be able to enjoy a fully functional and leak-free faucet in no time.
Key Takeaways:
- Fixing a leaky bathtub faucet is a manageable DIY project that saves water, money, and frustration. With the right tools and step-by-step guidance, you can confidently tackle this repair and enjoy a fully functional faucet in no time.
- By following the repair process, you not only acquire valuable DIY skills but also contribute to water conservation and a more sustainable environment. Take pride in your ability to handle minor plumbing repairs and make a positive impact on precious resources.
Tools and Materials Needed
Before you start fixing your leaky faucet, make sure you have the necessary tools and materials at hand. Here are the things you will need:
- Adjustable wrench
- Flathead screwdriver
- Phillips screwdriver
- New cartridge or valve
- Plumber’s tape
- Clean cloth or towel
- Bucket or container
- Protective gloves
- Pipe wrench (if necessary)
Having these tools and materials ready will ensure that you can complete the job efficiently and effectively. Make sure to gather them all before you begin with the repair process.
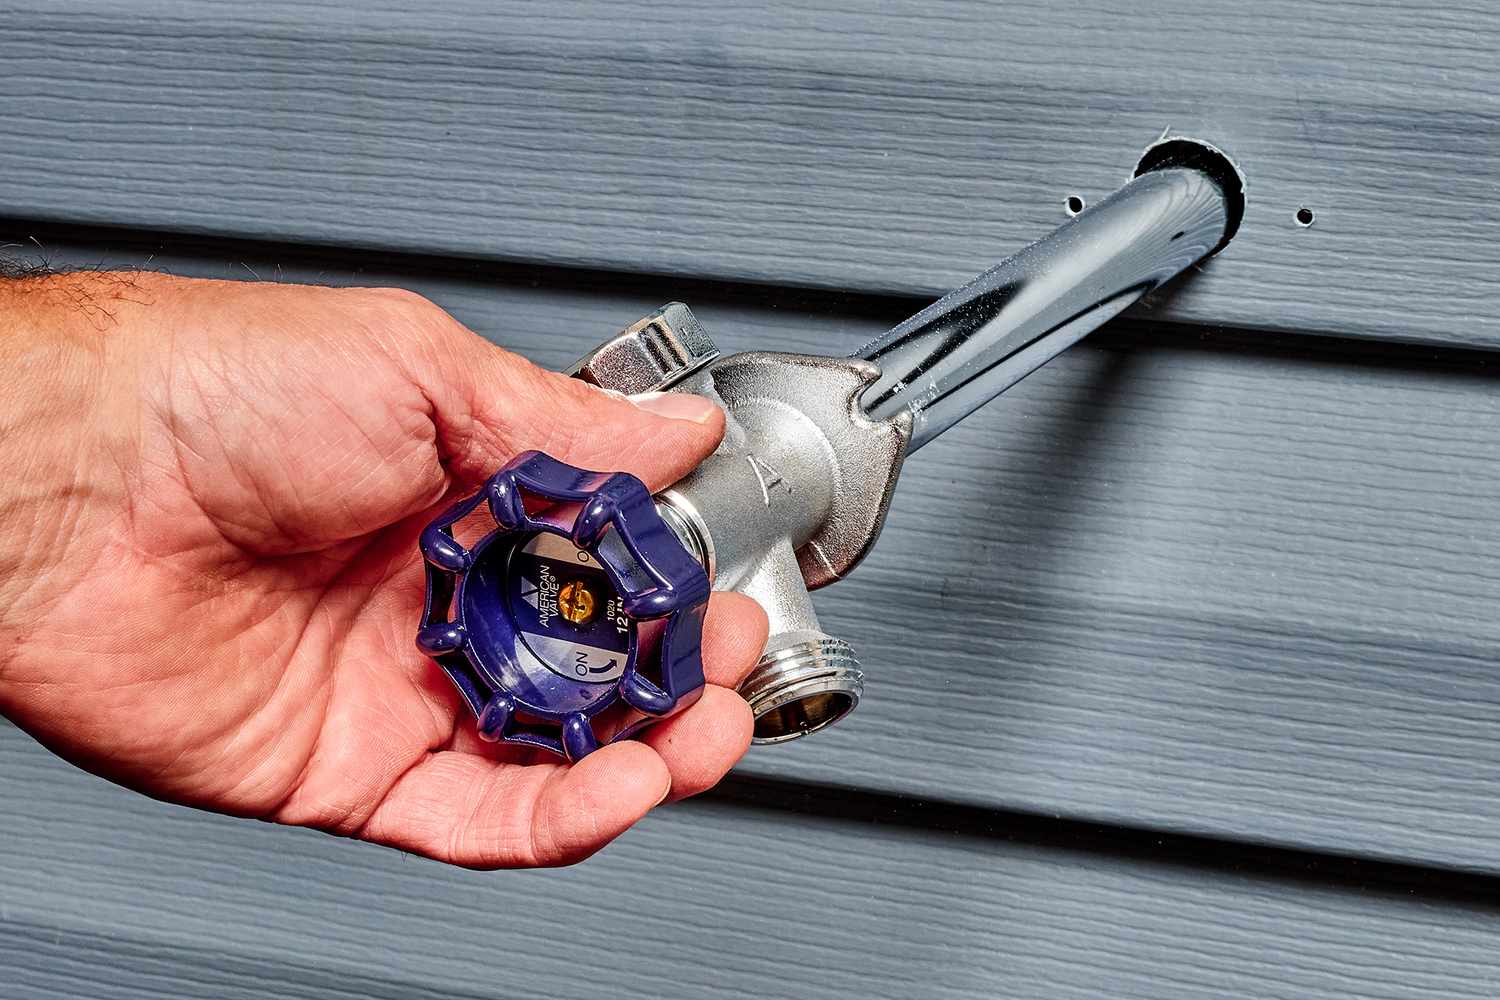
Step 1: Turn off the water supply
The first and most important step in fixing a leaky faucet in your bathtub is to turn off the water supply. This will prevent any water from flowing while you work on the faucet.
Locate the water shut-off valve for your bathtub. It is usually found under the sink or in the basement. Turn the valve clockwise until it is fully closed to shut off the water supply.
Once the water supply is turned off, open the faucet handles to release any remaining water and relieve any pressure in the system. This will prevent any water from spraying or leaking while you disassemble the faucet.
It’s always a good idea to place a bucket or container below the faucet to catch any water that may still be in the pipes. This will help keep the area clean and prevent any water damage.
Now that you have successfully turned off the water supply, you are ready to move on to the next step of fixing your leaky faucet.
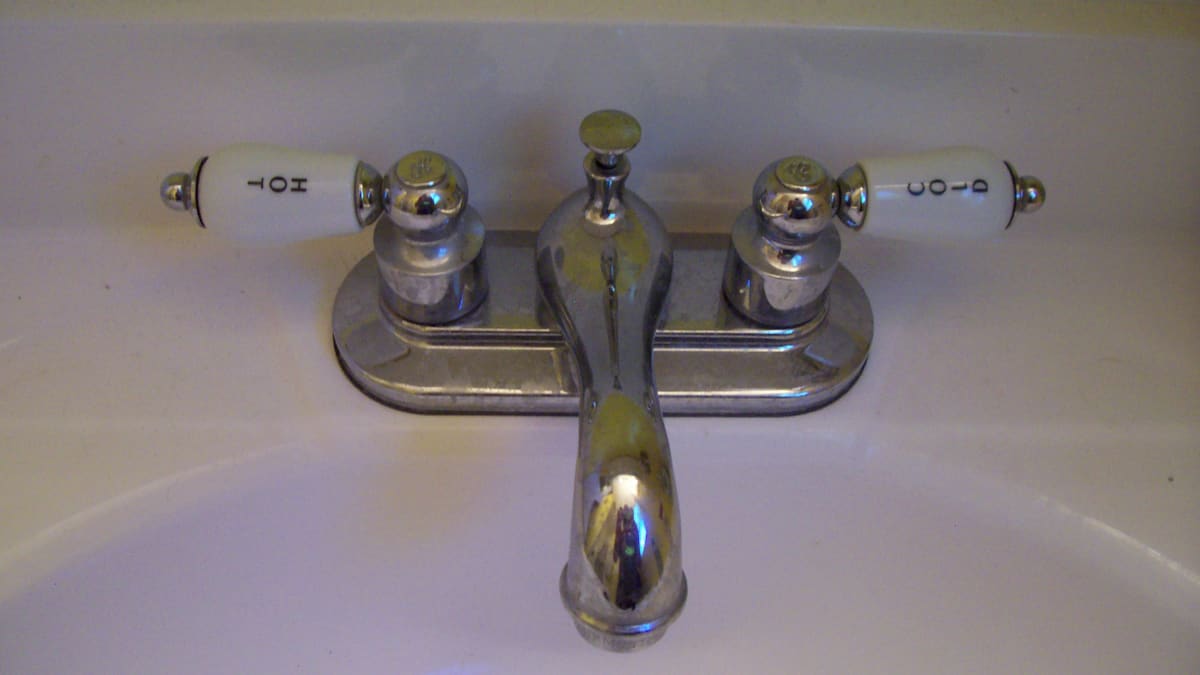
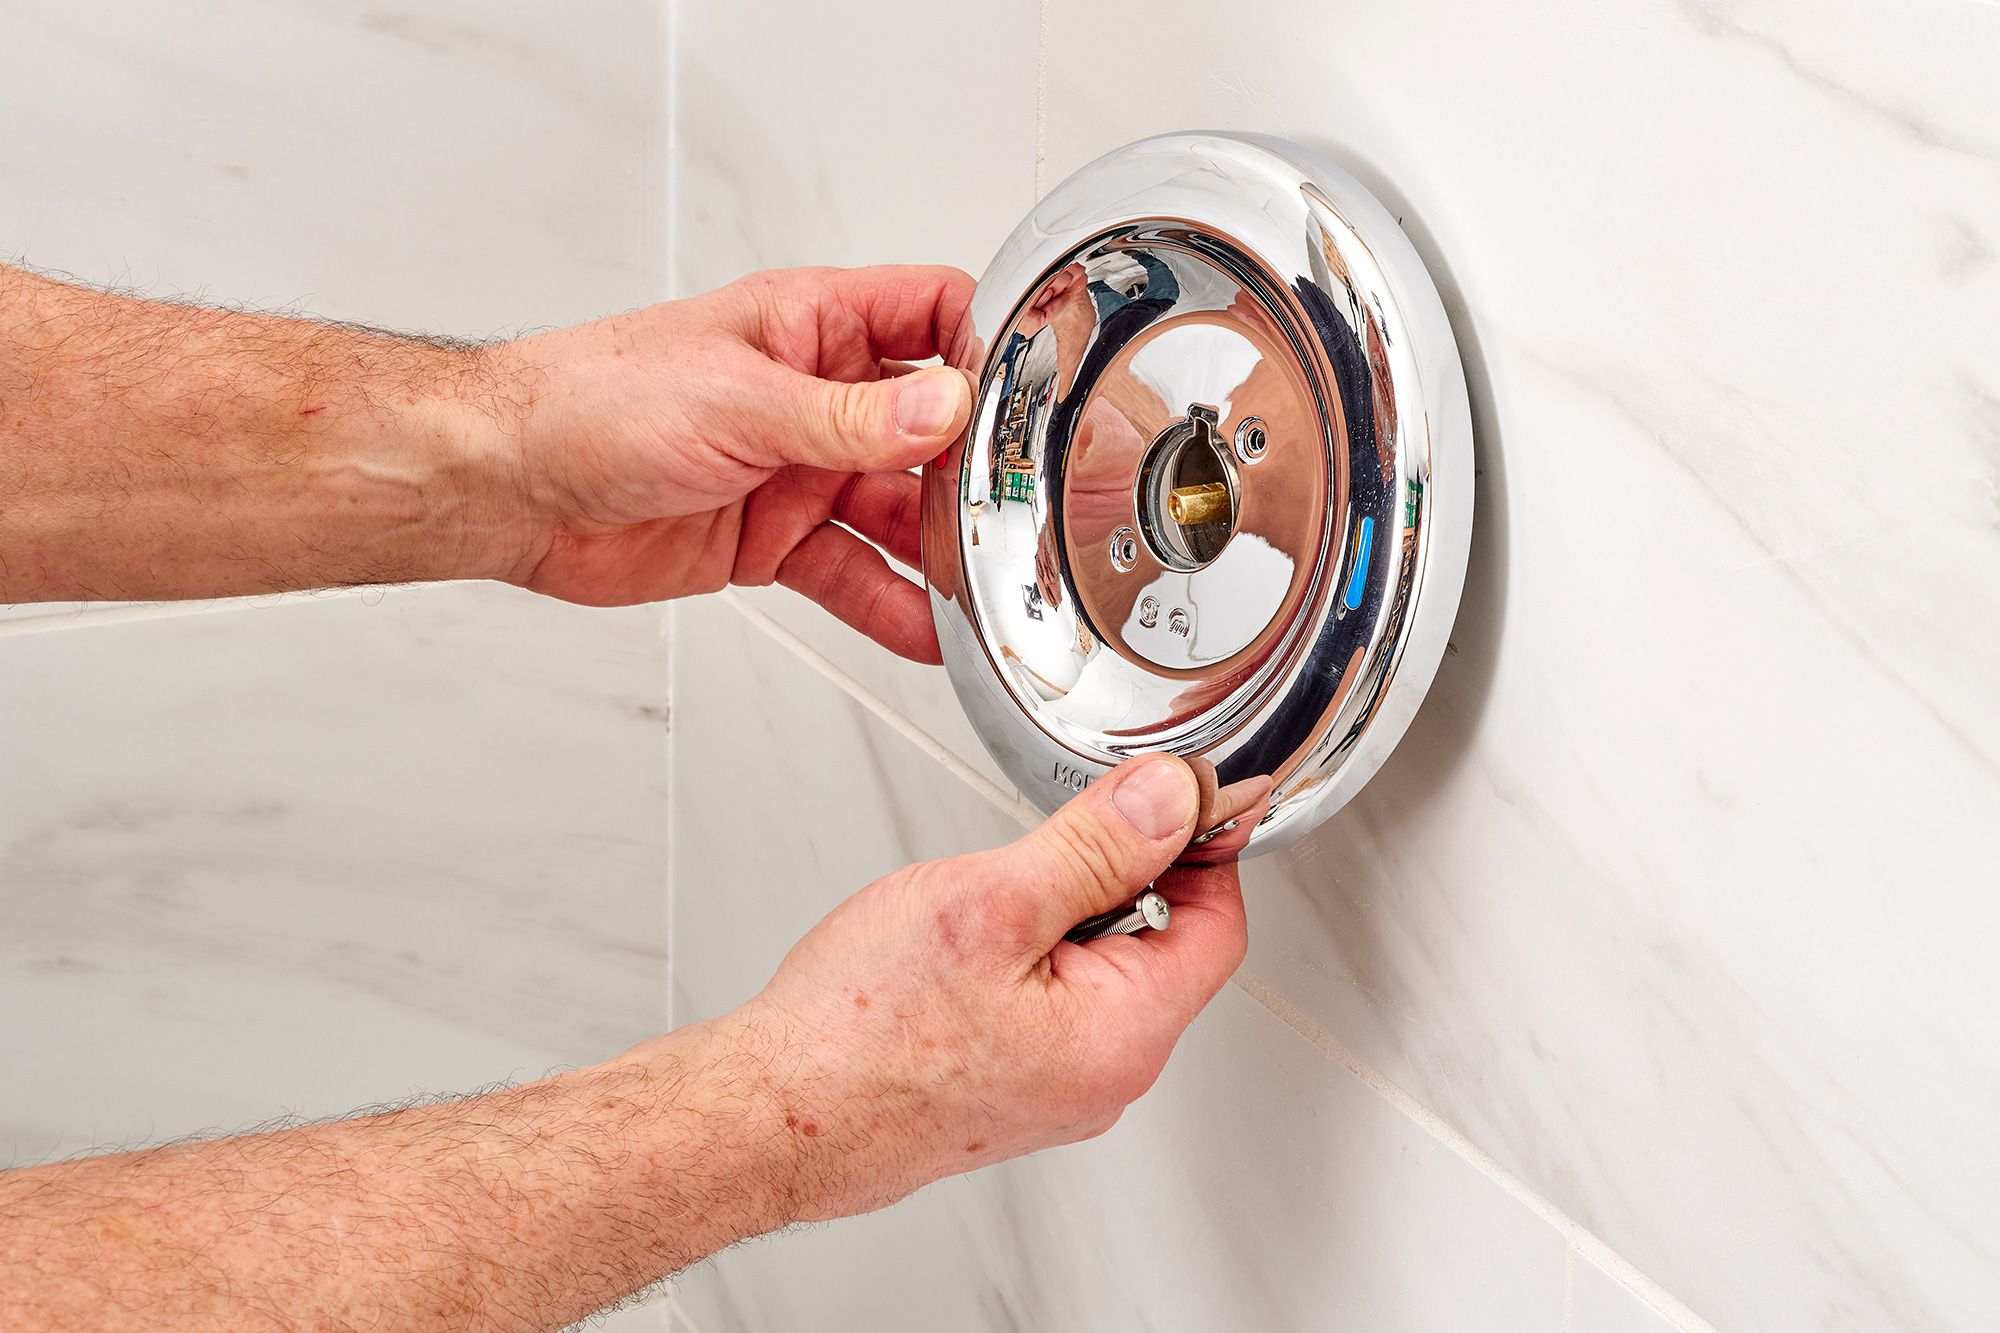
Step 2: Remove the faucet handle
Once the water supply is turned off, it’s time to remove the faucet handle. Removing the handle will give you access to the internal components of the faucet that may be causing the leakage.
Start by locating the decorative cap or cover on the top of the handle. This could be a small button or a piece that is easily removable. Use a flathead screwdriver or your fingernail to gently pry off the cap.
Underneath the cap, you will find a screw that holds the handle in place. Use a Phillips screwdriver to remove this screw. Make sure to keep the screw in a safe place where it won’t get lost.
Once the screw is removed, the handle should easily come off. However, if it feels stuck, gently wiggle it back and forth while pulling upwards to loosen it. Be careful not to apply too much force to avoid damaging the handle or the faucet.
With the handle removed, you will now have a clear view of the cartridge or valve that needs to be inspected and replaced. This will be covered in the next step of the repair process.
Remember to keep the handle, screw, and any other small parts together in a safe place so that they don’t get misplaced as you continue the repair process.
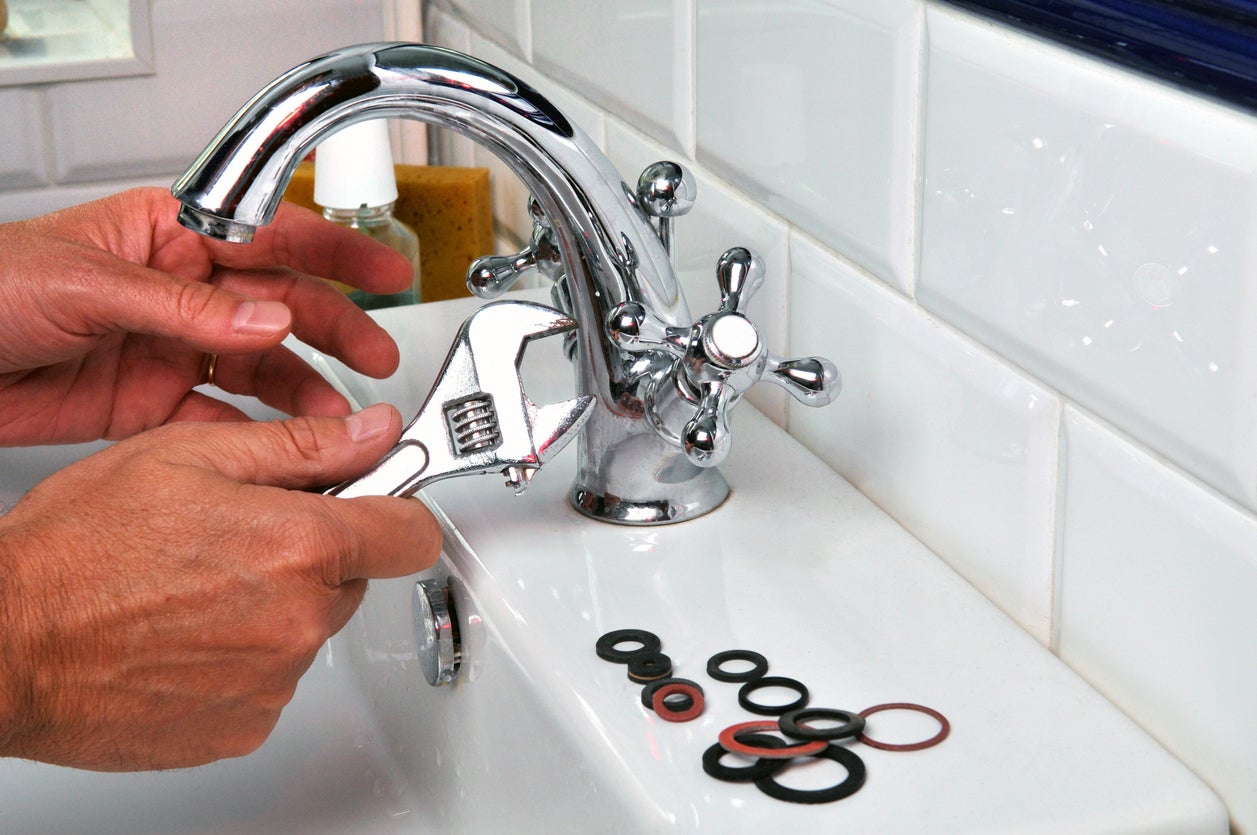
If your bathtub faucet is leaking, start by turning off the water supply to the faucet. Then, disassemble the faucet and replace the worn-out O-rings or washers to stop the leak.
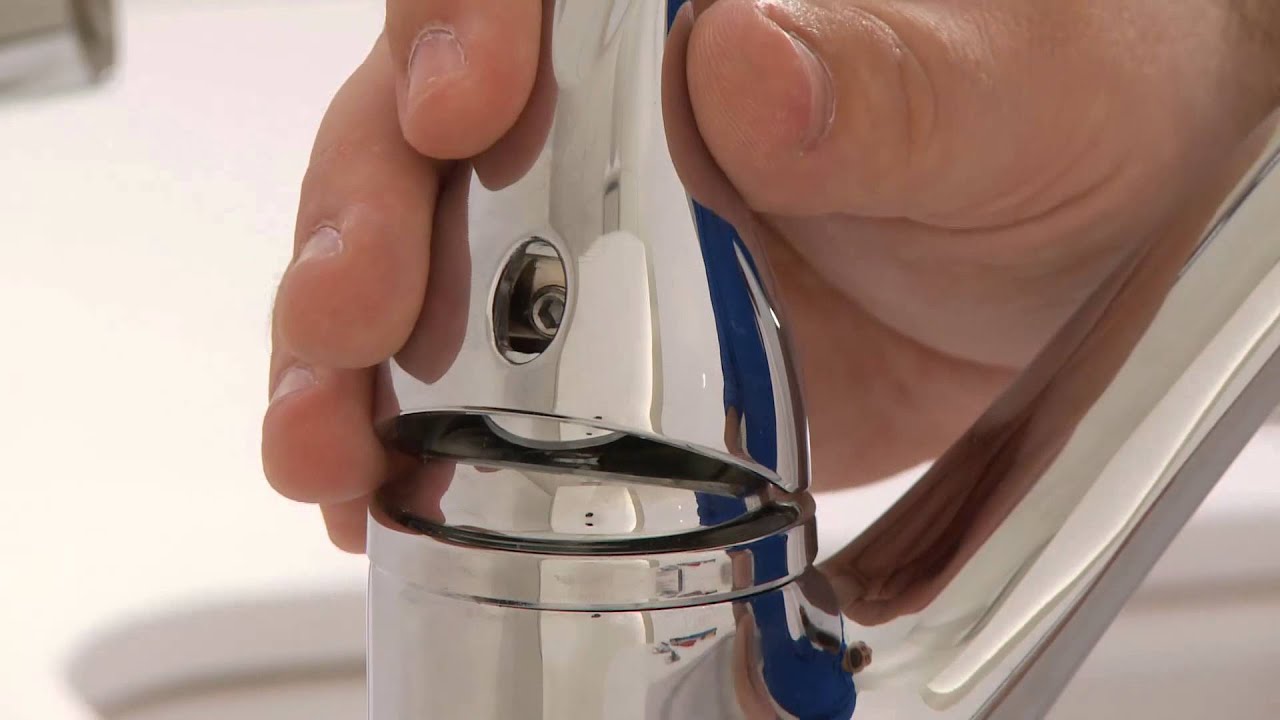
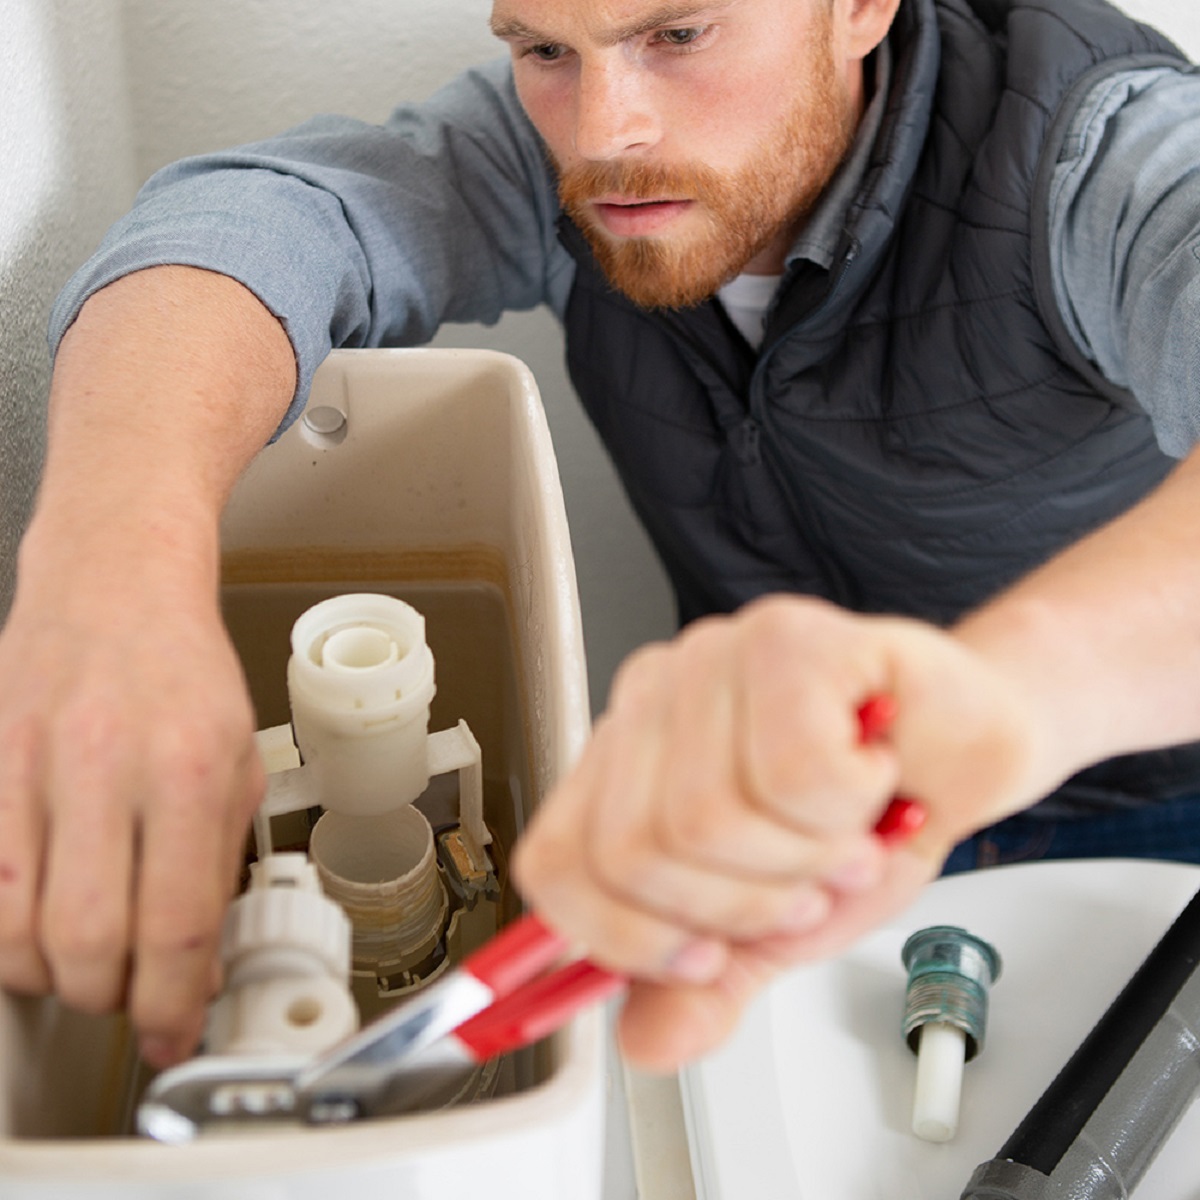
Step 3: Inspect and replace the cartridge or valve
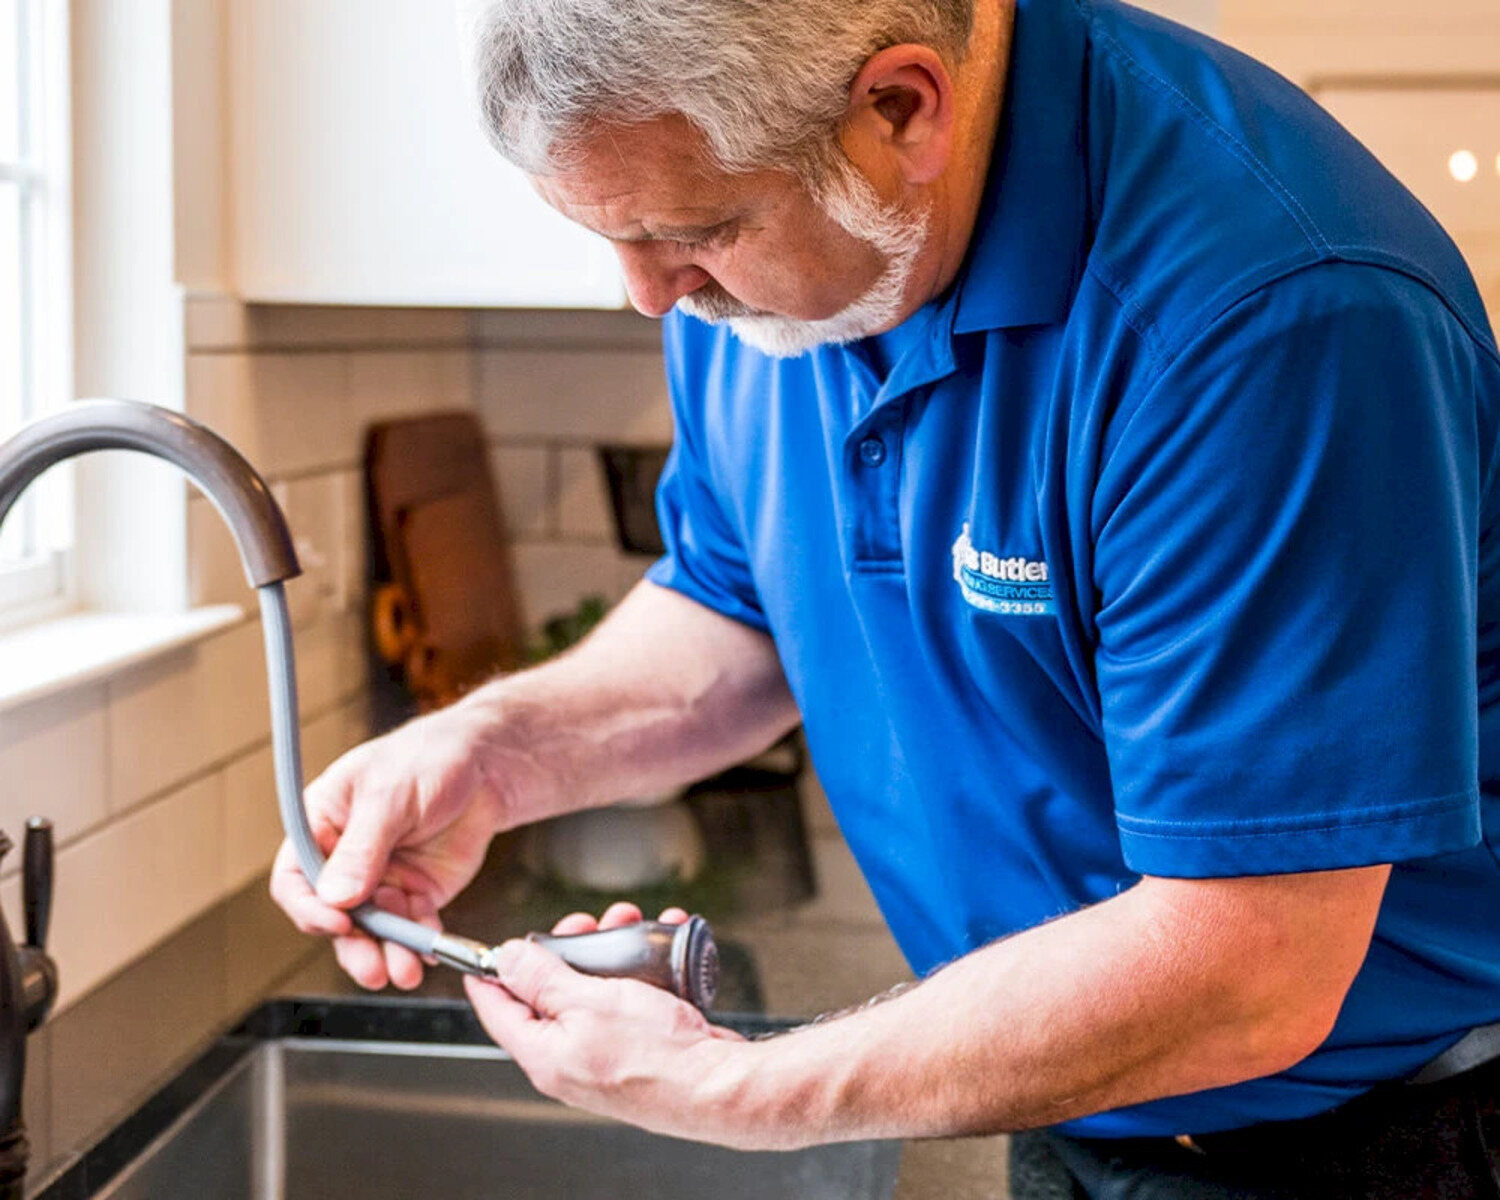
With the faucet handle removed, you can now inspect the cartridge or valve that is causing the leak in your bathtub. It’s important to identify the faulty component so that you can replace it and restore the functionality of your faucet.
Take a close look at the cartridge or valve, paying attention to any signs of wear, cracks, or damage. These are common indications that the component needs to be replaced. Additionally, check for mineral buildup or debris that may be affecting the proper functioning of the cartridge or valve.
If the cartridge or valve appears damaged or worn out, it’s time to replace it. You can find replacement parts at your local home improvement store or online. Make sure to match the model and type of your existing cartridge or valve to ensure compatibility.
Following the manufacturer’s instructions, carefully remove the old cartridge or valve. This may involve using a wrench or other tools to disconnect it from the plumbing system. Make sure to use caution and follow proper procedures to prevent any damage or injury.
Once the old cartridge or valve is removed, clean the area thoroughly to remove any debris or buildup. Apply a thin layer of plumber’s tape to the threads of the new cartridge or valve to ensure a secure and leak-free installation.
Insert the new cartridge or valve into its designated place, making sure it fits securely and is aligned properly. Tighten any connections using the appropriate tools, but be careful not to overtighten as it can cause damage.
With the new cartridge or valve in place, you can proceed to the next step of reassembling the faucet handle.
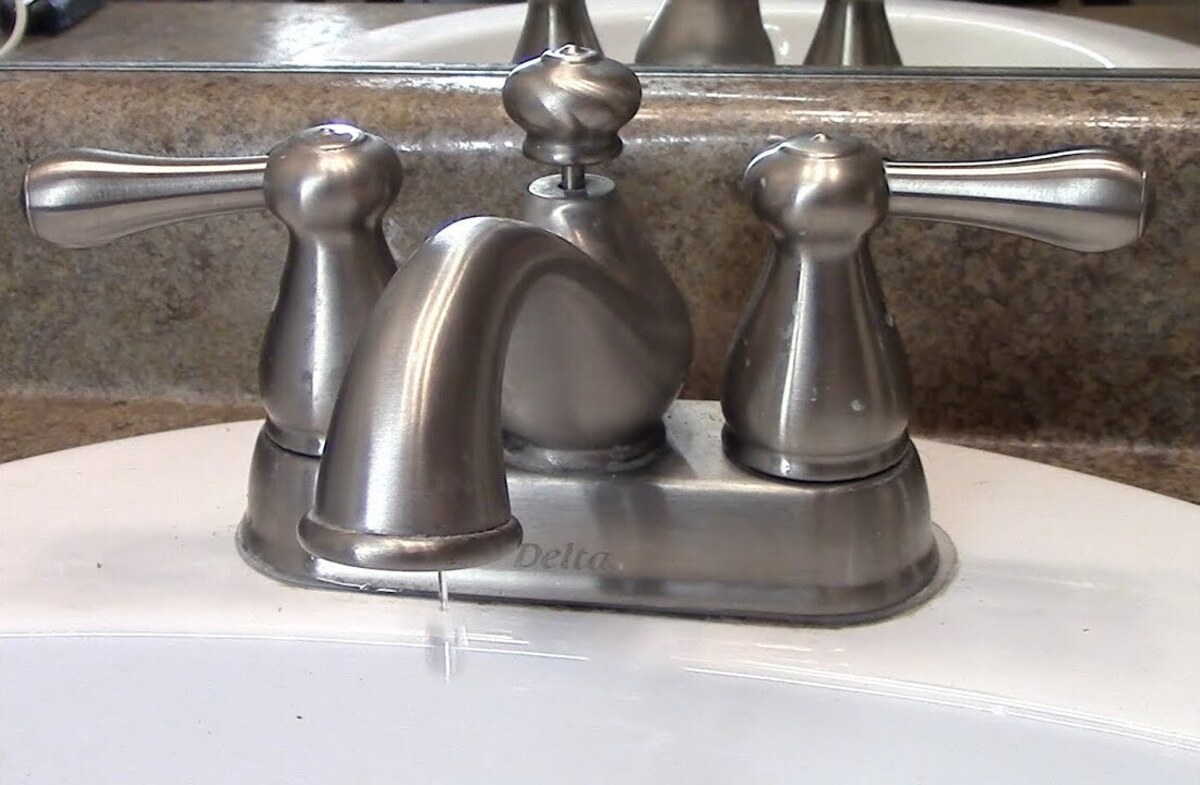
Step 4: Reassemble the faucet handle
Now that you have replaced the faulty cartridge or valve, it’s time to reassemble the faucet handle. This step will bring all the components back together and prepare your bathtub faucet for use.
Start by aligning the faucet handle over the stem or valve opening. Gently insert the handle onto the stem, making sure it fits snugly. If there are any grooves or notches, align them properly for a secure fit.
Once the handle is in place, locate the screw that you removed earlier. Insert it through the handle and into the hole on the stem or valve. Use a Phillips screwdriver to tighten the screw, but again, be careful not to overtighten, as it can strip the threads or cause damage.
If your faucet handle has a decorative cap or cover, reattach it by pressing it firmly into place. If it was adhesive, make sure it is properly centered and secure.
With the faucet handle reassembled, give it a few turns to ensure smooth operation. Make sure the handle is aligned with the hot and cold water indicators, if applicable.
Take a moment to clean the surface of the faucet and remove any fingerprints or smudges using a clean cloth or towel. This will leave your faucet looking polished and ready to use.
Now that you have successfully reassembled the faucet handle, you’re almost done. It’s time to move onto the final step of the repair process: testing for leaks.
Step 5: Test for leaks
After completing the reassembly of the faucet handle, it’s important to test for any remaining leaks. This final step will ensure that your bathtub faucet is fully repaired and functioning properly.
Start by slowly turning on the water supply at the shut-off valve. Gradually open the valve to allow water to flow through the pipes and into the faucet.
As the water starts flowing, closely inspect the area around the faucet for any signs of leakage. Pay attention to the base of the faucet, the handles, and any connections or joints. Look for dripping water, moisture, or wet patches.
If you notice any leaks, try tightening the connections gently using an adjustable wrench. Be cautious not to overtighten, as this can cause damage or further leaks.
If tightening the connections doesn’t resolve the leaks, you may need to repeat the previous steps and ensure that the cartridge or valve is properly installed. Double-check that all components are correctly aligned.
Once you’re confident that there are no leaks, let the water run for a few minutes to ensure that the faucet operates smoothly. Test the hot and cold water handles to make sure they function properly without any restrictions or issues.
Congratulations! You have successfully fixed the leaky faucet in your bathtub. Not only have you saved water and prevented further damage, but you have also acquired valuable DIY skills.
Remember to properly clean up and dispose of any old parts or packaging. Leave the work area clean and tidy so that you can enjoy your fully functional faucet without any reminders of the repair process.
If your faucet continues to leak or you encounter any difficulties during the repair process, it may be best to consult a professional plumber for assistance.
By following these steps and taking the time to repair your leaky faucet, you have not only saved money but also contributed to water conservation and a more sustainable environment. Well done!
Conclusion
Fixing a leaky faucet in your bathtub may seem like a daunting task, but with the right tools, materials, and guidance, it can be a straightforward DIY project. Not only will repairing the leak save you from the annoyance of a constant drip, but it will also save water and reduce your utility bills. Plus, by tackling this repair on your own, you’ll gain confidence in your DIY skills and be able to handle similar plumbing issues in the future.
In this comprehensive guide, we’ve walked you through the step-by-step process of fixing a leaky faucet in your bathtub. From turning off the water supply to inspecting and replacing the faulty cartridge or valve, reassembling the faucet handle, and testing for leaks, each step is crucial to ensure a successful repair.
Remember to gather all the necessary tools and materials before you begin, and take the time to carefully follow the instructions provided. Pay attention to details and be mindful of not overtightening or forcing any components, as this can cause damage.
Fixing your leaky faucet not only saves water and money, but it also contributes to a more sustainable and environmentally-friendly lifestyle. By taking small steps like this, we can all make a difference in conserving our precious resources.
Whether you’re a DIY enthusiast or a homeowner wanting to tackle minor plumbing repairs, fixing a leaky faucet in your bathtub is a great way to start. Remember, if you encounter any difficulties or cannot fix the issue yourself, it’s always wise to consult a professional plumber. They have the expertise and experience to handle complex plumbing problems.
So go ahead, grab your tools, and get ready to fix that leaky faucet. You’re on your way to a fully functional and leak-free bathtub faucet, saving both water and your sanity!
Frequently Asked Questions about How To Fix Leaky Faucet Bathtub
Was this page helpful?
At Storables.com, we guarantee accurate and reliable information. Our content, validated by Expert Board Contributors, is crafted following stringent Editorial Policies. We're committed to providing you with well-researched, expert-backed insights for all your informational needs.


0 thoughts on “How To Fix Leaky Faucet Bathtub”