Home>Furniture & Design>Bathroom Accessories>How To Repair An Acrylic Bathtub Crack
Bathroom Accessories
How To Repair An Acrylic Bathtub Crack
Modified: October 19, 2024
Learn how to effectively repair a crack in your acrylic bathtub with our expert tips and techniques. Keep your bathroom looking pristine with our bathroom accessories.
(Many of the links in this article redirect to a specific reviewed product. Your purchase of these products through affiliate links helps to generate commission for Storables.com, at no extra cost. Learn more)
Introduction
An acrylic bathtub is a luxurious addition to any bathroom, providing a sleek and modern aesthetic. However, over time, these beautiful fixtures may develop cracks, which can be unsightly and compromise the functionality of the tub. Fortunately, repairing an acrylic bathtub crack is a manageable task that can be accomplished with the right materials and a bit of know-how.
When it comes to addressing a crack in an acrylic bathtub, it's essential to approach the repair process with care and attention to detail. By following the proper steps and utilizing the appropriate techniques, you can restore your bathtub to its former glory and prevent the issue from escalating further.
In this comprehensive guide, we will walk you through the process of repairing an acrylic bathtub crack, from assessing the damage to applying the finishing touches. By the end of this article, you will have the knowledge and confidence to tackle this project effectively, ensuring that your bathtub remains a stunning centerpiece in your bathroom for years to come.
Key Takeaways:
- Assess the damage by visually inspecting the crack, checking for leaks, and documenting the extent of the damage. This helps in understanding the severity and choosing the right repair methods.
- Gather essential materials like acrylic repair kit, safety gear, and cleaning supplies before repairing the crack. Following detailed repair steps and finishing touches ensures a seamless and long-lasting bathtub restoration.
Read more: What Is An Acrylic Bathtub?
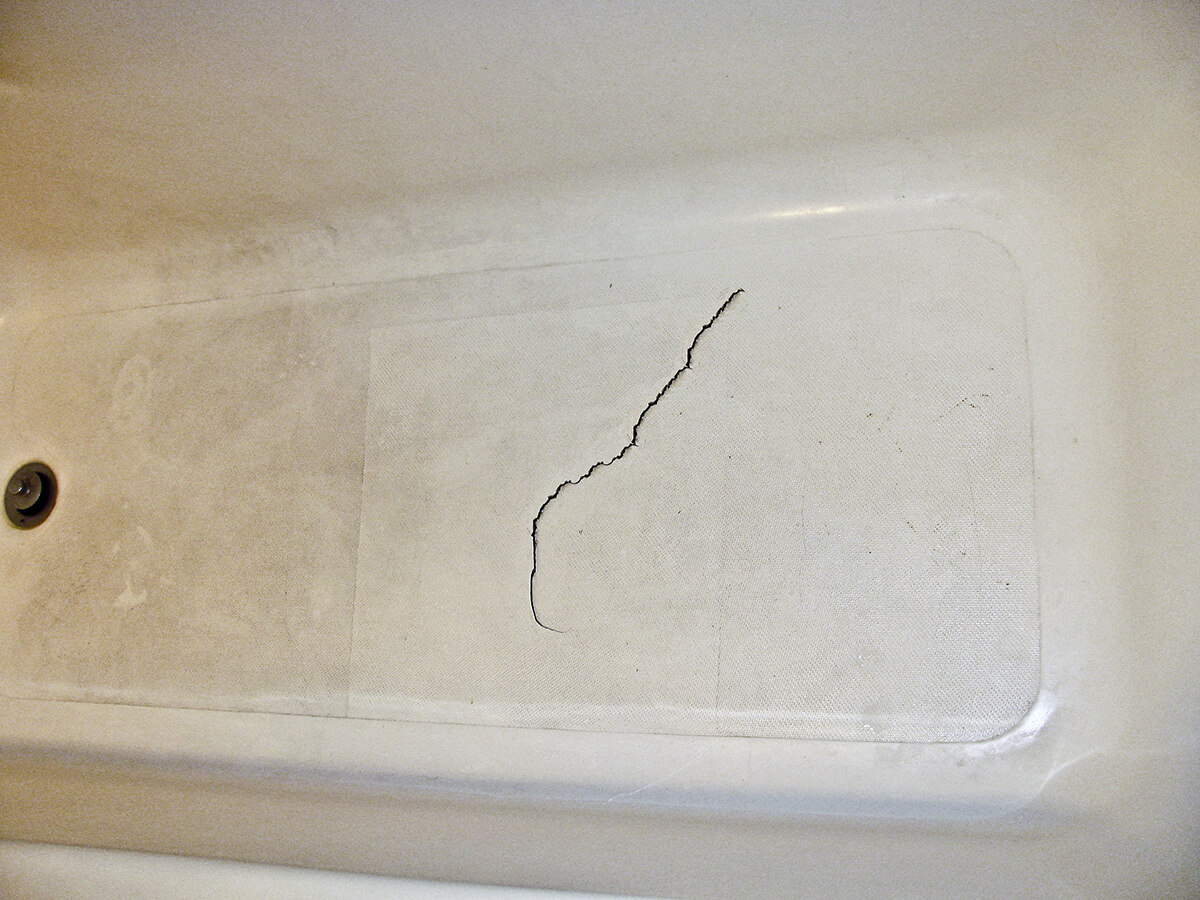
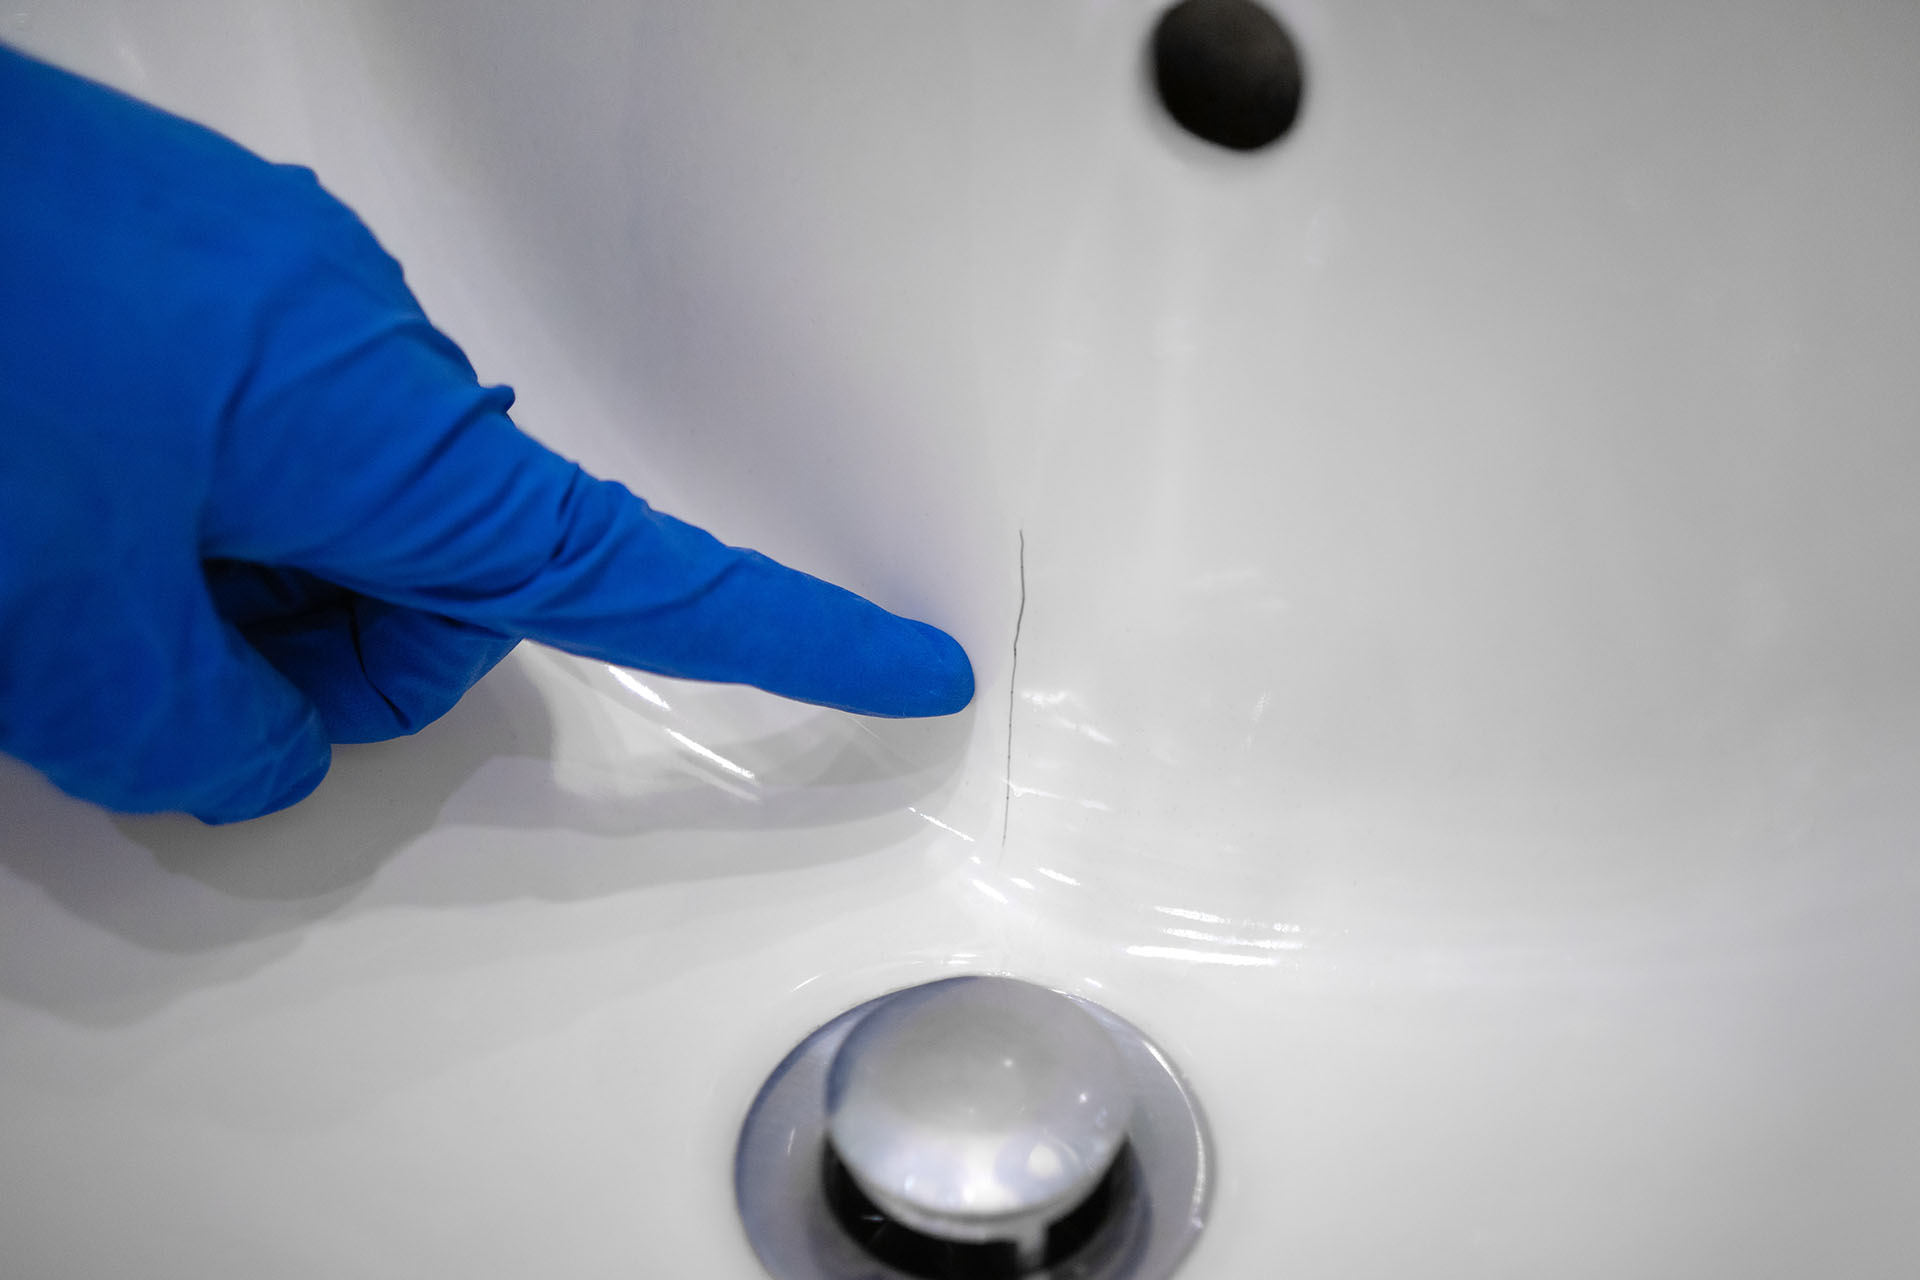
Assessing the Damage
Before embarking on the repair process, it's crucial to thoroughly assess the extent of the damage to your acrylic bathtub. This initial step sets the foundation for a successful repair, allowing you to determine the best approach and necessary materials. Here's a detailed look at how to assess the damage effectively:
-
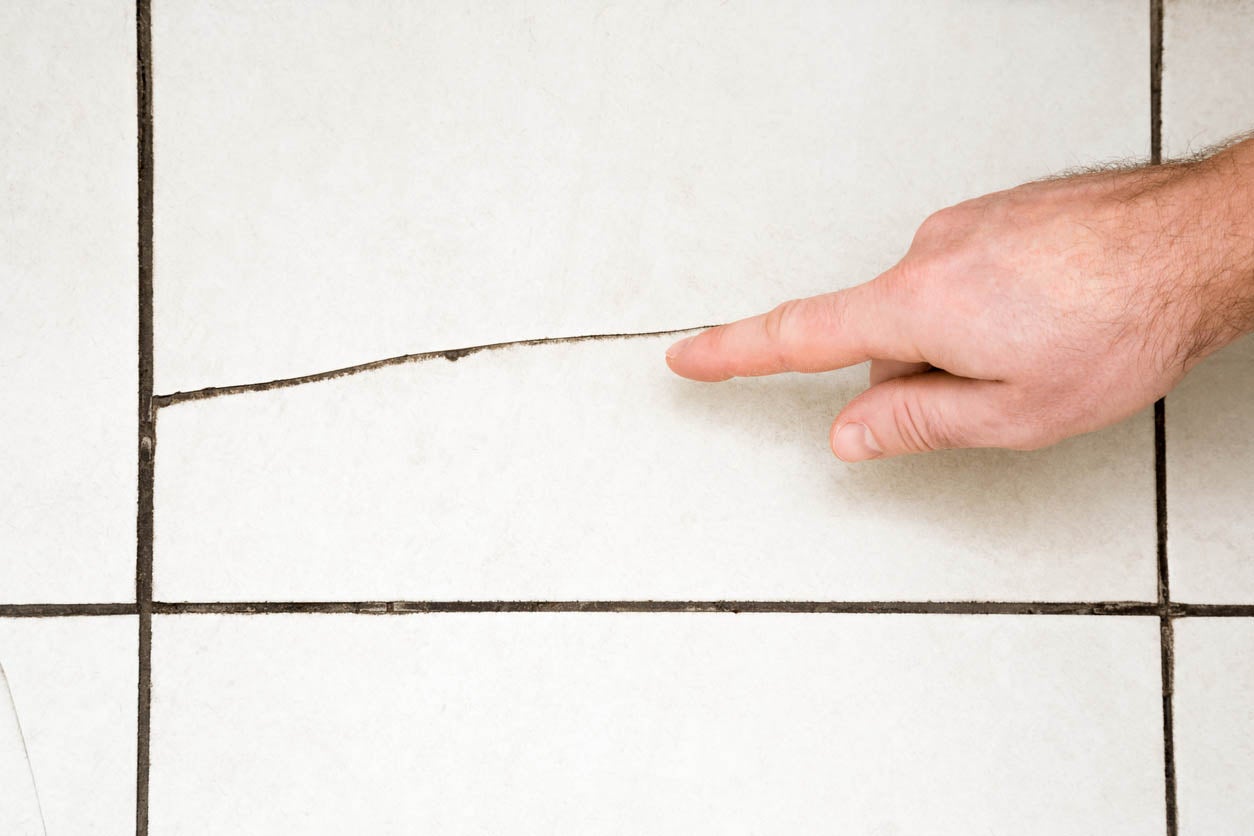
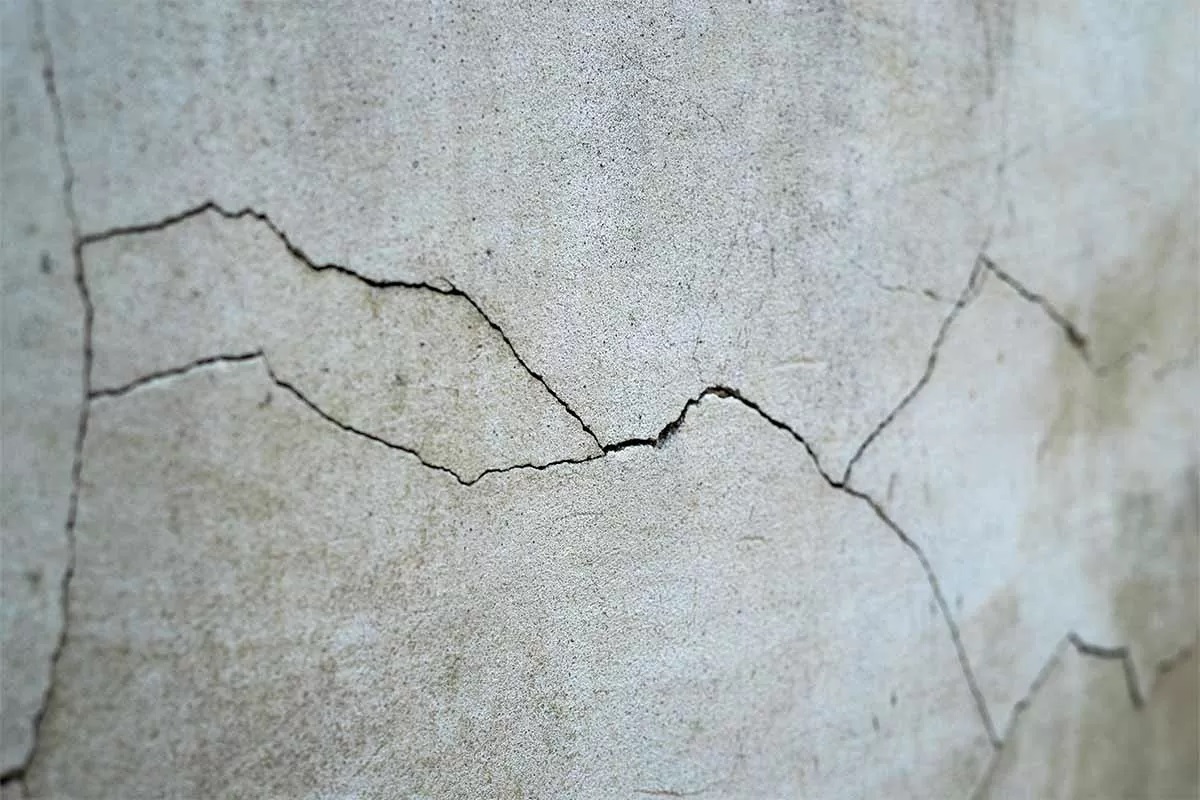
Visual Inspection: Begin by visually examining the crack in your acrylic bathtub. Take note of the crack's length, width, and depth. Look for any signs of discoloration or separation around the crack, as these indicators can provide valuable insights into the severity of the damage.
-
Probe the Crack: Gently probe the crack with your fingers to gauge its stability. A stable crack may indicate a surface-level issue, while a crack that flexes or widens under pressure could signify a more extensive problem requiring additional attention.
-
Check for Leaks: It's essential to determine whether the crack has led to any leaks. Thoroughly dry the area around the crack and then fill the bathtub with water. Observe the crack closely for any signs of water seepage. If water is escaping through the crack, it's a clear indication that the integrity of the bathtub has been compromised.
-
Assess Surrounding Areas: Take a step back and assess the surrounding areas of the bathtub. Look for any secondary damage, such as water stains, mold, or mildew, which could indicate that the crack has been present for an extended period.
-
Document the Damage: Take photographs of the crack from various angles to document the extent of the damage. These visual references will be valuable when seeking advice from professionals or purchasing repair materials.
By meticulously evaluating the damage, you'll gain a comprehensive understanding of the crack's characteristics and potential implications. This assessment will inform your next steps, guiding you toward the most suitable repair methods and ensuring that your efforts yield lasting results.
Gathering the Necessary Materials
When it comes to repairing an acrylic bathtub crack, having the right materials at your disposal is essential for achieving a successful outcome. Before diving into the repair process, it's crucial to gather the necessary supplies to ensure a seamless and effective repair. Here's a comprehensive list of materials you'll need to address the crack in your acrylic bathtub:
-
Acrylic Repair Kit: Invest in a high-quality acrylic repair kit specifically designed for repairing bathtub cracks. These kits typically include acrylic filler, catalyst, sandpaper, and other essential components tailored for repairing acrylic surfaces.
-
Safety Equipment: Prioritize safety by equipping yourself with protective gear, including gloves, safety goggles, and a face mask. These items will safeguard you from potential exposure to repair materials and ensure a safe working environment.
-
Cleaning Supplies: Prepare a mild detergent or acrylic surface cleaner, along with clean cloths or microfiber towels, to thoroughly clean the area surrounding the crack. Removing any dirt, grime, or residue is crucial for promoting adhesion and achieving a seamless repair.
-
Masking Tape: Secure the perimeter around the crack with masking tape to create clean edges and prevent the repair materials from spreading onto unaffected areas of the bathtub.
-
Fine-grit Sandpaper: Acquire fine-grit sandpaper, such as 220-grit or higher, to smooth the repaired area and blend it seamlessly with the rest of the bathtub surface.
-
Putty Knife or Plastic Spatula: A putty knife or plastic spatula will be indispensable for applying the acrylic filler and catalyst mixture to the crack with precision and control.
-
Rubbing Alcohol: Use rubbing alcohol to wipe down the repaired area before applying the finishing touches. This step ensures that the surface is clean and free from any contaminants that could compromise the repair.
-
Acrylic Sealant: Opt for a high-quality acrylic sealant to provide an additional layer of protection and enhance the durability of the repair. The sealant will help prevent water intrusion and further reinforce the repaired area.
By gathering these essential materials, you'll be well-equipped to tackle the repair process with confidence and precision. With the right supplies at your disposal, you can proceed to address the acrylic bathtub crack effectively, restoring its appearance and functionality while ensuring long-lasting results.
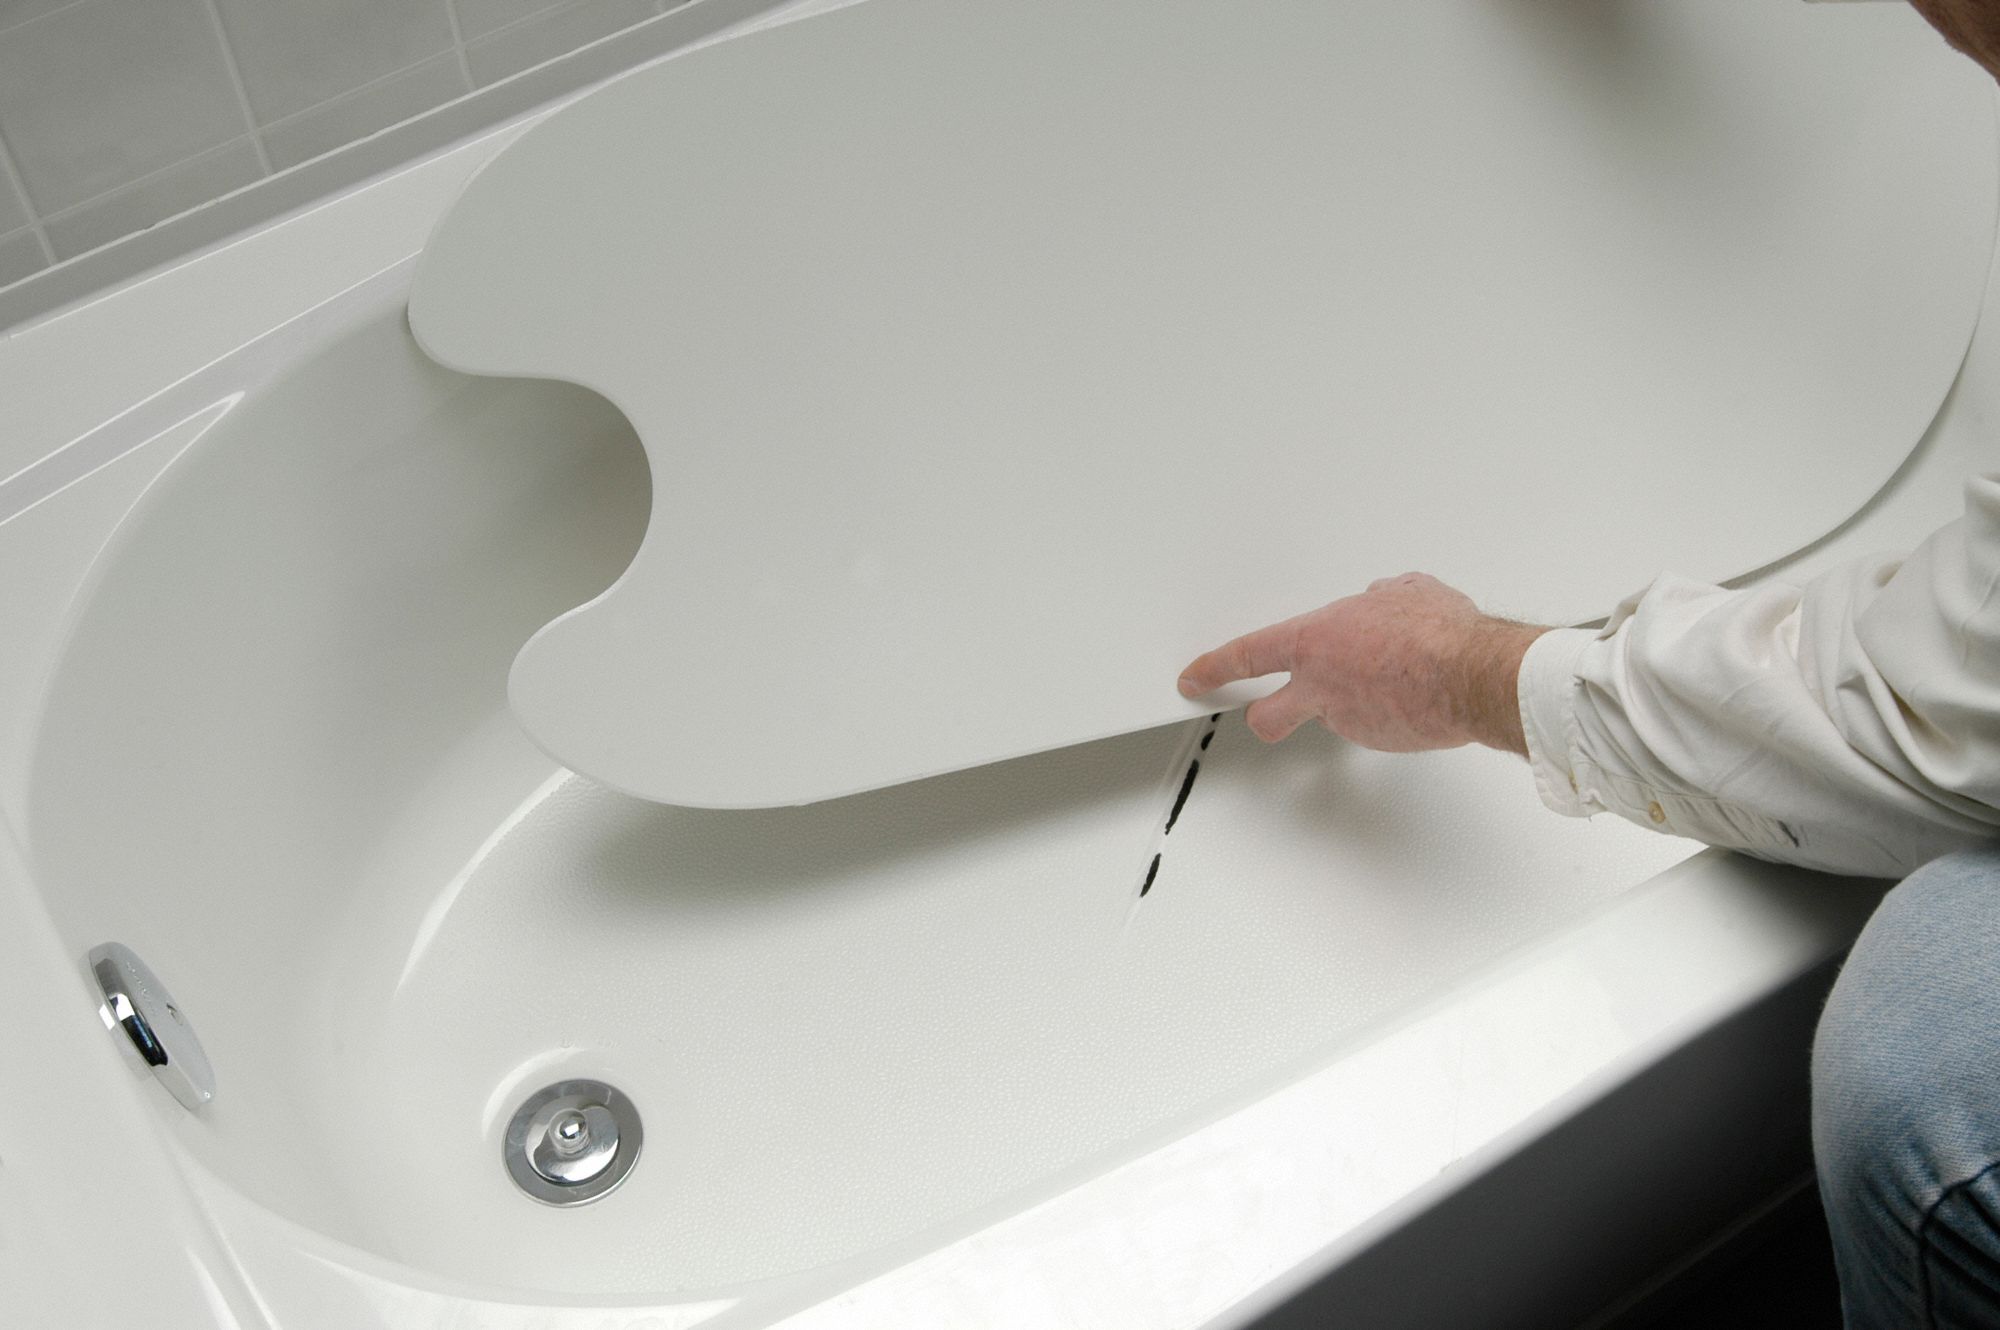
Repairing the Crack
Once you have thoroughly assessed the damage and gathered the necessary materials, you are ready to embark on the crucial step of repairing the crack in your acrylic bathtub. Follow these detailed instructions to execute the repair process effectively:
-
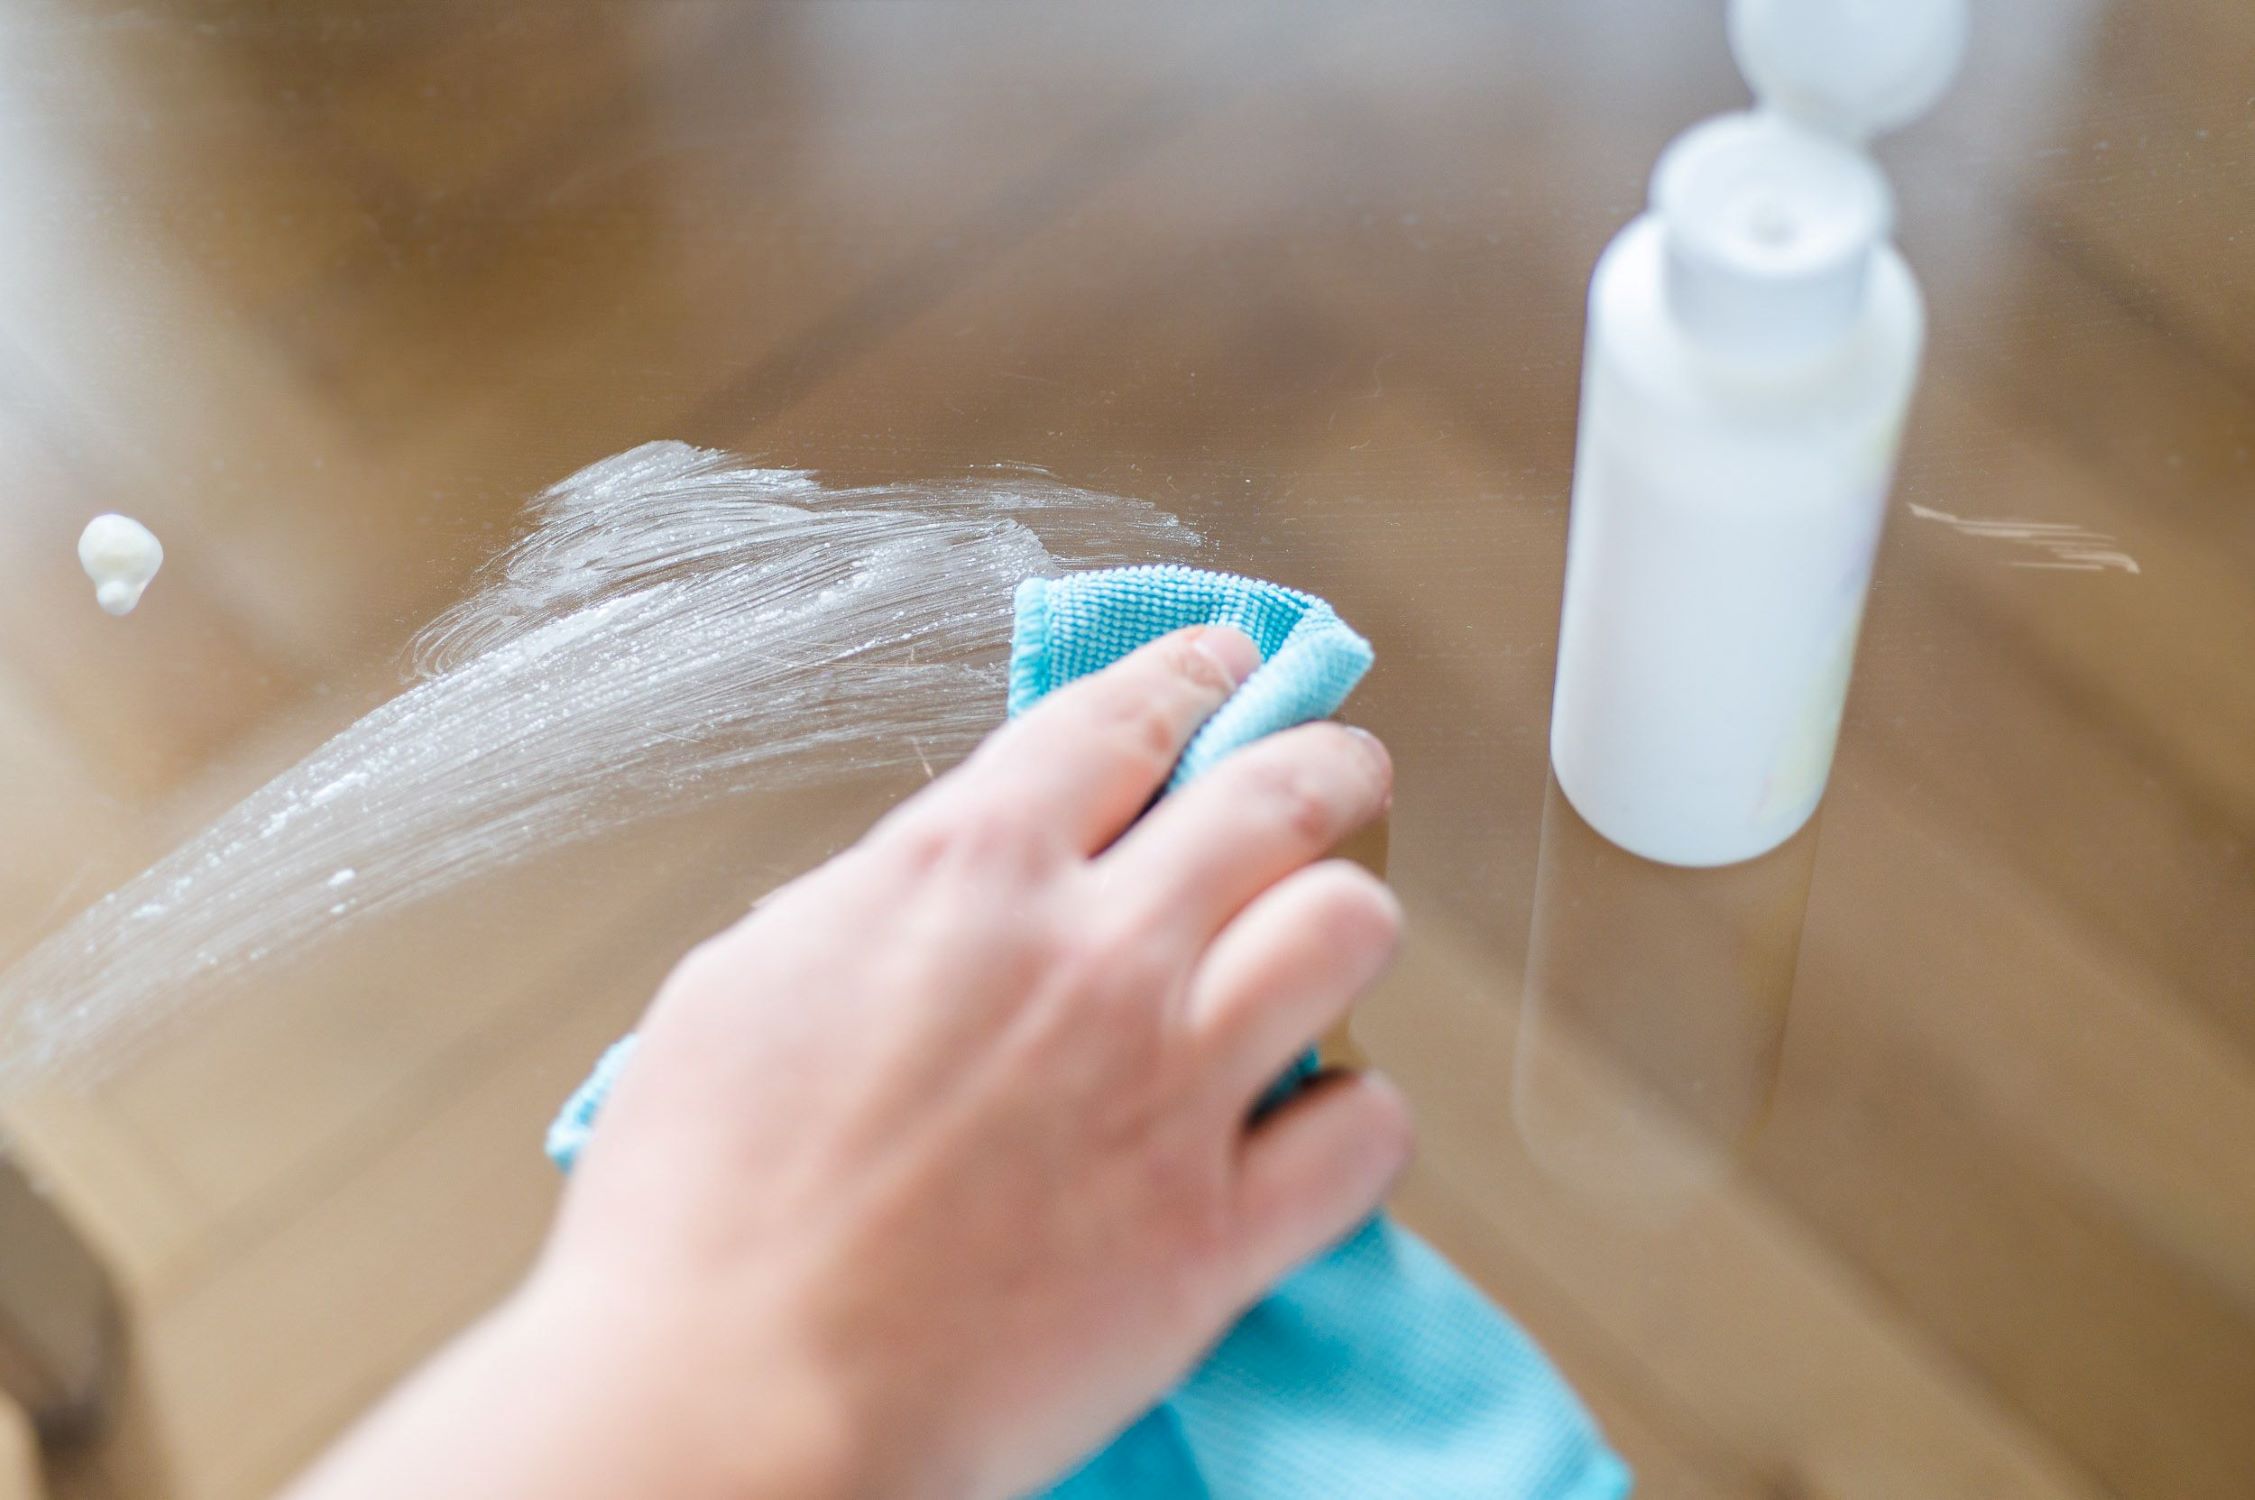
Prepare the Surface: Begin by cleaning the area around the crack with a mild detergent or acrylic surface cleaner. Ensure that the surface is free from any dirt, grime, or residue that could hinder the adhesion of the repair materials. Thoroughly dry the cleaned area before proceeding to the next step.
-
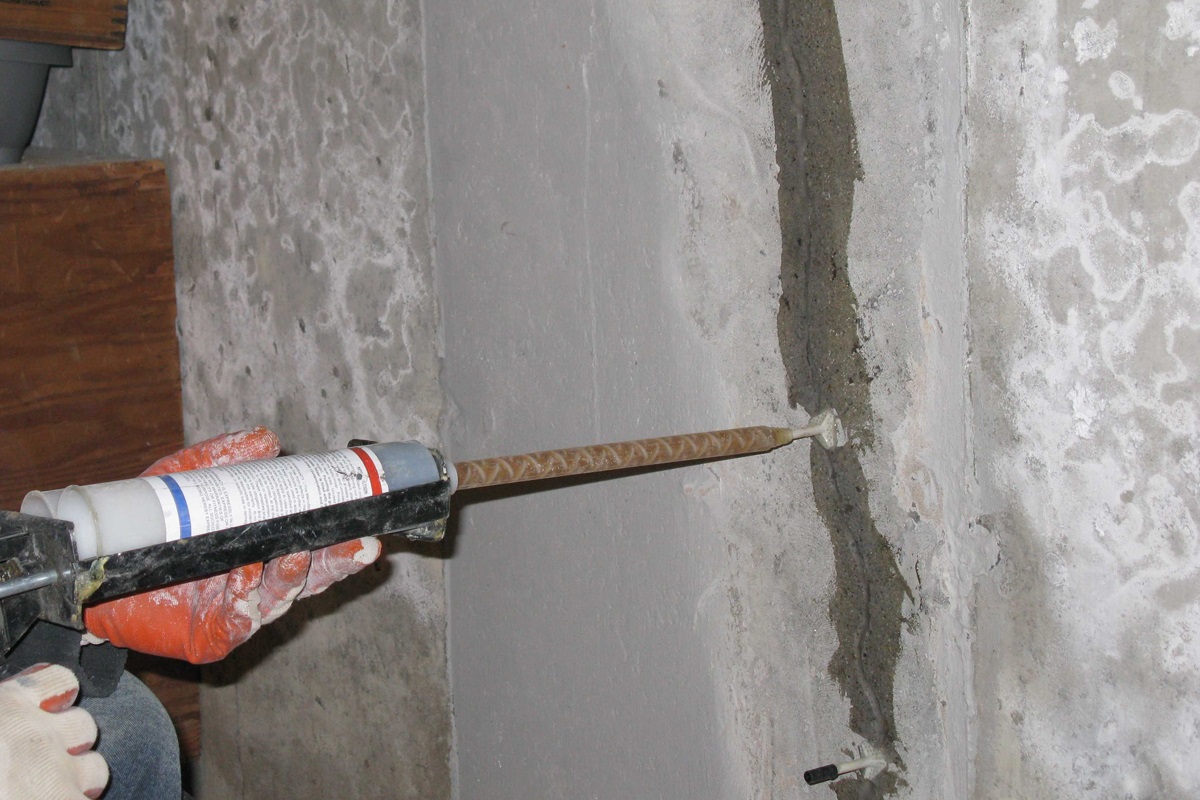
Mix the Acrylic Filler: In accordance with the instructions provided in the acrylic repair kit, mix the acrylic filler and catalyst to create a uniform and workable paste. Follow the recommended proportions and thoroughly blend the components to activate the filler's adhesive properties.
-
Apply the Filler: Using a putty knife or plastic spatula, carefully apply the mixed acrylic filler to the crack in smooth, even strokes. Ensure that the filler completely fills the crack and sits slightly above the surface of the bathtub. This excess filler will allow for sanding and blending in the subsequent steps.
-
Smooth and Shape the Filler: Once the filler is applied, use the putty knife or spatula to level and shape the excess filler, creating a seamless transition between the repaired area and the surrounding bathtub surface. Pay attention to achieving a uniform and level finish to facilitate the blending process.
-
Let the Filler Cure: Allow the applied filler to cure as per the manufacturer's instructions. This curing period is crucial for ensuring the strength and durability of the repair. Be mindful of the recommended curing time and avoid any disturbances during this phase.
-
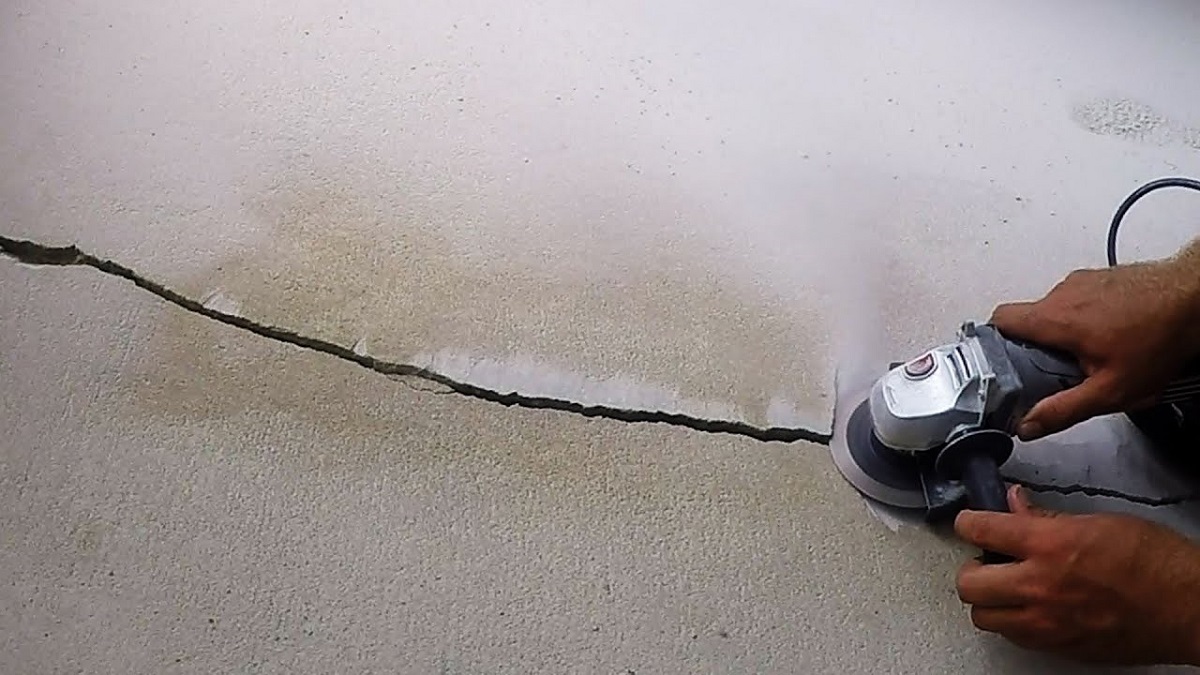
Sand the Repaired Area: Once the filler has fully cured, use fine-grit sandpaper to gently sand the repaired area. Employ smooth, circular motions to blend the filler with the surrounding bathtub surface, creating a smooth and uniform finish. Take care not to apply excessive pressure, as this could damage the repaired area.
-
Clean and Inspect the Repair: Wipe down the repaired area with rubbing alcohol to remove any residual dust or particles from the sanding process. Inspect the repair closely to ensure that the crack is seamlessly integrated with the rest of the bathtub surface, with no visible imperfections.
-
Apply Acrylic Sealant (Optional): For added protection and longevity, consider applying a high-quality acrylic sealant over the repaired area. This additional layer of sealant will enhance the waterproofing and durability of the repair, providing an extra safeguard against future damage.
By meticulously following these steps, you can effectively repair the crack in your acrylic bathtub, restoring its appearance and structural integrity. With patience and attention to detail, you can achieve a seamless and long-lasting repair that revitalizes your bathtub and ensures its continued functionality for years to come.
Finishing Touches
After completing the meticulous repair process for the acrylic bathtub crack, it's essential to focus on the finishing touches to ensure a seamless and polished outcome. The final steps of the repair process are crucial for enhancing the visual appeal of the bathtub while reinforcing the durability of the repair. Here's a detailed guide on the finishing touches that will elevate the overall quality of the repair:
Read more: How To Polish An Acrylic Bathtub
Buffing and Polishing
Once the repaired area has been thoroughly inspected and any optional acrylic sealant has been applied, consider buffing and polishing the entire bathtub surface to achieve a uniform and lustrous finish. Utilize a non-abrasive polishing compound specifically formulated for acrylic surfaces. Apply the compound in gentle, circular motions, gradually buffing the surface to restore its natural sheen. This step not only blends the repaired area seamlessly with the rest of the bathtub but also revitalizes the overall appearance of the fixture.
Final Inspection
After buffing and polishing the bathtub, conduct a final inspection to ensure that the repaired area harmonizes flawlessly with the surrounding surface. Examine the bathtub from various angles and under different lighting conditions to identify any imperfections or inconsistencies. Address any remaining blemishes or irregularities with additional buffing or touch-up procedures as needed.
Reinstalling Fixtures
If any fixtures or accessories were removed during the repair process, such as faucet handles or drain covers, carefully reinstall them once the repair is fully complete. Ensure that the fixtures are securely fastened and properly aligned, contributing to the overall aesthetic and functionality of the bathtub.
Cleaning and Maintenance Tips
Provide the homeowner with essential cleaning and maintenance tips to preserve the integrity of the repaired area and prolong the lifespan of the bathtub. Advise them to use mild, non-abrasive cleaners and soft cloths for routine cleaning, avoiding harsh chemicals or abrasive scrubbing tools that could compromise the repaired surface. Additionally, recommend periodic inspections to detect any signs of wear or damage, allowing for timely maintenance and repairs to uphold the bathtub's pristine condition.
By meticulously attending to these finishing touches, you can elevate the quality of the acrylic bathtub crack repair, ensuring a visually appealing and long-lasting outcome. The attention to detail in the final stages of the repair process not only enhances the aesthetic appeal of the bathtub but also contributes to its resilience and longevity, providing homeowners with a beautifully restored fixture that will continue to shine for years to come.
Use a repair kit specifically designed for acrylic bathtubs. Clean the crack thoroughly, apply the repair compound, and let it dry completely before sanding and polishing the area for a seamless finish.
Read more: How Much Does An Acrylic Bathtub Weigh
Conclusion
In conclusion, successfully repairing an acrylic bathtub crack requires a meticulous approach, attention to detail, and the utilization of high-quality materials. By thoroughly assessing the damage, gathering the necessary supplies, executing the repair process with precision, and attending to the finishing touches, homeowners can restore the beauty and functionality of their bathtub while ensuring long-lasting results.
The initial assessment of the crack's characteristics and implications sets the stage for a targeted and effective repair. By visually inspecting the crack, probing its stability, checking for leaks, and documenting the damage, homeowners gain valuable insights that inform the subsequent repair steps. This comprehensive evaluation empowers them to make informed decisions and select the most suitable repair methods, laying the groundwork for a successful restoration.
Gathering the necessary materials is a crucial preparatory step that equips homeowners with the tools and supplies needed to address the acrylic bathtub crack effectively. From acquiring an acrylic repair kit and safety equipment to securing cleaning supplies, masking tape, and fine-grit sandpaper, the comprehensive list of materials ensures that homeowners are well-prepared to undertake the repair process with confidence and precision.
The repair process itself involves a series of meticulous steps, including surface preparation, filler application, curing, sanding, and optional sealant application. By following these detailed instructions and exercising patience and attention to detail, homeowners can achieve a seamless and durable repair that revitalizes their bathtub and safeguards it against future damage.
The finishing touches, encompassing buffing and polishing, final inspections, and fixture reinstallation, elevate the overall quality of the repair, ensuring a visually appealing and resilient outcome. Additionally, providing homeowners with essential cleaning and maintenance tips empowers them to preserve the integrity of the repaired area and prolong the lifespan of their bathtub, contributing to its long-term beauty and functionality.
In essence, the process of repairing an acrylic bathtub crack is a testament to the transformative power of meticulous care and precision. By approaching the repair with diligence and utilizing the right techniques and materials, homeowners can breathe new life into their bathtub, ensuring that it remains a stunning centerpiece in their bathroom for years to come.
Frequently Asked Questions about How To Repair An Acrylic Bathtub Crack
Was this page helpful?
At Storables.com, we guarantee accurate and reliable information. Our content, validated by Expert Board Contributors, is crafted following stringent Editorial Policies. We're committed to providing you with well-researched, expert-backed insights for all your informational needs.


0 thoughts on “How To Repair An Acrylic Bathtub Crack”