Home>Furniture & Design>Bathroom Accessories>How To Polish An Acrylic Bathtub
Bathroom Accessories
How To Polish An Acrylic Bathtub
Modified: March 19, 2024
Learn how to polish your acrylic bathtub to keep it looking like new. Discover the best bathroom accessories and techniques for a sparkling clean tub.
(Many of the links in this article redirect to a specific reviewed product. Your purchase of these products through affiliate links helps to generate commission for Storables.com, at no extra cost. Learn more)
Introduction
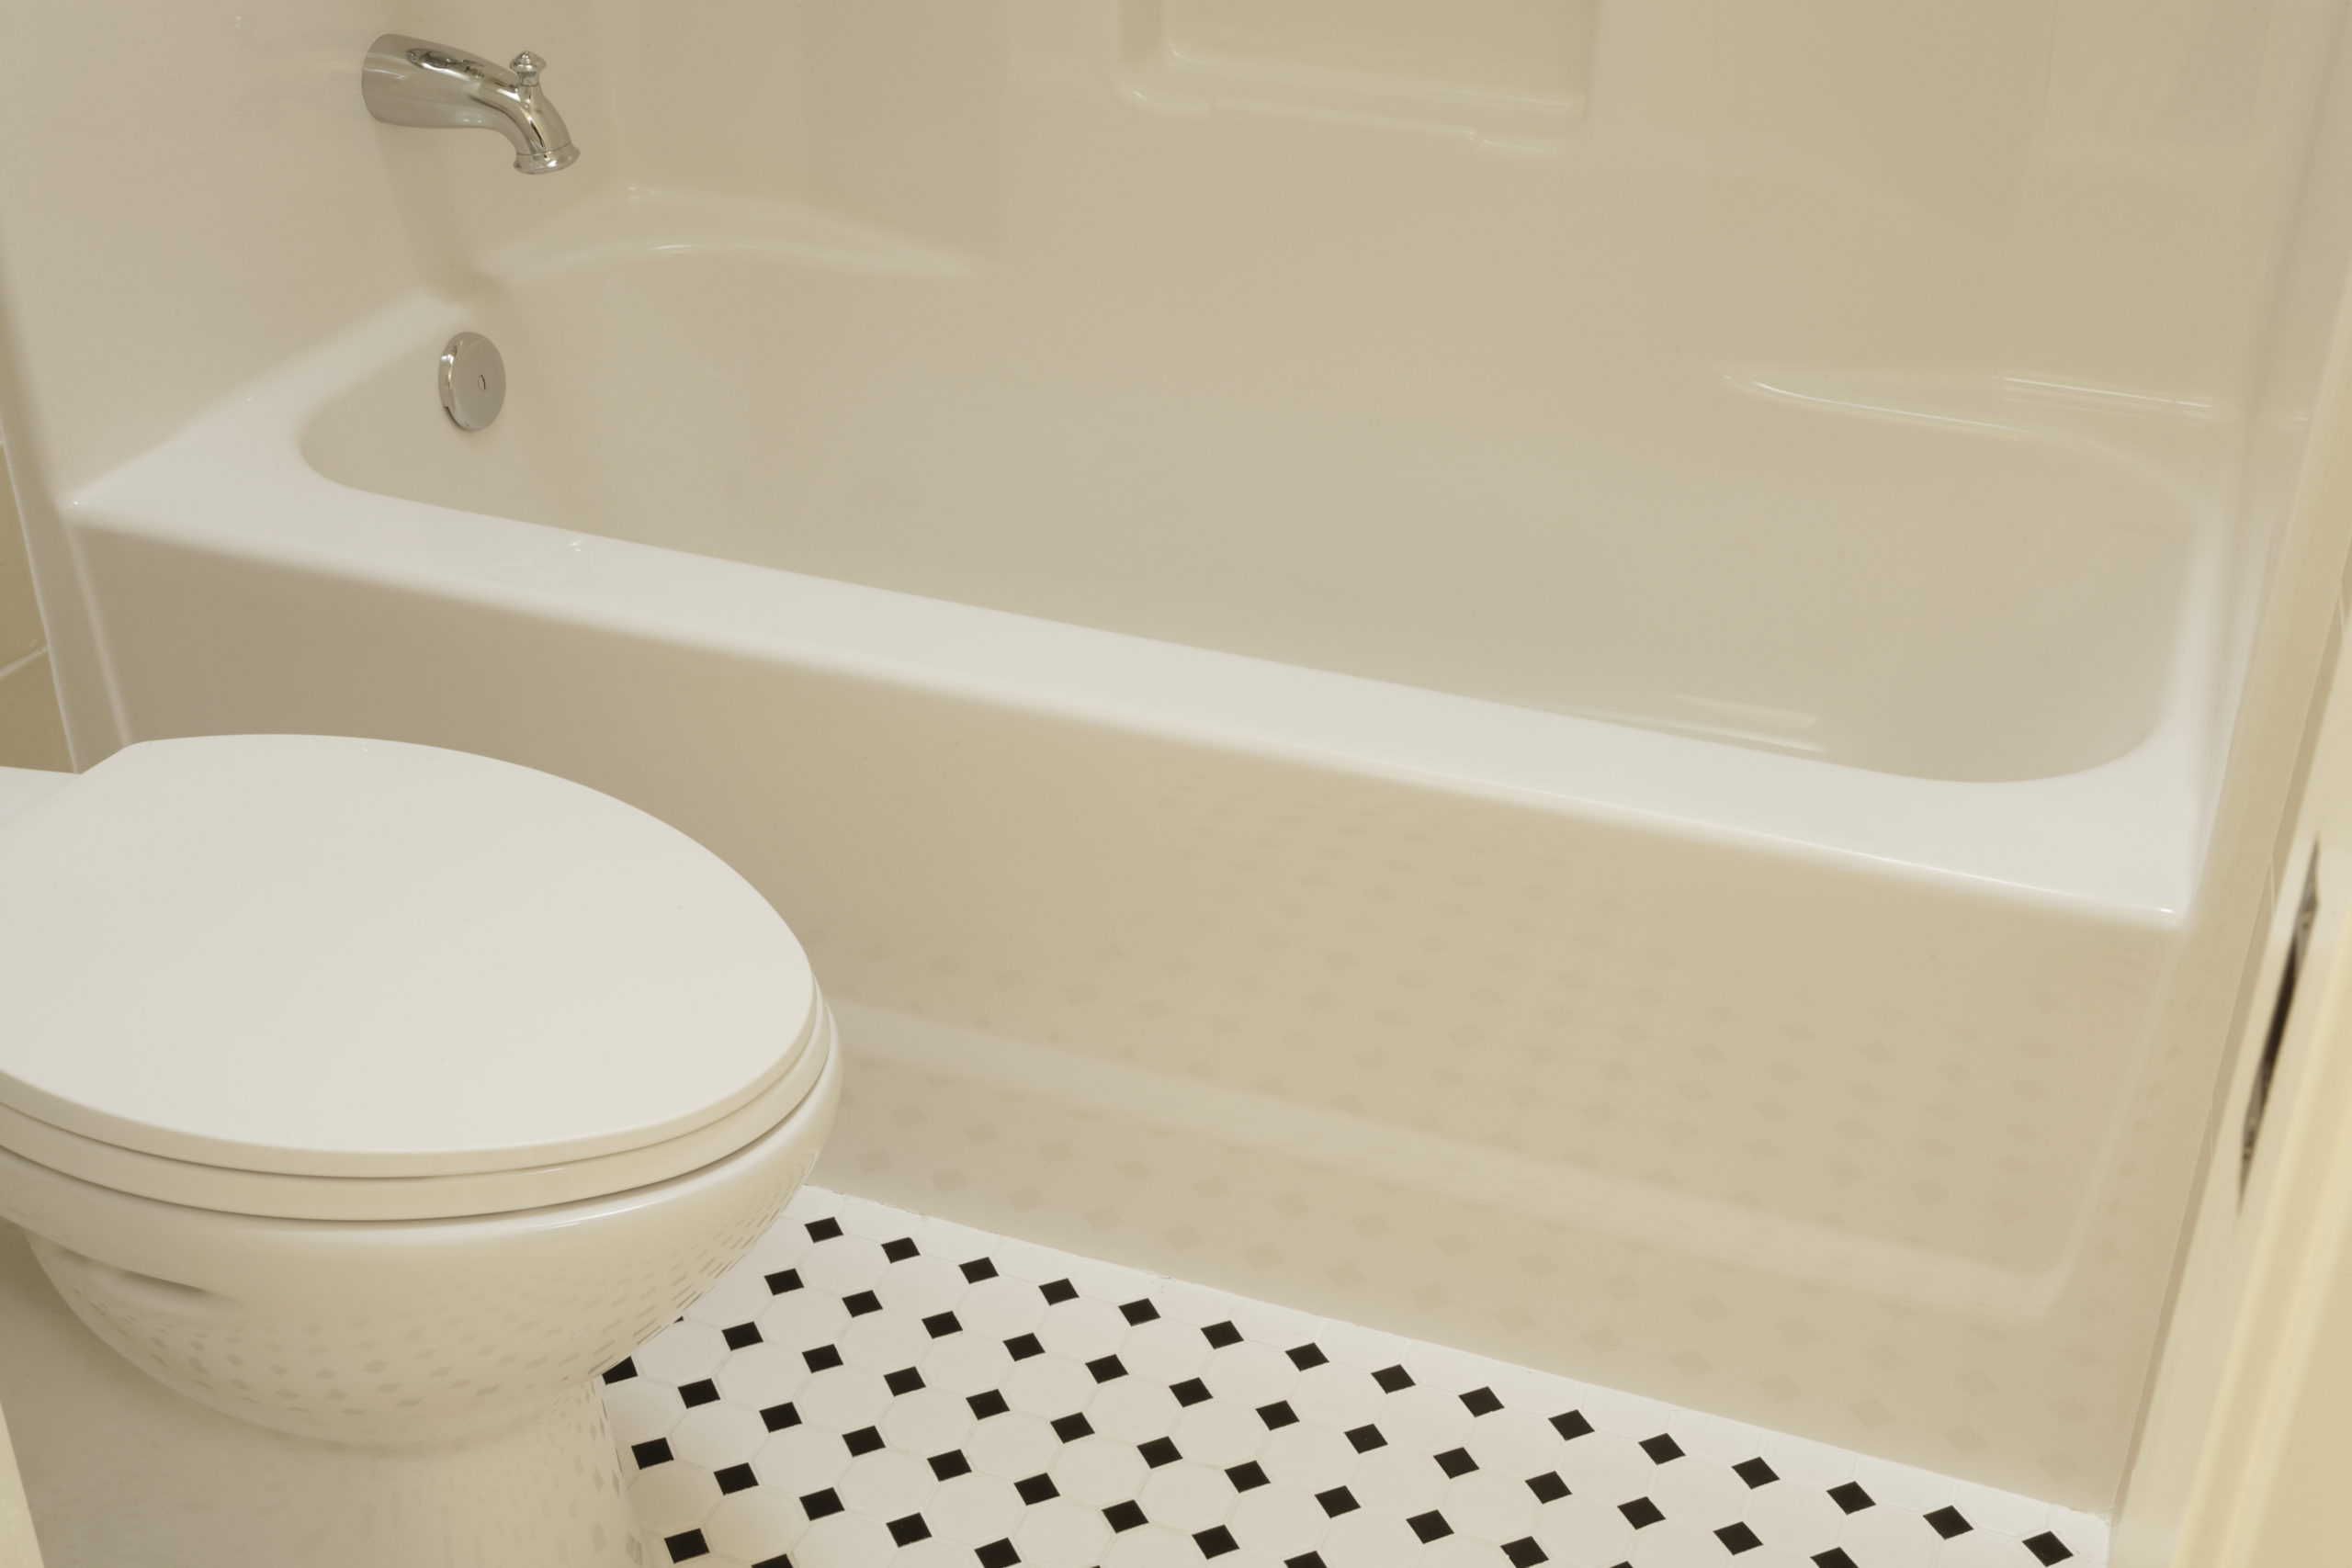
Polishing an acrylic bathtub can breathe new life into your bathroom and elevate the overall aesthetic appeal of the space. Over time, acrylic bathtubs may develop scratches, dullness, or a lackluster appearance due to regular use and cleaning. However, with the right techniques and materials, you can restore the shine and luster of your acrylic bathtub, making it look as good as new.
In this comprehensive guide, we will walk you through the step-by-step process of polishing your acrylic bathtub to achieve a professional-looking finish. Whether you're preparing for a special occasion, aiming to revitalize your bathroom, or simply want to maintain the pristine condition of your bathtub, this guide will equip you with the knowledge and skills to accomplish the task with confidence.
By following the methods outlined in this article, you can transform your acrylic bathtub from lackluster to radiant, creating a spa-like ambiance in your bathroom. Additionally, learning how to polish an acrylic bathtub empowers you to take proactive measures in preserving the longevity and visual appeal of this essential fixture in your home.
So, roll up your sleeves, gather the necessary materials, and let's embark on this rewarding journey to restore and enhance the beauty of your acrylic bathtub. With a little effort and the right approach, you'll soon be enjoying the gleaming results of your polished bathtub, adding a touch of luxury and sophistication to your bathing experience.
Key Takeaways:
- Transform your acrylic bathtub from lackluster to radiant by following our step-by-step guide. Enjoy a spa-like ambiance in your bathroom with a polished bathtub, adding luxury to your bathing experience.
- Empower yourself to maintain a beautiful home by learning how to polish an acrylic bathtub. Create a space that radiates comfort, luxury, and rejuvenation with a revitalized bathroom centerpiece.
Read more: How To Polish A Bathtub
Step 1: Gather the necessary materials
Before embarking on the process of polishing your acrylic bathtub, it's essential to gather the necessary materials to ensure a smooth and effective procedure. By having the right tools and products at your disposal, you can streamline the polishing process and achieve optimal results. Here's a comprehensive list of the materials you'll need:
-
Acrylic-safe cleaner: Select a mild, non-abrasive cleaner specifically formulated for use on acrylic surfaces. Avoid harsh chemicals or abrasive cleaners that can damage the bathtub's finish.
-
Soft microfiber cloths: Prepare several clean, soft microfiber cloths for cleaning and drying the bathtub. Microfiber cloths are gentle on acrylic surfaces and help prevent scratching during the cleaning and polishing process.
-
Acrylic polish: Invest in a high-quality acrylic polish designed to restore shine and luster to acrylic surfaces. Look for a product that is specifically formulated for use on bathtubs and provides long-lasting results.
-
Rubbing compound (optional): If your acrylic bathtub has visible scratches or stubborn blemishes, consider obtaining a fine-grade rubbing compound to address these imperfections before applying the polish.
-
Polishing pad or buffer: A soft polishing pad or buffer can facilitate the application of the acrylic polish, ensuring an even and thorough coverage of the bathtub surface.
-
Protective gloves: To protect your hands during the polishing process, consider wearing disposable or reusable protective gloves. This is especially important when using chemical cleaners or polishing products.
-
Ventilation: Ensure adequate ventilation in the bathroom by opening windows or using a fan to minimize exposure to cleaning fumes and maintain a comfortable environment during the polishing process.
By assembling these essential materials, you'll be well-prepared to initiate the process of polishing your acrylic bathtub with confidence and efficiency. Each item serves a specific purpose in the overall procedure, contributing to the successful restoration of your bathtub's appearance and the preservation of its pristine condition. With the materials in hand, you're ready to proceed to the next step of cleaning the bathtub in preparation for the polishing process.
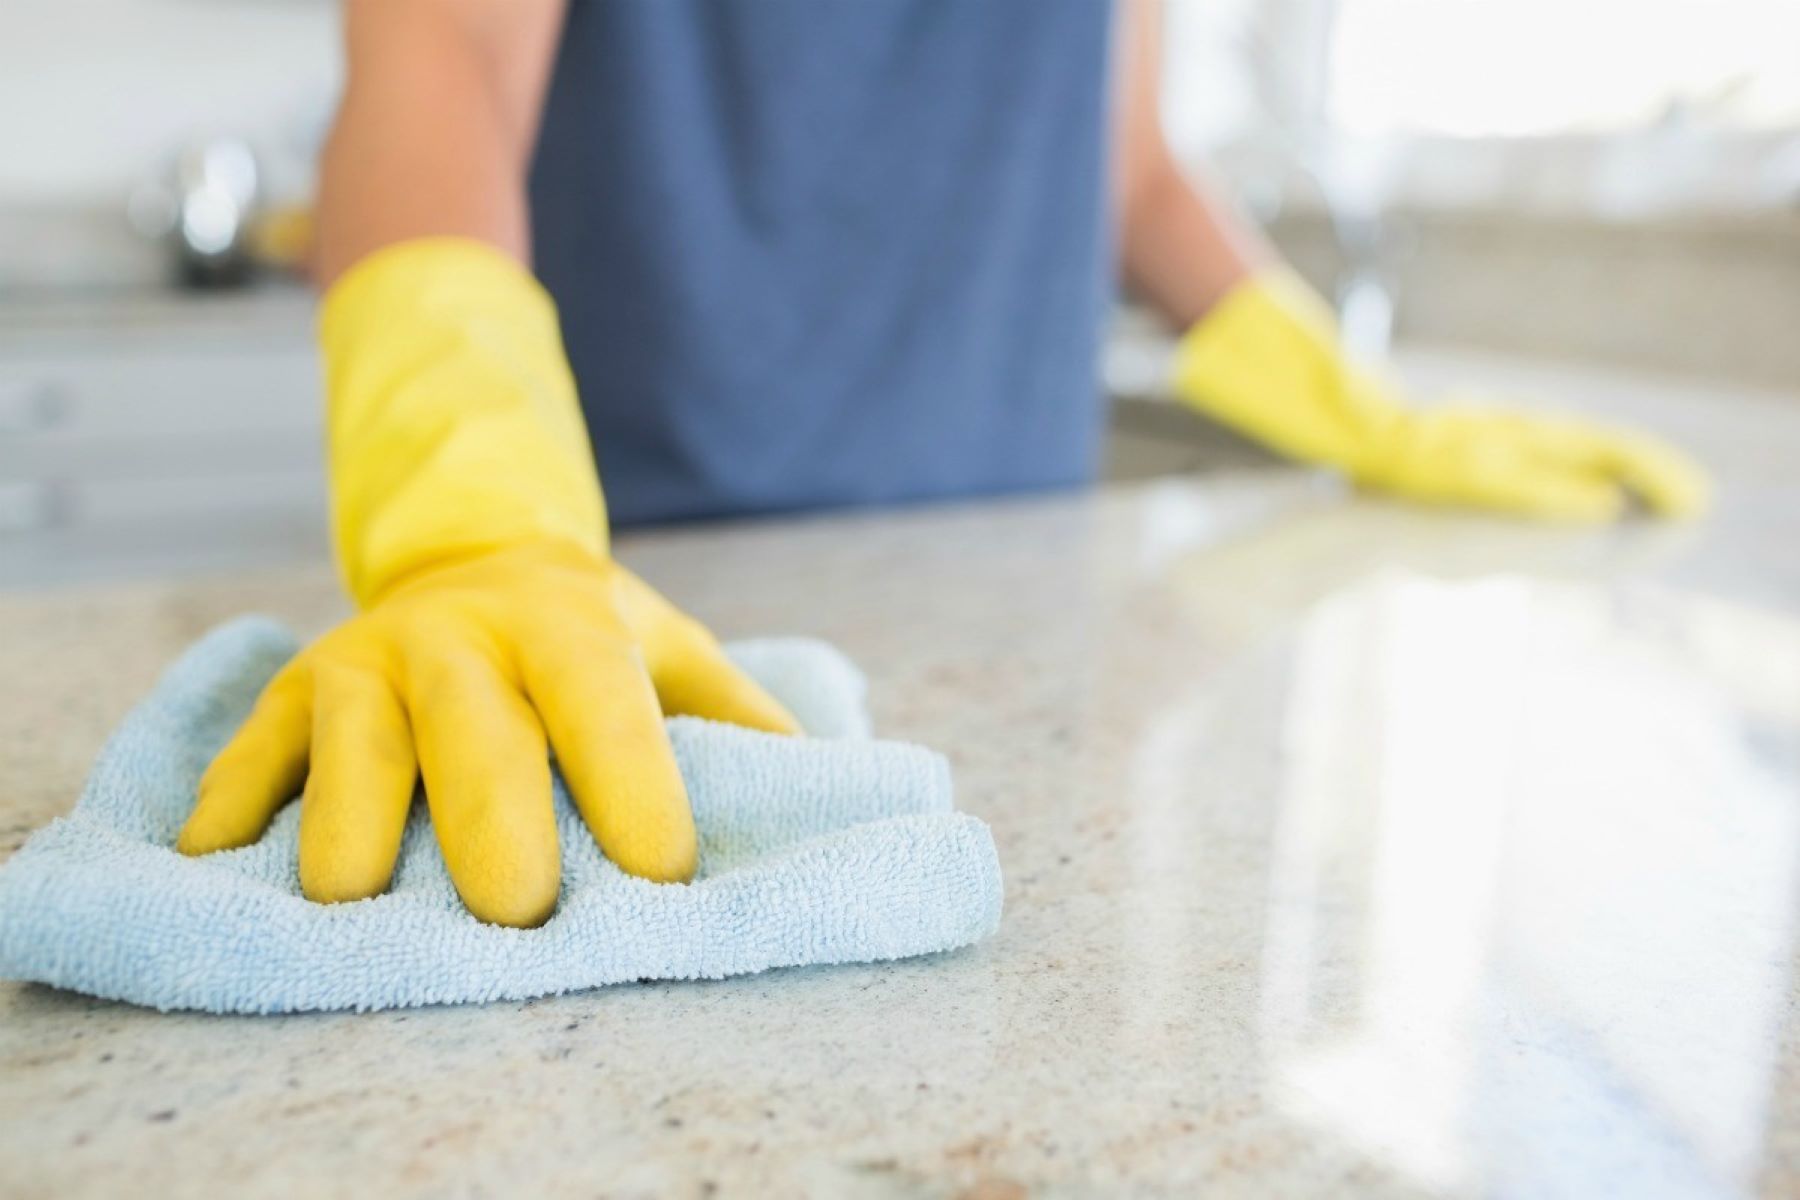
Step 2: Clean the bathtub
Cleaning the bathtub is a crucial preparatory step before applying the polish. It not only removes dirt, grime, and soap scum but also ensures that the surface is free of any contaminants that could interfere with the polishing process. Follow these detailed steps to effectively clean your acrylic bathtub:
-
Prepare the Cleaning Solution: Begin by diluting the acrylic-safe cleaner according to the manufacturer's instructions. It's important to use a mild, non-abrasive cleaner specifically formulated for acrylic surfaces to avoid damaging the bathtub's finish.
-
Apply the Cleaner: Using a soft microfiber cloth, apply the diluted cleaner to the entire surface of the bathtub. Work in small sections to ensure thorough coverage. Pay special attention to areas with visible dirt, soap residue, or water stains.
-
Gentle Scrubbing: Gently scrub the bathtub surface with the dampened microfiber cloth, focusing on areas that require extra attention. Avoid using abrasive sponges or scrubbers that could scratch the acrylic.
-
Rinse Thoroughly: Once the bathtub is cleaned, rinse it thoroughly with clean water to remove any remaining cleaner and loosened debris. Ensure that all traces of the cleaning solution are completely removed.
-
Dry the Bathtub: Use a clean, dry microfiber cloth to thoroughly dry the bathtub, ensuring that no water spots or streaks remain on the surface. Proper drying is essential to prevent water spots from forming during the polishing stage.
By meticulously cleaning the bathtub, you create a pristine canvas for the subsequent polishing process. This step sets the stage for the application of the acrylic polish, allowing it to adhere effectively and deliver a radiant, streak-free finish. With the bathtub now clean and free of contaminants, you're ready to proceed to the next step of applying the polish to restore its luster and shine.
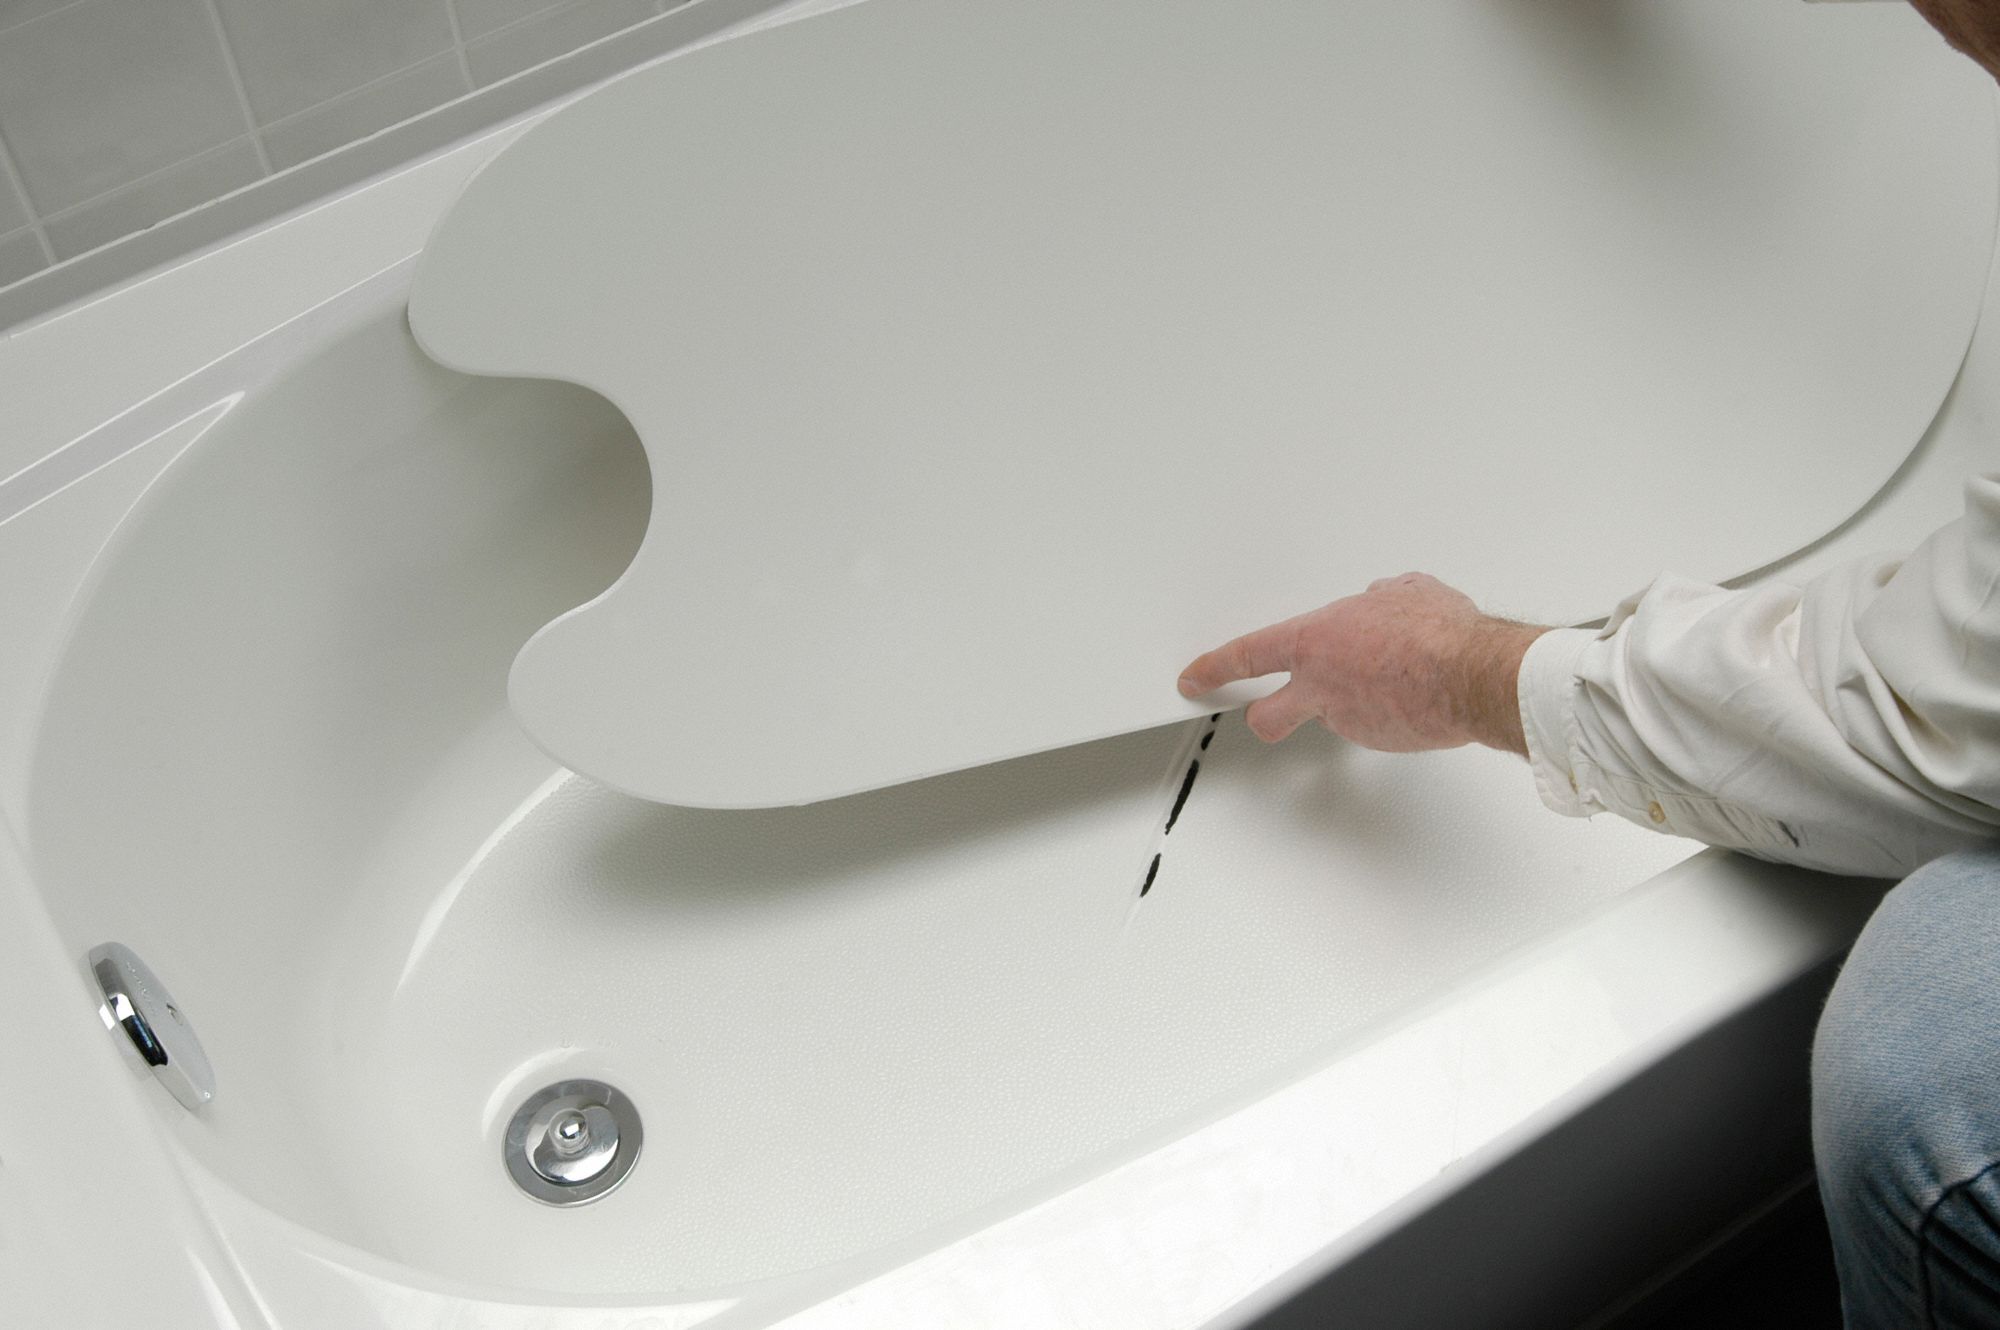
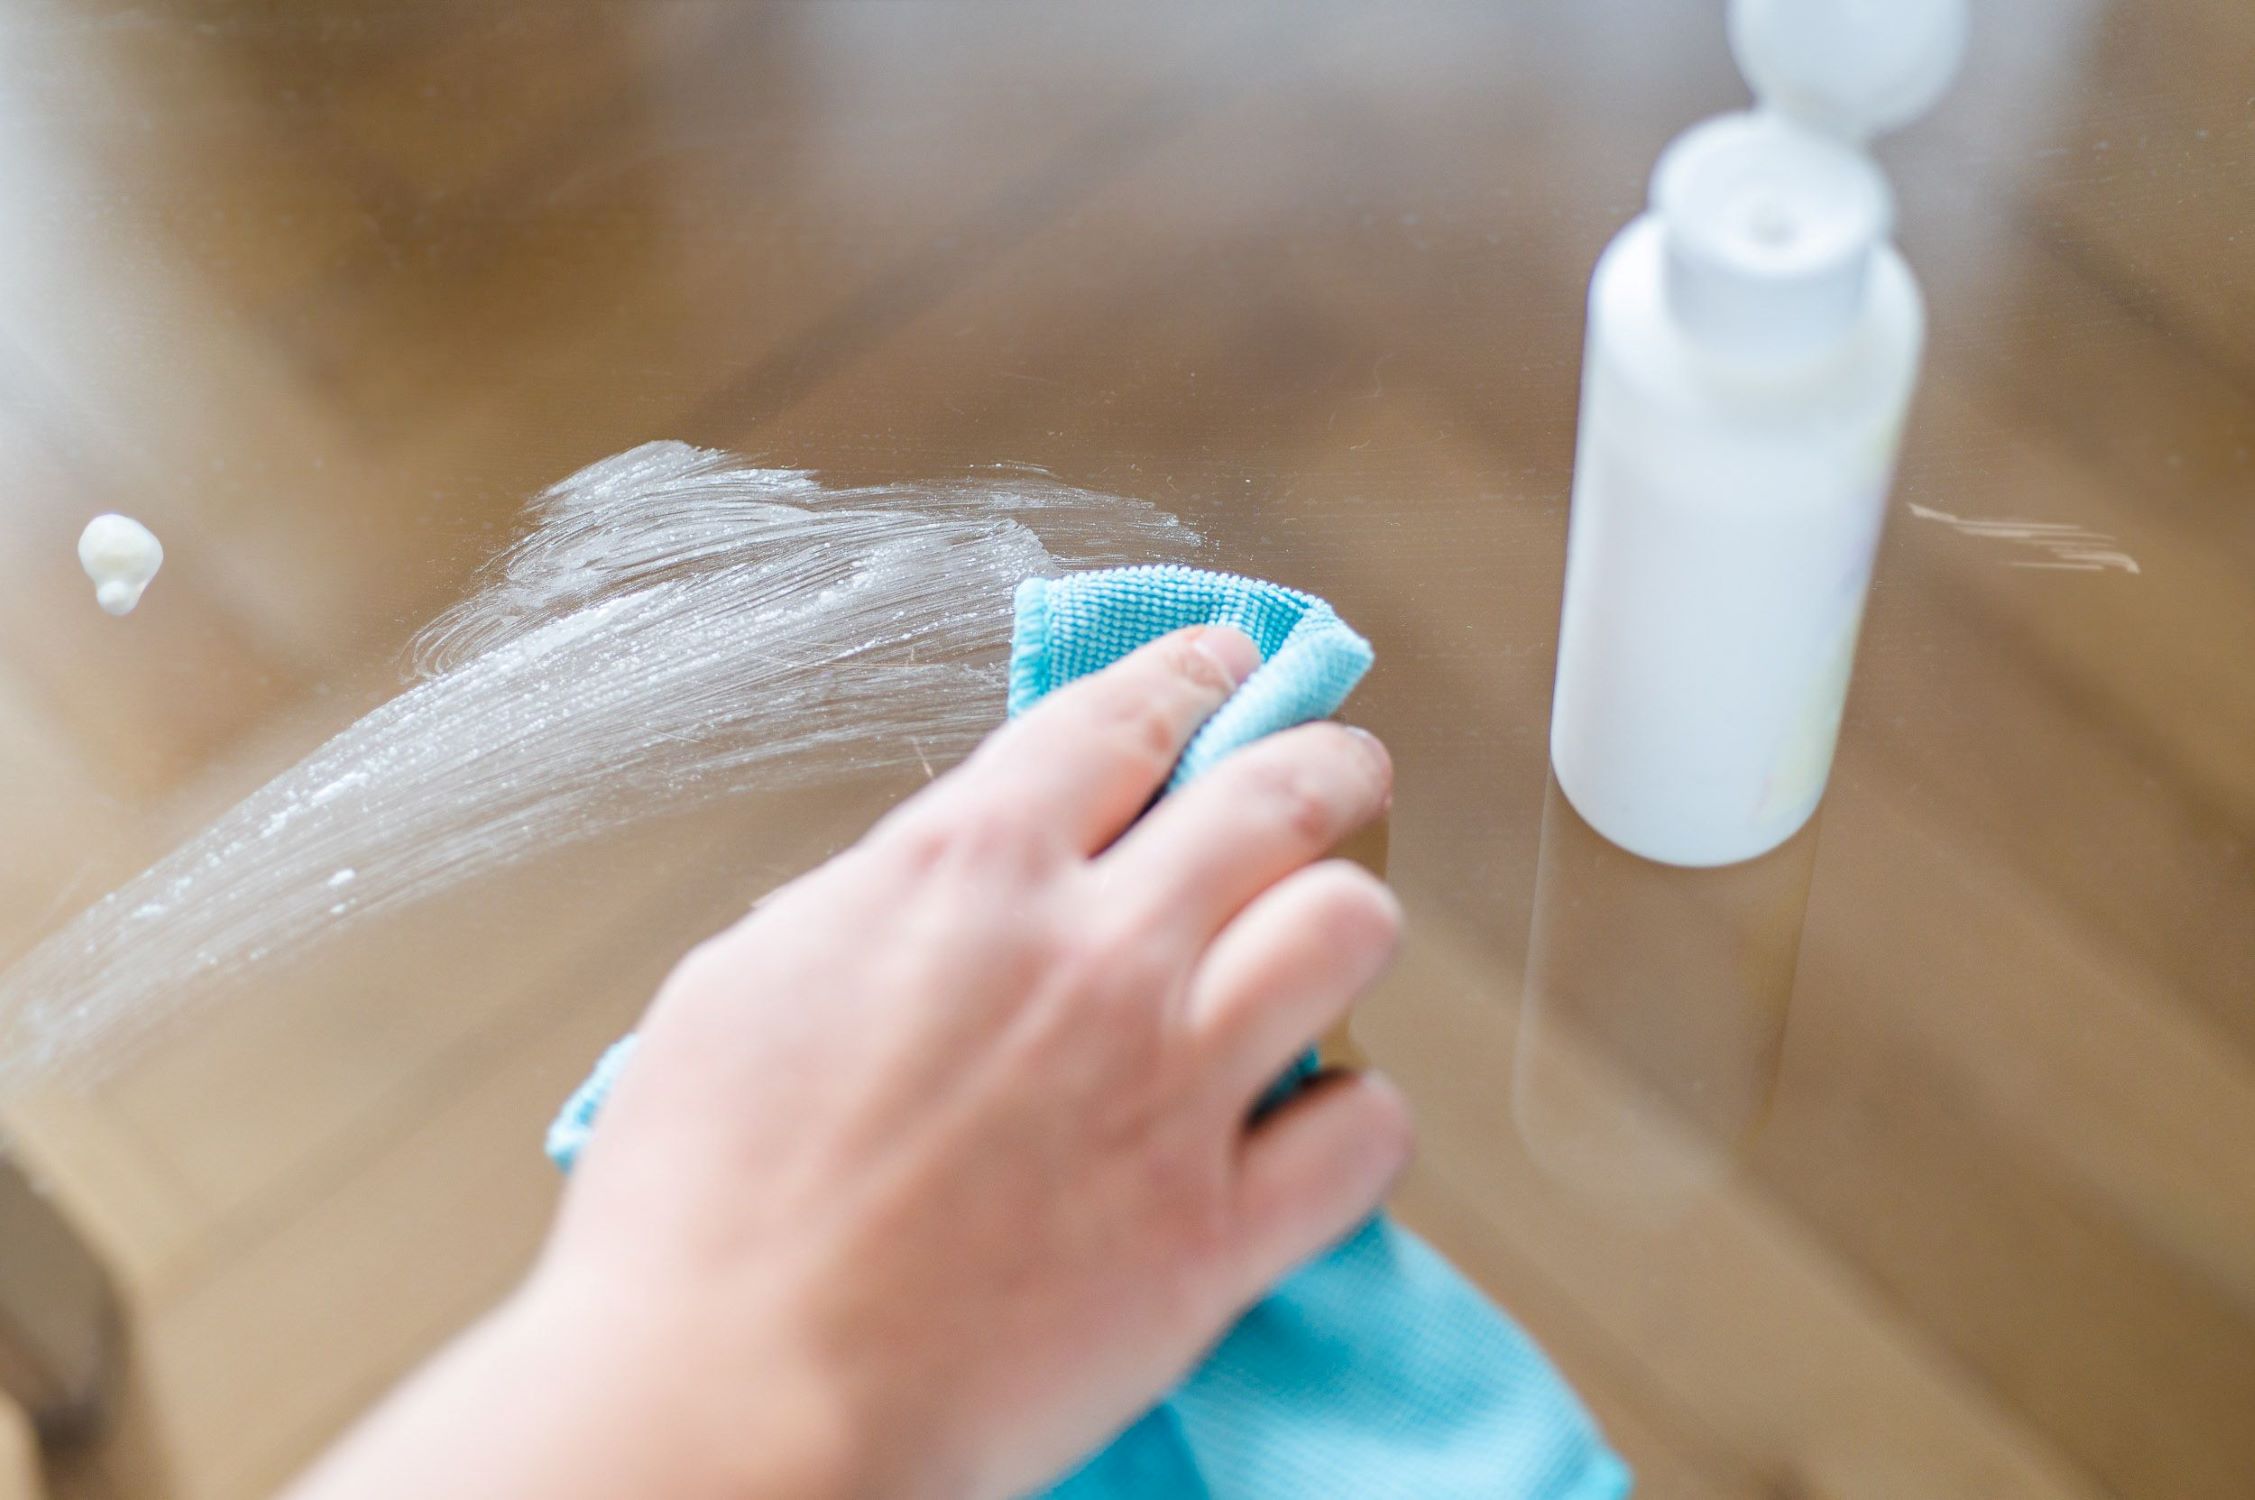
Step 3: Apply the polish
With a freshly cleaned acrylic bathtub, it's time to apply the acrylic polish to restore its luster and shine. The application of the polish is a pivotal stage in the process, as it not only enhances the visual appeal of the bathtub but also provides a protective layer that helps maintain its pristine condition. Follow these detailed steps to effectively apply the acrylic polish:
-
Shake the Polish: Before application, shake the bottle of acrylic polish well to ensure that the formula is thoroughly mixed. This step is essential to activate the ingredients and achieve optimal results.
-
Apply the Polish: Using a soft polishing pad or a clean, dry microfiber cloth, apply a small amount of acrylic polish to the surface of the bathtub. Begin with a small section to ensure even coverage and to prevent the polish from drying out before it can be properly buffed.
-
Work in Circular Motions: With gentle pressure, work the polish into the bathtub surface using circular motions. This technique ensures that the polish is evenly distributed and effectively buffs out any minor imperfections or dull areas.
-
Cover the Entire Surface: Continue applying the polish to the entire surface of the bathtub, working in manageable sections to maintain control and achieve consistent coverage. Be thorough in your application to ensure that no areas are overlooked.
-
Allow the Polish to Set: After applying the polish to the entire bathtub, allow it to set according to the manufacturer's instructions. This typically involves letting the polish dry to a haze or a specified time period before proceeding to the next step.
By following these steps, you can effectively apply the acrylic polish to your bathtub, setting the stage for the final step of buffing the surface to reveal its renewed luster and brilliance. The application of the polish not only enhances the aesthetic appeal of the bathtub but also contributes to its long-term maintenance, providing a protective barrier against environmental factors and daily use. With the polish applied, you're ready to proceed to the next step of buffing the bathtub to achieve a professional-looking finish.
To polish an acrylic bathtub, use a non-abrasive cleaner and a soft cloth to gently buff the surface in a circular motion. Rinse thoroughly and dry with a clean towel to restore shine.
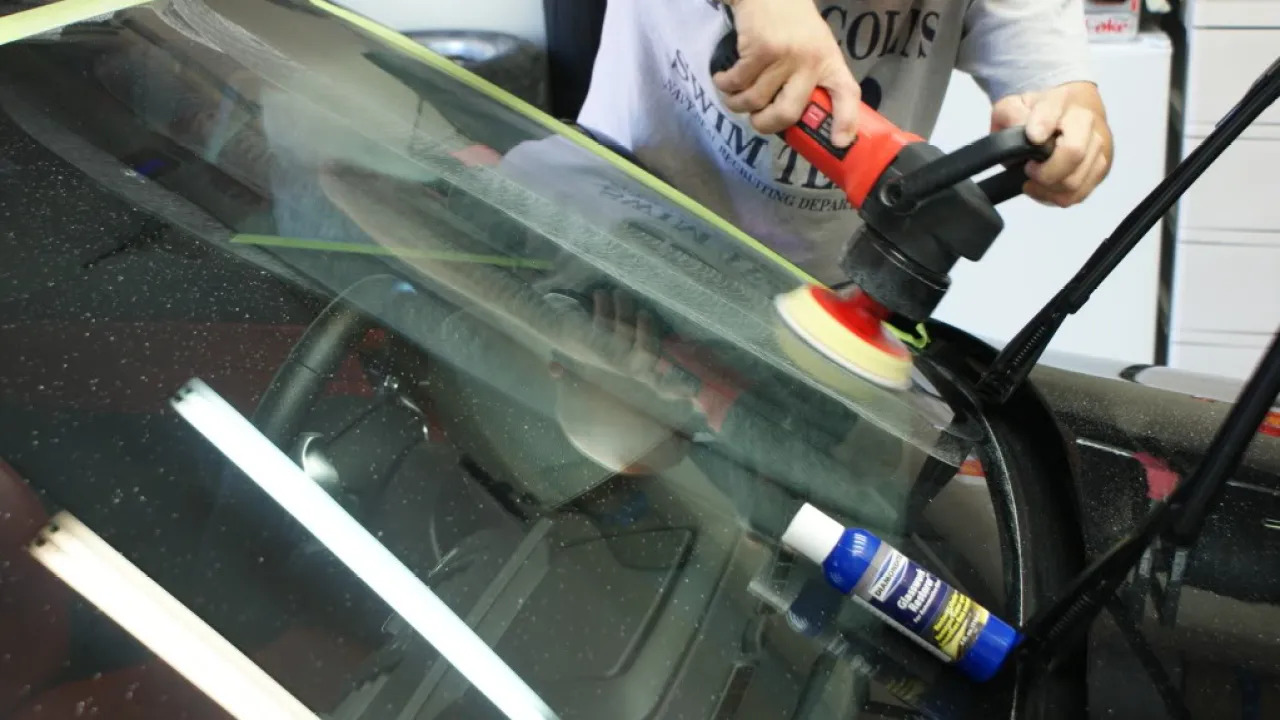
Step 4: Buff the bathtub
After applying the acrylic polish to the bathtub, the next crucial step is to buff the surface to reveal its renewed luster and brilliance. Buffing plays a pivotal role in the polishing process, as it not only enhances the shine of the bathtub but also ensures a smooth and uniform finish. Follow these detailed steps to effectively buff your acrylic bathtub:
-
Select the Buffing Tool: Choose a soft polishing pad or buffer specifically designed for use on acrylic surfaces. The tool should be gentle and non-abrasive to prevent any damage to the polished surface of the bathtub.
-
Buffing Technique: With the selected buffing tool, gently buff the surface of the bathtub using circular motions. Apply light to moderate pressure, ensuring that the entire surface is evenly buffed. This technique helps to further distribute the polish, remove any remaining haze, and reveal a radiant shine.
-
Work in Sections: Divide the bathtub surface into manageable sections and focus on buffing one area at a time. This approach allows for thorough and controlled buffing, ensuring that each part of the bathtub receives equal attention and achieves a consistent finish.
-
Inspect for Uniformity: As you buff the bathtub, periodically inspect the surface for uniformity and shine. Pay attention to any areas that may require additional buffing to achieve a seamless and glossy appearance. Address any dull or uneven areas by gently buffing them until the desired luster is achieved.
-
Avoid Over-Buffing: While it's important to buff the bathtub thoroughly, it's equally crucial to avoid over-buffing, which can potentially diminish the effectiveness of the polish and result in an uneven finish. Exercise caution and attentiveness throughout the buffing process to maintain the integrity of the polished surface.
By following these steps, you can effectively buff your acrylic bathtub, unveiling its renewed radiance and creating a professional-looking finish. The buffing process not only enhances the visual appeal of the bathtub but also contributes to the overall durability and longevity of the polished surface. With the bathtub now buffed to perfection, you're ready to proceed to the final step of rinsing and drying the bathtub to complete the polishing process.
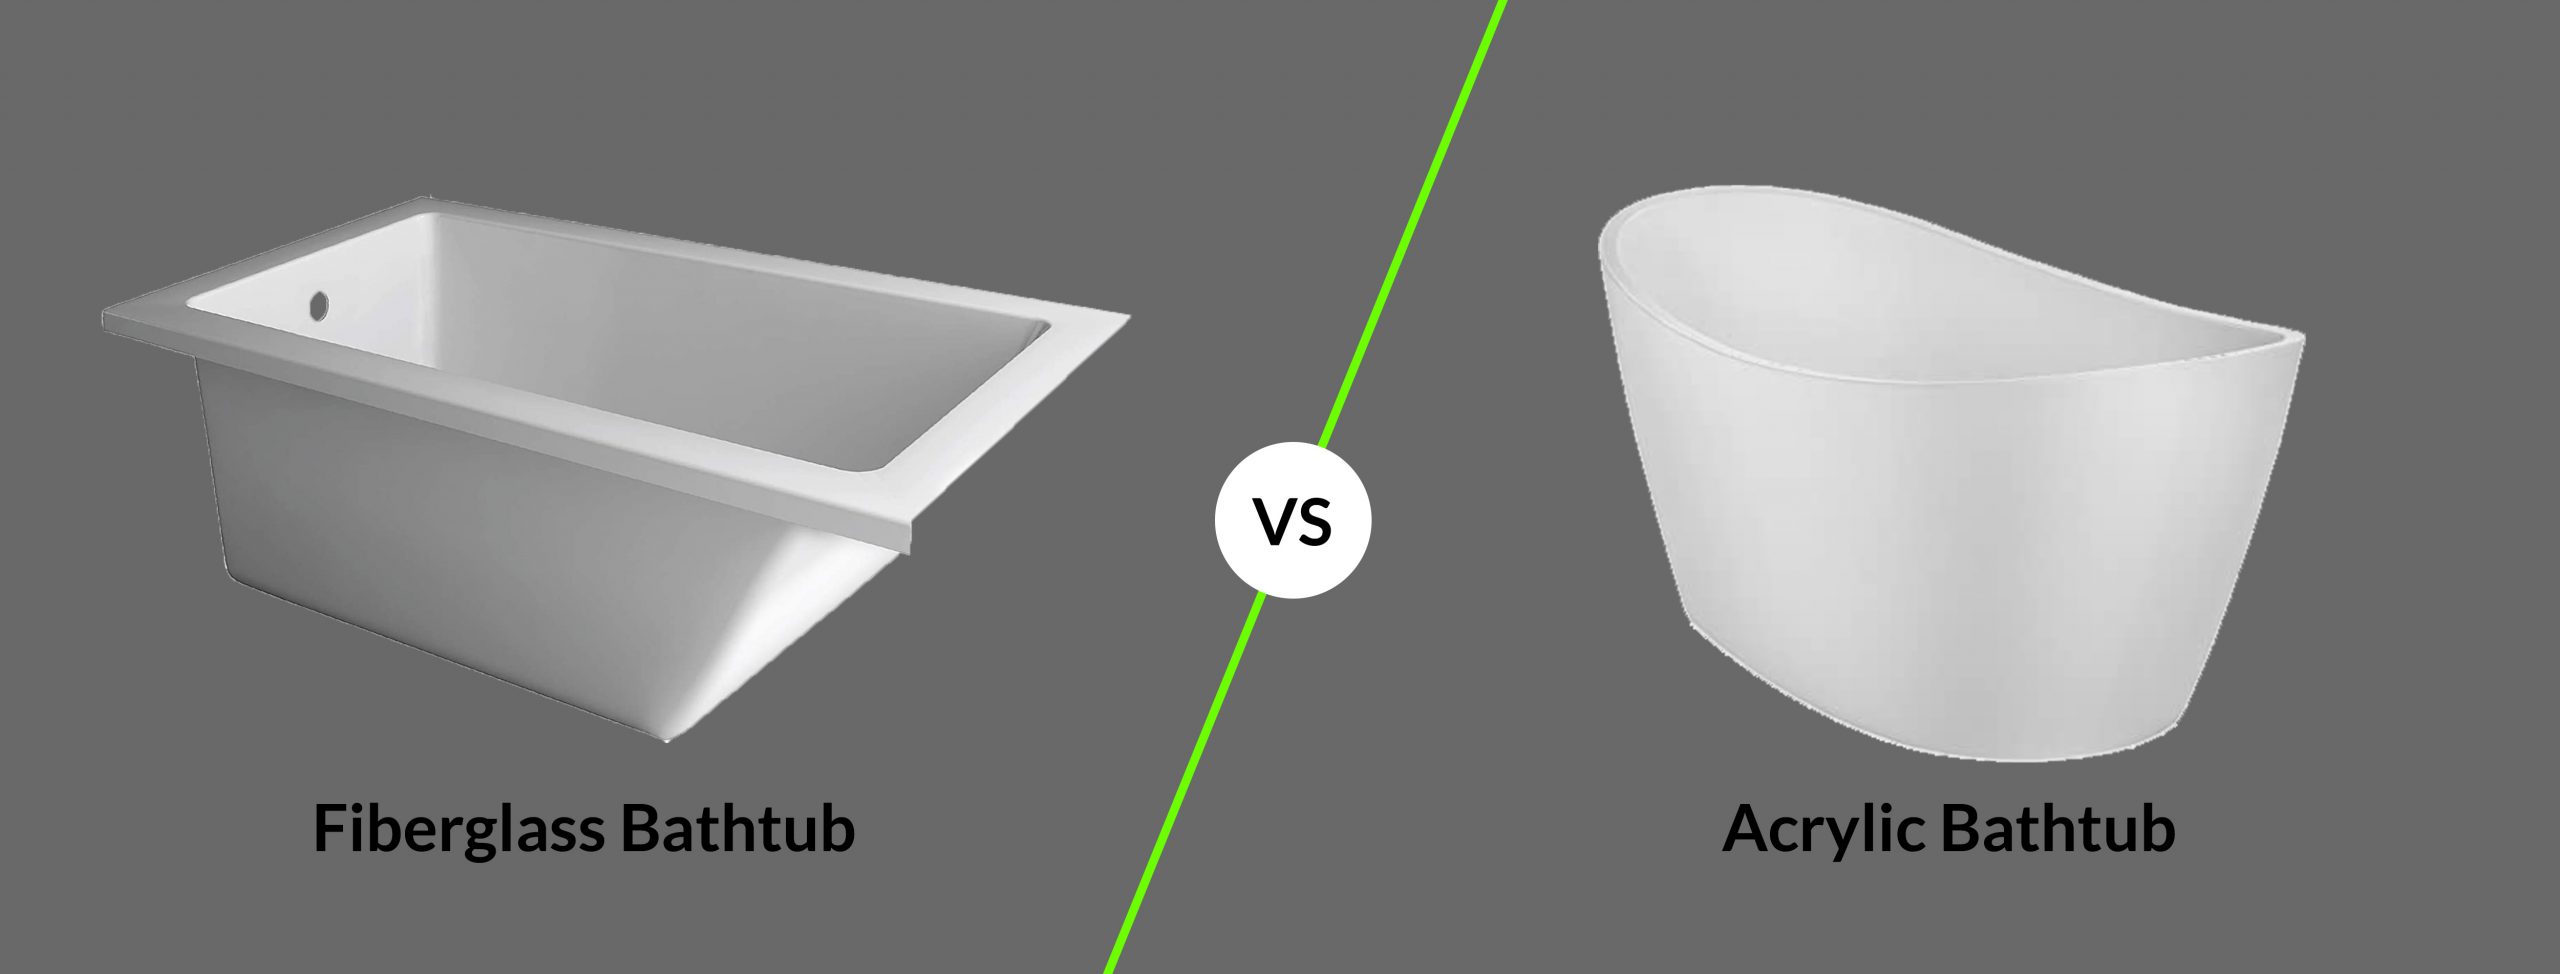
Read more: What Is An Acrylic Bathtub?
Step 5: Rinse and dry the bathtub
After completing the polishing and buffing process, it's essential to thoroughly rinse and dry the bathtub to remove any residual polish and ensure a pristine, streak-free finish. This final step not only enhances the overall appearance of the bathtub but also contributes to the longevity of the polished surface. Follow these detailed steps to effectively rinse and dry your acrylic bathtub:
-
Rinse with Clean Water: Using a handheld showerhead or a clean bucket, thoroughly rinse the entire surface of the bathtub with clean water. Ensure that all traces of the acrylic polish are completely removed, paying special attention to areas where the polish may have accumulated, such as corners and edges.
-
Inspect for Residue: After rinsing, visually inspect the bathtub surface for any remaining polish residue. Look for any areas that may appear hazy or streaked, indicating the presence of residual polish. If necessary, repeat the rinsing process to ensure that the bathtub is entirely free of polish remnants.
-
Dry with a Soft Cloth: Once the bathtub has been thoroughly rinsed, use a soft, dry microfiber cloth to gently dry the entire surface. Pay attention to detail, ensuring that no water spots or streaks remain. Proper drying is crucial to achieve a flawless, gleaming finish and prevent water spots from detracting from the polished appearance.
-
Check for Shine and Clarity: As you dry the bathtub, assess the shine and clarity of the polished surface. Look for any areas that may require additional drying or buffing to achieve a consistent, radiant finish. Address any remaining imperfections or water spots by gently buffing the affected areas with a clean, dry microfiber cloth.
-
Final Inspection: Once the bathtub is completely dry, perform a final inspection to ensure that the surface exhibits a uniform shine and clarity. Take a moment to appreciate the revitalized appearance of your acrylic bathtub, admiring the lustrous finish that reflects the care and effort invested in the polishing process.
By meticulously rinsing and drying the bathtub, you complete the polishing process with a pristine, showroom-worthy result. The combination of thorough rinsing and meticulous drying ensures that your acrylic bathtub exudes a radiant, polished appearance, elevating the ambiance of your bathroom and creating a spa-like retreat within your home. With the bathtub now rinsed and dried to perfection, you can revel in the transformative effects of the polishing process, enjoying a luxurious and rejuvenating bathing experience.
Conclusion
In conclusion, the process of polishing an acrylic bathtub is a transformative endeavor that yields remarkable results, revitalizing the appearance of this essential fixture and elevating the overall ambiance of your bathroom. By following the step-by-step guide outlined in this article, you have gained the knowledge and skills to restore your acrylic bathtub to a pristine, showroom-worthy condition.
Through meticulous cleaning, precise application of acrylic polish, and careful buffing, you have effectively rejuvenated the luster and shine of your bathtub, creating a visually stunning focal point within your bathroom. The dedication and effort invested in the polishing process have not only enhanced the aesthetic appeal of the bathtub but also contributed to its long-term maintenance and durability.
As you stand back and admire the gleaming results of your polished acrylic bathtub, you can take pride in the accomplishment of transforming a lackluster fixture into a radiant centerpiece that exudes luxury and sophistication. The revitalized bathtub serves as a testament to your commitment to maintaining a beautiful and welcoming home environment, where every detail reflects care and attention.
Furthermore, the knowledge and expertise gained from this experience empower you to proactively preserve the pristine condition of your acrylic bathtub, ensuring that it continues to exude brilliance and elegance for years to come. By incorporating regular polishing and maintenance into your home care routine, you can uphold the beauty and functionality of your bathtub, creating a spa-like retreat within your own bathroom.
Ultimately, the process of polishing an acrylic bathtub transcends mere maintenance; it represents a commitment to creating a space that radiates comfort, luxury, and rejuvenation. Your polished bathtub stands as a testament to the transformative power of dedicated care and attention, enhancing the overall appeal of your bathroom and elevating your daily bathing experience.
With your newly polished acrylic bathtub as the centerpiece, you can look forward to indulging in moments of relaxation and tranquility, surrounded by the timeless elegance and radiant beauty of your revitalized bathroom space.
Frequently Asked Questions about How To Polish An Acrylic Bathtub
Was this page helpful?
At Storables.com, we guarantee accurate and reliable information. Our content, validated by Expert Board Contributors, is crafted following stringent Editorial Policies. We're committed to providing you with well-researched, expert-backed insights for all your informational needs.


0 thoughts on “How To Polish An Acrylic Bathtub”