Home>Furniture>Living Room Furniture>How To Build An Acrylic Coffee Table
Living Room Furniture
How To Build An Acrylic Coffee Table
Modified: March 16, 2024
Learn how to build a stunning acrylic coffee table for your living room. Find step-by-step instructions and expert tips on creating this stylish piece of living room furniture.
(Many of the links in this article redirect to a specific reviewed product. Your purchase of these products through affiliate links helps to generate commission for Storables.com, at no extra cost. Learn more)
Introduction
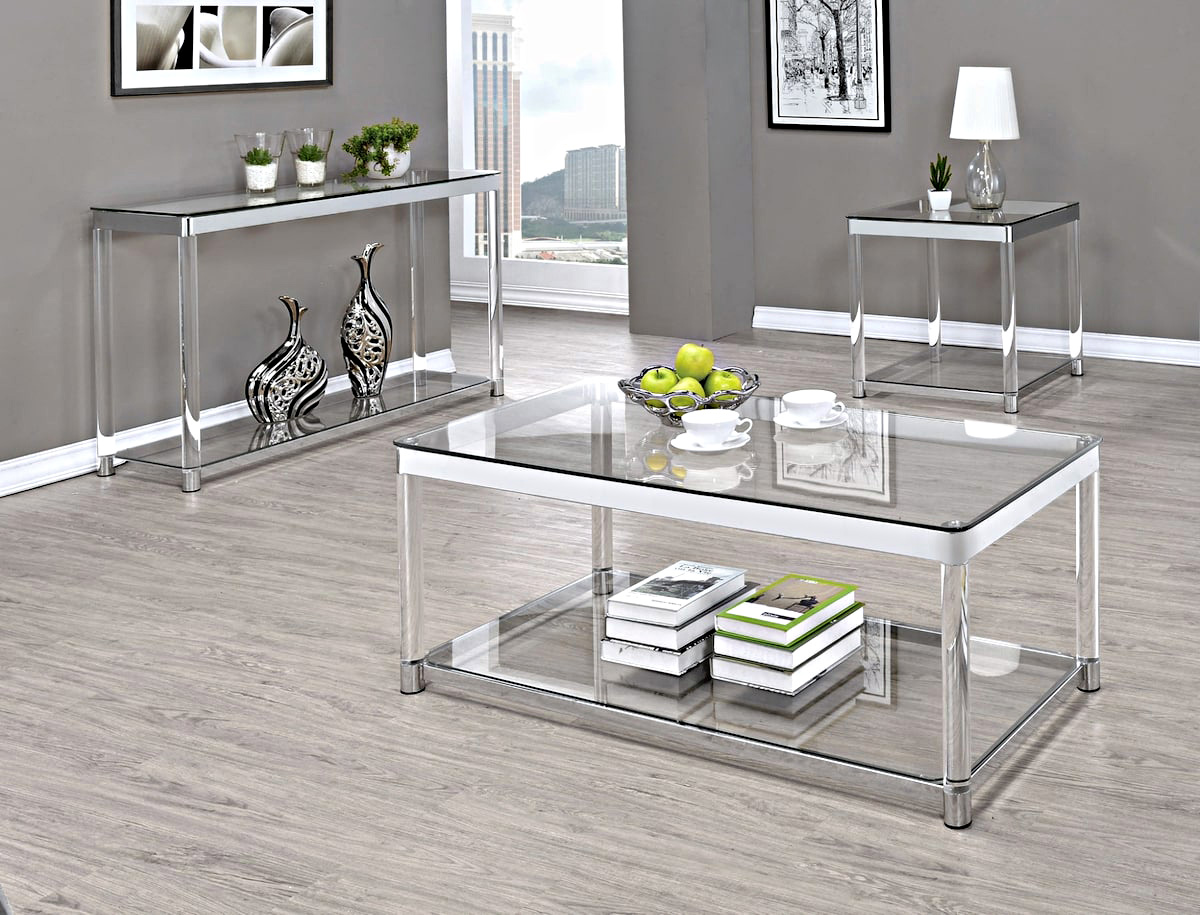
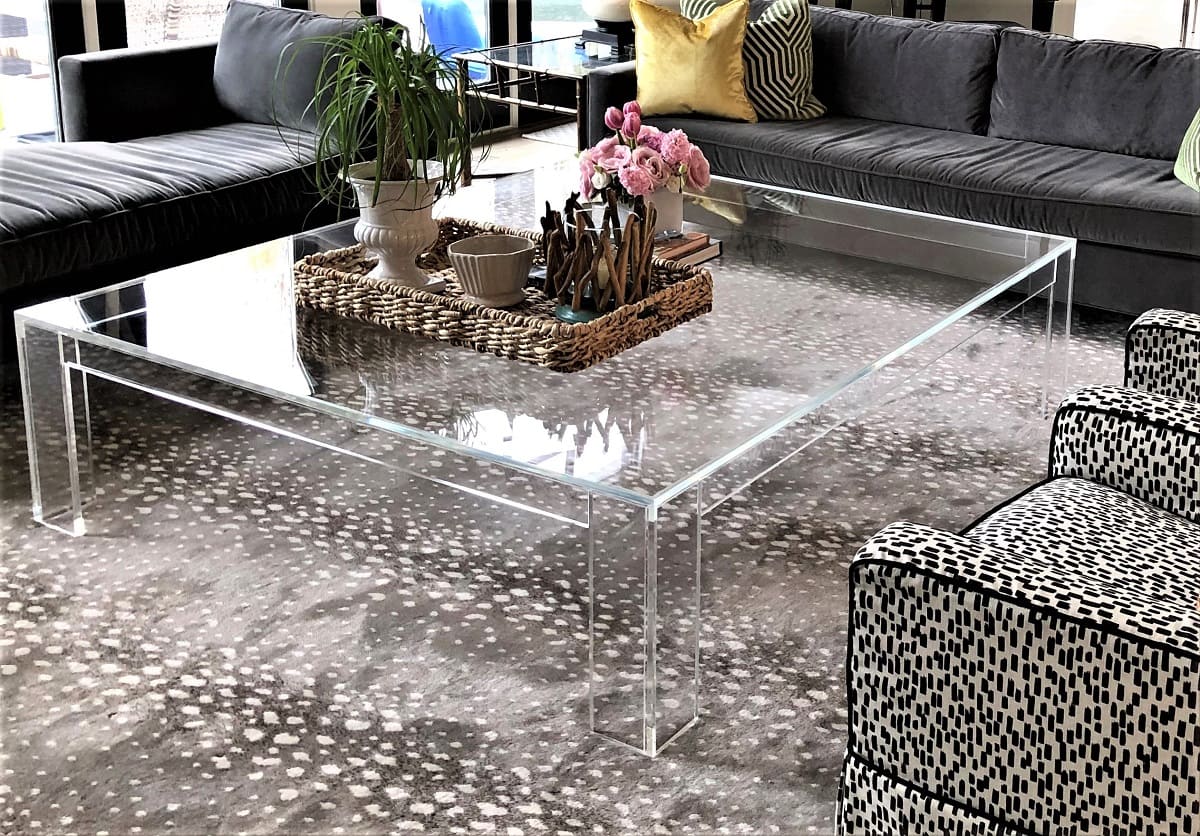
Welcome to our guide on how to build your very own acrylic coffee table. Acrylic furniture has gained popularity in recent years due to its sleek and modern look. An acrylic coffee table can be a stunning centerpiece in your living room, providing both functionality and style.
Building an acrylic coffee table may seem like a daunting task, but don’t worry – we’ve got you covered. In this guide, we will walk you through the step-by-step process of creating your own acrylic coffee table. From measuring and cutting the acrylic sheets to attaching the legs and finishing touches, you’ll learn everything you need to know to create a beautiful piece of furniture.
Not only will building your own acrylic coffee table allow you to customize the design to fit your personal style, but it can also be a cost-effective alternative to purchasing a pre-made table. Plus, the sense of accomplishment that comes with creating something with your own hands is truly unbeatable.
Before we dive into the steps, let’s take a moment to gather the materials you’ll need for this project.
Key Takeaways:
- Building your own acrylic coffee table is a fun and rewarding DIY project that allows you to customize your furniture to match your style and save money compared to buying a pre-made table.
- Prioritize safety, take your time, and enjoy the process of creating a stunning acrylic coffee table that will become the centerpiece of your living room, bringing beauty and functionality to your space.
Read more: How To Build A Wicker Coffee Table
Materials Needed
Before you can begin building your acrylic coffee table, you’ll need to gather the necessary materials. Here’s a list of what you’ll need:
- Acrylic Sheets: Look for high-quality, clear acrylic sheets that are sturdy and durable. The size and thickness of the sheets will depend on the dimensions you desire for your coffee table.
- Legs: Choose legs that complement the style of your coffee table. Options include wooden legs for a more traditional look, metal legs for an industrial vibe, or even acrylic legs for a seamless appearance.
- Drill and Drill Bits: You’ll need a drill to create holes in the acrylic sheets for attaching the legs. Make sure to use drill bits suitable for drilling through acrylic.
- Sandpaper: Choose sandpaper with a fine grit to smooth the edges of the acrylic sheets for a polished finish.
- Acrylic Adhesive: Opt for a clear and strong adhesive specifically designed for bonding acrylic surfaces.
- Measuring Tape or Ruler: Accurate measurements are crucial for ensuring the proper fit of the acrylic sheets and legs.
- Clamps: Clamps will help hold the acrylic sheets together while the adhesive dries, ensuring a secure bond.
- Protective Gear: Safety goggles and gloves are essential to protect your eyes and hands while working with the acrylic sheets and adhesive.
Once you have gathered all the materials, it’s time to move on to the first step of the process – measuring and cutting the acrylic sheets.
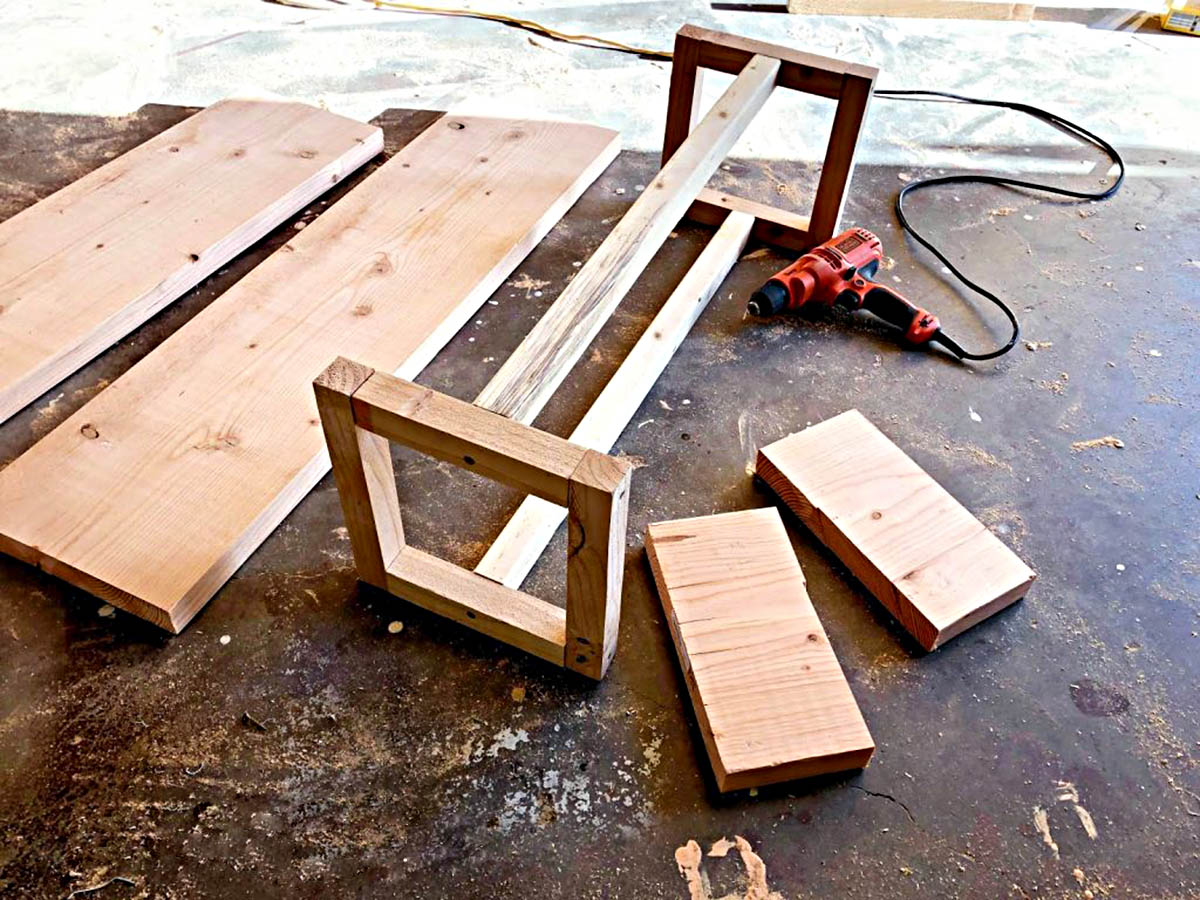
Step 1: Measure and Cut Acrylic Sheets
The first step in building your acrylic coffee table is to measure and cut the acrylic sheets according to your desired dimensions. Follow these steps:
- Measure: Use a measuring tape or ruler to determine the length, width, and height you want for your coffee table. Remember to account for the thickness of the acrylic sheets when measuring.
- Mark: On the protective film covering the acrylic sheets, use a marker or pencil to mark the measurements for cutting.
- Cut: Carefully place the acrylic sheets on a flat and stable surface. Use a jigsaw or circular saw with a fine-toothed blade designed for cutting acrylic to cut along the marked lines. Take your time and maintain a steady hand for a clean and precise cut.
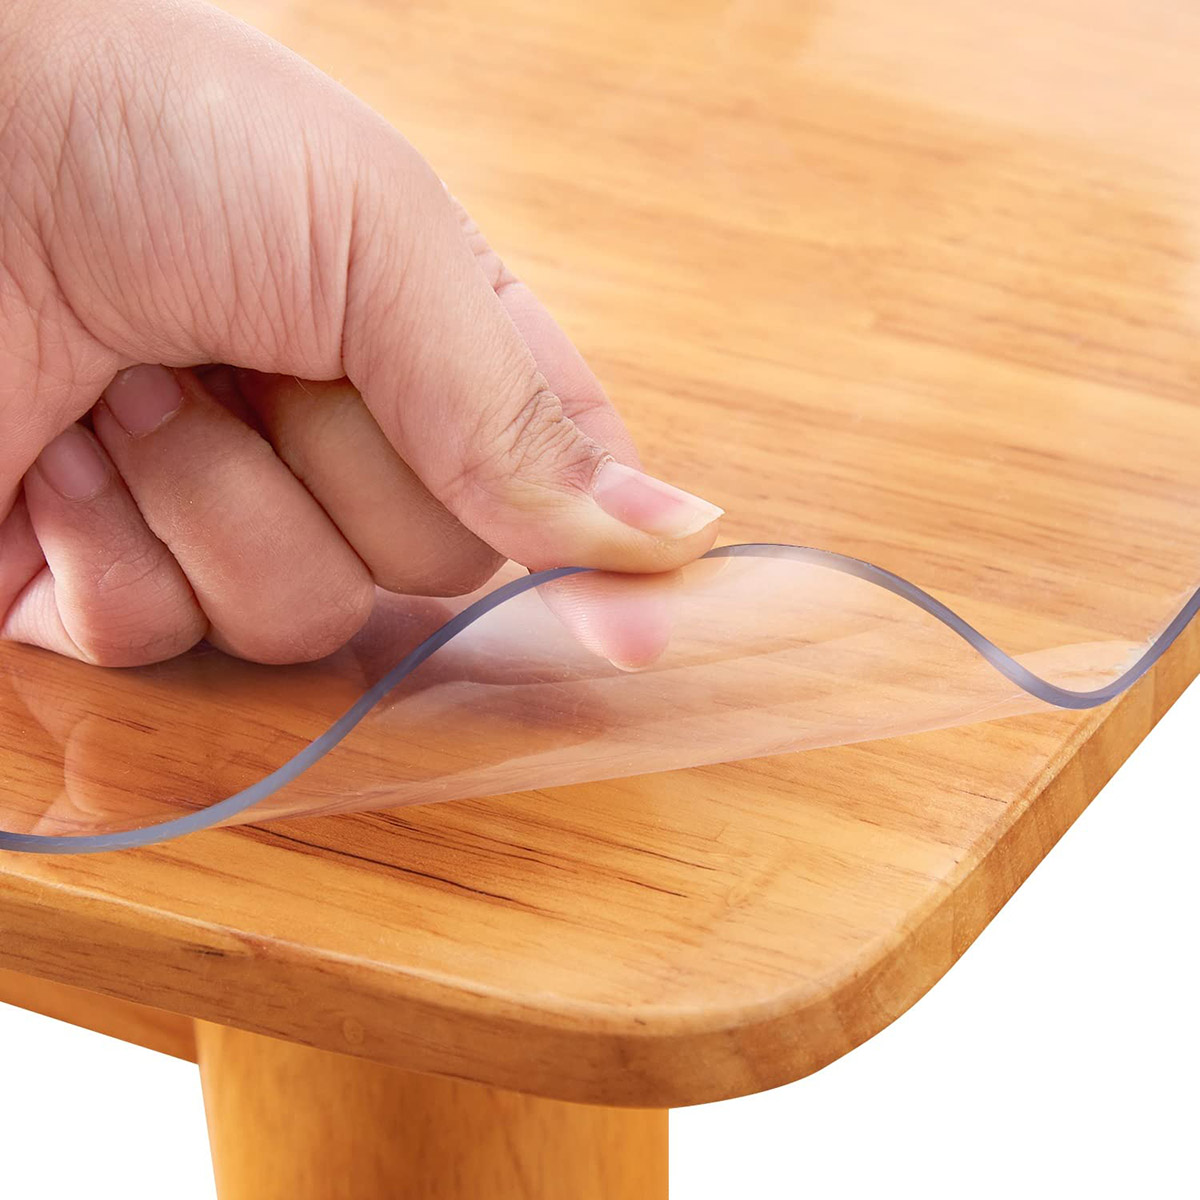
- Remove Protective Film: Once the sheets are cut, gently peel off the protective film on both sides of the acrylic. This will reveal the clear surface of the sheets.
Remember to take safety precautions while cutting the acrylic sheets. Wear protective goggles and gloves to protect yourself from any potential injuries.
With the acrylic sheets cut to size, you are now ready to move on to the next step – drilling holes for the legs.
Step 2: Drill Holes for Legs
After cutting the acrylic sheets to size, the next step in building your acrylic coffee table is to drill holes for attaching the legs. Follow these steps:
- Measure and Mark: Determine the desired placement of the legs on the acrylic sheets. Use a measuring tape or ruler to ensure accurate positioning. Mark the center points where the holes will be drilled.
- Clamp the Sheets: To prevent the acrylic sheets from cracking or shattering during the drilling process, securely clamp them to a stable work surface. Make sure the sheets are held firmly in place.
- Select the Drill Bit: Choose a drill bit that matches the diameter of the legs’ mounting screws. It’s important to use a drill bit designed specifically for drilling through acrylic to avoid chipping or cracking.
- Drill the Holes: Place the drill bit at one of the marked center points and gently apply pressure to start drilling. Begin with a slow speed and gradually increase as the bit cuts through the acrylic. Take care to maintain a steady and even drilling motion to prevent any damage to the sheets. Repeat this step for each marked center point.
- Clean the Holes: Once all the holes are drilled, use a soft cloth or brush to remove any debris or acrylic shavings from the holes. This will ensure a clean and smooth surface for attaching the legs.
With the holes drilled, you are now ready to proceed to the next step – attaching the legs to the acrylic sheets.
Step 3: Attach Legs to Acrylic Sheets
With the holes drilled in the acrylic sheets, it’s time to attach the legs. Follow these steps to securely fasten the legs to the acrylic:
- Prepare the Legs: Depending on the type of legs you’ve chosen, they may require some preparation before attaching them to the acrylic sheets. This could involve screwing in mounting plates or applying adhesive to ensure a secure connection. Follow the manufacturer’s instructions for preparing the legs.
- Align the Legs: Position the legs over the drilled holes on the underside of the acrylic sheets. Ensure that they are aligned with the marks you made during the measuring process.
- Insert Screws or Apply Adhesive: Depending on the type of legs you have, you will either insert screws through the holes and into the legs or apply adhesive to create a strong bond. Again, refer to the manufacturer’s instructions for your specific type of legs.
- Tighten Screws or Secure with Clamps: If you’re using screws to attach the legs, use a screwdriver to tighten them securely. If you’re using adhesive, apply clamps to hold the legs in place until the adhesive fully dries. Ensure that the legs are level and secure.
- Allow for Drying Time: If you’re using adhesive, follow the instructions provided to determine the recommended drying time. It’s important to allow the adhesive to fully cure before moving on to the next step.
Once the legs are securely attached to the acrylic sheets, you are ready to move on to the next step – smoothing the edges of the acrylic.
When building an acrylic coffee table, make sure to use a special acrylic adhesive that is designed for bonding acrylic materials. This will ensure a strong and durable bond for your table.
Read more: How To Build A Square Coffee Table
Step 4: Smooth Edges of Acrylic Sheets
After attaching the legs to the acrylic sheets, it’s time to smooth the edges for a polished and professional look. Follow these steps to achieve smooth edges:
- Gather the Required Materials: To smooth the edges of the acrylic sheets, you’ll need sandpaper with a fine grit. Look for sandpaper specifically designed for use on acrylic surfaces.
- Secure the Sheets: Clamp the acrylic sheets securely to a stable surface. This will prevent them from shifting or moving while you work on smoothing the edges.
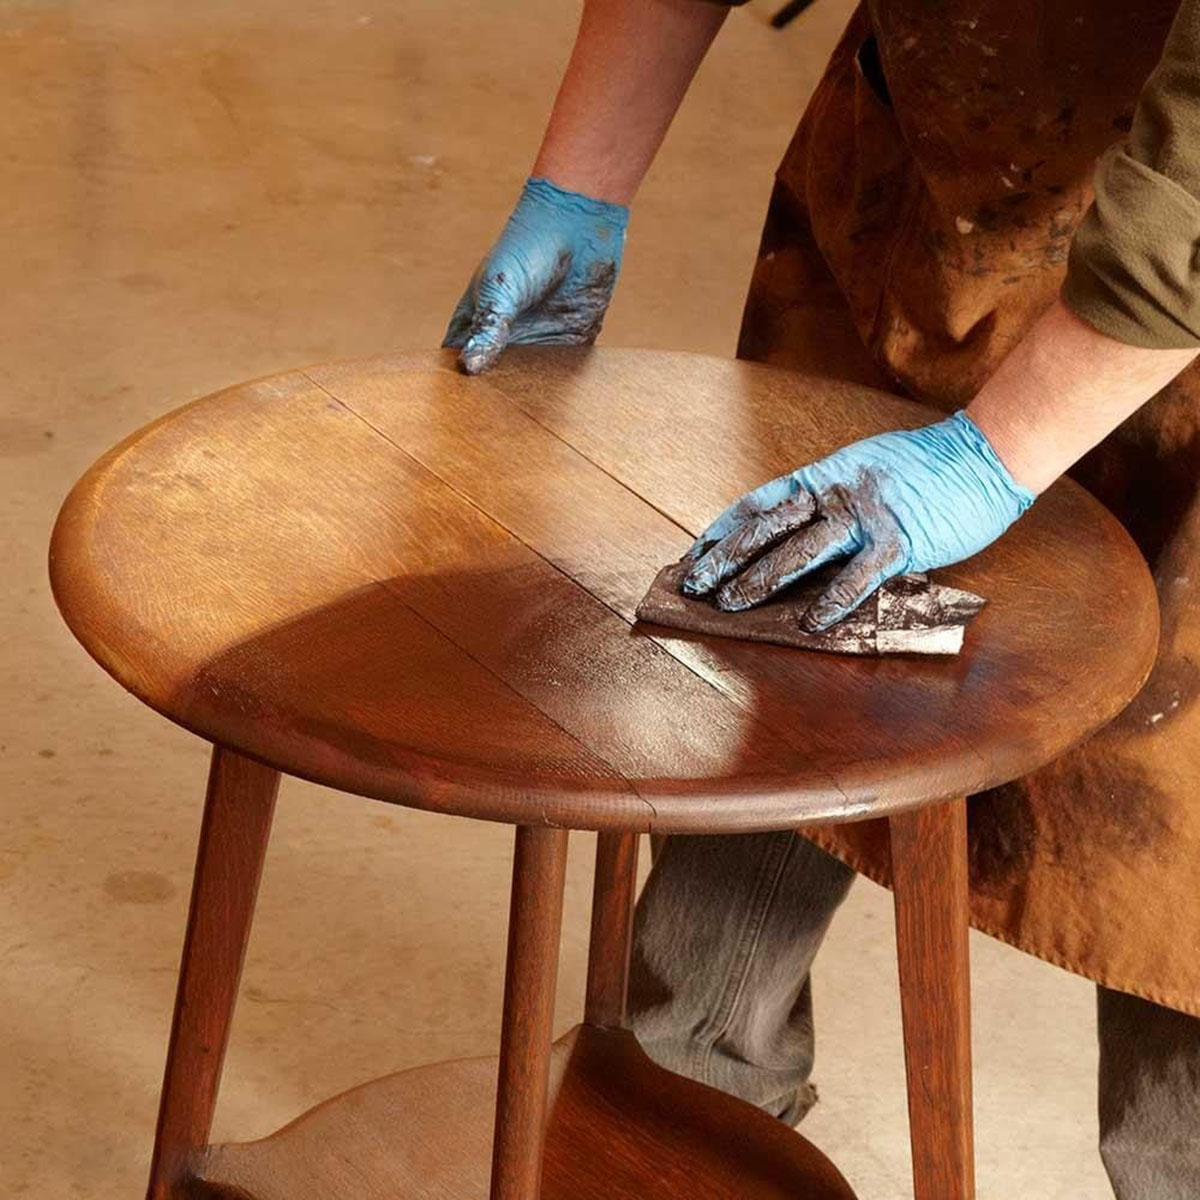
- Sand the Edges: Take a piece of sandpaper and gently rub it along the edges of the acrylic sheets. Use long, smooth strokes and apply even pressure. The goal is to gradually smooth out any rough or jagged edges. Continue sanding until the edges feel smooth to the touch.
- Change the Direction: To achieve an even smoother finish, change the direction of your sanding. Sand the edges again, but this time in a perpendicular direction to the initial sanding. This will help further refine the edges and ensure a uniform appearance.
- Remove Dust: After sanding, use a soft cloth or brush to remove any dust or debris from the acrylic sheets. This will allow you to see the true smoothness of the edges and prepare them for the next step.
Smooth edges not only improve the overall appearance of your acrylic coffee table but also provide additional safety by eliminating any sharp or rough surfaces. Once the edges are smooth, you can move on to the next step – applying adhesive to join the acrylic sheets.
Step 5: Apply Adhesive to Join Acrylic Sheets
With the edges of the acrylic sheets smoothed, it’s time to join them together using adhesive. Follow these steps to ensure a strong bond between the sheets:
- Clean the Surfaces: Before applying adhesive, make sure the surfaces of the acrylic sheets are clean and free from dust or debris. Use a soft cloth or alcohol wipe to wipe down the areas where the sheets will be joined.
- Apply the Adhesive: Apply a thin, even layer of acrylic adhesive to one of the joined edges. Use a brush or applicator recommended for the type of adhesive you are using.
- Bring the Sheets Together: Carefully align the edges of the acrylic sheets and press them firmly together. Take caution to ensure a seamless fit.
- Secure with Clamps: To hold the acrylic sheets in place while the adhesive dries, use clamps at regular intervals along the joined edges. Make sure the clamps exert gentle pressure without distorting the sheets.
- Wipe Off Excess Adhesive: Use a clean cloth or sponge to wipe off any excess adhesive that may have squeezed out during the joining process. This will ensure a neat and tidy appearance.
It’s important to follow the instructions provided with the adhesive regarding drying time and curing. Allow ample time for the adhesive to set and fully bond the acrylic sheets together. This will provide the necessary strength for your coffee table.
Once the adhesive has dried, you can remove the clamps and proceed to the final step – adding the finishing touches to your acrylic coffee table.
Step 6: Let the Adhesive Dry
After applying the adhesive to join the acrylic sheets, it’s crucial to allow sufficient drying time for the adhesive to set. Follow these steps to ensure a strong and durable bond:
- Read the Instructions: Carefully read the instructions provided with the adhesive product you are using. Take note of the recommended drying and curing times.
- Leave the Clamps Intact: If you used clamps to secure the acrylic sheets together, it’s important to keep them in place until the adhesive has fully dried. This will prevent any shifting or movement that could compromise the bond.
- Create a Stable Environment: Place your coffee table in a well-ventilated and dry area where it won’t be disturbed. Avoid exposing it to extreme temperatures or excessive humidity, as this can affect the drying process.
- Be Patient: Give the adhesive ample time to dry and cure. This can range from a few hours to several days, depending on the type of adhesive and the manufacturer’s recommendations. Avoid rushing the process to ensure a strong and lasting bond.
- Perform a Test: Once you believe the adhesive has dried according to the instructions, you can perform a gentle test. Apply light pressure to the joined edges to check for any signs of movement or weakness. If the bond feels secure, then the adhesive has successfully dried.
Remember, allowing the adhesive to fully dry is crucial for the stability and integrity of your acrylic coffee table. Once you are confident that the adhesive has dried completely, you can proceed to the final step – adding the finishing touches.
Step 7: Add Finishing Touches
With the adhesive fully dried and the acrylic sheets securely joined, it’s time to add the finishing touches to your acrylic coffee table. Follow these steps to complete the project:
- Clean the Surface: Use a soft cloth or cleaning solution specifically designed for acrylic surfaces to gently clean the tabletop. This will remove any fingerprints, smudges, or dust that may have accumulated during the construction process.
- Protective Pads or Felt: To prevent scratches on your flooring and to provide stability, consider attaching protective pads or felt to the bottom of the coffee table legs. This will also prevent the table from sliding or damaging any surfaces.
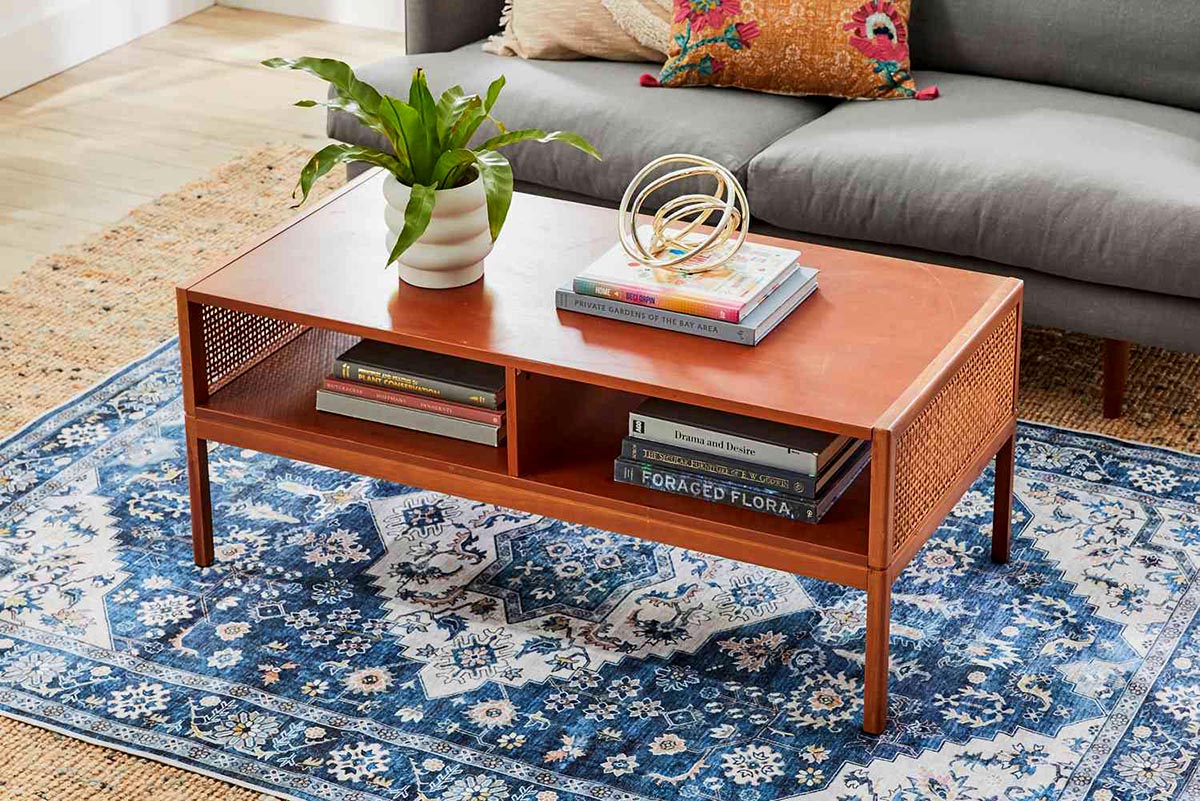
- Decorator’s Touch: Put your own personal touch on the coffee table by adding decorative elements. Consider placing a tray, a vase with fresh flowers, or a stack of your favorite books on the tabletop. These accessories can enhance the overall aesthetic appeal of your acrylic coffee table.
- Enjoy Your Creation: Now that your acrylic coffee table is complete, it’s time to sit back, relax, and enjoy your handiwork. Gather friends and family around your beautiful new piece of furniture, and let it become the centerpiece of your living room.
With its sleek and modern design, your acrylic coffee table is not only a functional and stylish addition to your living room but also a testament to your creativity and craftsmanship.
Congratulations on successfully building your very own acrylic coffee table!
Remember to regularly dust and clean your coffee table to maintain its pristine appearance. Enjoy the conversations, coffee, and memorable moments that will take place around this unique piece of furniture.
Now that you’ve completed the final step, you can step back and admire your completed acrylic coffee table. Congratulations on your successful DIY project!
Read more: How To Build A Rustic Coffee Table
Conclusion
Building your own acrylic coffee table is a rewarding and creative project that allows you to customize your furniture to suit your style and needs. By following the step-by-step guide outlined in this article, you’ve learned how to measure and cut the acrylic sheets, drill holes for legs, attach the legs securely, smooth the edges, apply adhesive to join the sheets, let the adhesive dry, and add the finishing touches.
Throughout the process, it’s important to prioritize safety by wearing protective gear and using the appropriate tools. Take your time, and don’t rush any steps. Remember, patience and attention to detail will result in a stunning coffee table that you can be truly proud of.
Creating your own acrylic coffee table not only provides you with a unique and stylish piece of furniture but also allows you to save money compared to buying a pre-made table. Additionally, the sense of achievement and satisfaction that comes from completing a DIY project is truly priceless.
Now that your acrylic coffee table is complete, it’s time to sit back, relax, and enjoy the fruits of your labor. Adorn the table with your favorite decor items, gather loved ones around it, and revel in the beauty and functionality it brings to your living space.
Remember to care for your acrylic coffee table by regularly cleaning and maintaining it. This will help preserve its pristine appearance and ensure its longevity for years to come.
Thank you for joining us on this journey of building an acrylic coffee table. We hope you found this guide helpful and that you are inspired to take on more exciting DIY projects in the future. Get creative, have fun, and continue to bring your unique vision to life!
Frequently Asked Questions about How To Build An Acrylic Coffee Table
Was this page helpful?
At Storables.com, we guarantee accurate and reliable information. Our content, validated by Expert Board Contributors, is crafted following stringent Editorial Policies. We're committed to providing you with well-researched, expert-backed insights for all your informational needs.

0 thoughts on “How To Build An Acrylic Coffee Table”