Home>Furniture & Design>Bathroom Accessories>How To Do Edges With A Toothbrush

Bathroom Accessories
How To Do Edges With A Toothbrush
Modified: August 27, 2024
Learn how to use a toothbrush to clean bathroom accessories and achieve perfect edges. Discover effective techniques for maintaining a polished look. Ideal for bathroom maintenance.
(Many of the links in this article redirect to a specific reviewed product. Your purchase of these products through affiliate links helps to generate commission for Storables.com, at no extra cost. Learn more)
Introduction
When it comes to achieving sleek and polished edges, a toothbrush can be a surprisingly effective tool. Whether you're aiming for a flawless finish to complement your hairstyle or seeking a quick touch-up before heading out, mastering the art of using a toothbrush for edges can be a game-changer in your beauty routine.
In this comprehensive guide, we will delve into the step-by-step process of using a toothbrush to perfect your edges. From gathering the necessary materials to applying edge control or gel and executing the technique with finesse, you'll gain valuable insights to elevate your grooming routine. Additionally, we'll explore essential maintenance tips to ensure that your edges remain on point throughout the day.
By the end of this tutorial, you'll be equipped with the knowledge and skills to effortlessly create sleek and well-defined edges using a toothbrush. So, let's embark on this journey to discover the art of achieving flawless edges with a simple yet versatile tool.
Key Takeaways:
- Elevate your grooming routine with a toothbrush! Master the art of creating sleek edges with ease, using simple yet effective techniques and essential maintenance tips.
- Unleash your creativity and self-expression through flawless edges. Embrace the transformative power of attention to detail, armed with a toothbrush as your versatile grooming tool.
Read more: How Do You Finish The Edges Of Trex Decking
Step 1: Gather the necessary materials
Before embarking on the journey to perfect edges, it's essential to gather the necessary materials to ensure a seamless and efficient process. Here's a comprehensive list of items you'll need:
-
Edge Control or Gel: Select a high-quality edge control product or hair gel that is suitable for your hair type. Look for a formula that offers a strong hold without leaving behind residue or flakiness. Opt for a product that aligns with your styling preferences, whether you prefer a sleek, shiny finish or a matte look.
-
Fine-Toothed Comb: A fine-toothed comb is instrumental in preparing your hair for the edge-smoothing process. It helps in detangling and aligning the hair strands, creating a smooth canvas for the subsequent steps.
-
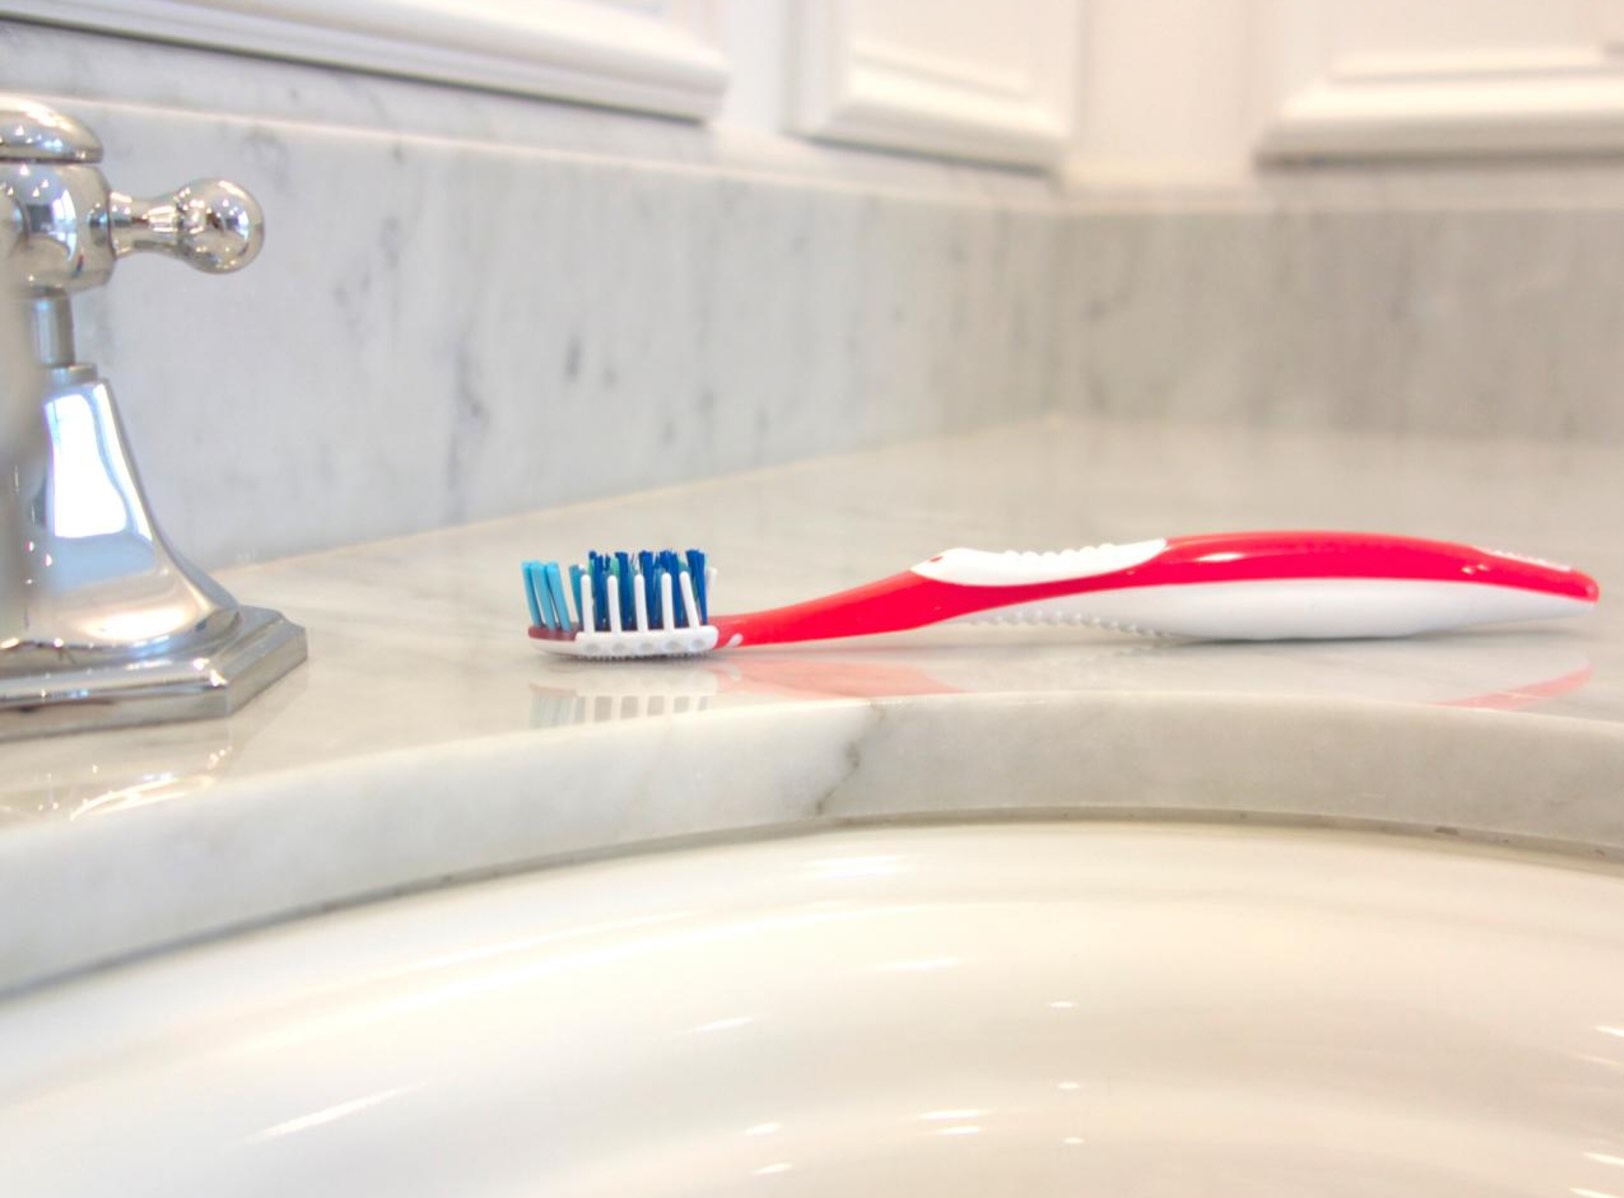
Soft-Bristled Toothbrush: Choose a toothbrush with soft bristles to avoid causing any damage to your delicate edges. The gentle bristles will aid in shaping and smoothing the hair without causing discomfort or irritation to the scalp.
-
Hair Clips or Hair Ties: To ensure that the rest of your hair remains out of the way during the edge-smoothing process, have hair clips or hair ties on hand to section off the hair and focus solely on the edges.
-
Mirror: A mirror, preferably a handheld or vanity mirror, is essential for achieving precision while working on your edges. It allows you to have a clear view of the areas you are grooming, ensuring that every detail is perfected.
-
Moisturizing Hair Spray or Water: Keeping a moisturizing hair spray or a small spray bottle filled with water handy can be beneficial, especially if you need to rehydrate your hair while working on your edges. This can help in managing any dryness or frizziness, allowing for a smoother styling process.
By ensuring that you have these essential materials at your disposal, you'll be well-prepared to embark on the journey of creating impeccably sleek and defined edges using a toothbrush. With the right tools in hand, you're ready to move on to the next step and delve into the art of preparing the toothbrush for the edge-smoothing process.
Step 2: Prepare the toothbrush
Before diving into the process of smoothing and shaping your edges, it's crucial to prepare the toothbrush for this specific task. The preparation ensures that the toothbrush is optimized for achieving the desired results without causing any damage to your delicate hairline. Here's a detailed breakdown of the steps involved in preparing the toothbrush for edge control application:
Clean the Toothbrush
Begin by ensuring that the toothbrush is clean and free from any residual toothpaste or debris. Thoroughly rinse the toothbrush under running water, using gentle hand movements to remove any particles that may be lodged between the bristles. This step is essential to prevent any foreign substances from coming into contact with your hair and edge control product, ensuring a hygienic and effective application process.
Soften the Bristles
To enhance the toothbrush's suitability for smoothing and shaping your edges, consider softening the bristles slightly. You can achieve this by running the bristles under warm water for a few seconds, allowing them to become more pliable and gentle on your hairline. This simple technique can help prevent any discomfort or irritation while ensuring that the toothbrush effectively glides through the hair to create sleek and polished edges.
Read more: How To Edge A Driveway
Trim any Excess Bristles
Inspect the toothbrush for any excessively long or stray bristles that may hinder precision during the edge-smoothing process. Using a pair of small scissors, carefully trim any bristles that appear uneven or protrude beyond the rest. This step allows for greater control and accuracy when maneuvering the toothbrush along the edges, resulting in a more refined and tailored finish.
Optional: Sanitize the Toothbrush
For an added layer of cleanliness, consider sanitizing the toothbrush before use. You can achieve this by soaking the toothbrush in a solution of warm water and gentle antibacterial soap for a few minutes. Afterward, rinse the toothbrush thoroughly and allow it to air dry. This optional step can provide peace of mind, especially if the toothbrush has been previously used for other purposes.
By meticulously preparing the toothbrush for the edge-smoothing process, you set the stage for a seamless and effective application of edge control or gel. With a clean, softened, and trimmed toothbrush at your disposal, you're now ready to move on to the next step and explore the art of applying edge control or gel to your edges.
Step 3: Apply edge control or gel to the edges
Once the toothbrush is prepared, the next crucial step in achieving flawless edges is the application of edge control or gel. This step sets the foundation for the smoothing and shaping process, providing the necessary hold and definition to create sleek and polished edges. Here's a detailed breakdown of the process involved in applying edge control or gel to your edges:
Select the Right Product
Begin by selecting a high-quality edge control or hair gel that aligns with your hair type and styling preferences. Consider factors such as hold strength, texture, and finish to ensure that the product meets your specific needs. Opt for a formula that offers a strong hold without leaving behind residue or flakiness, allowing for long-lasting and well-defined edges.
Read more: How To Clean The Edges Of A Carpet
Dispense a Small Amount
Using your fingertips, dispense a small amount of edge control or gel onto the tip of your index finger. Start with a conservative amount to avoid over-application, as excessive product can weigh down the hair and lead to a greasy or stiff appearance. Remember, you can always add more product as needed during the application process.
Warm the Product
Rub the product between your fingertips to warm it slightly, aiding in smoother and more even distribution. This step is particularly beneficial for thicker or denser formulas, as it helps soften the product for effortless application. The warmth from your fingertips also contributes to better absorption into the hair, maximizing the product's effectiveness.
Apply to the Edges
With the warmed product on your fingertips, carefully apply it to the edges of your hairline. Use gentle, sweeping motions to distribute the product evenly, ensuring that every section of the edges receives adequate coverage. Pay close attention to any areas where your hair tends to be unruly or prone to frizziness, as these spots may require slightly more product for optimal control.
Smooth and Define
After applying the edge control or gel, use the prepared toothbrush to smooth and define the edges. Gently glide the toothbrush along the hairline, using small, controlled movements to shape the hair and create a sleek, polished finish. The softened bristles of the toothbrush allow for precise manipulation of the hair, resulting in well-defined edges that complement your overall hairstyle.
By following these steps, you'll effectively lay the groundwork for achieving impeccably sleek and well-defined edges using a toothbrush and the appropriate edge control or gel. With the product seamlessly applied, you're now ready to proceed to the next step and master the art of using the toothbrush to smooth and shape your edges.
Read more: How To Finish The Edge Of Backsplash
Step 4: Use the toothbrush to smooth and shape the edges
With the edge control or gel seamlessly applied, it's time to harness the versatility of the toothbrush to achieve impeccably smooth and well-defined edges. The gentle bristles of the toothbrush serve as precision tools, allowing for meticulous shaping and styling. Here's a detailed exploration of the process involved in using the toothbrush to perfect your edges:
Begin with Gentle Stroking Motions
Start by using the toothbrush to gently stroke and smooth the edges of your hairline. Employ light, sweeping motions to coax the hair into place, ensuring that any unruly strands are tamed and aligned with precision. The soft bristles of the toothbrush provide a delicate touch, minimizing the risk of discomfort while effectively manipulating the hair for a polished finish.
Shape and Define the Edges
As you continue to work with the toothbrush, focus on shaping and defining the edges to your desired aesthetic. Whether you prefer a sleek, laid-down look or a more voluminous and textured finish, the toothbrush offers the dexterity to accommodate various styling preferences. Use the tip of the toothbrush to refine specific sections, creating clean lines and a well-groomed appearance along the hairline.
Address Frizziness and Flyaways
The toothbrush proves invaluable in addressing any lingering frizziness or flyaways along the edges. With meticulous attention to detail, gently coax any stray hairs into place, smoothing them down for a cohesive and polished result. The fine bristles of the toothbrush enable targeted precision, allowing you to achieve a seamless and controlled look without compromising on natural movement.
Read more: How Do You Thread A Needle With A Toothbrush
Refine the Overall Look
Take a step back to assess the overall appearance of your edges as you work with the toothbrush. Make subtle adjustments as needed, ensuring that the edges seamlessly blend with the rest of your hairstyle. The toothbrush serves as a versatile tool for refining the finer details, ultimately contributing to a cohesive and well-groomed aesthetic.
Embrace Personalized Styling Techniques
Embrace the opportunity to infuse your personalized styling techniques as you use the toothbrush to perfect your edges. Whether you prefer sleek, uniform lines or a more natural and textured finish, the toothbrush accommodates a spectrum of styling approaches. Experiment with different brushing angles and pressures to discover the techniques that yield the most flattering and tailored results for your unique hairline.
By leveraging the gentle yet effective nature of the toothbrush, you'll master the art of smoothing and shaping your edges with finesse. The meticulous attention to detail afforded by the toothbrush ensures that your edges exude a polished and well-defined allure, elevating your overall hairstyle with a touch of sophistication.
Step 5: Final touches and maintenance tips
After meticulously smoothing and shaping your edges with a toothbrush, it's essential to add the final touches and implement maintenance tips to ensure long-lasting results. This stage not only enhances the overall look but also contributes to the longevity of your impeccably styled edges. Here's a comprehensive exploration of the final touches and maintenance tips to elevate your edge-smoothing process:
Final Touches
-
Hairline Assessment: Take a moment to assess your edges from different angles and lighting conditions. This allows you to identify any areas that may require additional attention or refinement, ensuring that your edges maintain a consistent and polished appearance.
-
Adjustment and Detailing: Use the toothbrush to make any final adjustments or detailing along the edges. Address any subtle imperfections or asymmetries, ensuring that the edges exhibit a harmonious and well-groomed allure.
-
Setting the Style: Consider using a light mist of hairspray or a small amount of edge control to set the style and provide extra hold. This step contributes to the longevity of your sleek edges, minimizing the need for frequent touch-ups throughout the day.
Read more: What Toothbrush Do Dentist Recommend
Maintenance Tips
-
Avoid Excessive Touching: Once your edges are styled to perfection, strive to minimize excessive touching or manipulation throughout the day. This helps preserve the integrity of the style and prevents unnecessary disturbance to the carefully crafted edges.
-
Protective Styling: If you anticipate exposure to elements such as wind or humidity, consider incorporating protective styling techniques to shield your edges. This may involve using a silk or satin scarf to cover your hairline, safeguarding it from external factors that could compromise the sleek finish.
-
Nighttime Care: Prioritize nighttime care by wrapping your hair with a satin or silk scarf before bed. This protective measure minimizes friction and maintains the integrity of your edges, ensuring that they remain pristine until the next styling session.
-
Regular Moisturization: Incorporate regular moisturization into your hair care routine to keep your edges nourished and hydrated. This helps prevent dryness and breakage, preserving the health and appearance of your hairline.
By incorporating these final touches and maintenance tips into your edge-smoothing routine, you elevate the longevity and visual impact of your styled edges. These thoughtful measures contribute to a well-maintained and polished look, allowing you to showcase impeccably groomed edges with confidence and flair.
Conclusion
In conclusion, mastering the art of using a toothbrush to perfect your edges is a transformative addition to your beauty and grooming repertoire. The step-by-step process, from gathering the necessary materials to applying edge control or gel and utilizing the toothbrush for precise smoothing and shaping, empowers you to achieve impeccably sleek and well-defined edges with finesse.
By embracing the versatility of a toothbrush as a grooming tool, you unlock a world of possibilities for elevating your hairstyling routine. The gentle yet effective nature of the toothbrush allows for meticulous attention to detail, ensuring that your edges exude a polished allure that complements your overall hairstyle.
Furthermore, the final touches and maintenance tips serve as invaluable enhancements, contributing to the longevity and visual impact of your styled edges. By implementing these thoughtful measures, you not only showcase impeccably groomed edges but also prioritize the health and resilience of your hairline.
Ultimately, the journey of perfecting your edges with a toothbrush transcends mere styling; it becomes a testament to your dedication to self-care and personal expression. The confidence that emanates from well-groomed edges reflects a harmonious blend of artistry and self-assurance, allowing you to present your best self to the world with every hairstyle.
As you continue to refine your edge-smoothing techniques and tailor them to your unique preferences, remember that the process is as much about self-discovery as it is about aesthetics. Embrace the opportunity to experiment, innovate, and infuse your personalized touch into every aspect of your grooming routine, knowing that each stroke of the toothbrush is a testament to your individuality and creativity.
So, armed with the knowledge and skills acquired from this comprehensive guide, venture forth with confidence and embrace the art of achieving flawless edges with a toothbrush. Let each styling session be a celebration of your unique beauty and a testament to the transformative power of attention to detail. With a toothbrush in hand, you're poised to embark on a journey of self-expression and refinement, one impeccably groomed edge at a time.
Frequently Asked Questions about How To Do Edges With A Toothbrush
Was this page helpful?
At Storables.com, we guarantee accurate and reliable information. Our content, validated by Expert Board Contributors, is crafted following stringent Editorial Policies. We're committed to providing you with well-researched, expert-backed insights for all your informational needs.


0 thoughts on “How To Do Edges With A Toothbrush”