Home>Furniture & Design>Bathroom Accessories>Nutone Bathroom Exhaust Fan: How To Remove Cover
Bathroom Accessories
Nutone Bathroom Exhaust Fan: How To Remove Cover
Modified: March 25, 2024
Learn how to easily remove the cover of your Nutone bathroom exhaust fan with our step-by-step guide. Keep your bathroom accessories in top condition!
(Many of the links in this article redirect to a specific reviewed product. Your purchase of these products through affiliate links helps to generate commission for Storables.com, at no extra cost. Learn more)
Introduction
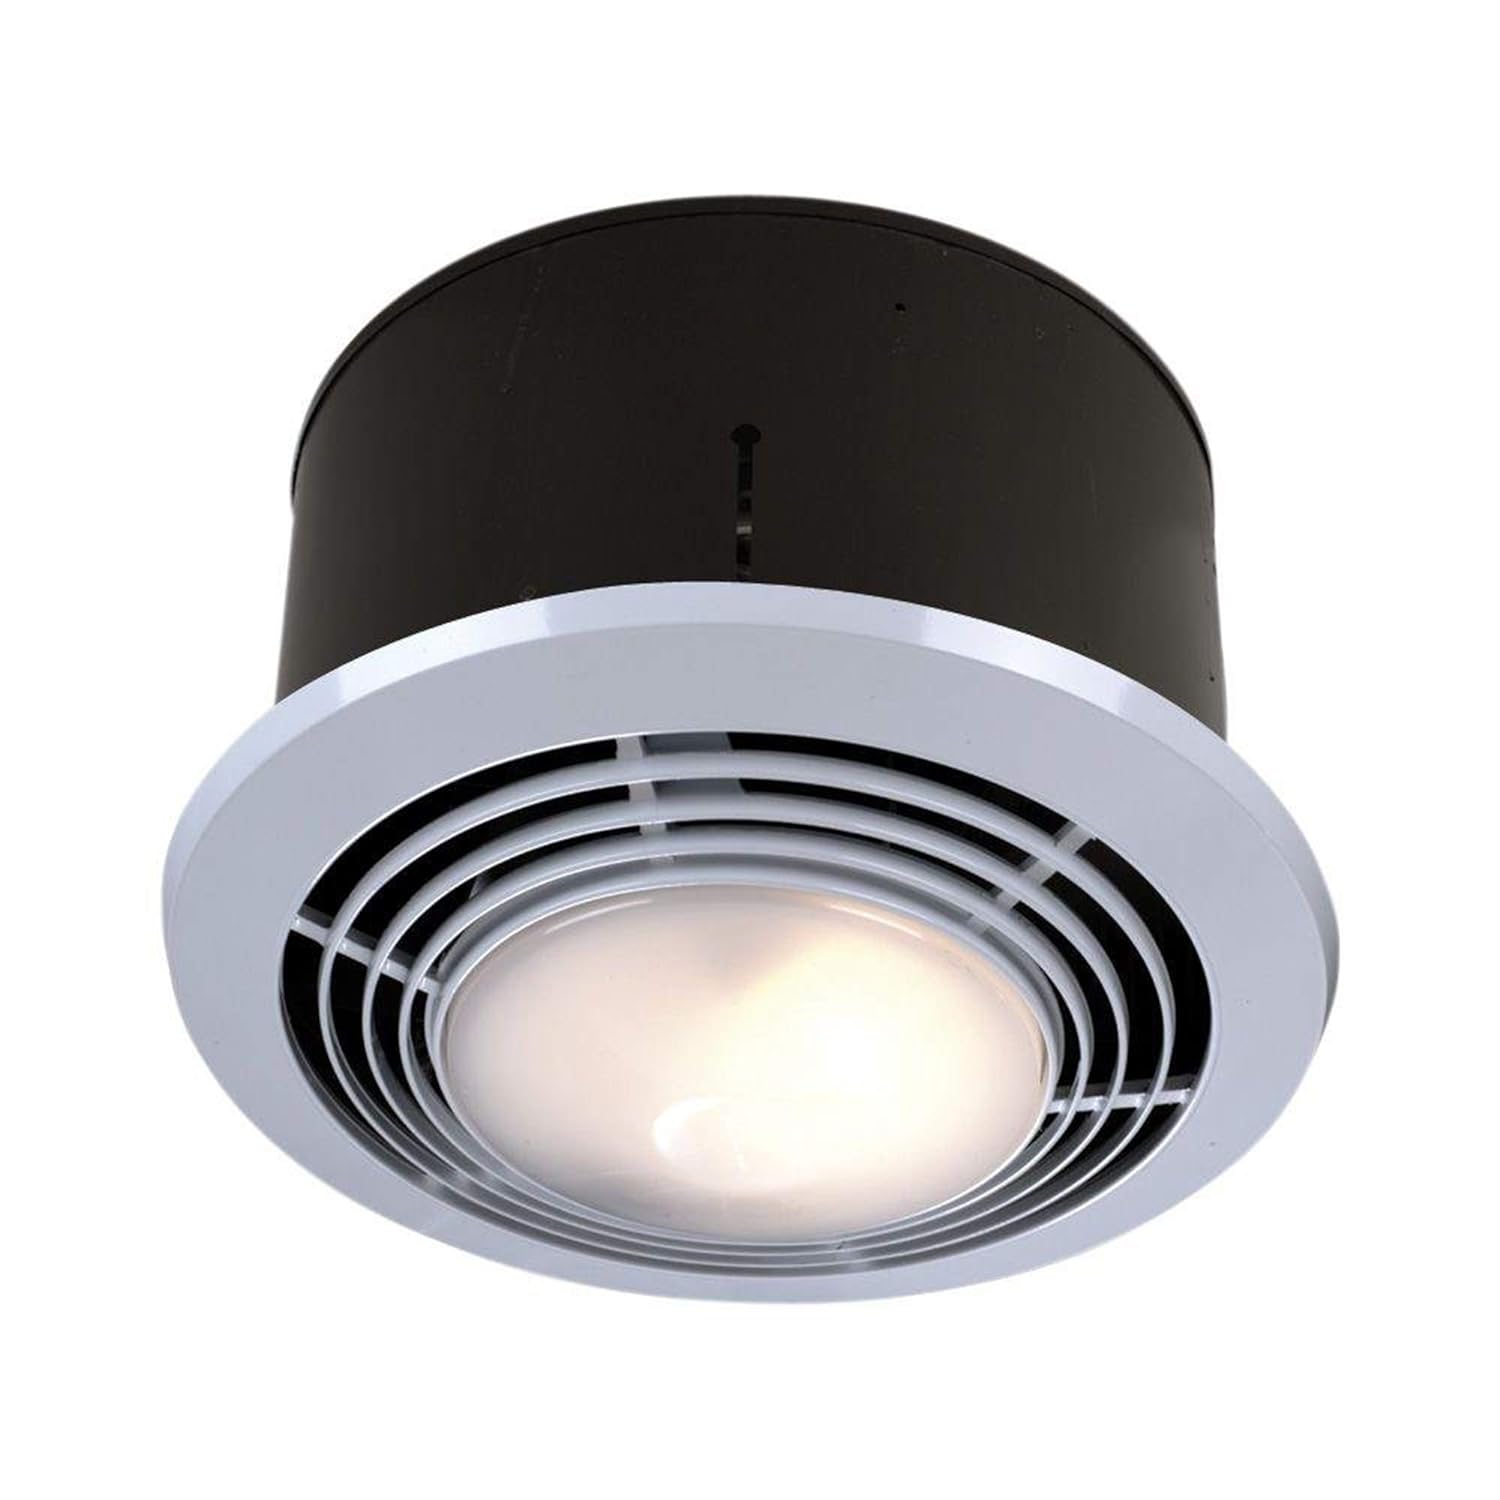
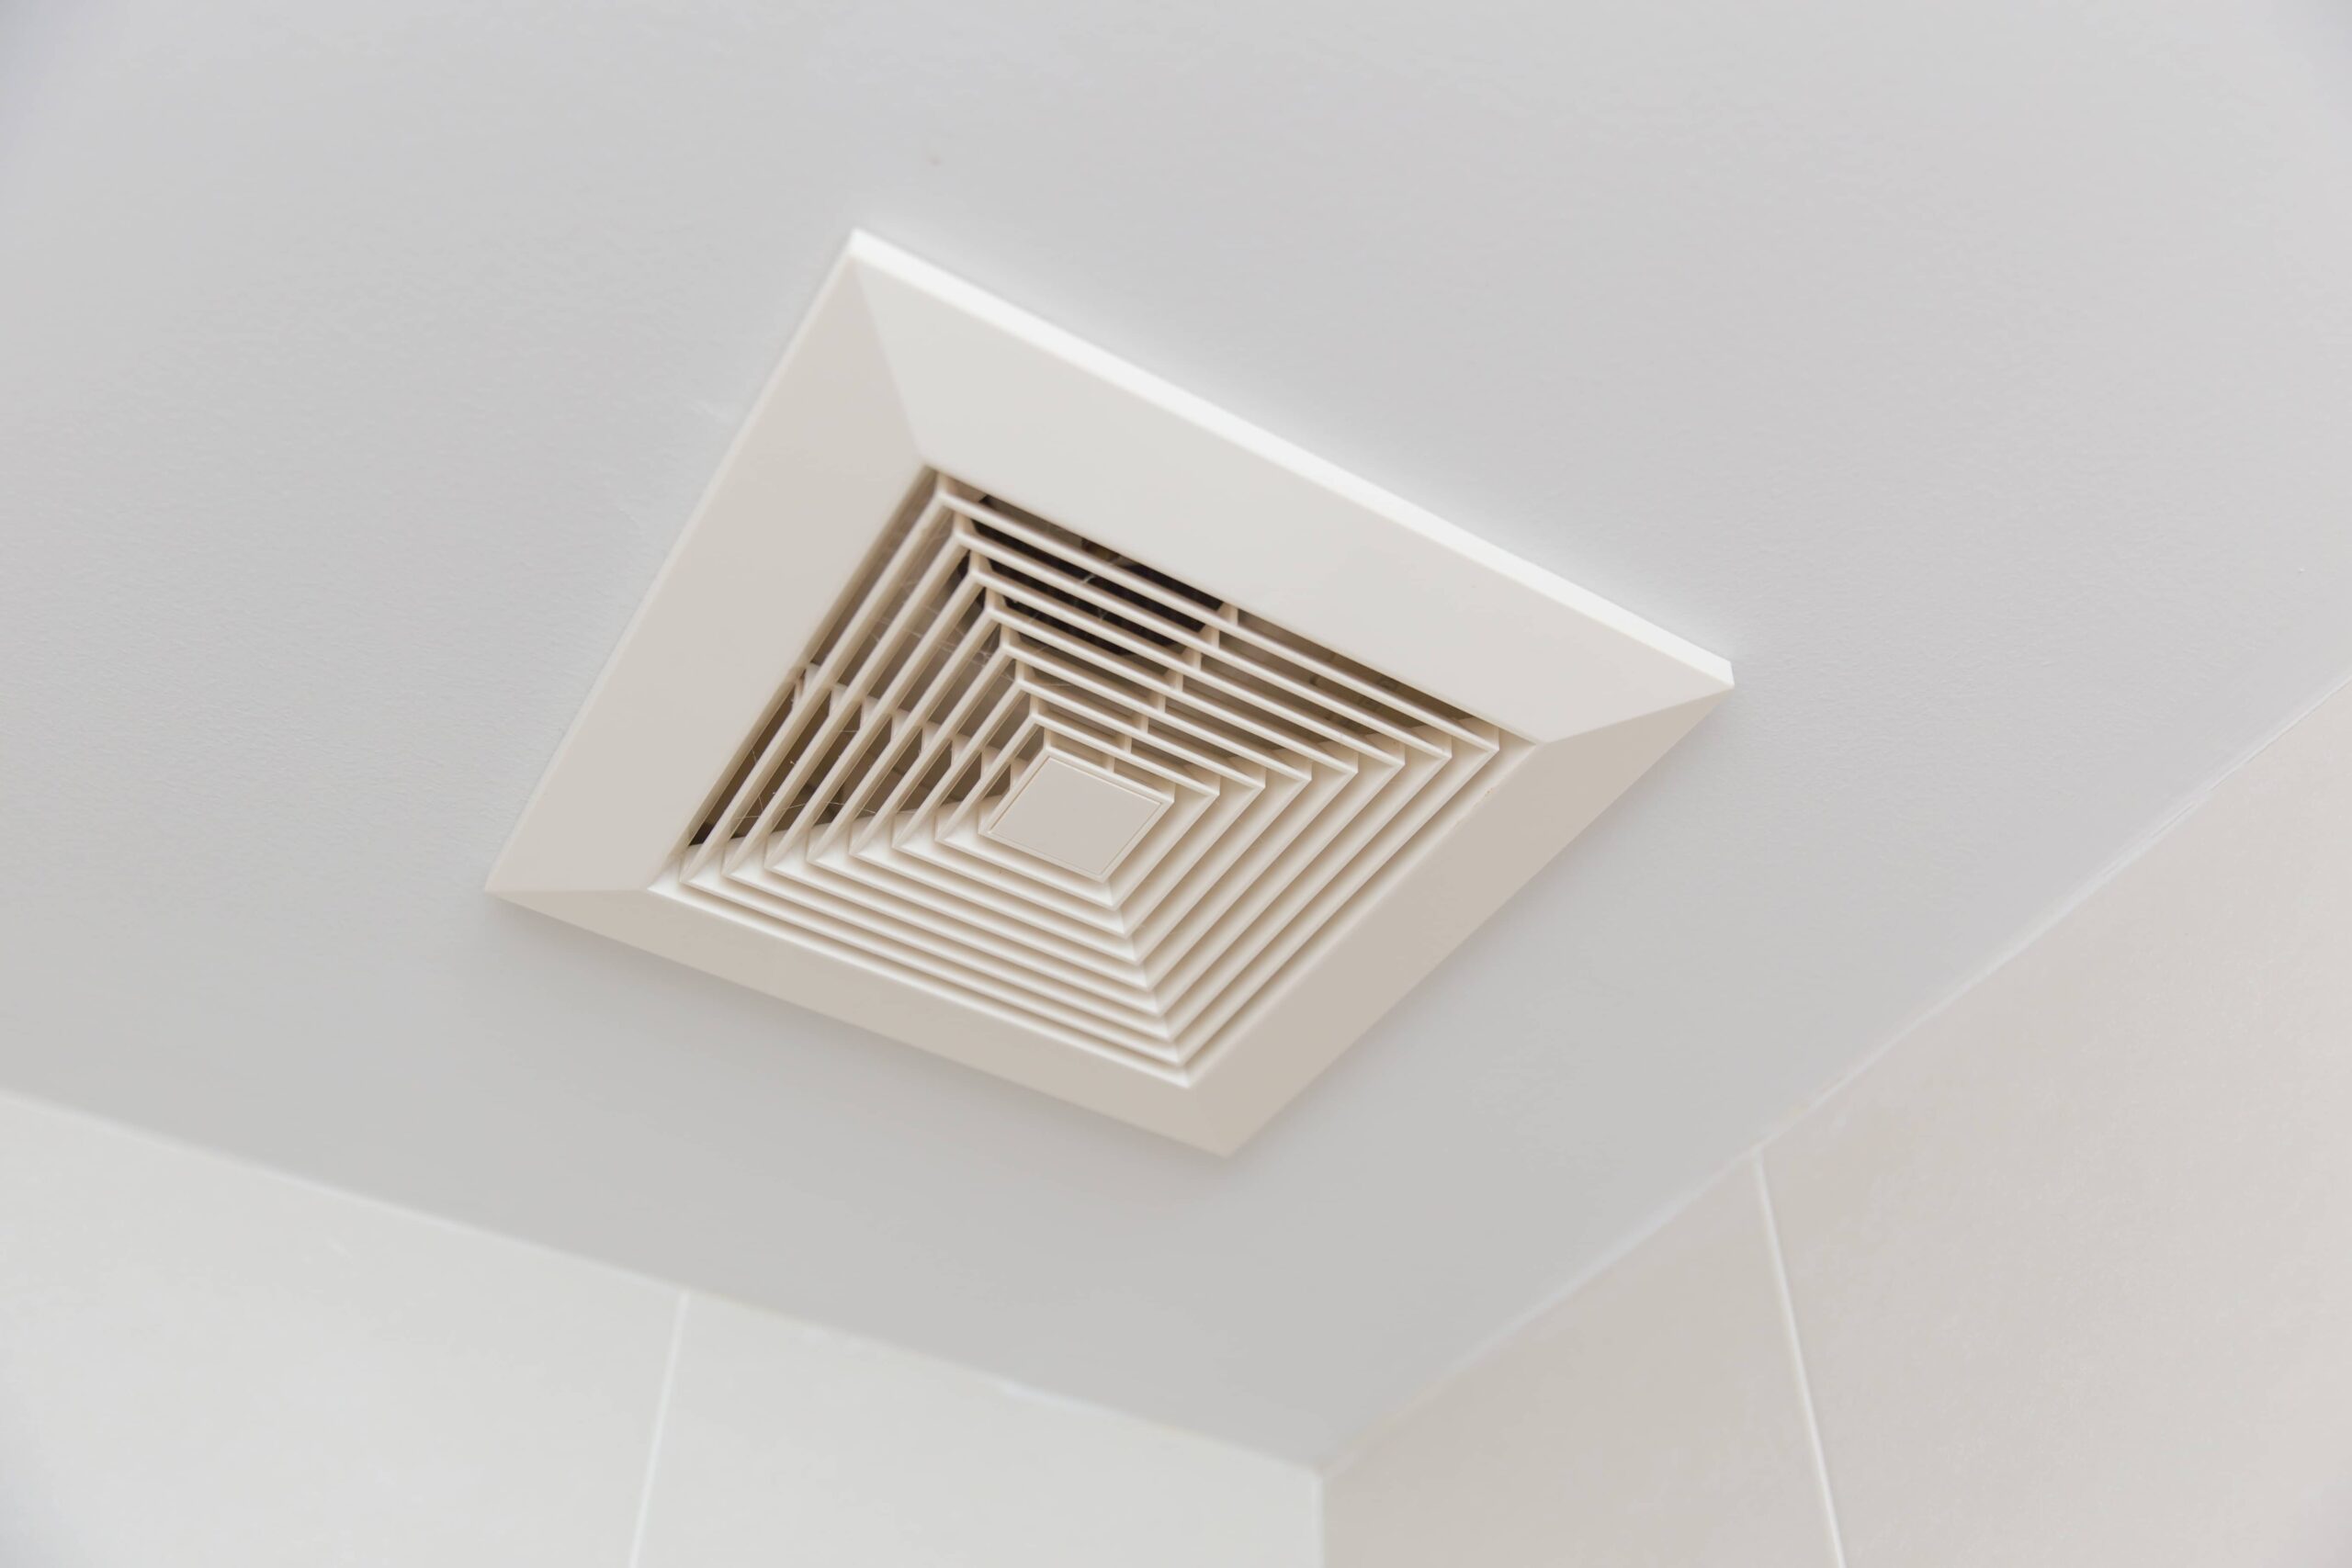
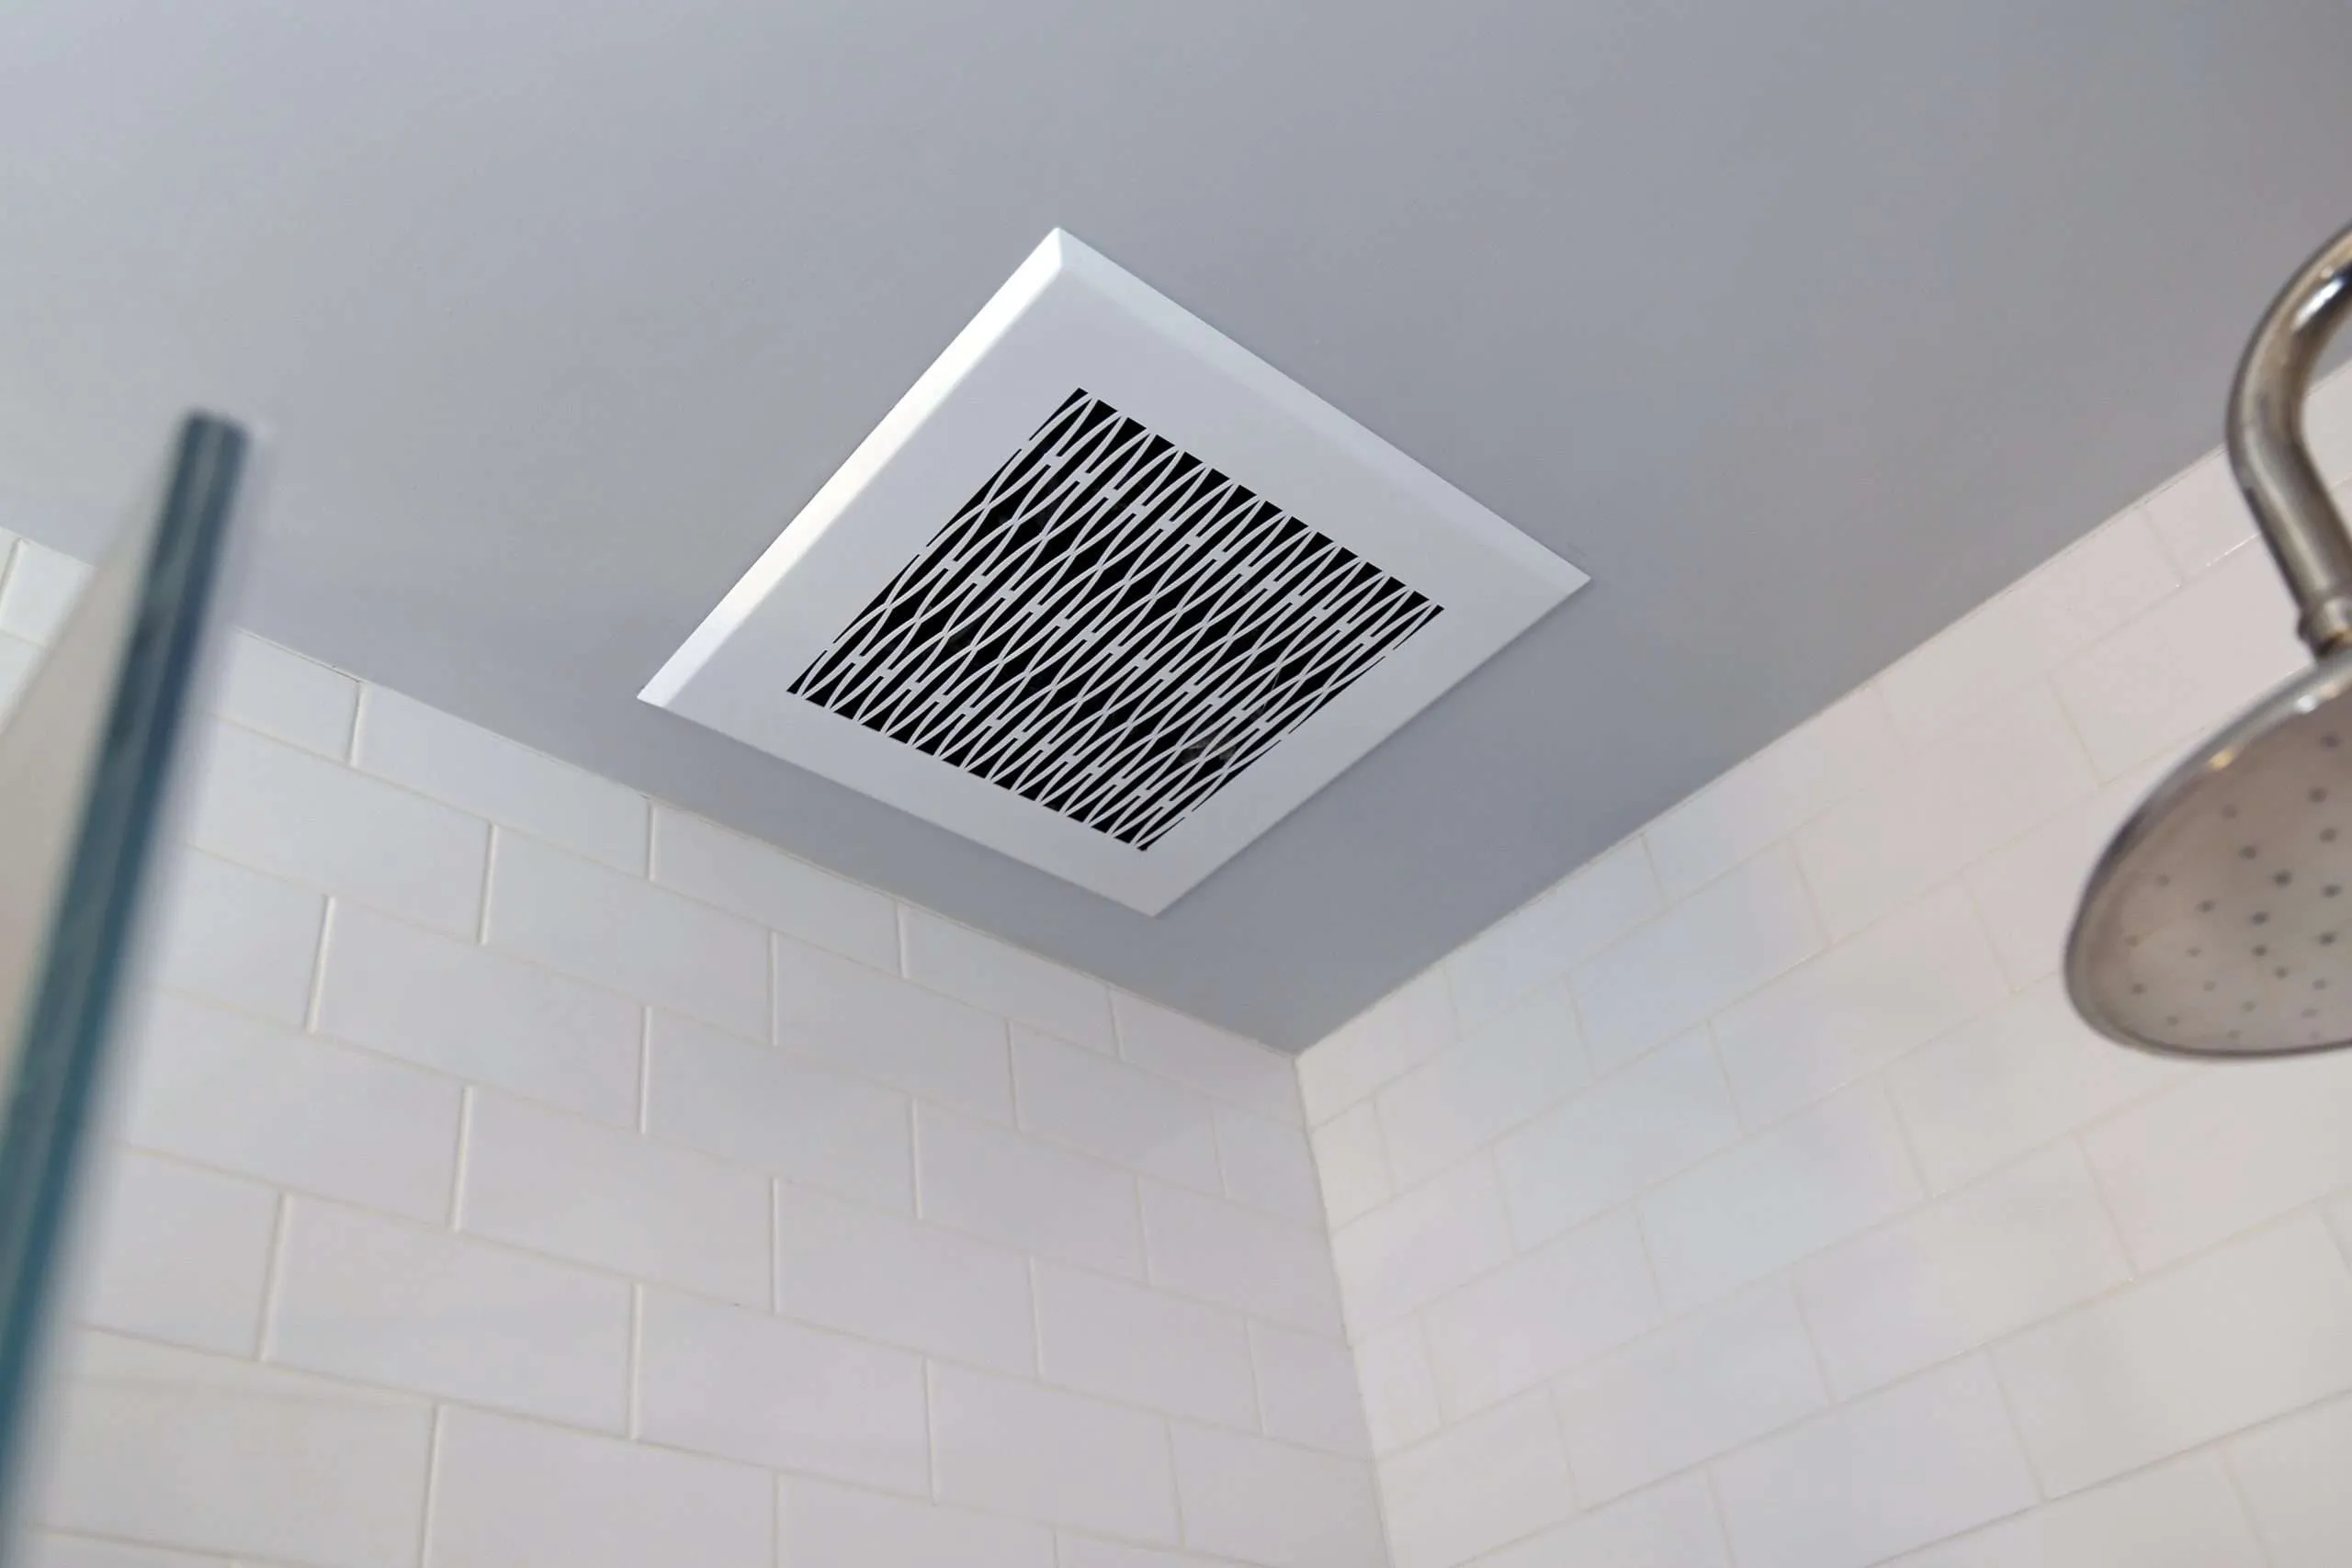
When it comes to maintaining a clean and fresh bathroom, proper ventilation is essential. A Nutone bathroom exhaust fan plays a crucial role in ensuring that excess moisture and unpleasant odors are effectively removed from the space. Over time, the cover of the exhaust fan may accumulate dust, grime, and other debris, which can hinder its performance. Therefore, knowing how to remove the cover for cleaning or replacement is a valuable skill for any homeowner.
In this comprehensive guide, we will walk you through the step-by-step process of safely removing the cover of your Nutone bathroom exhaust fan. By following these instructions, you can maintain the efficiency and longevity of your fan while also improving the air quality in your bathroom.
Whether you are a seasoned DIY enthusiast or a novice homeowner looking to tackle a simple maintenance task, this guide will provide you with the knowledge and confidence to successfully remove the cover of your Nutone bathroom exhaust fan. With just a few basic tools and a little bit of time, you can ensure that your bathroom remains a comfortable and inviting space for you and your family.
Now, let's dive into the step-by-step process of removing the cover of your Nutone bathroom exhaust fan, allowing you to keep your bathroom fresh and inviting for years to come.
Key Takeaways:
- Keep your bathroom fresh and inviting by safely removing and cleaning the cover of your Nutone bathroom exhaust fan. Prioritize safety by turning off the power and follow the step-by-step guide for a successful maintenance process.
- Maintain the optimal performance of your Nutone bathroom exhaust fan by safely removing, cleaning, and reinstalling the cover. With the right tools and techniques, you can ensure a clean and comfortable bathroom environment for years to come.
Read more: How To Remove Nutone Bathroom Fan Cover
Step 1: Turn off the Power
Before beginning any maintenance or repair work on your Nutone bathroom exhaust fan, it is crucial to ensure that the power supply to the fan is completely turned off. This step is essential for your safety and the proper functioning of the fan. Here's how to safely turn off the power:
-
Locate the Circuit Breaker: Start by locating the circuit breaker or fuse box that controls the power supply to your bathroom exhaust fan. This is typically found in the main electrical panel of your home.
-
Identify the Correct Switch: Once you have located the circuit breaker panel, identify the switch that corresponds to the bathroom exhaust fan. The switches should be clearly labeled for easy identification. If the switches are not labeled, you may need to test each one to determine the correct one for the fan.
-
Turn Off the Power: With the correct switch identified, firmly switch it to the "off" position. You can double-check that the power is off by attempting to turn on the fan's switch or by using a non-contact voltage tester to ensure that there is no electrical current running to the fan.
-
Safety Precautions: It is important to exercise caution when working with electrical components. Always use insulated tools and avoid touching any exposed wires or terminals. If you are unsure about any aspect of turning off the power, it is advisable to seek assistance from a qualified electrician.
By following these steps to turn off the power to your Nutone bathroom exhaust fan, you can proceed with the subsequent maintenance tasks with confidence, knowing that you have taken the necessary precautions to ensure your safety and the proper functioning of the fan. Remember to keep the power off until the maintenance is complete and the cover is securely reinstalled.
With the power safely turned off, you are now ready to move on to the next step of removing the cover of your Nutone bathroom exhaust fan.
Step 2: Locate the Latches or Screws
Once the power to the Nutone bathroom exhaust fan is safely turned off, the next step is to locate the latches or screws that secure the cover in place. Depending on the specific model of your Nutone fan, the cover may be held in position by either latches or screws. Here's how to identify and access these securing mechanisms:
Latches:
If your Nutone bathroom exhaust fan features latches, you will typically find them positioned along the sides of the cover. These latches are designed to hold the cover firmly in place while allowing for easy removal when necessary. To locate the latches:
-
Visual Inspection: Begin by visually inspecting the perimeter of the cover. Look for small, protruding tabs or levers that may indicate the presence of latches. These latches are often discreetly integrated into the design of the cover for a streamlined appearance.
-
Press and Release: Once you have identified the latches, gently press or squeeze them to release the cover. Depending on the specific design, you may need to apply pressure to both latches simultaneously or work your way around the cover, releasing each latch one at a time.
-
Handle with Care: As you release the latches, be mindful of the cover's weight and any potential resistance. Some covers may have built-in hinges that allow them to pivot downward once the latches are disengaged. Exercise caution to prevent the cover from falling and causing damage.
Screws:
In the case of a Nutone bathroom exhaust fan secured with screws, the cover will typically have screws positioned at strategic points along its perimeter. To locate and access these screws:
-
Inspect the Perimeter: Carefully examine the edges of the cover to identify the locations of the screws. They are commonly positioned at regular intervals, often near the corners or along the sides of the cover.
-
Use the Appropriate Tool: Once you have located the screws, use the appropriate screwdriver or tool to carefully loosen and remove them. It is important to use the correct size and type of screwdriver to avoid damaging the screw heads.
-
Secure the Screws: As you remove each screw, keep them in a safe place to prevent misplacement. It is advisable to use a small container or magnetic tray to hold the screws, ensuring that they are readily available for reinstallation.
By following these detailed steps to locate and access the latches or screws that secure the cover of your Nutone bathroom exhaust fan, you can proceed with confidence to the next stage of removing the cover. With the securing mechanisms identified and addressed, you are one step closer to maintaining the optimal performance of your fan.
Read more: How To Remove A Bathroom Exhaust Fan Cover
Step 3: Remove the Cover
With the latches or screws successfully disengaged, you are now ready to remove the cover of your Nutone bathroom exhaust fan. This step requires a steady hand and careful attention to ensure that the cover is safely and smoothly detached from the fan unit. Here's how to proceed with the removal process:
-
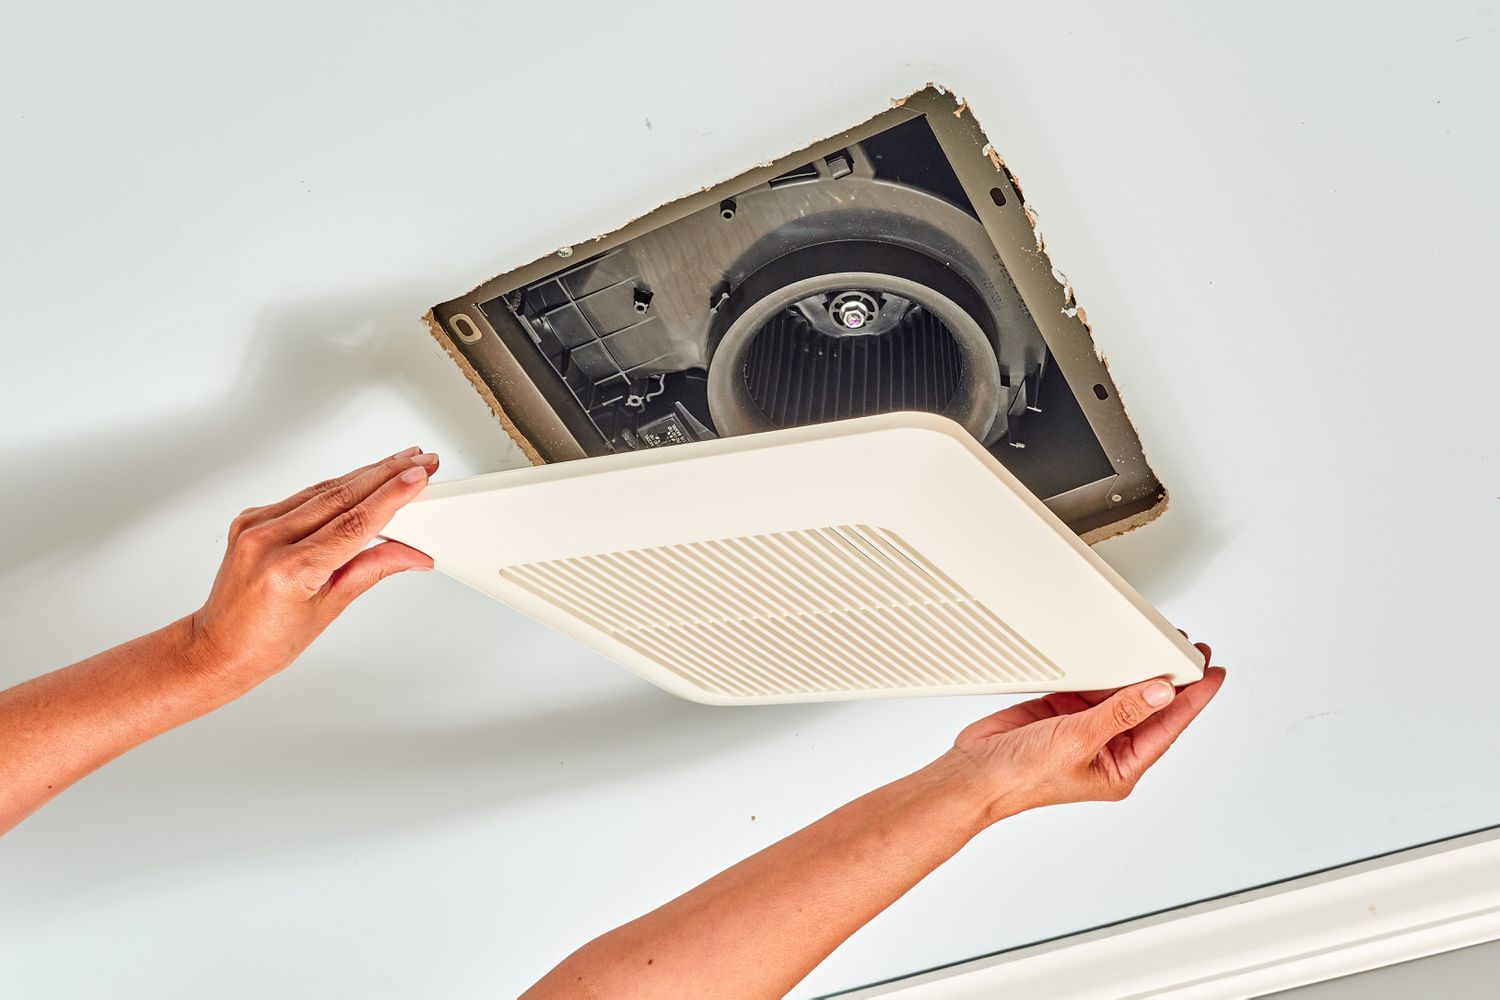
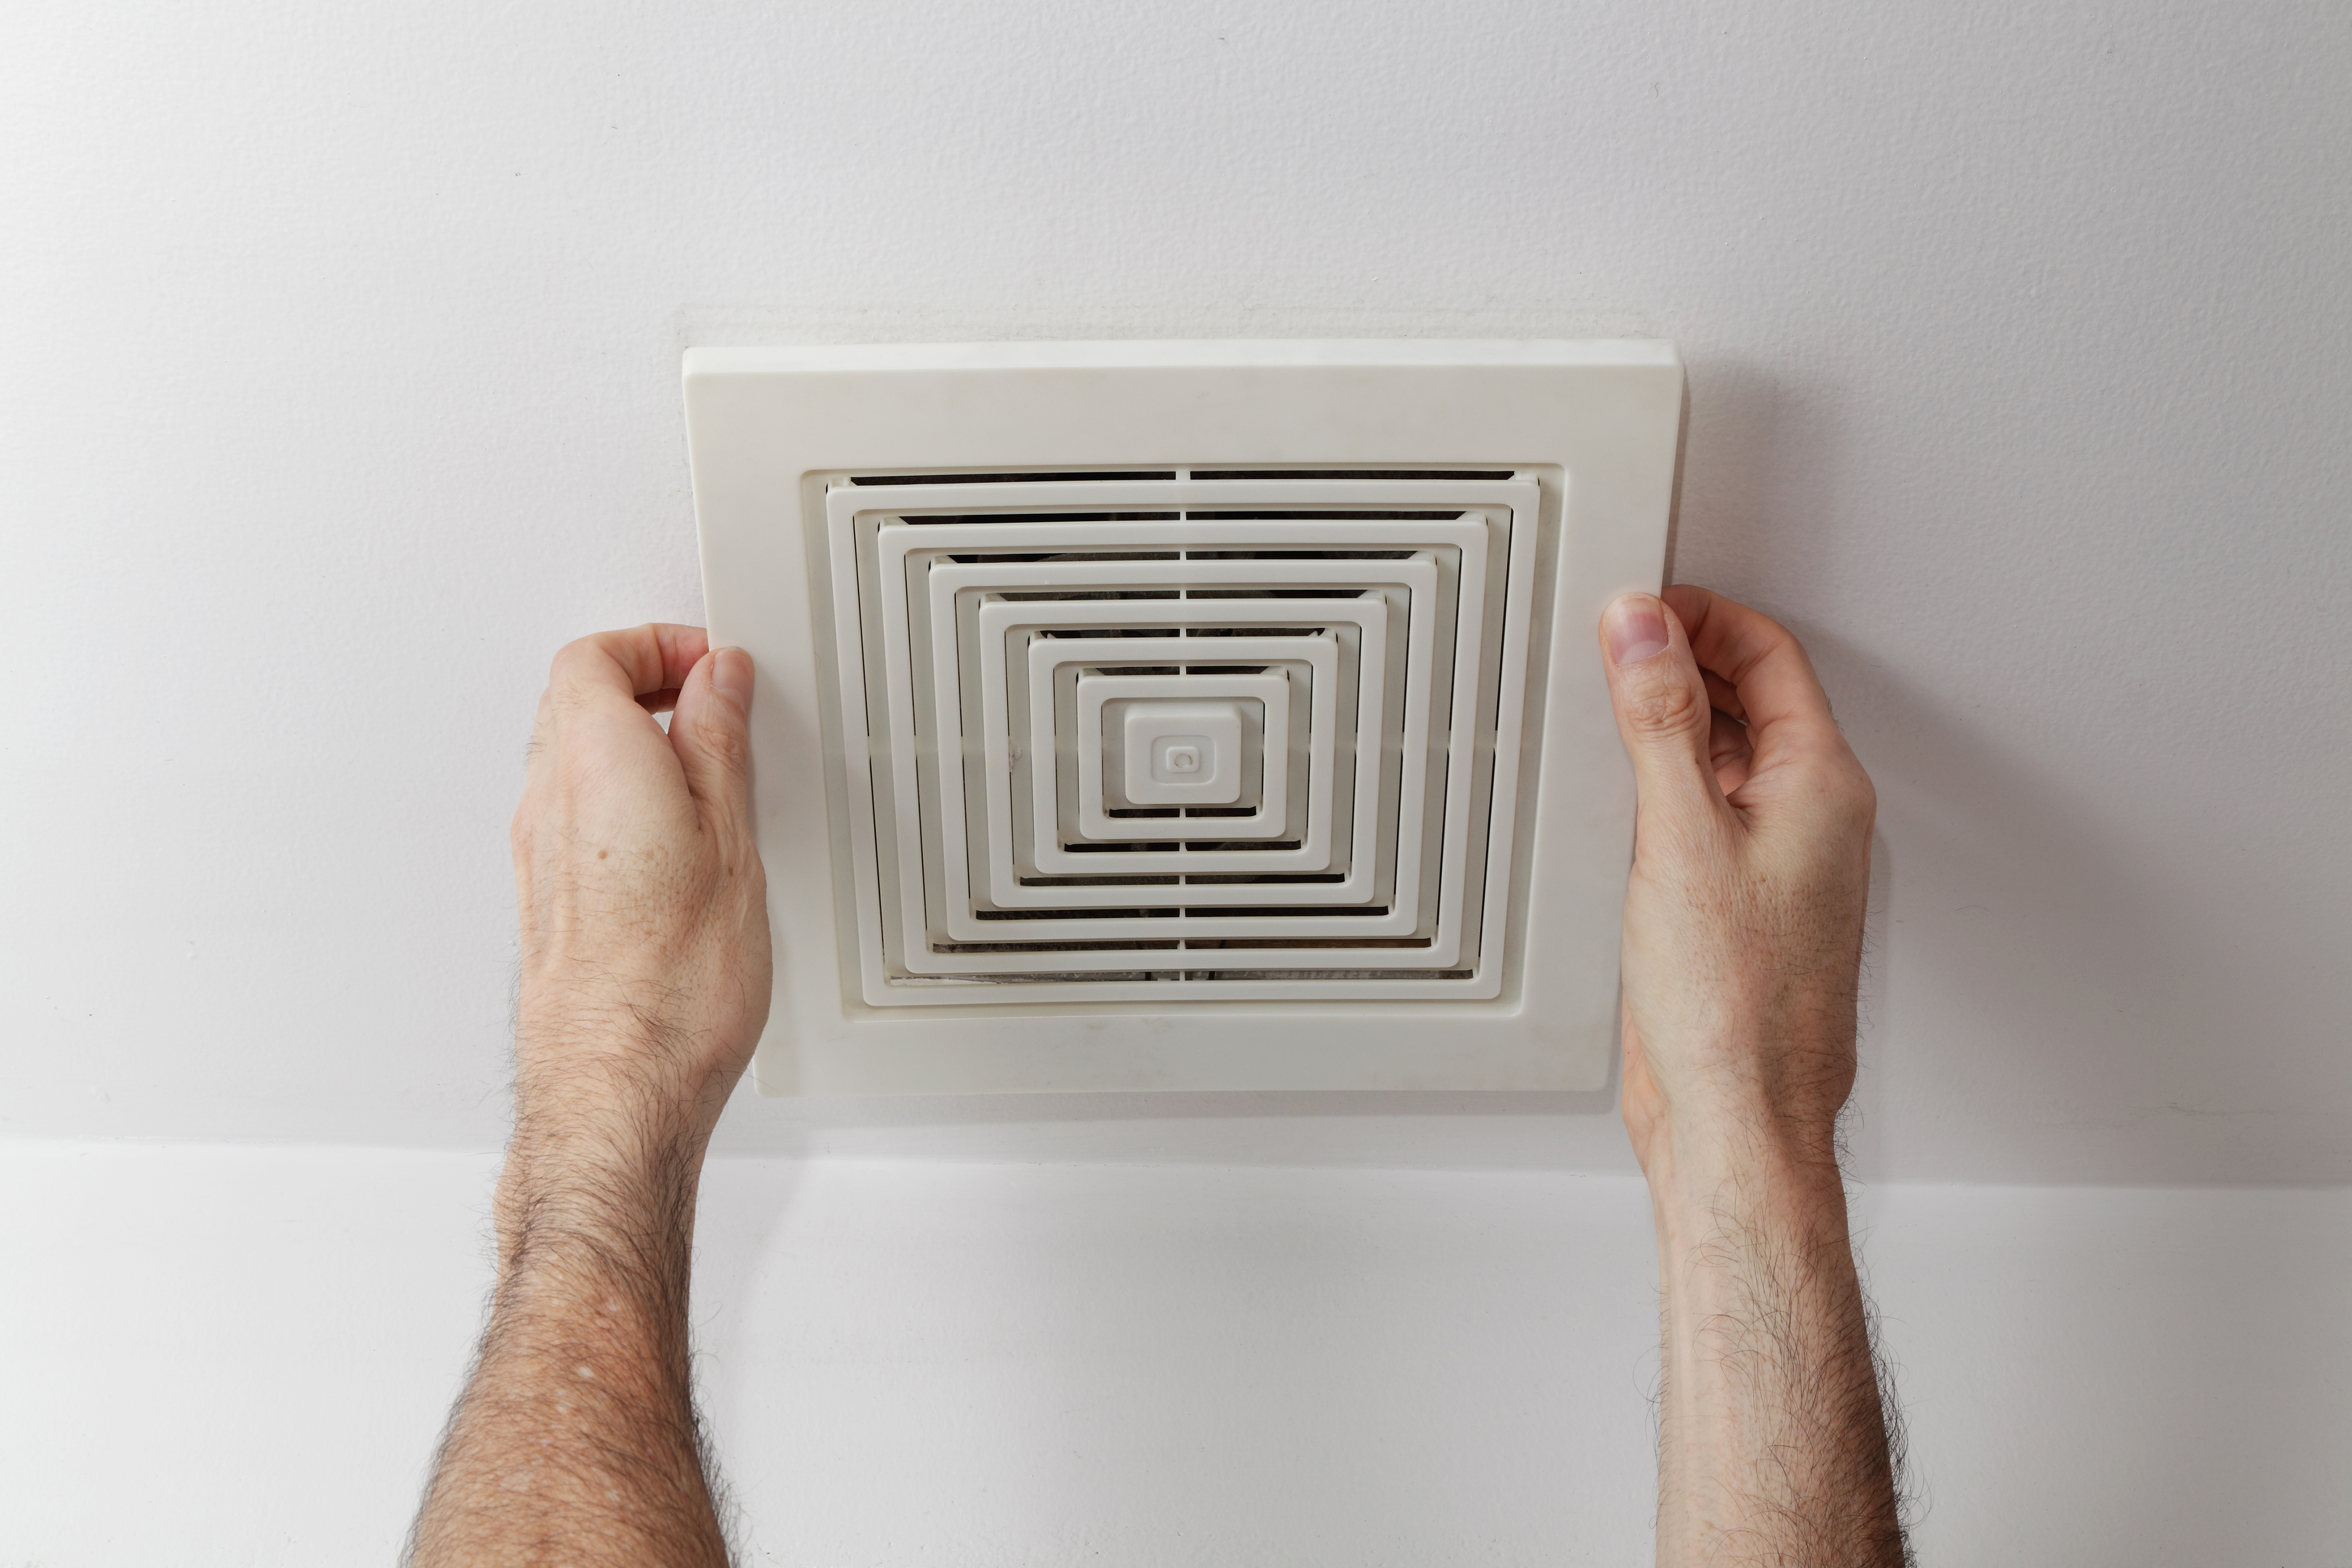
Gently Lift the Cover: Whether your fan's cover is secured by latches or screws, it's essential to approach the removal process with caution. Using both hands, carefully lift the cover upward and away from the fan unit. Be mindful of any resistance or sticking points, as accumulated dust or debris may cause the cover to adhere slightly to the fan housing.
-
Check for Additional Attachments: In some cases, the cover may have additional hooks or tabs that require disengagement before it can be fully removed. Take a moment to inspect the underside of the cover and the corresponding areas on the fan unit to ensure that all attachments are addressed before proceeding.
-
Handle with Care: As you lift and maneuver the cover, be mindful of its weight and balance to prevent any accidental dropping or damage. If the cover is large or cumbersome, consider enlisting the assistance of another person to ensure a safe and controlled removal process.
-
Inspect the Interior: With the cover removed, take a moment to inspect the interior of the fan housing. This is an opportune time to check for any visible accumulation of dust, dirt, or debris that may have collected within the fan unit. If necessary, use a soft brush or cloth to gently remove any buildup, being careful not to disturb the fan blades or motor.
By following these detailed steps to remove the cover of your Nutone bathroom exhaust fan, you can effectively access the interior components for cleaning or maintenance. With the cover safely removed, you are now ready to proceed with the next stage of cleaning and maintaining the fan to ensure its optimal performance and longevity.
With the cover successfully removed, you have completed a crucial step in the maintenance of your Nutone bathroom exhaust fan. Now, you can proceed with confidence to address any cleaning or maintenance tasks before reinstalling the cover and restoring the fan to its full functionality.
Step 4: Clean the Cover
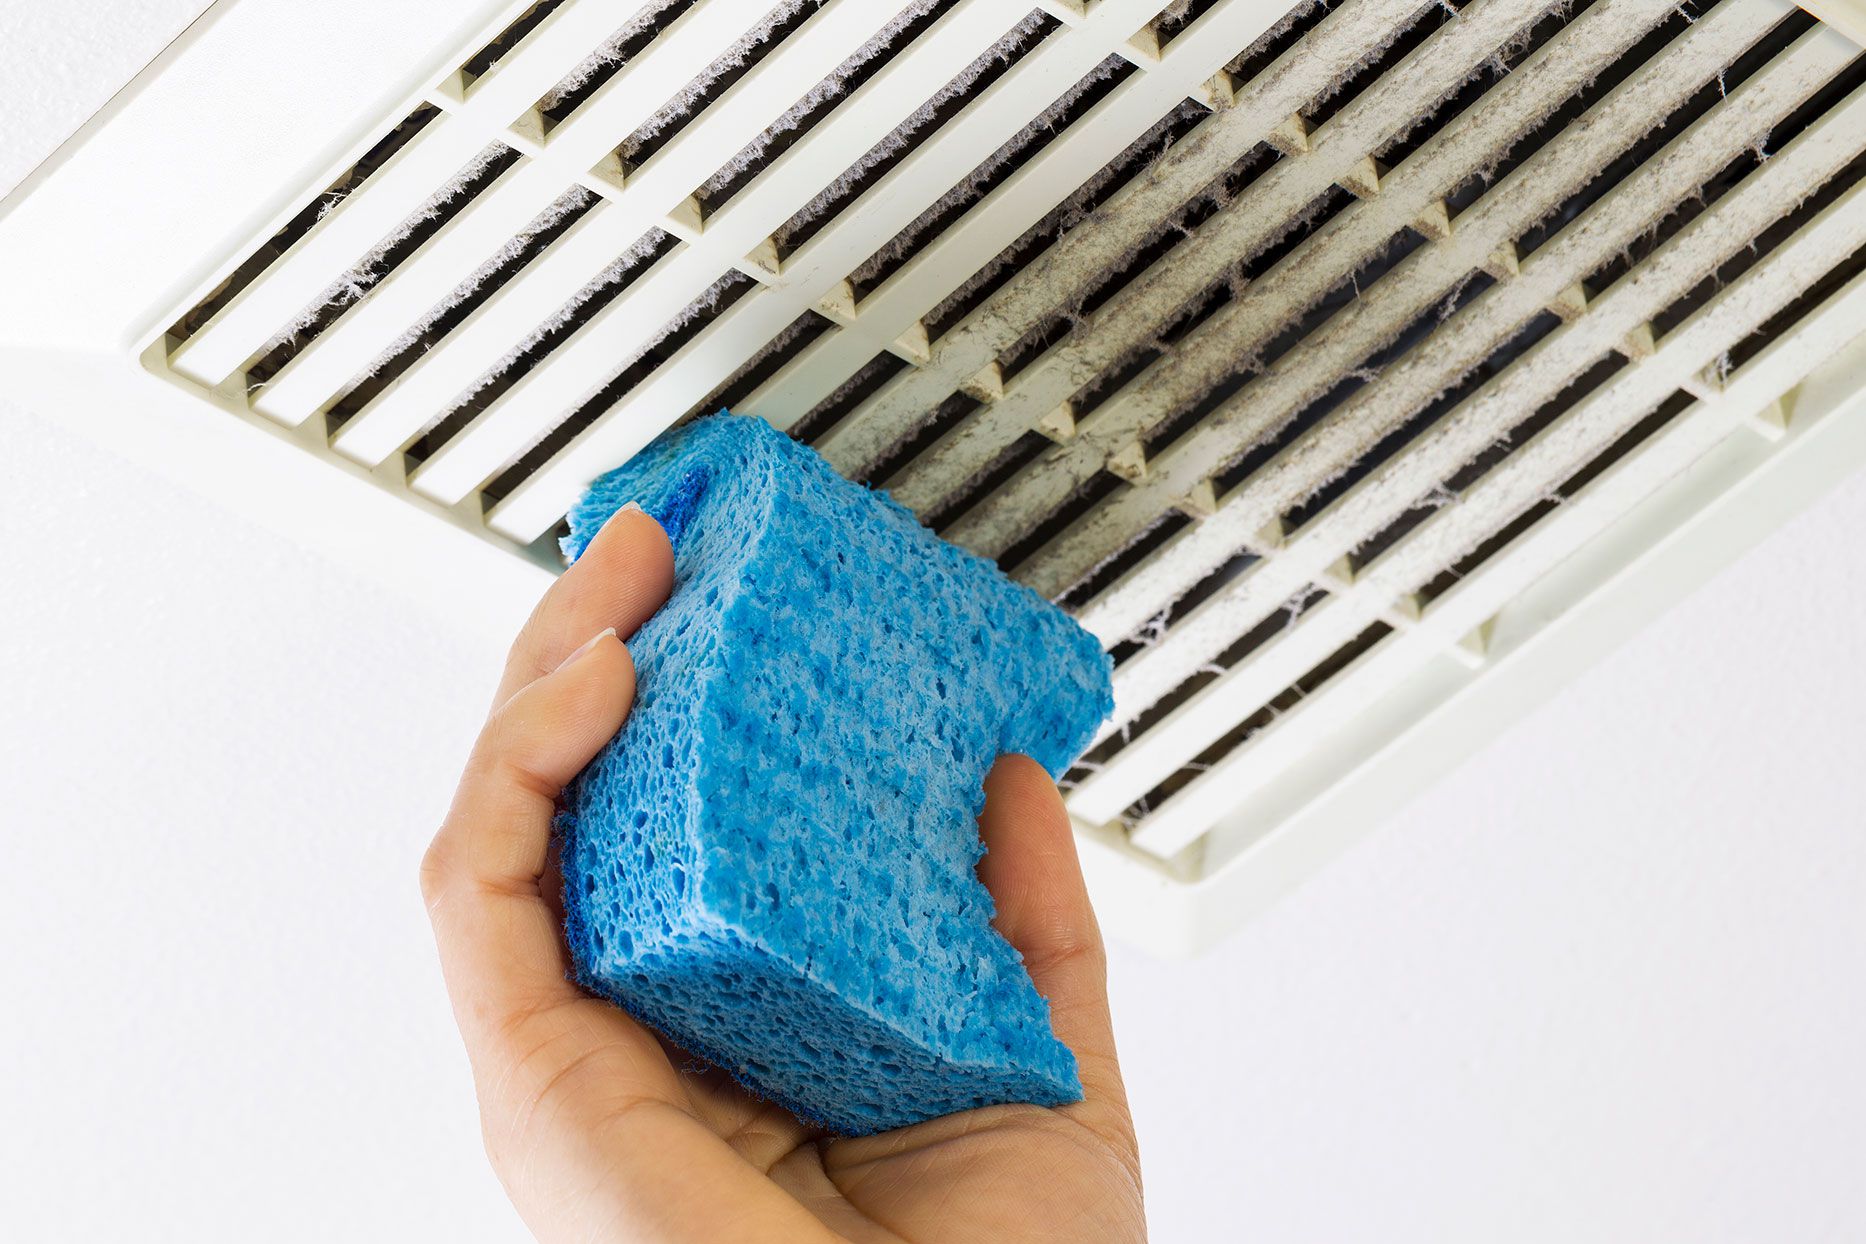
Now that the cover of your Nutone bathroom exhaust fan has been safely removed, it's time to focus on cleaning this essential component. Over time, the cover can accumulate dust, grime, and other particles, which can hinder the fan's efficiency and detract from the overall cleanliness of your bathroom. By following these steps to clean the cover, you can ensure that it remains free of debris and maintains its optimal performance.
Gather Cleaning Supplies
Before you begin the cleaning process, gather the necessary supplies to ensure thorough and effective cleaning. You will need a mild detergent or cleaning solution, a soft-bristled brush or sponge, and a clean, dry cloth. Additionally, if the cover is particularly grimy or has stubborn stains, consider using a gentle all-purpose cleaner or a solution of water and vinegar for added cleaning power.
Wash the Cover
Start by preparing a solution of warm water and mild detergent in a small bucket or basin. Dip the soft-bristled brush or sponge into the soapy water and gently scrub the cover, paying close attention to any areas with visible dirt or buildup. Avoid using abrasive cleaners or harsh chemicals, as these can damage the cover's finish or material.
Read more: How To Fix Bathroom Exhaust Fan
Rinse and Dry Thoroughly
After scrubbing the cover, rinse it thoroughly with clean water to remove any soapy residue. Once rinsed, use a clean, dry cloth to carefully pat the cover dry, ensuring that all moisture is removed. It's important to allow the cover to air dry completely before reinstalling it to prevent the risk of mold or mildew growth.
Address Stubborn Stains
If the cover has stubborn stains or discoloration, consider using a gentle all-purpose cleaner or a solution of water and vinegar to target these areas. Apply the cleaner to a soft cloth and gently rub the affected areas, taking care not to use excessive force that could damage the cover's surface.
Inspect for Damage
While cleaning the cover, take the opportunity to inspect it for any signs of damage, such as cracks, warping, or discoloration that may indicate wear and tear. If you notice any significant damage, consider contacting the manufacturer or a professional for guidance on repair or replacement options.
By following these steps to clean the cover of your Nutone bathroom exhaust fan, you can maintain its appearance and functionality, ensuring that it continues to effectively remove moisture and odors from your bathroom. With the cover now clean and refreshed, you are ready to proceed to the final step of reinstalling it and restoring your fan to its full operational capacity.
Step 5: Reinstall the Cover
With the cover of your Nutone bathroom exhaust fan now clean and refreshed, it's time to proceed with the crucial step of reinstalling it. Proper reinstallation ensures that the fan operates efficiently and that the cover is securely in place, maintaining the overall aesthetics of your bathroom. Follow these steps to seamlessly reinstall the cover:
-
Align the Cover: Position the clean cover in alignment with the fan housing, ensuring that it is oriented correctly to fit securely in place. Take note of any hooks, tabs, or alignment markers that facilitate proper positioning.
-
Engage Latches or Screws: If your fan cover is secured with latches, gently press it into position, ensuring that each latch securely engages with the corresponding slot or attachment point on the fan housing. For covers secured with screws, carefully align the screw holes on the cover with the mounting points on the fan housing, then insert and tighten the screws using the appropriate tool.
-
Verify Stability: Once the cover is in place, gently test its stability by applying light pressure to ensure that it is securely fastened. If the cover features latches, listen for a distinct click or locking sound to confirm that it is properly engaged. For screw-secured covers, ensure that the screws are tightened snugly without over-tightening, which could potentially damage the cover or the fan housing.
-
Restore Power: With the cover securely reinstalled, you can proceed to restore the power supply to the Nutone bathroom exhaust fan. Return to the circuit breaker or fuse box and switch the corresponding breaker to the "on" position, ensuring that the fan is now ready to operate.
By following these steps to reinstall the cover of your Nutone bathroom exhaust fan, you can complete the maintenance process with confidence, knowing that the fan is now fully operational and the cover is securely in place. With the cover successfully reinstalled, take a moment to appreciate the improved air quality and overall cleanliness of your bathroom, knowing that your efforts have contributed to a more comfortable and inviting space for you and your family.
Read more: What Is An Exhaust Fan
Conclusion
In conclusion, the process of removing and cleaning the cover of your Nutone bathroom exhaust fan is a simple yet essential maintenance task that contributes to the overall functionality and cleanliness of your bathroom. By following the step-by-step guide outlined in this article, you have gained valuable insights into safely and effectively maintaining your fan, ensuring that it continues to operate at its best.
The first step of turning off the power is a critical safety measure that should never be overlooked. By taking the time to locate the correct switch and ensuring that the power is completely turned off, you have prioritized safety and set the stage for a successful maintenance process.
Locating the latches or screws that secure the cover is the next crucial step. Whether your fan features latches or screws, identifying and addressing these securing mechanisms is essential for a smooth removal process. By carefully following the instructions for each type of securing mechanism, you have successfully accessed the interior components of the fan for cleaning and maintenance.
Removing the cover with care and attention to detail ensures that the fan housing is accessible for thorough cleaning. By gently lifting the cover and inspecting the interior, you have taken proactive steps to maintain the optimal performance of your Nutone bathroom exhaust fan.
Cleaning the cover with the appropriate supplies and techniques not only enhances its appearance but also contributes to the overall efficiency of the fan. By diligently washing, rinsing, and drying the cover, you have ensured that it remains free of debris and ready to effectively remove moisture and odors from your bathroom.
Reinstalling the cover with precision and care completes the maintenance process, allowing the fan to operate at its full potential. By aligning the cover, engaging latches or screws, and verifying its stability, you have restored the fan to its optimal functionality, contributing to a fresh and inviting bathroom environment.
In summary, the process of removing, cleaning, and reinstalling the cover of your Nutone bathroom exhaust fan is a manageable task that yields significant benefits. By incorporating these maintenance steps into your regular home care routine, you can enjoy a consistently clean and comfortable bathroom while prolonging the lifespan of your fan. With the knowledge and confidence gained from this guide, you are well-equipped to maintain the efficiency and functionality of your Nutone bathroom exhaust fan for years to come.
Frequently Asked Questions about Nutone Bathroom Exhaust Fan: How To Remove Cover
Was this page helpful?
At Storables.com, we guarantee accurate and reliable information. Our content, validated by Expert Board Contributors, is crafted following stringent Editorial Policies. We're committed to providing you with well-researched, expert-backed insights for all your informational needs.


0 thoughts on “Nutone Bathroom Exhaust Fan: How To Remove Cover”