Articles
How To Install An Exhaust Fan
Modified: October 18, 2024
Learn how to install an exhaust fan in your home with our step-by-step articles. Get expert guidance and ensure proper ventilation with our easy-to-follow instructions.
(Many of the links in this article redirect to a specific reviewed product. Your purchase of these products through affiliate links helps to generate commission for Storables.com, at no extra cost. Learn more)
Introduction
Welcome to our guide on how to install an exhaust fan. Whether you’re looking to improve air circulation in your bathroom or remove unpleasant odors from your kitchen, installing an exhaust fan is a practical and straightforward solution. Proper installation of an exhaust fan not only helps maintain a comfortable and fresh environment but also prevents issues like mold and mildew growth.
In this article, we will guide you through the step-by-step process of installing an exhaust fan. From gathering the necessary tools to testing the fan, we’ll cover everything you need to know to successfully complete the installation. So, let’s get started!
Key Takeaways:
- Properly preparing the installation area, selecting the ideal location, and securely connecting the wiring are crucial steps in successfully installing an exhaust fan. Following these steps ensures a smooth and effective installation process.
- Testing the exhaust fan’s functionality and airflow, along with finishing touches like securing the cover and cleaning up, are essential for completing the installation. With proper maintenance, the exhaust fan will provide a comfortable and fresh environment for years to come.
Read more: How To Install An Attic Exhaust Fan
Step 1: Gather the necessary tools and materials
Before you begin with the installation, it’s essential to gather all the required tools and materials. Here’s a list of items you’ll need:
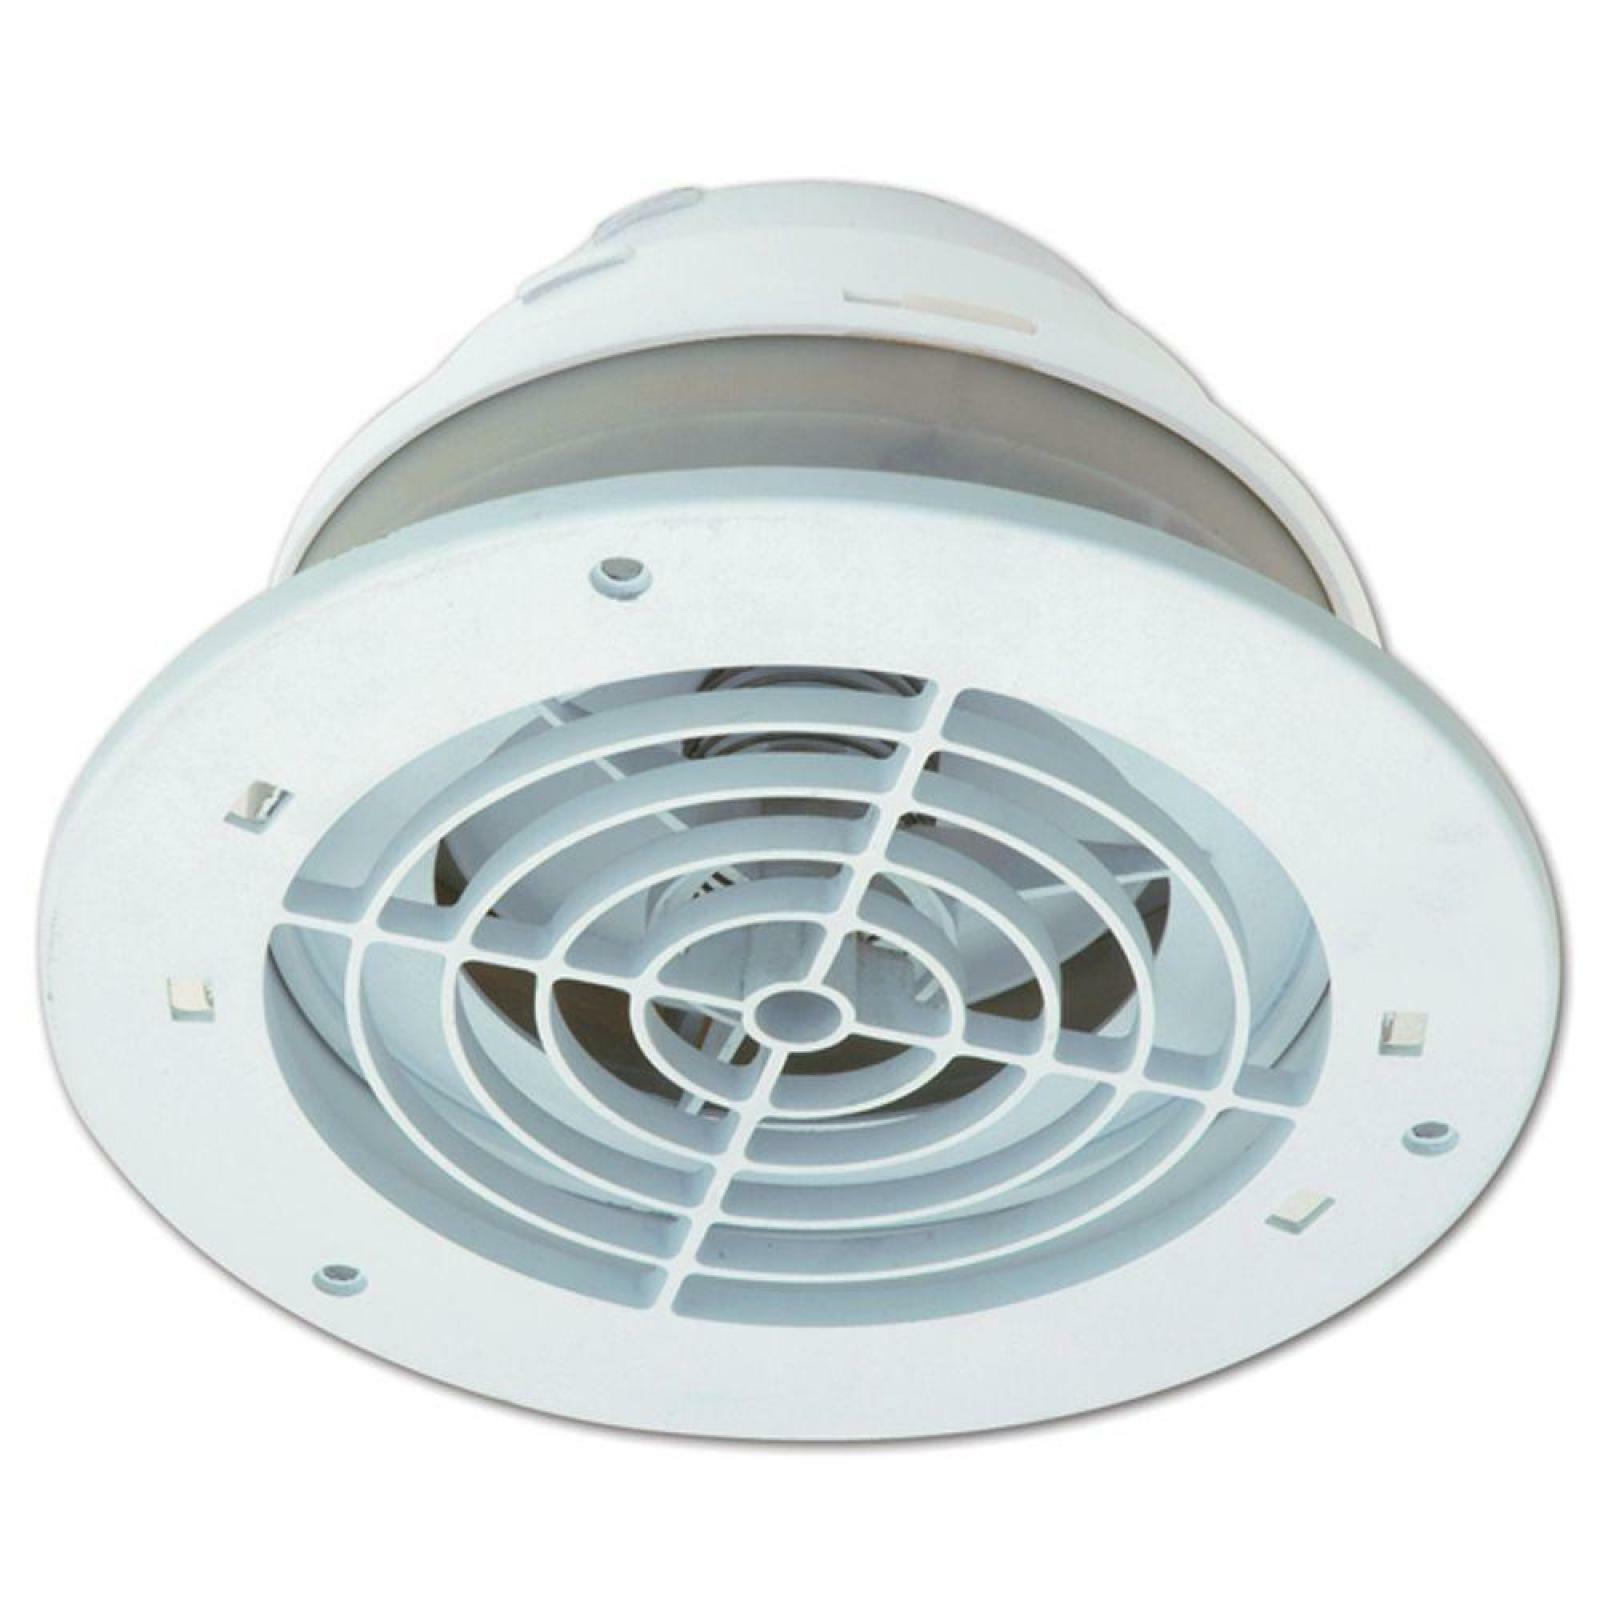
- Exhaust fan
- Mounting brackets
- Tape measure
- Pencil
- Screwdriver
- Drill
- Hacksaw (if necessary)
- Electrical wiring and connectors
- Wire cutter/stripper
- Circuit tester
- Work gloves
- Safety goggles
- Ladder or step stool
Ensure that you have all the tools and materials listed above before proceeding to the next steps. It’s essential to have the right tools to ensure a smooth and successful installation process.
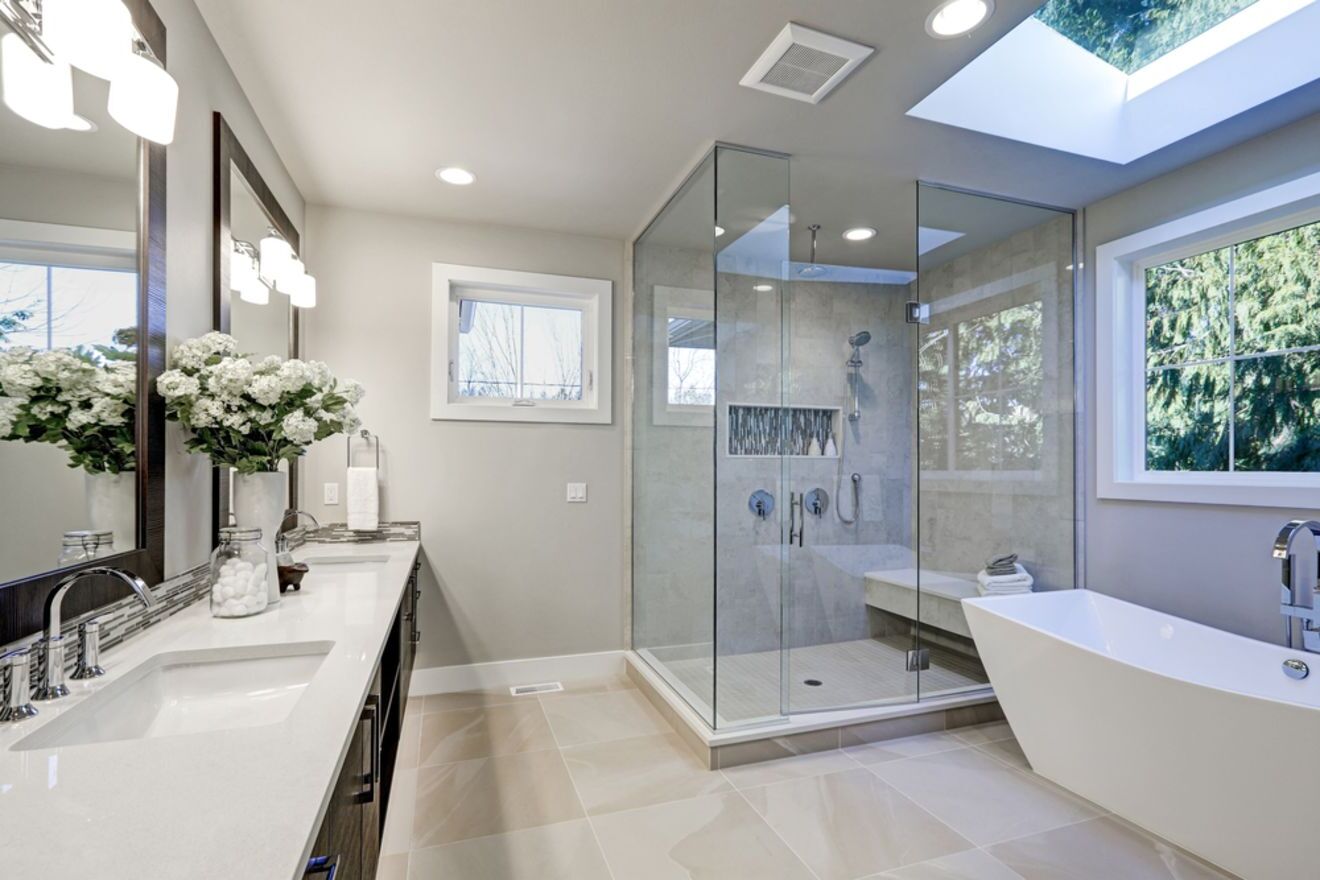
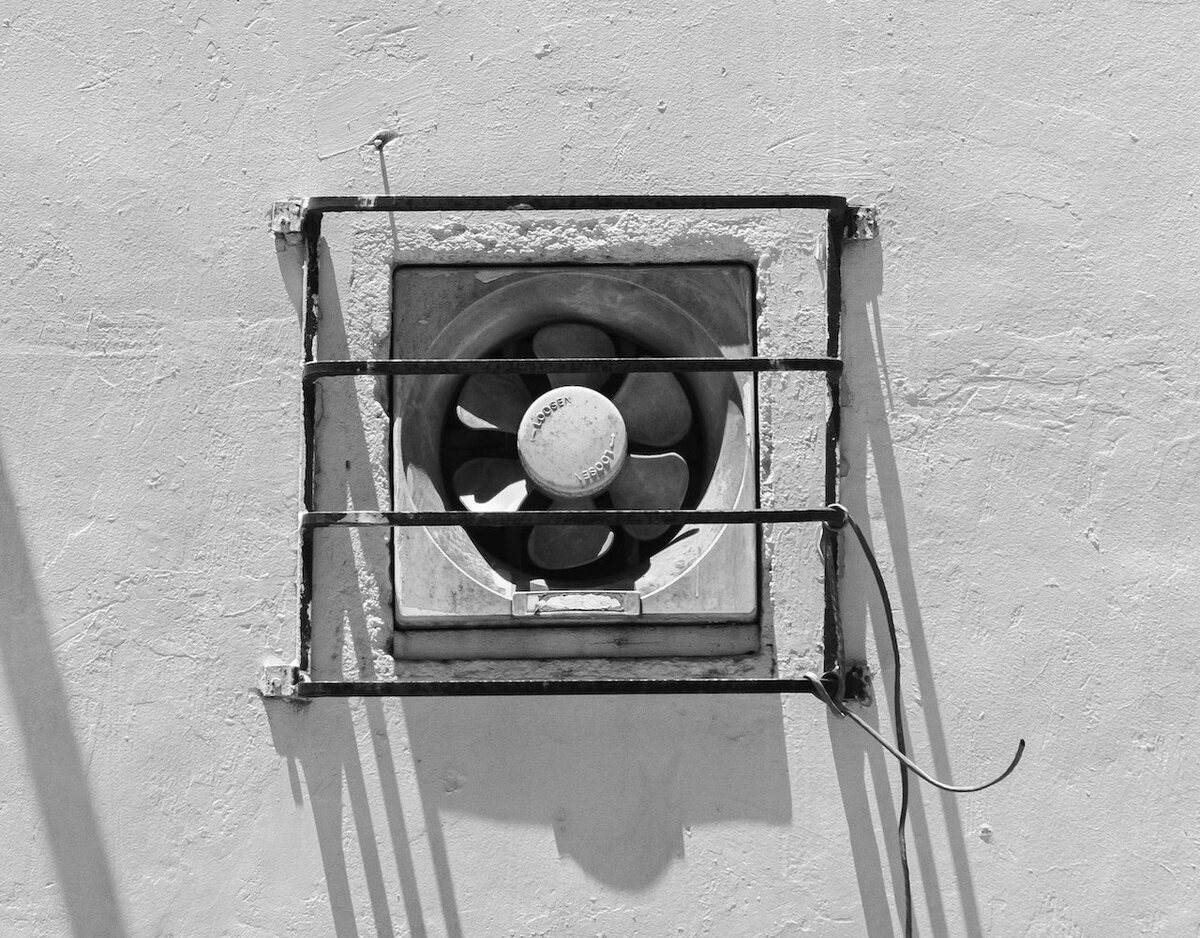
Step 2: Select the location for installation
Choosing the right location to install your exhaust fan is crucial for its efficiency and functionality. The ideal location would be near the source of moisture or odors you want to remove. In most cases, this would be above the shower or bathtub in the bathroom or above the stovetop in the kitchen.
Here are a few factors to consider when selecting the location:
- Proximity to the source: Position the exhaust fan as close as possible to the area where moisture or odors are generated.
- Obstacles: Make sure there are no obstructions, such as pipes or electrical wires, in the chosen location.
- Ventilation: Ensure that the chosen location has proper ventilation to allow the expelled air to exit the building without any restrictions.
When determining the exact placement of the exhaust fan, use a tape measure and pencil to mark the center point. This will help you align the fan correctly during the installation process.
It’s also worth considering any building codes or regulations that may dictate where an exhaust fan can be installed. Refer to local building codes or consult with a professional if you have any doubts about the regulations in your area.
Once you have identified the optimal location, move on to the next step to prepare the area for installation.
Step 3: Prepare the area for installation
Before you begin the actual installation of the exhaust fan, it’s important to prepare the area to ensure a smooth and successful process. Follow these steps to ensure that the area is ready:
- Turn off the power: Locate the circuit breaker that controls the power supply to the area where you’ll be installing the exhaust fan. Flip the switch to the “off” position to ensure your safety during the installation process.
- Clear the area: Remove any obstructions or items that might get in the way of the installation process. This includes removing wall decorations, shelves, or any other objects that are close to the installation location.
- Protect surfaces: Cover the floor and surrounding surfaces with a drop cloth or plastic sheet to protect them from dust and debris that may be generated during the installation.
- Mark the area: Use a pencil and tape measure to mark the exact dimensions of the exhaust fan on the wall or ceiling. This will serve as a guide when it’s time to cut the opening for the fan.
- Prepare the opening: Depending on the type of exhaust fan you’re installing, you may need to cut a hole in the wall or ceiling. Follow the manufacturer’s instructions to mark and cut the opening using a saw or utility knife. Be sure to wear safety goggles and work gloves during this step.
By properly preparing the area, you’ll ensure that the installation process goes smoothly and minimize any potential damage or disruptions to the surrounding surfaces.
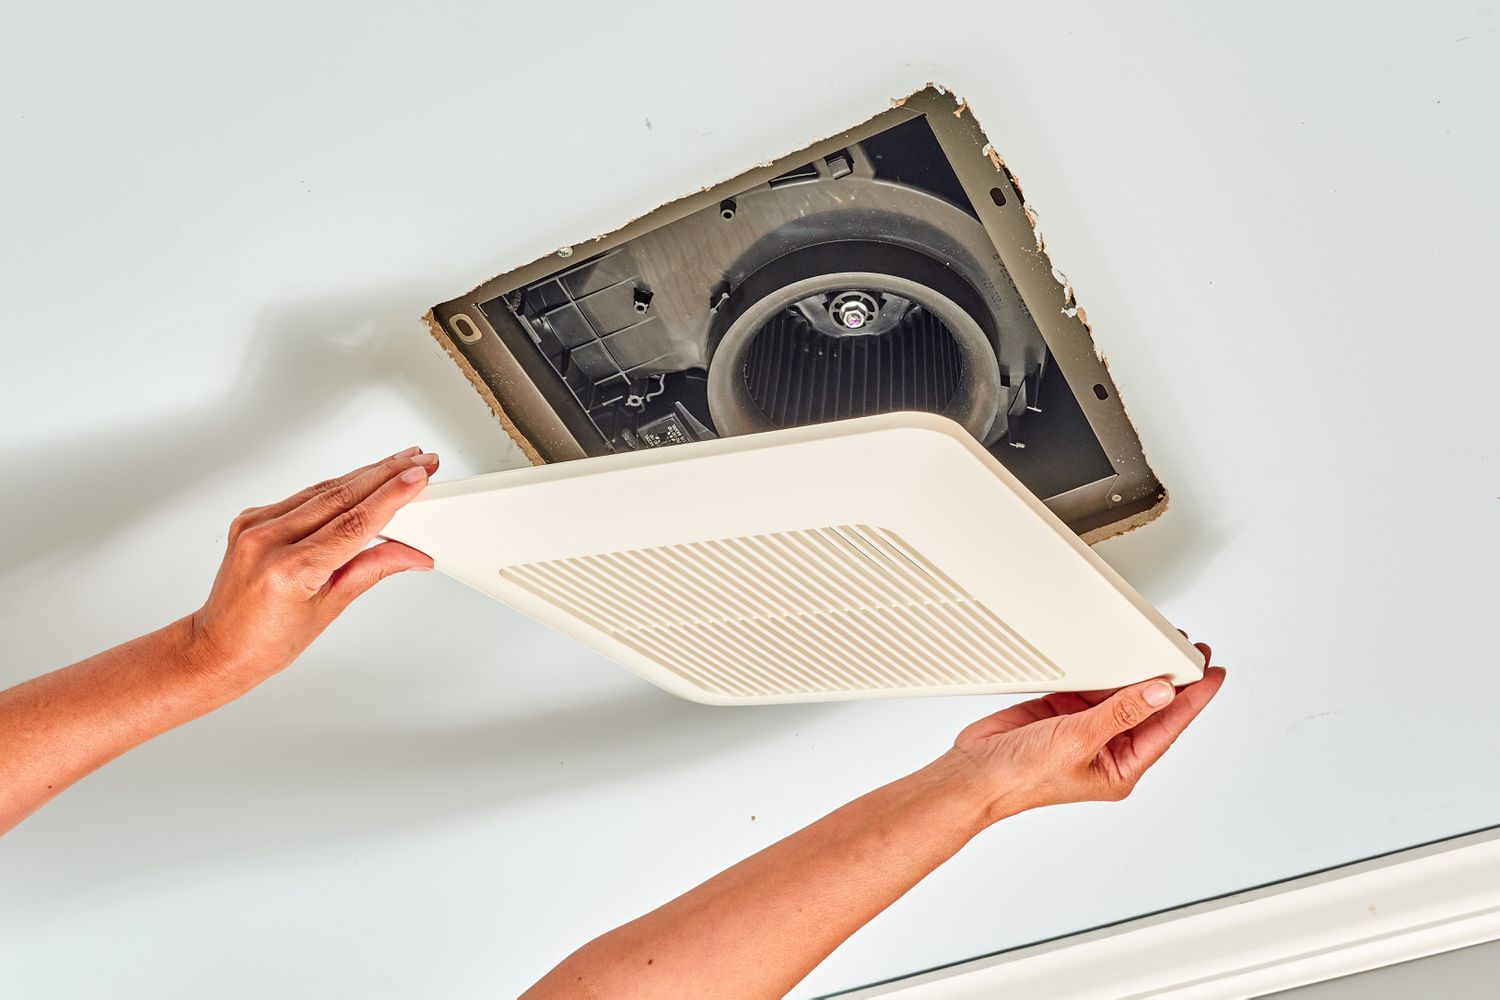
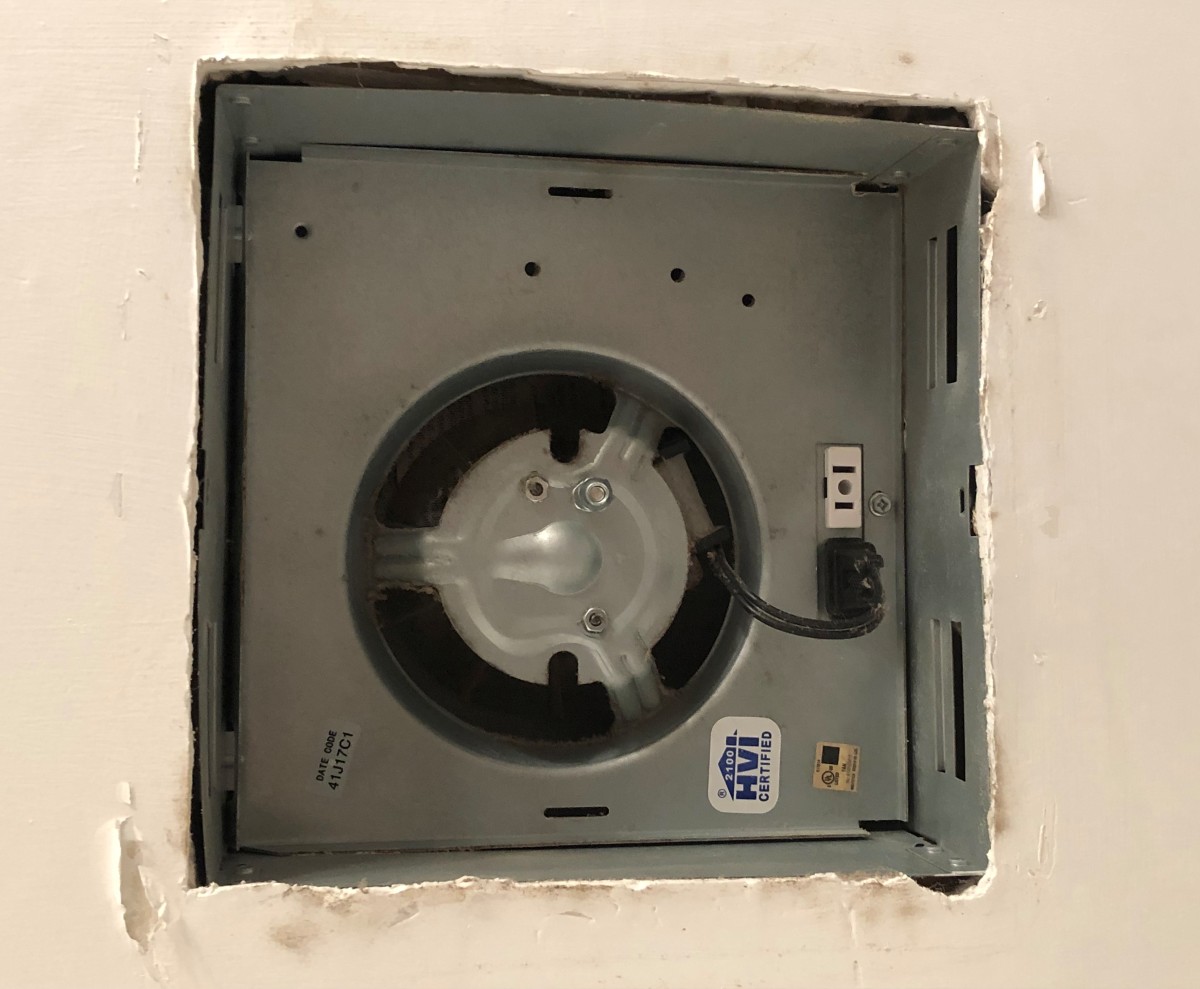
Step 4: Install the exhaust fan
With the area prepared, it’s time to install the exhaust fan. Follow these steps to properly install the fan:
- Attach mounting brackets: If your exhaust fan has mounting brackets, attach them to the appropriate location on the wall or ceiling using screws. Make sure they are securely fastened to provide a stable foundation for the fan.
- Position the fan: Carefully position the exhaust fan into the marked opening. Ensure that it fits snugly and aligns properly with the mounting brackets or holes provided.
- Secure the fan: Depending on the fan model, you may need to use screws or clips to secure it in place. Follow the manufacturer’s instructions to properly attach the fan to the mounting brackets or holes.
- Tighten screws: Double-check that all screws are tightened securely, but be careful not to overtighten and damage the fan or mounting brackets.
- Check stability: Gently shake the installed fan to ensure that it is stable and securely in place. If there is any movement, recheck the installation and make any necessary adjustments.
By following these steps, you will have successfully installed the exhaust fan into the designated area. Now, it’s time to move on to the next step of connecting the wiring.
When installing an exhaust fan, make sure to choose the right size for the room. A general rule of thumb is to have 1 CFM (cubic feet per minute) of air flow for every square foot of space.
Read more: Who Can Install Bathroom Exhaust Fan
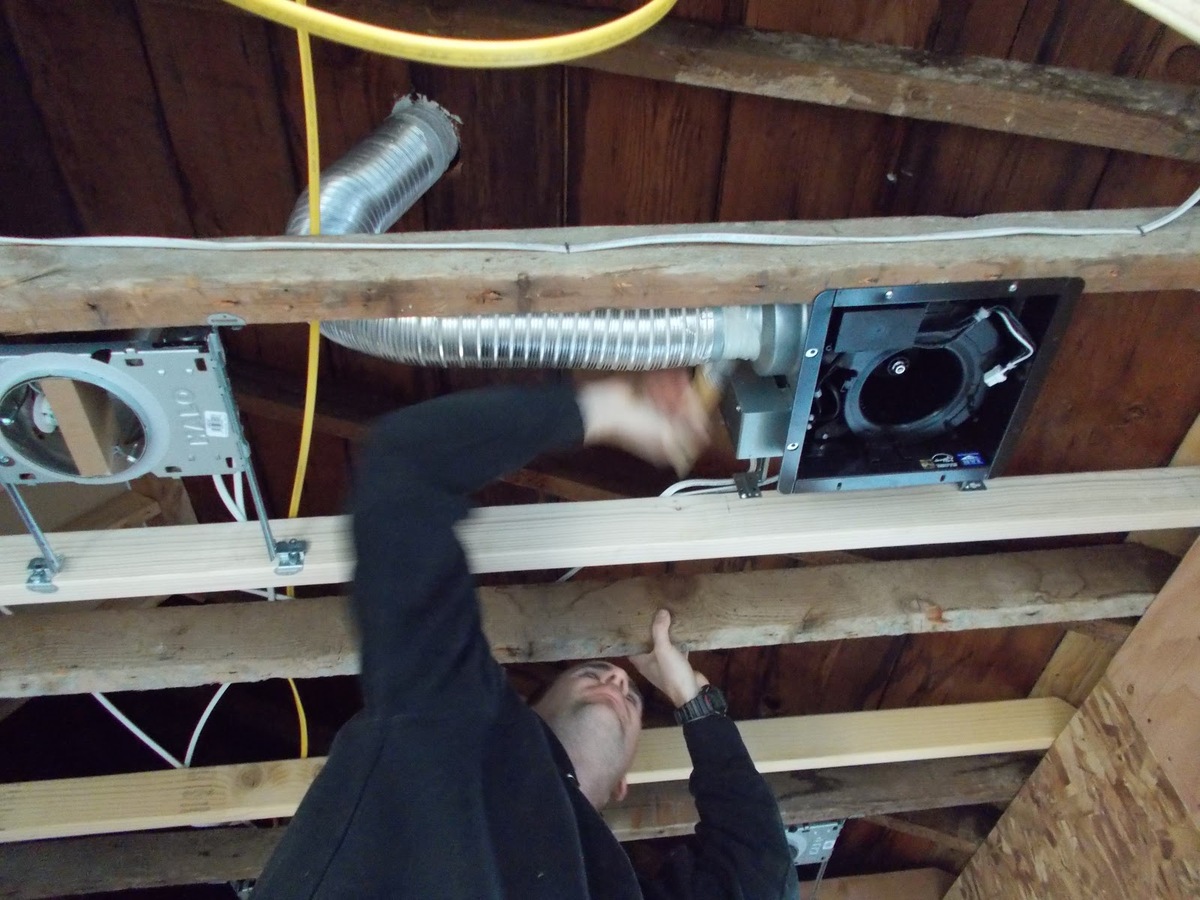
Step 5: Connect the wiring
Properly connecting the wiring is a crucial step when installing an exhaust fan. Follow these steps to ensure a safe and effective electrical connection:
- Turn off the power: Before working with any electrical connections, ensure that the power is turned off at the circuit breaker. This will prevent any accidents or electrical shocks during the wiring process.
- Identify the wires: Remove the cover on the exhaust fan to access the wiring. Identify the different wires, including the black (hot), white (neutral), and green or bare copper (ground) wires.
- Strip the wires: Use a wire cutter/stripper to carefully strip off the insulation from the ends of the wires. Be sure to strip only the necessary amount of insulation, leaving enough wire to make a secure connection.
- Make the connections: Connect the black wires together, the white wires together, and the green or bare copper wires together. Use wire connectors to secure the connections and prevent any loose or exposed wires.
- Secure the connections: Once the connections are made, use electrical tape to wrap around the wire connectors for added security. This will help protect the connections from any moisture or damage.
- Test the connections: Use a circuit tester to ensure that the electrical connections are properly made and there is no power flowing through the wires. This step will help ensure your safety during the remainder of the installation process.
It’s important to follow proper electrical safety procedures and consult a professional if you are unsure about any aspect of the wiring process. Once you have successfully connected the wiring, proceed to the next step to test the exhaust fan.
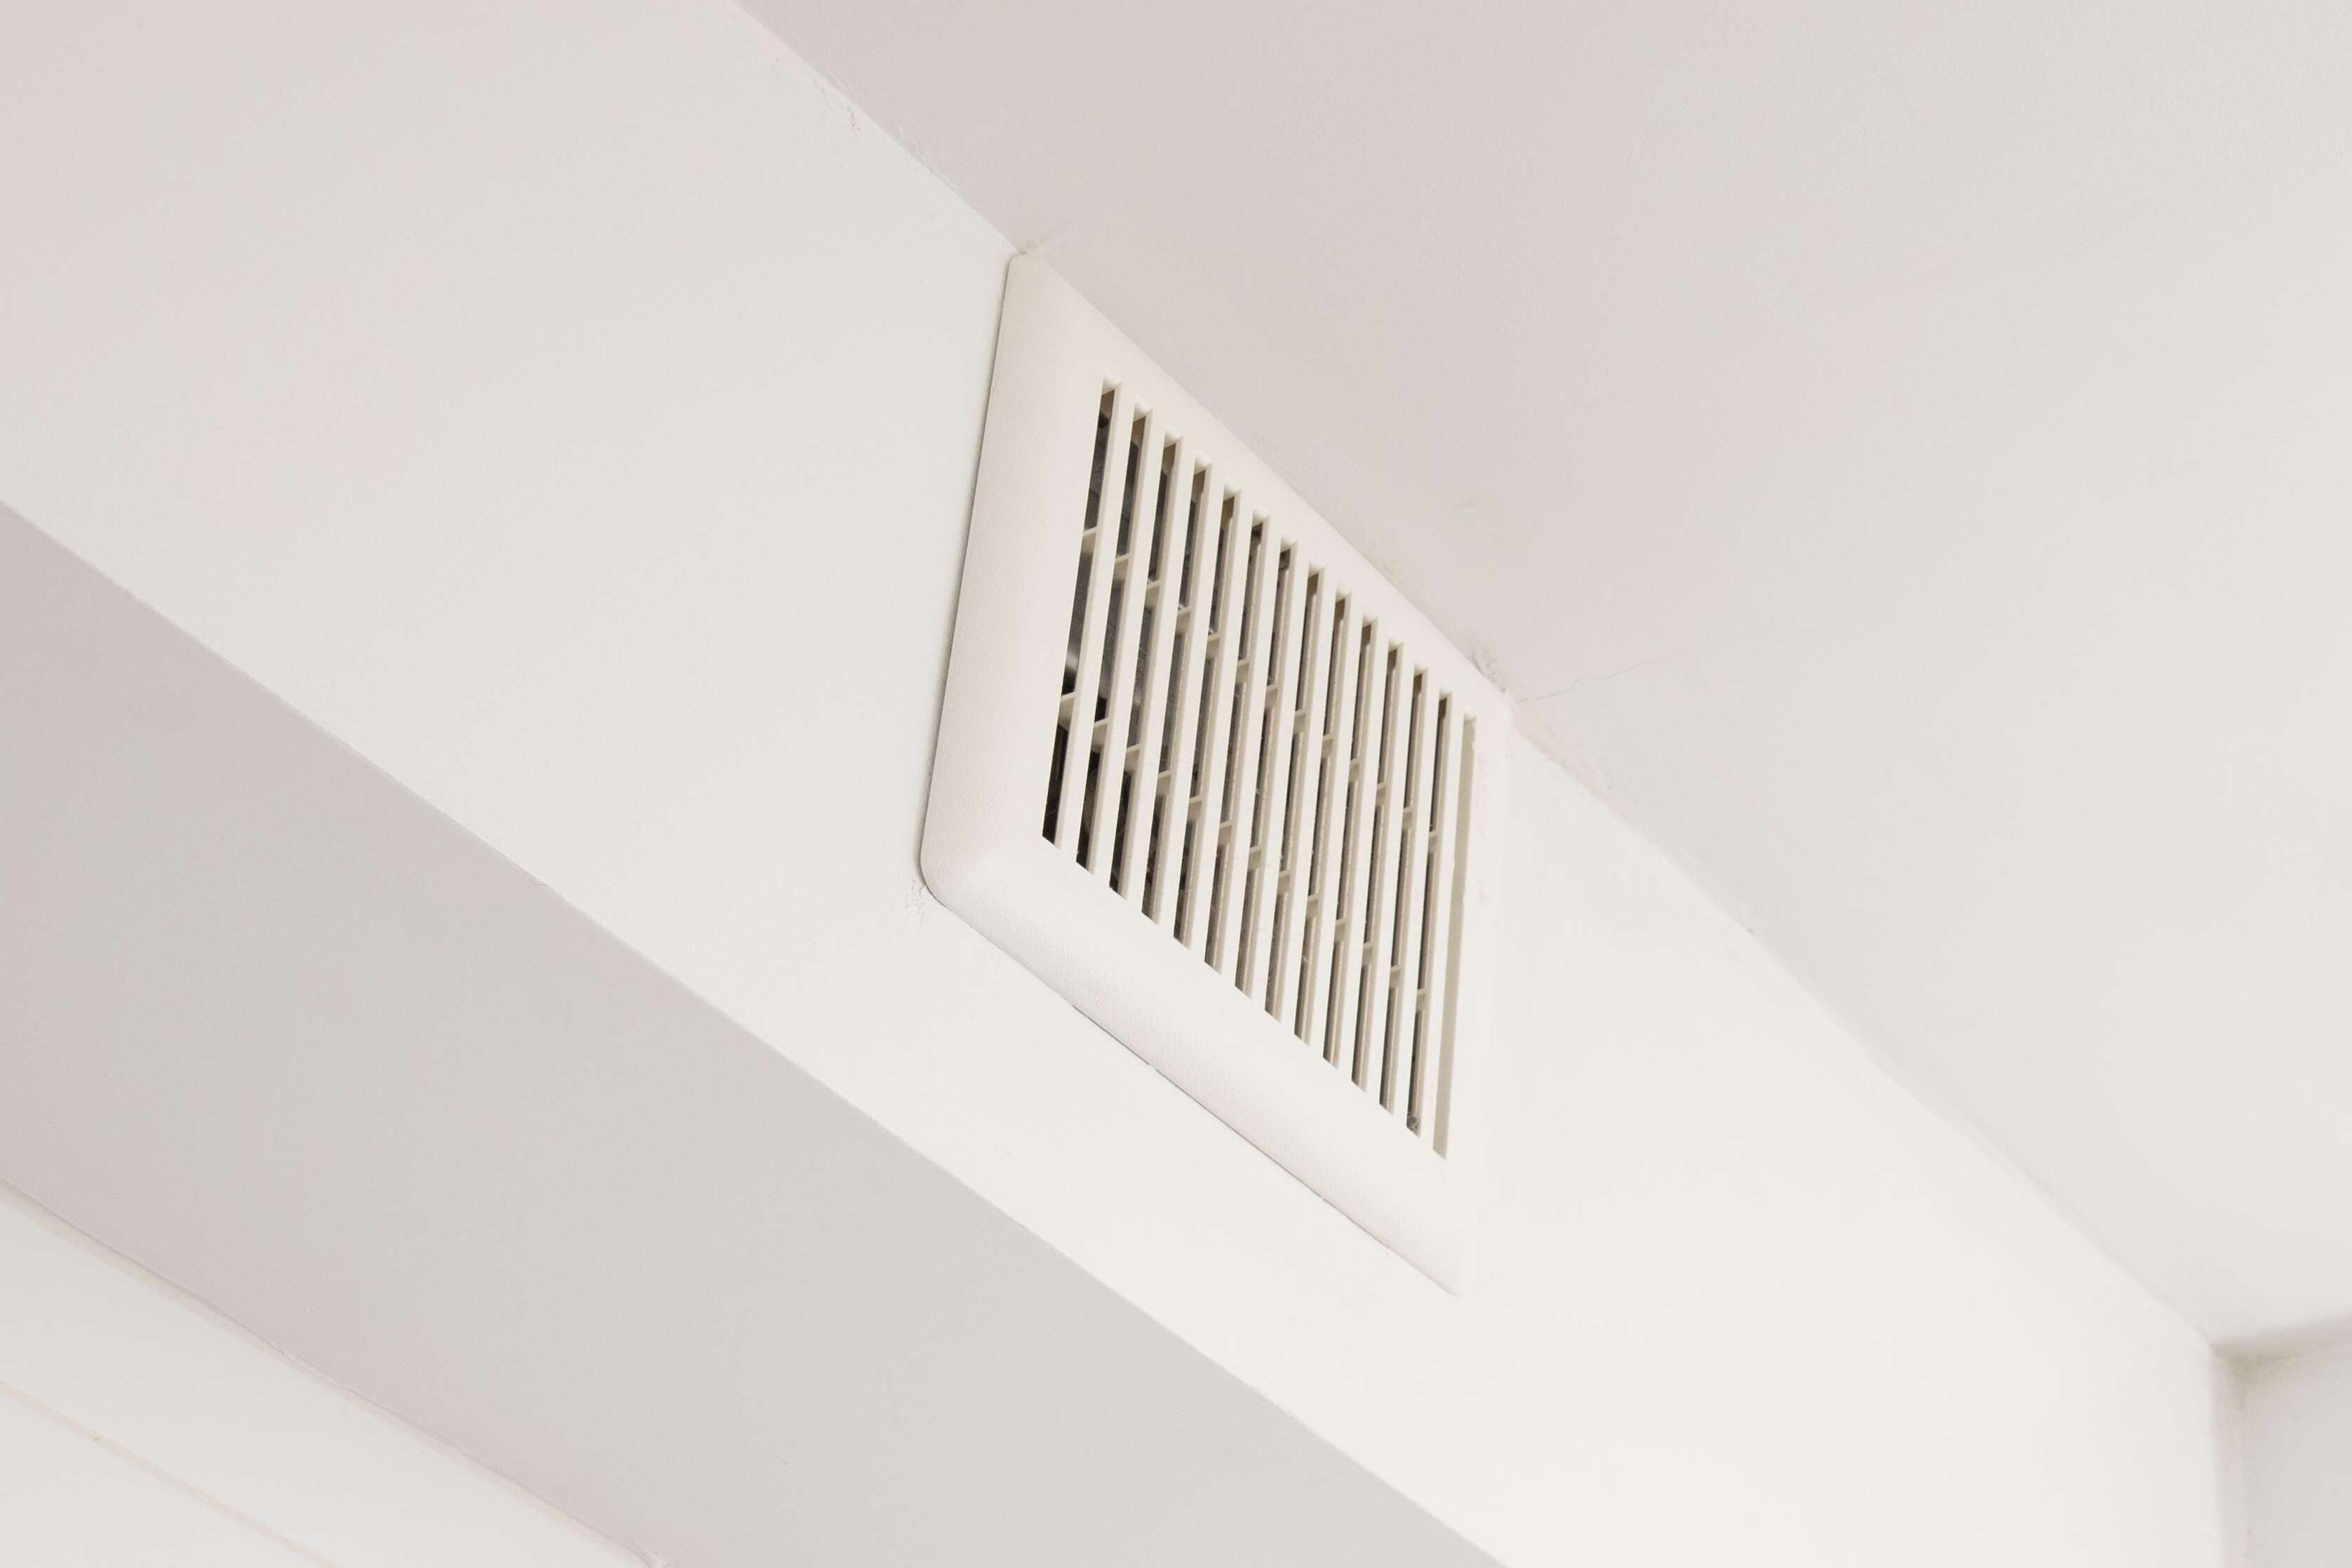
Step 6: Test the exhaust fan
Testing the exhaust fan is an essential step to ensure that it is functioning correctly and effectively. Here’s what you need to do:
- Turn on the power: Go to the circuit breaker and flip the switch to turn on the power to the exhaust fan.
- Verify functionality: Once the power is on, test the fan by flipping the switch or turning on the fan controls. Observe if the fan turns on and starts operating properly.
- Check airflow: Stand near the exhaust fan’s vent and feel if there is proper airflow. The fan should be pulling air from the designated area, such as your bathroom or kitchen, and expelling it outside. If there is weak airflow, double-check the installation and connections to ensure everything is properly set up.
If you notice any issues during the testing phase, such as unusual noises, lack of airflow, or the fan not turning on, it’s important to troubleshoot the problem. Check the wiring, connections, and ensure the fan is installed correctly. If you’re unable to resolve the issue, it might be necessary to seek professional help or consult the manufacturer’s guidelines for further assistance.
Once you have confirmed that the exhaust fan is working properly, proceed to the final step to complete the installation process.
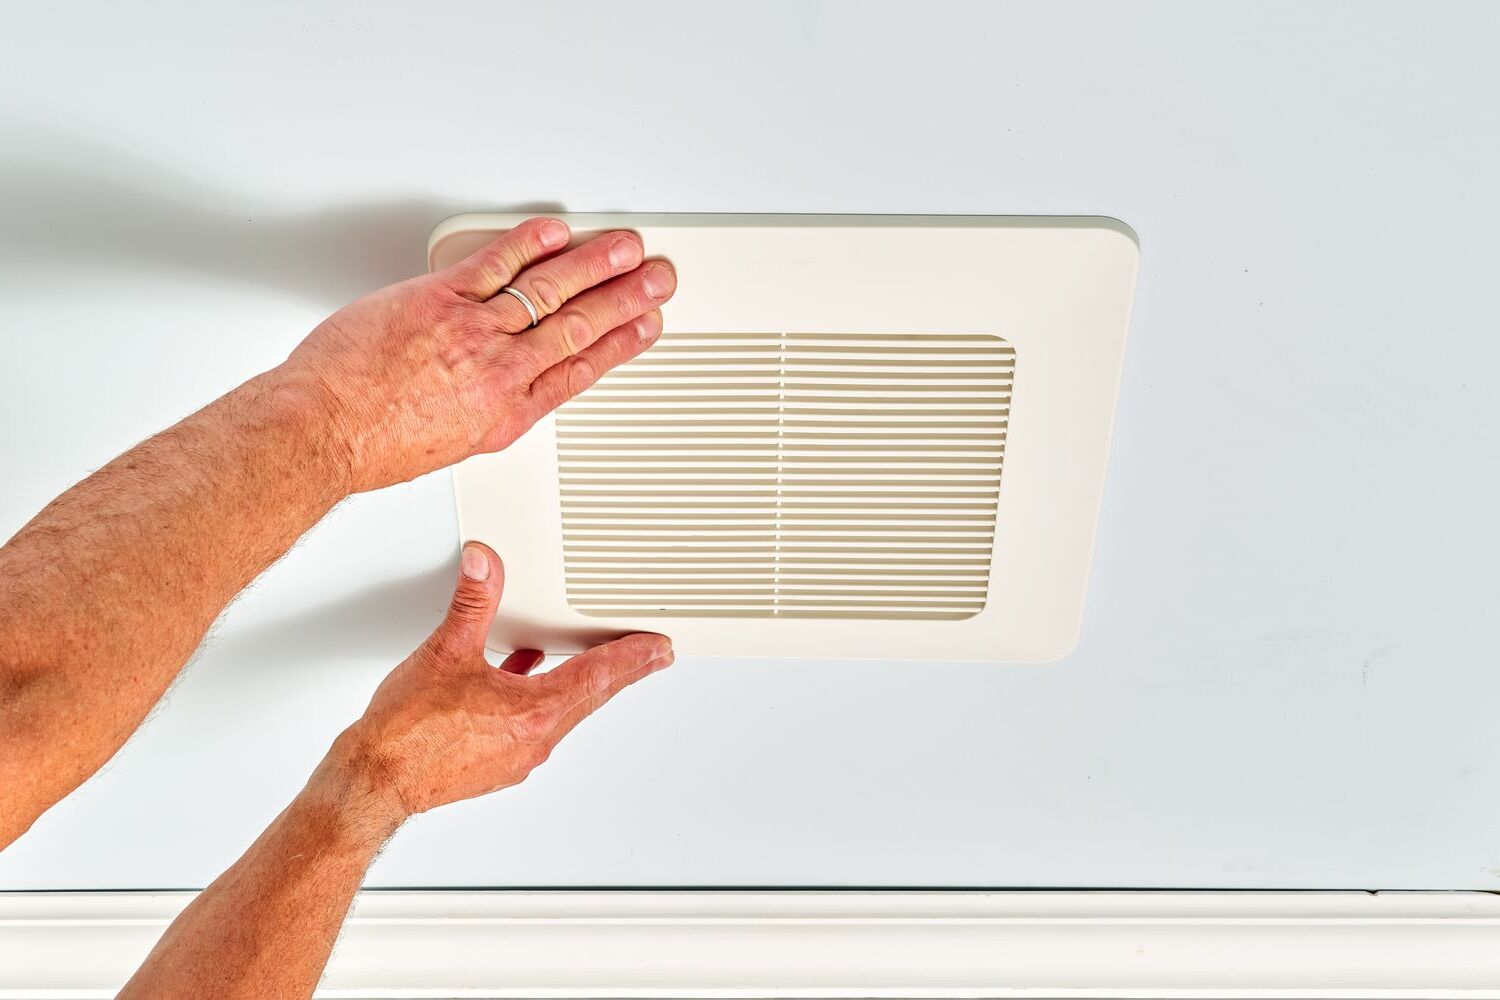
Step 7: Finish the installation
Now that the exhaust fan is installed and functioning properly, it’s time to complete the final steps to finish the installation process:
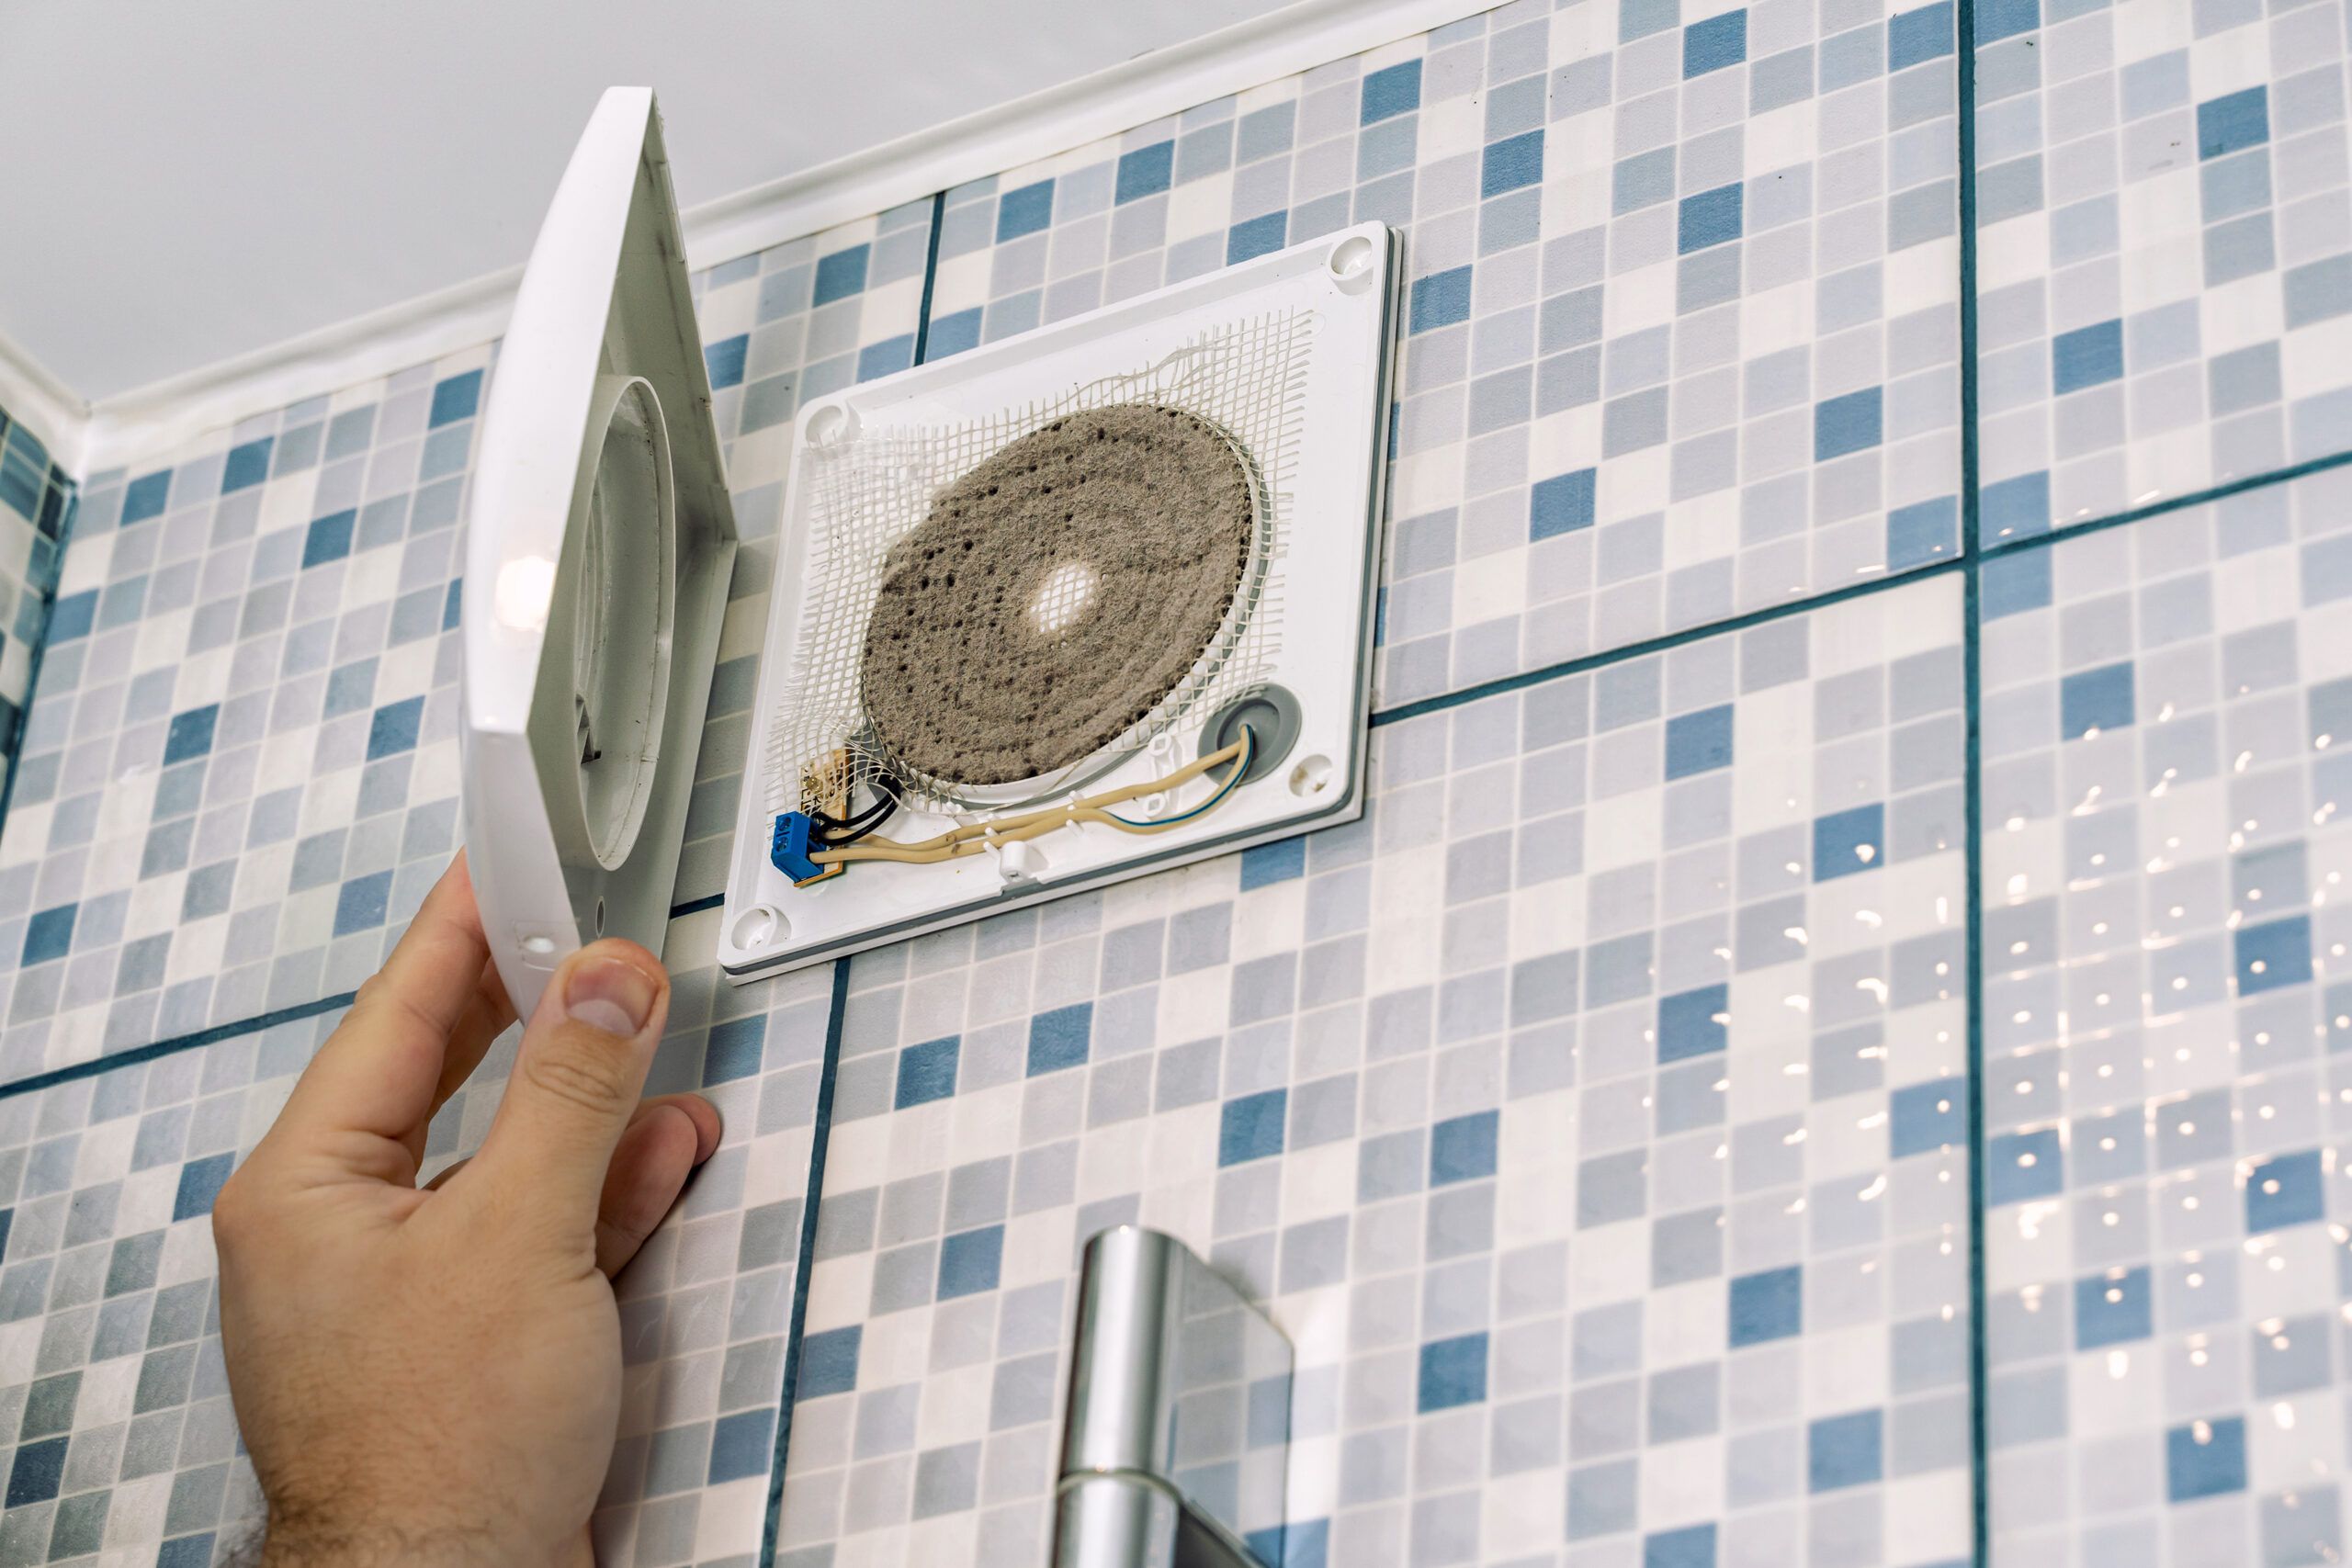
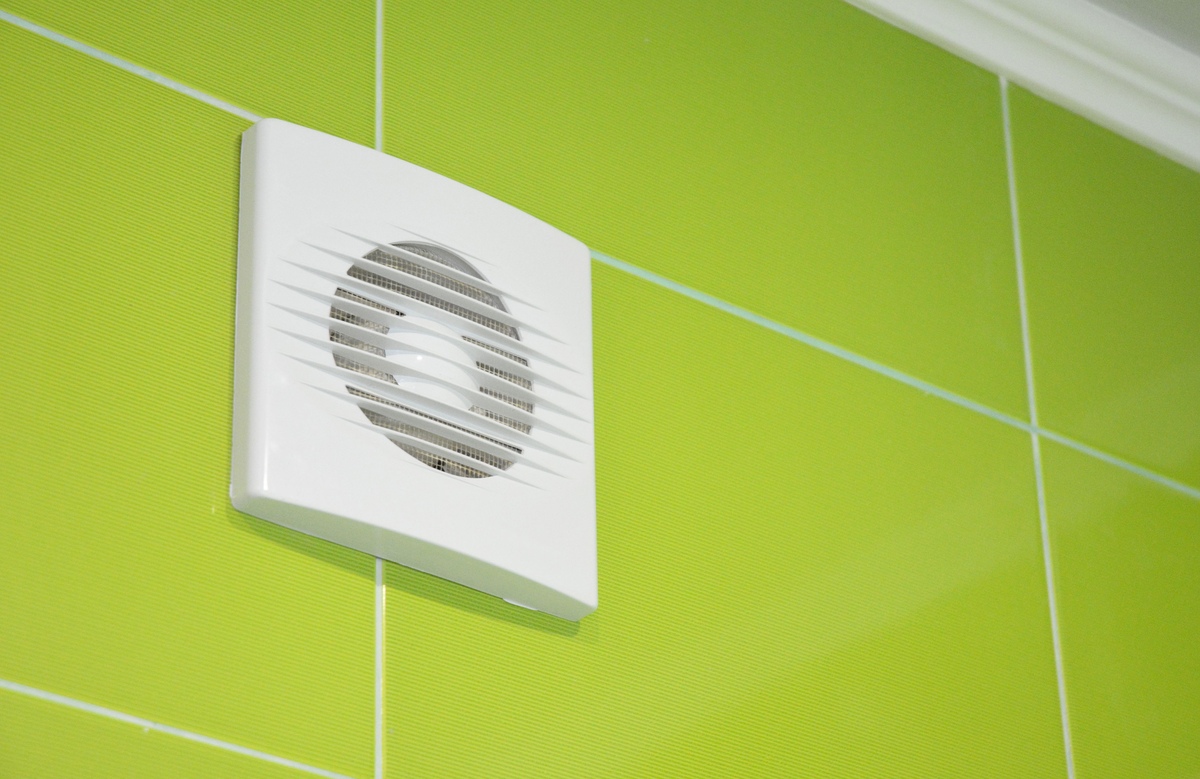
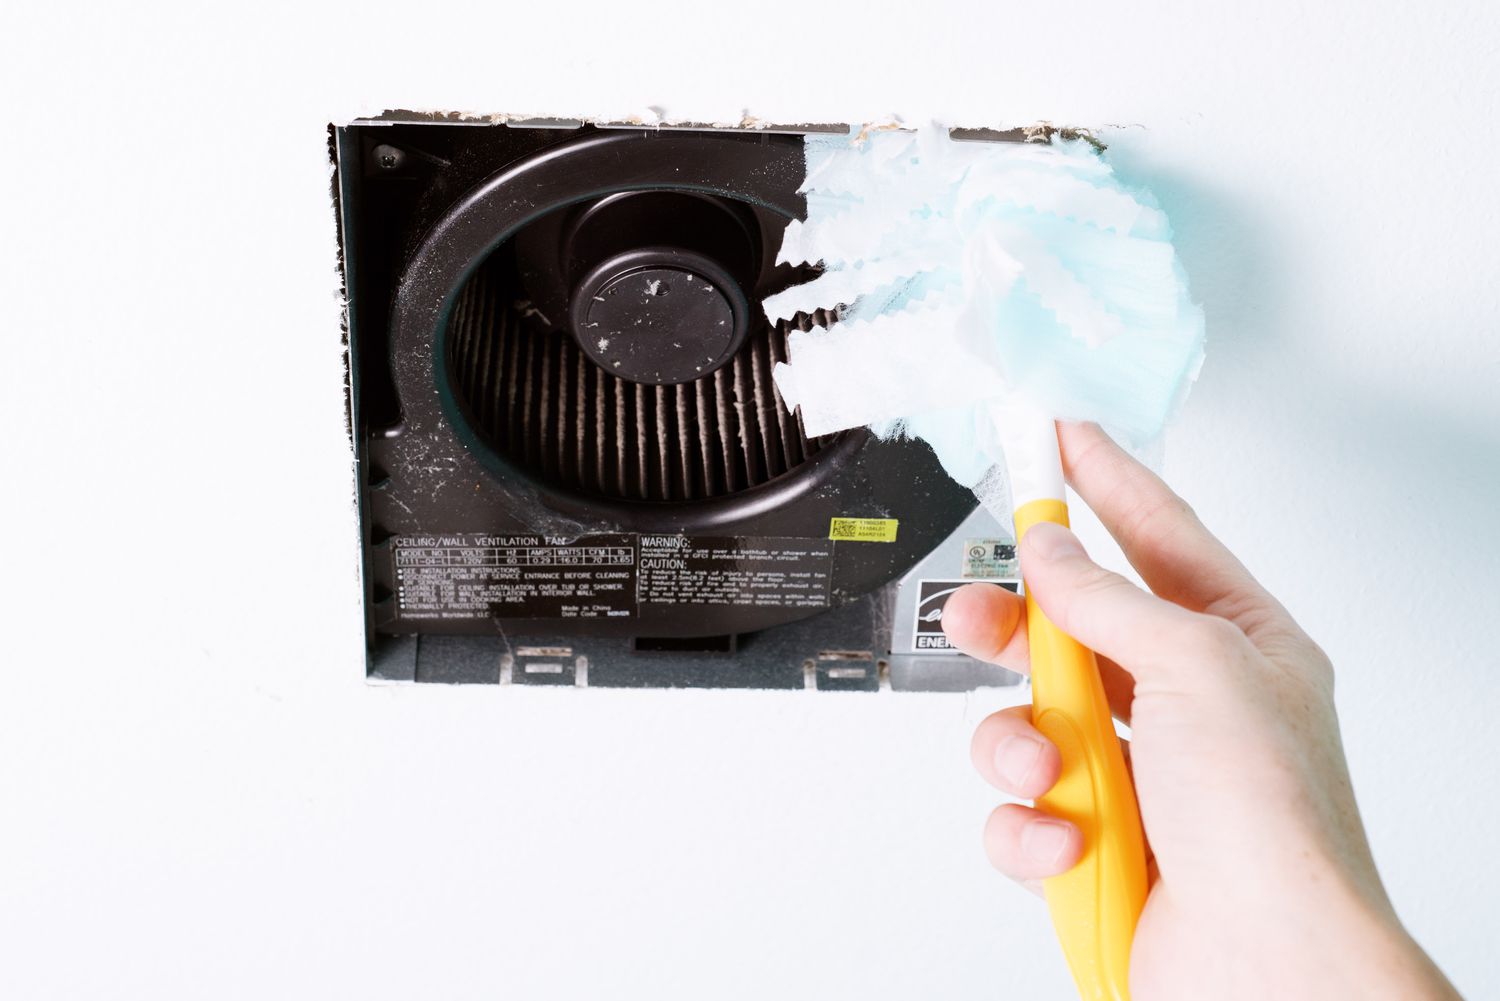
- Secure the cover: If your exhaust fan comes with a cover or grille, securely attach it to the fan using the provided screws or clips. This will not only enhance the aesthetic appeal but also protect the internal components of the fan from dirt and debris.
- Clean up: Remove any protective coverings or drop cloths from the surrounding area. Clean up any dust or debris that may have been created during the installation process.
- Test again: Once the installation is complete and the area is cleaned up, test the exhaust fan one final time to ensure it is still functioning properly. Pay attention to any strange noises or issues that may have arisen in the final steps of the installation process.
- Document instructions and warranties: Keep the manufacturer’s instructions and warranties in a safe place for future reference. This will come in handy if you need to troubleshoot or make any claims regarding the exhaust fan.
- Enjoy the benefits: With the exhaust fan successfully installed, you can now enjoy the benefits of improved air circulation, reduced moisture levels, and the elimination of unpleasant odors in your bathroom or kitchen.
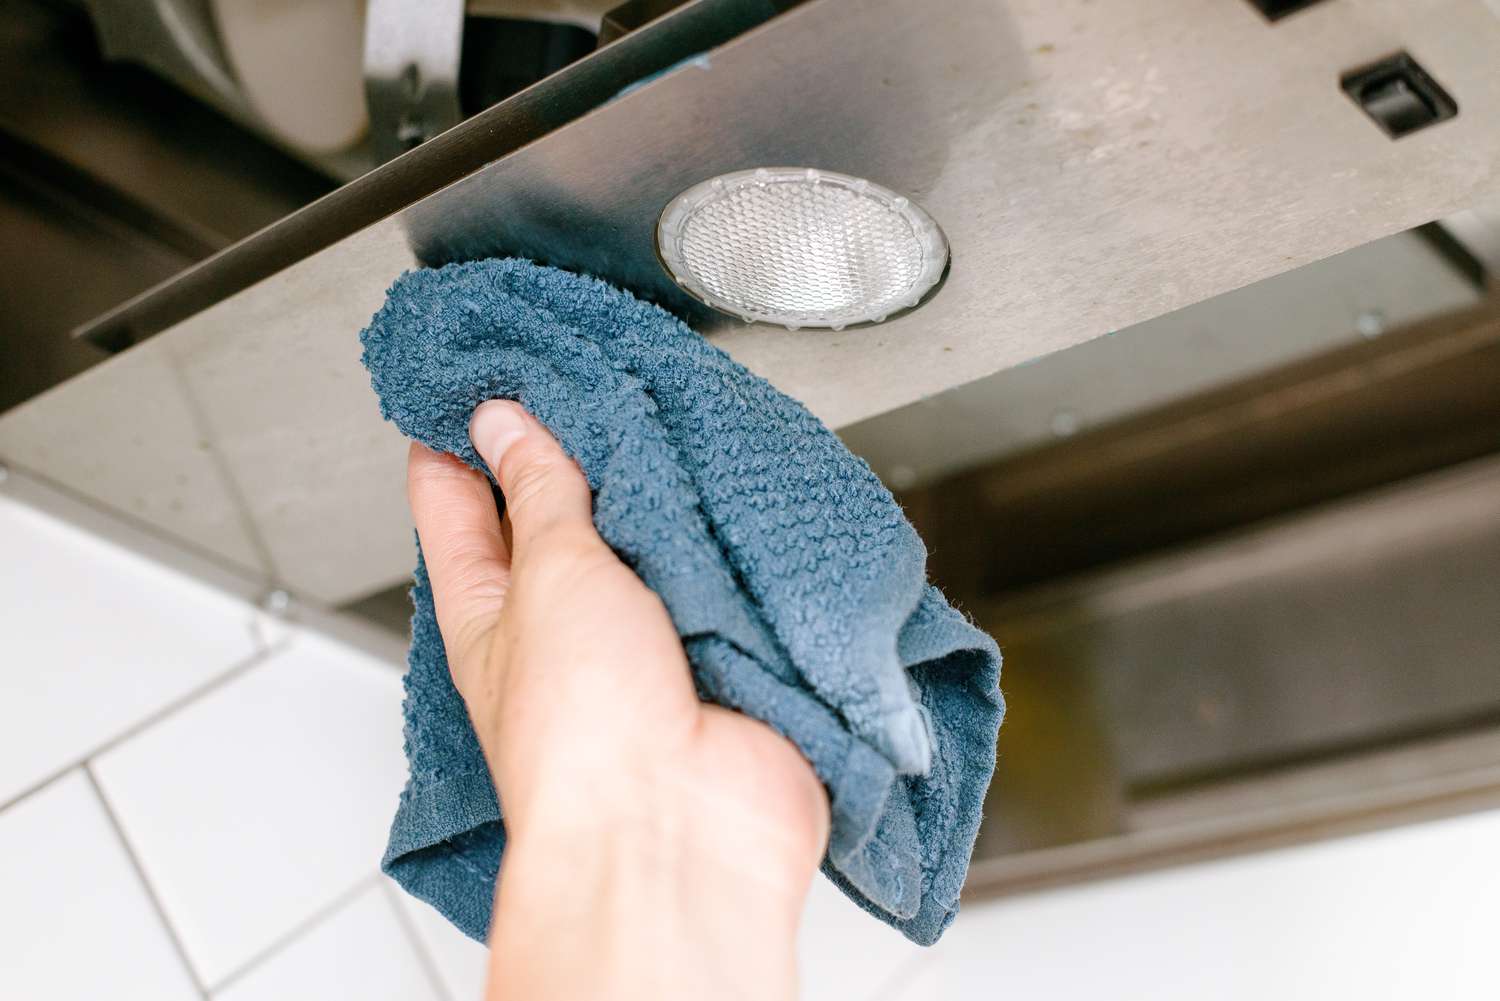
Congratulations! You have successfully completed the installation of your exhaust fan. With proper maintenance and regular cleaning, your exhaust fan will continue to provide you with a comfortable and fresh environment for years to come.
Note: It’s always a good idea to consult the manufacturer’s instructions specific to your exhaust fan model for any additional steps or considerations that may be necessary for the installation and maintenance processes.
Conclusion
Installing an exhaust fan is a practical and valuable addition to any bathroom or kitchen. It helps maintain proper air circulation, removes excess moisture, and eliminates unpleasant odors. By following the step-by-step process outlined in this guide, you can successfully install an exhaust fan and enjoy the benefits it brings.
Remember to gather all the necessary tools and materials before starting the installation. Take the time to select the ideal location, ensuring it is close to the source of moisture or odors. Properly prepare the area and mark the space for the exhaust fan. Then proceed to install the fan securely using the provided mounting brackets or screws.
Connecting the wiring is an important step that should always be done while the power is turned off. Make sure to follow the proper electrical safety procedures and test the connections before proceeding. Once everything is in place, test the exhaust fan to ensure it is operating correctly and providing proper airflow.
Finally, finish the installation by securing the cover, cleaning up the area, and testing the exhaust fan one final time. Keep the manufacturer’s instructions and warranties for future reference, and enjoy the benefits of your newly installed exhaust fan.
If at any point during the installation process you feel uncertain or uncomfortable, it is always best to seek professional assistance or guidance. Safety should be a top priority. With the proper installation and regular maintenance, your exhaust fan will continue to provide you with a fresh and comfortable environment for years to come.
Frequently Asked Questions about How To Install An Exhaust Fan
Was this page helpful?
At Storables.com, we guarantee accurate and reliable information. Our content, validated by Expert Board Contributors, is crafted following stringent Editorial Policies. We're committed to providing you with well-researched, expert-backed insights for all your informational needs.


0 thoughts on “How To Install An Exhaust Fan”