Home>Furniture & Design>Bathroom Accessories>How To Remove An Old Bathroom Exhaust Fan
Bathroom Accessories
How To Remove An Old Bathroom Exhaust Fan
Modified: March 1, 2024
Learn how to remove an old bathroom exhaust fan with our step-by-step guide. Upgrade your bathroom accessories easily and efficiently.
(Many of the links in this article redirect to a specific reviewed product. Your purchase of these products through affiliate links helps to generate commission for Storables.com, at no extra cost. Learn more)
Introduction
Removing an old bathroom exhaust fan may seem like a daunting task, but with the right guidance and tools, it can be a manageable project that greatly improves the air quality and comfort of your bathroom. Over time, bathroom exhaust fans can become less effective due to dust accumulation, wear and tear, or outdated technology. By replacing an old exhaust fan, you can ensure proper ventilation, reduce moisture buildup, and prevent mold and mildew growth in your bathroom.
Before embarking on this project, it's essential to familiarize yourself with the necessary steps and safety precautions. This article will guide you through the process of removing an old bathroom exhaust fan and installing a new one. From turning off the power to disconnecting the wiring and removing the fan housing, each step is crucial to ensure a smooth and successful transition to a new exhaust fan.
By the end of this comprehensive guide, you'll have the knowledge and confidence to tackle this home improvement project. So, let's dive in and learn how to remove an old bathroom exhaust fan, paving the way for a fresher, more comfortable bathroom environment.
Key Takeaways:
- Say goodbye to your old bathroom exhaust fan and hello to a fresher, more comfortable bathroom environment by following the step-by-step guide to safely remove and install a new fan.
- Prioritize safety, attention to detail, and precision as you embark on the rewarding journey of upgrading your bathroom’s ventilation system. With the right guidance, you can confidently tackle this home improvement project and enjoy a healthier, more inviting living space.
Read more: How To Fix Bathroom Exhaust Fan
Step 1: Turn off the power
Before beginning any work on the bathroom exhaust fan, it is crucial to prioritize safety by turning off the power supply to the fan. This step is essential to prevent the risk of electrical shock or injury during the removal process. Here's a detailed guide on how to safely turn off the power and prepare for the subsequent steps:
-
Locate the Circuit Breaker: Start by identifying the circuit breaker that controls the power supply to the bathroom exhaust fan. Circuit breakers are typically located in the electrical panel of your home. If you're unsure which breaker corresponds to the fan, consider using a non-contact voltage tester to verify the correct circuit.
-
Switch Off the Circuit: Once you've located the correct circuit breaker, switch it off to cut off the power supply to the bathroom exhaust fan. It's important to ensure that the circuit is completely deactivated to eliminate any electrical hazards.
-
Test the Power: After turning off the circuit breaker, use a voltage tester to confirm that the power to the exhaust fan has been successfully shut off. This additional step provides an extra layer of safety and reassurance before proceeding with the fan removal process.
By following these steps to turn off the power, you can create a safe working environment for the subsequent tasks involved in removing the old bathroom exhaust fan. Prioritizing safety at the outset of the project sets the stage for a smooth and secure transition to a new exhaust fan, ensuring a successful and stress-free installation process.
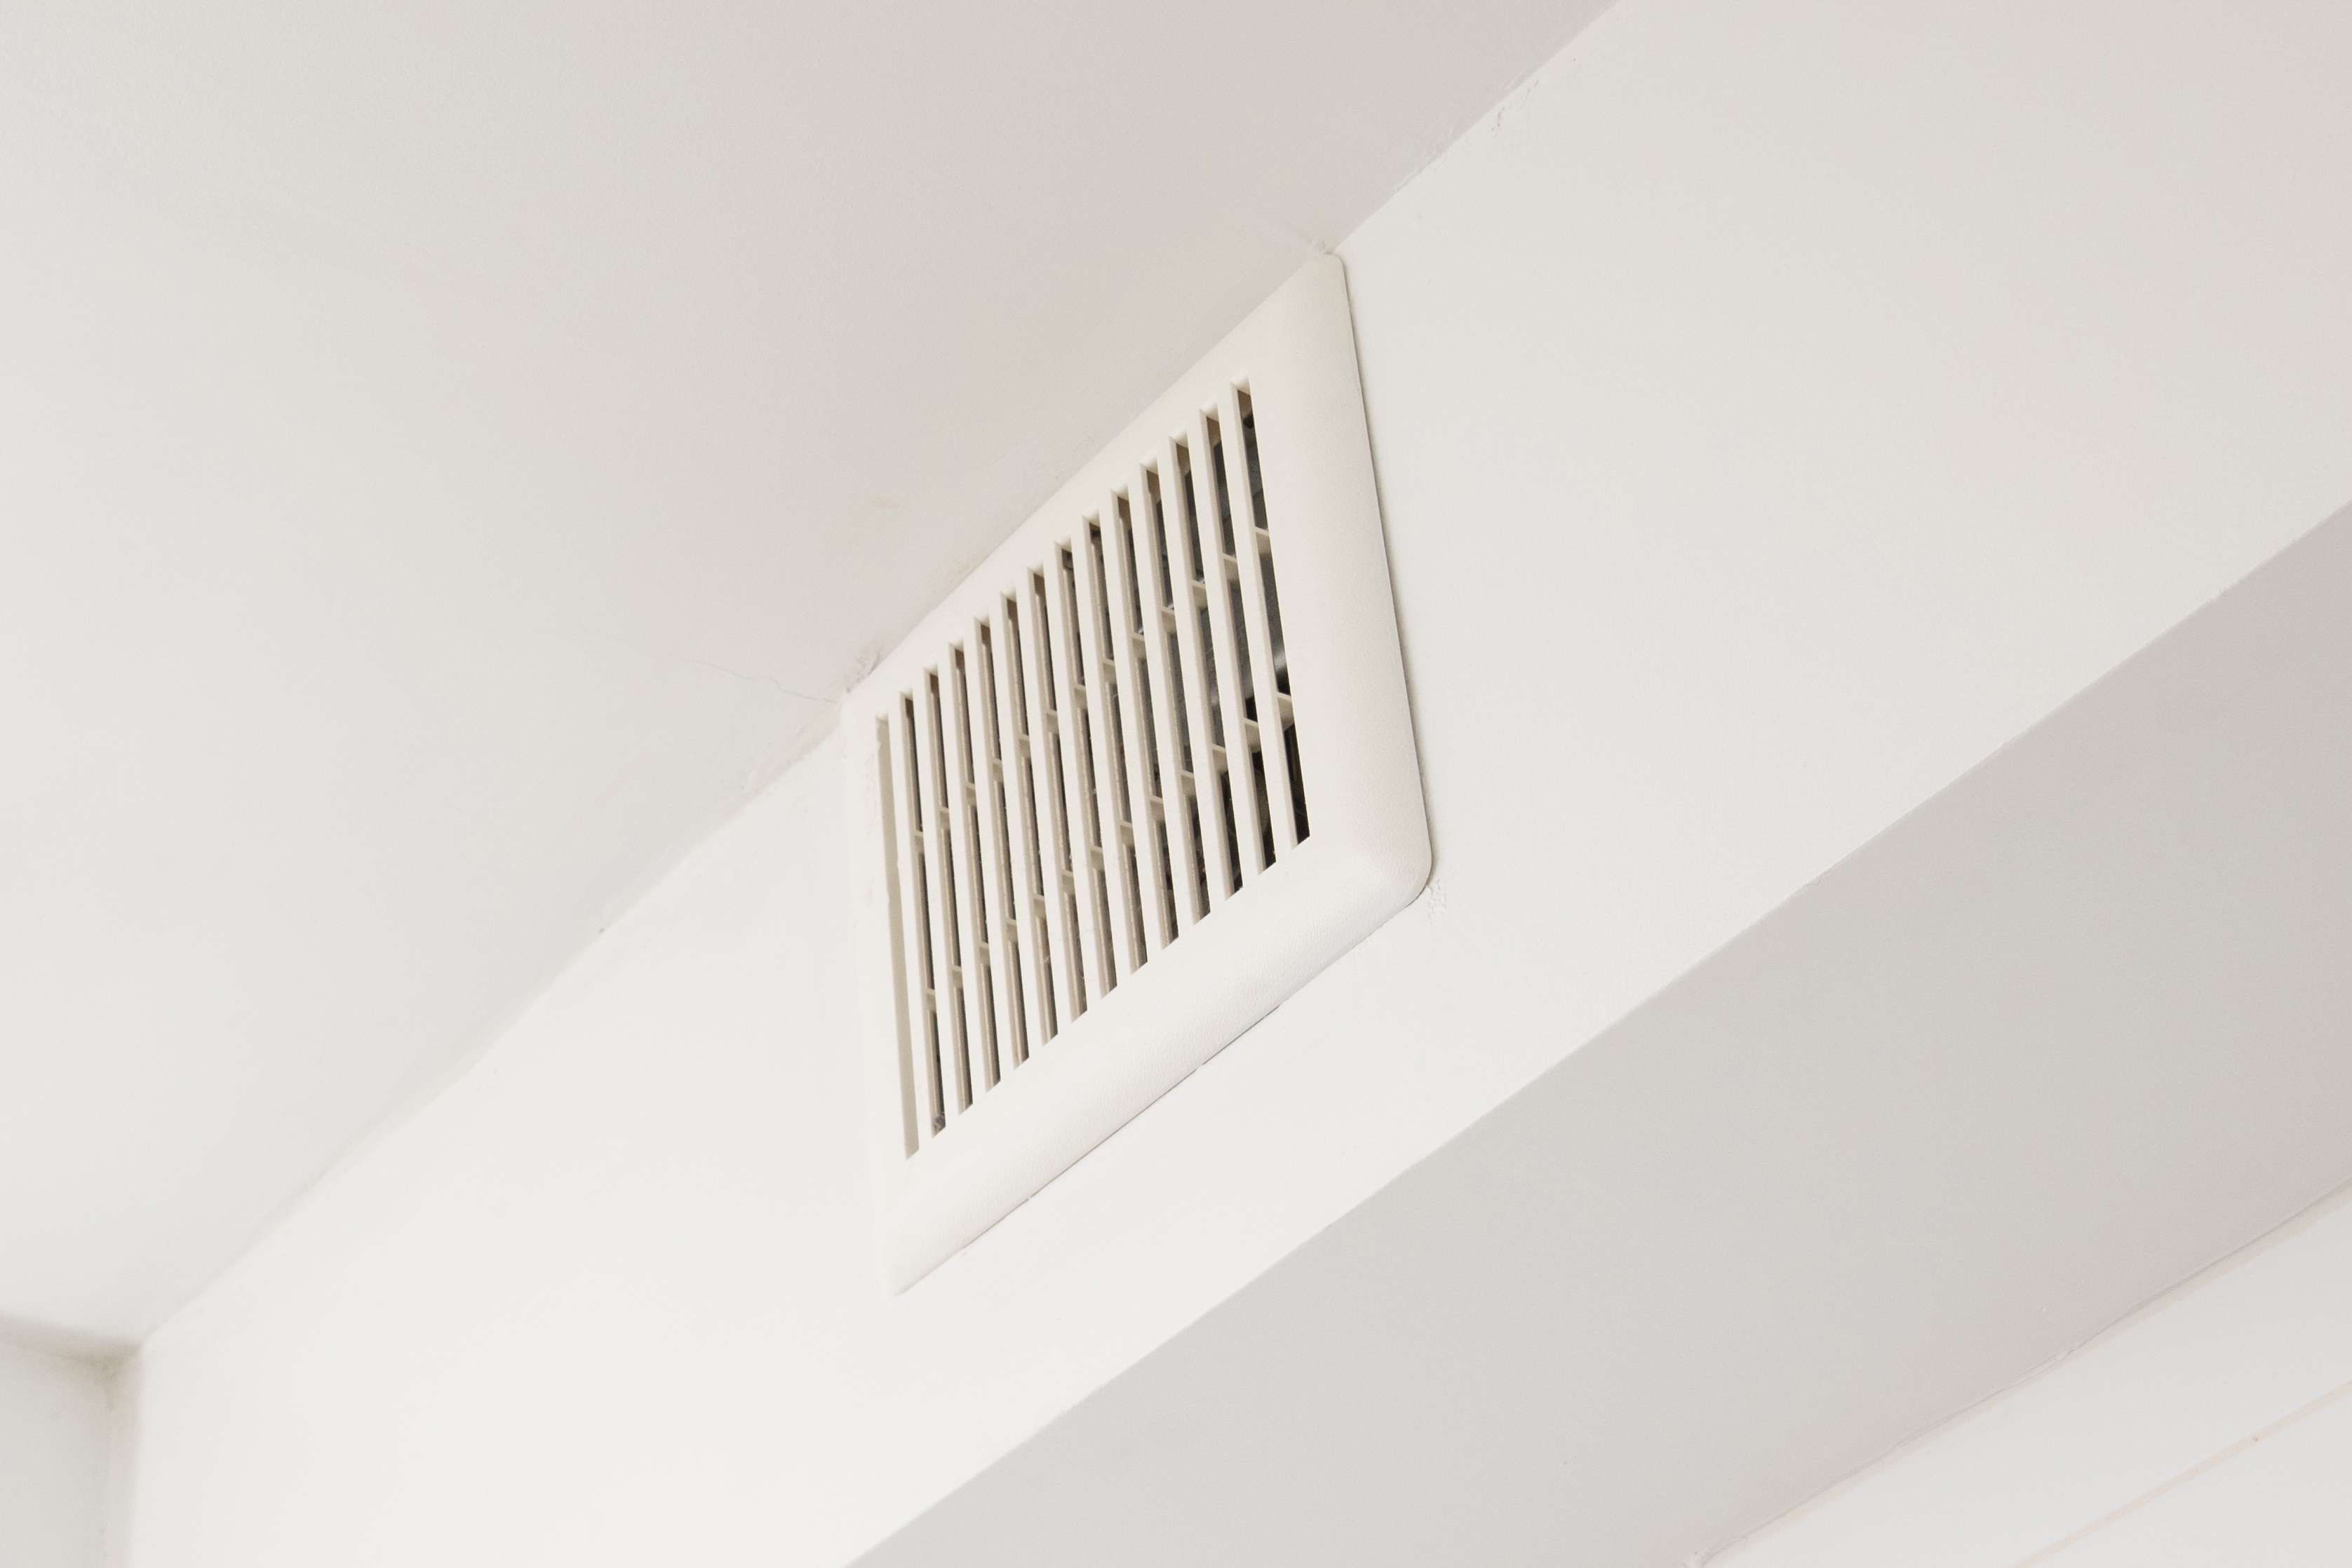
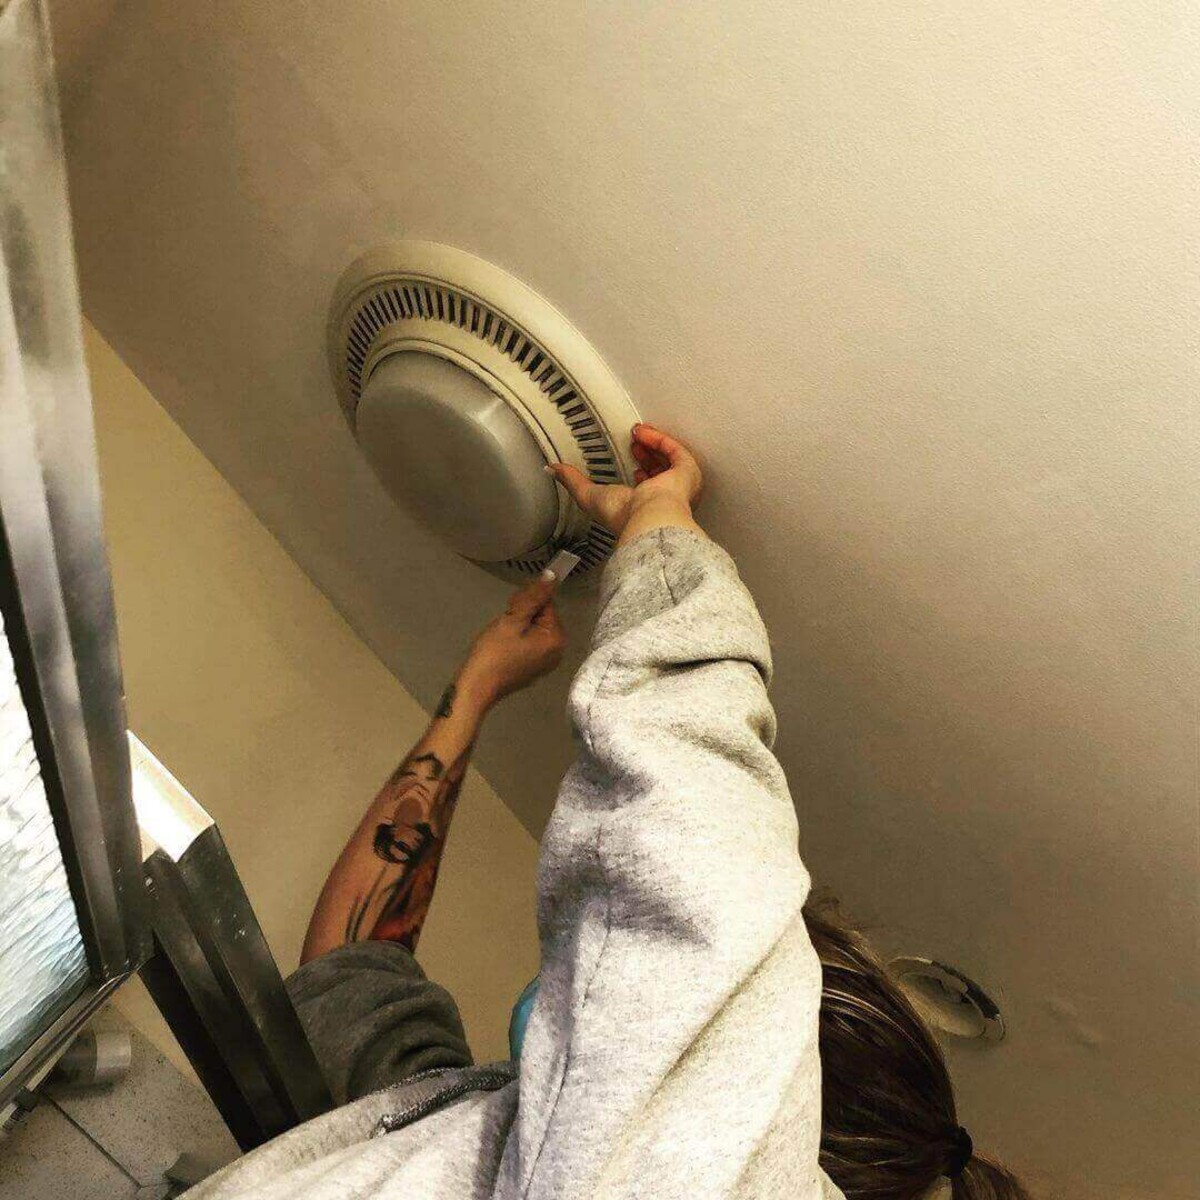
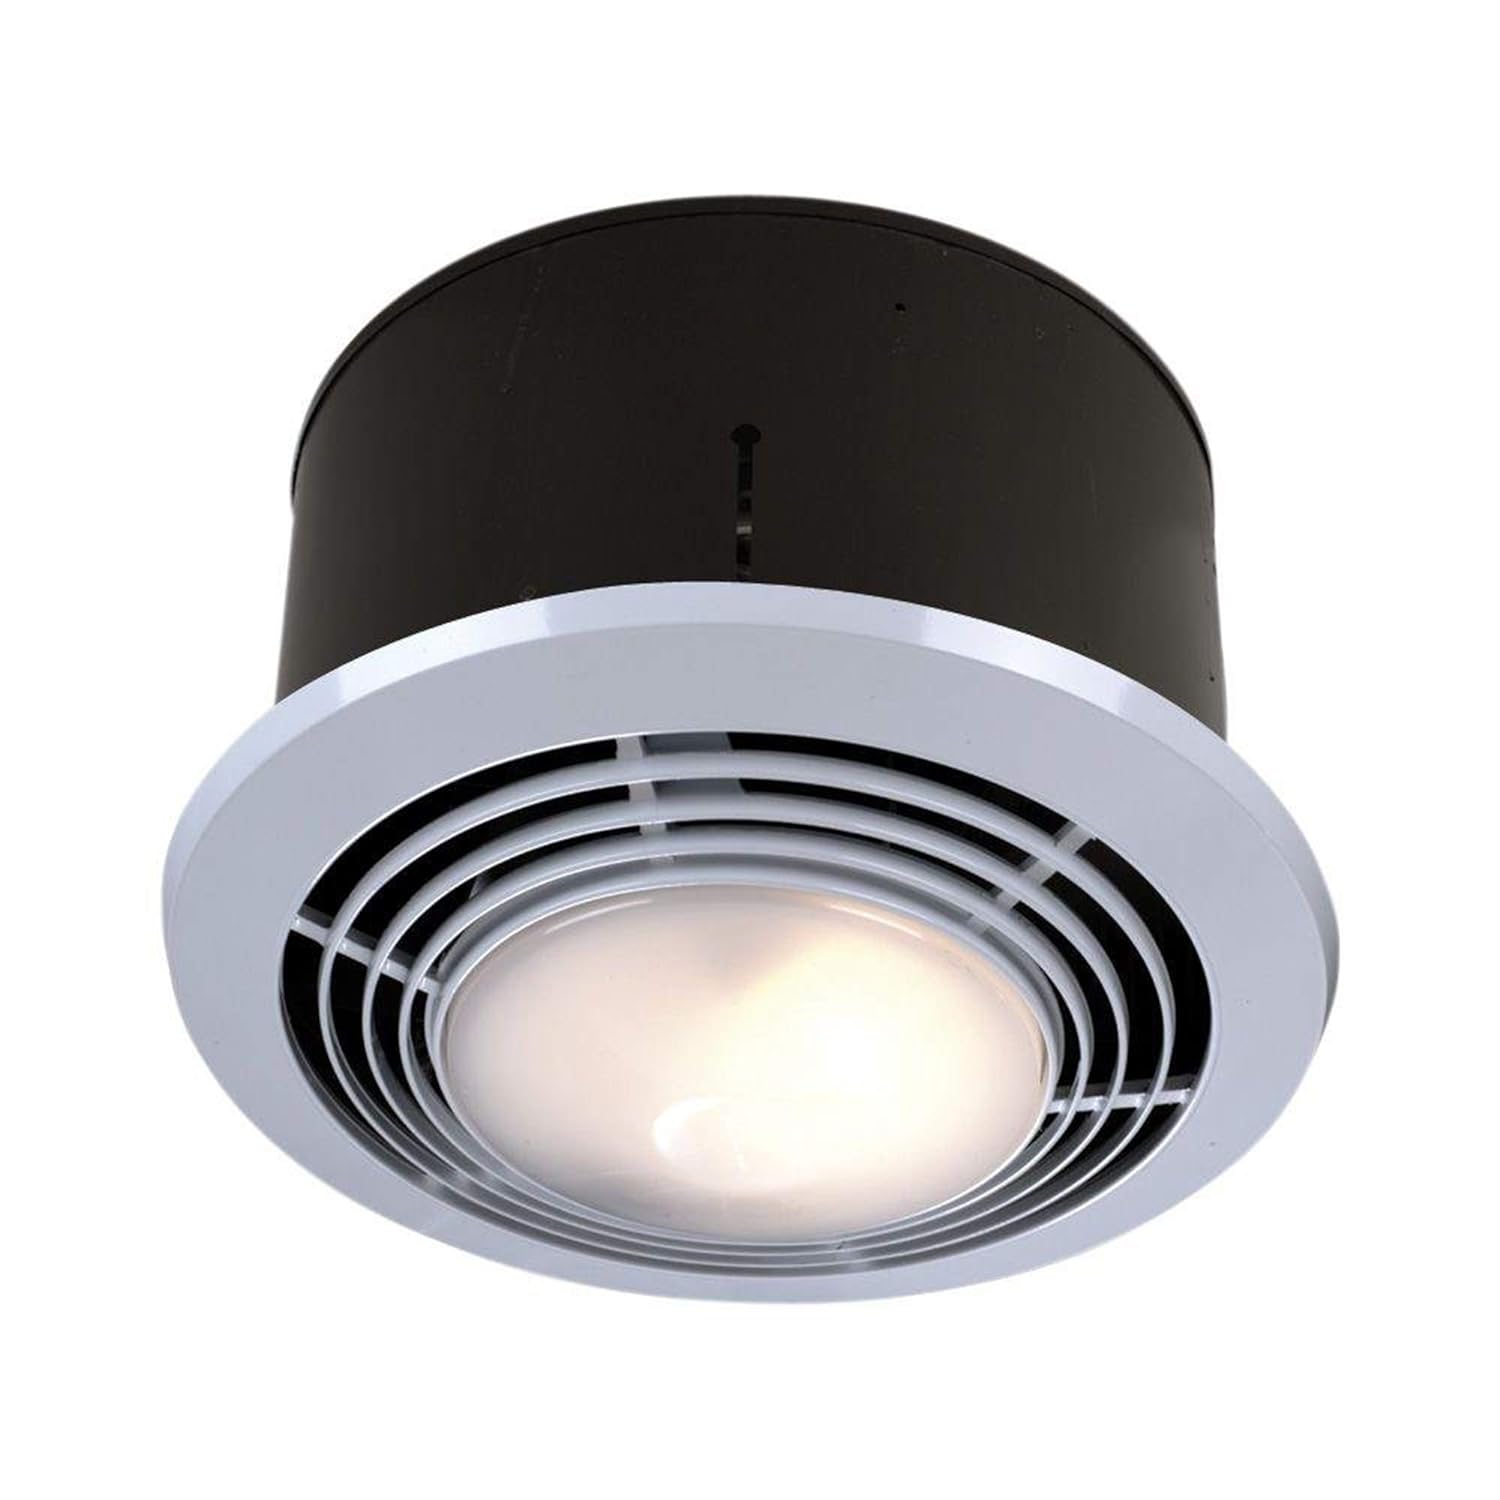
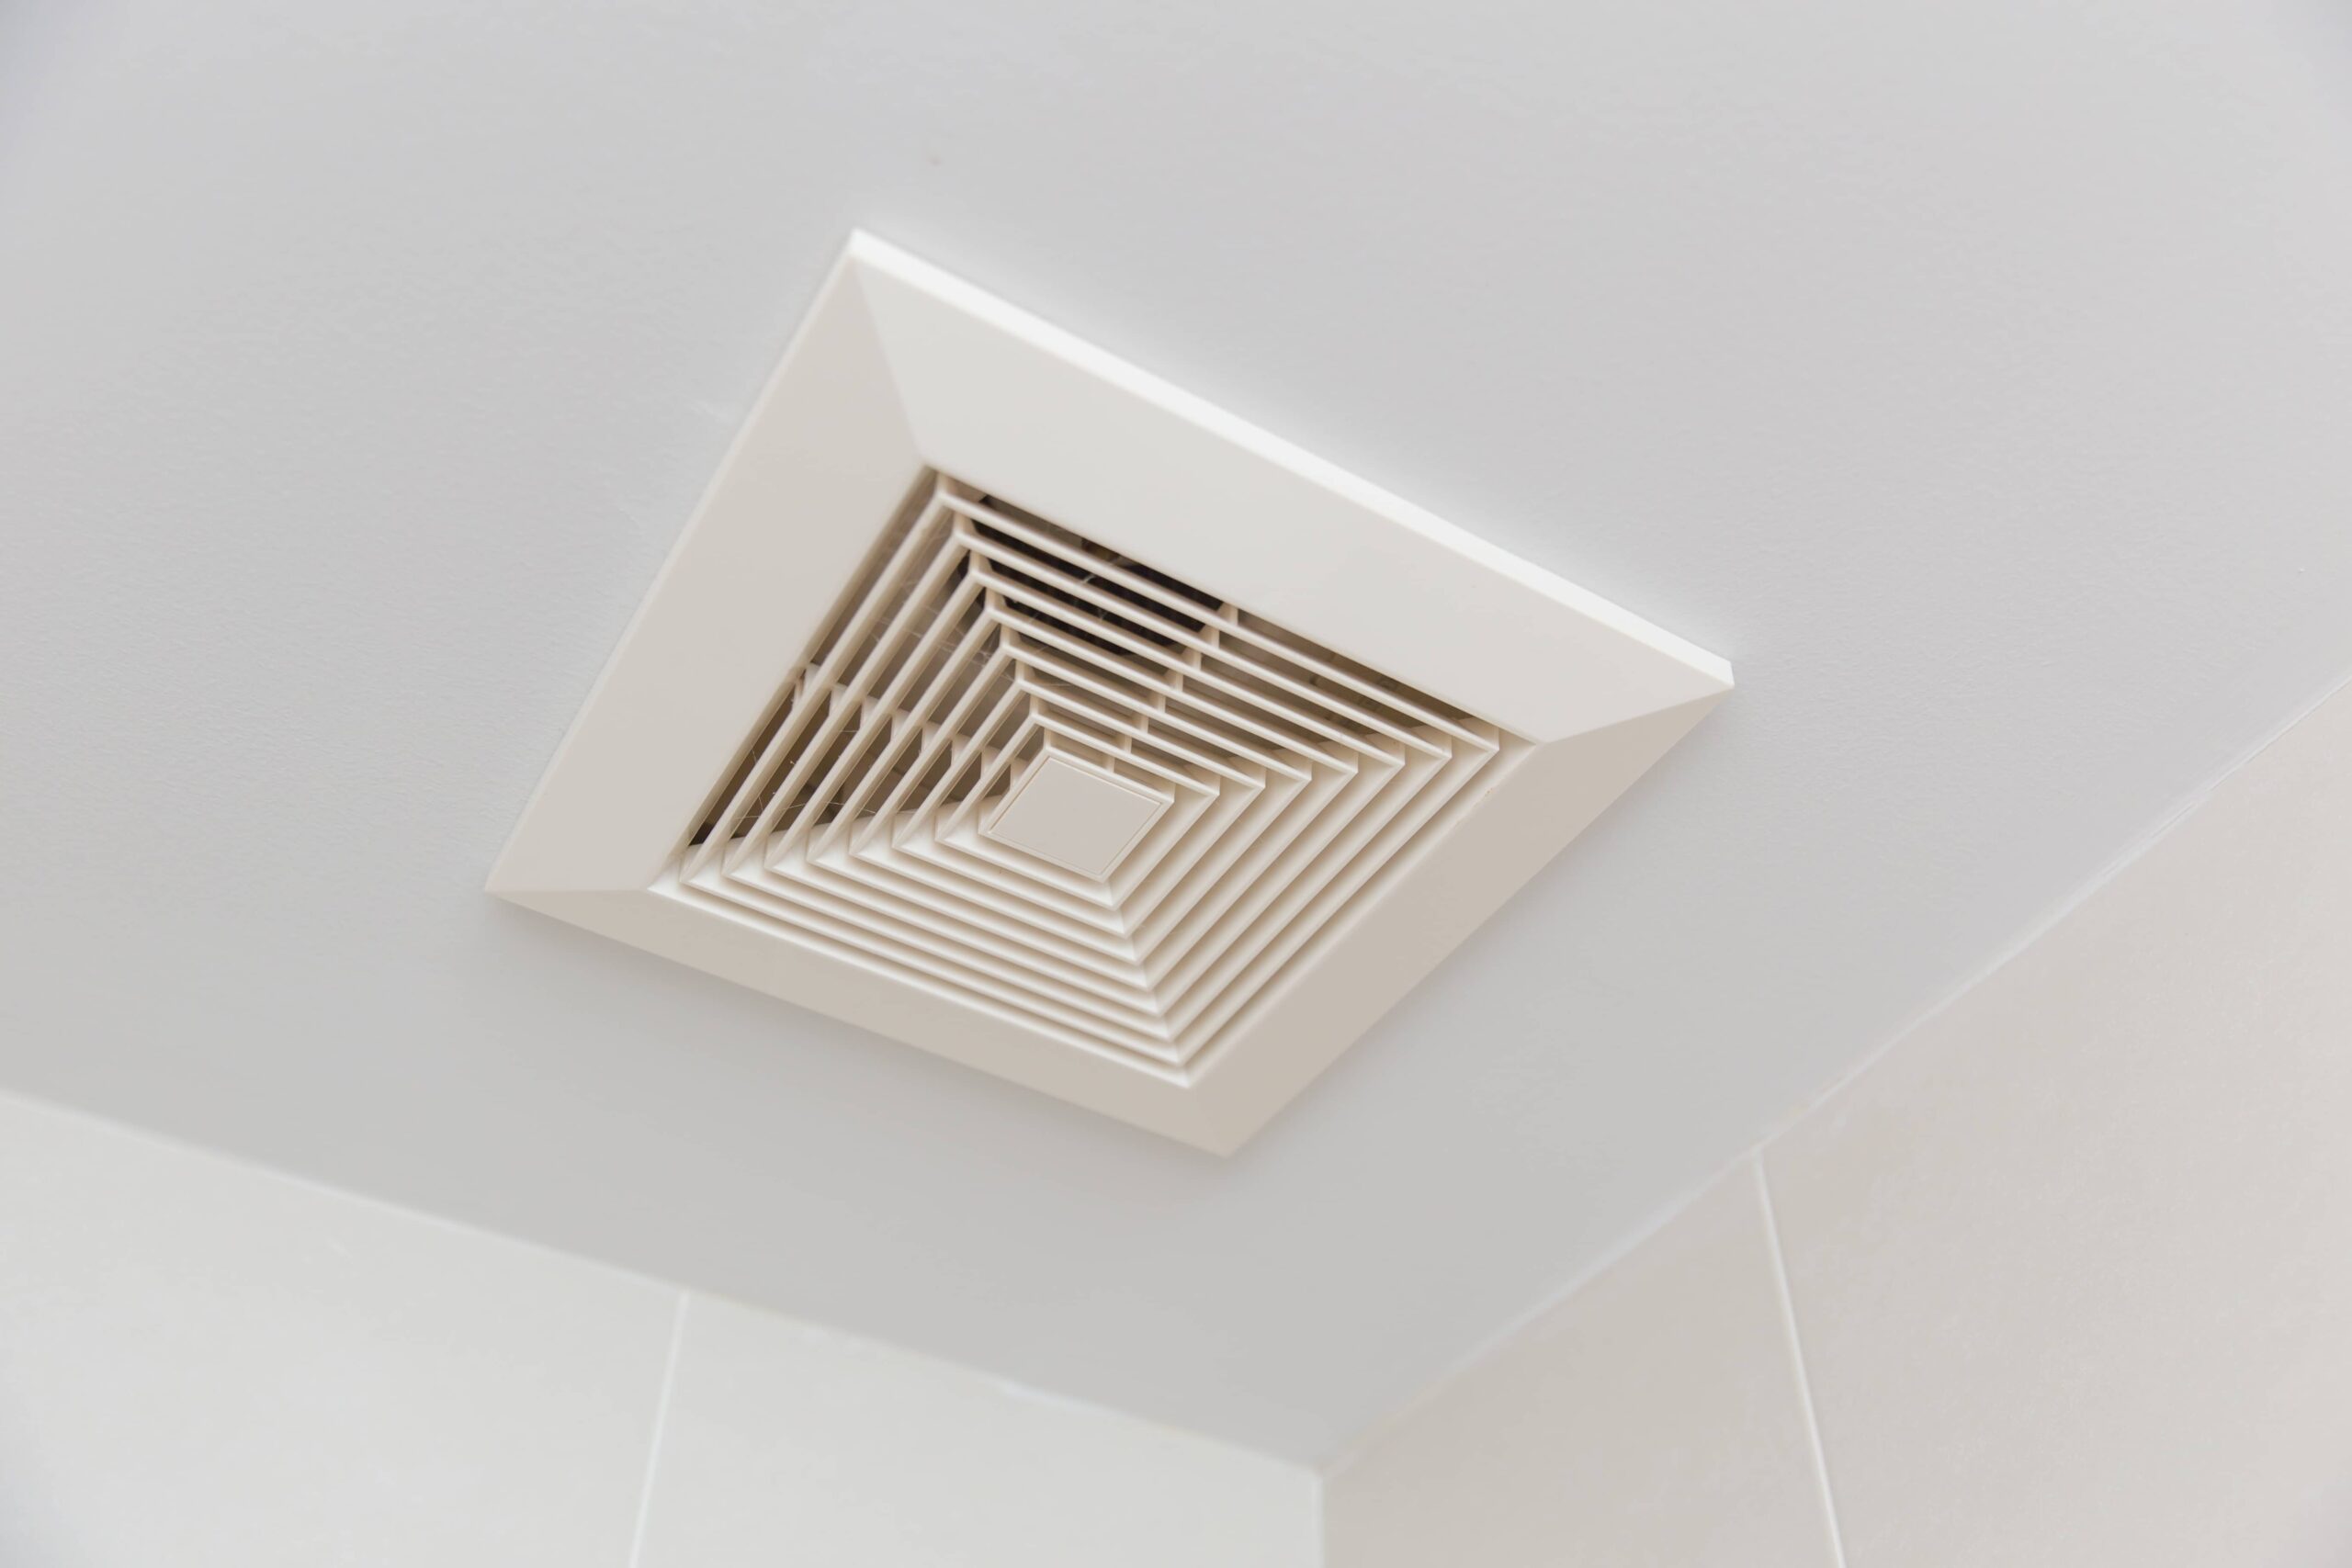
Step 2: Remove the cover
The cover of the bathroom exhaust fan serves as a protective barrier and also contributes to the overall aesthetic of the fan unit. Removing the cover is an essential step in gaining access to the internal components of the fan for maintenance or replacement. Here's a detailed guide on how to effectively remove the cover of the bathroom exhaust fan:
-
Identify the Fastening Mechanism: Inspect the cover to determine the type of fastening mechanism used to secure it in place. Most covers are either held in position by screws or spring clips. Understanding the fastening method will guide you in selecting the appropriate tools for removal.
-
Unscrew the Cover: If the cover is secured with screws, use a suitable screwdriver to carefully loosen and remove the screws. Place the screws in a safe location to prevent misplacement. It's important to exercise caution to avoid damaging the cover or the surrounding ceiling area during this process.
-
Release Spring Clips: In the case of spring clips, gently press or squeeze the clips to release them from their locked position. This may require applying slight pressure while maneuvering the cover to disengage the clips. Take care not to exert excessive force to prevent any damage to the cover or the ceiling.
-
Handle the Cover with Care: Once the fastening mechanism has been disengaged, carefully lift the cover away from the fan unit. Be mindful of any electrical wiring or connections that may be attached to the cover. If the cover is connected to the fan via wiring, it's crucial to disconnect these electrical connections before fully removing the cover.
-
Inspect and Clean the Cover: With the cover removed, take the opportunity to inspect its condition. Clean the cover using a mild detergent and water solution to remove any accumulated dust, grime, or debris. Thorough cleaning not only enhances the appearance of the cover but also contributes to the overall efficiency of the exhaust fan.
By following these detailed steps to remove the cover of the bathroom exhaust fan, you can effectively access the internal components for maintenance or replacement. This process sets the stage for the subsequent tasks involved in disconnecting the wiring and removing the fan housing, paving the way for a seamless transition to a new exhaust fan.
Step 3: Disconnect the wiring
Disconnecting the wiring of the old bathroom exhaust fan is a critical step in the removal process, ensuring a safe and efficient transition to a new fan unit. Properly handling the electrical connections is essential to prevent any mishaps and facilitate the smooth removal of the existing fan. Here's a detailed guide on how to effectively disconnect the wiring:
-
Turn Off the Power: Before proceeding with any electrical work, it's imperative to ensure that the power supply to the bathroom exhaust fan is completely turned off. As mentioned in the previous step, locate the circuit breaker that controls the fan's power supply and switch it off. Using a voltage tester to verify that the power is indeed off adds an extra layer of safety before handling the wiring.
-
Access the Wiring: With the power off, carefully remove the cover of the fan unit to gain access to the internal wiring. Take note of the wiring connections and their respective positions to facilitate reconnection when installing the new exhaust fan. It's essential to handle the wiring with care to avoid any damage or accidental disconnection.
-
Label the Wires: To ensure accurate reconnection later on, consider labeling the wires before disconnecting them. This step can be particularly helpful if the wiring colors are not standard or if multiple sets of wires are present. Using adhesive labels or marking the wires with a marker can streamline the reinstallation process.
-
Disconnect the Electrical Connections: Depending on the fan model, there may be multiple electrical connections to disconnect, including the power supply wires and any additional connections for features such as lighting or heating elements. Utilize appropriate tools, such as wire strippers or pliers, to carefully disconnect the wiring. Take note of the wire nuts or connectors used to secure the connections.
-
Secure the Disconnected Wires: Once the electrical connections are detached, it's crucial to secure the loose wires to prevent any accidental contact with live electrical components. Utilize electrical tape to cover the exposed ends of the wires, reducing the risk of electrical hazards during the remainder of the removal process.
By following these detailed steps to disconnect the wiring of the old bathroom exhaust fan, you can ensure a safe and organized transition to a new fan unit. Properly handling the electrical connections sets the stage for the subsequent task of removing the fan housing, ultimately paving the way for a successful installation of the new exhaust fan.
Make sure to turn off the power to the fan before starting. Remove the cover and disconnect the wiring. Unscrew and remove the fan from the ceiling. Install the new fan following the manufacturer’s instructions.
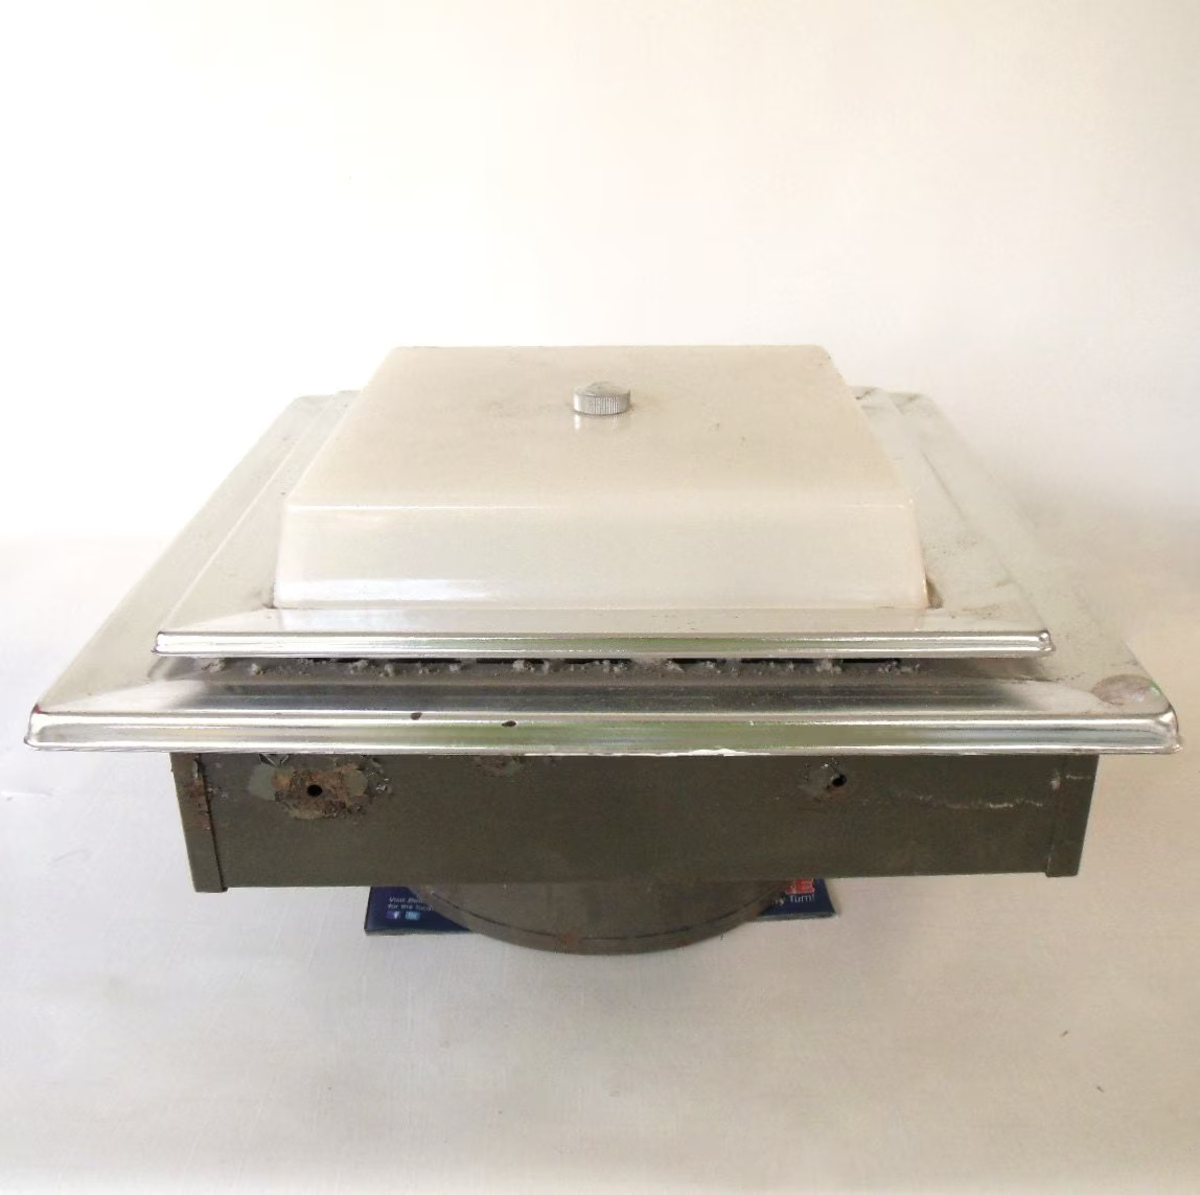
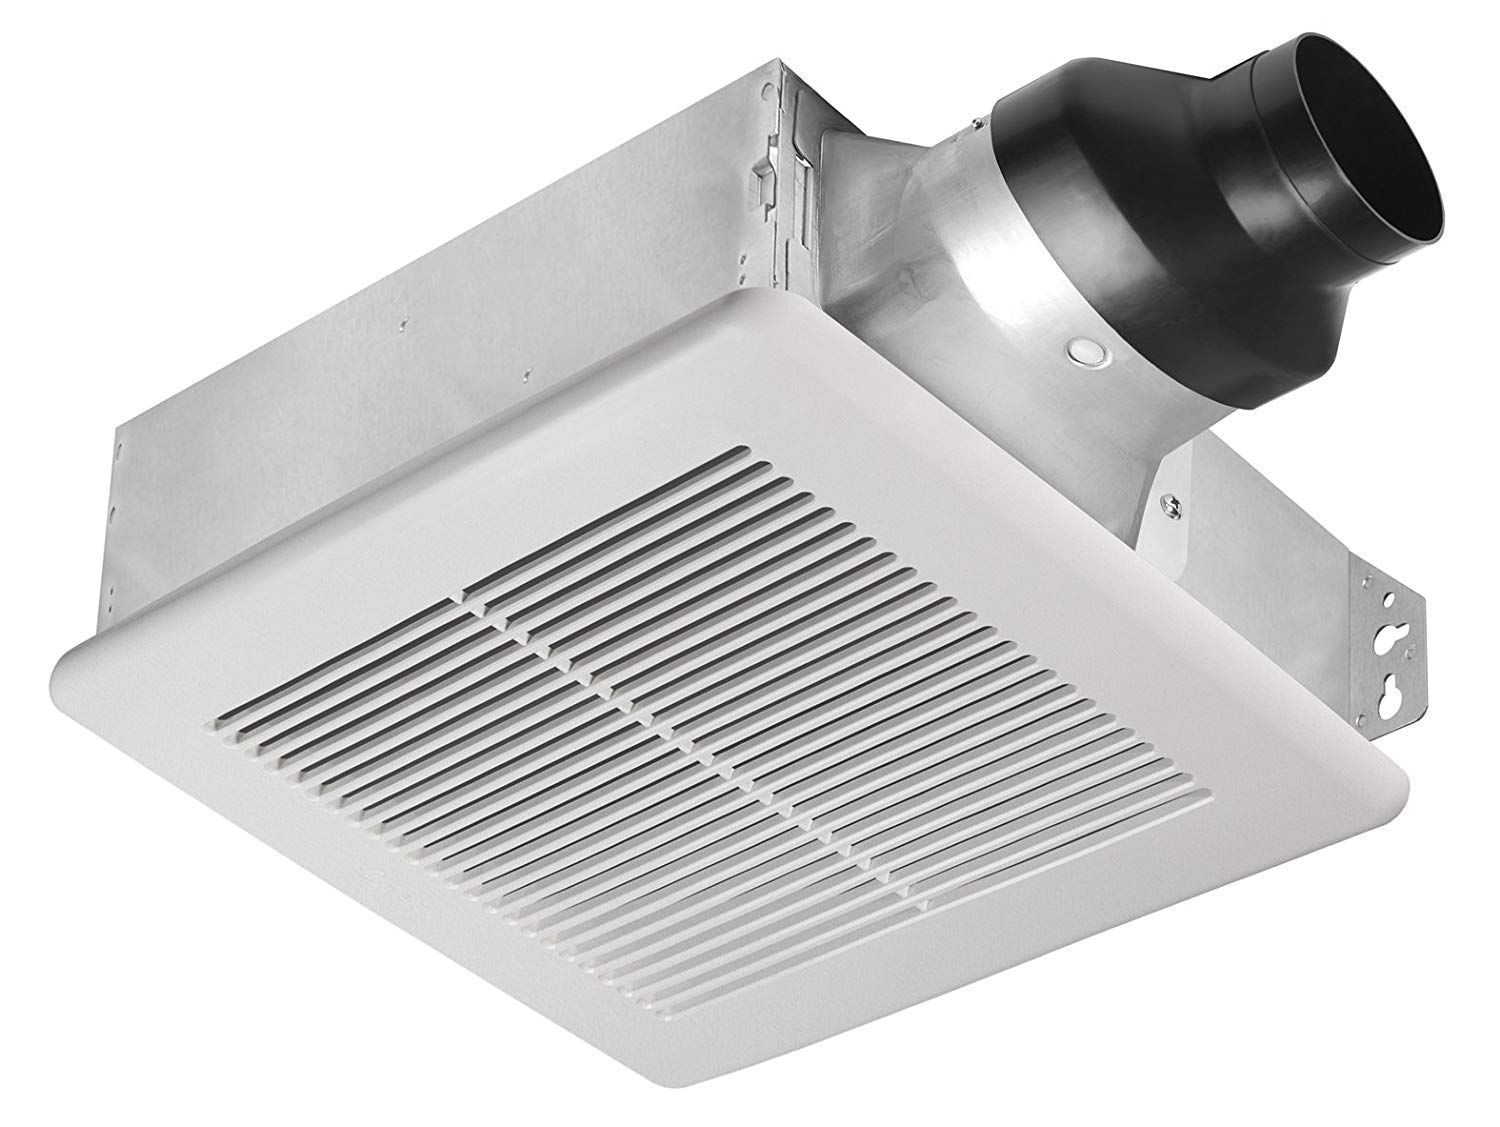
Step 4: Remove the fan housing
Removing the fan housing is a pivotal step in the process of replacing an old bathroom exhaust fan. The fan housing, also known as the fan assembly or motor assembly, encases the fan motor and impeller, playing a crucial role in facilitating air circulation and ventilation within the bathroom. Here's a detailed guide on how to effectively remove the fan housing, paving the way for the installation of a new exhaust fan:
-
Access the Fan Housing: After disconnecting the wiring and removing the cover, the fan housing becomes accessible for removal. Take a moment to inspect the housing and familiarize yourself with its components, including the motor, impeller, and mounting brackets. Understanding the layout of the housing will streamline the removal process.
-
Unfasten the Mounting Screws: The fan housing is typically secured to the ceiling or wall by mounting screws or brackets. Using a suitable screwdriver or drill, carefully unfasten the screws that secure the housing in place. It's important to exercise caution to avoid damaging the surrounding ceiling or wall during this process. If the housing is attached with brackets, carefully detach them from the mounting surface.
-
Support the Housing During Removal: Depending on the size and weight of the fan housing, it may be necessary to provide additional support during the removal process. Enlist the help of a second person if needed to ensure the housing is safely and steadily lowered from its position. Take care to avoid any strain on the electrical wiring that may still be connected to the housing.
-
Disconnect Any Remaining Wiring: In some cases, the fan housing may have additional wiring connections, such as grounding wires or supplementary features. Carefully inspect the housing for any remaining electrical connections and disconnect them as needed. Utilize appropriate tools to release any wire connectors or fastenings.
-
Remove the Housing from the Opening: With the mounting screws or brackets detached and any remaining wiring disconnected, carefully lift the fan housing away from the opening in the ceiling or wall. Exercise caution to prevent any damage to the surrounding surfaces or the housing itself. If the housing is connected to ductwork, detach it carefully to ensure a smooth removal process.
By following these detailed steps to remove the fan housing, you can effectively prepare the space for the installation of a new bathroom exhaust fan. Properly handling the removal process sets the stage for a seamless transition to a modern, efficient exhaust fan, ultimately enhancing the ventilation and air quality in your bathroom.
Read more: How To Remove Bathroom Exhaust Fan
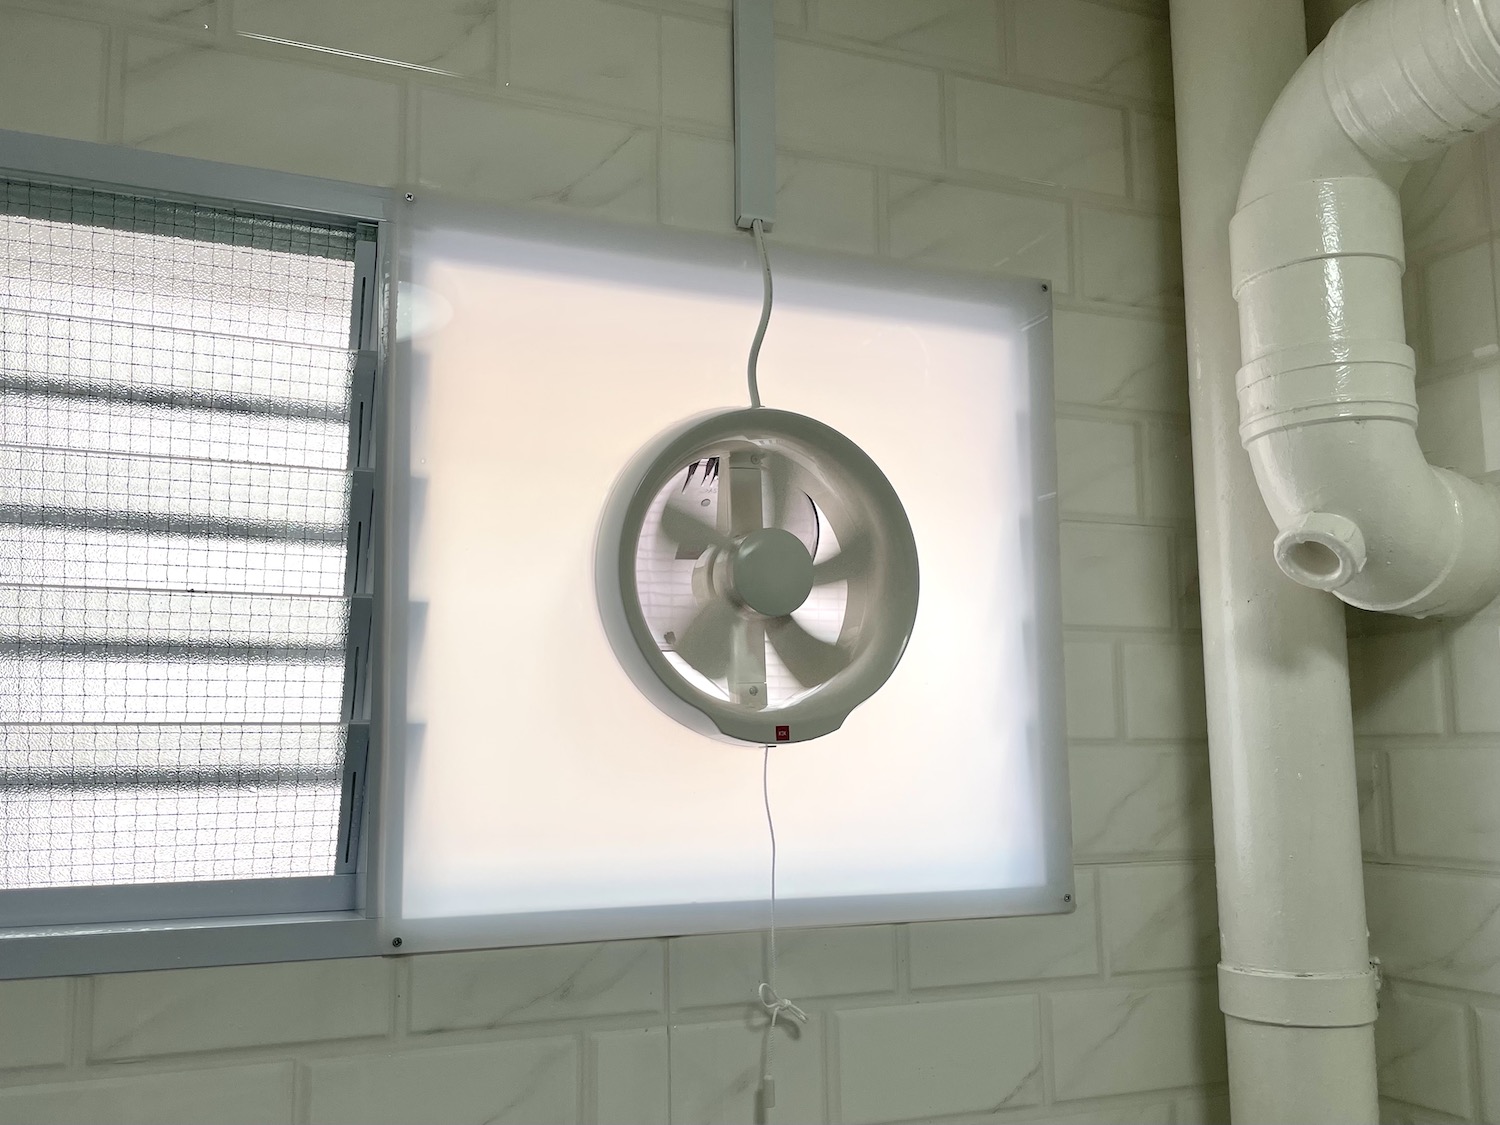
Step 5: Install the new exhaust fan
Installing a new exhaust fan is the culmination of the removal process, marking the transition to a modern, efficient ventilation solution for your bathroom. This step involves carefully mounting the new fan unit, connecting the wiring, and securing the housing to ensure optimal performance and air circulation. Here's a detailed guide on how to effectively install the new exhaust fan, setting the stage for a fresher, more comfortable bathroom environment:
-
Select the Appropriate Replacement Fan: Before proceeding with the installation, ensure that the new exhaust fan is compatible with the dimensions and specifications of the existing opening. Consider factors such as airflow capacity, noise level, and energy efficiency to select a fan that meets your ventilation needs.
-
Position the New Fan Unit: Carefully position the new exhaust fan unit over the existing opening in the ceiling or wall. Ensure that the fan housing aligns correctly with the mounting points or brackets, allowing for a secure and flush fit. Take note of any additional features, such as built-in lighting or heating elements, and position the fan unit accordingly.
-
Secure the Mounting Screws or Brackets: Using appropriate screws or brackets, secure the new fan housing in place, ensuring a stable and level installation. Take care to align the mounting points with the corresponding openings in the ceiling or wall. Utilize a level to confirm that the fan unit is installed evenly, minimizing any potential vibration or noise during operation.
-
Connect the Electrical Wiring: With the fan unit securely mounted, proceed to connect the electrical wiring. Refer to the manufacturer's instructions and any labeling applied during the removal process to ensure accurate wiring connections. Utilize wire connectors or terminals to secure the wiring, taking care to follow proper electrical safety practices.
-
Test the Fan Operation: Before completing the installation, turn on the power supply to the new exhaust fan and test its operation. Verify that the fan motor, impeller, and any additional features function as intended. Listen for any unusual noises or vibrations that may indicate improper installation, and address any issues promptly.
-
Install the Cover: Once the fan unit is successfully installed and operational, place the cover over the housing and secure it using the appropriate fastening mechanism. Whether using screws or spring clips, ensure that the cover is firmly in place, providing a finished and aesthetically pleasing appearance.
By following these detailed steps to install the new exhaust fan, you can effectively complete the transition to a modern, efficient ventilation solution for your bathroom. Properly mounting the fan unit, connecting the wiring, and ensuring its operational functionality sets the stage for a fresher, more comfortable bathroom environment, free from moisture and odors.
Conclusion
In conclusion, the process of removing an old bathroom exhaust fan and installing a new one is a rewarding endeavor that significantly contributes to the overall comfort and air quality of your bathroom. By following the detailed steps outlined in this guide, you can confidently tackle this home improvement project, ensuring a seamless transition to a modern, efficient ventilation solution.
The journey begins with the crucial step of turning off the power supply to the existing fan, prioritizing safety and creating a secure working environment. This initial precaution sets the stage for the subsequent tasks, including removing the cover, disconnecting the wiring, and ultimately removing the fan housing. Each step is carefully outlined to ensure a methodical and organized approach to the removal process.
As the old fan is gracefully retired, the installation of a new exhaust fan marks the beginning of a fresh chapter in your bathroom's ventilation system. Selecting the appropriate replacement fan, positioning it securely, and connecting the electrical wiring are pivotal steps in this phase. The successful installation of the new fan unit not only enhances air circulation but also contributes to a more pleasant and comfortable bathroom environment.
Throughout this transformative process, attention to detail, safety, and precision are paramount. By adhering to the outlined steps and exercising caution, you can navigate the removal and installation with confidence and efficiency. Additionally, the satisfaction of completing this project extends beyond the tangible benefits, as it empowers you to take proactive steps in maintaining a healthy and inviting home environment.
As you reflect on the journey from removing the old exhaust fan to embracing the installation of a new, modern unit, you can take pride in your ability to enhance the functionality and aesthetics of your bathroom. The newfound efficiency and improved air quality brought about by the new exhaust fan serve as a testament to your dedication to creating a comfortable and inviting living space.
In essence, the process of removing an old bathroom exhaust fan and installing a new one is a testament to your commitment to maintaining a healthy and enjoyable home environment. With the knowledge and guidance provided in this comprehensive guide, you are well-equipped to embark on this transformative project, ultimately reaping the rewards of a fresher, more comfortable bathroom space.
Frequently Asked Questions about How To Remove An Old Bathroom Exhaust Fan
Was this page helpful?
At Storables.com, we guarantee accurate and reliable information. Our content, validated by Expert Board Contributors, is crafted following stringent Editorial Policies. We're committed to providing you with well-researched, expert-backed insights for all your informational needs.


0 thoughts on “How To Remove An Old Bathroom Exhaust Fan”