Articles
How To Change Bathroom Exhaust Fan
Modified: October 20, 2024
Learn how to change your bathroom exhaust fan with our informative articles. Upgrade your ventilation system for a healthier and more comfortable space.
(Many of the links in this article redirect to a specific reviewed product. Your purchase of these products through affiliate links helps to generate commission for Storables.com, at no extra cost. Learn more)
Introduction
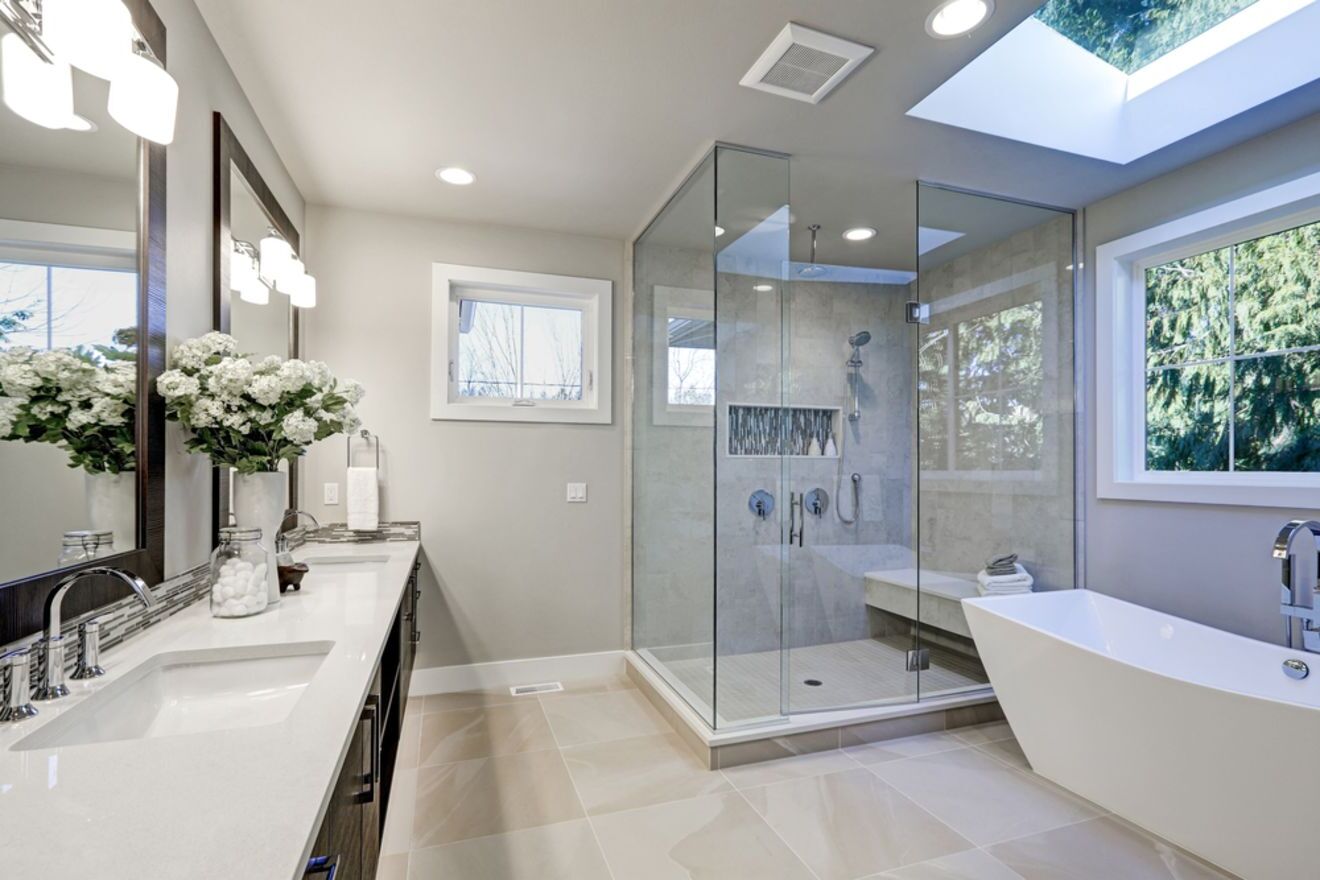
Welcome to our guide on how to change a bathroom exhaust fan! A properly functioning exhaust fan is essential for maintaining good air quality and preventing moisture damage in your bathroom. Over time, these fans may become noisy, inefficient, or simply stop working. In such cases, it’s important to replace the old fan with a new one.
In this article, we will walk you through the step-by-step process of changing a bathroom exhaust fan. Even if you don’t consider yourself a DIY expert, don’t worry! This is a relatively simple project that can be completed in just a few hours with the right tools and a little bit of patience.
Before you start, it’s important to choose the right replacement fan. Make sure to check the specifications of your existing fan, such as the airflow capacity (measured in cubic feet per minute or CFM) and the size of the fan housing. This will ensure that you select a compatible replacement that meets your ventilation needs.
Now, let’s dive into the step-by-step process of changing a bathroom exhaust fan!
Key Takeaways:
- Prioritize safety by turning off the power at the circuit breaker and using caution when working with electrical connections. Always double-check the power source using a voltage tester to ensure it is safe to proceed.
- Proper ventilation is crucial for maintaining a healthy and comfortable bathroom environment. A functioning exhaust fan helps to remove excess moisture, prevent the growth of mold and mildew, and eliminate unpleasant odors.
Read more: How To Fix Bathroom Exhaust Fan
Step 1: Turn Off Power
The first and most important step before working on any electrical project is to turn off the power to the area. This will ensure your safety and prevent any accidents or electric shocks.
To turn off the power to your bathroom, locate the electrical circuit breaker box in your home. It is usually found in the basement, garage, or utility room. Open the breaker box and look for the circuit breaker that controls the power to your bathroom. It is typically labeled “Bathroom” or “Exhaust Fan”.
Flip the switch to the “Off” position to cut off power to the bathroom. To be extra cautious, you can also place a piece of electrical tape over the switch to prevent someone from accidentally turning it back on while you’re working.
In addition to turning off the power at the circuit breaker, it’s always a good idea to use a non-contact voltage tester to confirm that the power is indeed off. Simply place the tester near the wires or switches to see if it detects any electrical activity. If it does, double-check the circuit breaker and repeat the process until you are certain that there is no power running to the bathroom.
Remember, safety should always be your top priority. Never attempt to work on electrical components without ensuring that the power is completely turned off.
Once you have disabled the power to your bathroom, you can proceed with confidence to the next step: removing the fan cover.
Step 2: Remove the Fan Cover
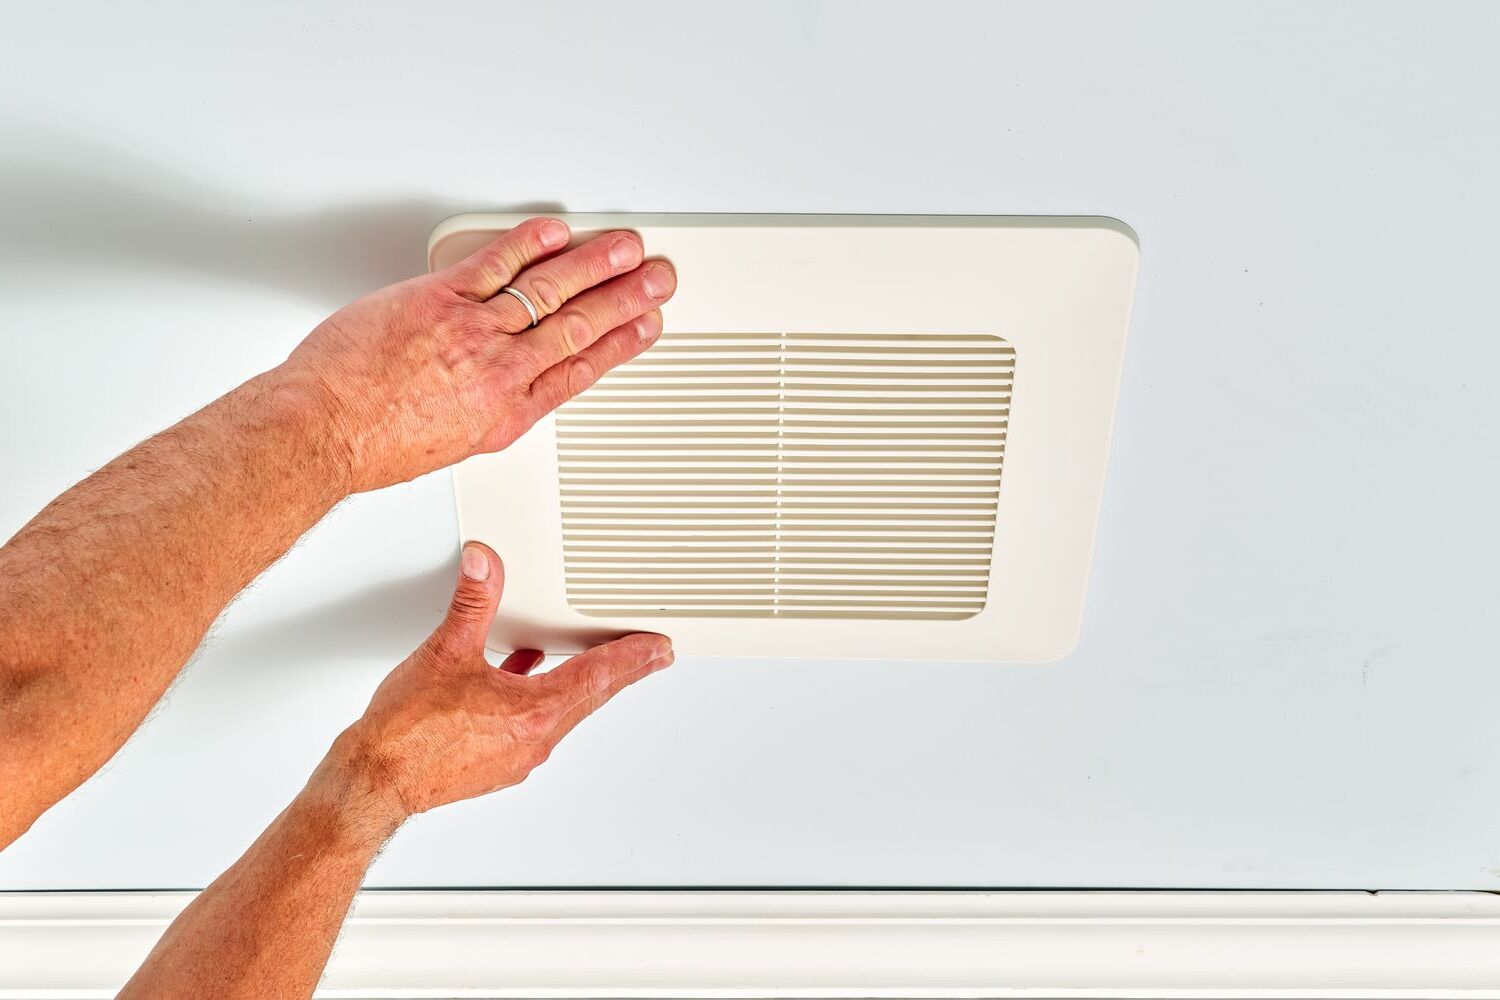
With the power turned off, it’s time to remove the fan cover. The fan cover is typically located on the ceiling or wall of the bathroom and is held in place by screws or spring clips.
Start by examining the fan cover to identify the type of fasteners holding it in place. If you see screws, use a screwdriver to carefully remove them. Set the screws aside in a safe place so that you can easily find them later when reinstalling the cover.
If your fan cover is held in place by spring clips, gently pull the cover away from the ceiling or wall. You should be able to feel the tension of the clips releasing as you pull. Be careful not to apply too much force, as the cover may snap or crack if mishandled.
Once the fasteners are removed, carefully detach the fan cover from the housing. Depending on the type of cover, you may need to twist it or lift it off in a particular manner. Refer to the manufacturer’s instructions if you encounter any difficulties.
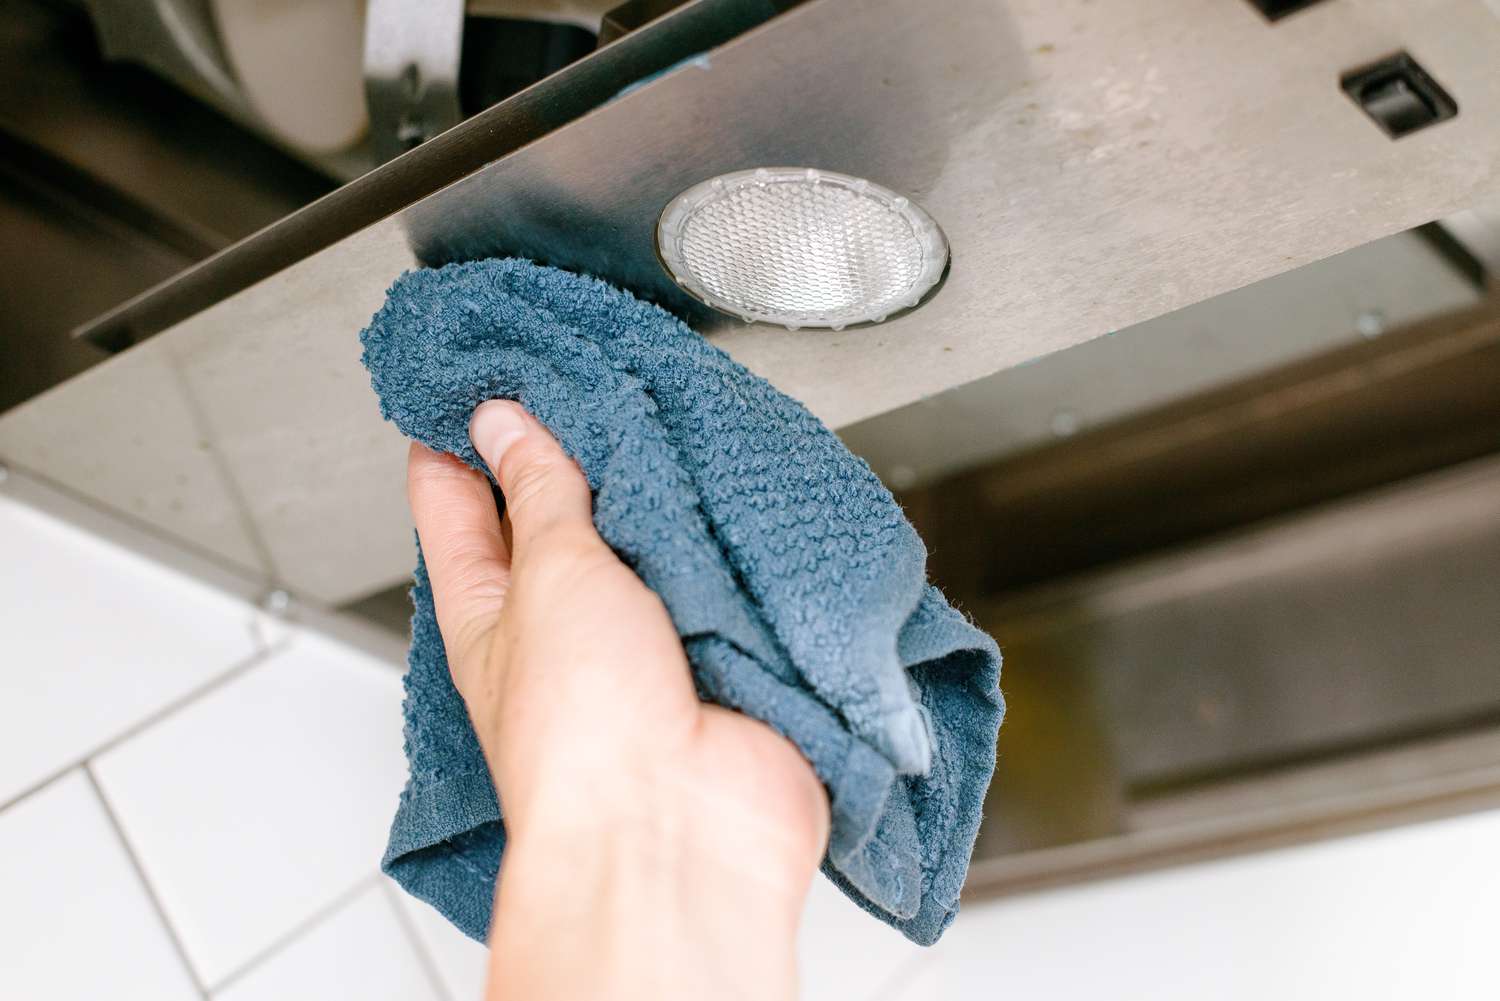
After removing the fan cover, inspect it for any dirt, dust, or debris accumulation. You can use a soft brush or a vacuum cleaner attachment to gently clean the cover before proceeding further. This will ensure optimal efficiency and prevent any obstacles from blocking the airflow of the new fan.
Now that the fan cover is off, you’re one step closer to replacing your bathroom exhaust fan. The next step involves disconnecting the wiring, so let’s move on!
Step 3: Disconnect the Wiring
Now that the fan cover is removed, it’s time to disconnect the wiring. Before proceeding, make sure you have a voltage tester handy to ensure that there is no power running to the fan.
Start by locating the electrical wires connected to the fan. There are typically two wires: a black (hot) wire and a white (neutral) wire. In some cases, there may also be a green or bare copper wire for grounding purposes.
Using a screwdriver or pliers, carefully unscrew or detach the wire nuts connecting the wires. Slowly separate the wires from each other. Keep in mind that the wires may still be connected to the fan housing, so exercise caution while removing them.
Once the wires are disconnected, it’s a good idea to wrap them with electrical tape. This will prevent them from accidentally touching each other or other metal surfaces, which could lead to a short circuit.
Make sure to also examine the wires for any signs of damage or wear. If you notice any frayed or exposed wires, it’s best to consult a professional electrician before proceeding any further.
With the wiring safely disconnected, you’re now ready to remove the old fan and housing. This will be covered in the next step, so let’s move on!
Step 4: Remove the Fan and Housing
Now that the wiring is disconnected, it’s time to remove the old fan and housing from the ceiling or wall. This step requires careful handling to avoid damaging the surrounding structure.
Start by inspecting the fan housing to determine how it is attached to the ceiling or wall. Most fan housings are held in place by screws or brackets.
If your fan housing is held by screws, use a screwdriver to remove them. In some cases, you may need to remove a decorative cover or trim to access the screws.
If there are brackets holding the fan housing in place, carefully loosen or release them. This may involve twisting or sliding the housing out of the brackets. Refer to the manufacturer’s instructions for specific guidance.
Once the fan housing is detached, gently lower it down from the ceiling or wall. Take care not to damage any surrounding structures or fixtures as you handle the fan.
If the fan housing is attached to ductwork, you may need to loosen or disconnect the duct connector as well. This will depend on the specific installation of your exhaust fan.
With the fan and housing removed, take a moment to clean any accumulated dust or debris from the area. This will ensure a clean and efficient installation of the new fan.
Now that the old fan is out, it’s time to move on to the exciting part — installing the new fan and housing. We’ll cover that in the next step, so let’s keep the momentum going!
When replacing a bathroom exhaust fan, make sure to turn off the power at the circuit breaker before starting. Use a voltage tester to ensure the power is off before proceeding with the installation.
Step 5: Install the New Fan and Housing
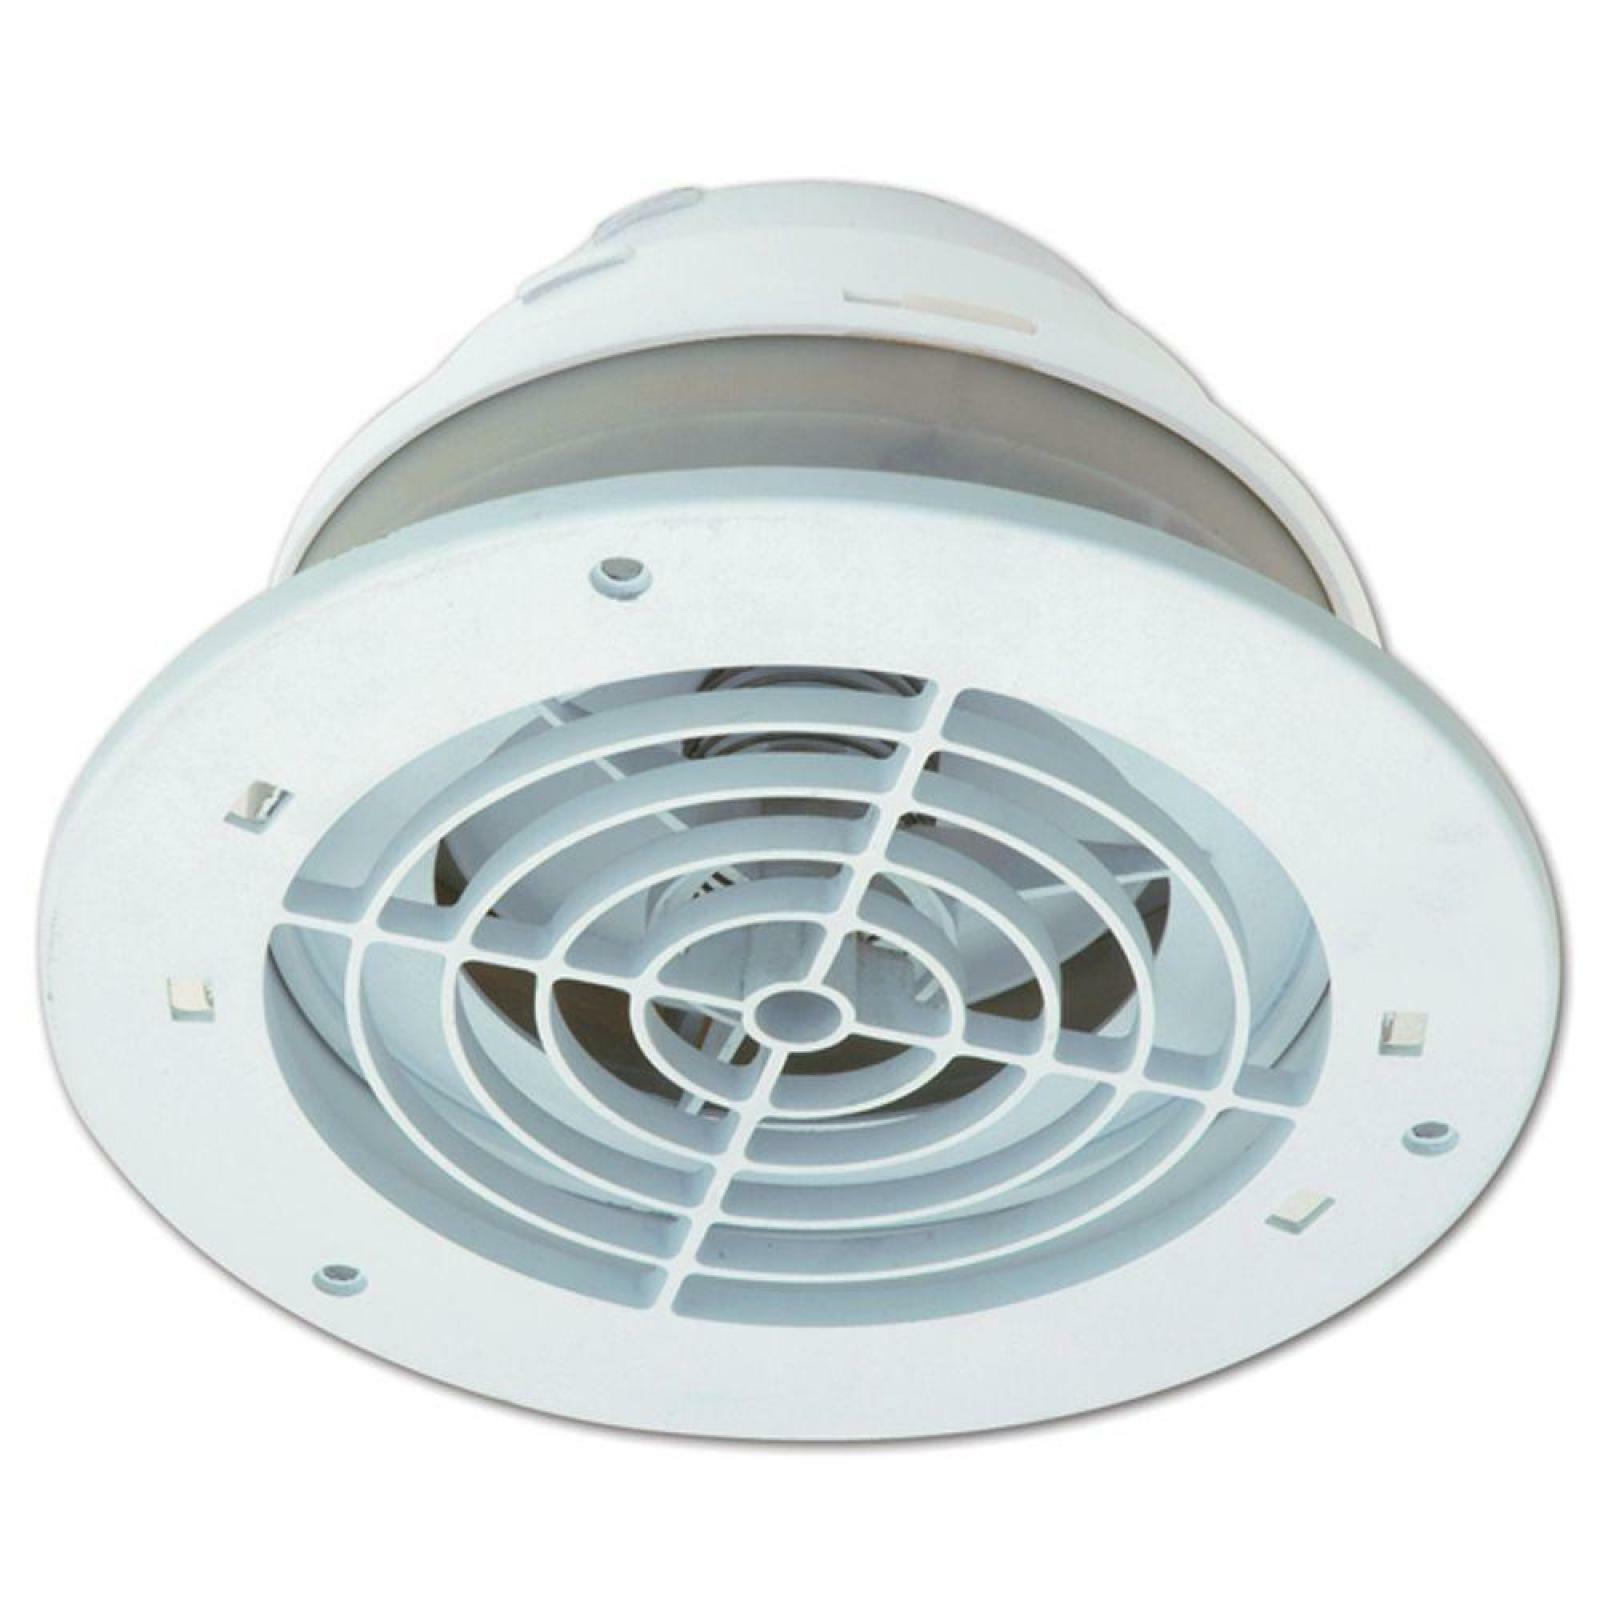
With the old fan and housing removed, it’s time to install the new fan and housing in your bathroom. This step will ensure proper ventilation and improve air quality in your space.
Start by preparing the new fan and housing for installation. If necessary, read the manufacturer’s instructions to familiarize yourself with any specific requirements or steps.
Position the new fan and housing in the opening where the old fan was removed. Ensure that it is centered and flush with the ceiling or wall. If there are brackets or mounting holes, align them with the corresponding openings in the ceiling or wall.
Secure the new fan and housing in place using screws or brackets, following the manufacturer’s instructions. Be careful not to overtighten the screws, as this could damage the housing or surrounding structures.
If there is a duct connector, attach it to the new fan housing and ensure a snug fit. This will help to direct the airflow properly and prevent any leaks or drafts.
Once the new fan and housing are securely installed, double-check that it is level and aligned with the surrounding ceiling or wall.
If your new fan requires venting to the exterior, make sure to connect the ductwork properly. This will ensure that the moisture and odors are effectively expelled outside of your home.
Now that the new fan and housing are in place, you’re one step closer to enjoying improved air circulation and ventilation in your bathroom. In the next step, we’ll connect the wiring. Let’s keep the momentum going!
Step 6: Reconnect the Wiring
Now that the new fan and housing are installed, it’s time to reconnect the wiring. This step will restore power to the fan and allow it to function properly.
Start by inspecting the electrical wires coming from the ceiling or wall. Make sure they are in good condition and free from any fraying or damage. If necessary, trim and strip the wires to expose a clean section for connections.
Next, refer to the manufacturer’s instructions or the wiring diagram on the new fan to identify the correct connections.
Typically, the black wire from the fan will connect to the black or hot wire from the electrical supply. Twist the ends of these wires together and secure them with a wire nut. Make sure the connection is tight and secure.
Similarly, connect the white wire from the fan to the white or neutral wire from the electrical supply. Again, twist the ends together and secure them with a wire nut.
If there is a green or bare copper wire, it is the grounding wire. Connect it to the grounding wire in the electrical supply. This wire is essential for safety and should always be properly connected.
Once the wiring connections are made, gently push the wires back into the electrical box. Make sure there is enough space for the fan and housing to fit comfortably without obstructing the wiring.
Now is a good time to double-check all the connections to ensure they are secure and properly insulated. You can also use electrical tape to wrap the wire nuts for added safety and security.
With the wiring reconnected, we’re almost finished with the installation. Follow along to the next step, where we’ll attach the fan cover!
Step 7: Attach the Fan Cover
With the wiring successfully reconnected, it’s time to attach the fan cover. The cover not only provides an aesthetic finish but also helps to direct the airflow properly.
Start by aligning the fan cover with the opening on the ceiling or wall. Ensure that it is centered and fits snugly into place.
If your fan cover is held in place with screws, use a screwdriver to carefully insert and tighten the screws. Make sure not to overtighten them, as it may damage the cover or surrounding surfaces.
If your fan cover uses spring clips, position the cover against the ceiling or wall and gently press it into place. The spring clips should automatically hold the cover securely.
Give the fan cover a gentle tug to ensure it is properly attached and won’t come loose easily. This will prevent any accidents or damage caused by the cover falling.
With the fan cover securely attached, take a moment to inspect the overall appearance and alignment. Make any necessary adjustments to ensure that the cover is level and aligned with the surrounding surface.
Now that the fan cover is in place, we’re almost done with the installation process! In the final step, we’ll test the new exhaust fan to ensure it’s working properly. Let’s move on!
Step 8: Test the New Exhaust Fan
Congratulations, you’re in the final step of the installation process! Now it’s time to test the new exhaust fan to ensure that it’s functioning properly. This step will give you confidence that your bathroom is properly ventilated and the air quality is improved.
Before you turn on the power, check that all connections are secured and there are no loose wires or exposed conductors. Safety should always be a top priority.
Once you’ve confirmed everything is in order, go ahead and turn on the power to the bathroom by flipping the switch on the breaker box. Give the fan a moment to start up and begin circulating the air.
Listen for any unusual noises or vibrations that could indicate a problem with the fan. Modern fans are designed to be whisper-quiet, so any excessive noise could mean there’s an issue that needs to be addressed.
Stand beneath the fan and check if you can feel the airflow. A properly functioning exhaust fan should quickly and effectively remove moisture and odors from the bathroom, creating a fresh and comfortable atmosphere.
If everything seems to be in working order, you can proceed with testing the different speed settings on the fan if applicable. Some fans come with multiple speed or ventilation options, so familiarize yourself with the controls and adjust as desired.
If you notice any issues during the testing process, such as the fan not starting or functioning properly, it’s recommended to double-check the wiring connections and consult the manufacturer’s troubleshooting guide. If the problem persists, it may be necessary to call a professional electrician for further assistance.
With the new exhaust fan tested and confirmed to be working efficiently, you can now enjoy improved air quality and ventilation in your bathroom.
It’s important to regularly maintain and clean your bathroom exhaust fan to ensure optimal performance. Refer to the manufacturer’s instructions for cleaning guidelines and schedule routine cleaning to keep the fan operating at its best.
Thank you for following this step-by-step guide on how to change a bathroom exhaust fan. By completing this DIY project, you’ve not only enhanced the functionality of your bathroom but also contributed to a healthier living environment.
Keep in mind that if you’re not comfortable with electrical work or encounter any difficulties during the installation process, it’s always wise to consult with a professional electrician for assistance.
We hope this guide has been helpful, and we wish you success as you enjoy the benefits of your newly installed bathroom exhaust fan!
Read more: How To Change Bulb In Bathroom Exhaust Fan
Conclusion
Changing a bathroom exhaust fan may seem like a daunting task, but with the right tools and guidance, it can be a relatively straightforward DIY project. By following the step-by-step instructions provided in this guide, you can successfully replace an old, noisy, or malfunctioning exhaust fan with a new one, improving the air quality and ventilation in your bathroom.
Throughout the process, it’s crucial to prioritize safety by turning off the power at the circuit breaker and using caution when working with electrical connections. Always double-check the power source using a voltage tester to ensure it is safe to proceed.
From turning off the power to removing the old fan and housing, connecting the wiring, and attaching the new fan cover, each step plays a critical role in the successful installation of your new exhaust fan. Taking the time to clean any accumulated dust and debris, aligning the fan properly, and testing its functionality are essential to ensure optimal operation.
Remember to refer to the manufacturer’s instructions specific to your fan model for the most accurate guidance. If you encounter any difficulties or are unsure of your abilities, seeking professional help from an electrician is always a wise decision.
Proper ventilation plays a key role in maintaining a healthy and comfortable bathroom environment. A functioning exhaust fan helps to remove excess moisture, prevent the growth of mold and mildew, and eliminate unpleasant odors. It also helps to improve air circulation, contributing to a more comfortable and enjoyable space.
By following this comprehensive guide, you have taken a proactive step towards improving the air quality and overall functionality of your bathroom. Regularly maintaining and cleaning your exhaust fan will ensure its longevity and effectiveness in the long run.
We hope that this guide has been informative and helpful in guiding you through the process of changing your bathroom exhaust fan. Enjoy the benefits of a well-ventilated and refreshing bathroom space!
Now that you've mastered changing your bathroom exhaust fan, why stop there? For those planning more comprehensive updates, understanding how long bathroom renovations take can help manage expectations and scheduling. Maybe you're considering further improvements to your home's airflow—learning exhaust fan installation techniques could be your next step. Don't forget, regular upkeep is key to maintaining your home's health; find out essential home maintenance tasks to keep your living space in top shape.
Frequently Asked Questions about How To Change Bathroom Exhaust Fan
Was this page helpful?
At Storables.com, we guarantee accurate and reliable information. Our content, validated by Expert Board Contributors, is crafted following stringent Editorial Policies. We're committed to providing you with well-researched, expert-backed insights for all your informational needs.


0 thoughts on “How To Change Bathroom Exhaust Fan”