Articles
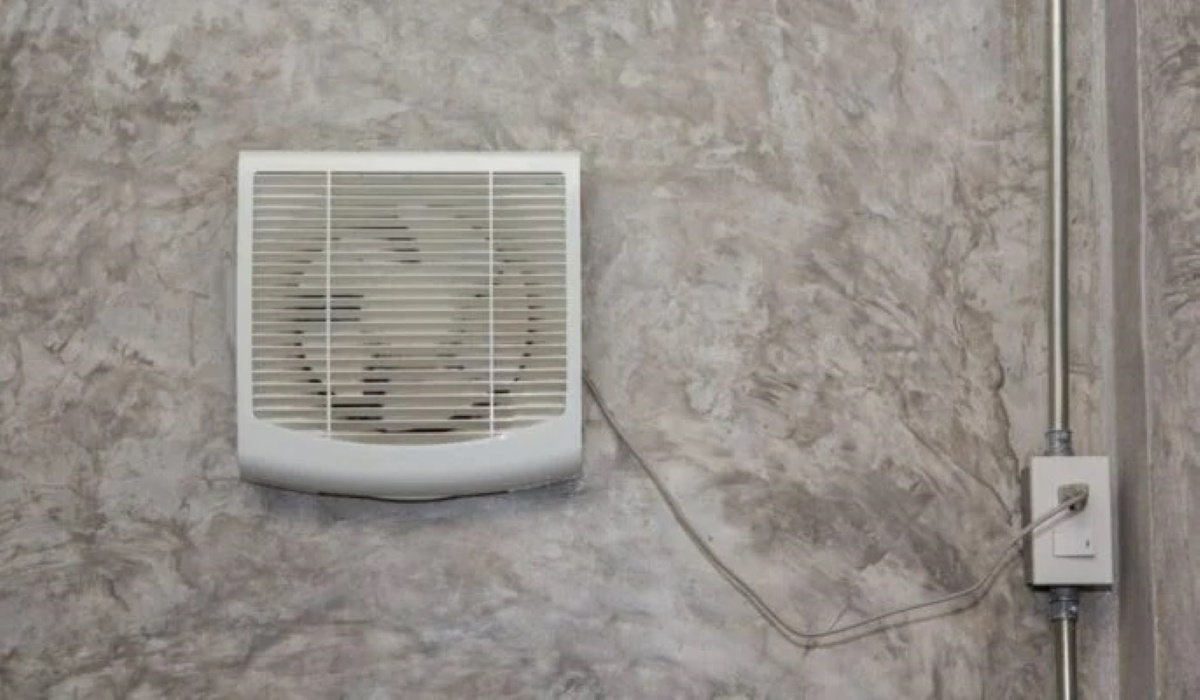
How To Remove Bathroom Exhaust Fan
Modified: October 28, 2024
Learn how to remove a bathroom exhaust fan with our helpful step-by-step articles. Ensure proper ventilation in your bathroom for a clean and comfortable space.
(Many of the links in this article redirect to a specific reviewed product. Your purchase of these products through affiliate links helps to generate commission for Storables.com, at no extra cost. Learn more)
Introduction
Welcome to this comprehensive guide on how to remove a bathroom exhaust fan. A bathroom exhaust fan plays a crucial role in maintaining good air quality and preventing moisture buildup in your bathroom. However, there may come a time when you need to remove the fan either for cleaning, repair, or replacement purposes.
Removing a bathroom exhaust fan may seem like a daunting task, especially if you have never done it before. But fear not! In this article, we will provide you with a step-by-step guide to help you safely and efficiently remove your bathroom exhaust fan.
Before we dive into the steps, it’s important to note that safety should always be your top priority when working with electrical components. Ensure that you follow all the necessary safety precautions and turn off the power to the bathroom before beginning the removal process. If you are unsure about any step mentioned in this guide, it is always recommended to consult a professional electrician.
Now, let’s get started with the first step: turning off the power to the exhaust fan.
Key Takeaways:
- Safely remove, clean, and install a bathroom exhaust fan with confidence using our step-by-step guide. Ensure optimal air quality and prevent moisture buildup in your bathroom.
- Prioritize safety and follow manufacturer’s instructions for a successful bathroom exhaust fan removal and replacement. Enjoy a well-ventilated and fresh bathroom environment.
Read more: How To Fix Bathroom Exhaust Fan
Step 1: Turn off the Power
The first and most crucial step in removing a bathroom exhaust fan is to turn off the power. This step is essential to ensure your safety and prevent any electrical accidents during the removal process.
Start by locating the circuit breaker box in your home. Look for the breaker that controls the power supply to your bathroom. The breakers are generally labeled, but if you’re unsure about which one to turn off, you can always turn off the main power switch to ensure complete safety.
Once you’ve identified the correct breaker, switch it to the “off” position. You can double-check if the power is truly off by attempting to turn on the exhaust fan switch or by using a non-contact voltage tester. The voltage tester will indicate if there is still electrical current present.
Remember, safety is paramount when working with electrical components, so take your time during this step and be meticulous in ensuring that the power is fully shut off.
Once you are confident that the power to the bathroom exhaust fan is turned off, you can proceed to the next step: removing the cover.
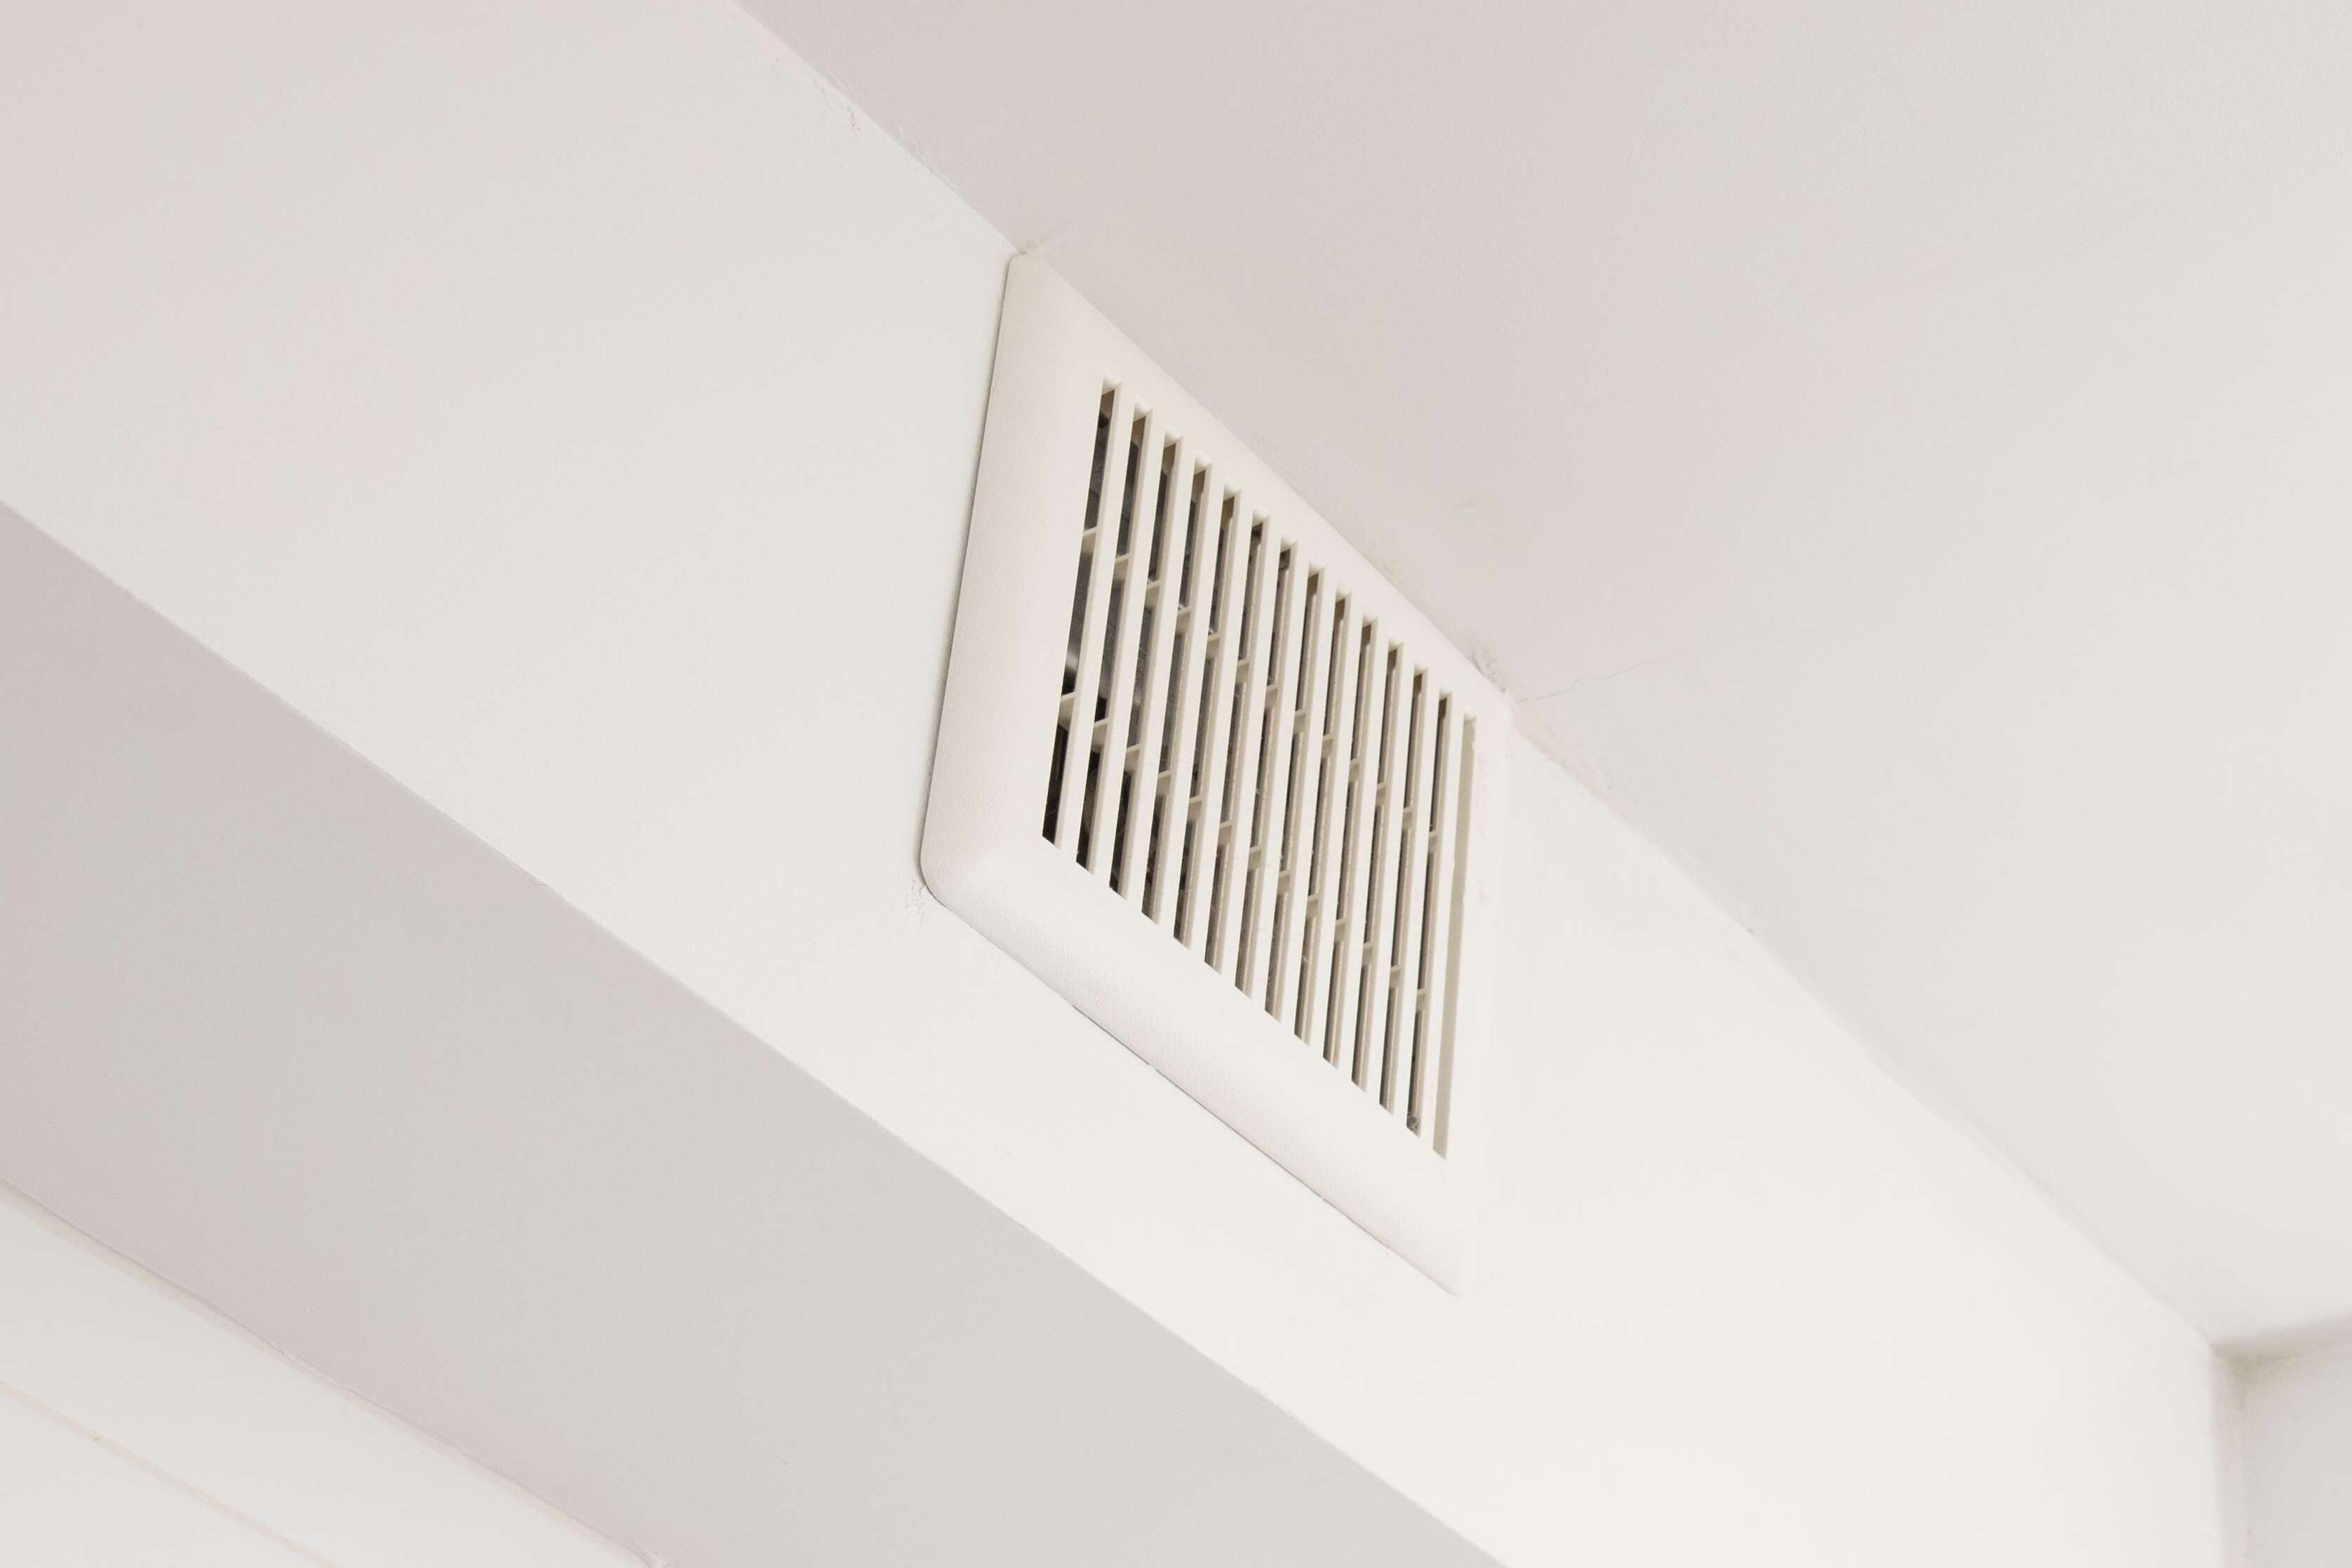
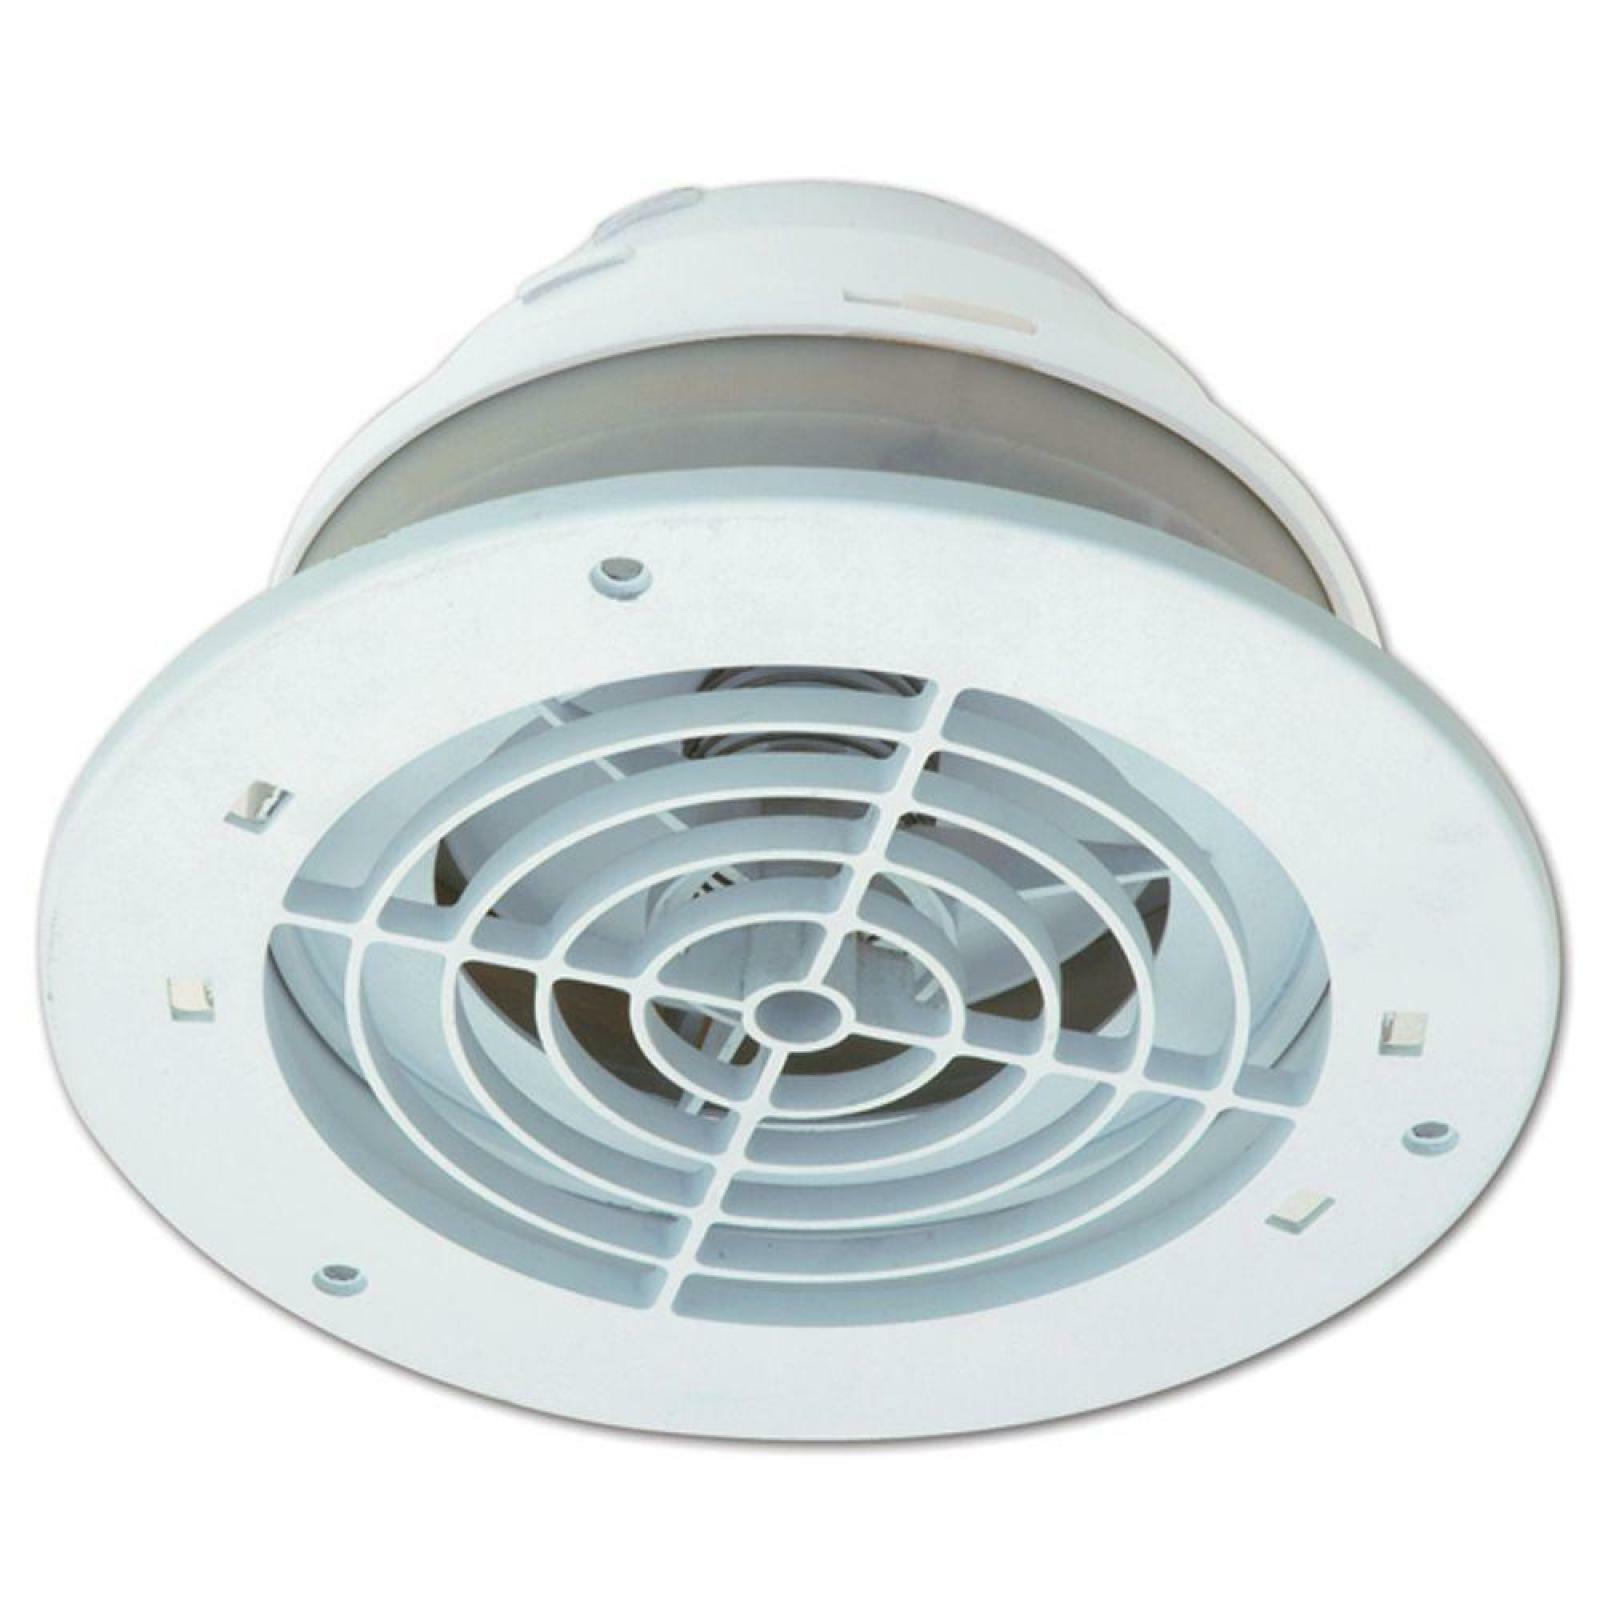
Step 2: Remove the Cover
With the power turned off, it’s time to remove the cover of the bathroom exhaust fan. The cover is usually held in place by screws or tabs, depending on the type of fan you have. Follow these general steps to remove the cover:
- Inspect the cover: Some covers may have visible screws holding them in place. Look for any screws on the outer edges or in the center of the cover. If you see screws, use a screwdriver to loosen and remove them. Set the screws aside in a safe place.
- If there are no visible screws, check for tabs: Some covers have tabs instead of screws. These tabs can be easily released to remove the cover. Gently press or squeeze the tabs inward to disengage them from the fan housing. Once the tabs are disengaged, carefully pull the cover away from the fan.
- Inspect for any additional securing mechanisms: In some cases, there may be additional clips or fasteners holding the cover in place. Take a close look at the edges of the cover or the fan housing for any hidden attachments. If you find any, release them or remove them as necessary.
When removing the cover, be cautious not to apply excessive force or pressure that could damage the fan or surrounding areas. If the cover seems stuck or difficult to remove, double-check for any remaining screws, tabs, or clips that may be holding it in place.
Once the cover is successfully removed, set it aside in a safe location for reinstallation later. With the cover out of the way, you can now move on to the next step: disconnecting the wiring.
Step 3: Disconnect the Wiring
Now that the cover is removed, it’s time to disconnect the wiring of the bathroom exhaust fan. Before proceeding, it’s crucial to ensure that the power to the fan is still turned off. Double-check the circuit breaker or use a voltage tester to confirm that there is no electrical current present.
To disconnect the wiring, follow these steps:
- Locate the wiring connections: Inside the fan housing, you will find the wiring connections. There will typically be a set of black and white wires (the supply wires) and a set of colored wires (the fan motor wires). The specific colors may vary depending on the manufacturer, so refer to the fan’s instruction manual if necessary.
- Detach the wire connectors: Using your fingers or a pair of pliers, carefully disconnect the wire connectors joining the supply wires and the fan motor wires. Twist the connectors counter-clockwise until they come loose. Once detached, separate the supply wires from the fan motor wires.
It’s important to note the wire connections or take a picture for reference during reinstallation. This will help ensure the correct connections when installing a new exhaust fan or reconnecting the existing one.
After disconnecting the wiring, you can move on to the next step: removing the mounting screws.
Step 4: Remove the Mounting Screws
With the wiring disconnected, it’s time to remove the mounting screws that secure the bathroom exhaust fan in place. These screws hold the fan housing to the ceiling or wall, depending on the installation type. Removing them will allow you to take out the fan completely.
Follow these steps to remove the mounting screws:
- Inspect the fan housing: Take a moment to locate the screws that secure the fan housing. These screws are usually located on the sides or bottom of the housing, depending on the design. Use a flashlight if needed to get a better view of the screws.
- Use the appropriate screwdriver: Depending on the type of screws, use a screwdriver, typically a Phillips or flathead, that fits the screw heads correctly. This ensures that you can remove the screws without damaging them or the surrounding areas.
- Loosen and remove the screws: Starting from one corner, gently loosen and remove each mounting screw. Keep these screws in a safe place as they may be needed for reinstallation or when installing a new exhaust fan.
- Continue removing all the screws: Once the first screw is out, move to the next one and repeat the process. Make sure to work in a systematic manner, removing all the mounting screws one by one until the fan housing is completely free.
Be careful when removing the screws, as some fans may be heavy or have loose components that could fall out once the screws are removed. Use your hands to support the fan housing if necessary to prevent any accidents during the removal process.
With the mounting screws removed, you’re ready to move on to the next step: taking out the exhaust fan itself.
Read more: What Is An Exhaust Fan
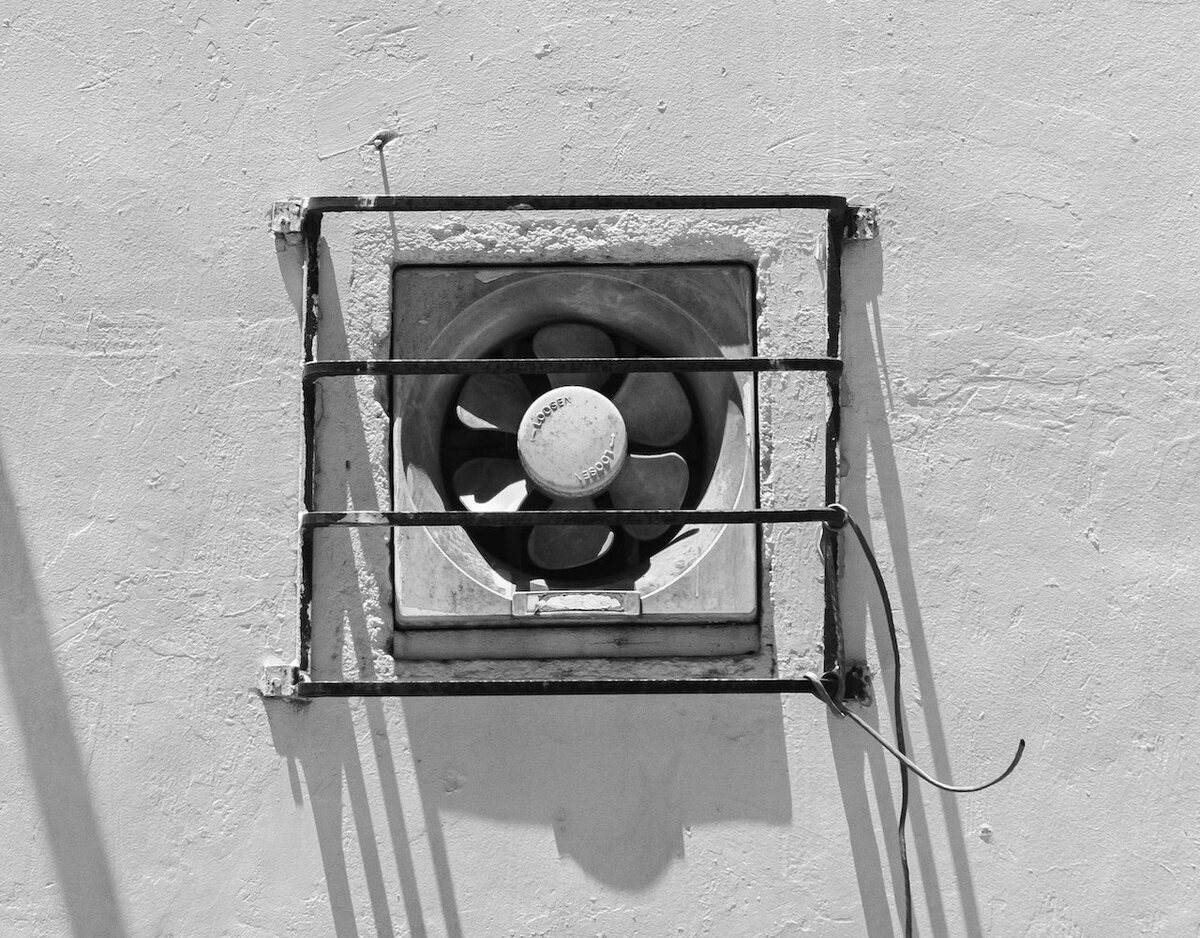
Step 5: Take Out the Exhaust Fan
Now that the mounting screws are removed, you can carefully take out the exhaust fan from its housing. This step requires caution and attention to prevent any damage to the fan or surrounding areas.
Follow these steps to take out the exhaust fan:
- Grip the fan securely: Depending on the size and weight of the fan, use both hands or ask for assistance to ensure a firm grip. Hold the fan from the sides or bottom while supporting its weight.
- Gently pull the fan straight down: Apply even pressure and pull the fan straight down from the housing. Do not twist or force the fan as this could cause damage to the mounting brackets or fan components.
- Check for any additional attachments: Some exhaust fans may have additional brackets or clips that secure them in the housing. Look for any hidden attachments and detach them carefully using a screwdriver or pliers if necessary.
As you remove the fan, be mindful of any electrical wiring or ductwork connected to it. Ensure that these connections are carefully disconnected or detached before fully removing the fan from its housing.
Once the exhaust fan is removed, place it in a safe and secure location. If you are replacing the fan, keep it aside for proper disposal or future use if applicable. If you are planning to clean the fan, proceed to the next step: cleaning the fan and duct.
To remove a bathroom exhaust fan, first, turn off the power to the fan. Then, remove the cover and disconnect the wiring. Next, unscrew the fan from the ceiling or wall and carefully remove it. Finally, install the new fan by following the manufacturer’s instructions.
Step 6: Clean the Fan and Duct
Now that the exhaust fan is removed, it’s an excellent opportunity to clean both the fan itself and the ductwork. Over time, dust, dirt, and debris can accumulate, reducing the fan’s efficiency and potentially causing airflow issues. Cleaning the fan and duct will help maintain optimal performance and improve air quality in your bathroom.
Follow these steps to clean the fan and duct:
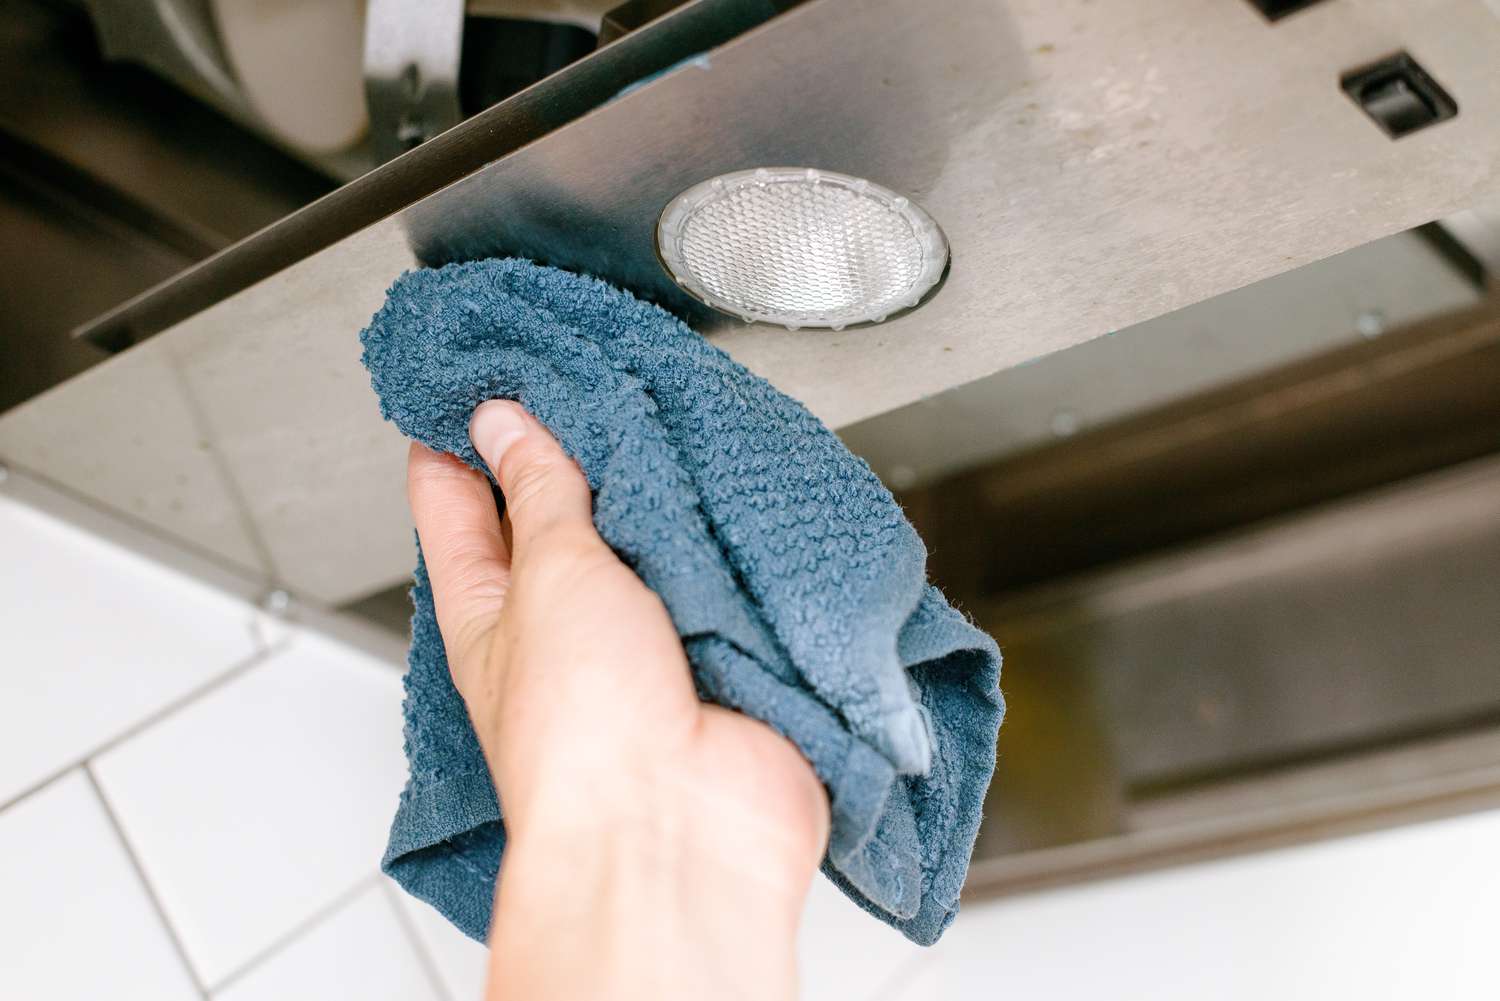
- Clean the fan blades: Use a soft brush, such as a clean paintbrush or toothbrush, to gently remove any dust or debris from the fan blades. Be careful not to bend or damage the blades. For more stubborn dirt, you can use a damp cloth or a mild cleaning solution to wipe away grime. Ensure that the fan is completely dry before reinstallation.
- Clean the fan housing: Wipe down the fan housing with a damp cloth to remove any dust or dirt that may have accumulated. Pay attention to the grille or vent cover, ensuring that it is free from any debris or obstructions. If the grille is removable, clean it separately using water and mild soap if needed.
- Inspect and clean the ductwork: If accessible, take a look inside the ductwork and inspect for any buildup of dirt or debris. Using a vacuum cleaner or a long-handled brush, carefully remove any visible dirt or blockages. If necessary, you can hire a professional duct cleaning service to thoroughly clean the ductwork.
Regular cleaning of the fan and ductwork will help maintain proper airflow and prevent potential issues caused by a buildup of dust and debris. Once you are satisfied with the cleaning process, you can move on to the next step: installing a new exhaust fan (optional).
Step 7: Install a New Exhaust Fan (Optional)
If you are replacing the old exhaust fan or if you have decided to upgrade to a new model, this step will guide you through the process of installing a new exhaust fan. Installing a new fan can greatly improve ventilation in your bathroom and enhance air quality. Before proceeding, ensure that you have chosen a compatible replacement fan and have read the manufacturer’s instructions.
Follow these steps to install a new exhaust fan:
- Prepare the opening: If you are replacing an existing fan, remove any remaining components such as mounting brackets or duct connectors. Clean the area thoroughly and ensure that the opening is free from debris or obstructions.
- Connect the wiring: Follow the manufacturer’s instructions to properly connect the electrical wiring of the new fan. Match the supply wires from the electrical box with the corresponding colored wires on the fan. Secure them together using wire connectors and ensure a tight connection.
- Secure the fan housing: Position the new exhaust fan in the opening and align it with the mounting holes. Use the provided screws to secure the fan housing to the ceiling or wall. Ensure that the fan is level and properly aligned before tightening the screws.
- Attach the ductwork: If your new fan requires ductwork, follow the manufacturer’s instructions to attach the duct connector to the fan housing. Use HVAC foil tape or clamps to secure the connection, ensuring an airtight seal. Extend the ductwork to the appropriate venting location and secure it using compatible connectors.
- Install the fan cover: Attach the fan cover or grille to the fan housing according to the manufacturer’s instructions. Ensure that it is firmly in place and properly aligned. Some covers may require screws or clips to secure them, while others may snap into place.
- Restore power and test the fan: Once the new exhaust fan is installed, restore power to the bathroom by turning on the circuit breaker. Test the fan by flipping the switch or operating the fan controls. Ensure that the fan is functioning properly and that it is effectively venting air out of the bathroom.
Remember to consult the specific instructions provided by the manufacturer for your particular exhaust fan model. If you are unsure about any step or if you are not comfortable with electrical work, it is recommended to seek the assistance of a professional electrician.
With the new exhaust fan successfully installed and functional, you can now move on to the next step: replacing the cover.
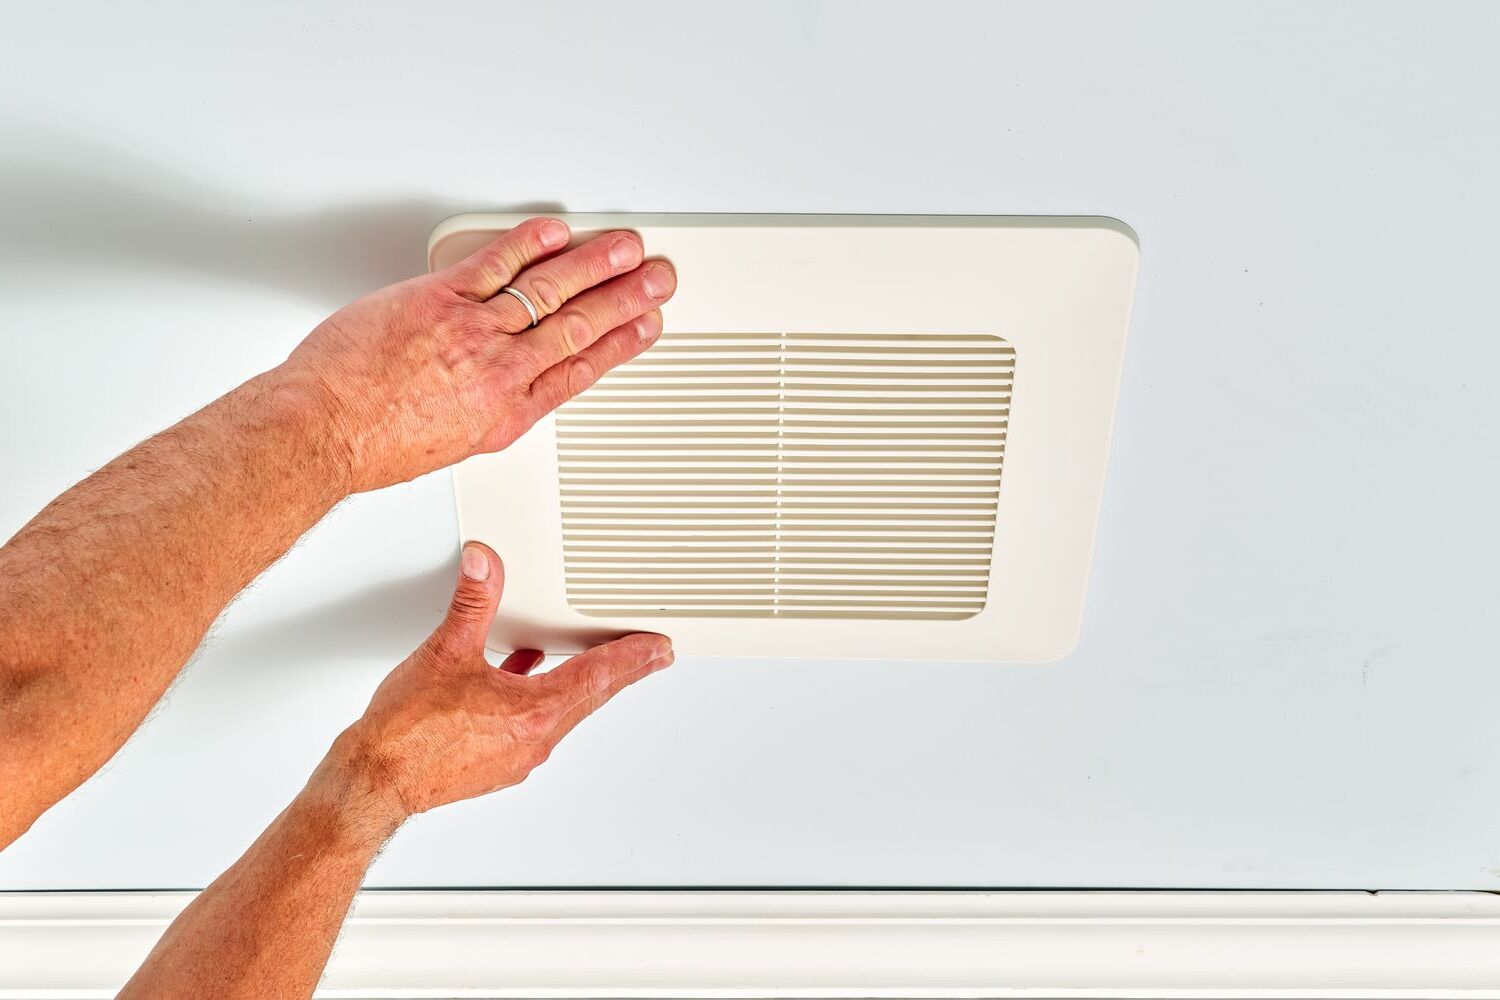
Step 8: Replace the Cover
Now that the exhaust fan is installed and functioning properly, it’s time to replace the cover. The cover not only enhances the aesthetic appeal of the fan but also helps to protect the internal components from dust and debris.
Follow these steps to replace the cover:
- Position the cover: Align the cover with the fan housing, ensuring that it fits securely in place. Check for any alignment marks or grooves that indicate the proper positioning of the cover.
- Engage the tabs or position the screws: Depending on the type of cover, secure it into place using the provided tabs or screws. For covers with tabs, insert them into their respective slots and press down until they snap into place. If your cover requires screws, insert them into the pre-drilled holes and tighten them using a screwdriver.
- Check the cover for stability: Once the cover is in place, give it a gentle shake or push to ensure that it is secure and stable. If it feels loose or unstable, double-check the tabs or screws and adjust them as necessary to achieve a secure fit.
Replacing the cover is a straightforward process, but it’s essential to ensure that it is properly aligned and securely fastened. This will prevent any potential issues, such as the cover falling off or rattling when the fan is in operation.
With the cover replaced, you’re almost done. The next step is to restore power and test the fan to ensure it is functioning as intended.
Read more: How To Change Bathroom Exhaust Fan
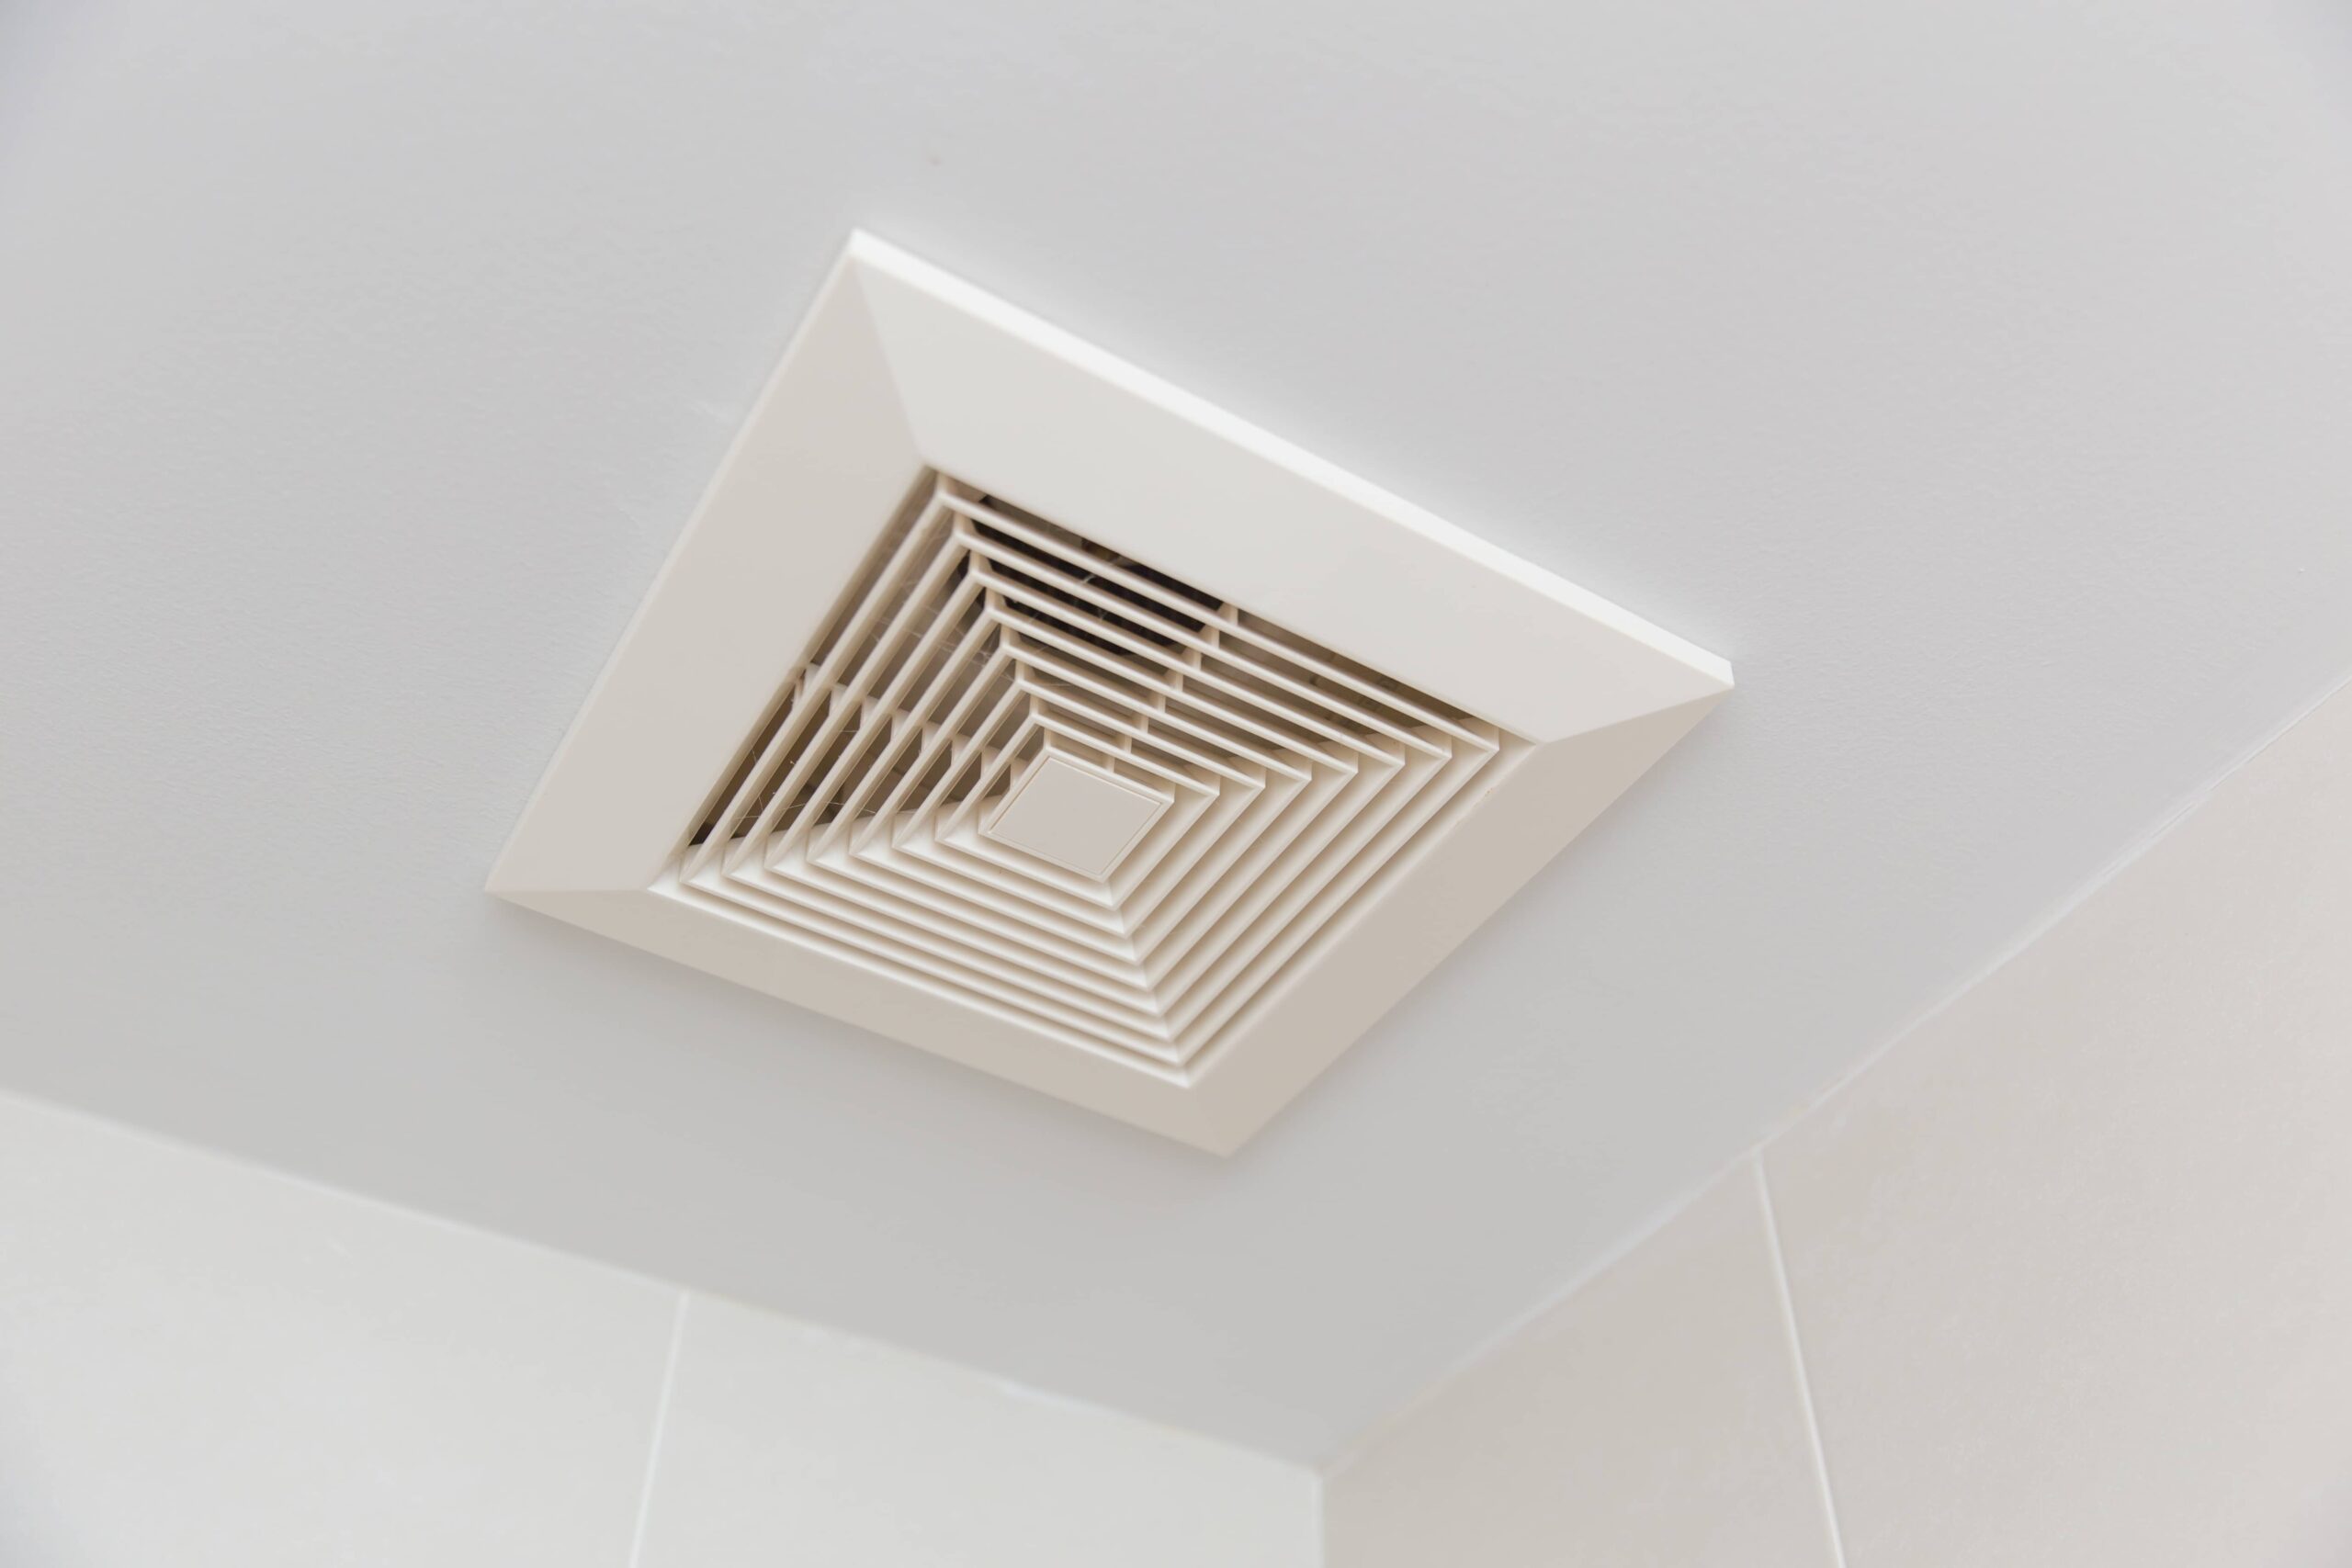
Step 9: Restore Power and Test the Fan
After successfully replacing the cover, it’s time to restore power to the bathroom and test the fan to ensure it is functioning correctly. This step is crucial to verify that the installation and connection were done properly and that the fan is effectively ventilating the bathroom.
Follow these steps to restore power and test the fan:
- Return to the circuit breaker box: Locate the circuit breaker that controls the power supply to the bathroom. Switch it back to the “on” position to restore power.
- Flip the fan switch or use the controls: Go to the bathroom and flip the fan switch or utilize the fan controls, depending on the type of switch or controls installed. This should activate the fan.
- Listen for the fan operation: As the fan runs, listen for any unusual noises or vibrations that could indicate a problem. The fan should operate smoothly and quietly, effectively drawing out moist air and odors from the bathroom.
- Check the airflow: Hold a tissue or a thin piece of paper up to the grille or vent cover to check if there is proper airflow. The paper should be pulled towards the fan, indicating that the ventilation system is working correctly.
If you notice any issues during the testing phase, such as abnormal noises, poor airflow, or the fan not turning on, it may indicate an installation or wiring problem. In such cases, it is recommended to consult a professional electrician for further inspection and assistance.
Congratulations! You have successfully removed, cleaned, and installed a bathroom exhaust fan. Regular maintenance and cleaning of the fan will help ensure its longevity and optimal performance.
Remember, if you encounter any difficulties or are not comfortable with any step of the process, it’s best to consult a professional. Your safety should always be the top priority when working with electrical components.
With a properly functioning exhaust fan, you can enjoy a well-ventilated and fresh bathroom environment, free from excess moisture and odors.
Thank you for following this comprehensive guide on how to remove a bathroom exhaust fan. We hope this guide has been helpful to you and wish you success in your DIY project!
Conclusion
Congratulations! You have reached the end of this comprehensive guide on how to remove a bathroom exhaust fan. We have covered all the necessary steps, from turning off the power to testing the fan, to ensure a safe and successful removal process.
By following the steps outlined in this guide, you can confidently remove the cover, disconnect the wiring, remove the mounting screws, take out the exhaust fan, clean it, and even install a new fan if desired. Regular cleaning and maintenance of your bathroom exhaust fan will help keep it functioning efficiently and prolong its lifespan.
Remember, safety should always be your top priority when working with electrical components. Ensure that the power is turned off before starting any work, and if you are unsure about any step, it is best to consult a professional electrician for assistance.
A properly installed and well-maintained bathroom exhaust fan plays a crucial role in maintaining good air quality and preventing excess moisture buildup in your bathroom. It helps to remove odors, reduce humidity levels, and prevent the growth of mold and mildew.
We hope this guide has been informative and helpful in guiding you through the process of removing a bathroom exhaust fan. Whether you are cleaning, repairing, or replacing the fan, following these steps will ensure a smooth and successful experience.
Thank you for taking the time to read this guide. We wish you the best of luck with your bathroom exhaust fan project!
Frequently Asked Questions about How To Remove Bathroom Exhaust Fan
Was this page helpful?
At Storables.com, we guarantee accurate and reliable information. Our content, validated by Expert Board Contributors, is crafted following stringent Editorial Policies. We're committed to providing you with well-researched, expert-backed insights for all your informational needs.


0 thoughts on “How To Remove Bathroom Exhaust Fan”