Home>Furniture & Design>Bedroom Furniture>How To Clean A Memory Foam Bath Mat

Bedroom Furniture
How To Clean A Memory Foam Bath Mat
Modified: August 17, 2024
Learn how to effectively clean and maintain your memory foam bath mat with our expert tips. Keep your bedroom furniture looking fresh and inviting.
(Many of the links in this article redirect to a specific reviewed product. Your purchase of these products through affiliate links helps to generate commission for Storables.com, at no extra cost. Learn more)
Introduction
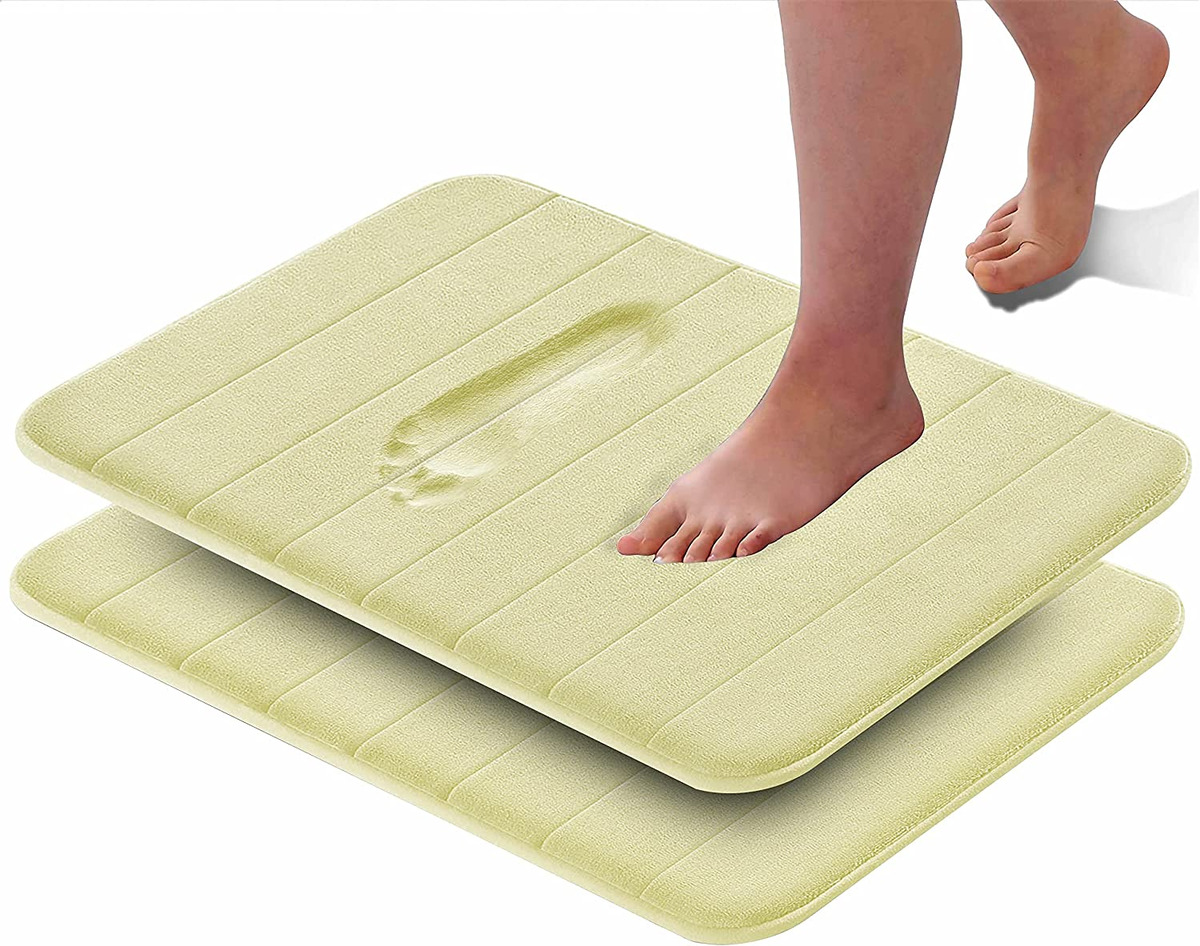
Welcome to the ultimate guide on how to clean a memory foam bath mat! Memory foam bath mats are a luxurious addition to any bathroom, providing comfort and style. Over time, these mats can accumulate dirt, spills, and stains, making it essential to know the proper cleaning techniques to maintain their plushness and functionality.
In this comprehensive guide, we will walk you through the step-by-step process of effectively cleaning your memory foam bath mat. By following these easy-to-implement methods, you can ensure that your bath mat remains fresh, clean, and inviting for years to come.
Whether you've just purchased a new memory foam bath mat or want to revitalize your existing one, this guide will equip you with the knowledge and tools needed to keep your bath mat looking its best. So, let's dive in and discover the best practices for preserving the comfort and beauty of your memory foam bath mat!
Key Takeaways:
- Keep your memory foam bath mat clean and inviting by shaking out and vacuuming regularly, spot cleaning stains with gentle solutions, and machine washing with care to maintain its plushness and allure.
- Ensure your memory foam bath mat stays fresh and luxurious by gently air-drying it to perfection, fluffing and reshaping as needed, and embracing regular maintenance to prolong its lifespan and aesthetic appeal.
Read more: How To Clean A Rubber Bath Mat
Materials Needed
Before embarking on the cleaning process, it’s essential to gather the necessary materials. The following items will help you achieve optimal results when cleaning your memory foam bath mat:
- Mild detergent or gentle laundry soap
- White vinegar
- Baking soda
- A vacuum cleaner with a brush attachment
- A soft-bristled brush or sponge
- A washing machine (with a gentle cycle option, if available)
- Large towels
- A well-ventilated area for drying
By having these materials on hand, you’ll be fully prepared to tackle the cleaning process with confidence and efficiency. Each item plays a crucial role in ensuring that your memory foam bath mat is thoroughly cleaned and maintained without causing damage.
Now that you’ve gathered your materials, it’s time to delve into the step-by-step cleaning process to restore your memory foam bath mat to its pristine condition.
Step 1: Shake Out the Mat
The first step in cleaning your memory foam bath mat is to remove loose dirt, debris, and hair by giving it a good shake. Taking the mat outdoors, gently shake it to dislodge any surface particles that have accumulated over time. This simple yet effective method helps to eliminate the initial layer of dirt, making the subsequent cleaning process more efficient.
Shaking out the mat is particularly beneficial for removing loose hair, dust, and other small particles that may have settled into the fibers of the memory foam. By performing this initial step, you’ll prevent these particles from becoming further embedded during the subsequent cleaning stages.
It’s important to handle the mat with care while shaking it, ensuring that you do not stretch or distort its shape. Additionally, be mindful of the surrounding area to prevent the dispersed dirt from resettling nearby. Once you’ve completed this step, your memory foam bath mat will be primed and ready for the deeper cleaning methods that follow.
With the loose debris removed, you’re now prepared to move on to the next step in the cleaning process. Let’s continue our journey toward restoring the freshness and allure of your memory foam bath mat!
Step 2: Vacuum the Mat
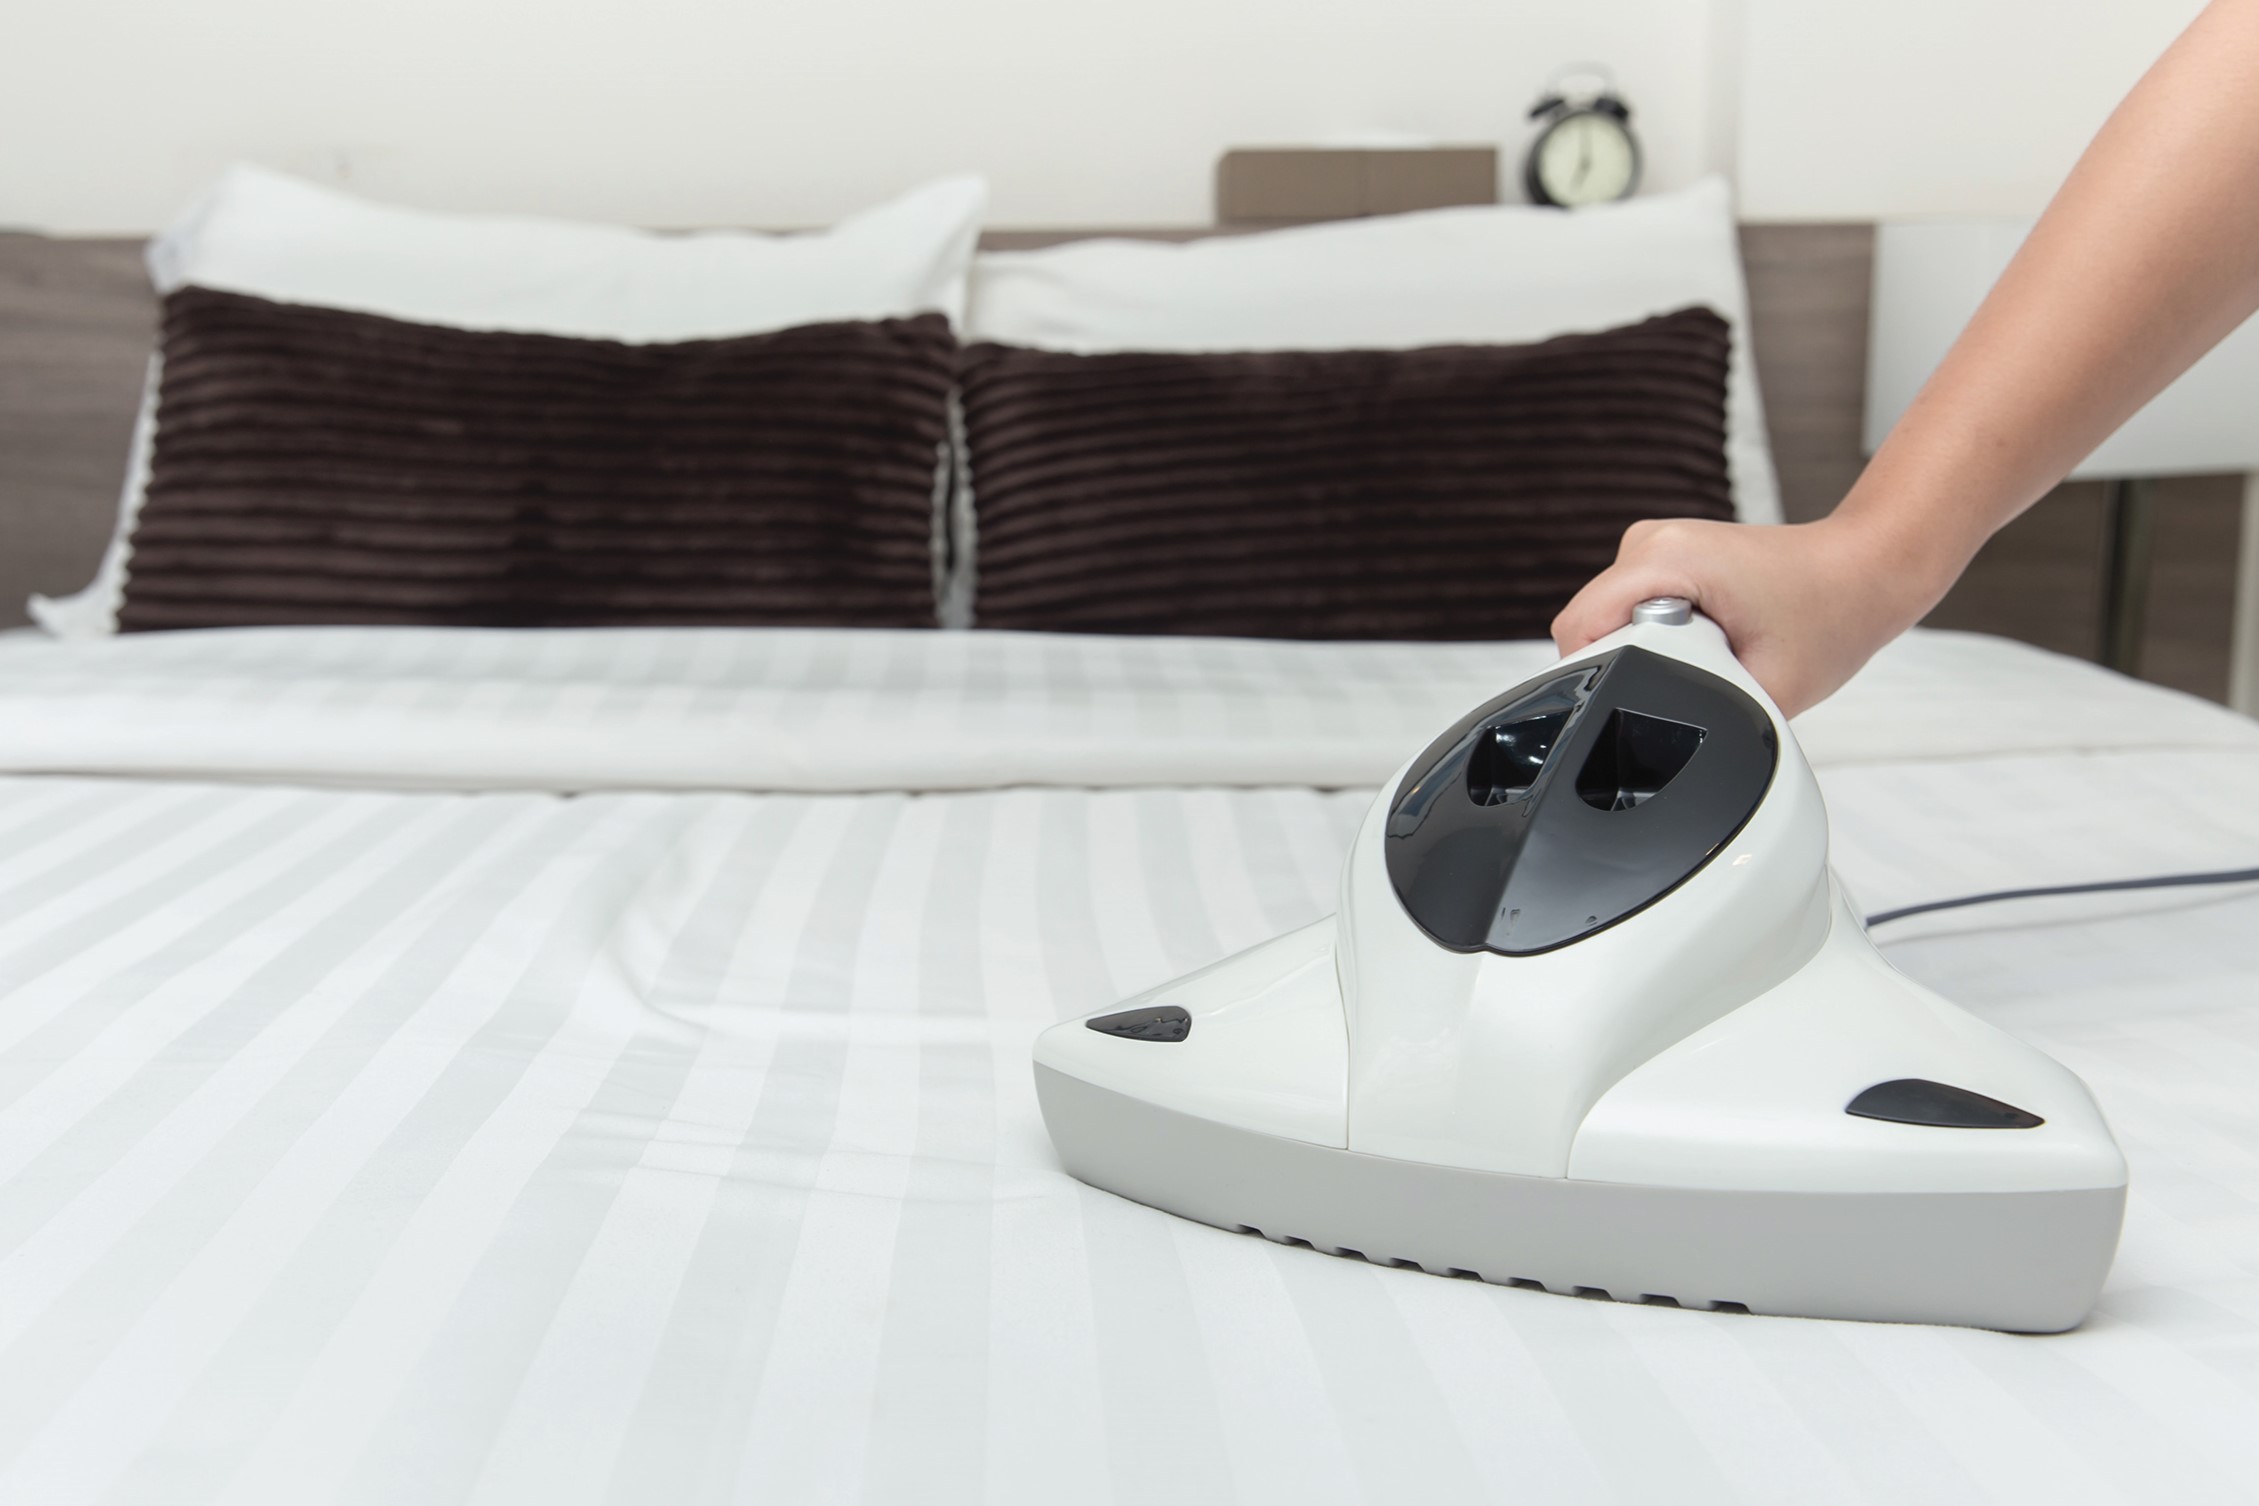
After shaking out the memory foam bath mat, the next crucial step is to thoroughly vacuum it to remove embedded dirt, dust, and smaller particles that may remain trapped within the fibers. Using a vacuum cleaner with a brush attachment is essential for this task, as it enables gentle yet effective extraction of debris without causing damage to the delicate foam material.
When vacuuming the bath mat, ensure that the brush attachment is set to a low or medium suction level to prevent excessive force on the foam. Begin by running the vacuum over the entire surface of the mat, using smooth and deliberate motions to lift embedded dirt and dust. Pay special attention to the edges and corners, as these areas tend to collect more debris.
For optimal results, consider vacuuming both sides of the mat to ensure a thorough cleaning. This approach helps to dislodge any particles that may be deeply embedded within the foam, thereby enhancing the overall cleanliness and appearance of the mat.
By effectively vacuuming the memory foam bath mat, you’ll significantly reduce the presence of dirt and allergens, contributing to a healthier and more hygienic bathroom environment. Once the vacuuming process is complete, you’ll be one step closer to revitalizing your bath mat and preserving its luxurious texture and appeal.
With the mat now free of embedded debris, it’s time to address any stubborn stains or spots that may have developed over time. Let’s proceed to the next step and discover how to effectively spot clean your memory foam bath mat!
To clean a memory foam bath mat, start by shaking off any loose debris. Then, spot clean any stains with a mixture of mild detergent and water. Gently scrub the area with a soft brush, then rinse and air dry. Avoid using harsh chemicals or machine washing.
Step 3: Spot Clean Stains
Spot cleaning is a crucial step in the process of restoring the pristine condition of your memory foam bath mat. Over time, stains and spills may occur, detracting from the mat’s overall appearance and cleanliness. By employing the following techniques, you can effectively target and remove these blemishes, renewing the mat’s allure.
1. Blotting Method: For fresh spills or stains, begin by gently blotting the affected area with a clean, absorbent cloth to absorb as much of the liquid as possible. Avoid rubbing the stain, as this can cause it to spread and become further ingrained in the foam.
2. Vinegar Solution: Create a solution of white vinegar and water, using a 1:1 ratio. Dab a small amount of the solution onto the stained area, allowing it to sit for a few minutes to help break down the stain. Afterward, blot the area with a clean, damp cloth to remove the vinegar solution and residual stain.
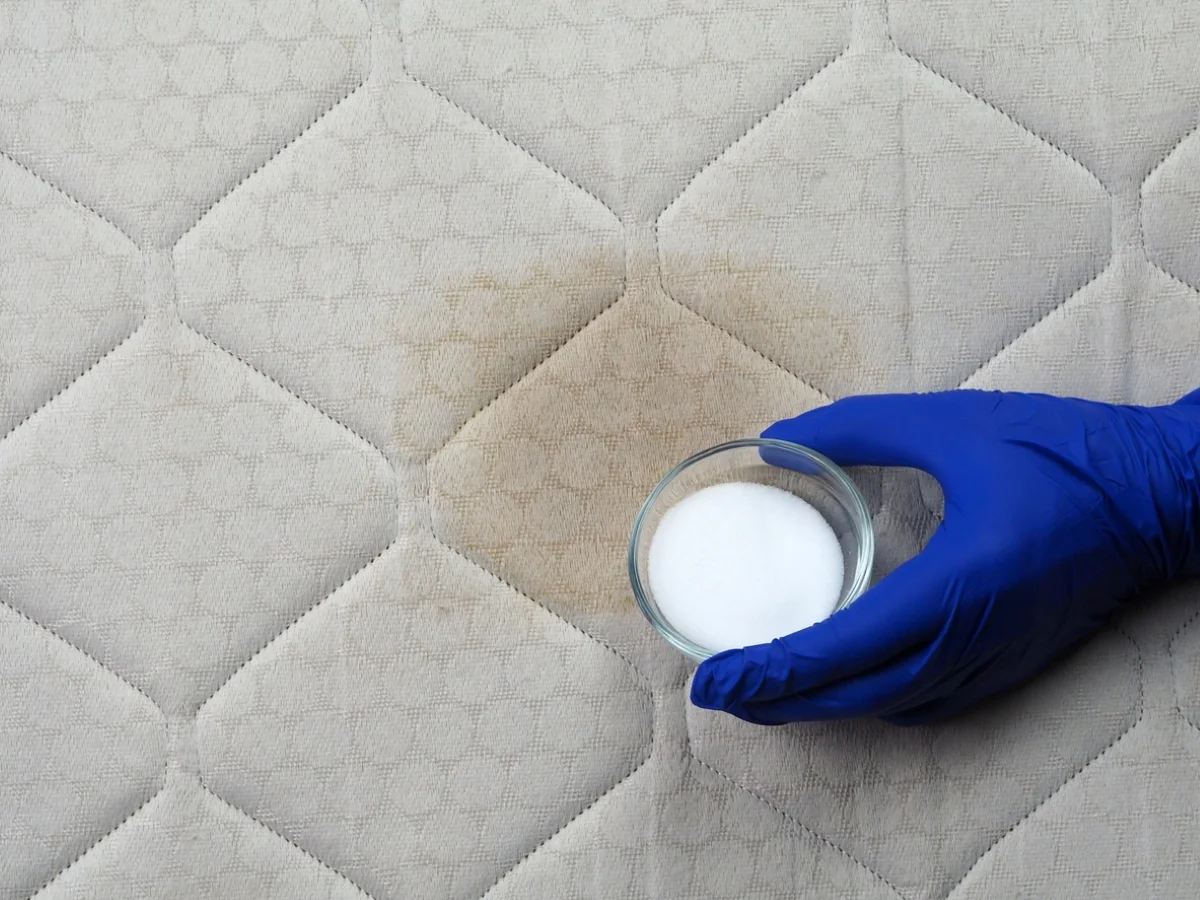
3. Baking Soda Paste: For tougher or more persistent stains, consider creating a paste using baking soda and water. Gently apply the paste to the affected area, allowing it to sit for approximately 15-20 minutes. Then, using a soft-bristled brush or sponge, gently work the paste into the stain before rinsing the area with a clean, damp cloth.
It’s important to exercise patience and gentleness when spot cleaning your memory foam bath mat, as aggressive scrubbing or the use of harsh chemicals can compromise the integrity of the foam material. By employing these targeted cleaning methods, you can effectively address stains and spills, restoring the mat’s pristine appearance and comfort.
With the stains effectively treated, the next step involves laundering the memory foam bath mat to ensure a comprehensive and deep cleaning. Let’s proceed to the subsequent step and learn how to machine wash the mat with care and precision!
Read more: How To Clean Loofah Bath Mat
Step 4: Machine Wash the Mat
Machine washing your memory foam bath mat is a pivotal step in achieving a thorough and rejuvenating clean. However, it’s essential to approach this process with care and precision to prevent damage to the delicate foam material. By following the guidelines below, you can effectively launder your bath mat, restoring its plushness and cleanliness:
1. Preparation: Before placing the memory foam bath mat in the washing machine, ensure that it is free of excess debris and hair. This can be achieved by shaking and vacuuming the mat, as previously outlined in the cleaning process.
2. Machine Settings: Set your washing machine to a gentle or delicate cycle, using cold water and a mild detergent or gentle laundry soap. Avoid using harsh detergents, bleach, or fabric softeners, as these can compromise the integrity of the memory foam.
3. Load Placement: Place the memory foam bath mat in the washing machine, ensuring that it has ample space to move freely within the drum. If washing multiple items, avoid overcrowding the machine to allow for thorough cleaning and rinsing.
4. Washing Process: Allow the washing machine to complete the gentle cycle, ensuring that the bath mat is thoroughly and evenly cleaned. Avoid using hot water, as this can damage the foam and cause deformation.
5. Rinsing and Drying: Once the washing cycle is complete, remove the memory foam bath mat from the machine and gently squeeze out excess water without wringing or twisting the foam. Then, proceed to the drying process to ensure that the mat is fully and carefully dried.
By adhering to these guidelines, you can effectively launder your memory foam bath mat, eliminating accumulated dirt, stains, and odors while preserving the integrity of the foam material. With the mat now freshly laundered, it’s time to proceed to the final step in the cleaning process: drying the mat to perfection.
Let’s move on to the next step and discover the best practices for ensuring that your memory foam bath mat is thoroughly and safely dried, ready to reclaim its role as a luxurious and inviting bathroom accessory!
Step 5: Dry the Mat
After machine washing your memory foam bath mat, the final step in the cleaning process involves ensuring that it is thoroughly and carefully dried. Proper drying techniques are essential for preserving the integrity of the foam material and preventing the development of musty odors. By following the steps outlined below, you can effectively dry your bath mat to perfection:
1. Gentle Squeezing: Upon removing the bath mat from the washing machine, gently squeeze out excess water without applying excessive force or twisting the foam. This initial step helps to reduce the mat’s moisture content before proceeding to the drying phase.
2. Patting with Towels: Lay the memory foam bath mat flat on a clean, dry towel, gently pressing another towel on top to absorb additional moisture. Avoid vigorous rubbing or wringing, as this can damage the foam and disrupt its plush texture.
3. Air Drying: Find a well-ventilated area, preferably outdoors or in a room with ample airflow, to allow the bath mat to air dry naturally. Position the mat on a flat surface, ensuring that it is exposed to circulating air to facilitate thorough and even drying.
4. Fluffing and Reshaping: Periodically fluff and reshape the memory foam bath mat during the drying process to prevent any potential stiffness or distortion. Gently pat and manipulate the foam to help it regain its original plushness and shape.
5. Complete Drying: Allow the memory foam bath mat to air dry completely before returning it to the bathroom. Depending on the ambient conditions, this process may take several hours to a full day, ensuring that the mat is entirely free of moisture.
By carefully following these drying techniques, you can safeguard the quality and comfort of your memory foam bath mat, ensuring that it emerges from the cleaning process rejuvenated and ready to adorn your bathroom with its inviting softness.
With the mat now thoroughly dried, you have successfully completed the comprehensive cleaning process, revitalizing your memory foam bath mat and preserving its allure for continued enjoyment. By incorporating these essential cleaning steps into your routine maintenance, you can ensure that your bath mat remains a luxurious and hygienic addition to your bathroom for years to come.
Now that you’ve mastered the art of cleaning a memory foam bath mat, you can revel in the comfort and elegance it brings to your daily routine, knowing that it is maintained in optimal condition through your attentive care and cleaning prowess.
Conclusion
Congratulations on successfully completing the journey of revitalizing and preserving your memory foam bath mat! By following the comprehensive cleaning steps outlined in this guide, you have empowered yourself with the knowledge and techniques needed to maintain your bath mat’s comfort, cleanliness, and allure.
From shaking out the mat to gently air-drying it to perfection, each step in the cleaning process plays a vital role in ensuring that your memory foam bath mat remains a luxurious and inviting fixture in your bathroom. By incorporating these cleaning practices into your regular maintenance routine, you can prolong the lifespan of your bath mat and continue to relish its plushness and aesthetic appeal.
Remember, proactive care and attention to detail are key to preserving the quality and comfort of your memory foam bath mat. Regularly shaking out and vacuuming the mat, promptly addressing stains and spills, and employing gentle washing and drying techniques are essential for maintaining its pristine condition over time.
As you bask in the softness and elegance of your freshly cleaned memory foam bath mat, take pride in the commitment you’ve shown to its upkeep. Your dedication to preserving this essential bathroom accessory ensures that it continues to enhance your daily routine with its plush comfort and visual charm.
With your newfound expertise in cleaning and maintaining a memory foam bath mat, you can confidently share these valuable insights with friends and family, empowering them to care for their bath mats with the same level of proficiency and dedication.
By embracing the art of cleaning and preserving your memory foam bath mat, you’ve elevated the ambiance and comfort of your bathroom, transforming it into a sanctuary of relaxation and luxury. As you step onto your freshly cleaned bath mat, revel in the indulgent softness and pristine condition that reflect your unwavering commitment to a clean and inviting home environment.
So, go ahead and enjoy the plush comfort and visual allure of your rejuvenated memory foam bath mat, knowing that your attentive care and cleaning prowess have contributed to its enduring beauty and functionality.
Frequently Asked Questions about How To Clean A Memory Foam Bath Mat
Was this page helpful?
At Storables.com, we guarantee accurate and reliable information. Our content, validated by Expert Board Contributors, is crafted following stringent Editorial Policies. We're committed to providing you with well-researched, expert-backed insights for all your informational needs.



0 thoughts on “How To Clean A Memory Foam Bath Mat”