Home>Furniture & Design>Interior Design Trends>How To Change Rollers On Sliding Glass Door

Interior Design Trends
How To Change Rollers On Sliding Glass Door
Modified: August 27, 2024
Learn how to change rollers on sliding glass doors and keep up with the latest interior design trends. Upgrade your space with our expert tips and advice.
(Many of the links in this article redirect to a specific reviewed product. Your purchase of these products through affiliate links helps to generate commission for Storables.com, at no extra cost. Learn more)
Introduction
Sliding glass doors are a popular feature in many homes, offering a seamless transition between indoor and outdoor spaces while allowing natural light to flood the interior. However, over time, the rollers that enable smooth and effortless operation of these doors can wear out, leading to difficulty in opening and closing the door. Fortunately, replacing the rollers on a sliding glass door is a manageable task that can be accomplished with the right tools and a bit of know-how.
In this comprehensive guide, we will walk you through the process of changing the rollers on a sliding glass door, providing step-by-step instructions and valuable tips to ensure a successful outcome. Whether you are a seasoned DIY enthusiast or a novice homeowner looking to tackle a home improvement project, this guide will equip you with the knowledge and confidence to restore the functionality of your sliding glass door.
By following the instructions outlined in this guide, you can breathe new life into your sliding glass door, restoring its smooth operation and enhancing the overall functionality of your living space. With the right tools and a willingness to roll up your sleeves, you can take on this project with ease and achieve a satisfying result. So, let's dive in and learn how to change the rollers on a sliding glass door, revitalizing this essential element of your home.
Key Takeaways:
- Revitalize your sliding glass door by changing the rollers using simple tools and materials. Follow step-by-step instructions to restore smooth operation and enhance your living space with renewed functionality.
- Ensure optimal performance by adjusting the new rollers and thoroughly testing the door. Achieve smooth, secure movement and reliable functionality for a seamless indoor-outdoor transition.
Read more: How To Replace Rollers On Sliding Glass Door
Tools and Materials Needed
Before embarking on the task of changing the rollers on a sliding glass door, it's essential to gather the necessary tools and materials to ensure a smooth and efficient process. Here's a comprehensive list of what you'll need:
Tools:
- Screwdriver Set: A set of screwdrivers, including both flathead and Phillips head varieties, will be indispensable for removing screws and disassembling components.
- Pry Bar or Putty Knife: This tool will come in handy for carefully prying off the door frame trim and other components without causing damage.
- Adjustable Wrench: An adjustable wrench will be useful for various tasks, such as loosening and tightening nuts and bolts.
- Vacuum Cleaner: Keeping a vacuum nearby will help in cleaning up any debris or dirt that may be present during the process.
- Safety Glasses and Gloves: It's important to prioritize safety, so be sure to wear protective glasses and gloves to shield your eyes and hands from potential hazards.
Materials:
- Replacement Rollers: Ensure you have the correct replacement rollers for your specific sliding glass door model. It's advisable to consult the door's manual or seek guidance from a professional if you're unsure.
- Lubricant: Having a high-quality lubricant on hand will facilitate smooth operation of the new rollers and contribute to the longevity of the door's functionality.
- Cleaning Solution: Prepare a mild cleaning solution to thoroughly clean the door tracks and remove any accumulated dirt or debris.
- Rags and Cleaning Brushes: These will be essential for wiping down surfaces and reaching into tight spaces to ensure the door tracks are clean and free from obstructions.
- Replacement Screws: In case the existing screws are worn or damaged, having a set of replacement screws available will ensure a secure reassembly of components.
By ensuring you have all the necessary tools and materials at your disposal, you'll be well-prepared to tackle the task of changing the rollers on your sliding glass door. With these essentials in hand, you can proceed with confidence, knowing that you have everything you need to complete the project effectively and efficiently.
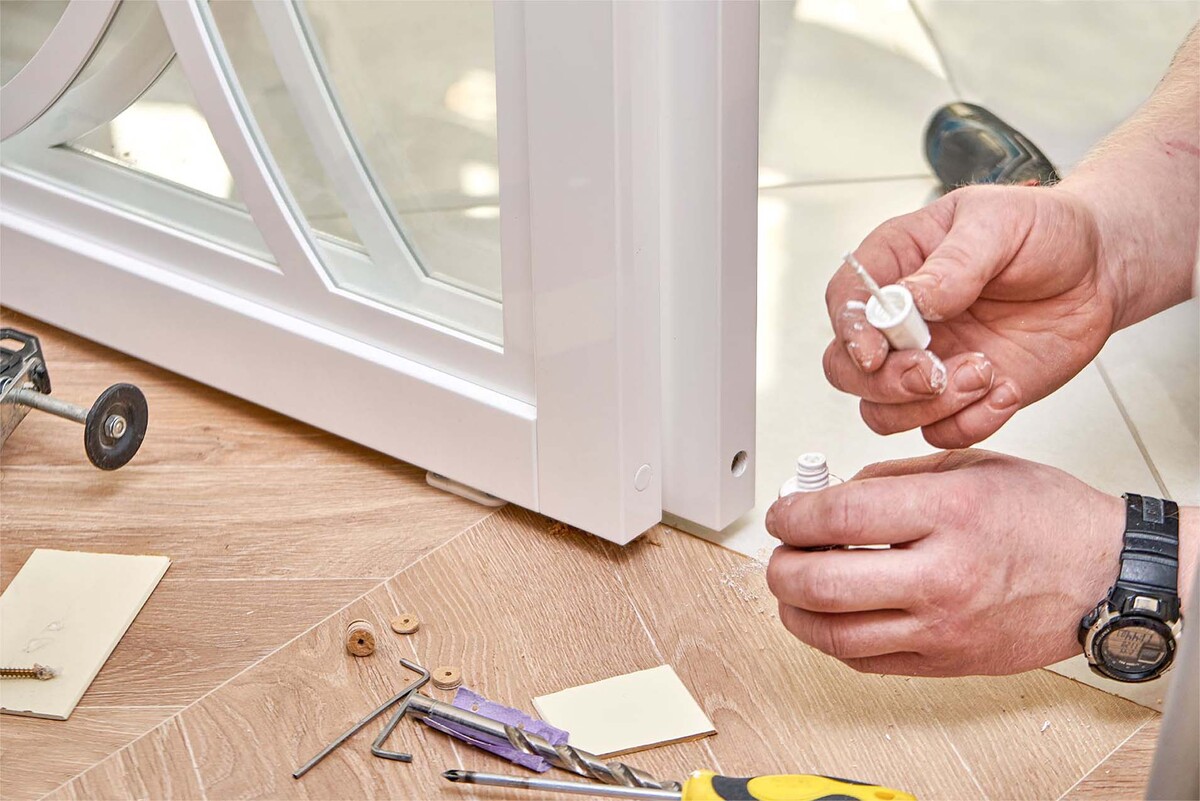
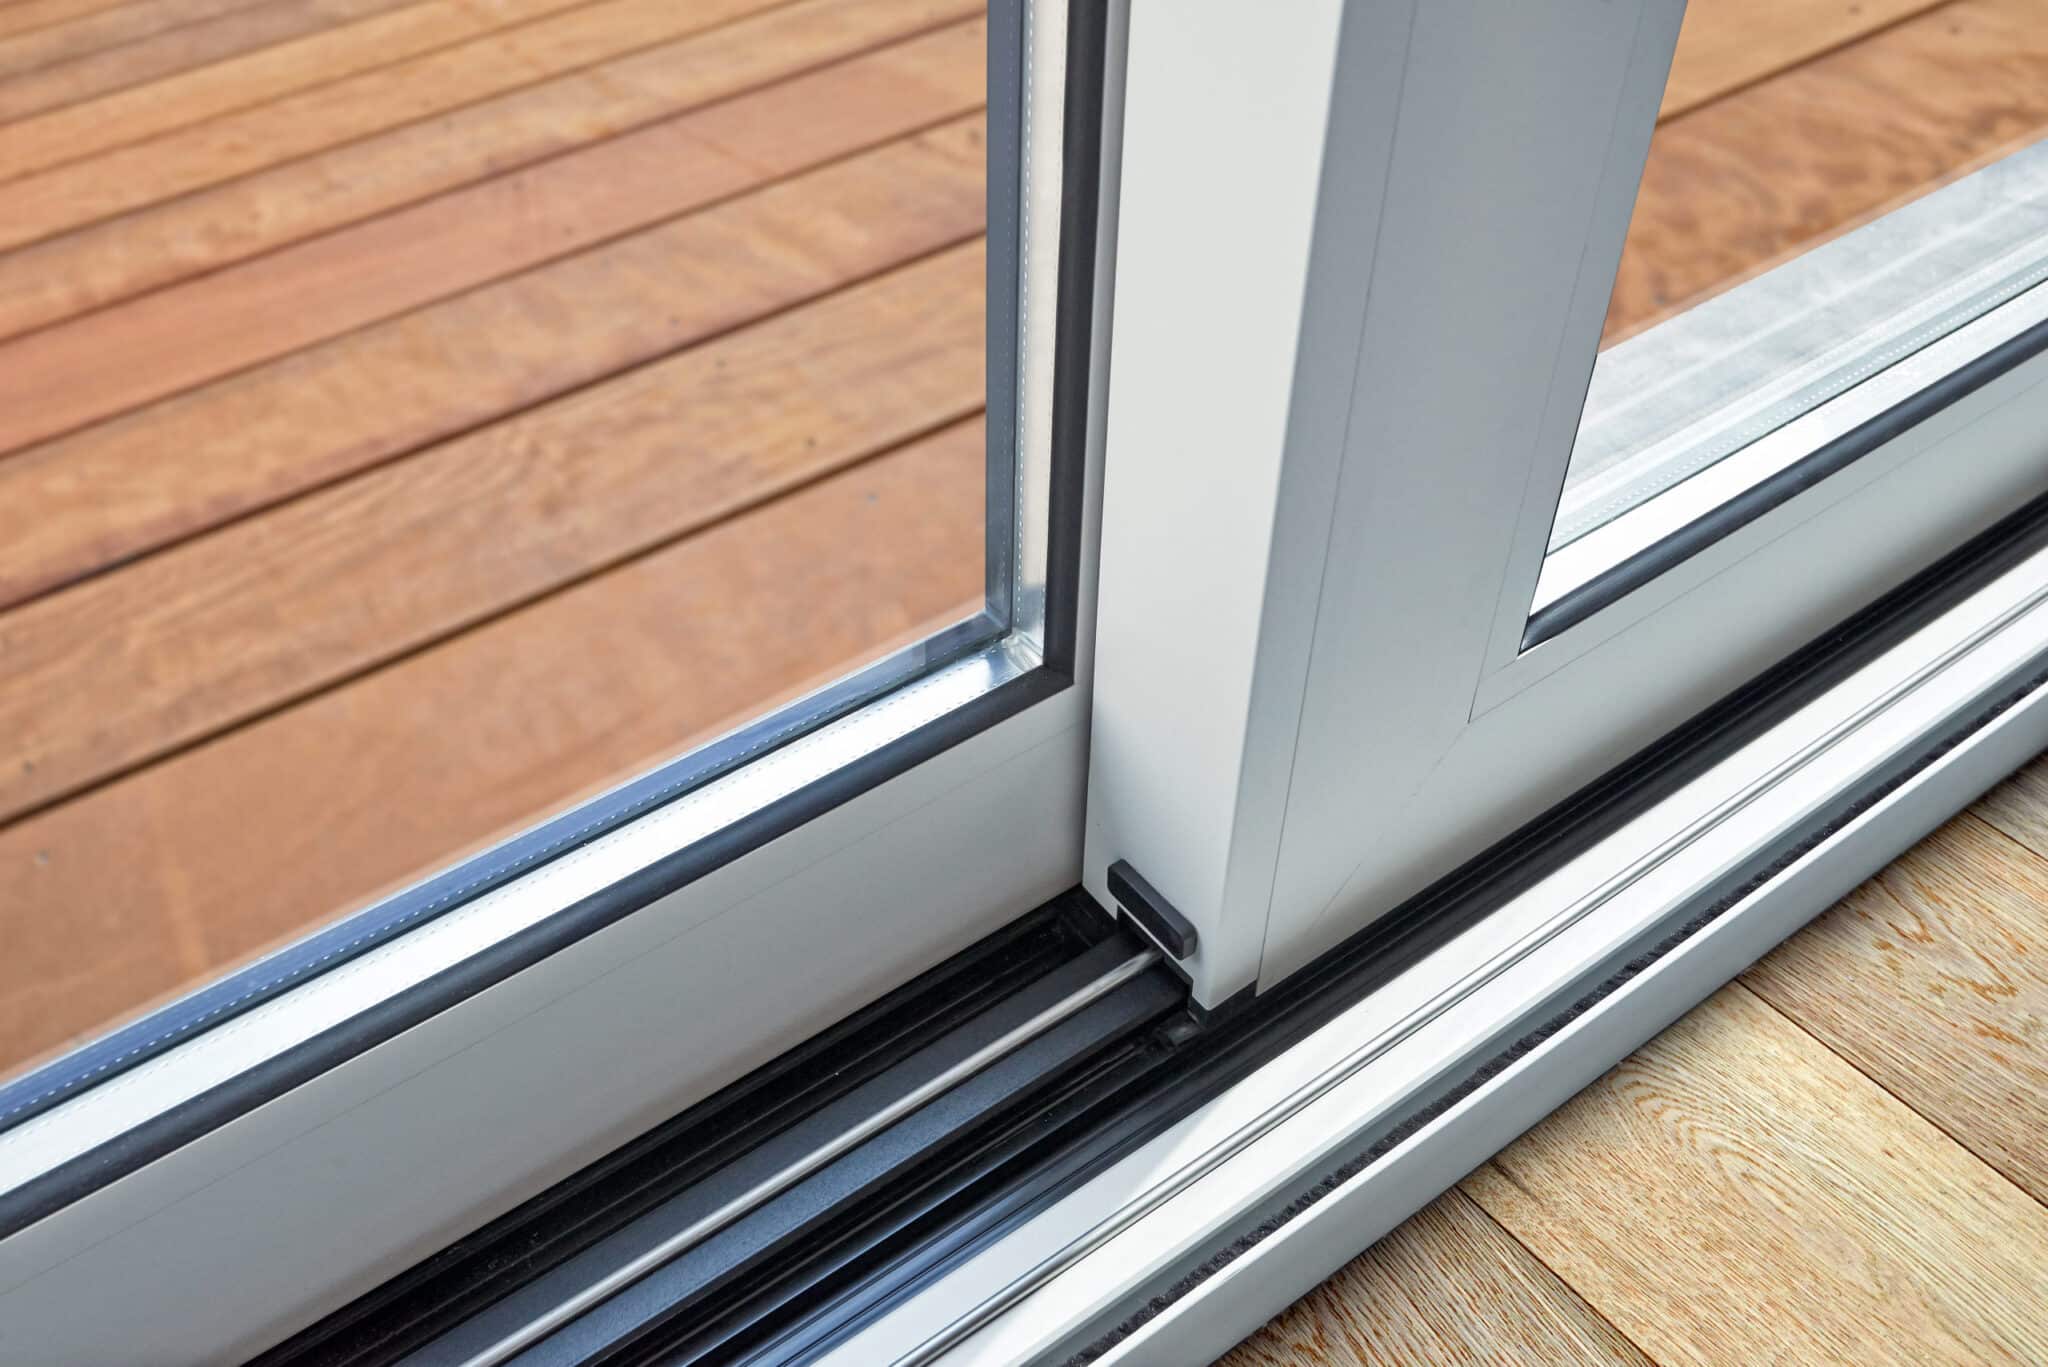
Removing the Old Rollers
When it comes to rejuvenating the functionality of a sliding glass door, the first step is to remove the old, worn-out rollers. This process requires careful attention to detail and a systematic approach to ensure a smooth transition to the installation of new rollers. Here's a detailed breakdown of the steps involved in removing the old rollers:
-
Prepare the Work Area: Begin by clearing the immediate area around the sliding glass door to create a safe and unobstructed workspace. Remove any obstacles or furnishings that may impede your access to the door, allowing ample room to maneuver during the roller removal process.
-
Lift the Sliding Panel: With the help of a partner, carefully lift the sliding panel of the door to alleviate pressure on the rollers. This step is crucial in preventing any damage to the door or its components during the removal process.
-
Remove the Door Frame Trim: Using a pry bar or putty knife, gently pry off the door frame trim to expose the rollers and their housing. Exercise caution to avoid damaging the trim or adjacent surfaces while performing this task.
-
Access the Rollers: Once the door frame trim is removed, you will have clear access to the rollers and their housing. Take a moment to inspect the condition of the rollers and assess any visible signs of wear or damage.
-
Unscrew the Roller Housing: Utilizing the appropriate screwdriver from your set, carefully unscrew the roller housing to detach it from the door frame. Keep track of the screws and ensure they are safely set aside for reassembly later.
-
Remove the Old Rollers: With the roller housing detached, gently remove the old rollers from their position. Take note of the orientation and placement of the rollers to ensure proper alignment when installing the new ones.
-
Clean the Door Tracks: Before proceeding with the installation of new rollers, take the opportunity to thoroughly clean the door tracks and surrounding areas. Use a cleaning solution and cleaning brushes to remove any accumulated dirt, debris, or old lubricant that may impede the smooth operation of the new rollers.
By meticulously following these steps, you can effectively remove the old rollers from your sliding glass door, setting the stage for the subsequent installation of new rollers. This systematic approach ensures that the removal process is conducted with precision and care, laying the groundwork for a successful transition to the next phase of the roller replacement project.
Installing the New Rollers
With the old rollers successfully removed and the door tracks cleaned, the installation of new rollers marks a pivotal phase in revitalizing the functionality of your sliding glass door. This critical step demands precision and attention to detail to ensure the seamless operation of the door once the new rollers are in place. Here's a comprehensive guide to installing the new rollers:
-
Prepare the New Rollers: Before proceeding with the installation, carefully inspect the new rollers to verify that they are the correct replacements for your specific sliding glass door model. Ensure that the rollers are clean and free from any defects or damage that could compromise their performance.
-
Position the New Rollers: Align the new rollers with the designated slots in the roller housing, ensuring that they are oriented correctly based on the configuration of the door. Pay close attention to the positioning of the rollers to guarantee smooth and effortless movement of the sliding panel once the installation is complete.
-
Secure the Roller Housing: With the new rollers in place, reattach the roller housing to the door frame using the original screws or the replacement screws if necessary. Carefully tighten the screws to secure the roller housing, ensuring that it is firmly and evenly affixed to the door frame.
-
Apply Lubricant: Prior to lowering the sliding panel onto the newly installed rollers, apply a generous amount of high-quality lubricant to the rollers and the door tracks. This lubrication is essential for promoting smooth movement and reducing friction, contributing to the overall longevity of the door's operation.
-
Lower the Sliding Panel: With the new rollers and lubrication in place, carefully lower the sliding panel onto the door tracks, ensuring that it rests securely on the new rollers. Exercise caution to prevent any damage to the rollers or the door during this process, and enlist the assistance of a partner if needed.
-
Test the Door Operation: Once the sliding panel is back in position, test the operation of the door to ensure that it moves smoothly along the tracks. Open and close the door several times to confirm that the new rollers are functioning as intended and that the door operates effortlessly.
By meticulously following these steps, you can successfully install the new rollers on your sliding glass door, effectively restoring its functionality and ensuring smooth, seamless operation. This phase of the roller replacement process sets the stage for the final adjustments and testing, bringing you one step closer to enjoying the renewed performance of your sliding glass door.
Before starting, make sure to clean the track and remove any debris. Then, use a screwdriver to lift the door and remove the old rollers. Install the new rollers by aligning them with the track and lowering the door back into place.
Adjusting the Rollers
After installing the new rollers on your sliding glass door, it's essential to ensure that they are properly adjusted to achieve optimal functionality and performance. Proper adjustment of the rollers is crucial for maintaining the door's alignment, promoting smooth operation, and preventing premature wear and tear. Here's a detailed guide on adjusting the rollers to fine-tune the operation of your sliding glass door:
-
Assess the Alignment: Begin by assessing the alignment of the sliding glass door within the frame. Check for any signs of misalignment or uneven positioning, as this can impact the door's ability to move smoothly along the tracks. A misaligned door may result in uneven wear on the rollers and hinder the door's operation.
-
Adjustment Screws: Many sliding glass doors are equipped with adjustment screws located on the bottom or sides of the door panels. These screws can be turned to raise or lower the rollers, allowing for precise adjustments to achieve the ideal alignment and smooth movement of the door. Refer to the door's manual or seek guidance from a professional to locate and access these adjustment screws.
-
Fine-Tuning the Height: Using the appropriate screwdriver, carefully turn the adjustment screws to fine-tune the height of the rollers. Make incremental adjustments, testing the door's movement after each adjustment to gauge the impact on its alignment and operation. Aim to achieve a balanced and level position for the door within the frame.
-
Testing the Operation: With the adjustment screws utilized to modify the roller height, test the operation of the sliding glass door by opening and closing it multiple times. Pay close attention to the smoothness of the door's movement and its ability to glide effortlessly along the tracks. If necessary, continue making minor adjustments to achieve the desired performance.
-
Ensuring Even Contact: As you adjust the rollers, ensure that they make even contact with the door tracks to distribute the weight of the door evenly. This even distribution of weight is essential for preventing excessive strain on the rollers and promoting long-term durability and functionality.
-
Realigning the Door: If the door exhibits any remaining signs of misalignment or uneven movement, consider making further adjustments to the roller height to achieve optimal alignment. It's important to exercise patience and precision during this process to achieve the desired results.
By meticulously adjusting the rollers of your sliding glass door, you can fine-tune its alignment and operation, ensuring that it moves effortlessly and maintains optimal functionality. This attention to detail and precision in adjusting the rollers contributes to the overall longevity and performance of your sliding glass door, allowing you to enjoy its smooth operation for years to come.
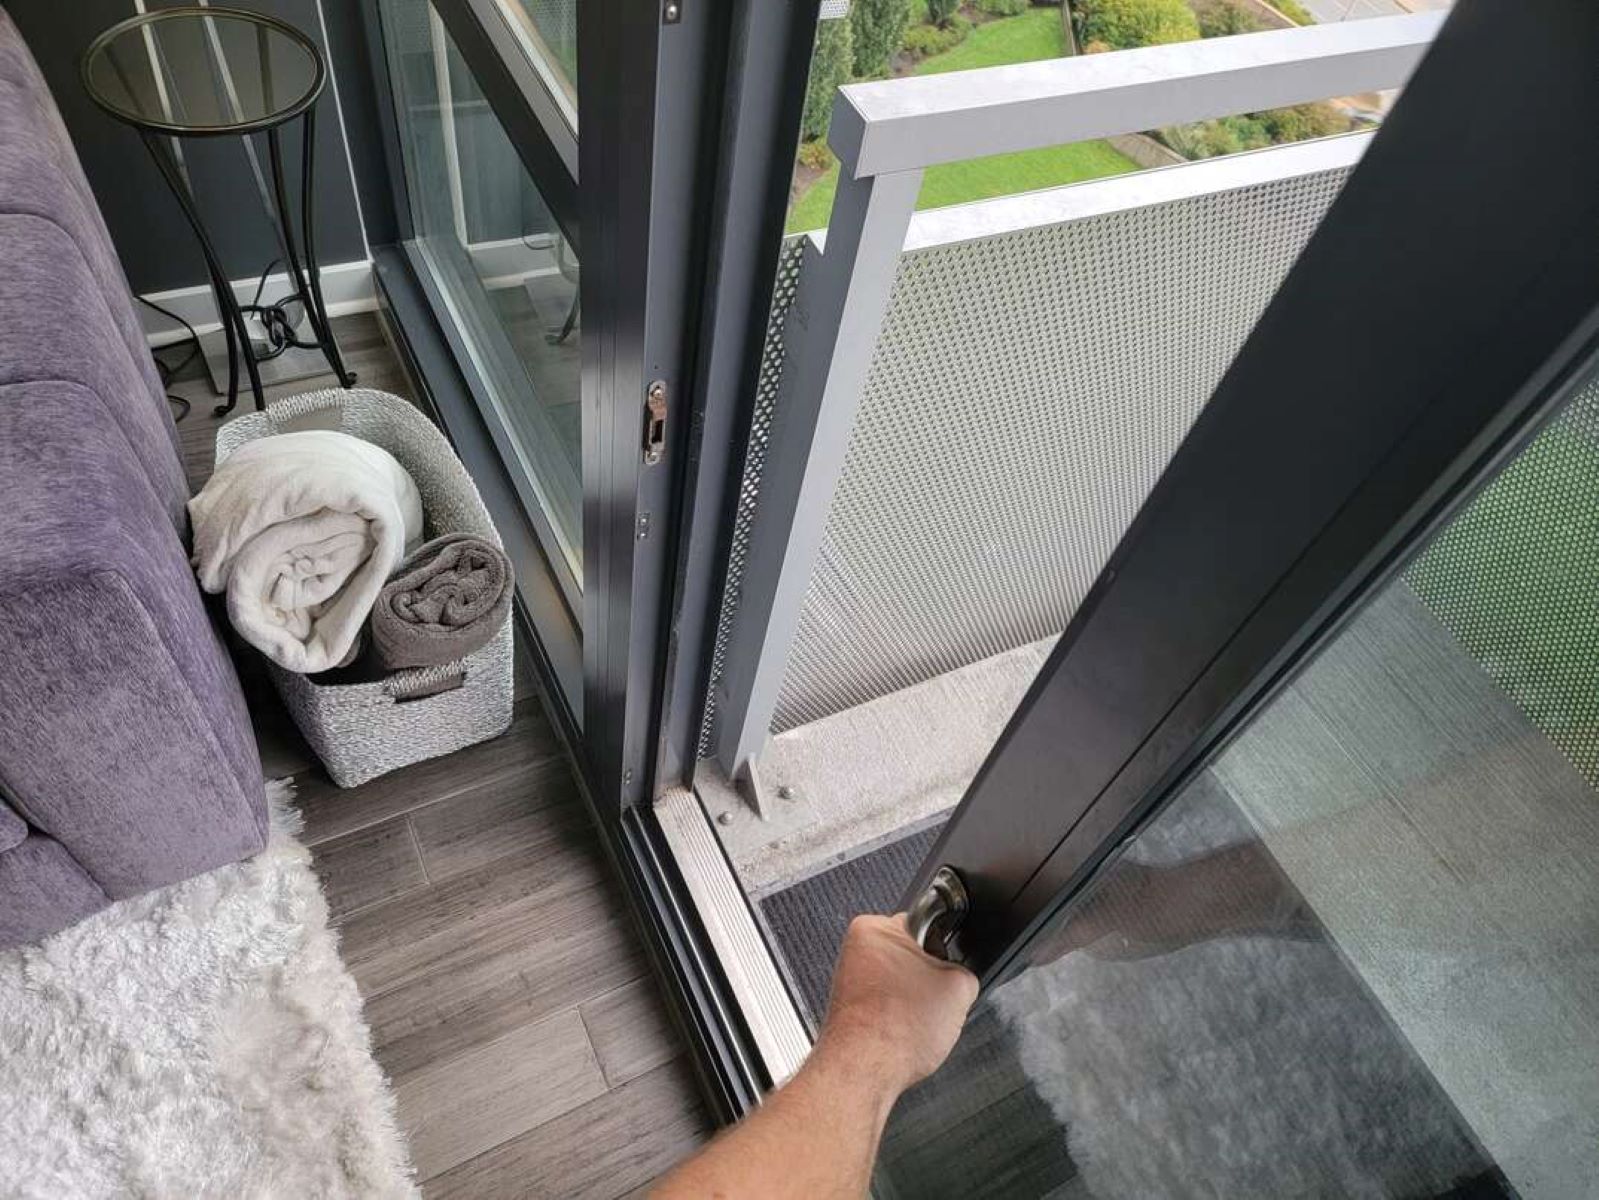
Testing the Sliding Glass Door
After completing the installation of new rollers and making necessary adjustments, the final step in the process of rejuvenating your sliding glass door is to thoroughly test its operation. This crucial phase allows you to assess the effectiveness of the roller replacement and adjustments, ensuring that the door moves smoothly and effortlessly along its tracks. Here's a comprehensive guide to testing the sliding glass door:
-
Opening and Closing: Begin by opening and closing the sliding glass door multiple times to evaluate its movement and functionality. Pay close attention to the ease with which the door glides along the tracks, noting any resistance or unevenness in its operation.
-
Smooth Movement: As you operate the door, focus on the smoothness of its movement. A well-functioning sliding glass door should move with minimal effort, gliding along the tracks without jarring or sticking.
-
Even Alignment: Observe the alignment of the door within the frame as it opens and closes. A properly installed and adjusted door should maintain even alignment, with the top and bottom edges moving parallel to the frame without any noticeable tilting or misalignment.
-
Secure Closure: Test the door's ability to securely close and create a tight seal. Ensure that the door locks into place without excessive force and that it forms a secure barrier when fully closed, providing protection and insulation for your home.
-
Noise and Friction: Listen for any unusual noises or signs of friction as the door moves along the tracks. Ideally, the door should operate quietly, without any grinding, scraping, or squeaking sounds that may indicate issues with the rollers or track alignment.
-
Consistent Operation: Verify that the door's operation remains consistent throughout the testing process. It should exhibit reliable and predictable movement, opening and closing with uniformity and stability.
-
Safety and Security: Confirm that the door's safety features, such as locking mechanisms and handles, function as intended. Prioritize the security and safety of your home by ensuring that the door provides reliable protection when closed and locked.
-
Final Adjustments: If you encounter any issues or irregularities during the testing process, consider making final adjustments to the roller height or alignment to address the specific concerns. Fine-tuning the door's operation may be necessary to achieve the desired performance.
By meticulously testing the sliding glass door, you can validate the success of the roller replacement and adjustment process, ensuring that the door operates with optimal smoothness, alignment, and security. This thorough testing phase provides the assurance that your sliding glass door has been revitalized to deliver reliable and effortless functionality, enhancing the overall comfort and convenience of your living space.
Frequently Asked Questions about How To Change Rollers On Sliding Glass Door
Was this page helpful?
At Storables.com, we guarantee accurate and reliable information. Our content, validated by Expert Board Contributors, is crafted following stringent Editorial Policies. We're committed to providing you with well-researched, expert-backed insights for all your informational needs.


0 thoughts on “How To Change Rollers On Sliding Glass Door”