Home>Furniture & Design>Interior Design Trends>Who Can Replace Rollers On Sliding Glass Door
Interior Design Trends
Who Can Replace Rollers On Sliding Glass Door
Published: February 7, 2024
Looking for interior design trends and tips? Learn who can replace rollers on sliding glass doors and enhance your home's functionality and style. Discover the latest interior design trends here!
(Many of the links in this article redirect to a specific reviewed product. Your purchase of these products through affiliate links helps to generate commission for Storables.com, at no extra cost. Learn more)
Introduction
Replacing the rollers on a sliding glass door is a practical and cost-effective solution to address issues such as difficulty in opening and closing the door, uneven movement, or noisy operation. Over time, the rollers on sliding doors can wear out due to regular use, exposure to the elements, or lack of proper maintenance. Fortunately, with the right tools and a systematic approach, homeowners can easily replace the rollers themselves, saving time and money on professional repairs.
By following a few simple steps and using the appropriate tools and materials, you can restore the smooth functionality of your sliding glass door. This DIY project not only enhances the convenience of accessing outdoor spaces but also contributes to the overall aesthetics and functionality of your home. Whether you are a seasoned DIY enthusiast or a homeowner looking to tackle a practical home improvement task, replacing the rollers on a sliding glass door is a manageable project that can yield significant benefits.
In the following sections, we will outline the tools and materials needed for the task, along with a step-by-step guide to effectively replace the rollers on your sliding glass door. With clear instructions and a willingness to engage in some hands-on work, you can revitalize your sliding door's performance and enjoy seamless operation for years to come. Let's delve into the process of replacing the rollers on a sliding glass door and empower you to take charge of this home maintenance endeavor.
Key Takeaways:
- DIY roller replacement restores smooth sliding glass door operation, enhancing home functionality and aesthetics. Follow step-by-step guide for a cost-effective and rewarding home improvement project.
- With basic tools and careful steps, homeowners can replace sliding door rollers, saving time and money while enjoying seamless door functionality for years to come.
Read more: How To Replace Rollers On Sliding Glass Door
Tools and Materials Needed
Before embarking on the task of replacing the rollers on a sliding glass door, it is essential to gather the necessary tools and materials to ensure a smooth and efficient process. Here's a comprehensive list of what you will need:
Tools:
- Screwdriver Set: A set of screwdrivers, including both flathead and Phillips head varieties, will be essential for removing screws and disassembling components of the sliding door.
- Pry Bar: This tool will aid in gently prying the sliding door from its frame, allowing for safe removal without causing damage.
- Adjustable Wrench: An adjustable wrench is crucial for loosening and tightening nuts and bolts during the roller replacement process.
- Vacuum Cleaner: Having a vacuum cleaner on hand can help in cleaning the tracks and removing any debris or dirt that may have accumulated over time.
- Safety Glasses and Gloves: It's important to prioritize safety, so wearing protective glasses and gloves is recommended to prevent any potential injuries during the project.
Materials:
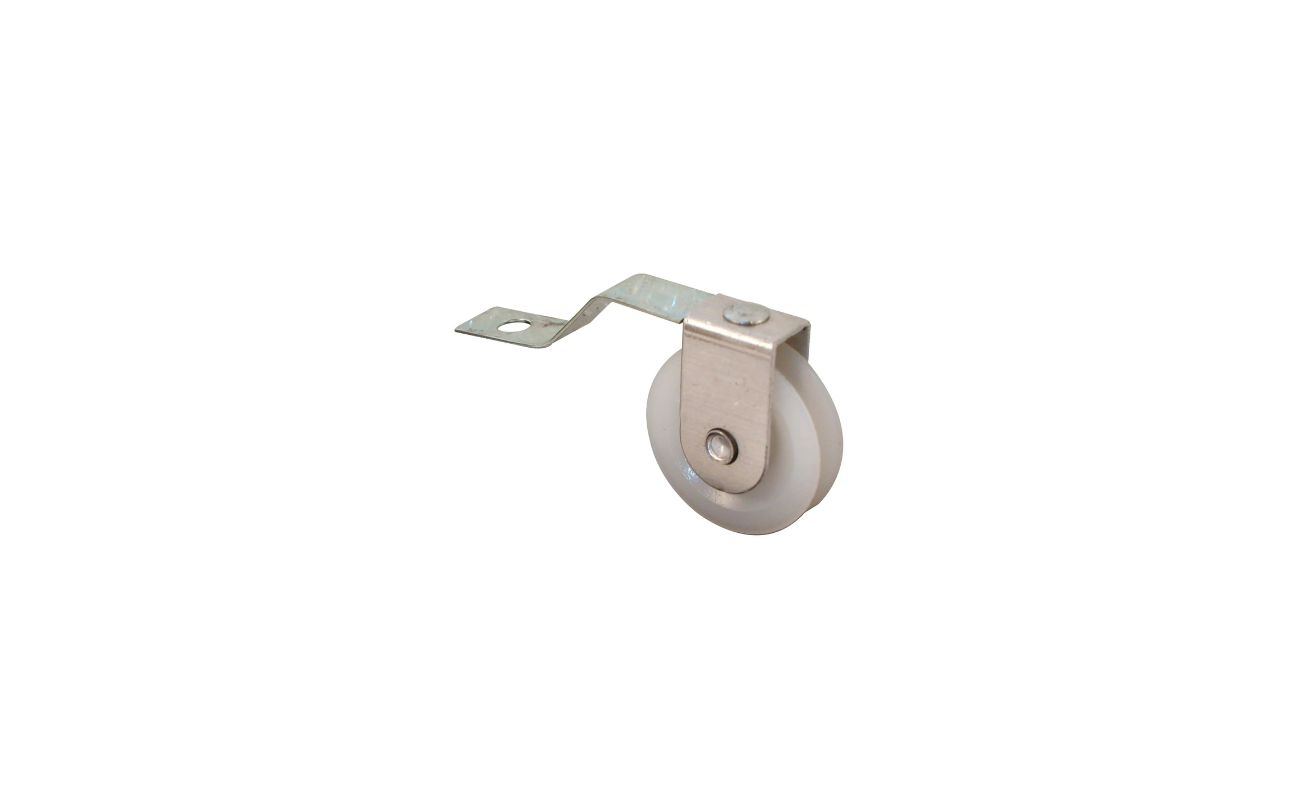
- Replacement Rollers: Ensure that you have the correct replacement rollers for your specific sliding glass door model. These can typically be obtained from hardware stores or ordered online.
- Lubricant: A silicone-based lubricant or grease will be useful for ensuring smooth movement of the new rollers within the door tracks.
- Cleaning Solution: Prepare a mild cleaning solution, such as a mixture of water and mild detergent, to clean the door tracks and remove any accumulated grime or debris.
- Rags and Cleaning Brushes: These will be handy for cleaning the door tracks and ensuring that the area is free from dirt and obstructions before installing the new rollers.
- Safety Equipment: In addition to safety glasses and gloves, consider using a dust mask if the door tracks are particularly dirty to protect yourself from inhaling dust and debris.
By ensuring that you have all the necessary tools and materials at your disposal, you can proceed with confidence and efficiency when replacing the rollers on your sliding glass door. This comprehensive preparation sets the stage for a successful DIY project, allowing you to address the issues affecting your door's functionality and restore its smooth operation.
Step 1: Remove the Sliding Door
Removing the sliding door is the initial step in the process of replacing the rollers. This task requires careful handling to ensure the safety of both the door and the individuals involved in the project. By following these detailed steps, you can effectively remove the sliding door in preparation for replacing the rollers.
-
Prepare the Work Area: Begin by clearing the immediate surroundings of the sliding door to create ample space for maneuvering. Remove any obstacles or furniture near the door to facilitate unobstructed access.
-
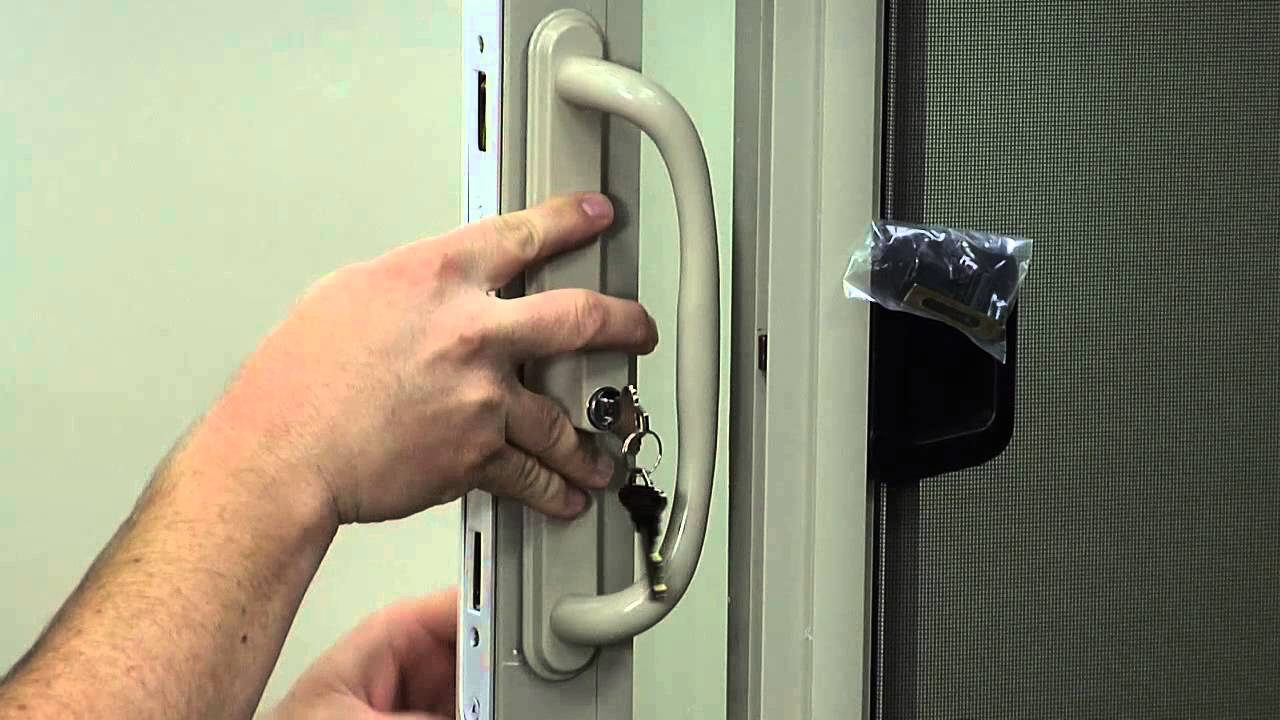
Secure the Door: To prevent any accidental mishaps during removal, it's crucial to secure the sliding door in place. Engage the door lock to keep it firmly closed and stationary.
-
Lift the Sliding Door: With the assistance of a partner, carefully lift the sliding door by gripping it from the bottom and top edges. Ensure that the door is adequately supported to prevent it from slipping or sustaining damage.
-
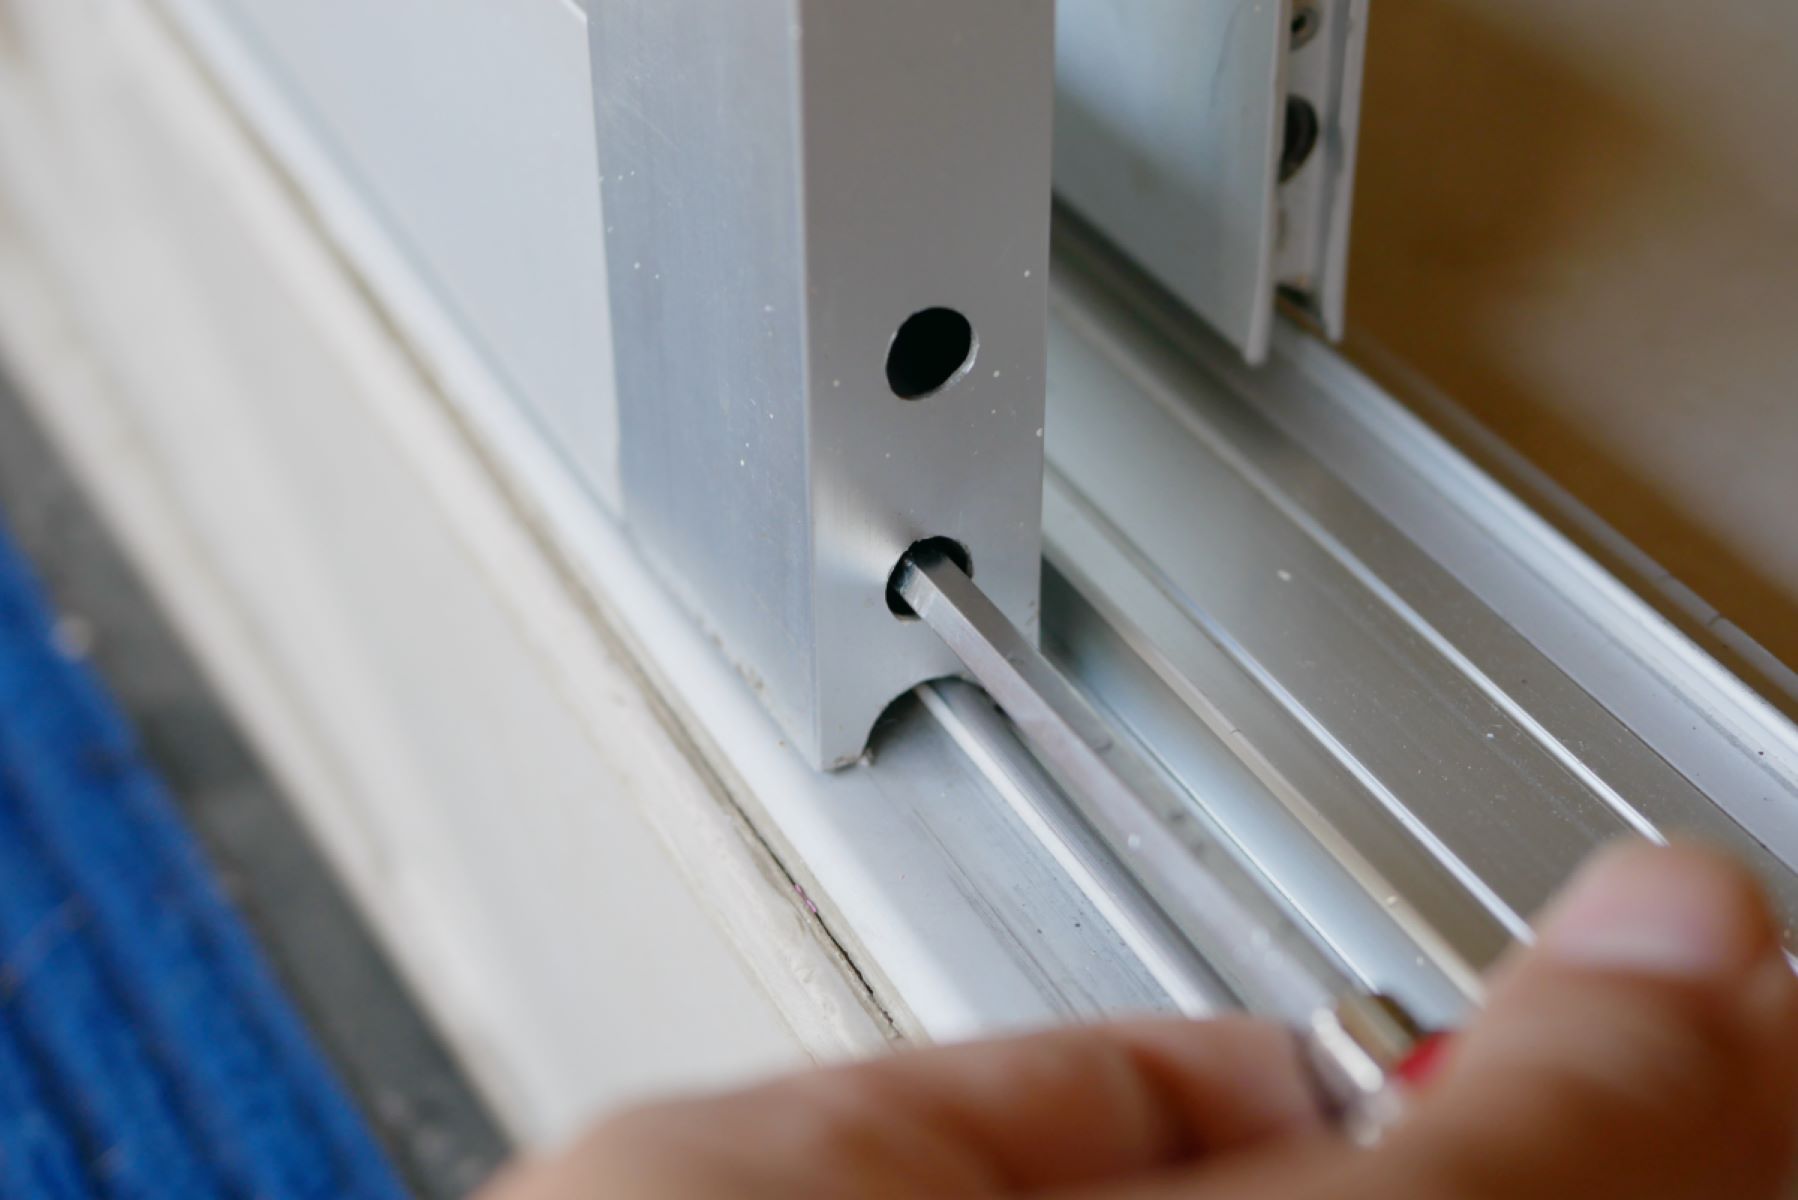
Adjust the Rollers: Some sliding doors may have adjustable rollers at the bottom. If applicable, adjust the rollers to their highest position to create more clearance for lifting the door off the track.
-
Angle the Door: Tilt the bottom of the door slightly towards you while keeping the top part within the track. This maneuver allows for easier removal by creating a slight angle for the door to be lifted out.
-
Lift and Remove: Lift the door upwards, guiding it along the track to disengage it from the bottom rollers. Exercise caution and maintain a steady grip to prevent the door from slipping or causing any accidents.
-
Place the Door in a Safe Location: Once the sliding door is removed, place it in a secure and stable location, preferably on a soft surface to prevent scratches or damage. This ensures that the door remains in good condition during the roller replacement process.
By carefully following these steps, you can safely and effectively remove the sliding door, setting the stage for the subsequent phases of the roller replacement project. This systematic approach minimizes the risk of damage to the door and ensures a smooth transition to the next steps in the roller replacement process.
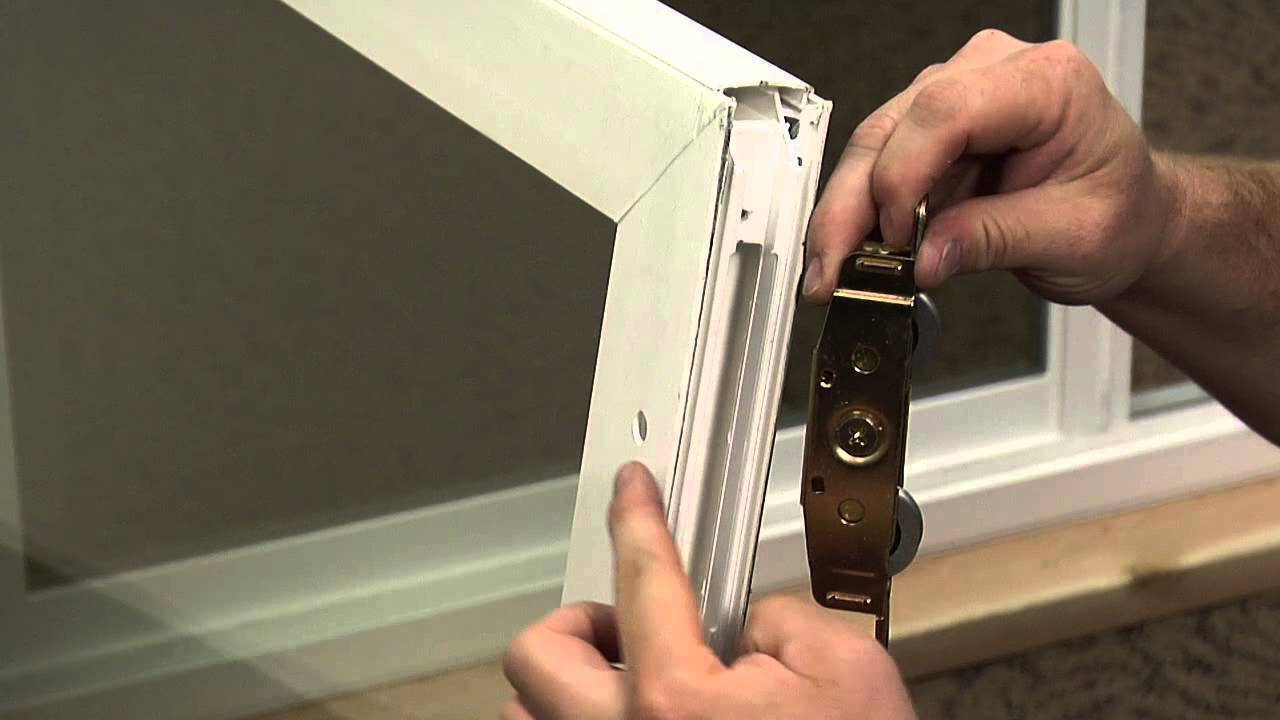
Step 2: Remove the Old Rollers
Once the sliding door has been safely removed, the next crucial step in the roller replacement process is to remove the old, worn-out rollers from the door. This phase requires attention to detail and a methodical approach to ensure that the old rollers are extracted without causing damage to the door or surrounding components. By following these comprehensive steps, you can effectively remove the old rollers and prepare the door for the installation of new, functional rollers.
-
Inspect the Roller Assembly: Begin by closely examining the roller assembly to understand its structure and attachment points. Identify the screws or fasteners securing the roller assembly to the bottom of the door. Use a flashlight if necessary to clearly see the components and fastening mechanisms.
-
Loosen and Remove Fasteners: Utilize the appropriate screwdriver or wrench to carefully loosen and remove the screws or fasteners holding the roller assembly in place. Exercise caution to avoid stripping the screws or causing damage to the surrounding areas of the door.
-
Detach the Roller Assembly: Once the fasteners are removed, gently detach the roller assembly from the bottom of the door. Take note of any additional components, such as spacers or shims, that may be part of the assembly and ensure that they are kept together for reassembly.
-
Clean the Roller Mounting Area: With the roller assembly removed, take the opportunity to clean the mounting area on the bottom of the door. Use a rag or brush to remove any accumulated dirt, debris, or old lubricant from the area, ensuring a clean surface for the installation of the new rollers.
-
Inspect the Door Tracks: While focusing on the roller mounting area, inspect the door tracks for any signs of damage, wear, or obstruction. Address any issues such as dents, bends, or debris within the tracks to facilitate smooth operation once the new rollers are installed.
-
Dispose of Old Rollers: Properly dispose of the old rollers and any associated components that are no longer functional. This ensures a clutter-free work environment and prevents any confusion during the installation of the new rollers.
By meticulously following these steps, you can successfully remove the old rollers from the sliding door, paving the way for the subsequent installation of new, high-performance rollers. This systematic approach ensures that the door is properly prepared for the next phase of the roller replacement process, ultimately contributing to the restoration of smooth and effortless functionality for your sliding glass door.
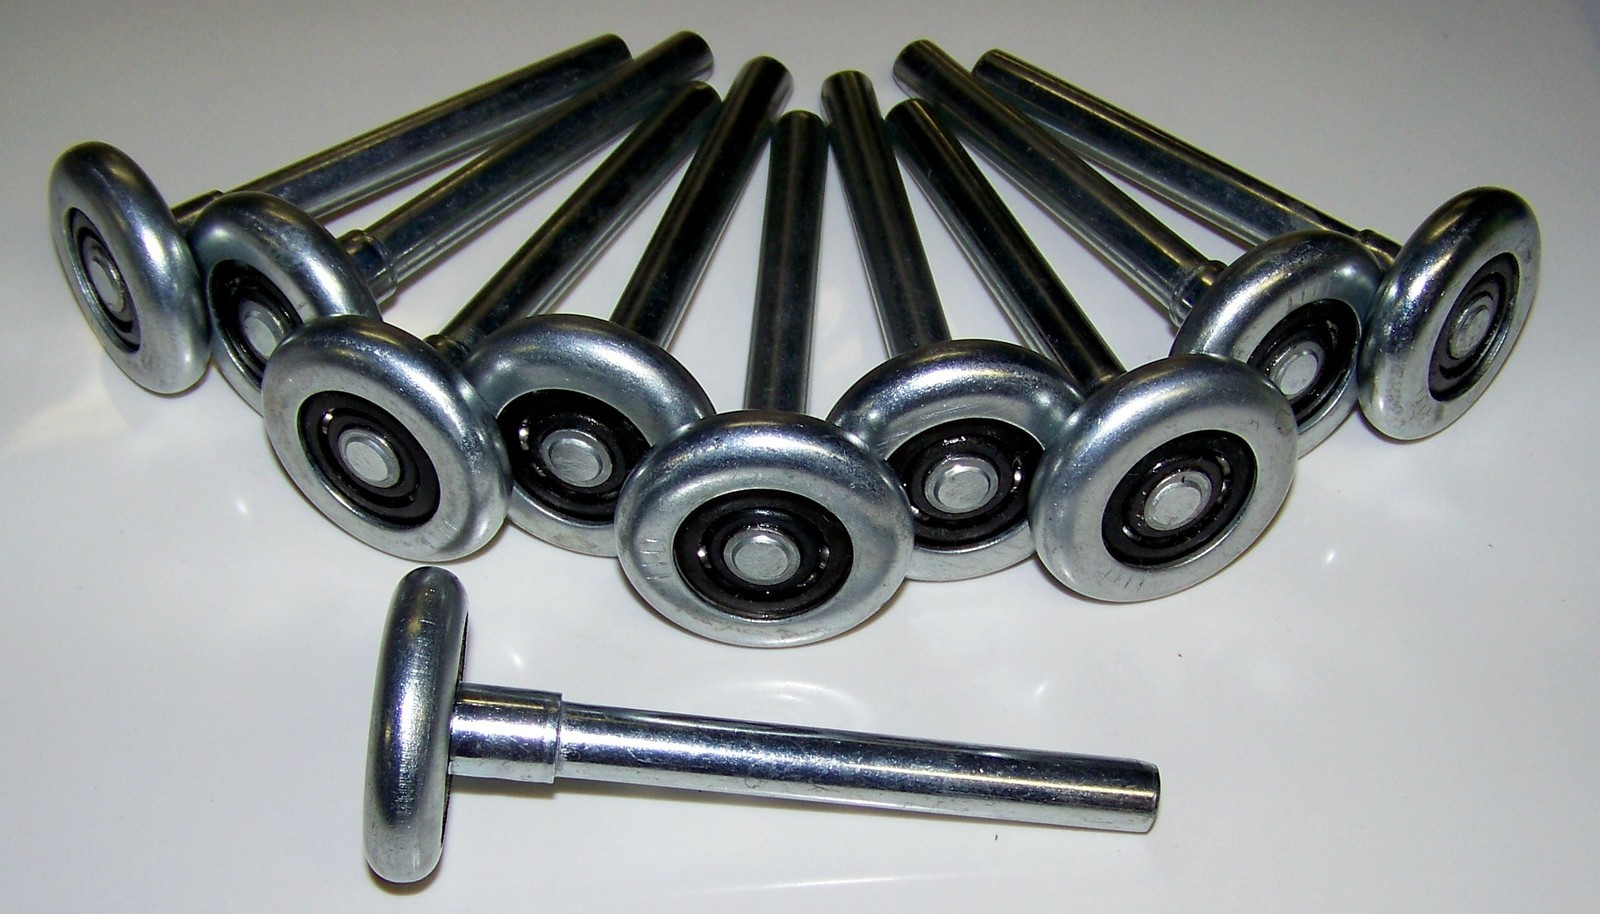
Step 3: Install the New Rollers
With the old rollers successfully removed and the door tracks cleaned and inspected, the next pivotal phase in the roller replacement process is the installation of new, high-quality rollers. This step is instrumental in restoring the smooth functionality of the sliding glass door, ensuring effortless operation and longevity. By meticulously following these detailed steps, you can effectively install the new rollers and set the stage for the seamless reinstallation of the sliding door.
-
Prepare the New Rollers: Prior to installation, carefully inspect the new rollers to ensure that they are the correct type and size for your sliding glass door. Verify that all necessary components, such as screws and washers, are included with the new rollers. Additionally, apply a small amount of silicone-based lubricant to the rollers to facilitate smooth movement within the door tracks.
-
Position the New Rollers: Align the new rollers with the designated mounting area on the bottom of the sliding door. Ensure that the rollers are positioned correctly and that any accompanying spacers or shims are in place to maintain proper alignment and functionality.
-
Secure the Rollers: Using the provided screws or fasteners, securely attach the new rollers to the bottom of the door. Exercise caution to avoid over-tightening the screws, as this may impede the movement of the rollers. Confirm that the rollers are firmly and evenly secured to the door, promoting stability and consistent performance.
-
Adjust Roller Height: If your sliding door features adjustable rollers, adjust them to the appropriate height to achieve optimal clearance and smooth operation. This adjustment ensures that the door glides effortlessly along the tracks without any unevenness or resistance.
-
Test the Roller Movement: After installing the new rollers, perform a preliminary test to ensure that they move smoothly within the door tracks. Gently slide the door back and forth to assess the functionality of the new rollers and verify that they operate without any hindrance or noise.
-
Apply Additional Lubricant: Once the new rollers are installed and tested, apply a thin layer of silicone-based lubricant to the door tracks. This lubrication promotes smooth movement and reduces friction, enhancing the overall performance of the sliding glass door.
By meticulously following these steps, you can effectively install the new rollers, setting the stage for the seamless reinstallation of the sliding door. This systematic approach ensures that the door is equipped with reliable, high-performance rollers, contributing to its smooth and effortless functionality for years to come.
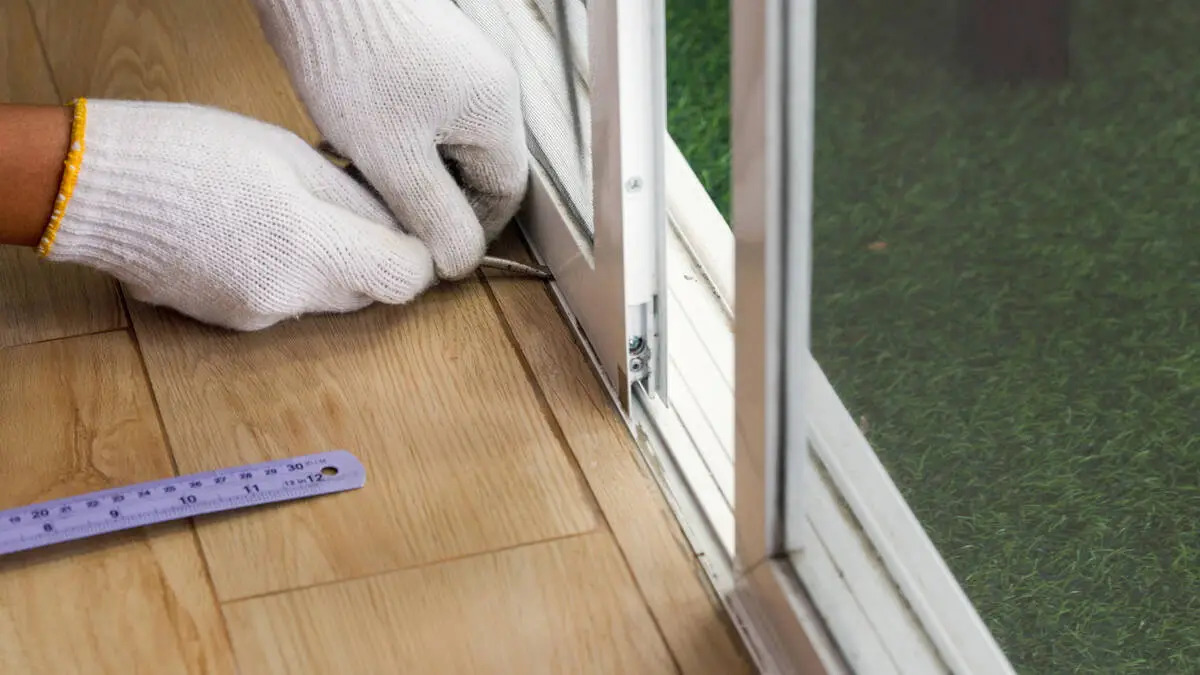
When replacing rollers on a sliding glass door, make sure to measure the existing rollers and track to ensure you purchase the correct size replacements. Clean the track thoroughly before installing the new rollers to ensure smooth operation.
Step 4: Reinstall the Sliding Door
With the new rollers successfully installed and the door tracks prepared, the final phase of the roller replacement process involves the careful reinstallation of the sliding door. This critical step ensures that the door is securely and seamlessly placed back into its frame, ready to resume its essential function of providing access to outdoor spaces. By following these detailed steps, you can effectively reinstall the sliding door and complete the roller replacement project with confidence and precision.
-
Prepare the Door Opening: Clear the door frame and surrounding area of any debris, ensuring a clean and unobstructed space for reinstallation. Inspect the frame for any signs of damage or misalignment, addressing any issues to facilitate a smooth fit for the sliding door.
-
Lift and Position the Door: With the assistance of a partner, carefully lift the sliding door and position it at a slight angle, aligning the top edge with the upper track. Ensure that the bottom of the door is angled slightly inward to facilitate engagement with the new rollers.
-
Guide the Door into the Track: Slowly guide the bottom of the door into the lower track, ensuring that the new rollers align with the track and smoothly engage. Exercise caution and maintain a steady grip to prevent any jarring movements or misalignment during the reinstallation process.
-
Adjust and Align: Once the door is positioned within the track, make any necessary adjustments to ensure that it is level and aligned properly. Test the door's movement to verify that it glides smoothly along the tracks, indicating that the new rollers are functioning optimally.
-
Secure the Door: Once the door is properly aligned and moves effortlessly, secure it in place by engaging the door lock or any additional locking mechanisms. Confirm that the door is stable and securely positioned within the frame, ready for regular use.
-
Test the Operation: Perform a series of open and close movements to test the door's operation. Verify that it moves smoothly and evenly, without any resistance or unusual sounds, indicating that the new rollers have been successfully installed and the door is functioning as intended.
By meticulously following these steps, you can effectively reinstall the sliding door, completing the roller replacement process with precision and attention to detail. This systematic approach ensures that the door is seamlessly integrated back into its frame, ready to provide convenient access and enhance the overall functionality of your living space.
Conclusion
In conclusion, the process of replacing the rollers on a sliding glass door is a manageable and rewarding DIY project that can significantly enhance the functionality and aesthetic appeal of your home. By following the comprehensive steps outlined in this guide and utilizing the necessary tools and materials, homeowners can successfully address issues related to worn-out or malfunctioning rollers, ultimately restoring the smooth operation of their sliding doors.
The systematic approach to roller replacement begins with the careful removal of the sliding door, ensuring that it is safely lifted and secured before being placed in a designated area. This initial step sets the stage for the subsequent phases, allowing for unhindered access to the old rollers and the preparation of the door tracks for the installation of new components.
The meticulous process of removing the old rollers involves inspecting the assembly, detaching it from the door, and thoroughly cleaning the mounting area and door tracks. This attention to detail ensures that the door is primed for the installation of new, high-performance rollers, setting the foundation for seamless functionality and longevity.
The installation of new rollers is a pivotal phase that demands precision and care. By preparing the new rollers, positioning them correctly, and securing them to the door, homeowners can ensure that the sliding door is equipped with reliable components that facilitate effortless movement and consistent performance. The application of lubricant and thorough testing further solidifies the effectiveness of the new rollers, guaranteeing smooth operation and enhanced durability.
Finally, the careful reinstallation of the sliding door completes the roller replacement process, allowing homeowners to enjoy the renewed functionality and convenience of their sliding glass doors. By following the detailed steps and exercising diligence throughout the project, individuals can take pride in their ability to address maintenance issues and improve the overall quality of their living spaces.
In essence, the successful replacement of rollers on a sliding glass door not only resolves functional issues but also contributes to the comfort and visual appeal of the home. By empowering homeowners to undertake this practical project, this guide aims to promote self-sufficiency and proactive home maintenance, ultimately fostering a more enjoyable and functional living environment for all.
Frequently Asked Questions about Who Can Replace Rollers On Sliding Glass Door
Was this page helpful?
At Storables.com, we guarantee accurate and reliable information. Our content, validated by Expert Board Contributors, is crafted following stringent Editorial Policies. We're committed to providing you with well-researched, expert-backed insights for all your informational needs.


0 thoughts on “Who Can Replace Rollers On Sliding Glass Door”