Home>Furniture & Design>Interior Design Trends>How To Replace Rollers On Sliding Glass Door
Interior Design Trends
How To Replace Rollers On Sliding Glass Door
Modified: August 27, 2024
Learn how to replace rollers on sliding glass doors and keep up with the latest interior design trends. Upgrade your space with ease!
(Many of the links in this article redirect to a specific reviewed product. Your purchase of these products through affiliate links helps to generate commission for Storables.com, at no extra cost. Learn more)
Introduction
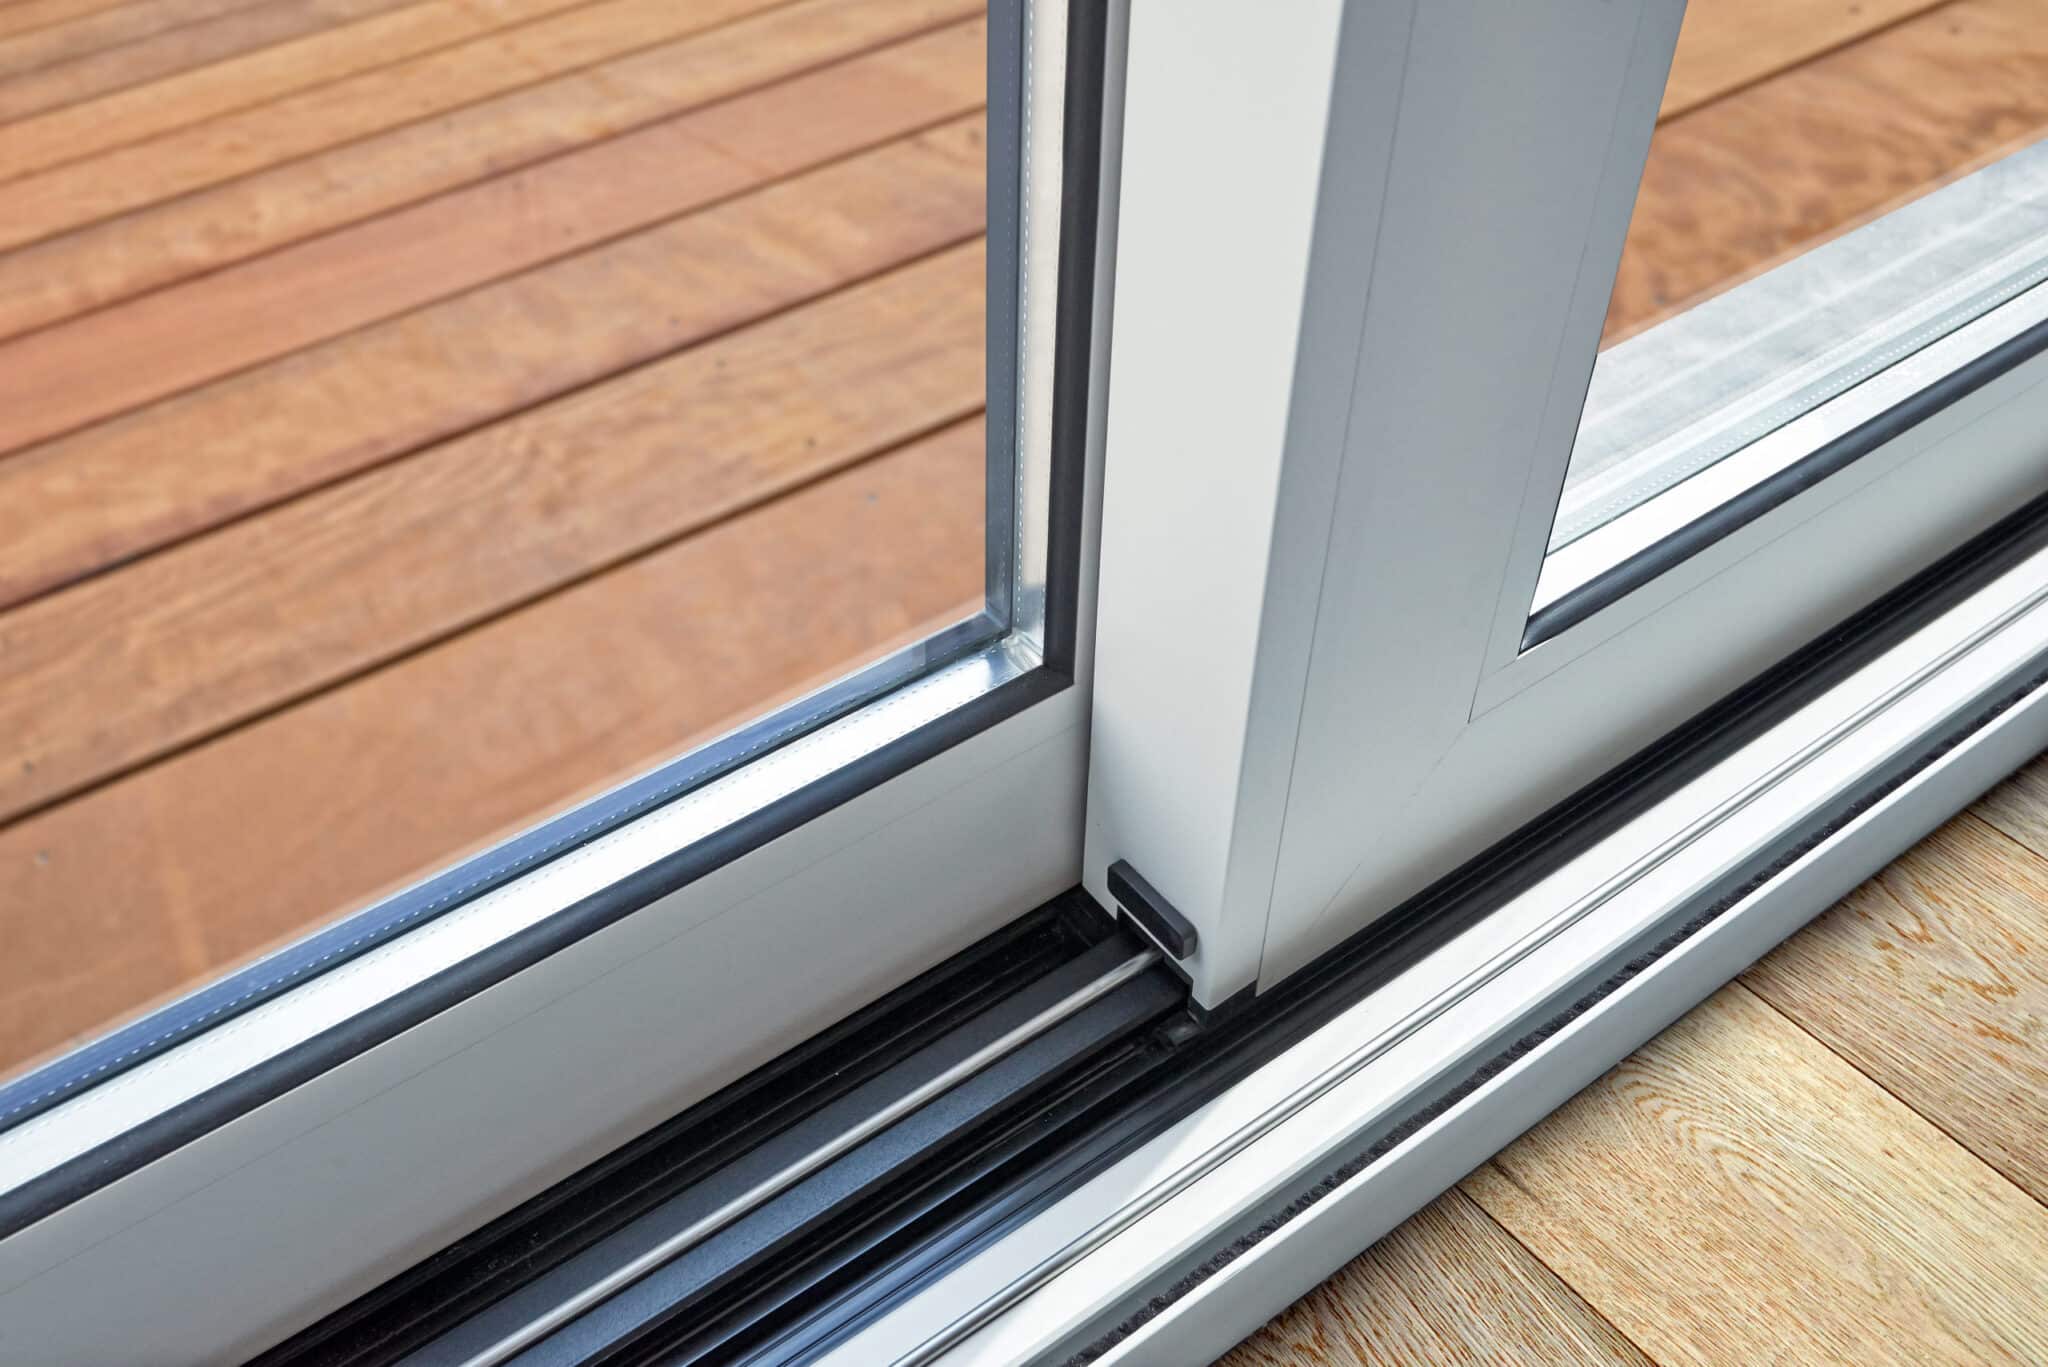
Replacing the rollers on a sliding glass door is a practical and cost-effective solution to address issues such as difficulty in opening and closing the door, uneven movement, or noisy operation. Over time, the rollers on sliding doors can wear out due to regular use, exposure to the elements, or lack of maintenance. Fortunately, with the right tools, materials, and a systematic approach, homeowners can easily replace the rollers and restore the smooth functionality of their sliding glass doors.
By understanding the process of replacing the rollers on a sliding glass door, homeowners can save on repair costs and extend the lifespan of their doors. This DIY project not only enhances the overall functionality of the door but also contributes to the safety and security of the home. With a few simple steps and some basic tools, homeowners can successfully complete this task and enjoy the benefits of a smoothly operating sliding glass door.
In the following sections, we will outline the tools and materials needed for this project, along with a step-by-step guide to effectively replace the rollers on a sliding glass door. Whether you are a seasoned DIY enthusiast or a homeowner looking to tackle a practical home improvement project, this guide will provide you with the necessary insights to accomplish the task with confidence and precision. Let's dive into the process of rejuvenating your sliding glass door by replacing its worn-out rollers.
Key Takeaways:
- DIY roller replacement restores smooth sliding glass door operation, enhancing home safety and security. Save on repair costs and extend door lifespan with simple tools and steps.
- Meticulously follow step-by-step roller replacement guide for seamless sliding door functionality. Embrace DIY maintenance for a secure and comfortable living environment.
Tools and Materials Needed
Before embarking on the project of replacing the rollers on a sliding glass door, it is essential to gather the necessary tools and materials to ensure a smooth and efficient process. Here's a comprehensive list of items that will be required for this DIY endeavor:
Tools:
- Screwdriver Set: A set of screwdrivers, including both flathead and Phillips head varieties, will be essential for removing screws and disassembling components of the sliding door.
- Pry Bar or Putty Knife: This tool will aid in carefully prying off the door frame and removing the sliding door from its tracks.
- Adjustable Wrench: An adjustable wrench will be useful for loosening and tightening nuts and bolts during the roller replacement process.
- Vacuum Cleaner: To clean the tracks and remove any debris or dirt that may have accumulated over time, a vacuum cleaner will be indispensable.
- Safety Glasses and Gloves: It's important to prioritize safety, so wearing protective glasses and gloves is highly recommended to prevent any potential injuries during the project.
Materials:
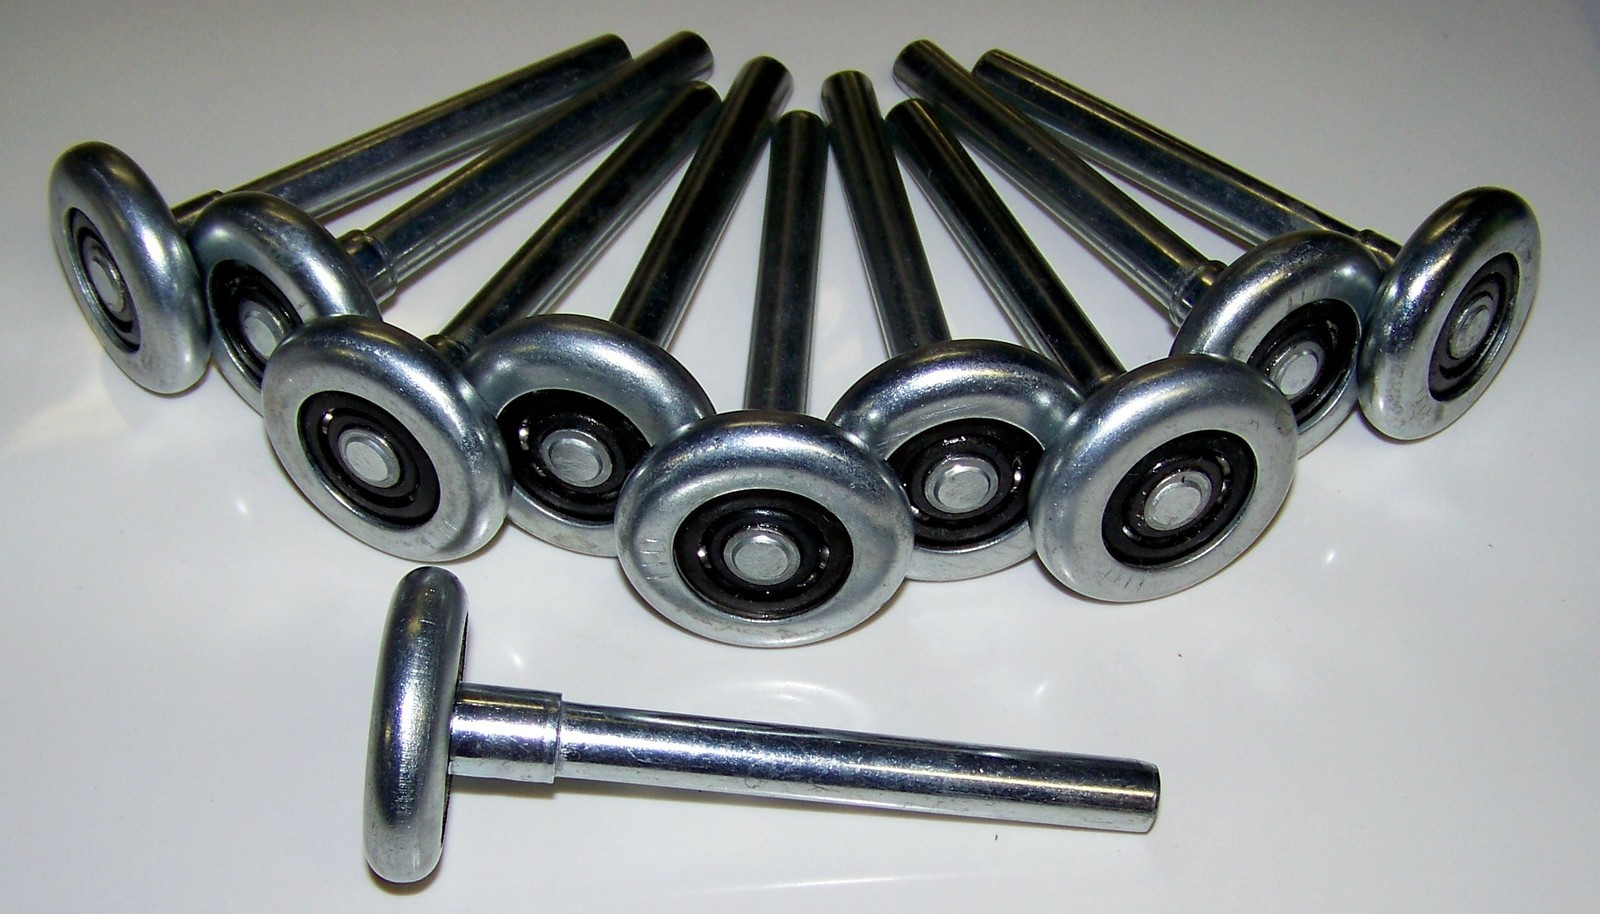
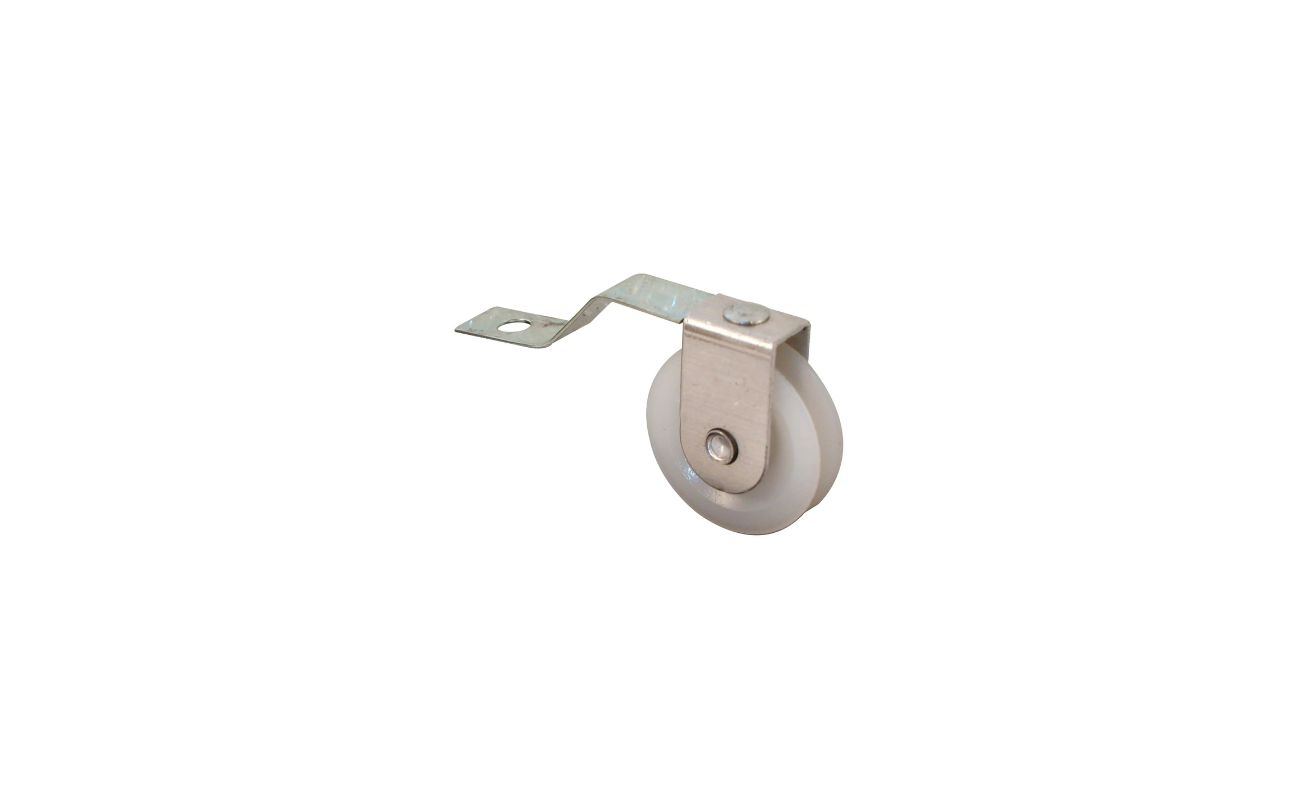
- Replacement Rollers: Ensure that you have the correct replacement rollers for your specific sliding glass door model. These can be obtained from hardware stores or ordered online.
- Lubricant: A silicone-based lubricant or grease will be needed to apply to the new rollers, ensuring smooth and effortless movement of the sliding door.
- Cleaning Solution: Prepare a mild cleaning solution, such as a mixture of water and mild detergent, to clean the tracks and remove any dirt or grime.
- Rags and Cleaning Brushes: These will be used to clean the tracks and remove any debris, ensuring a clean surface for the new rollers to operate smoothly.
- Safety Equipment: In addition to safety glasses and gloves, it's advisable to have a dust mask on hand to protect against inhaling any dust or debris while working on the door.
By having these tools and materials readily available, homeowners can proceed with confidence, knowing that they are well-equipped to tackle the task of replacing the rollers on their sliding glass door. With the necessary items at their disposal, they can effectively navigate through each step of the process, ultimately rejuvenating the functionality of their sliding door with ease and precision.
Step 1: Remove the Sliding Door
Removing the sliding door is the initial step in the process of replacing the rollers. This step requires careful handling to ensure the safety of both the door and the individuals involved in the project. Here's a detailed guide on how to effectively remove the sliding door:
-
Prepare the Work Area: Begin by clearing the area around the sliding door to create ample space for maneuvering. Remove any obstacles or furniture near the door to facilitate easy access and movement during the removal process.
-
Secure the Door: To prevent any accidental mishaps, it's crucial to secure the sliding door in place before attempting to remove it. Depending on the door design, you may need to engage the locking mechanism or use wooden blocks to keep the door stable and prevent it from sliding off its tracks.
-
Lift the Door: With the assistance of a partner, carefully lift the sliding door upwards to disengage it from the bottom track. It's important to lift the door evenly to avoid placing excessive strain on any specific area.
-
Remove the Door: Once the door is lifted, gently tilt it towards the interior of the room to disengage the top rollers from the track. Take care to support the weight of the door and guide it out of the frame, ensuring a smooth and controlled removal process.
-
Place the Door in a Safe Location: After successfully removing the sliding door, place it in a secure and stable location, preferably on a soft surface to prevent any damage to the door or the surrounding area.
By following these steps, homeowners can safely and effectively remove the sliding door in preparation for the subsequent stages of the roller replacement process. It's essential to exercise caution and patience during this step to ensure that the door is handled with care and that the removal process is carried out smoothly. With the sliding door successfully removed, homeowners can proceed to the next phase of replacing the old rollers with new ones, ultimately rejuvenating the functionality of their sliding glass door.
Read more: How To Change Rollers On Sliding Glass Door
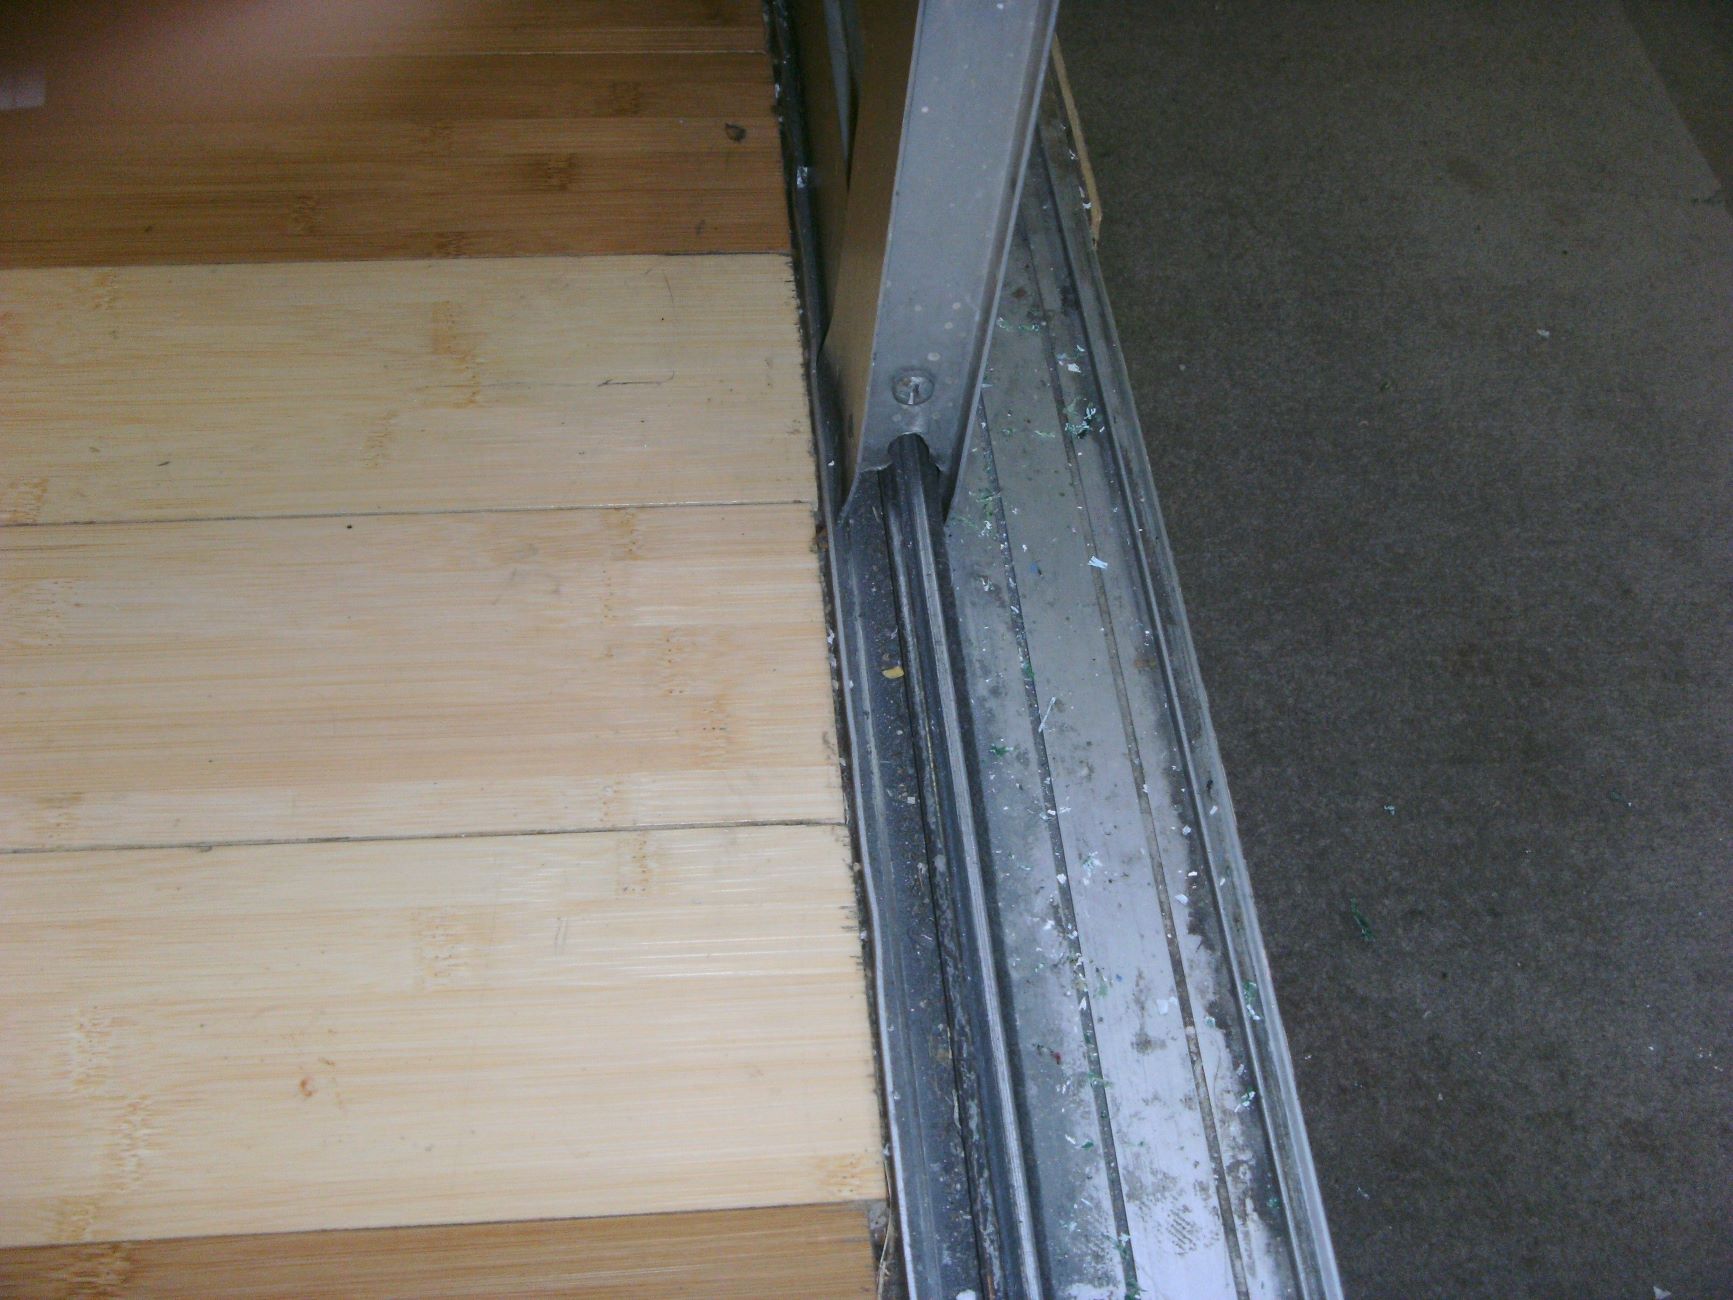
Step 2: Remove the Old Rollers
With the sliding door safely removed, the next crucial step in the roller replacement process is the removal of the old, worn-out rollers. This step requires attention to detail and precision to ensure that the old rollers are effectively disengaged from the door and tracks. Here's a comprehensive guide on how to remove the old rollers from the sliding glass door:
-
Inspect the Rollers: Before proceeding with the removal, carefully inspect the old rollers to assess their condition and identify any visible signs of wear, damage, or corrosion. This inspection will provide valuable insights into the extent of the roller deterioration and help determine the appropriate course of action for their removal.
-
Access the Rollers: Depending on the design of the sliding door, access to the rollers may involve removing a cover or accessing them directly from the bottom of the door. Use a screwdriver or appropriate tool to remove any covers or panels that may be concealing the rollers, allowing clear visibility and access to the components.
-
Unscrew and Detach the Rollers: Using a suitable screwdriver, carefully unscrew and detach the old rollers from their mounting brackets or housing. Take note of the orientation and positioning of the rollers to ensure proper alignment when installing the new ones. It's important to handle the screws and small components with care to prevent misplacement or loss during the removal process.
-
Release the Rollers from the Tracks: Once the rollers are detached from the door, gently release them from the tracks by carefully maneuvering the door to create space for their removal. Exercise caution to avoid causing any damage to the tracks or surrounding components during this step.
-
Clean the Roller Area: With the old rollers removed, take the opportunity to clean the roller area, including the mounting brackets and the track where the rollers sit. Use a mild cleaning solution and a rag to remove any accumulated dirt, debris, or residue, ensuring a clean and smooth surface for the installation of the new rollers.
By meticulously following these steps, homeowners can effectively remove the old rollers from their sliding glass door, setting the stage for the subsequent installation of the new rollers. This meticulous approach ensures that the roller replacement process is carried out with precision and attention to detail, ultimately contributing to the seamless operation and longevity of the sliding door.
Step 3: Install the New Rollers
With the old rollers successfully removed and the roller area cleaned, the next critical phase of the roller replacement process involves installing the new rollers onto the sliding glass door. This step demands precision and attention to detail to ensure that the new rollers are securely and accurately positioned, setting the foundation for the smooth and efficient operation of the door. Here's a comprehensive guide on how to install the new rollers on a sliding glass door:
-
Prepare the New Rollers: Before proceeding with the installation, carefully inspect the new rollers to ensure that they are the correct replacements for the specific sliding door model. Verify that the rollers are in optimal condition and free from any defects or damage. Additionally, apply a small amount of lubricant to the rollers to facilitate smooth movement and reduce friction once installed.
-
Position the New Rollers: Align the new rollers with the mounting brackets or designated areas on the sliding door. Ensure that the rollers are oriented correctly, matching the configuration of the old rollers that were removed. It's essential to position the rollers securely and evenly to guarantee balanced support for the door.
-
Secure the Rollers in Place: Using the appropriate screws and fasteners, securely attach the new rollers to the mounting brackets or housing on the sliding door. Exercise caution to avoid over-tightening the screws, as this may affect the movement and alignment of the rollers. Verify that the rollers are firmly secured and that there is no excessive play or instability in their positioning.
-
Test the Roller Movement: After installing the new rollers, carefully maneuver the sliding door to test the movement and functionality of the rollers. Ensure that the door glides smoothly along the tracks without any resistance or unevenness. If any issues are detected, reevaluate the positioning and alignment of the rollers to address any potential misalignments or irregularities.
-
Apply Additional Lubrication: Once the new rollers are installed and verified for smooth movement, apply a thin layer of lubricant to the rollers and the track to further enhance the door's operational efficiency. The lubricant will minimize friction and promote effortless sliding motion, contributing to the overall longevity of the rollers and the door itself.
By meticulously following these steps, homeowners can effectively install the new rollers on their sliding glass door, ensuring optimal functionality and longevity. This meticulous approach guarantees that the roller replacement process is carried out with precision, ultimately contributing to the seamless operation and extended lifespan of the sliding door.
When replacing rollers on a sliding glass door, make sure to measure the existing rollers before purchasing new ones to ensure a proper fit. Clean the track thoroughly before installing the new rollers to ensure smooth operation.
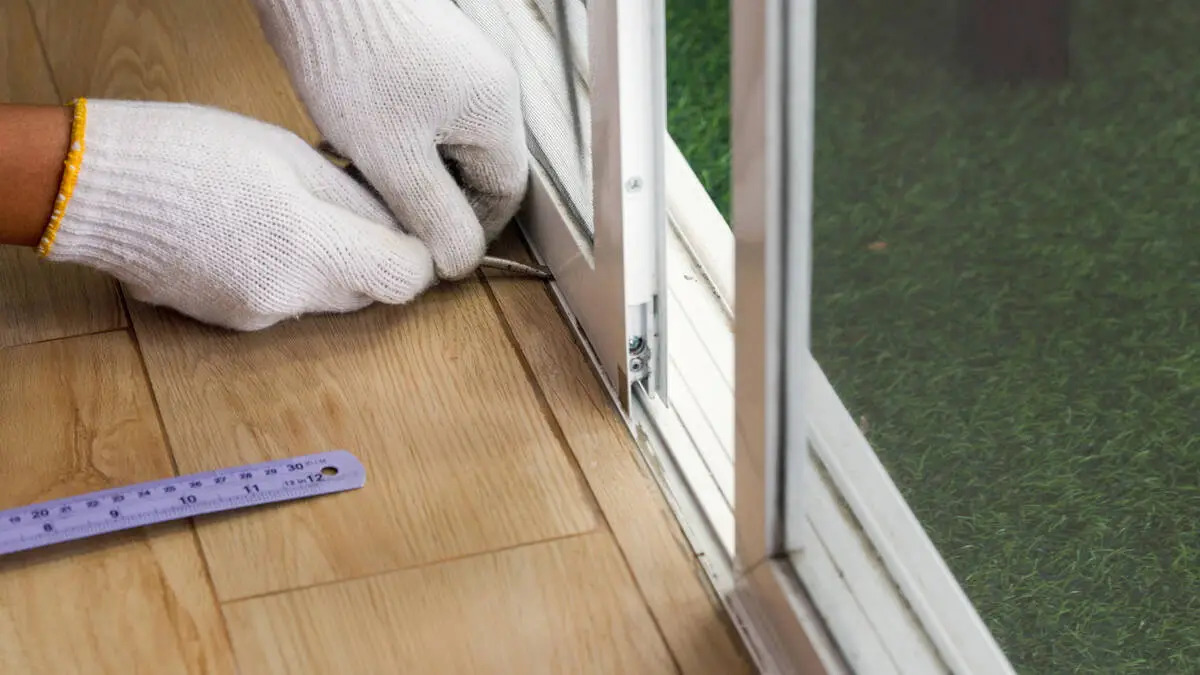
Step 4: Reinstall the Sliding Door
Reinstalling the sliding door is the final crucial step in the roller replacement process, marking the culmination of the meticulous efforts to rejuvenate the functionality of the door. This phase demands careful handling and precision to ensure that the door is securely and seamlessly repositioned, allowing for effortless operation and enhanced safety. Here's a comprehensive guide on how to effectively reinstall the sliding door after replacing its rollers:
-
Prepare the Door Opening: Before reinstalling the door, ensure that the door opening and the surrounding area are clean and free from any obstructions. Clear away any debris or dirt that may impede the smooth reinstallation of the door. Additionally, inspect the tracks to verify that they are clean and devoid of any residual particles that could affect the door's movement.
-
Lift and Position the Door: With the assistance of a partner, carefully lift the sliding door and position it at an angle to align the top rollers with the upper track. It's essential to handle the door with care and ensure that it is positioned evenly to prevent any strain on the rollers or the tracks.
-
Engage the Rollers: Once the top rollers are aligned with the upper track, gently lower the door to allow the bottom rollers to settle into the lower track. Ensure that the rollers are securely engaged with the tracks, providing stable support for the door's weight.
-
Test the Door Movement: After reinstalling the door, test its movement by sliding it back and forth along the tracks. Verify that the door moves smoothly and effortlessly, without any resistance or unevenness. If any issues are detected, reevaluate the alignment of the door and the engagement of the rollers with the tracks.
-
Adjust and Secure the Door: If necessary, make minor adjustments to the door's positioning to ensure that it is level and aligned with the frame. Once the door is properly positioned, secure it in place by tightening any adjustment screws or fasteners that may be present on the door's mounting brackets.
By meticulously following these steps, homeowners can effectively reinstall the sliding door after replacing its rollers, ensuring optimal functionality and seamless operation. This meticulous approach guarantees that the roller replacement process is completed with precision, ultimately contributing to the smooth and efficient movement of the sliding door.
Conclusion
In conclusion, the process of replacing the rollers on a sliding glass door is a practical and rewarding endeavor that empowers homeowners to rejuvenate the functionality of their doors with precision and confidence. By following the systematic steps outlined in this guide, individuals can successfully address issues related to worn-out rollers, such as difficulty in operation, uneven movement, or excessive noise. The comprehensive approach to roller replacement not only enhances the overall functionality of the sliding door but also contributes to the safety, security, and aesthetic appeal of the home.
Throughout the roller replacement process, meticulous attention to detail and careful handling are paramount. From the initial removal of the sliding door to the installation of new rollers and the subsequent reinstallation of the door, each step demands precision and patience. By adhering to the guidelines and utilizing the necessary tools and materials, homeowners can effectively navigate through the process, ultimately achieving the desired outcome of a smoothly operating sliding glass door.
Furthermore, the DIY nature of this project offers homeowners the opportunity to save on repair costs and take an active role in maintaining their home's essential components. By investing time and effort into the roller replacement process, individuals can extend the lifespan of their sliding doors, thereby enhancing the overall value and functionality of their living spaces.
It's important to note that regular maintenance and periodic inspection of sliding glass doors can help identify potential issues with the rollers at an early stage, allowing for timely intervention and preventive measures. By incorporating roller maintenance into their home care routine, homeowners can mitigate the risk of extensive wear and tear, ensuring that their sliding doors continue to operate smoothly for years to come.
In essence, the process of replacing the rollers on a sliding glass door embodies the spirit of proactive home maintenance and DIY ingenuity. By embracing this practical approach, homeowners can elevate the functionality and longevity of their sliding doors, contributing to a more comfortable and secure living environment. With the insights and guidance provided in this comprehensive guide, individuals are empowered to embark on the roller replacement journey with confidence, ultimately reaping the rewards of a seamlessly operating sliding glass door.
Frequently Asked Questions about How To Replace Rollers On Sliding Glass Door
Was this page helpful?
At Storables.com, we guarantee accurate and reliable information. Our content, validated by Expert Board Contributors, is crafted following stringent Editorial Policies. We're committed to providing you with well-researched, expert-backed insights for all your informational needs.


0 thoughts on “How To Replace Rollers On Sliding Glass Door”