Home>Furniture>Outdoor Furniture>How To Replace Rollers On A Sliding Glass Patio Door
Outdoor Furniture
How To Replace Rollers On A Sliding Glass Patio Door
Modified: October 20, 2024
Learn how to replace rollers on a sliding glass patio door and ensure smooth operation of your outdoor furniture. Step-by-step guide and expert tips included.
(Many of the links in this article redirect to a specific reviewed product. Your purchase of these products through affiliate links helps to generate commission for Storables.com, at no extra cost. Learn more)
Introduction
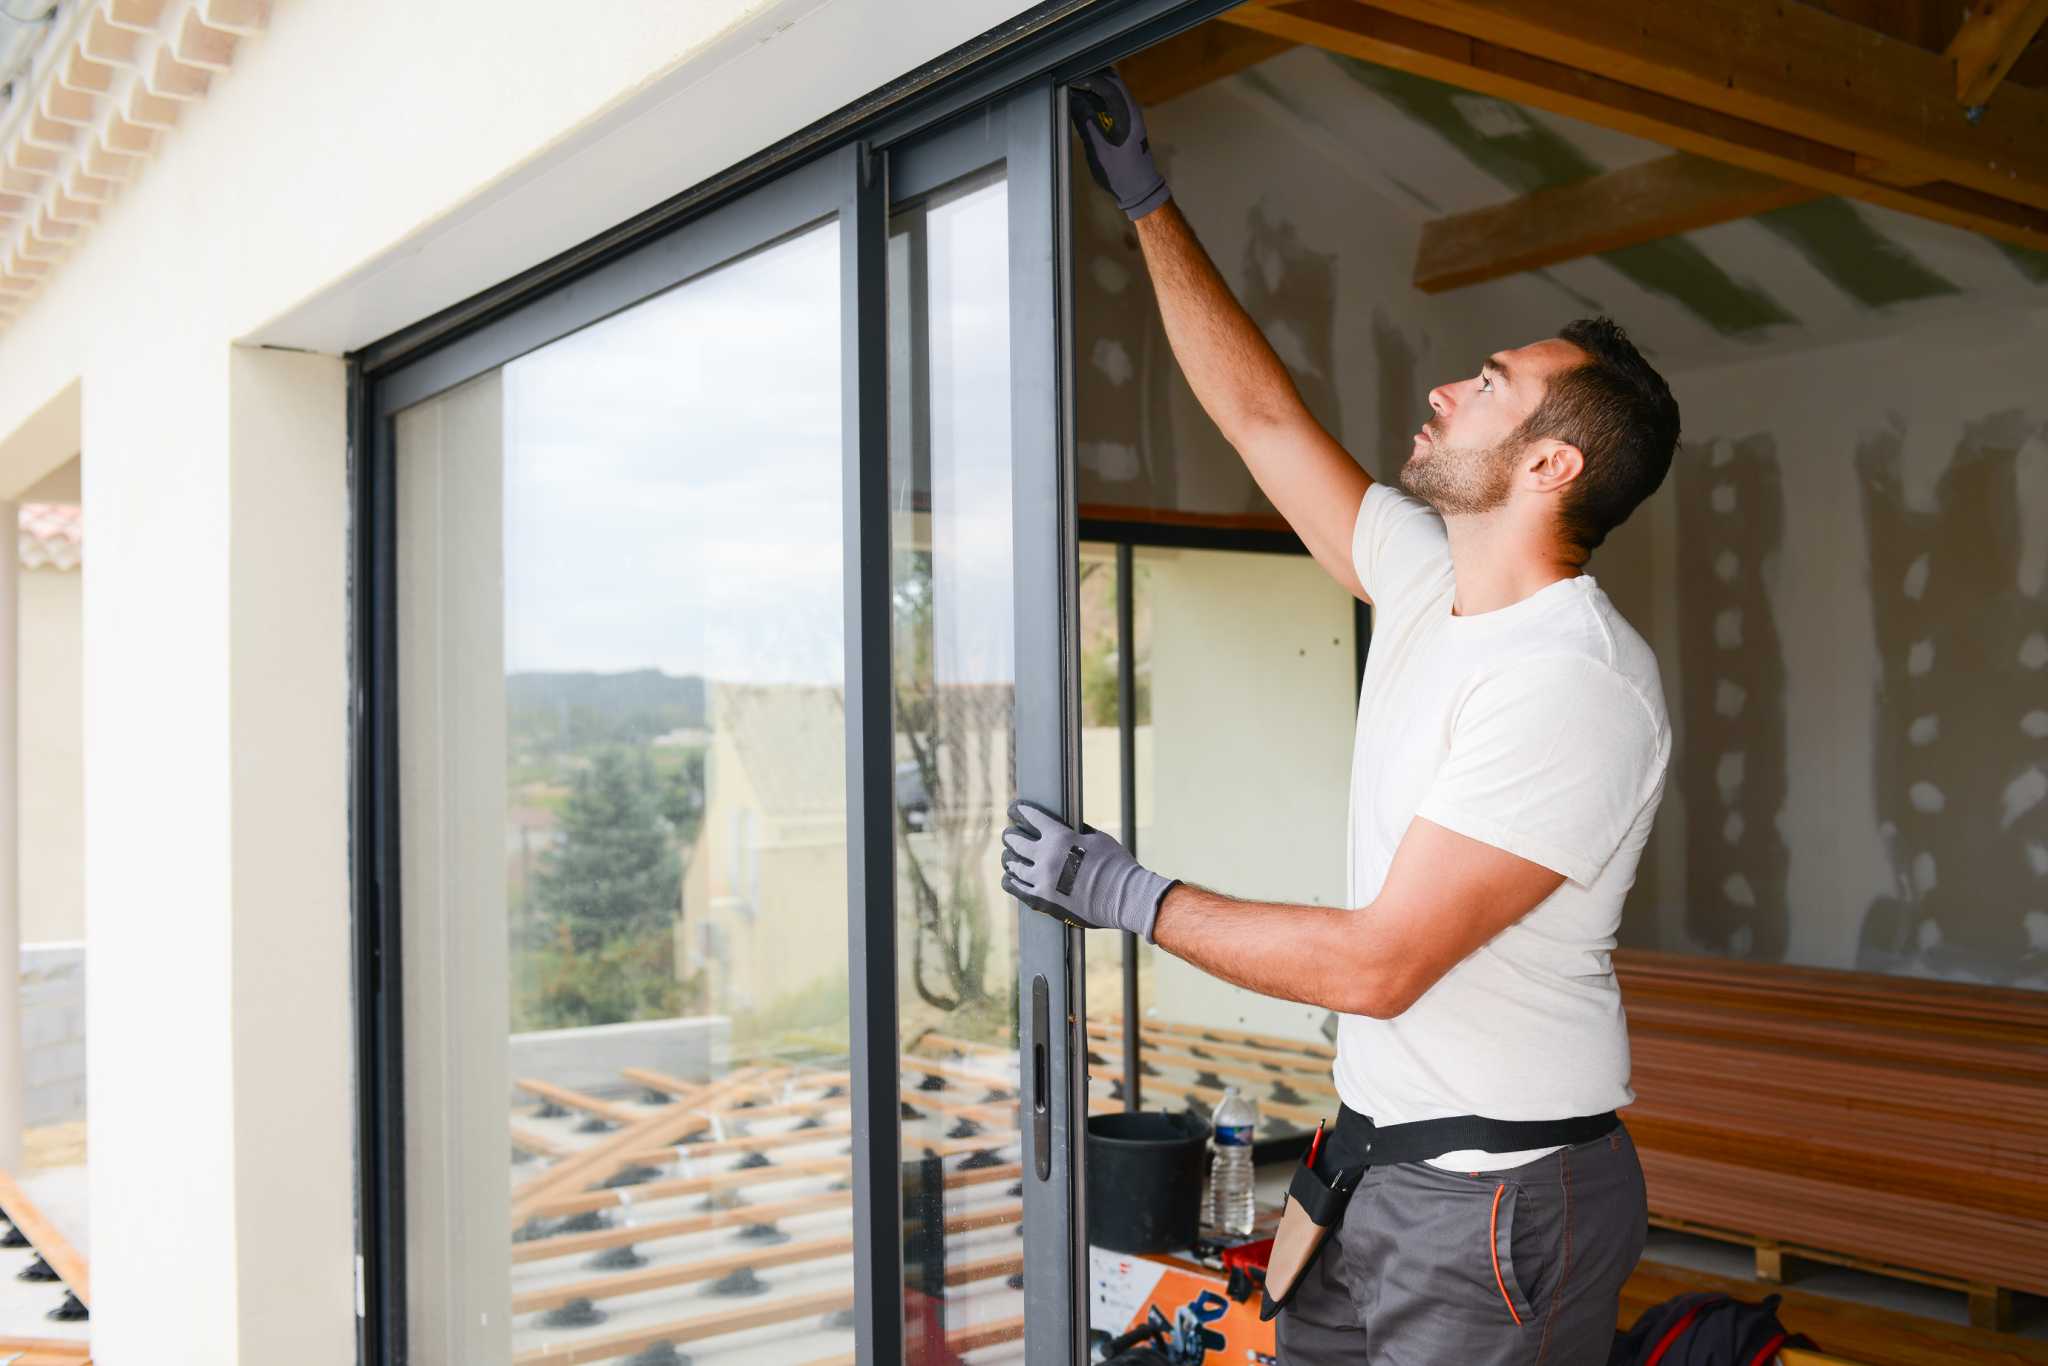
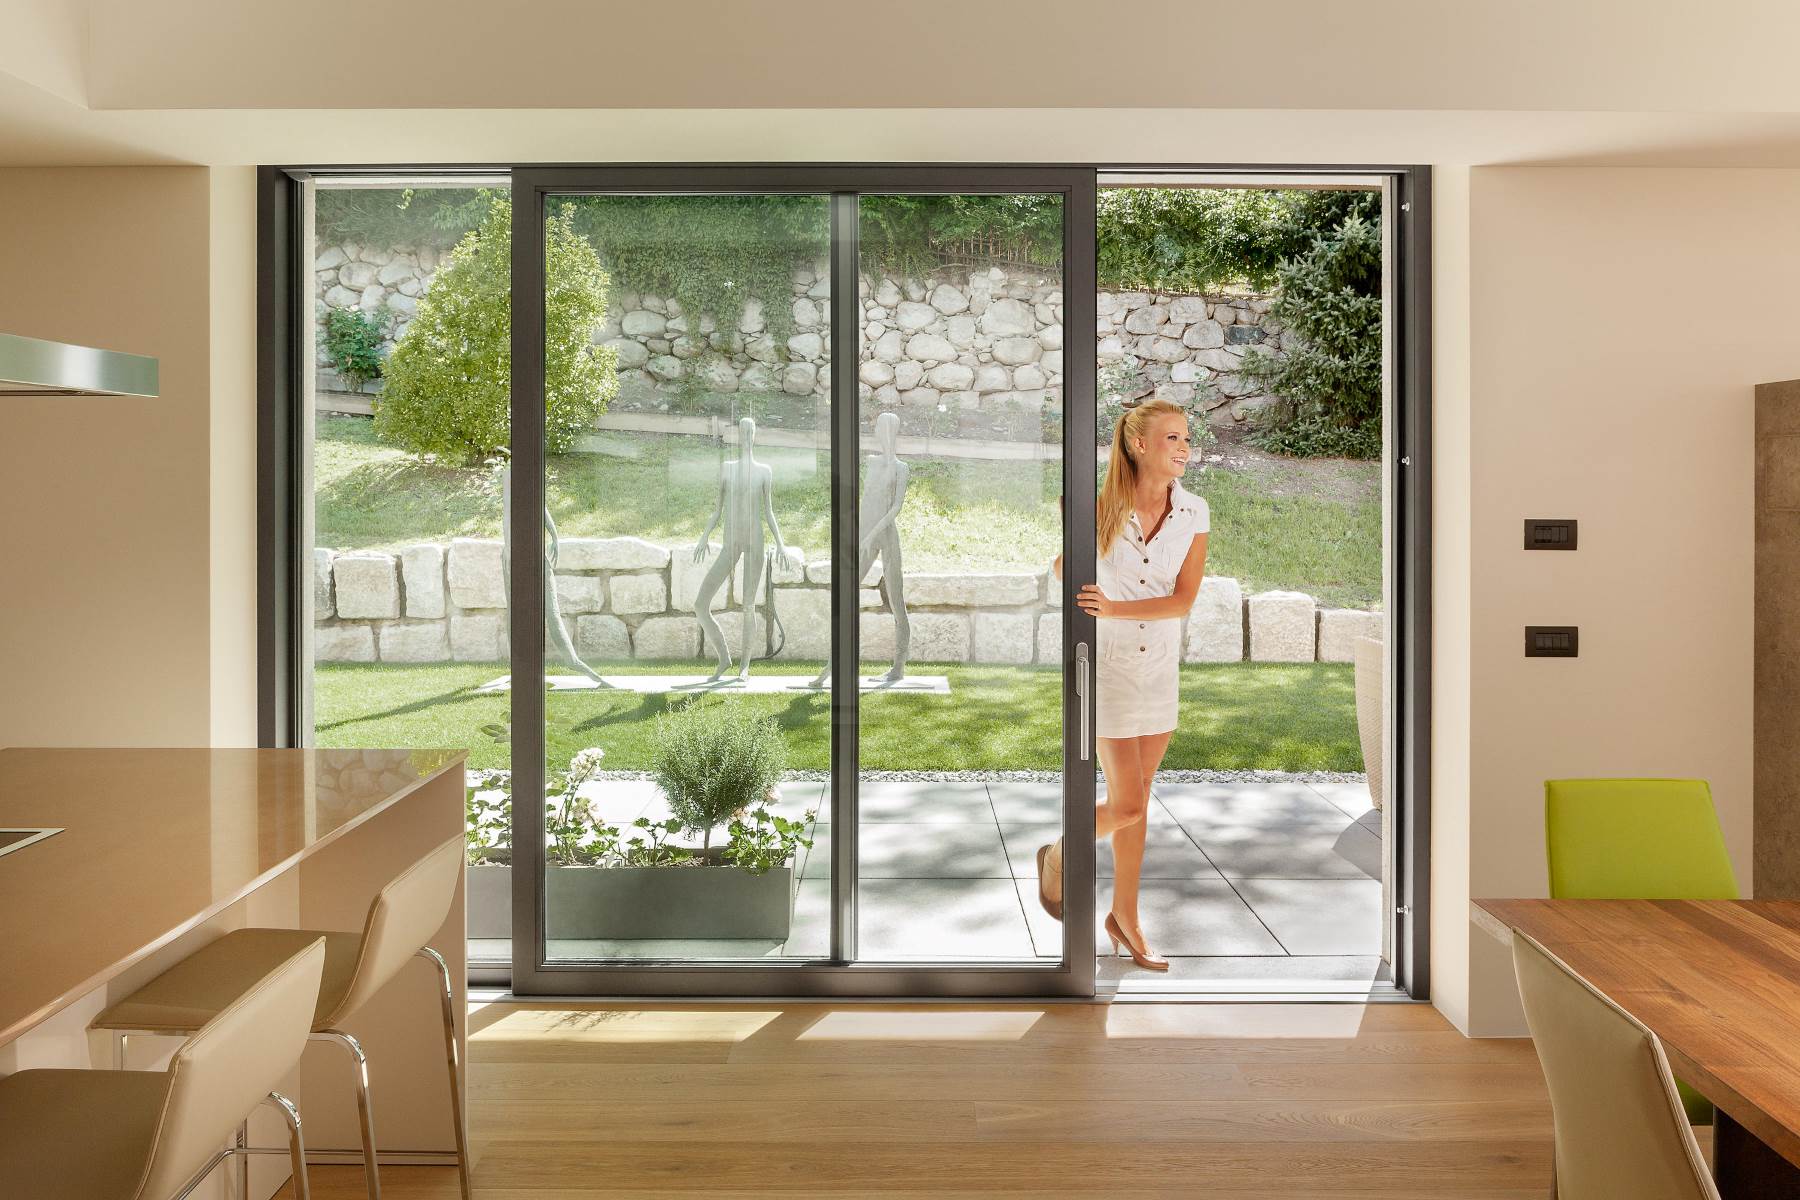
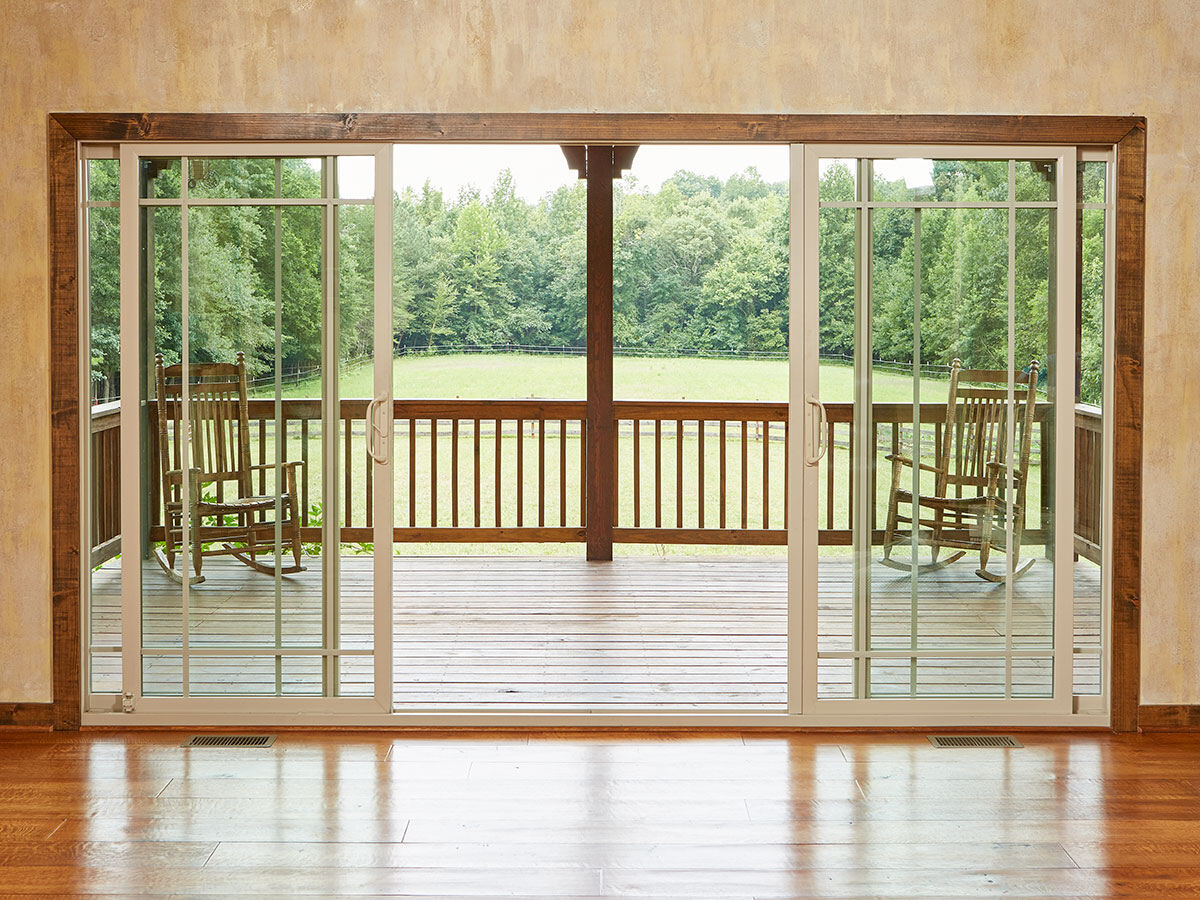
Sliding glass patio doors are a popular feature in many homes, providing both functionality and aesthetic appeal. However, over time, the rollers on these doors may wear out or become damaged, causing the door to become difficult to open and close smoothly. In such cases, it becomes necessary to replace the rollers to restore the functionality of the sliding glass patio door.
In this article, we will guide you through the process of replacing the rollers on a sliding glass patio door. With a few common tools and materials, you can easily complete this task and have your door operating smoothly again in no time.
Before we get started, it’s important to note that this guide is intended for informational purposes only. If you’re unsure about your abilities or encounter any complications during the process, it’s always best to consult a professional or seek expert advice.
Now, let’s gather the tools and materials you’ll need to replace the rollers on your sliding glass patio door.
Key Takeaways:
- Replacing the rollers on a sliding glass patio door can restore its smooth operation. Prioritize safety, inspect the rollers, and follow the steps to ensure a successful and convenient outcome.
- By following the guide, you can confidently replace the rollers and enjoy a smoothly functioning sliding glass door. Remember to seek professional assistance if needed and prioritize safety throughout the process.
Read more: How To Replace Rollers On Sliding Glass Door
Tools and Materials Needed
Before you begin replacing the rollers on your sliding glass patio door, it’s important to gather all the necessary tools and materials to ensure a smooth and efficient process. Here’s a list of what you’ll need:
1. Screwdriver: A screwdriver, both Phillips and flathead, will be needed to remove screws and any other fasteners holding the door in place.
2. Pliers: Pliers will come in handy for removing any wire clips or retaining rings that may be securing the rollers.
3. Putty Knife: A putty knife will be useful for removing any putty or sealant that may be present around the frame of the door.
4. Pry Bar: A pry bar can assist in gently and safely prying the sliding glass door from its frame.
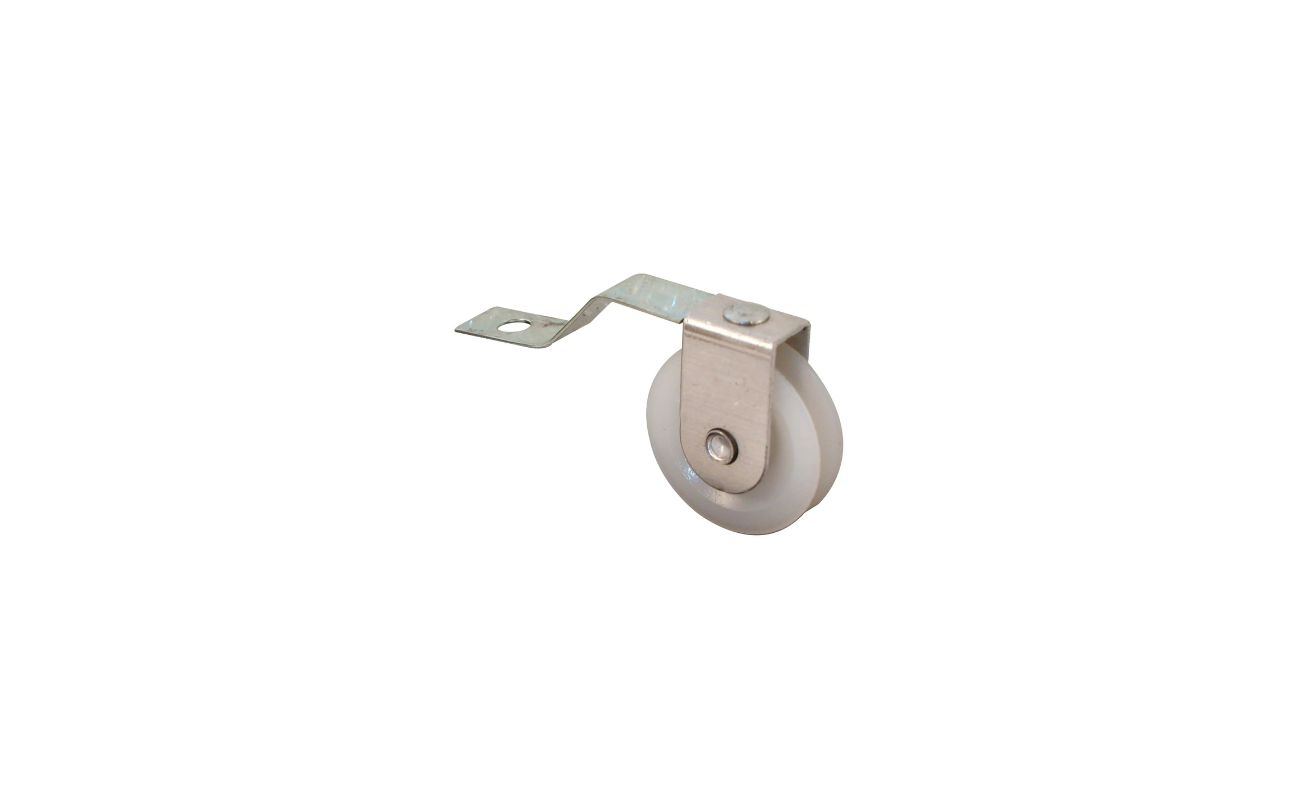
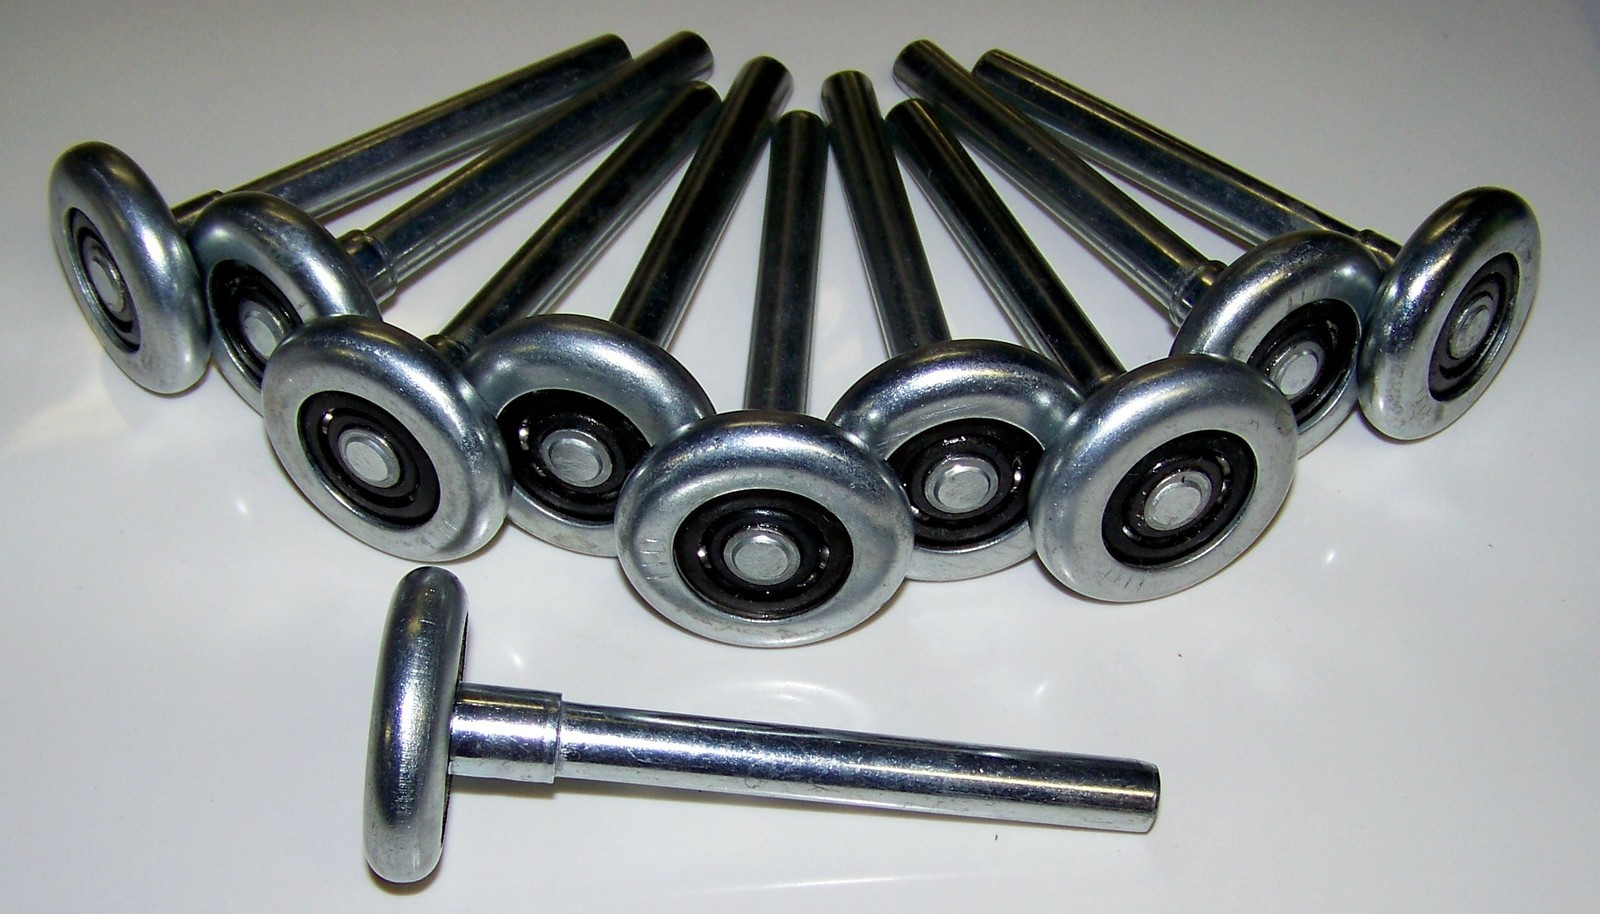
5. Replacement Rollers: It’s important to have the correct replacement rollers for your specific sliding glass patio door. Be sure to measure the dimensions of your current rollers or consult the door’s manufacturer to determine the correct size and type of replacement rollers.
6. Lubricant: A lubricant or silicone spray can be used to lubricate the new rollers and ensure smooth operation of the sliding glass door.
7. Safety Equipment: It’s always important to prioritize safety. Be sure to wear protective gloves and safety glasses to protect yourself from any potential injuries.
Now that you have all the necessary tools and materials, we can move on to the first step: taking safety precautions.
Step 1: Safety Precautions
Before you begin any DIY project, it’s crucial to prioritize safety. When working with sliding glass patio doors, there are a few safety precautions you should take to ensure a safe and accident-free process. Here’s what you need to do:
1. Wear Protective Gear: Before starting any work, put on safety glasses to protect your eyes from any debris or flying particles. Additionally, wear sturdy gloves to safeguard your hands from sharp edges or potential injuries.
2. Clear the Area: Make sure the area around the sliding glass door is clear from any obstacles or items that could cause tripping hazards. This will provide you with a clear and safe working space.
3. Secure the Door: Before removing the door, make sure it is properly secured to prevent it from accidentally falling or slamming shut. Use wooden blocks or wedges to prop the door in place and keep it stable during the process.
4. Work with a Partner: It’s always a good idea to have someone assist you during this project, especially when removing the sliding glass door. Having a second set of hands can help ensure stability and shared responsibility for the weight and maneuvering of the door.
5. Follow Manufacturer Instructions: If available, refer to the manufacturer’s instructions or guidelines for safety precautions specific to your sliding glass patio door. They may provide additional safety recommendations or precautions.
By following these safety precautions, you can minimize the risk of accidents or injuries while replacing the rollers on your sliding glass patio door.
Now that you’re aware of the safety precautions, let’s move on to the next step: removing the sliding glass door.
Step 2: Removing the Sliding Glass Door
Now that you’ve taken safety precautions, it’s time to remove the sliding glass door from its frame. Follow these steps to safely and efficiently remove the door:
- Start by locating the adjustment screws or bolts on the bottom of the door. These screws or bolts are typically used to adjust the height or alignment of the door. Use a screwdriver or an appropriate tool to loosen these screws or bolts.
- Next, locate the screws or fasteners holding the door in place on the track. These screws are usually located at the top and bottom of the door frame. Use a screwdriver to remove these screws, taking care not to strip them.
- With the screws removed, you can now begin gently lifting the sliding glass door out of the frame. It’s important to have a partner assist you during this step to ensure a smooth and controlled removal process. Lift the door straight up, taking care not to tilt or twist it as this can cause damage or injury.
- Once the door is lifted out of the frame, carefully set it aside in a safe area to avoid any accidental damage.
- Take a moment to inspect the bottom track and remove any debris, dirt, or old rollers that may be present. Use a vacuum cleaner or a brush to clean the track thoroughly.
By following these steps, you will be able to safely remove the sliding glass door and prepare the frame for the next step: inspecting the rollers.
Now that the door is removed, let’s move on to the next step: inspecting the rollers.
Step 3: Inspecting the Rollers
Now that you have removed the sliding glass door, it’s time to inspect the rollers. Proper inspection will help determine if the rollers are indeed the source of the issue and if they need to be replaced. Follow these steps to inspect the rollers:
- Examine the rollers closely for any signs of wear, damage, or misalignment. Look for flat spots, cracks, or any other visible signs of deterioration.
- Check the roller assembly for any loose or broken parts. Ensure that all components, such as the axle and bearings, are intact and functioning properly.
- Perform a test by manually moving the rollers back and forth along the track. You should feel smooth and even movement without any resistance or sticking. If there is any difficulty or unevenness, this confirms that the rollers are worn or damaged and need to be replaced.
- If the rollers are made of plastic or nylon, check for any signs of warping or deformation. These materials can degrade over time, leading to poor performance.
If you notice any of these issues during the inspection, it’s a clear indication that the rollers need to be replaced. Worn or damaged rollers can cause the sliding glass door to become difficult to open or close, compromising its functionality and convenience.
Now that the rollers have been inspected, let’s move on to the next step: purchasing replacement rollers.
Read more: How To Replace Glass In A Sliding Patio Door
Step 4: Purchasing Replacement Rollers
After inspecting the rollers and determining that they need to be replaced, it’s time to purchase the appropriate replacement rollers. Follow these guidelines to ensure you select the correct rollers for your sliding glass patio door:
- Measure the Rollers: Start by measuring the dimensions of the existing rollers. This includes the diameter of the roller wheel and the overall height and width of the roller assembly. These measurements will help you find replacement rollers that match the size of your current ones.
- Check the Roller Type: Different sliding glass doors may have different types of rollers, such as single-wheel rollers, double-wheel rollers, or tandem rollers. Determine the type of rollers you need based on the design of your door and the number of wheels on the original rollers.
- Material Quality: Consider the quality of materials used in the replacement rollers. Look for durable materials such as stainless steel or high-quality nylon, as these will ensure long-lasting performance and smooth operation.
- Research Brands and Reviews: Before making a purchase, research different brands and read customer reviews to ensure you are selecting a reputable and reliable product. Look for positive feedback regarding the performance and longevity of the rollers.
- Consult the Manufacturer: If possible, consult the manufacturer of your sliding glass patio door for guidance on the recommended type and size of replacement rollers. They may have specific recommendations or even provide replacement parts themselves.
By following these guidelines, you can confidently select the right replacement rollers for your sliding glass patio door. Once you have obtained the replacement rollers, you are ready to move on to the next step: removing the old rollers.
Now that you know how to purchase replacement rollers, let’s proceed to step 5: removing the old rollers.
When replacing rollers on a sliding glass patio door, make sure to measure the existing rollers and purchase the correct size replacements. Clean the track before installing the new rollers to ensure smooth operation.
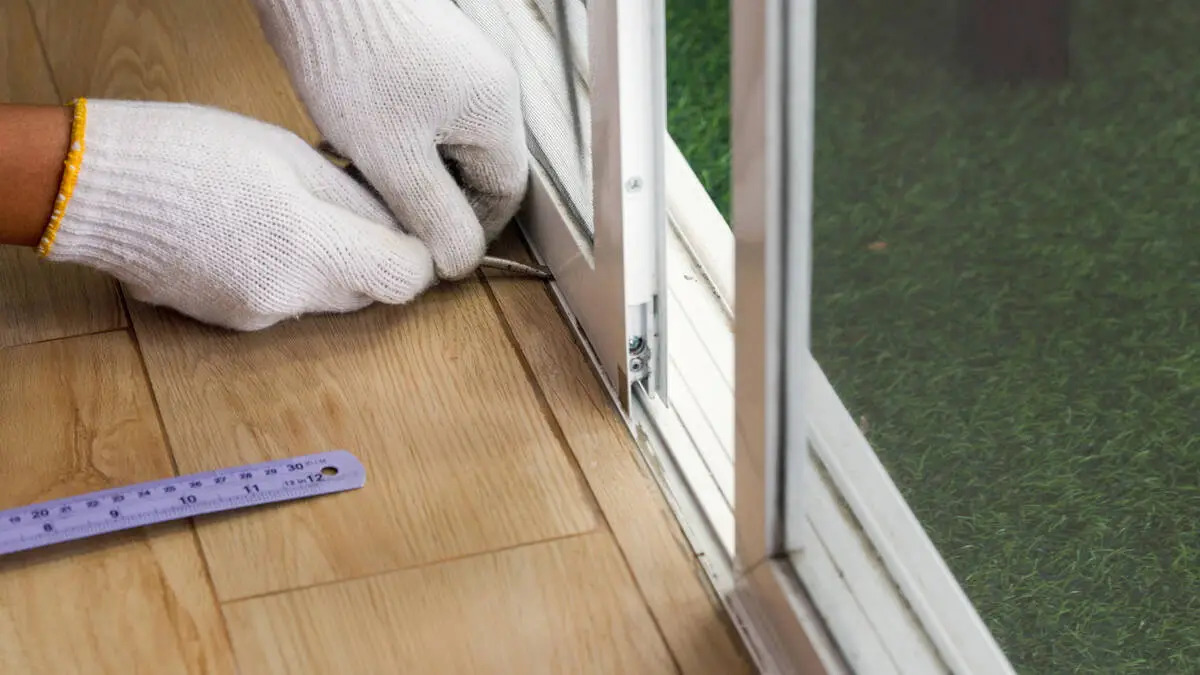
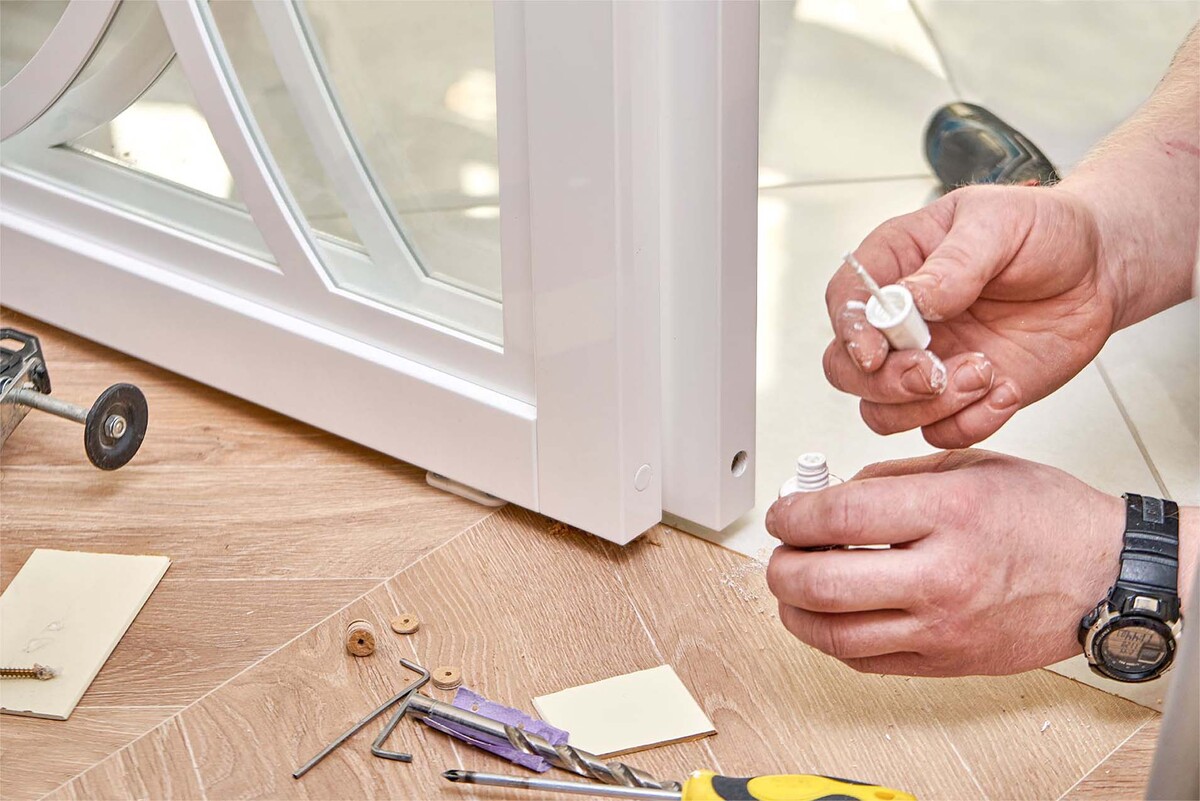
Step 5: Removing the Old Rollers
With the replacement rollers in hand, it’s time to remove the old rollers from the sliding glass patio door. Follow these steps to properly remove the old rollers:
- Flip the door onto its side or lay it flat on a stable surface. This will provide easier access to the rollers.
- Inspect the roller assembly to identify any retaining clips, screws, or fasteners that are securing the rollers in place. Use pliers or a screwdriver to remove these and detach the rollers from the door frame.
- Once the retaining clips or screws are removed, gently lift the roller assembly out of the door frame. Pay attention to any wires or connectors that may be attached to the assembly and disconnect them carefully.
- Take note of the orientation of the roller assembly as you remove it. This will help with the installation of the replacement rollers later.
- Inspect the removed rollers for any additional retaining clips or fasteners that may need to be removed before fully detaching the rollers from the assembly.
- Once all the retaining clips or fasteners are removed, separate the old rollers from the assembly and set them aside for disposal.
- Use a putty knife or a wire brush to clean out any debris, dirt, or residue from the roller track and the surrounding area.
By following these steps, you will successfully remove the old rollers from your sliding glass patio door. With the old rollers gone, you are now ready to install the new replacement rollers.
Now that you’ve removed the old rollers, let’s move on to the next step: installing the new rollers.
Step 6: Installing the New Rollers
With the old rollers removed, it’s time to install the new replacement rollers onto your sliding glass patio door. Follow these steps to properly install the new rollers:
- Take one of the new replacement rollers and position it into the roller assembly, aligning it with the track openings. Make sure the orientation matches the previous position of the old rollers.
- If needed, refer to the manufacturer’s instructions to ensure you are installing the new rollers correctly. Some rollers may require specific installation steps or additional components.
- Secure the new roller in place by attaching any retaining clips, screws, or fasteners that were removed from the old rollers. Use pliers or a screwdriver to tighten them securely, ensuring the roller is firmly attached to the assembly.
- Repeat the same process for the remaining rollers, installing them one at a time into their respective positions within the roller assembly.
- Once all the new rollers are installed, double-check that they are aligned correctly and securely attached to the assembly.
- Apply a few drops of lubricant or silicone spray to each roller to ensure smooth and effortless movement along the track.
- Reconnect any wires or connectors that were detached during the removal of the old roller assembly. Ensure a proper and secure connection.
- Before moving on to the next step, test the new rollers by gently sliding the door back and forth along the track. Ensure that the movement is smooth and without any resistance.
By following these steps, you can successfully install the new replacement rollers onto your sliding glass patio door. With the new rollers in place, you’re ready to move on to the next step: reinstalling the sliding glass door.
Now that the new rollers are installed, let’s proceed to step 7: reinstalling the sliding glass door.
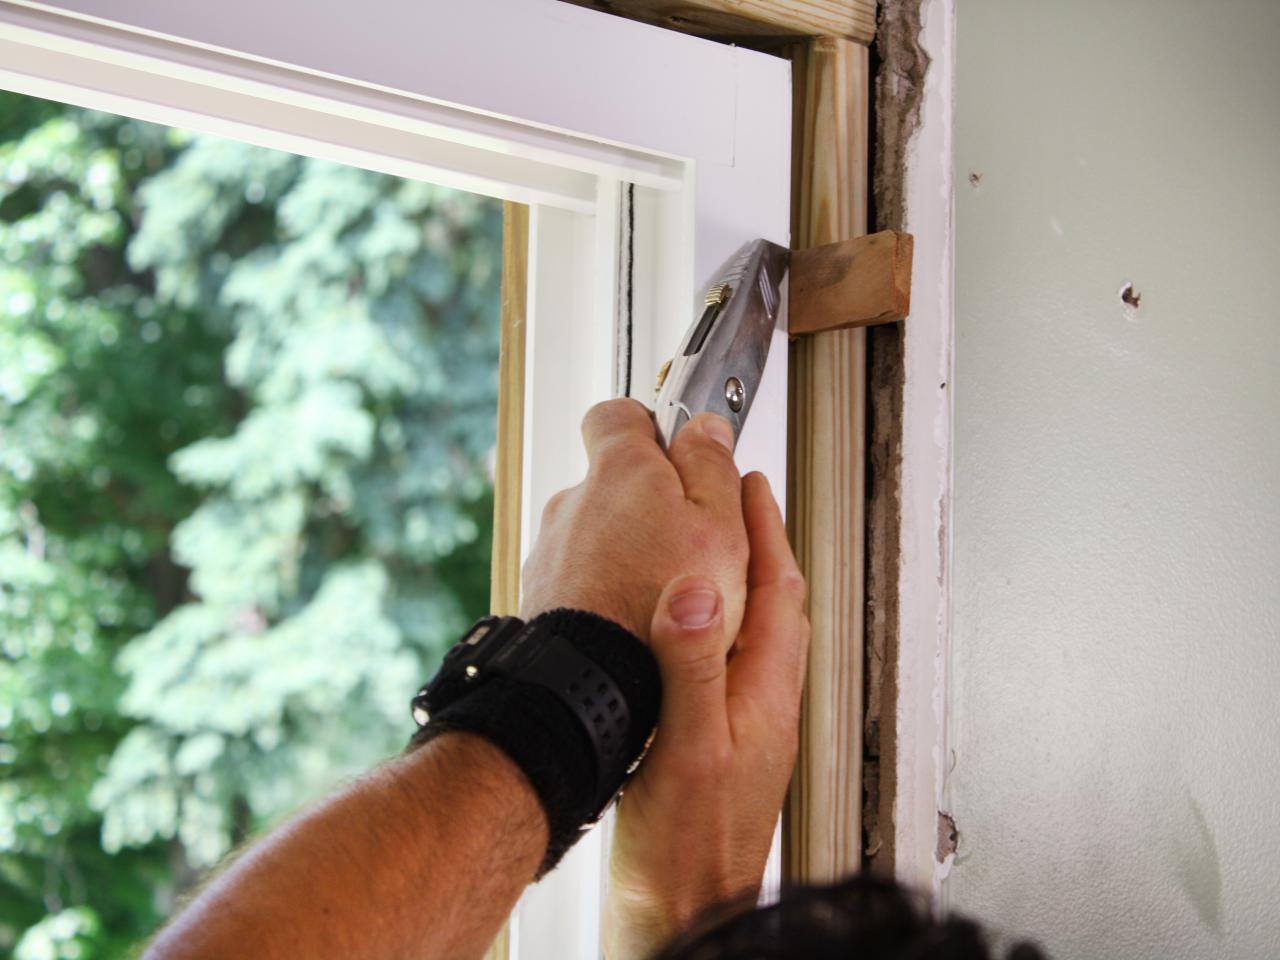
Step 7: Reinstalling the Sliding Glass Door
With the new rollers installed, it’s time to reattach the sliding glass door to its frame. Follow these steps to properly reinstall the door:
- Position the door at a slight angle, aligning the rollers with the track in the frame.
- Gently lift the door and carefully insert the rollers into the track.
- Ensure that the rollers are securely seated in the track, allowing the door to slide smoothly.
- Slowly lower the door into place, ensuring that both sides of the door are aligned with the frame. Be cautious to avoid any damage to the door or the surrounding area.
- Slide the door back and forth a few times to test its functionality. Ensure that it moves smoothly along the track and without any resistance.
- Make any necessary adjustments to the rollers or the alignment of the door if needed. Some doors have adjustment screws or bolts that can be used to fine-tune the alignment.
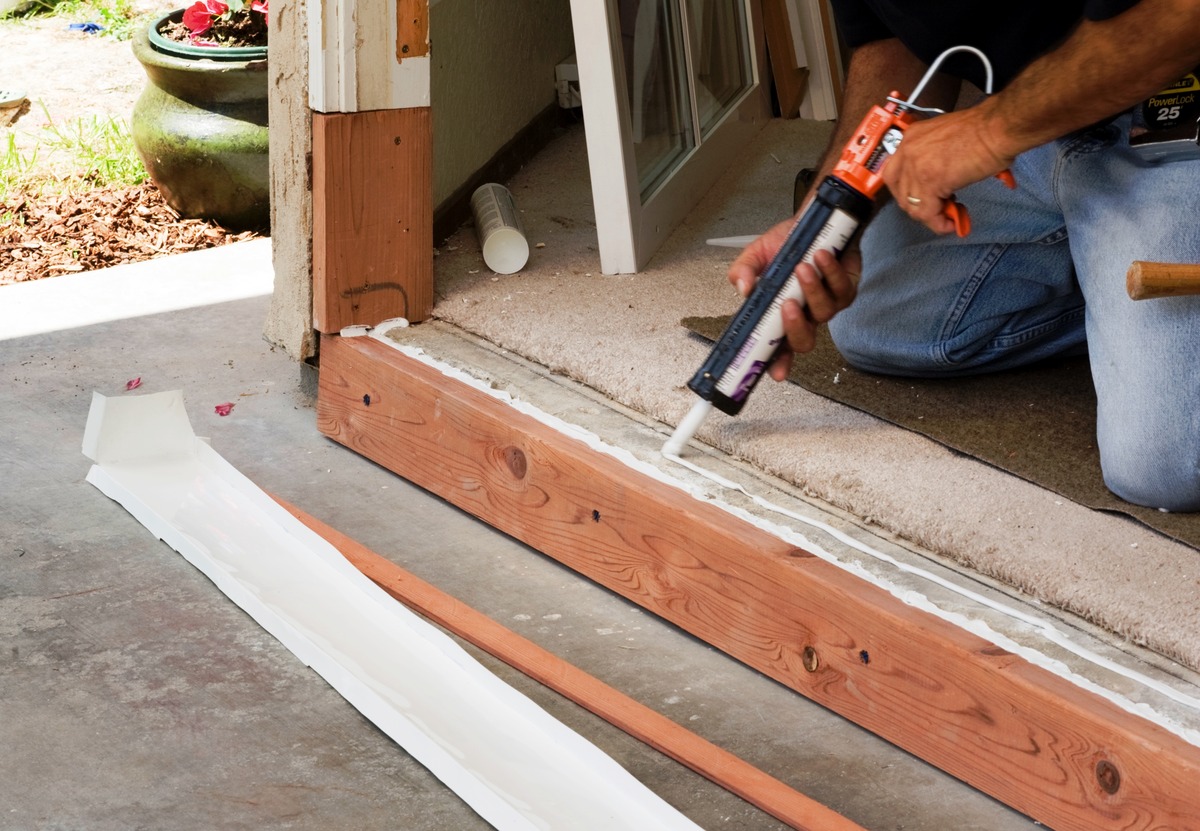
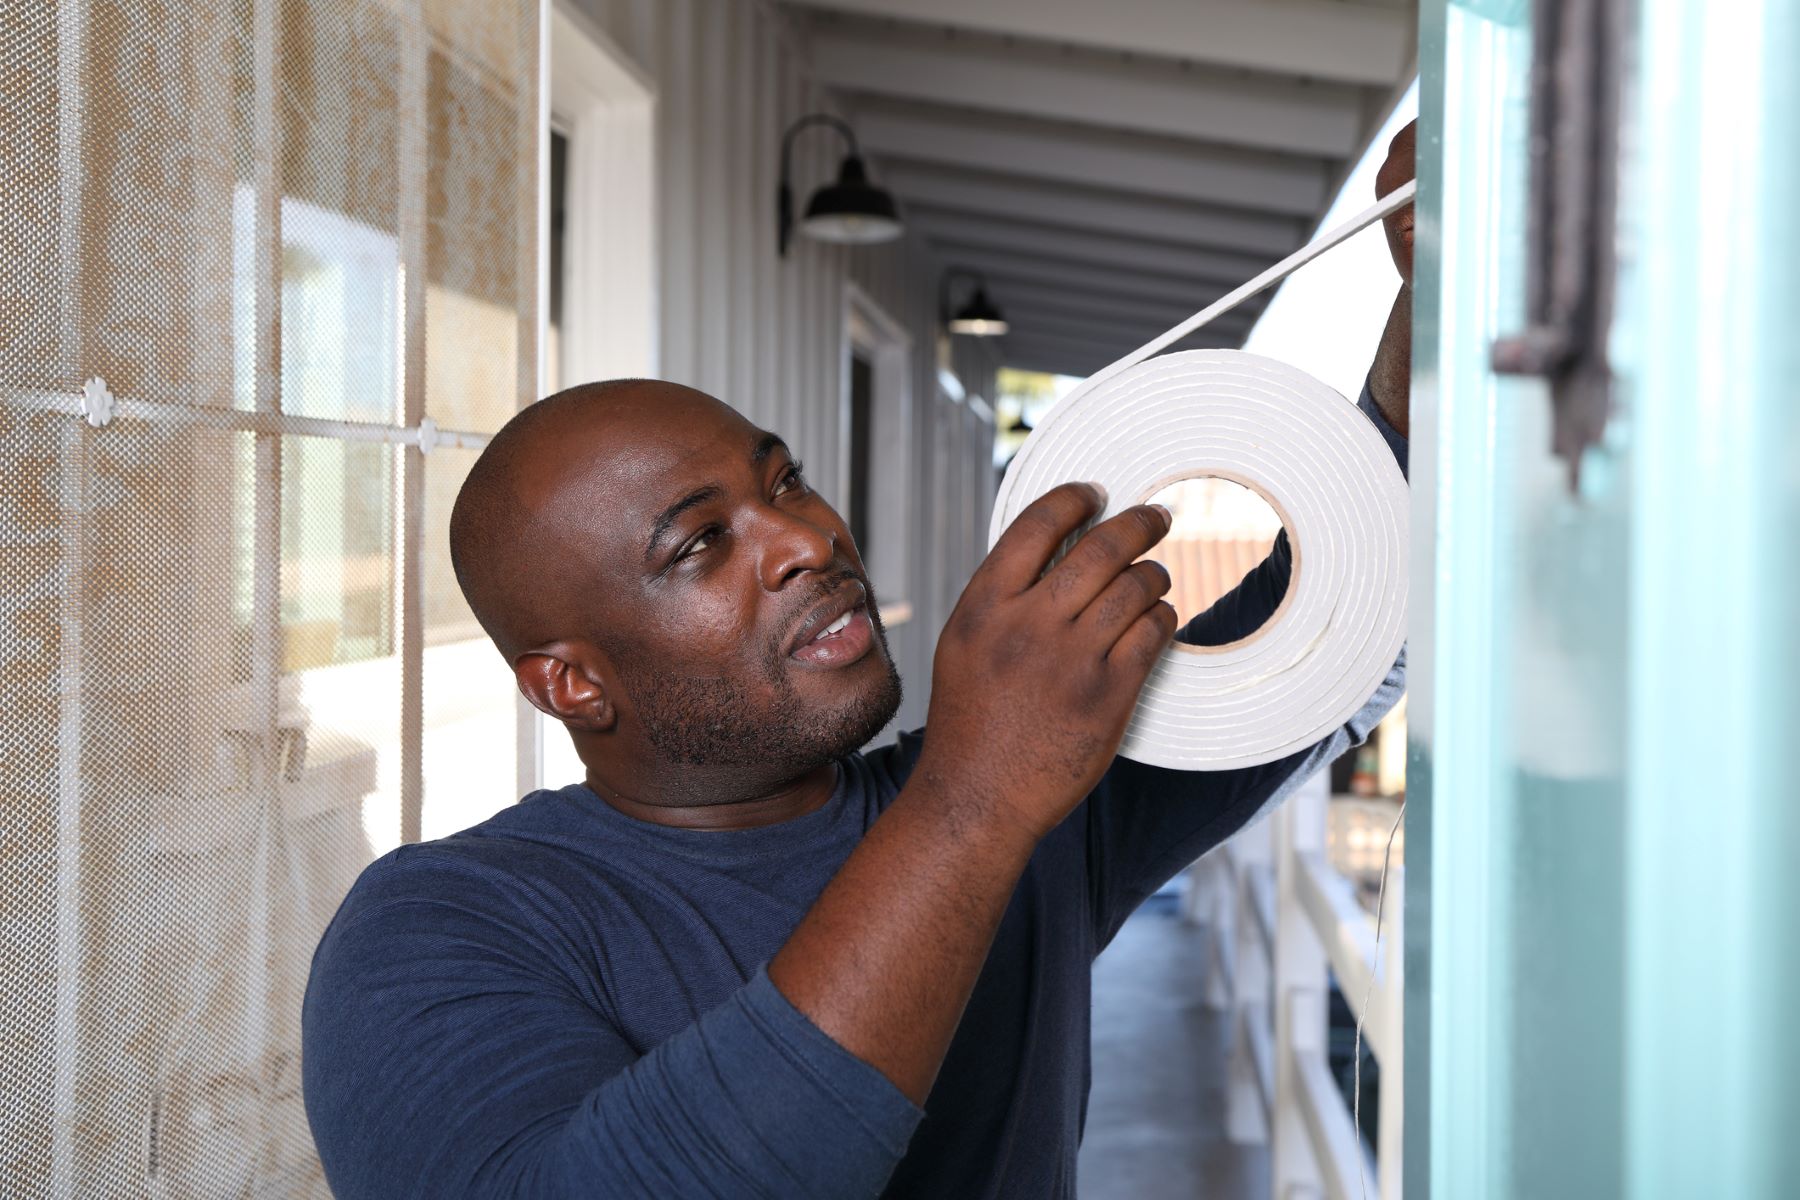
- Once the door is aligned and operates smoothly, check for any gaps or drafts around the frame. Use weatherstripping or sealing materials to fill in any gaps and ensure proper insulation.
- Secure the door in place by reinstalling the screws or fasteners that were removed earlier.
By following these steps, you can successfully reinstall the sliding glass door onto its frame. With the door back in place, you’re almost done with the roller replacement process.
Now that you’ve reinstalled the sliding glass door, let’s move on to the final step: testing the door’s functionality.
Read more: How To Change Rollers On Sliding Glass Door
Step 8: Testing the Door’s Functionality
Now that you have completed the roller replacement and reinstalled the sliding glass door, it’s essential to test its functionality to ensure that it operates smoothly and efficiently. Follow these steps to test the door’s functionality:
- Slide the door back and forth along the track several times to check for any sticking or resistance. It should move effortlessly without any hindrance.
- Pay attention to any unusual noises or grinding sensations while operating the door. If you notice any, it may indicate a misalignment or an issue with the new rollers.
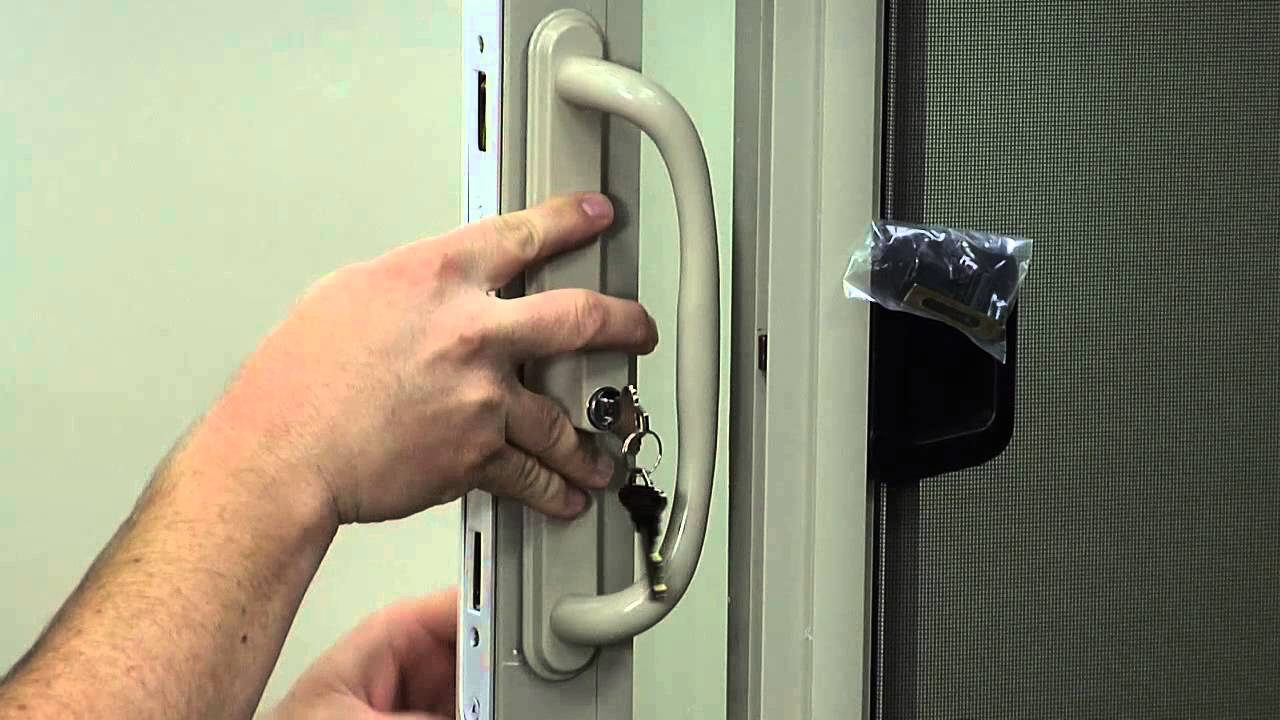
- Test the door’s locking mechanism to ensure it engages and secures properly. It should lock without any difficulty or excessive force.
- Check if there are any gaps or drafts around the door when it is closed. Proper insulation and weatherstripping should prevent any air leakage.
- Verify that the door operates smoothly and securely in both the open and closed positions.
- If you encounter any issues during the testing process, try readjusting the rollers or realigning the door as necessary. If problems persist, consult a professional for further assistance.
By following these steps and thoroughly testing the door’s functionality, you can ensure that the roller replacement was successful. Your sliding glass patio door should now operate smoothly and provide the desired functionality.
Congratulations! You have successfully replaced and tested the rollers on your sliding glass patio door. Enjoy the renewed ease of use and convenience of your door.
Remember, if you have any doubts or encounter any complications during the process, it’s always best to consult a professional who can assist you further.
With the roller replacement process complete, you can now sit back, relax, and enjoy your beautifully functioning sliding glass patio door.
We hope this guide has been helpful to you. Thank you for reading, and happy DIY-ing!
Conclusion
Replacing the rollers on a sliding glass patio door is a task that can greatly improve the functionality and convenience of your door. By following the steps outlined in this guide, you can successfully replace the rollers and restore your door’s smooth operation.
Throughout this process, it is crucial to prioritize safety by wearing protective gear and working in a clear and secure environment. Additionally, taking the time to inspect the rollers, purchase the correct replacements, and ensure proper installation will contribute to a successful outcome.
Remember, if you feel unsure or encounter any complications during the process, it is always wise to seek assistance from a professional or expert in the field.
With the new rollers in place, the sliding glass door should slide effortlessly along the track, enhancing the overall functionality and aesthetic appeal of your patio or outdoor space.
We hope this guide has provided you with the knowledge and confidence to tackle the roller replacement process yourself. Enjoy the smooth operation of your sliding glass patio door and the improved experience it brings.
Thank you for reading, and happy DIY-ing!
Frequently Asked Questions about How To Replace Rollers On A Sliding Glass Patio Door
Was this page helpful?
At Storables.com, we guarantee accurate and reliable information. Our content, validated by Expert Board Contributors, is crafted following stringent Editorial Policies. We're committed to providing you with well-researched, expert-backed insights for all your informational needs.


0 thoughts on “How To Replace Rollers On A Sliding Glass Patio Door”