Home>Furniture & Design>Interior Design Trends>How To Clean Glass Behind Screen Door
Interior Design Trends
How To Clean Glass Behind Screen Door
Modified: August 24, 2024
Learn the latest interior design trends for cleaning glass behind your screen door. Discover effective tips and techniques for a sparkling, streak-free finish.
(Many of the links in this article redirect to a specific reviewed product. Your purchase of these products through affiliate links helps to generate commission for Storables.com, at no extra cost. Learn more)
Introduction
Cleaning the glass behind a screen door may seem like a daunting task, but with the right tools and techniques, it can be a straightforward and rewarding endeavor. Over time, dirt, dust, and grime can accumulate on the glass, diminishing the clarity of the view and detracting from the overall aesthetic of your home. Additionally, the screen door itself can also collect debris and require attention to maintain its functionality and appearance.
By following a few simple steps and using readily available tools and materials, you can restore the glass and screen door to their original luster, allowing natural light to flood into your living space and providing an unobstructed view of the outdoors. Whether you're preparing for a gathering, enhancing your home's curb appeal, or simply taking pride in maintaining your living environment, a clean glass and screen door can make a significant difference.
In the following sections, we will explore the tools and materials needed for this task, as well as a step-by-step guide to effectively clean the glass and the screen door. By the end of this guide, you will have the knowledge and confidence to tackle this cleaning project with ease, ensuring that your glass and screen door are sparkling clean and free from any obstructions. Let's embark on this journey to revitalize your living space and enjoy the benefits of a clear, unobstructed view through your freshly cleaned glass behind the screen door.
Key Takeaways:
- Easily clean glass behind a screen door with simple tools and materials. Enjoy a sparkling, unobstructed view and let natural light flood into your living space.
- Revitalize your entryway by cleaning the screen door and reinstalling it securely. Create a welcoming and visually appealing environment with a clear, unobstructed view.
Read more: Why Are Drummers Behind Glass
Tools and Materials Needed
Before embarking on the task of cleaning the glass behind a screen door, it's essential to gather the necessary tools and materials to ensure a smooth and efficient cleaning process. Here's a comprehensive list of items you'll need to have on hand:
Tools:
- Screwdriver: A screwdriver will be required to remove the screws holding the screen door in place. Depending on the type of screws used, a Phillips or flathead screwdriver may be necessary.
- Spray Bottle: Fill a spray bottle with a gentle cleaning solution to apply to the glass and screen door.
- Soft-bristled Brush: A soft-bristled brush or a microfiber cloth will help loosen and remove dirt and debris from the screen door without causing damage.
- Squeegee: A squeegee is an effective tool for cleaning the glass, ensuring a streak-free finish.
- Lint-free Cloth: Use a lint-free cloth to dry the glass and remove any remaining streaks or smudges.
- Vacuum Cleaner with Brush Attachment: This will be useful for cleaning the tracks and frame of the screen door.
Materials:
- Mild Cleaning Solution: Prepare a gentle cleaning solution by mixing water with a small amount of mild dish soap or a specialized glass cleaner.
- Vinegar: Vinegar diluted with water can serve as an effective natural cleaning solution for stubborn stains and grime on the glass.
- Warm Water: Have a bucket of warm water ready for rinsing and cleaning purposes.
- Screen Cleaner: If the screen door requires a more thorough cleaning, a specialized screen cleaner can be used to remove dirt and dust.
- Rubbing Alcohol: This can be used to remove adhesive residue or stubborn marks on the glass.
- Optional: Glass Polish or Wax: For an extra shine, consider using a glass polish or wax to enhance the clarity and luster of the glass.
By ensuring that you have these tools and materials at your disposal, you'll be well-equipped to tackle the task of cleaning the glass behind the screen door effectively. With the right resources in hand, you can proceed to the next steps with confidence, knowing that you have everything you need to achieve a pristine and polished result.
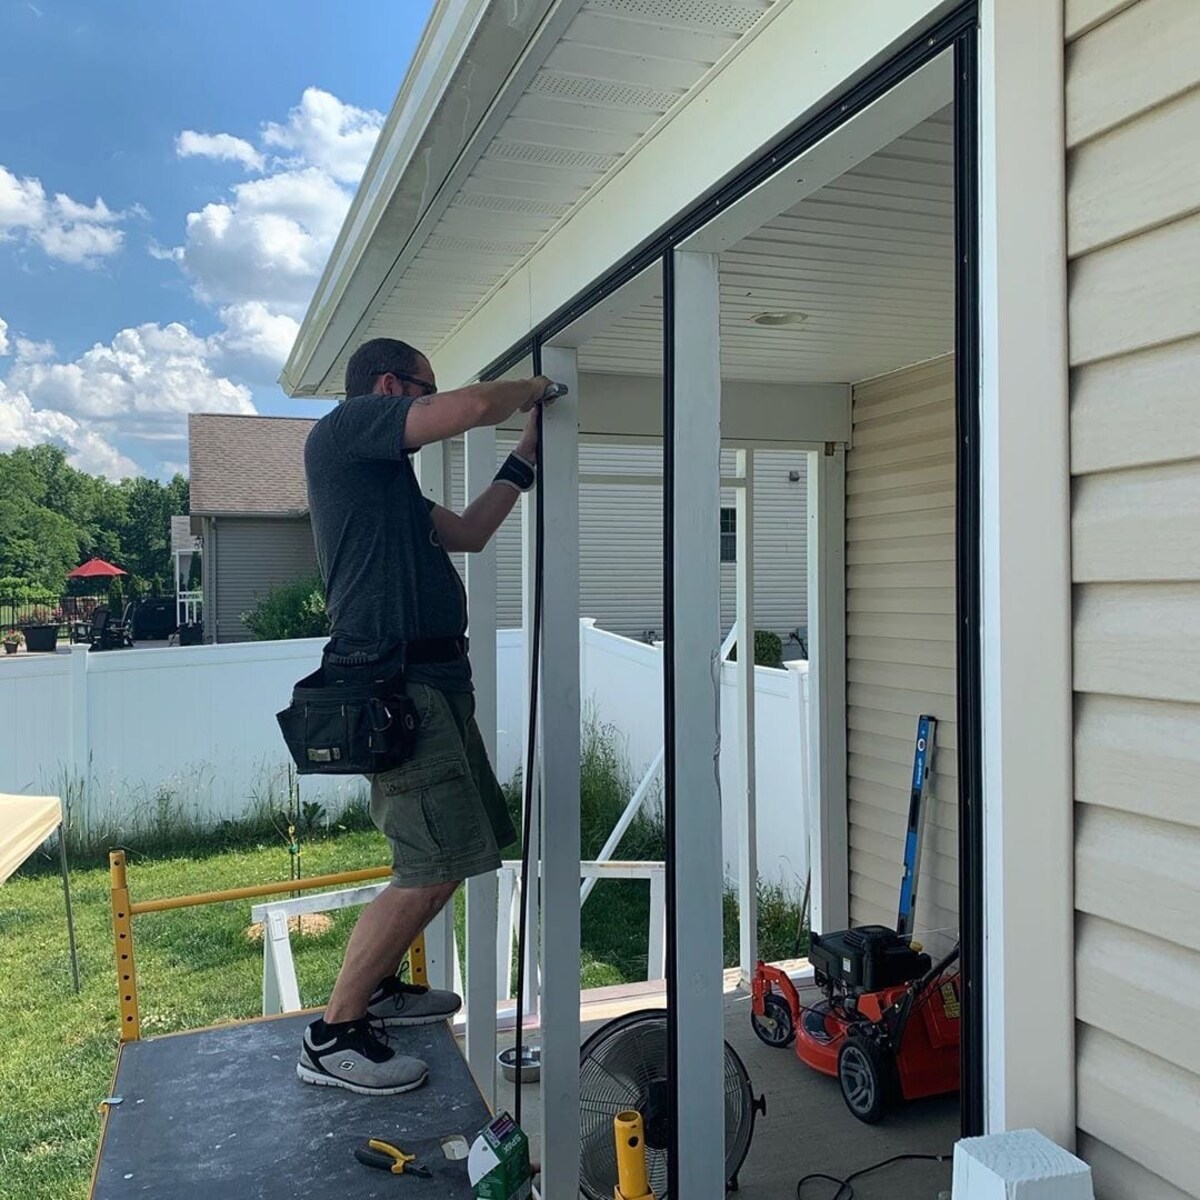
Step 1: Remove the Screen Door
Removing the screen door is the first crucial step in accessing the glass for thorough cleaning. Before initiating this process, ensure that you have gathered the necessary tools and materials as outlined in the previous section. Here's a detailed guide on how to remove the screen door:
-
Prepare the Work Area: Start by clearing the area around the screen door to create a safe and unobstructed workspace. Remove any obstacles or items that may impede the removal process.
-
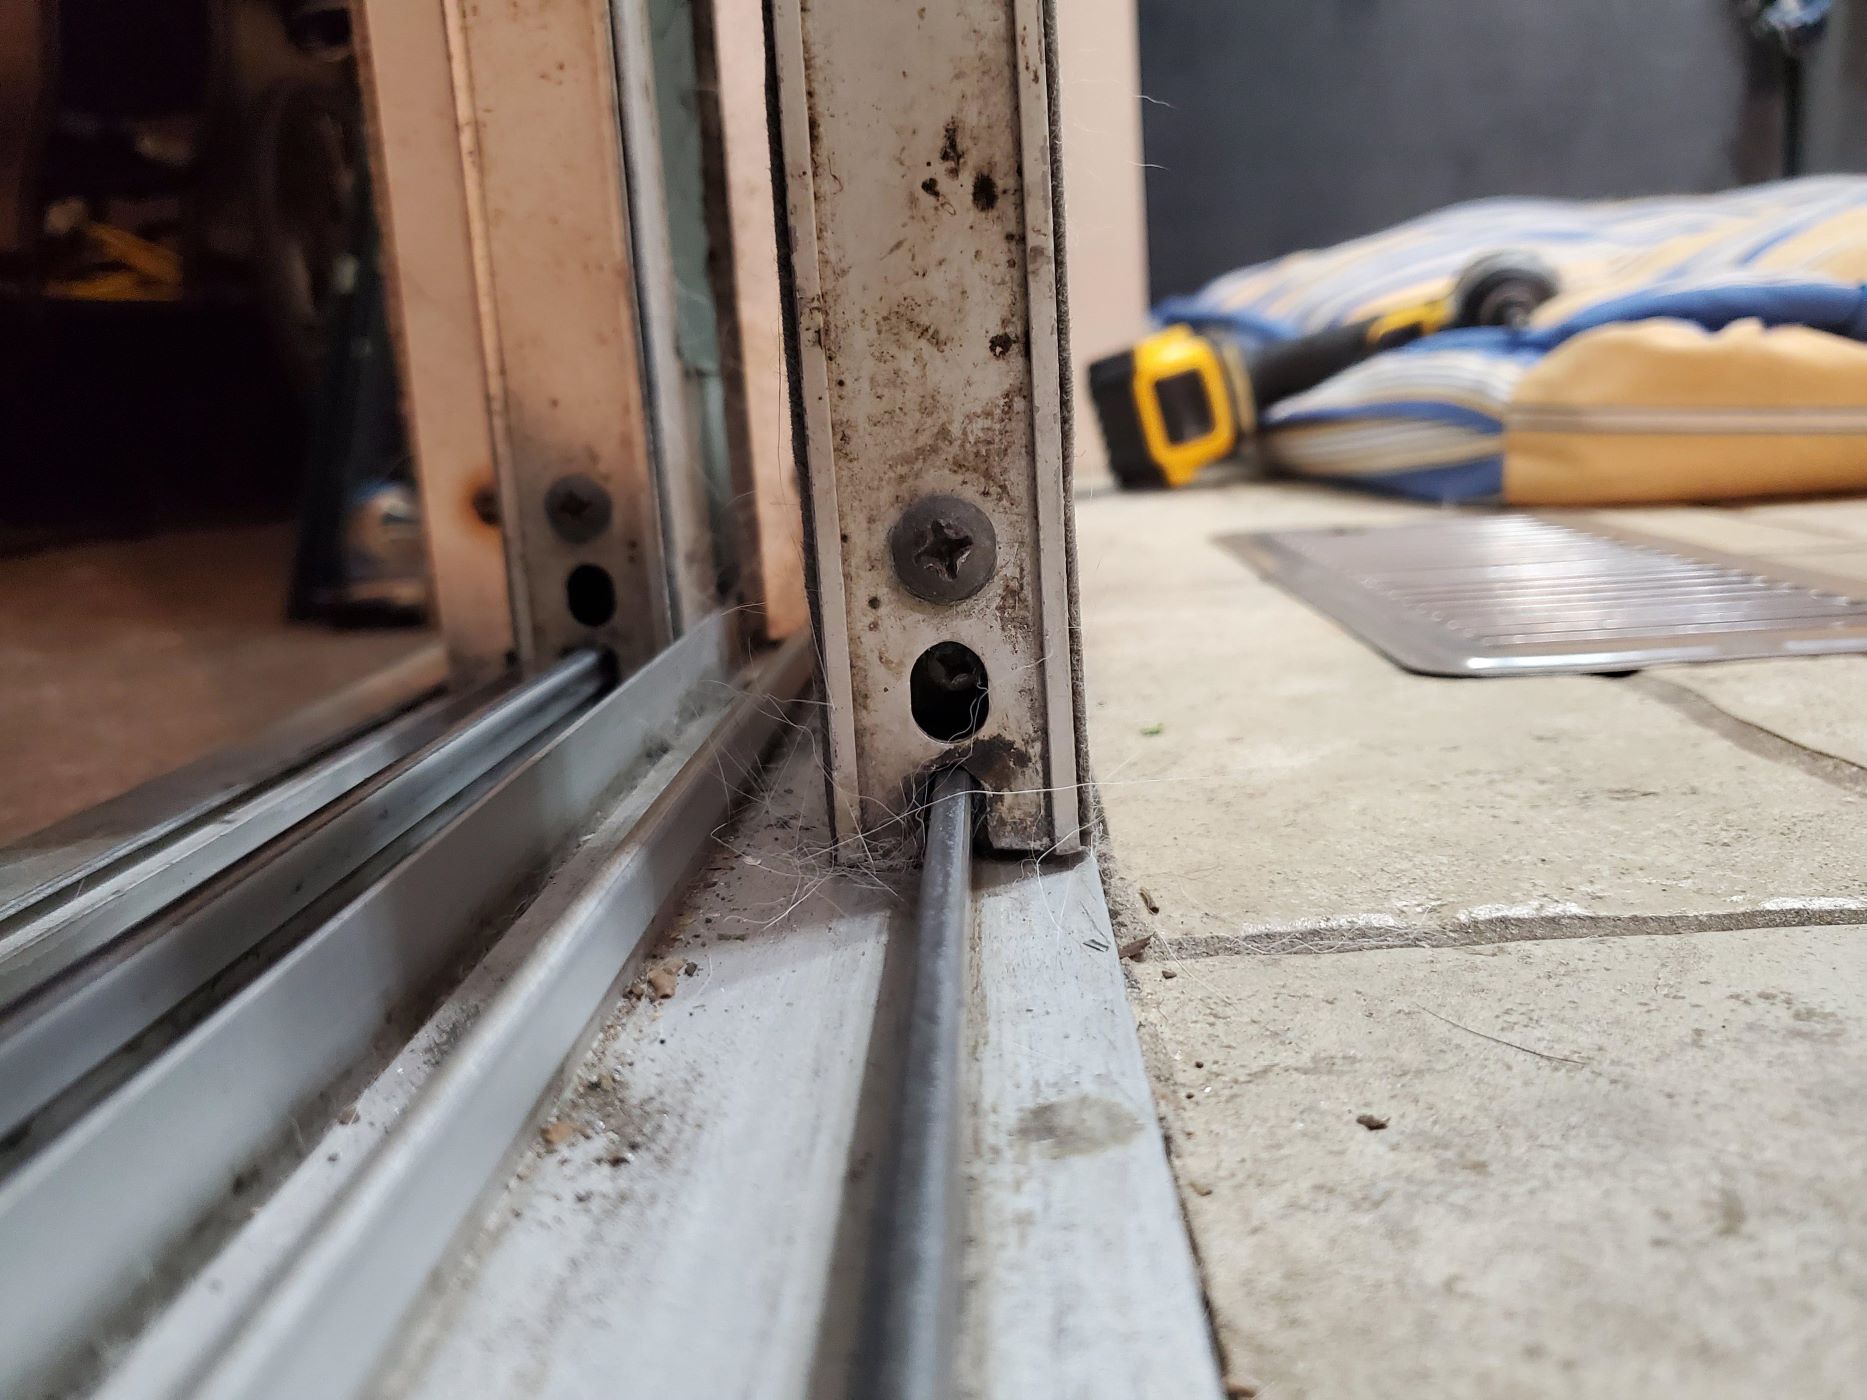
Identify the Fasteners: Examine the screen door to locate the fasteners securing it in place. Typically, these fasteners are screws positioned at the top and bottom of the door frame.
-
Use the Screwdriver: With the appropriate screwdriver in hand, carefully unscrew and remove the fasteners from the top and bottom of the screen door. Place the screws in a secure location to prevent misplacement.
-
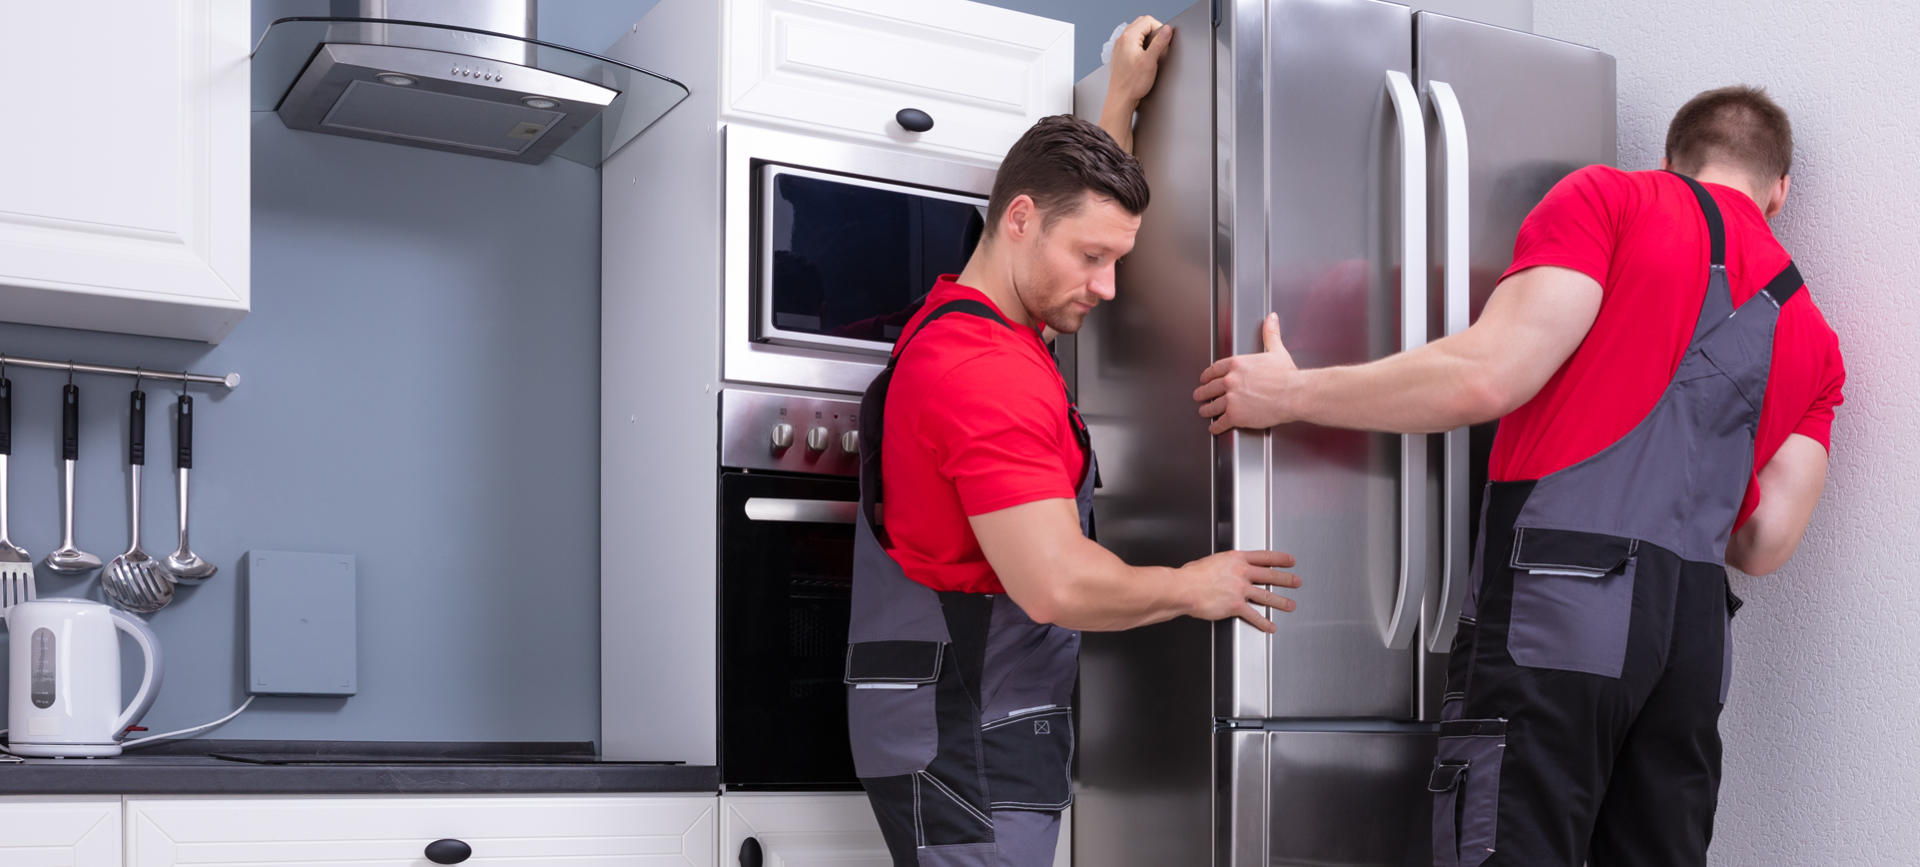
Enlist Assistance if Needed: Screen doors can be cumbersome, so it's advisable to have someone assist you in safely lifting and removing the door from its track. Work together to lift the door evenly, ensuring that it is supported and balanced during removal.
-
Store the Screen Door Safely: Once the screen door is removed, find a safe location to store it temporarily. Lay it flat to prevent warping or damage, especially if it's a retractable or sliding screen door.
By following these steps, you can safely and effectively remove the screen door, granting access to the glass for thorough cleaning. With the screen door out of the way, you can proceed to the next steps with confidence, knowing that you have created a clear path to revitalize the glass and the screen door itself.
Read more: How To Clean Glass Patio Doors
Step 2: Clean the Glass
With the screen door successfully removed, you now have unhindered access to the glass, allowing you to focus on restoring its clarity and shine. Cleaning the glass behind the screen door involves a systematic approach to ensure thorough removal of dirt, grime, and any stubborn marks. Here's a comprehensive guide to effectively clean the glass and achieve a streak-free, polished finish:
-
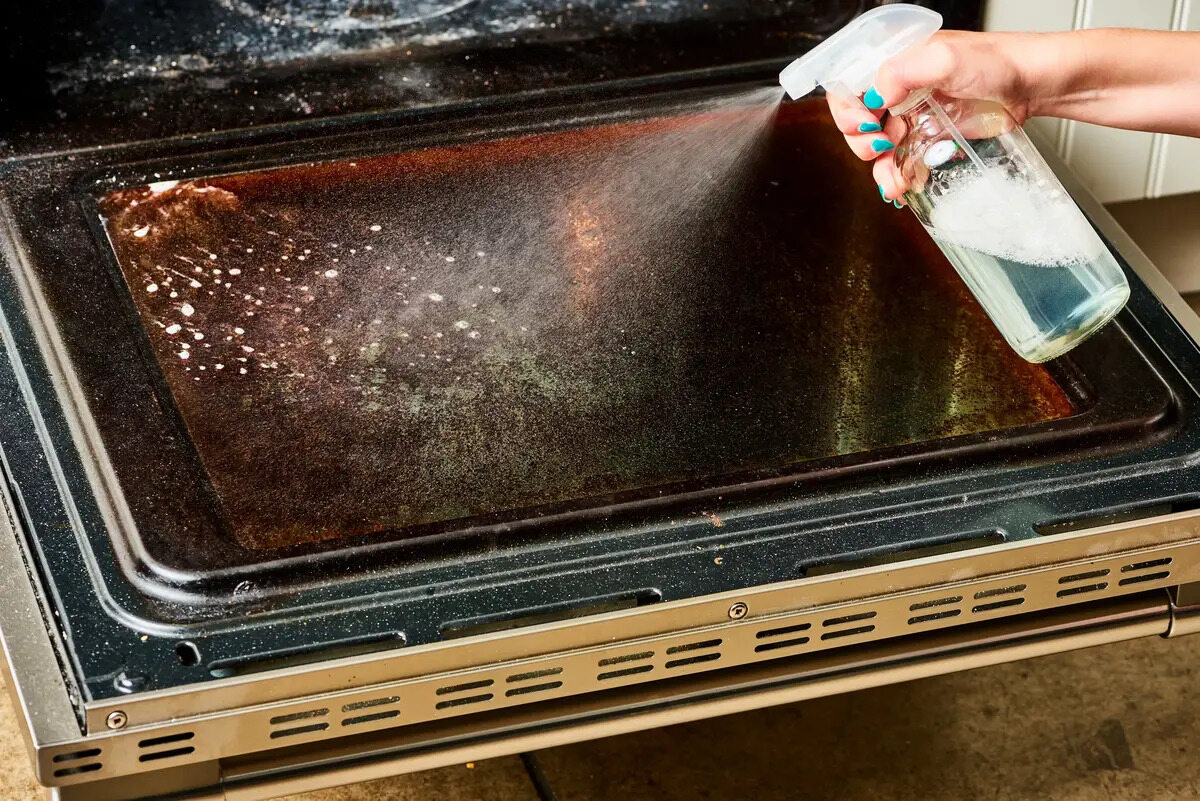
Prepare the Cleaning Solution: Begin by preparing a gentle cleaning solution. Mix warm water with a small amount of mild dish soap or a specialized glass cleaner in a spray bottle. Alternatively, a mixture of water and vinegar can be used for natural and effective cleaning.
-
Apply the Cleaning Solution: Liberally spray the cleaning solution onto the glass surface, ensuring comprehensive coverage. Allow the solution to sit for a few minutes to loosen any accumulated dirt and grime.
-
Use the Squeegee: Starting from the top of the glass, use a squeegee to remove the cleaning solution in a vertical motion. Wipe the squeegee blade with a lint-free cloth after each pass to prevent streaking. Continue this process until the entire glass surface is clean and free from the cleaning solution.
-
Address Stubborn Stains: For persistent stains or marks, apply a small amount of rubbing alcohol to a lint-free cloth and gently rub the affected areas. This will help dissolve and remove any adhesive residue or stubborn marks without damaging the glass.
-
Dry and Polish: Once the glass is clean, use a lint-free cloth to dry and polish the surface, ensuring a streak-free and sparkling finish. Pay attention to the edges and corners to remove any remaining moisture or smudges.
-
Optional: Apply Glass Polish or Wax: For an extra layer of shine and protection, consider applying a specialized glass polish or wax. This will enhance the clarity and luster of the glass, providing a long-lasting and pristine appearance.
By following these steps, you can effectively clean the glass behind the screen door, restoring its transparency and visual appeal. With a meticulous approach and the right tools, you can achieve a polished and streak-free finish, allowing natural light to illuminate your living space and providing an unobstructed view of the outdoors.
Step 3: Clean the Screen Door
Cleaning the screen door is essential to ensure its functionality and maintain the overall aesthetic of your entryway. Over time, the screen door can accumulate dust, dirt, and debris, impacting its appearance and potentially hindering its smooth operation. By following a systematic approach, you can effectively clean the screen door, restoring its cleanliness and ensuring that it complements the freshly cleaned glass behind it.
Here's a comprehensive guide to cleaning the screen door:
-
Inspect the Screen: Begin by inspecting the screen for any visible debris, such as dust, cobwebs, or dirt. Use a vacuum cleaner with a brush attachment to gently remove loose debris from both sides of the screen. This initial step will help prepare the screen for a more thorough cleaning process.
-
Prepare the Cleaning Solution: Fill a spray bottle with a mild cleaning solution, such as a mixture of water and a small amount of dish soap. Alternatively, a specialized screen cleaner can be used for more stubborn dirt and grime. Ensure that the cleaning solution is gentle to avoid damaging the screen material.
-
Apply the Cleaning Solution: Liberally spray the cleaning solution onto the screen, covering the entire surface. Allow the solution to penetrate the screen material, effectively loosening any embedded dirt or stains. For particularly stubborn areas, gently scrub the screen with a soft-bristled brush to dislodge the debris.
-
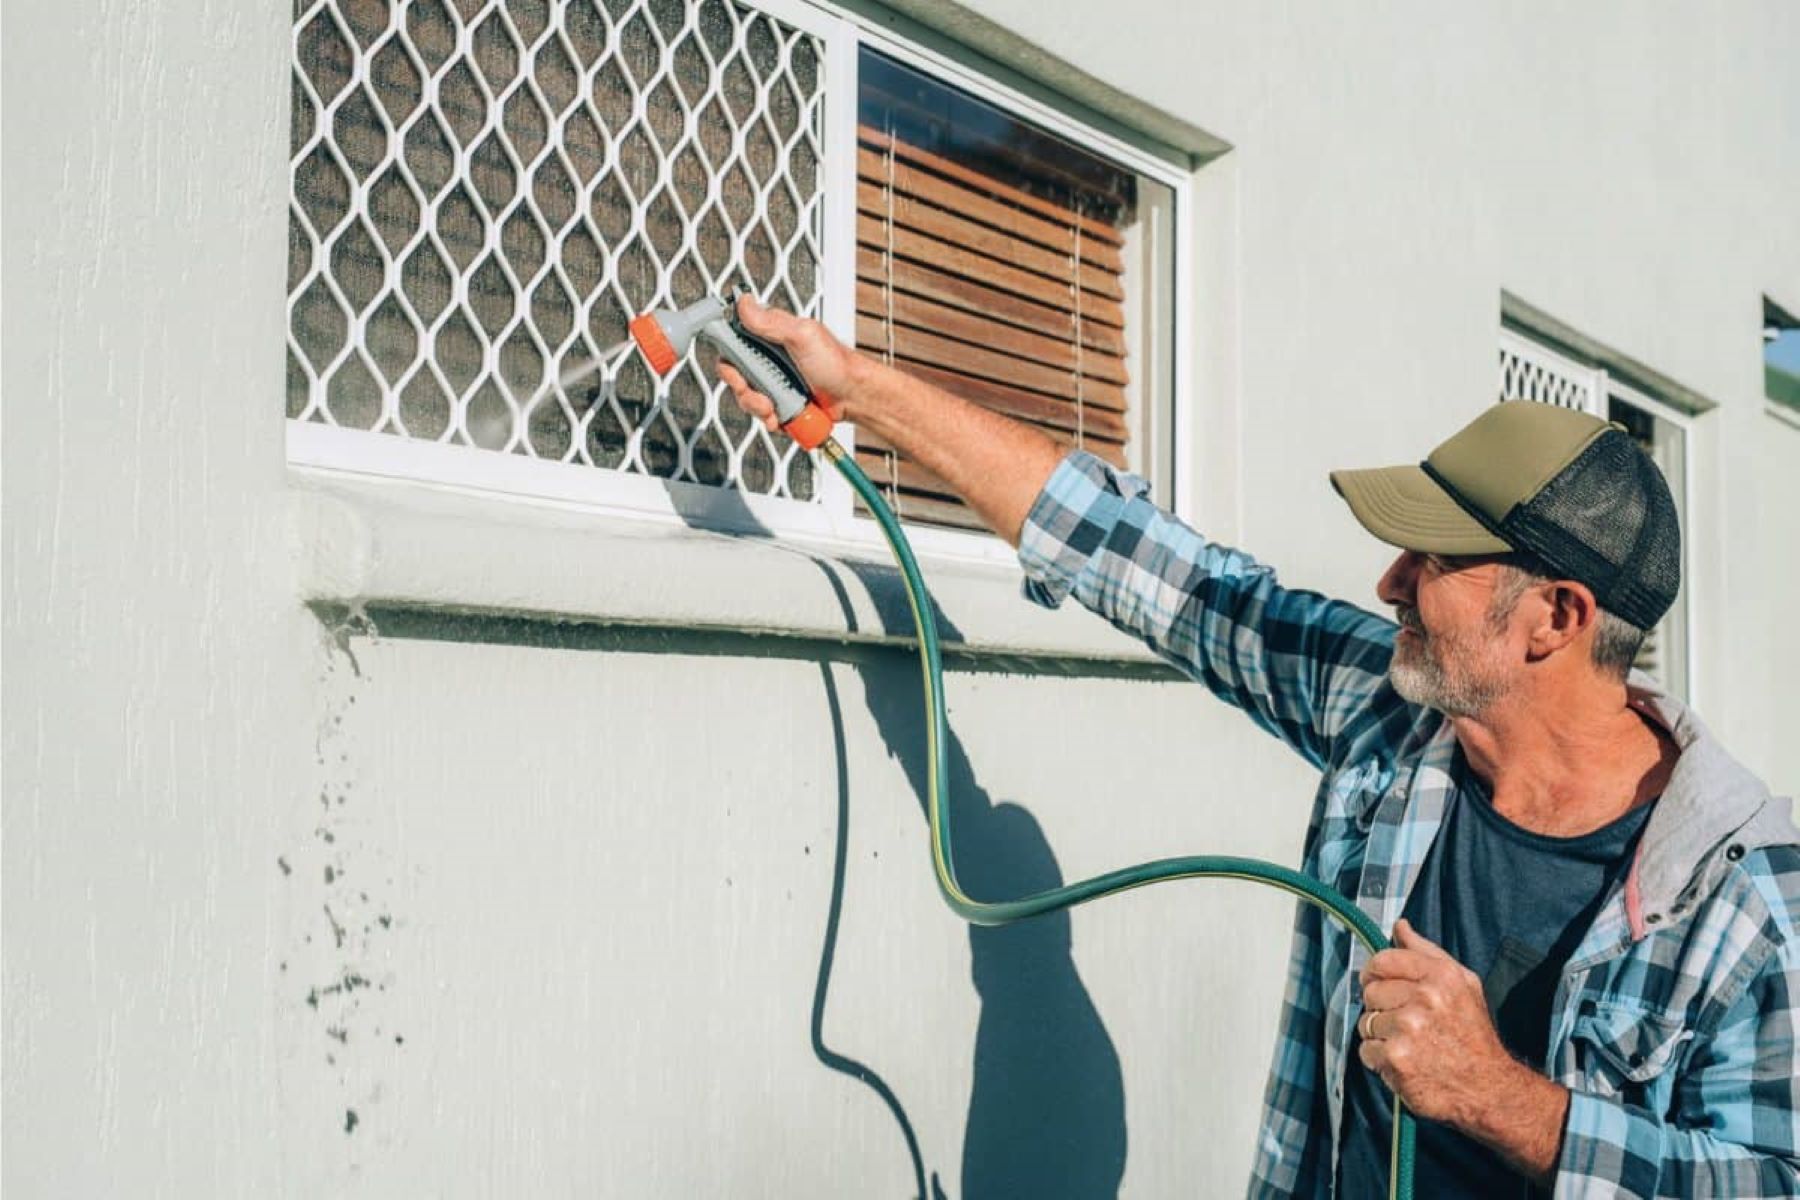
Rinse the Screen: Using a hose or a bucket of clean water, thoroughly rinse the screen to remove the cleaning solution and dislodged dirt. Ensure that the water pressure is gentle to prevent damage to the screen. Rinse both sides of the screen to ensure a comprehensive cleaning process.
-
Dry the Screen: After rinsing, allow the screen to air dry in a well-ventilated area. Alternatively, use a lint-free cloth to gently pat the screen dry, removing any remaining moisture. Ensure that the screen is completely dry before reinstalling it to prevent watermarks or streaks.
-
Inspect for Residue: Once the screen is dry, inspect it for any remaining residue or marks. If necessary, use a lint-free cloth dampened with water to gently remove any lingering residue, ensuring that the screen is clean and free from streaks.
By following these steps, you can effectively clean the screen door, ensuring that it complements the freshly cleaned glass and contributes to a welcoming and well-maintained entryway. With a clean and clear screen door, you can enjoy unobstructed views and fresh air while enhancing the overall appeal of your home's exterior.
Use a long-handled duster or microfiber cloth to reach behind the screen door and gently wipe the glass. For stubborn spots, mix equal parts vinegar and water in a spray bottle and spray the glass before wiping.
Step 4: Reinstall the Screen Door
With the glass and screen door now meticulously cleaned, it's time to reinstall the screen door to complete the revitalization of your entryway. The process of reinstalling the screen door requires attention to detail and a methodical approach to ensure that it is securely and properly positioned. Here's a detailed guide to guide you through the reinstallation process:
-
Prepare the Screen Door: Before reinstalling the screen door, ensure that it is free from any residual dirt or debris. Inspect the door frame and tracks to ensure that they are clean and free from obstructions that could impede the installation process.
-
Lift and Position: Enlist the assistance of another person to help lift and position the screen door back into its designated track. Carefully align the top and bottom of the door with the corresponding tracks, ensuring that it is level and securely positioned.
-
Reattach the Fasteners: Using the screwdriver, reattach the fasteners that secure the screen door in place. Align the screw holes and carefully insert the screws, tightening them to ensure a secure fit. Take care not to overtighten the screws, as this could potentially damage the door frame or the screen door itself.
-
Test the Operation: Once the screen door is reinstalled, test its operation by gently sliding it open and closed. Ensure that it moves smoothly along the tracks without any obstructions or misalignment. Address any issues promptly to ensure that the screen door functions as intended.
-
Final Adjustments: Make any necessary final adjustments to ensure that the screen door is properly aligned and level. Check for any gaps or misalignments and make minor adjustments as needed to achieve a seamless and secure fit.
By following these steps, you can successfully reinstall the screen door, completing the cleaning and maintenance process. With the screen door securely in place, you can enjoy the benefits of a clean and unobstructed view through the freshly cleaned glass, enhancing the overall aesthetic and functionality of your entryway.
Conclusion
In conclusion, the process of cleaning the glass behind a screen door is a rewarding endeavor that not only enhances the visual appeal of your home but also contributes to a welcoming and well-maintained living environment. By following the step-by-step guide outlined in this article and utilizing the recommended tools and materials, you can achieve a pristine and polished result, allowing natural light to flood into your living space and providing an unobstructed view of the outdoors.
The thorough cleaning of the glass, coupled with the meticulous attention given to the screen door, ensures that your entryway maintains its functionality and aesthetic charm. The removal and reinstallation of the screen door, along with the comprehensive cleaning process, contribute to a revitalized and inviting entryway that reflects the care and pride you take in maintaining your living environment.
Furthermore, the systematic approach to cleaning the glass and screen door not only improves the visual clarity and cleanliness but also promotes a sense of well-being and pride in your home. The unobstructed view through the freshly cleaned glass fosters a connection with the outdoors, allowing you to appreciate the natural beauty surrounding your home.
By incorporating the optional step of applying a glass polish or wax, you can further enhance the luster and longevity of the glass, ensuring a lasting and radiant finish. This additional step adds an extra layer of protection and brilliance, elevating the overall impact of the cleaning process.
In essence, the cleaning of the glass behind a screen door is a transformative process that goes beyond mere maintenance. It is an opportunity to create a welcoming and visually appealing entryway that sets the tone for your home. The sense of accomplishment and satisfaction derived from achieving a sparkling and unobstructed view is a testament to the impact of this cleaning endeavor.
As you admire the clear and gleaming glass behind the screen door, take pride in the effort and attention to detail invested in this task. Embrace the renewed sense of freshness and clarity that permeates your living space, and revel in the unobstructed view that invites the beauty of the outdoors into your home. With the glass and screen door now revitalized, you can relish the benefits of a welcoming and well-maintained entryway, setting the stage for a delightful and inviting living environment.
Frequently Asked Questions about How To Clean Glass Behind Screen Door
Was this page helpful?
At Storables.com, we guarantee accurate and reliable information. Our content, validated by Expert Board Contributors, is crafted following stringent Editorial Policies. We're committed to providing you with well-researched, expert-backed insights for all your informational needs.


0 thoughts on “How To Clean Glass Behind Screen Door”