Home>Furniture>Outdoor Furniture>How To Replace A Screen Patio Door
Outdoor Furniture
How To Replace A Screen Patio Door
Modified: September 1, 2024
Looking to replace your screen patio door? Learn how to do it yourself and find the best outdoor furniture to complement your new door.
(Many of the links in this article redirect to a specific reviewed product. Your purchase of these products through affiliate links helps to generate commission for Storables.com, at no extra cost. Learn more)
Introduction
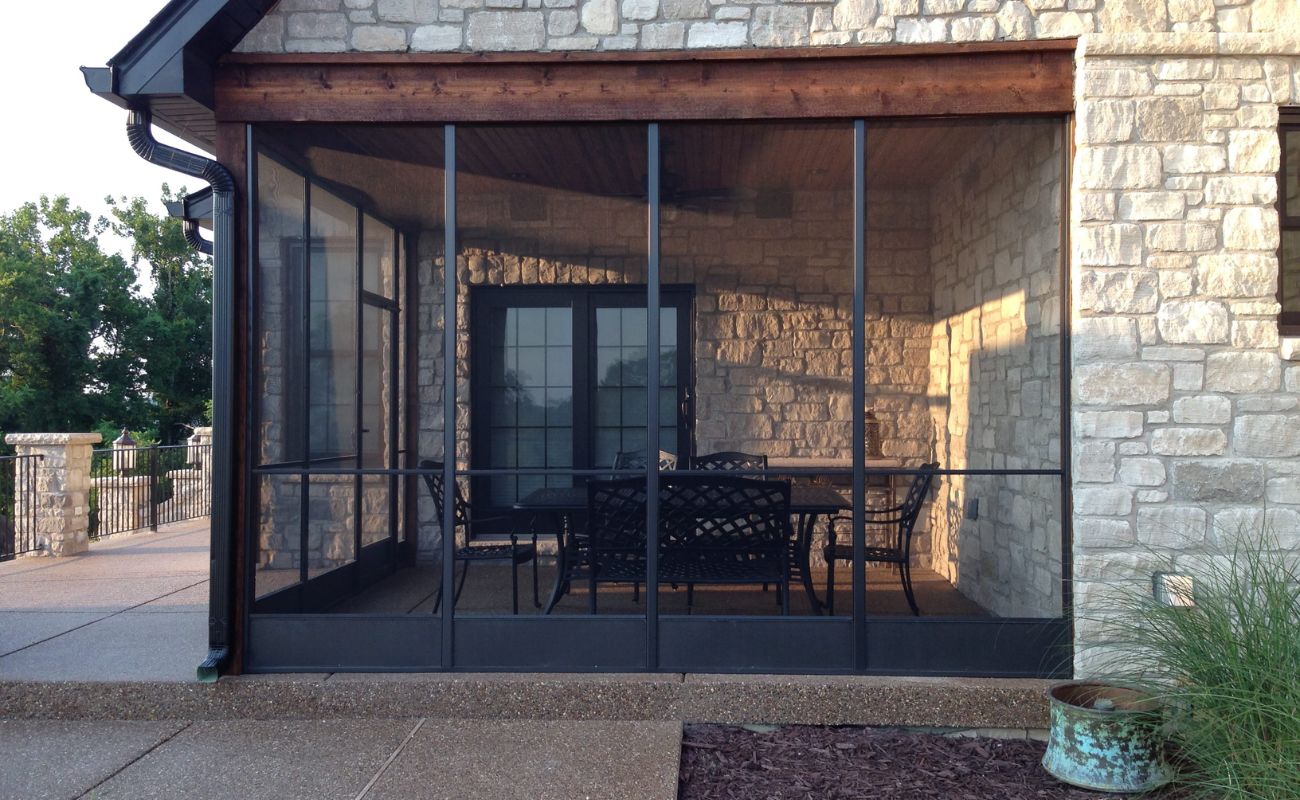
When it comes to outdoor living spaces, a screen patio door plays a crucial role in providing access to your outdoor oasis while keeping unwanted bugs and debris out. Over time, however, screen doors can become worn, damaged, or outdated, compromising their functionality and aesthetic appeal. If you find yourself in need of replacing your screen patio door, fear not! With a little know-how and some basic tools, you can easily tackle this DIY project and have a new door installed in no time.
In this step-by-step guide, we will walk you through the process of replacing a screen patio door. From measuring the door opening to making final adjustments, we will cover everything you need to know to successfully complete this project. So, grab your tools and let’s get started!
Key Takeaways:
- Measure the door opening accurately to ensure a perfect fit for the replacement screen patio door. Take precise measurements of width, height, and depth, and double-check for accuracy to avoid fitting issues later on.
- Safely remove the old screen patio door by locating and removing screws, lifting the door out of the frame, and inspecting the frame for damage or debris. Properly removing the old door sets the stage for a seamless replacement process.
Read more: How To Replace Patio Screen Door Rollers
Step 1: Measure the Door Opening
The first step in replacing a screen patio door is to measure the door opening. This ensures that you purchase a replacement door that fits the space perfectly. Follow these steps to accurately measure the opening:
- Start by measuring the width of the door opening. Use a tape measure to measure the distance between the inner edges of the door frame. Take measurements at the top, middle, and bottom of the opening to account for any irregularities.
- Next, measure the height of the door opening. Again, use a tape measure to measure the distance between the top and bottom inner edges of the door frame. Take measurements on the left, center, and right side of the opening to ensure accuracy.
- Record the width and height measurements in inches. It’s important to be precise and note down the exact measurements to avoid any fitting issues later on. Double-check your measurements to ensure accuracy.
- Lastly, measure the depth of the door frame. This measurement will come in handy when selecting a replacement door that is compatible with the thickness of your existing frame.
Once you have all the measurements recorded, you can move on to the next step of the door replacement process. Remember, taking accurate measurements is vital to ensure a proper fit for your new screen patio door.
Step 2: Remove the Old Door
Now that you have measured the door opening, it’s time to remove the old screen patio door. Follow these steps to safely remove the existing door:
- Start by locating the screws or fasteners that secure the door frame to the surrounding structure. Use a screwdriver or a drill to remove these screws.
- Once the screws are removed, carefully lift the door up and out of the frame. Enlist the help of a friend if the door is heavy or awkward to handle.
- Set the old door aside and inspect the door frame for any damage or debris. Take this opportunity to clean the frame and prepare it for the installation of the new door.
- Remove any remaining screws or fasteners from the frame, if applicable. This will ensure a clean and smooth surface for the installation of the replacement door.
- Take a moment to examine the door frame for any signs of damage or deterioration. Address any issues before proceeding with the installation of the new door.
By following these steps, you can safely and efficiently remove the old screen patio door, making way for the installation of the new door. Properly removing the old door sets the stage for a seamless replacement process.
Step 3: Purchase a Replacement Door
With the old door removed, it’s time to purchase a replacement screen patio door. Here are some important factors to consider when selecting a replacement:
- Material: Screen patio doors are available in various materials, including aluminum, vinyl, and wood. Consider the durability, maintenance requirements, and aesthetic appeal of each material before making your decision.
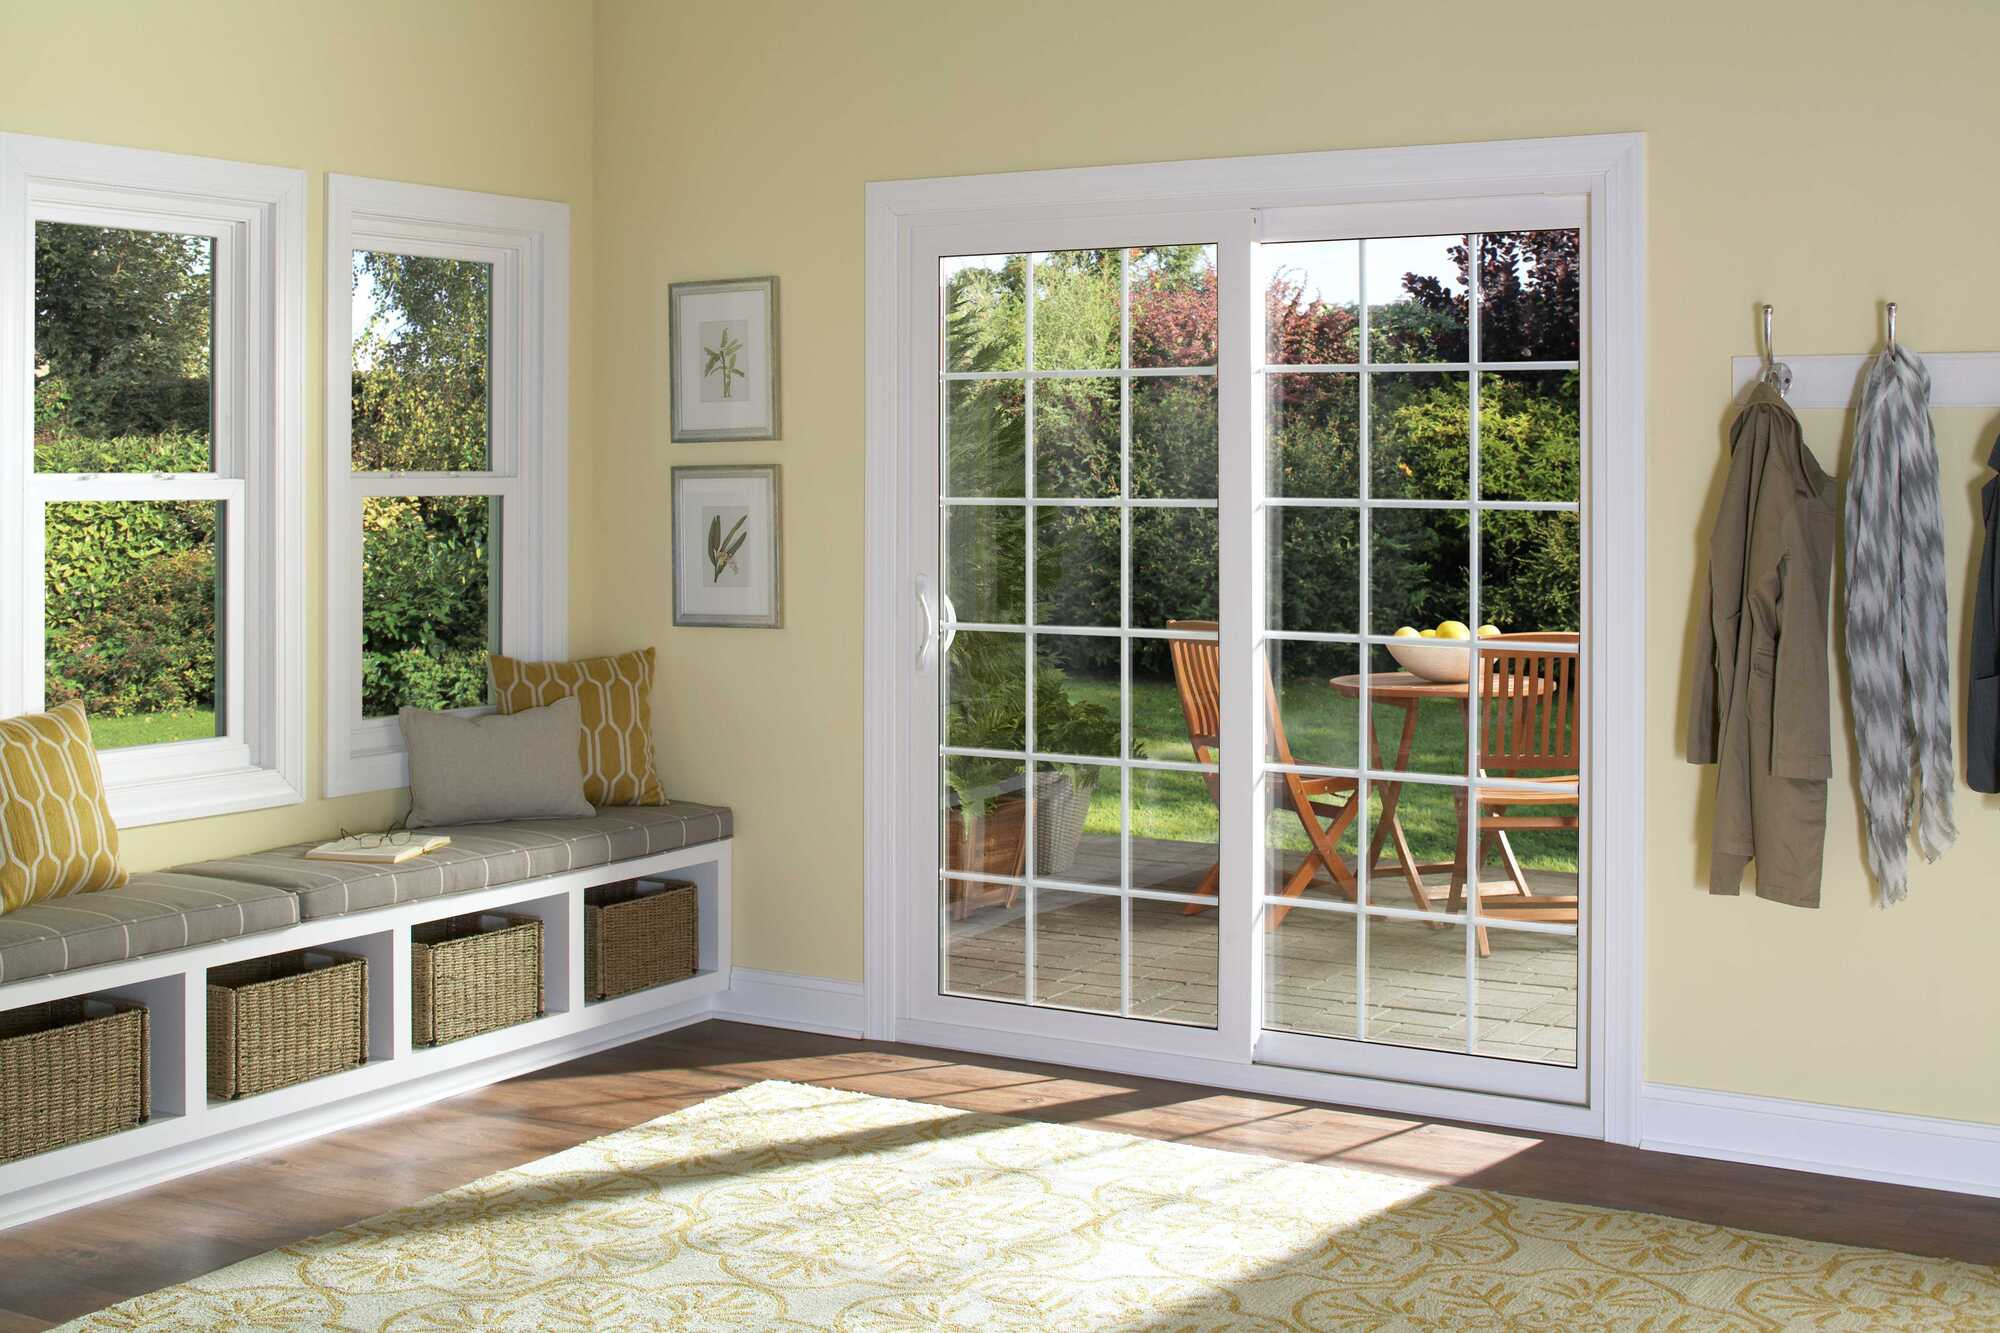
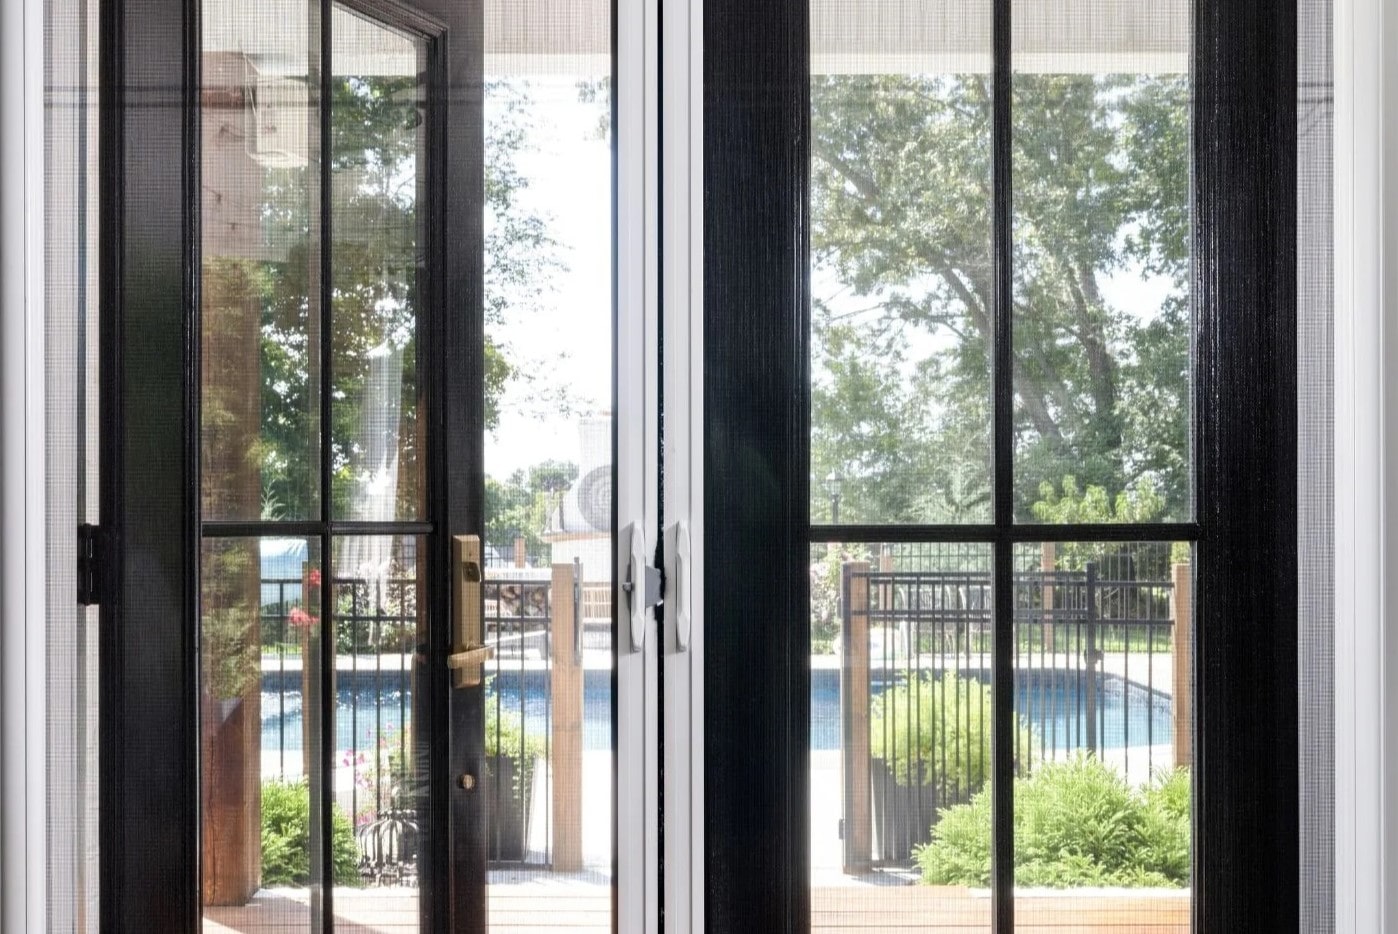
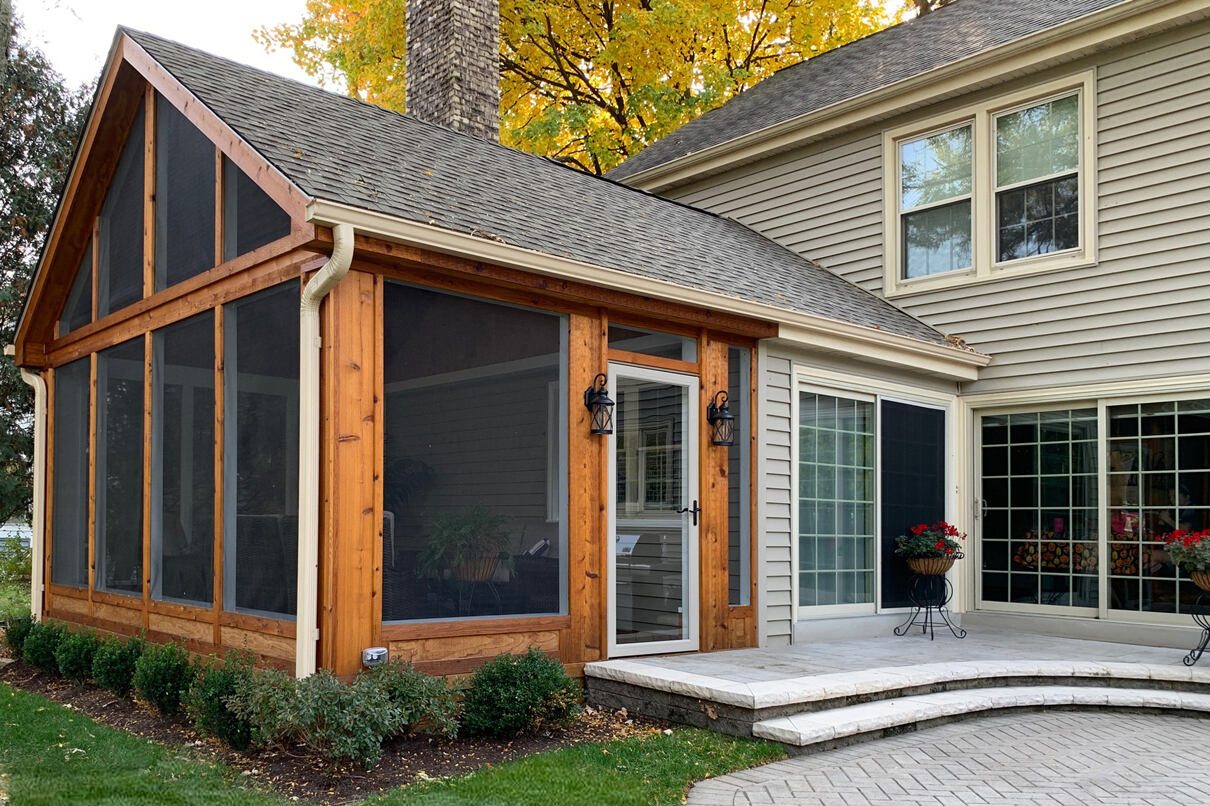
- Style: Choose a door style that complements the overall design of your outdoor space. Whether you prefer a traditional sliding door or a more modern French door, select a style that suits your personal taste and enhances the aesthetic of your patio.
- Size: Refer to the measurements obtained in step 1 to ensure you purchase a door that fits your door opening perfectly. Double-check the dimensions of the replacement door to avoid any sizing issues during installation.
- Features: Consider additional features that may enhance the functionality and security of your new door. Features such as built-in screens, adjustable tracks, and locking mechanisms can add convenience and peace of mind.
- Budget: Set a budget for your replacement door and explore options within that price range. Keep in mind that investing in a high-quality, durable door may save you money in the long run as it will require less maintenance and replacement.
Visit your local home improvement store or browse online to find a wide range of screen patio doors. Compare prices, read reviews, and consult with a sales representative to ensure you select the best replacement door for your needs.
Once you have purchased a suitable replacement door, you’re ready to move on to the next step of the installation process.
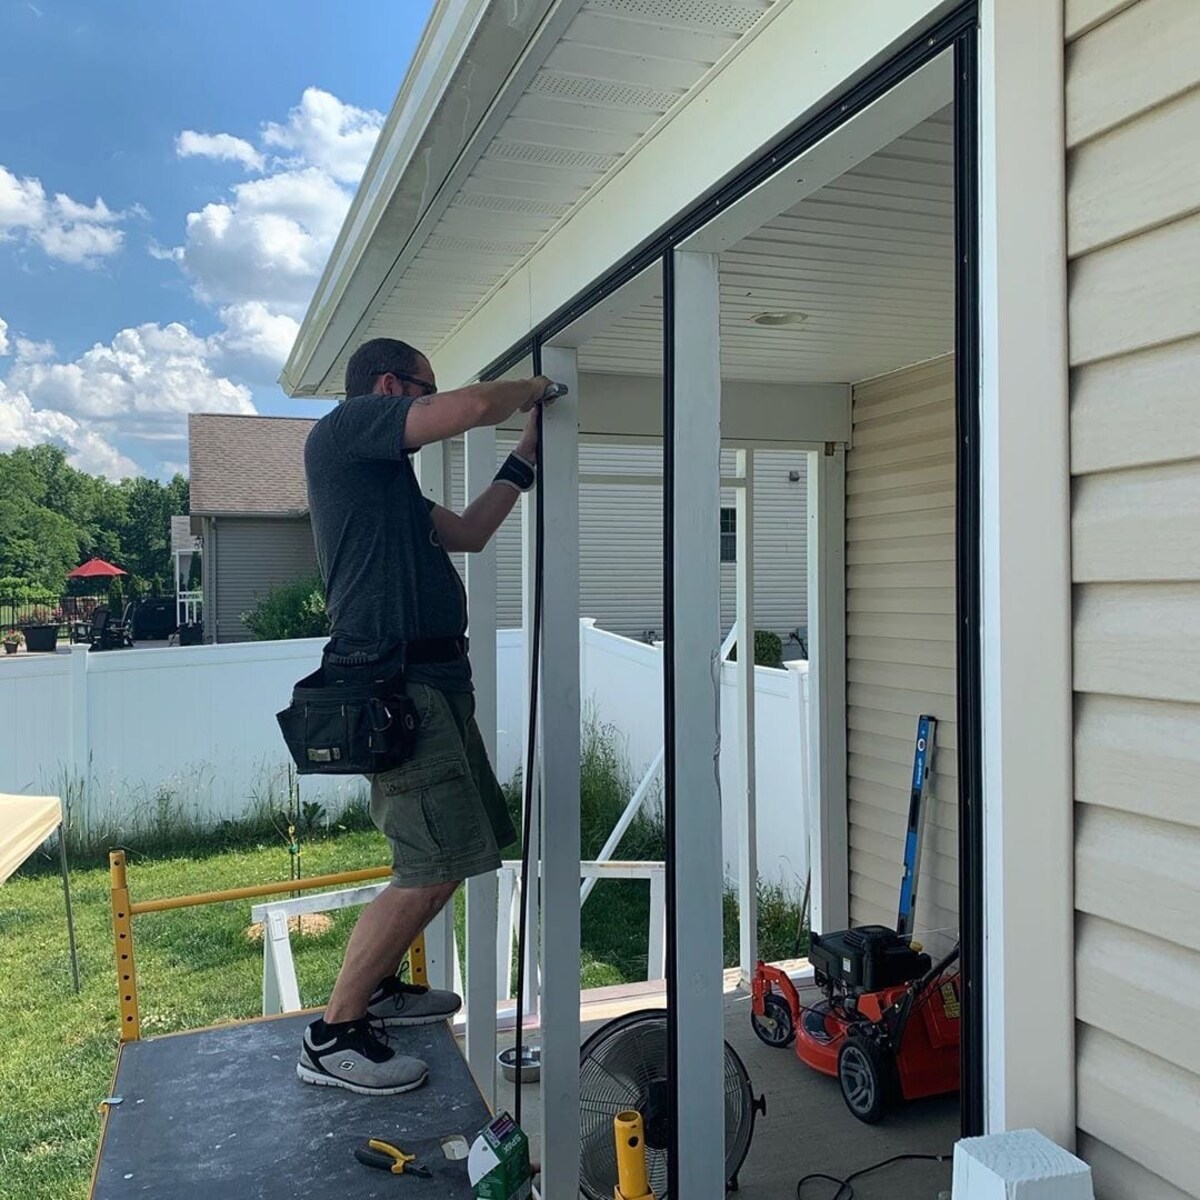
Step 4: Prepare the Opening
Now that you have your replacement screen patio door, it’s time to prepare the opening for installation. Follow these steps to ensure a smooth and successful installation:
- Inspect the door frame for any damage or rot. If you notice any issues, repair or replace the damaged sections before proceeding with the installation.
- Ensure that the door opening is clean and free from any debris or obstructions. Use a broom or a vacuum cleaner to remove any dirt, dust, or spider webs.
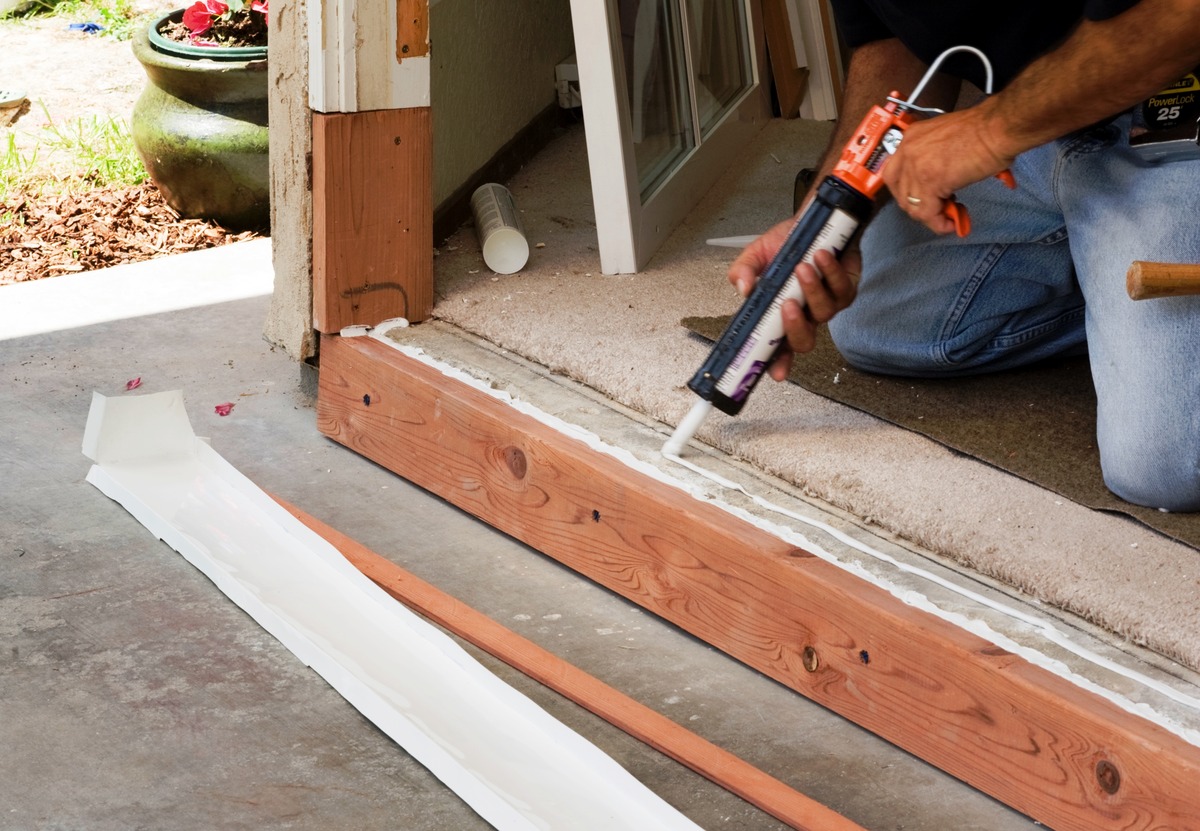
- Apply a thin layer of silicone caulk along the inner edge of the door frame. This will help create a seal and prevent any drafts or moisture from entering your home.
- Check the levelness and plumbness of the door frame. Use a carpenter’s level to ensure that the frame is straight and properly aligned. Make any necessary adjustments before proceeding.
- Measure the width of the door frame opening again to ensure accuracy. Compare it to the dimensions of the replacement door to confirm that it will fit properly.
- If needed, remove any excess material or trim from the door frame to accommodate the new door. Use a saw or a utility knife to carefully make any necessary adjustments.
By following these steps to prepare the door opening, you will ensure a solid foundation for the installation of your replacement screen patio door. Proper preparation is key to achieving a professional and secure installation.
When replacing a screen patio door, make sure to measure the opening accurately before purchasing a new door. It’s important to choose a door that fits perfectly to avoid any gaps or issues with installation.
Read more: How To Replace Patio Screen
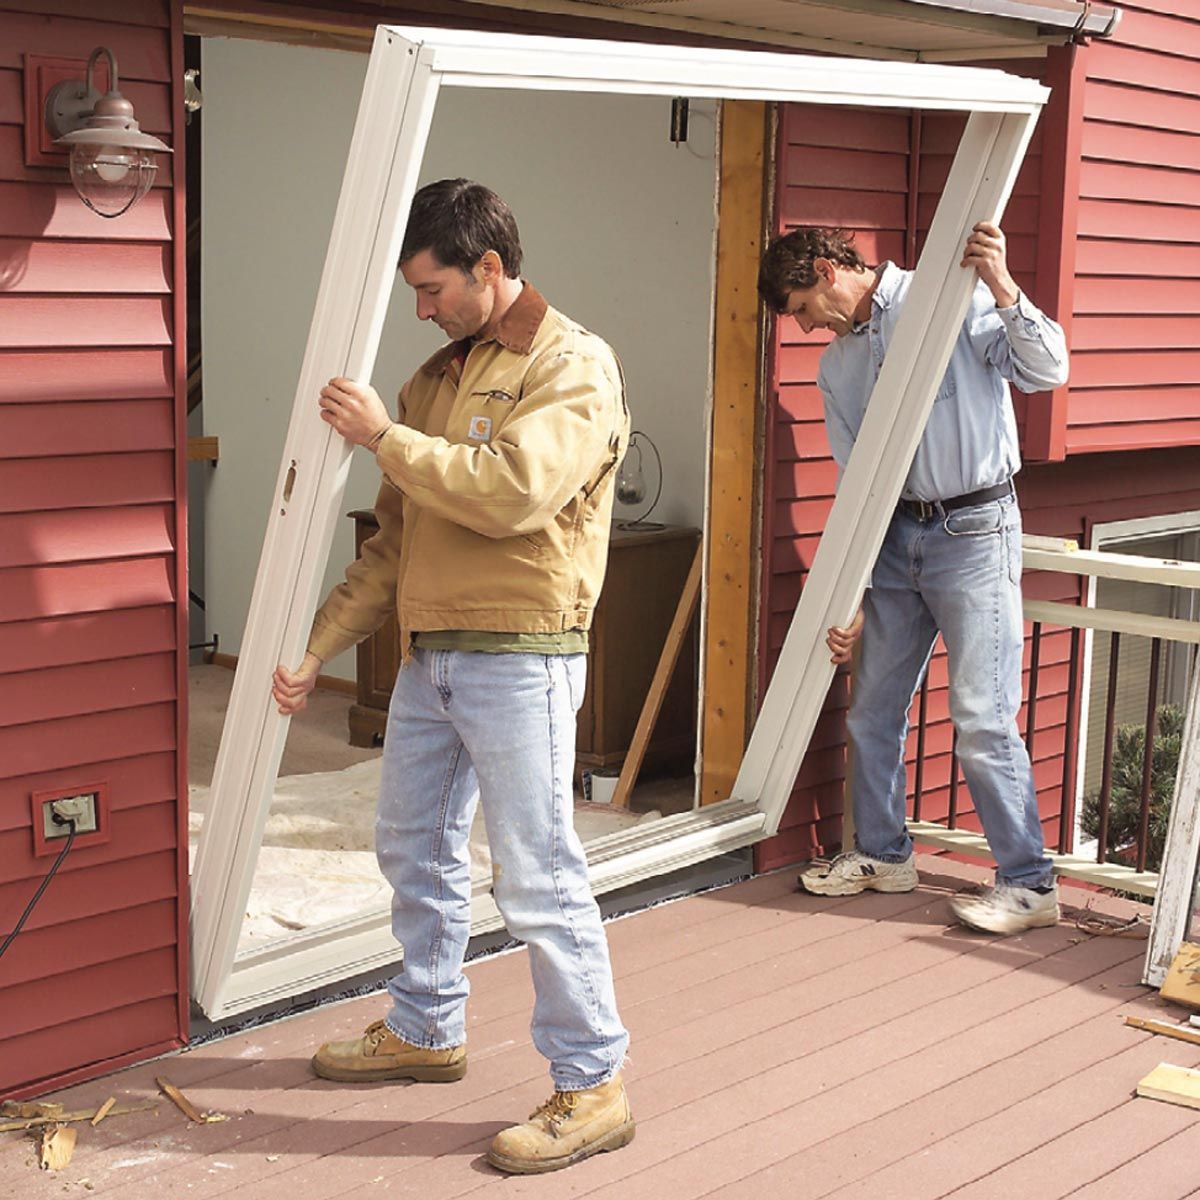
Step 5: Install the New Door
With the door opening prepared, it’s time to install your new screen patio door. Follow these steps to successfully install the door:
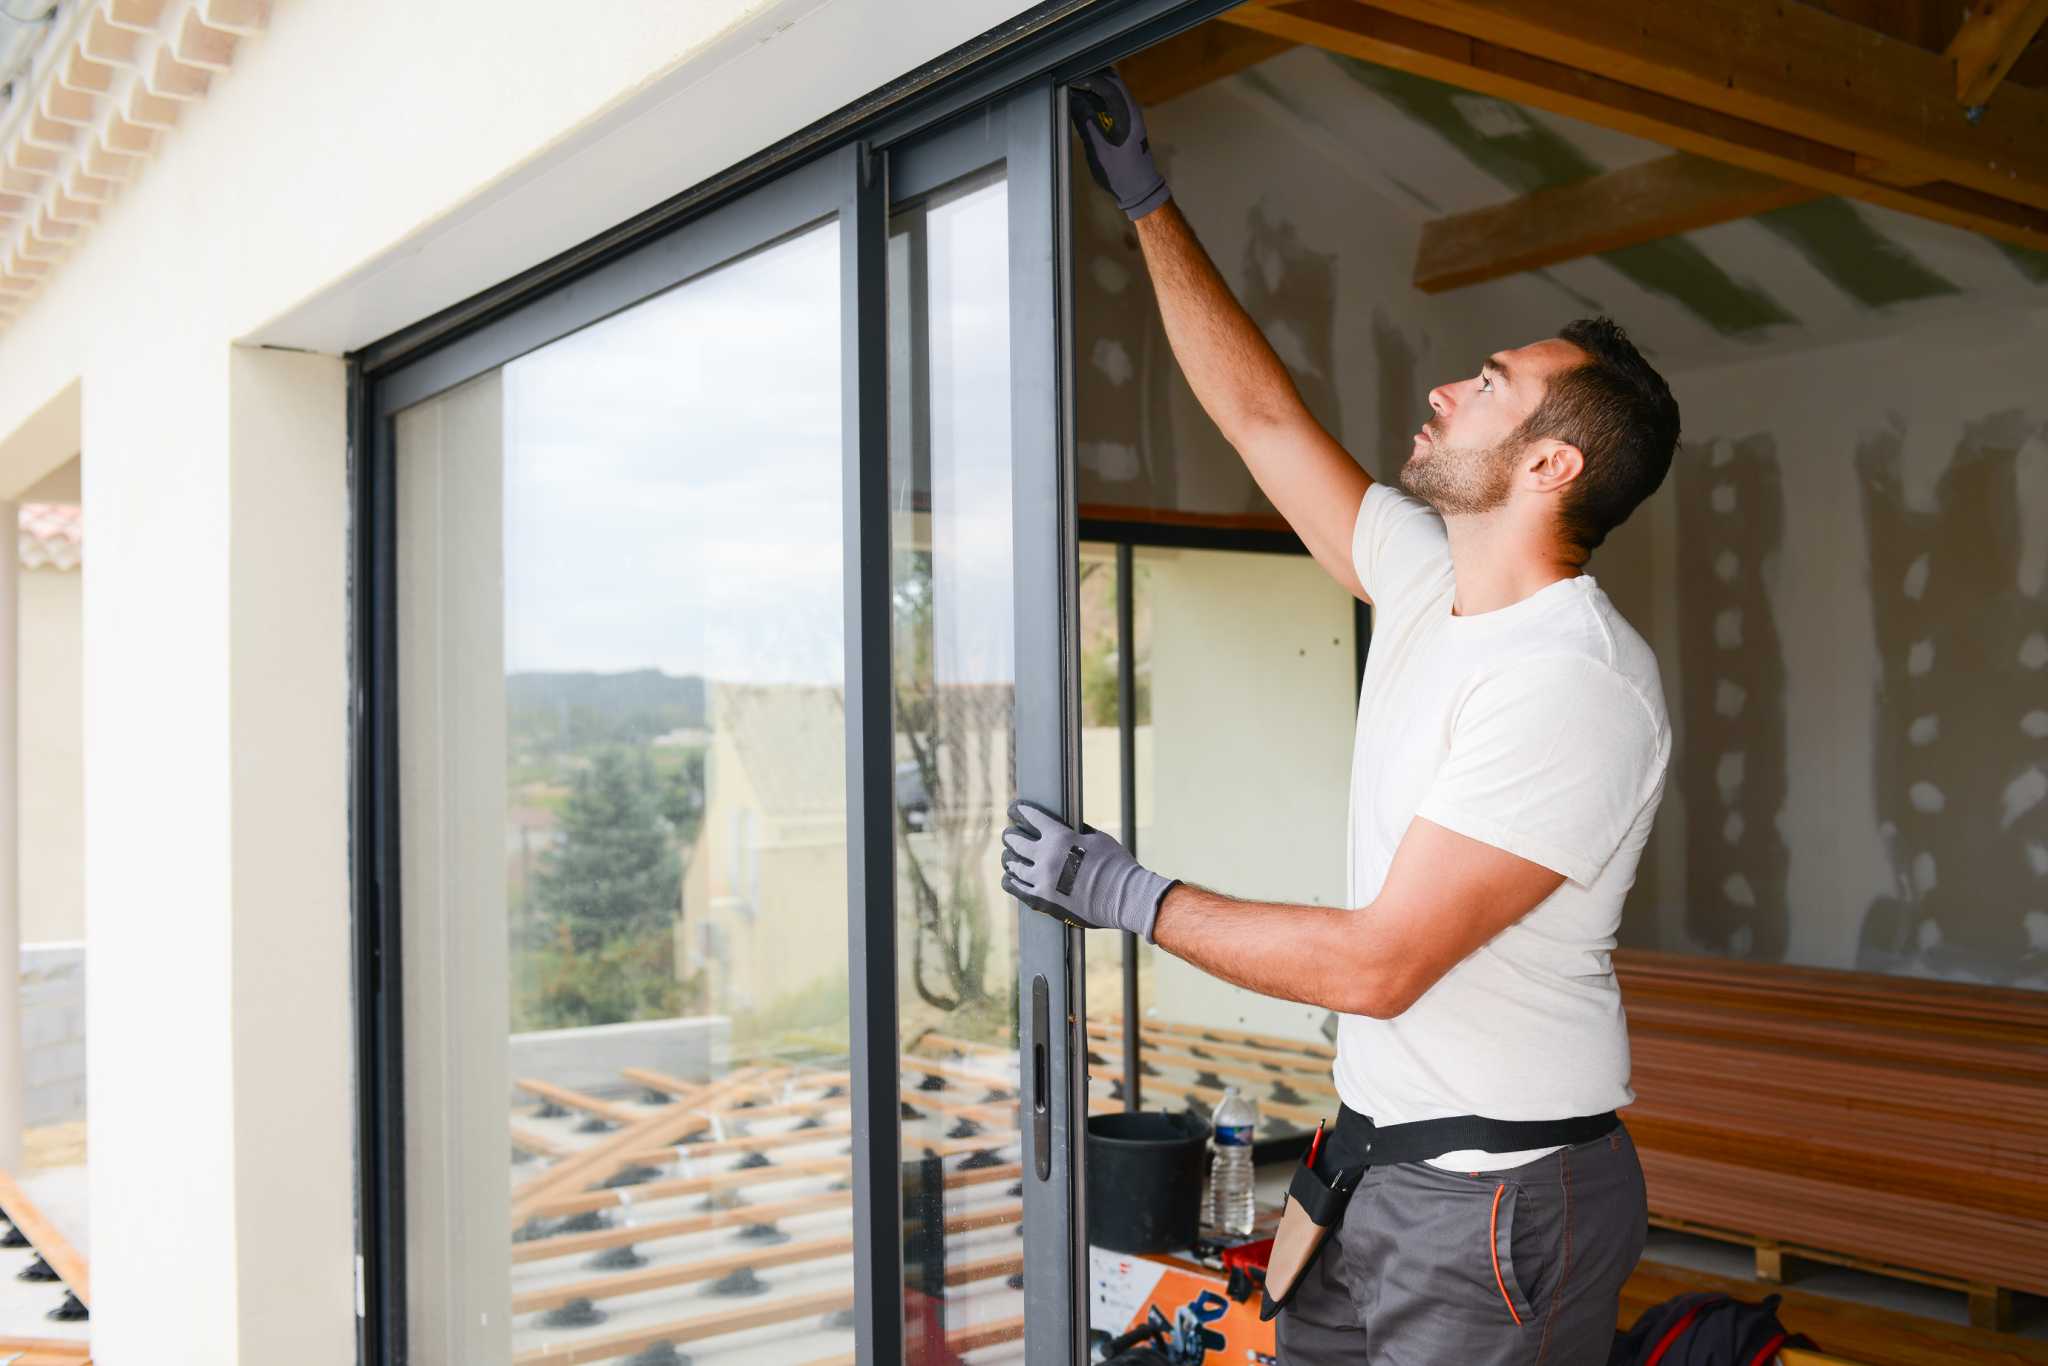
- Place the new door into the prepared door opening. Make sure it is aligned properly with the frame and fits snugly into place.
- Secure the door by attaching the hinge screws or fasteners. Use a screwdriver or a drill to tighten them, ensuring that the door is securely in place.
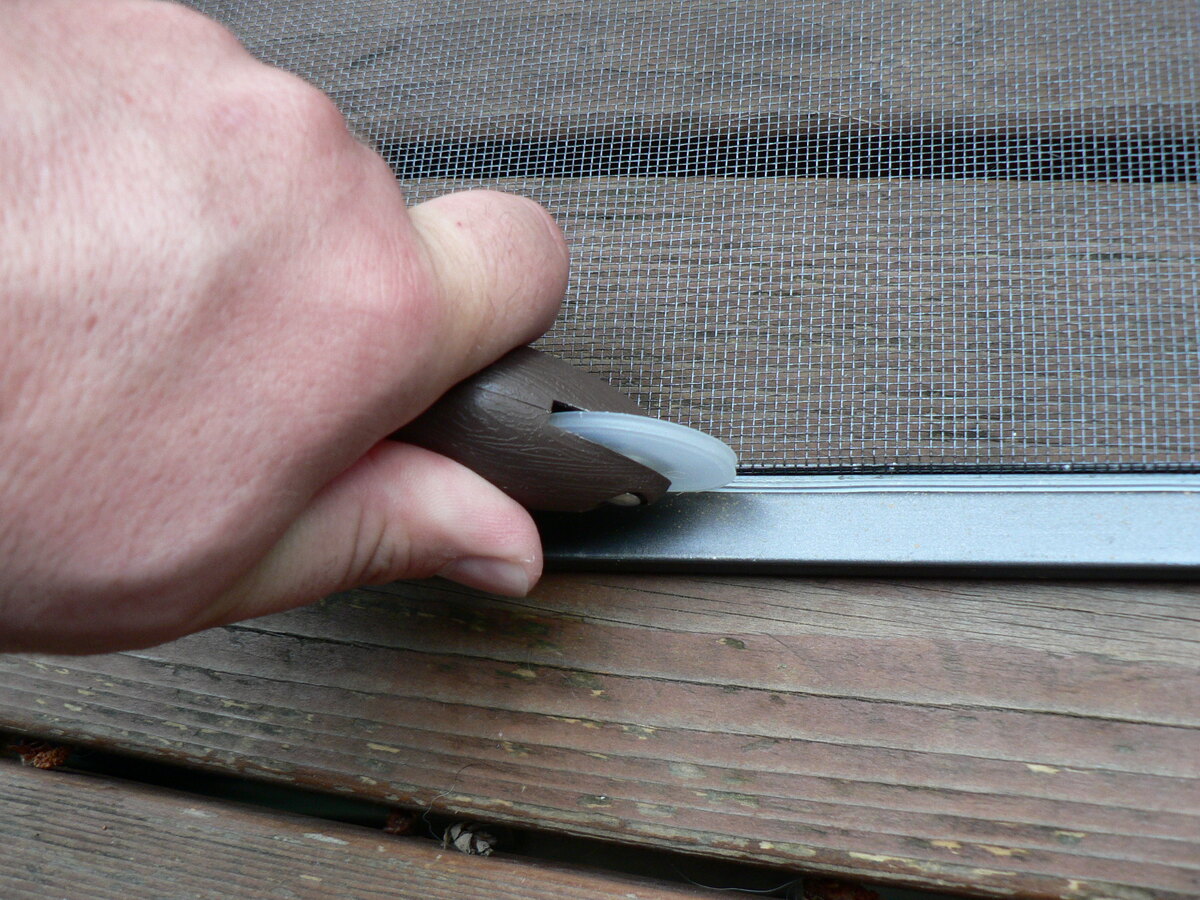
- If your door has a sliding mechanism, insert the door rollers into the tracks. Make sure they are properly aligned and move smoothly along the track.
- Attach any additional hardware or accessories that come with the door, such as handles, locks, or latches. Follow the manufacturer’s instructions for proper installation.
- Check the functionality of the door by opening and closing it a few times. Ensure that it moves smoothly and securely locks in place.
- If your door has a built-in screen, make sure it is properly installed and functions correctly. Test it by opening and closing the screen to ensure smooth operation.
Throughout the installation process, pay attention to any adjustments that may be needed to ensure a proper fit and smooth operation of the door. Take your time, and don’t hesitate to seek assistance if needed.
Once the door is securely installed, you can move on to the next step to test its operation and make any final adjustments.
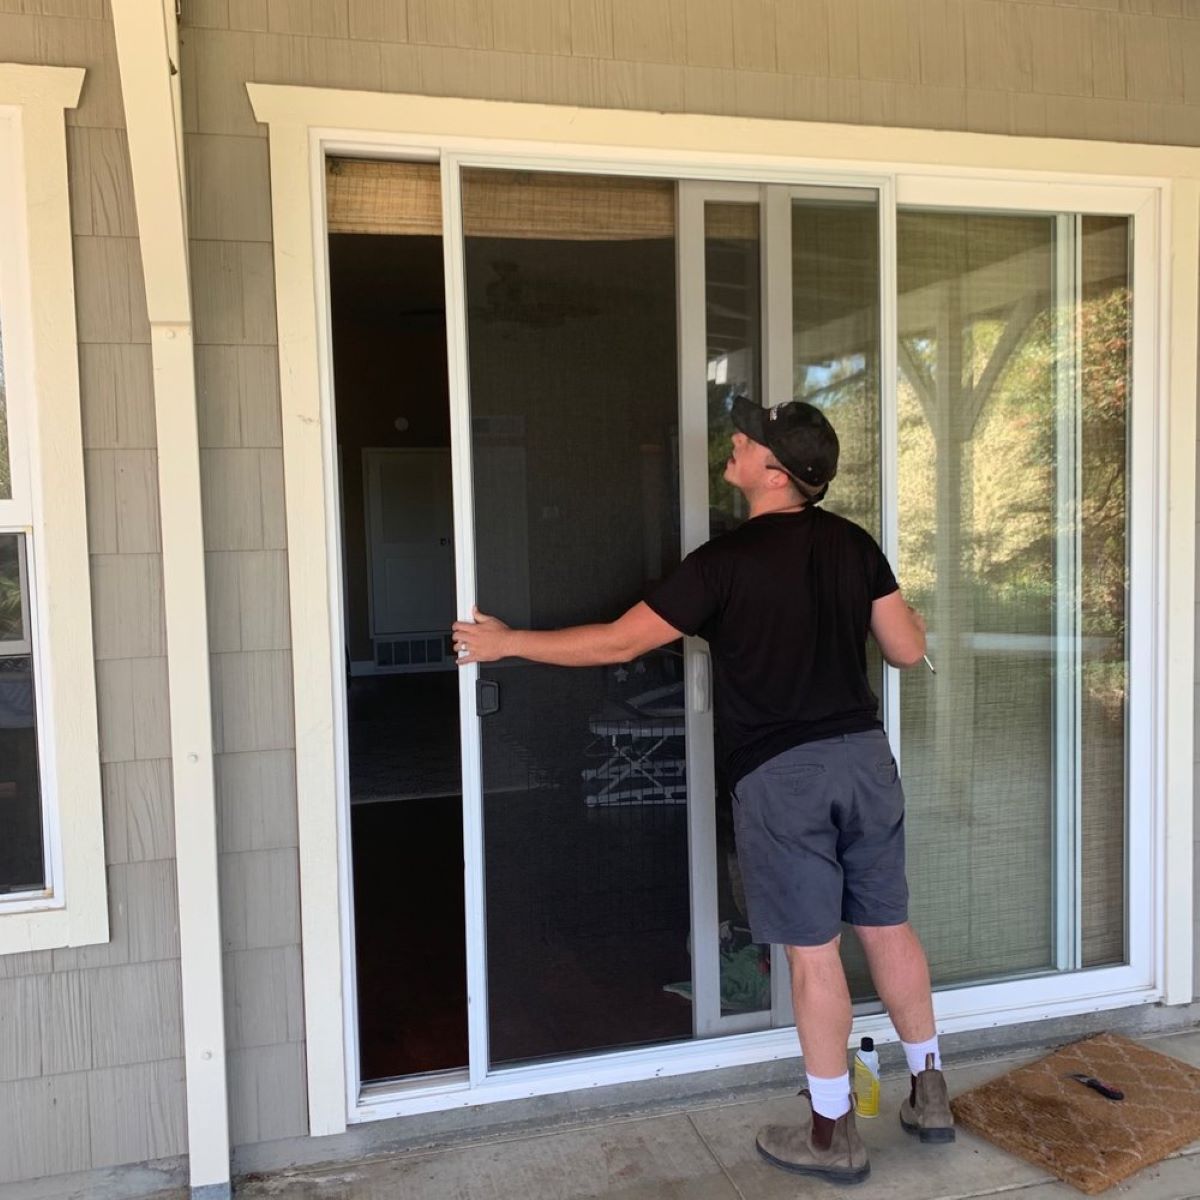
Step 6: Test the Door Operation
After installing the new screen patio door, it’s important to test its operation to ensure it functions smoothly and securely. Follow these steps to properly test the door:
- Open and close the door multiple times to check for any sticking or resistance. The door should glide effortlessly along its track without any hitch.
- Test the locking mechanism to ensure it engages and disengages properly. Make sure the door locks securely in place to provide optimal safety and security.
- Check the seals around the door for any gaps or leaks. Close the door and inspect the edges for any light entering or drafts coming through. Address any gaps by adjusting the door or adding weatherstripping.
- Test the operation of any built-in screen by opening and closing it several times. The screen should slide smoothly and retract without any issues.
- If you notice any issues during the testing process, make the necessary adjustments or repairs. Consult the manufacturer’s instructions or seek professional assistance if needed.
- Repeat the testing process to ensure that all adjustments and repairs have been properly made.
Testing the door operation is crucial to ensure that it functions properly and provides the desired functionality. Take the time to thoroughly test the door and address any issues before moving on to the final step.
Step 7: Make Final Adjustments
As you approach the final stage of your screen patio door replacement, it’s time to make any necessary final adjustments to ensure that the door is installed perfectly. Follow these steps to make the final adjustments:
- Check the alignment of the door within the frame. Ensure that it is level and plumb by using a carpenter’s level. Make any small adjustments as needed to achieve perfect alignment.
- Inspect the door seals and weatherstripping for any gaps or leaks. Replace or add additional weatherstripping where necessary to ensure a tight seal.
- Lubricate the moving parts of the door, such as the hinges, locks, and rollers, to ensure smooth operation. Use a silicone-based lubricant for best results.
- Test the door operation once again to confirm that all adjustments have been properly made. Open and close the door multiple times to ensure it functions smoothly.
- Inspect the door frame and surrounding area for any cosmetic touch-ups that may be needed. Fill any visible screw holes or imperfections and touch up the paint or stain as necessary.
- Clean any debris or dust that may have accumulated during the installation process. Wipe down the door and surrounding area to give it a clean and polished appearance.
By making these final adjustments, you can ensure that your new screen patio door is installed to perfection, both functionally and aesthetically. Take the time to pay attention to detail and make any necessary tweaks to achieve a professional-looking finish.
Congratulations! You have successfully replaced your screen patio door. Now you can enjoy the benefits of a fresh and functional door that enhances your outdoor living experience.
Conclusion
Replacing a screen patio door may initially seem like a daunting task, but with the right knowledge and guidance, it can be a gratifying DIY project. By following the step-by-step process outlined in this guide, you can confidently replace your old, worn-out door with a new and improved one.
Remember to begin by measuring the door opening accurately to ensure a proper fit for the replacement door. Take the time to remove the old door carefully, making note of any repair or cleaning needed for the frame. When selecting a replacement door, consider factors such as material, style, size, features, and budget.
Preparation is key! Take the necessary steps to prepare the door opening properly, including inspecting the frame, cleaning, applying caulking, and ensuring levelness and plumbness. Once you have your replacement door, follow the installation process, securing the door in place and attaching any necessary hardware or accessories.
After installing the door, test its operation thoroughly, checking for smooth movement, proper locking, and effective seals. Make any needed adjustments or repairs, and perform a final inspection to ensure perfection.
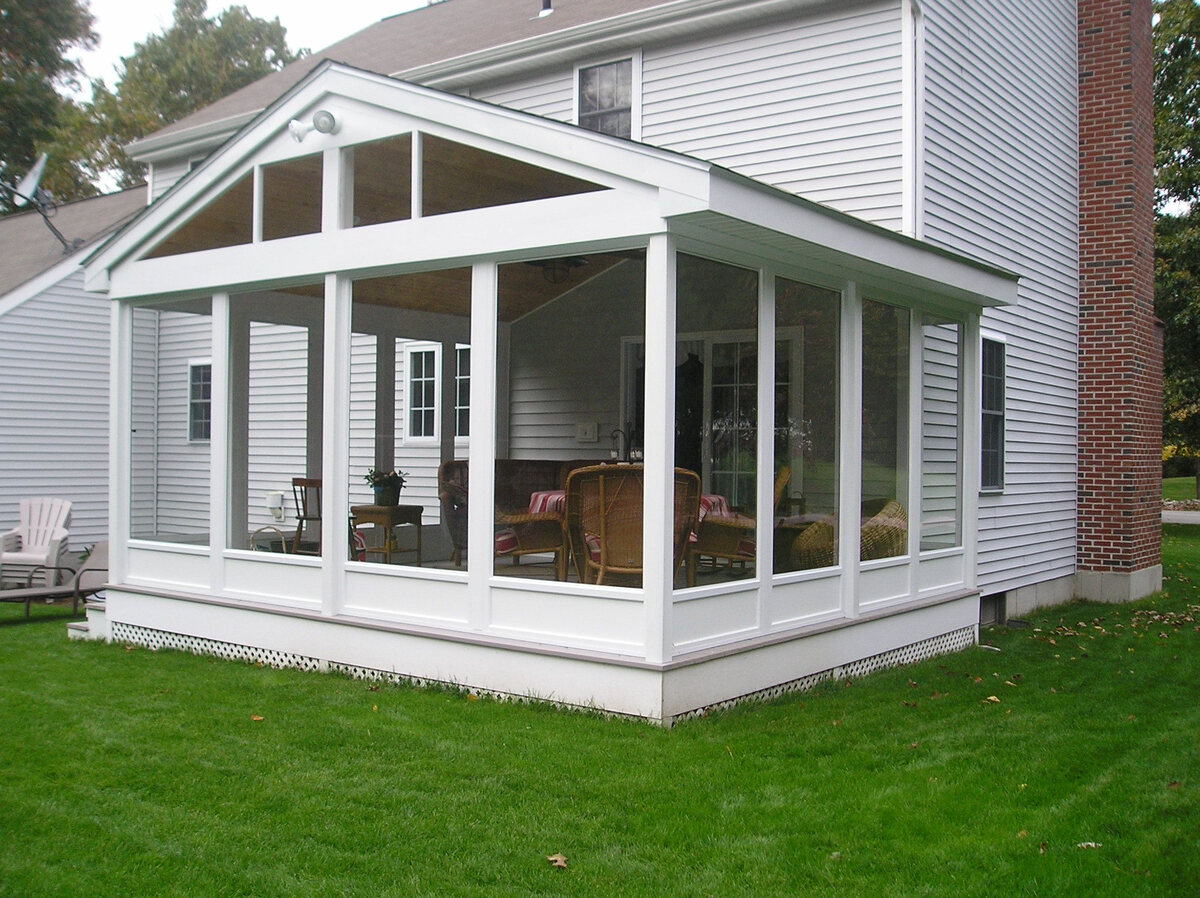
Replacing your screen patio door not only improves functionality but also enhances the overall appeal of your outdoor space. Enjoy the benefits of a beautiful and functional door that allows you to effortlessly connect with your outdoor oasis while keeping unwanted elements out.
So, roll up your sleeves, gather your tools, and embark on this DIY adventure. You’ll be rewarded with a renewed screen patio door that elevates your outdoor living experience for years to come.
Frequently Asked Questions about How To Replace A Screen Patio Door
Was this page helpful?
At Storables.com, we guarantee accurate and reliable information. Our content, validated by Expert Board Contributors, is crafted following stringent Editorial Policies. We're committed to providing you with well-researched, expert-backed insights for all your informational needs.


0 thoughts on “How To Replace A Screen Patio Door”