Home>Renovation & DIY>Home Renovation Guides>How To Replace Screen In A Storm Door
Home Renovation Guides
How To Replace Screen In A Storm Door
Modified: February 18, 2024
Learn how to replace a screen in a storm door with our comprehensive home renovation guide. Save time and money with our step-by-step instructions.
(Many of the links in this article redirect to a specific reviewed product. Your purchase of these products through affiliate links helps to generate commission for Storables.com, at no extra cost. Learn more)
Introduction
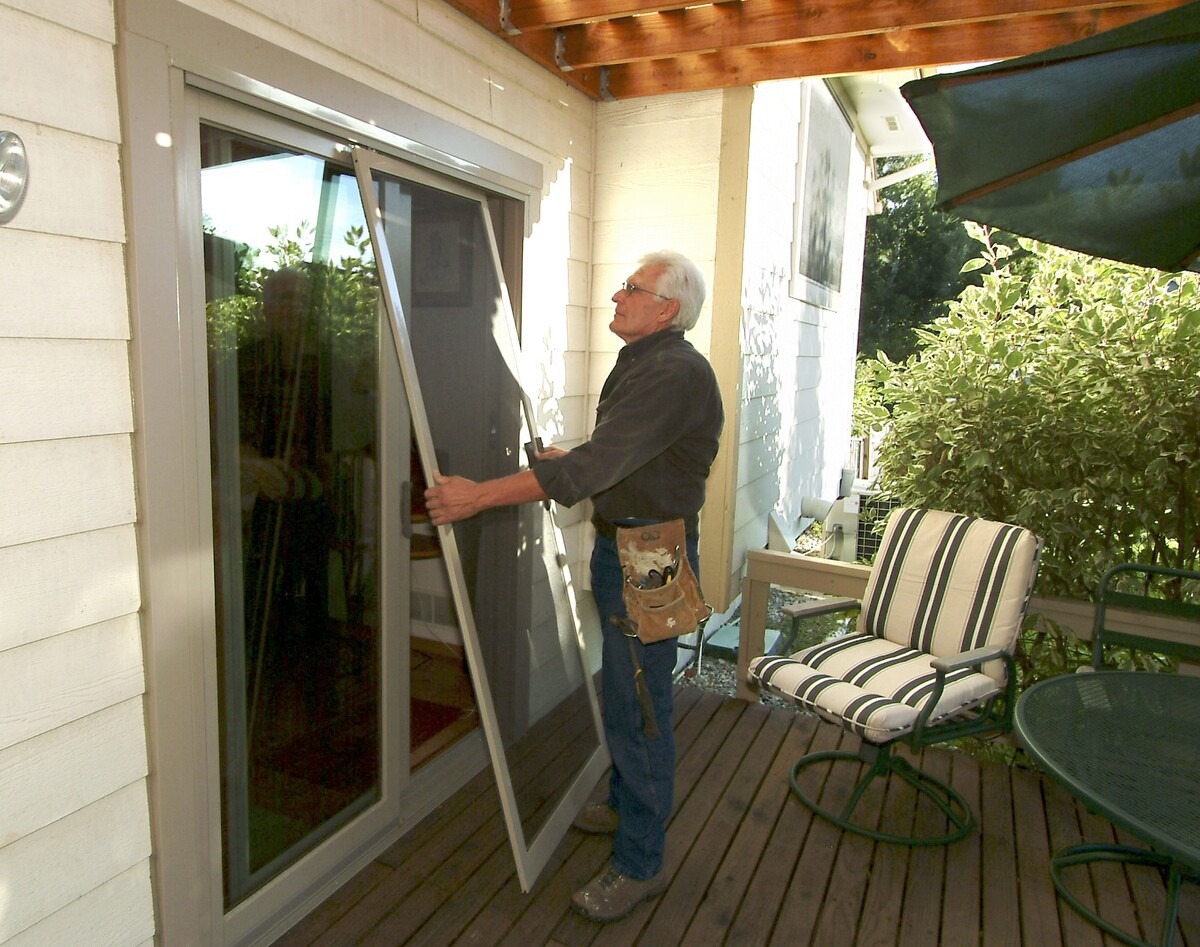
Replacing the screen in a storm door is a straightforward and rewarding home improvement project that can enhance the functionality and aesthetic appeal of your home. Whether your current screen is damaged, outdated, or simply in need of a refresh, this guide will walk you through the process, providing step-by-step instructions and valuable insights to help you achieve professional results.
By following this comprehensive tutorial, you will gain the confidence to tackle this project with ease, saving both time and money by completing the task without the need for professional assistance. With a few essential tools and materials, along with a willingness to learn and apply new skills, you can transform your storm door and enjoy the benefits of a fresh, durable screen.
Throughout this guide, we will explore the necessary tools and materials needed for the project, detail the process of removing the old screen, provide guidance on measuring and cutting the new screen to the correct size, and offer clear instructions for installing the replacement screen. By the end of this journey, you will have the knowledge and expertise to revitalize your storm door and elevate the overall appeal of your home.
Embark on this engaging and rewarding home renovation endeavor, and let's begin the journey to replace the screen in your storm door with confidence and precision.
Key Takeaways:
- Replacing a storm door screen is a DIY project that enhances your home’s look and function. With basic tools and careful steps, you can achieve a professional result and save money.
- By measuring, cutting, and installing the new screen with precision, you’ll revitalize your storm door and feel proud of your DIY skills. It’s a rewarding way to improve your home’s curb appeal.
Tools and Materials Needed
Before initiating the screen replacement process, it’s essential to gather the necessary tools and materials to ensure a smooth and efficient workflow. Here’s a comprehensive list to help you prepare for the project:
Tools:
- Flathead screwdriver
- Phillips screwdriver
- Utility knife
- Tape measure
- Staple gun
- Wire cutters
- Work gloves
- Safety goggles
- Scissors
- Screen rolling tool
- Hammer
Materials:
- Replacement screen material (fiberglass or aluminum)
- Spline (foam, vinyl, or rubber)
- Screen corners (if applicable)
- Screws (if needed for specific storm door models)
By ensuring that you have all the required tools and materials at your disposal, you can proceed with confidence, knowing that you are fully equipped to complete the screen replacement process efficiently and effectively.
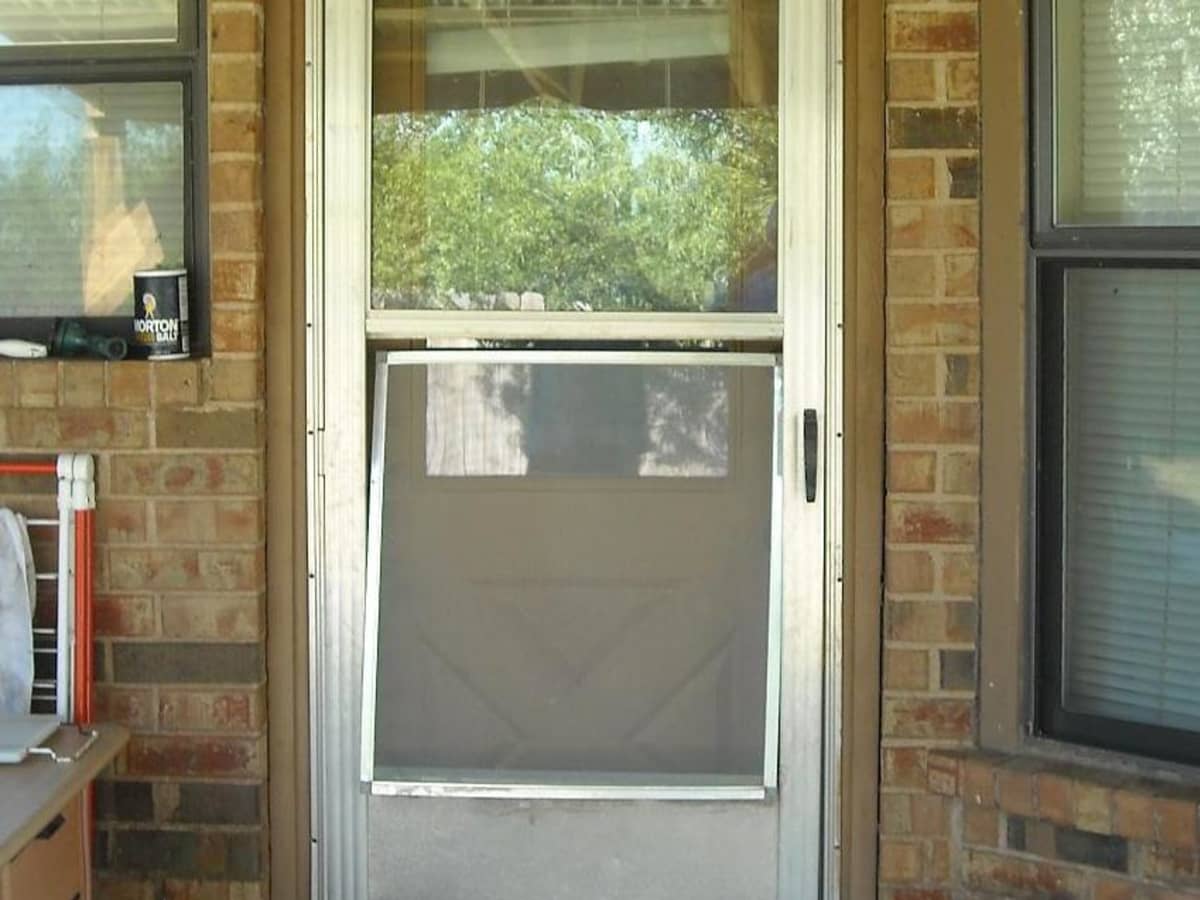
Removing the Old Screen
Before installing a new screen, it’s crucial to remove the existing one. This process typically involves the following steps:
Read more: How To Replace A Storm Door Glass
Step 1: Remove the Storm Door
If possible, remove the storm door from its hinges to make the screen removal process more accessible. Lay the door on a flat, stable surface, ensuring that it is well-supported to prevent damage.
Step 2: Remove the Retainer Strips
Using a flathead screwdriver, carefully pry off the retainer strips that hold the screen in place. Exercise caution to avoid bending or damaging the strips, as they will be reused during the installation of the new screen.
Step 3: Extract the Old Screen
Once the retainer strips are removed, gently pull out the old screen material from the frame. Take care to discard the old screen properly, ensuring that any staples or fasteners are safely disposed of to prevent any potential hazards.
Step 4: Clean the Frame
After removing the old screen, take the opportunity to clean the frame thoroughly. Remove any debris, dirt, or remnants of the old screen to create a clean and smooth surface for the installation of the new screen.
By following these steps, you can effectively remove the old screen from your storm door, setting the stage for the subsequent phases of the screen replacement process. With the old screen removed and the frame prepared, you are now ready to proceed to the next crucial steps in this home renovation endeavor.
Read more: How To Remove Screen From A Storm Door
Measuring and Cutting the New Screen
Accurate measurements and precise cutting are essential for ensuring that the new screen fits the door frame perfectly. Follow these steps to measure and cut the replacement screen:
Step 1: Measure the Frame
Using a tape measure, carefully determine the dimensions of the door frame, accounting for any allowances for the screen to overlap the frame. Measure both the height and width of the frame to ensure accuracy.
Step 2: Add Spline Allowance
To accommodate the spline that secures the screen in the frame, add an additional allowance of approximately 2 inches to the measurements. This extra margin will facilitate the installation process and ensure a snug fit.
Step 3: Cut the Screen Material
Lay the replacement screen material on a flat surface and use the measurements obtained to cut the screen to the required size. Exercise caution and use a sharp pair of scissors or a utility knife to achieve clean, precise cuts.
Read more: How To Replace A Storm Door Handle
Step 4: Install the Screen Rolling Tool
After cutting the screen to size, place the screen rolling tool along one edge of the frame, ensuring that the screen material overlaps the frame adequately. This step prepares the screen for the installation of the spline.
By diligently following these steps, you can effectively measure and cut the new screen material to fit the door frame with precision. Attention to detail during this phase will contribute to a seamless and professional-looking installation, setting the stage for the final steps in replacing the screen in your storm door.
Installing the New Screen
With the old screen removed, the frame cleaned, and the new screen material cut to size, it’s time to proceed with the installation process. Follow these steps to install the new screen in your storm door:
Step 1: Position the Screen Material
Carefully position the cut screen material over the door frame, ensuring that it overlaps the frame adequately on all sides. This overlap will allow for a secure fit and provide room for the spline to be installed.
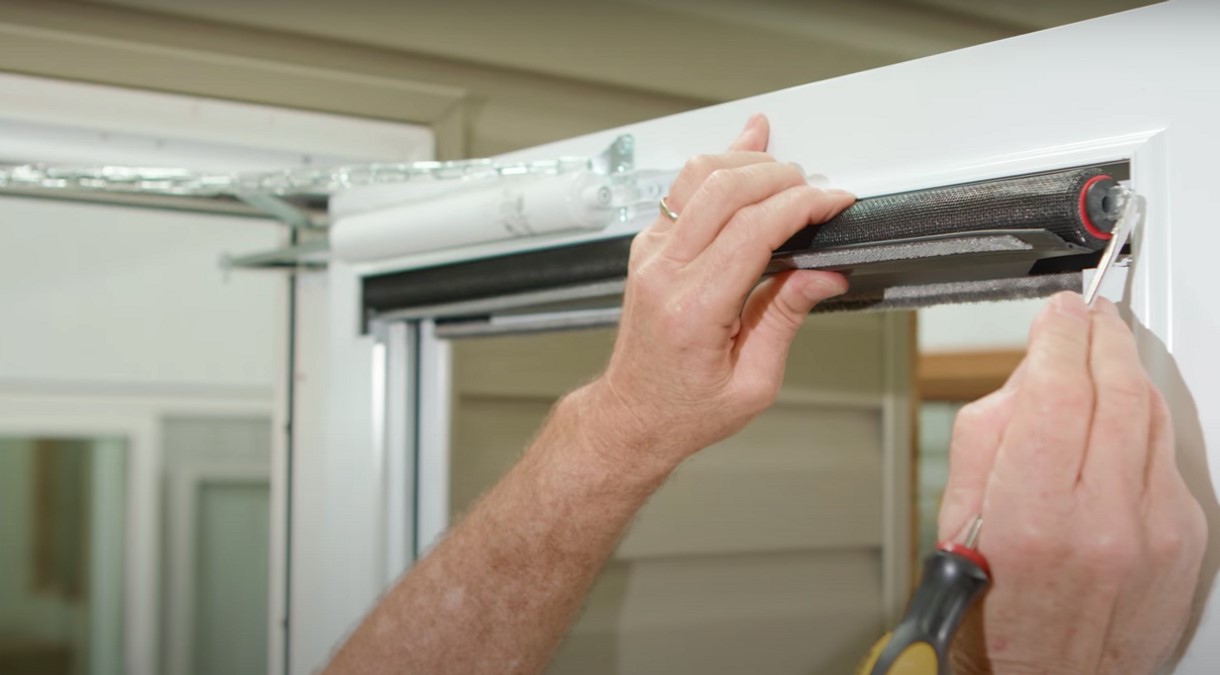
Step 2: Insert the Spline
Using a screen rolling tool, gently press the spline into the groove along one edge of the frame, securing the screen material in place. Gradually work your way around the frame, ensuring that the screen is taut and free of wrinkles as the spline is inserted.
Read more: Storm Door Vs Screen Door: Which is Better?
Step 3: Trim Excess Screen Material
Once the spline is in place and the screen is secured, carefully trim any excess screen material using a utility knife or scissors. Exercise caution to achieve clean, precise cuts without damaging the newly installed screen.
Step 4: Reattach the Retainer Strips
After confirming that the new screen is securely in place, reattach the retainer strips using a flathead screwdriver. Ensure that the strips are firmly in position to hold the screen and spline securely within the frame.
Step 5: Reinstall the Storm Door
If the storm door was removed in the initial stages, carefully reattach it to the hinges, ensuring that it operates smoothly and that the newly installed screen is securely in place.
By following these steps meticulously, you can successfully install the new screen in your storm door, revitalizing its functionality and appearance. With the screen securely in place and the storm door reinstalled, take a moment to admire your handiwork and revel in the enhanced appeal of your home’s exterior.
Conclusion
Congratulations on successfully replacing the screen in your storm door! By embarking on this home improvement project, you have not only enhanced the functionality of your door but also contributed to the overall aesthetics of your home. As you reflect on the journey from removing the old screen to installing the new one, take pride in the skills you’ve acquired and the transformation you’ve achieved.
Throughout this process, you’ve gained valuable insights into the intricacies of screen replacement, learning to measure, cut, and install the new screen with precision and care. By following the step-by-step instructions and leveraging the right tools and materials, you’ve demonstrated resourcefulness and a willingness to take on DIY projects that elevate your living space.
As you admire the refreshed appearance of your storm door, take a moment to appreciate the sense of accomplishment that comes with completing a hands-on renovation task. Not only have you revitalized an essential element of your home, but you’ve also honed your practical skills and expanded your DIY repertoire.
Whether you undertook this project to address a damaged screen, update the door’s appearance, or simply embrace a fulfilling home improvement endeavor, your efforts have undoubtedly made a meaningful impact. As you enjoy the benefits of a newly installed screen, take pride in the knowledge that you’ve elevated the curb appeal and functionality of your home in a tangible and rewarding way.
With the screen securely in place and your storm door exuding renewed charm, consider sharing your newfound expertise with friends and family who may benefit from your valuable insights. Your journey to replace the screen in your storm door serves as a testament to the transformative power of DIY initiatives and the satisfaction that comes with breathing new life into your living space.
As you revel in the successful completion of this project, may it inspire and empower you to embark on future home improvement ventures with confidence and enthusiasm. Your home is a canvas for creativity and self-expression, and your efforts to replace the screen in your storm door exemplify the spirit of craftsmanship and ingenuity.
Frequently Asked Questions about How To Replace Screen In A Storm Door
Was this page helpful?
At Storables.com, we guarantee accurate and reliable information. Our content, validated by Expert Board Contributors, is crafted following stringent Editorial Policies. We're committed to providing you with well-researched, expert-backed insights for all your informational needs.


0 thoughts on “How To Replace Screen In A Storm Door”