Home>Furniture>Outdoor Furniture>How To Adjust A Patio Screen Door

Outdoor Furniture
How To Adjust A Patio Screen Door
Modified: March 7, 2024
Learn how to easily adjust your patio screen door to ensure a perfect fit for your outdoor furniture. Enhance the functionality and appearance of your outdoor space!
(Many of the links in this article redirect to a specific reviewed product. Your purchase of these products through affiliate links helps to generate commission for Storables.com, at no extra cost. Learn more)
Introduction
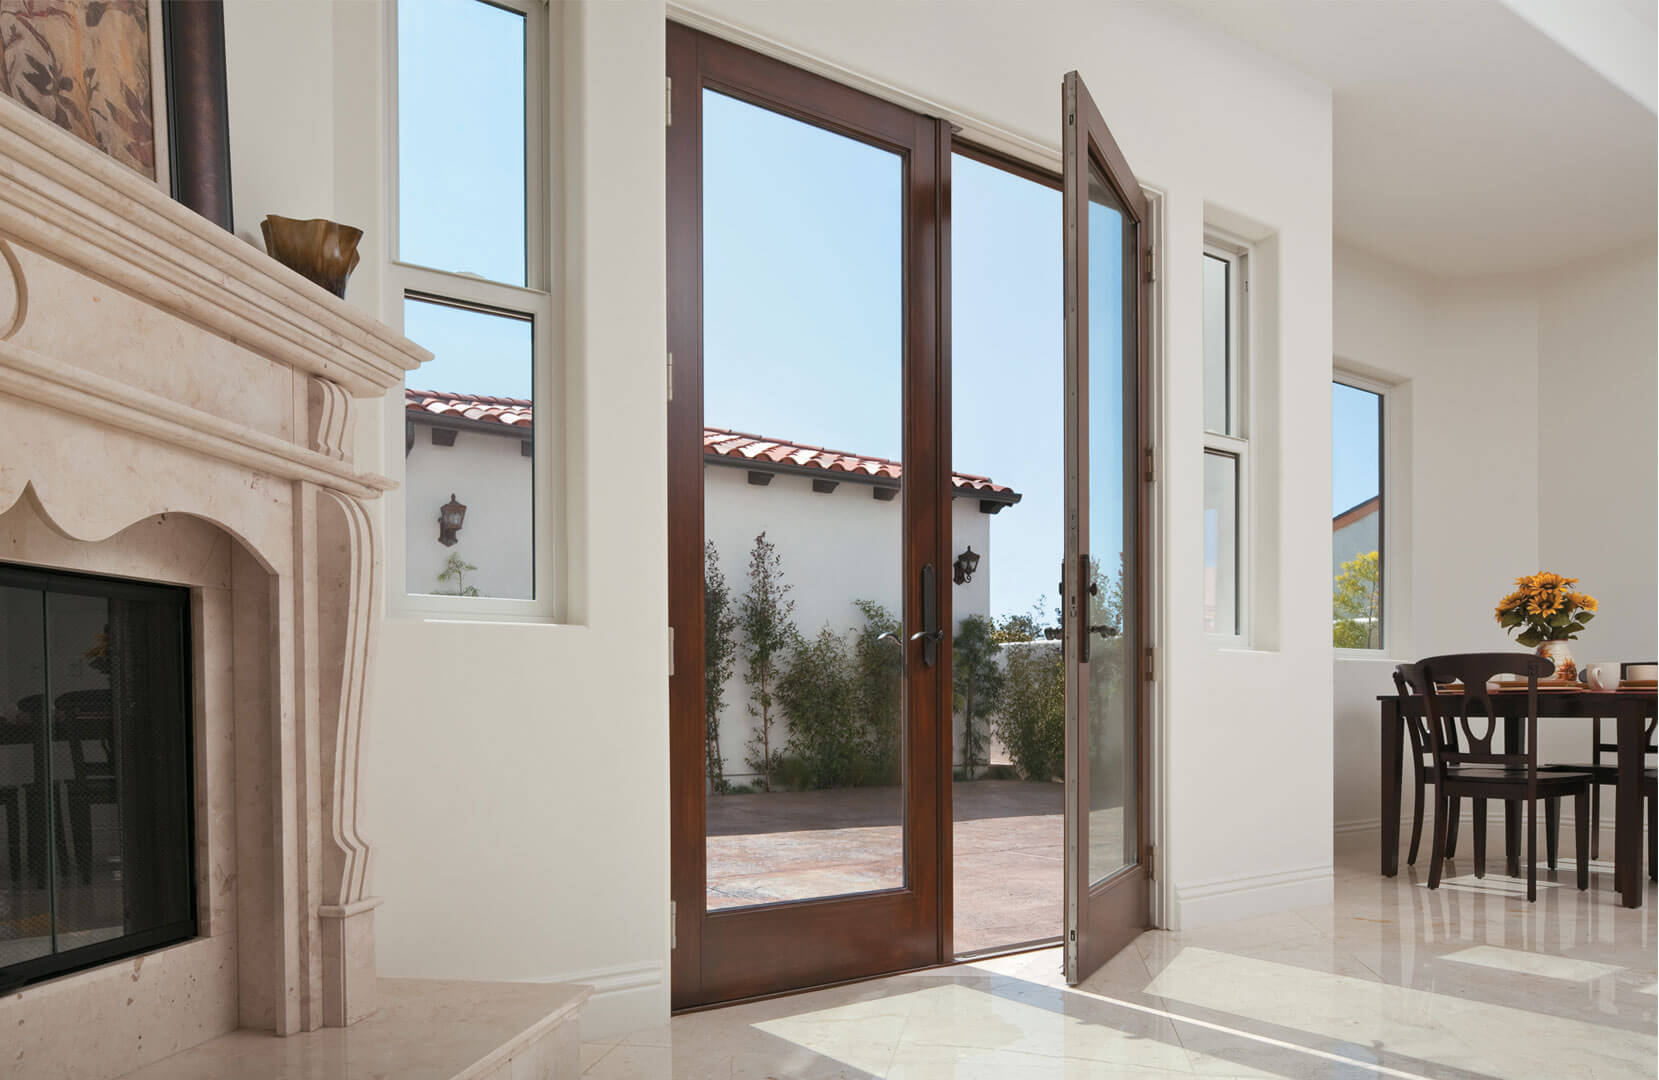
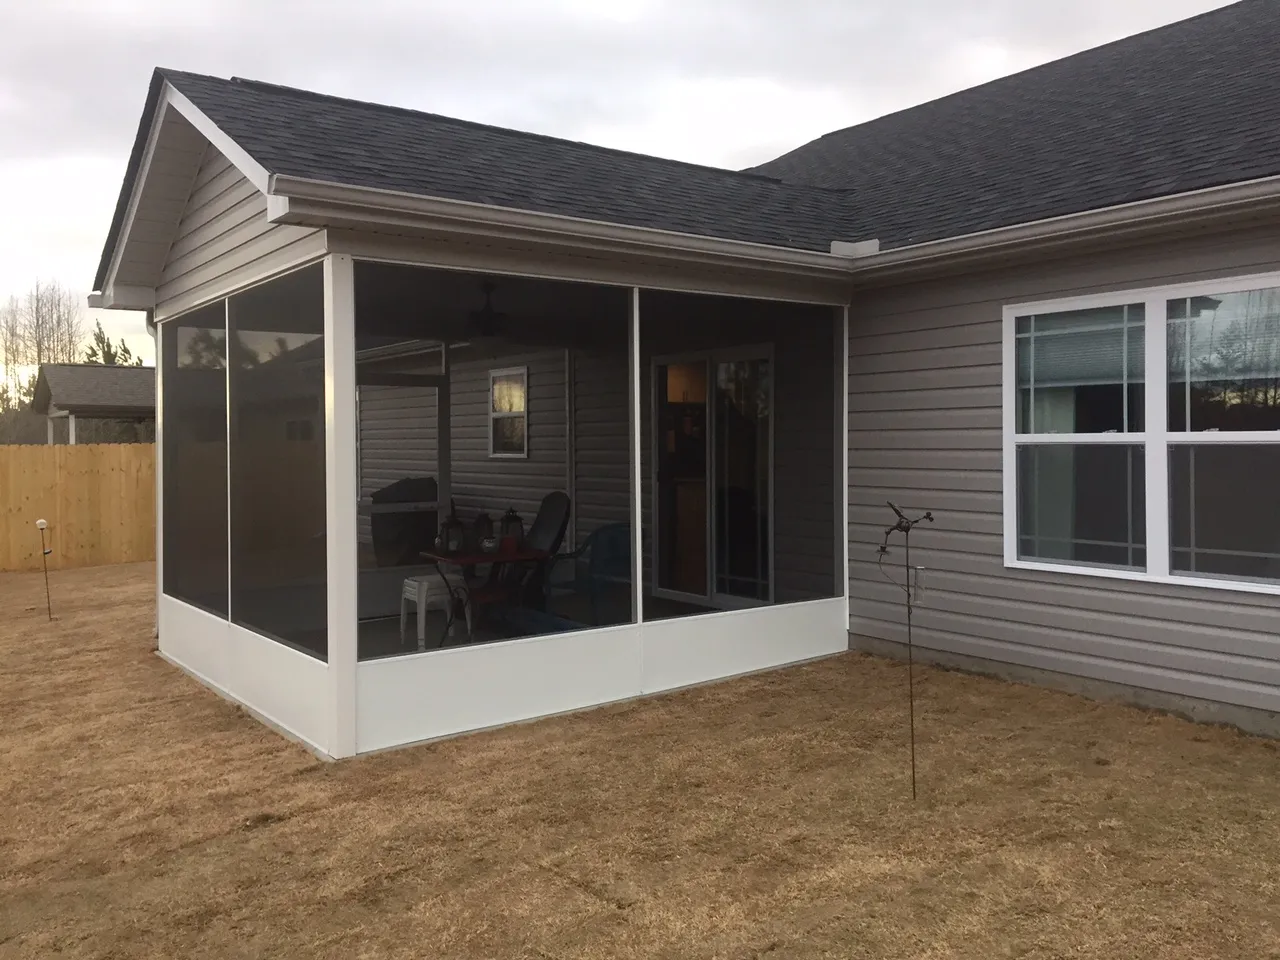
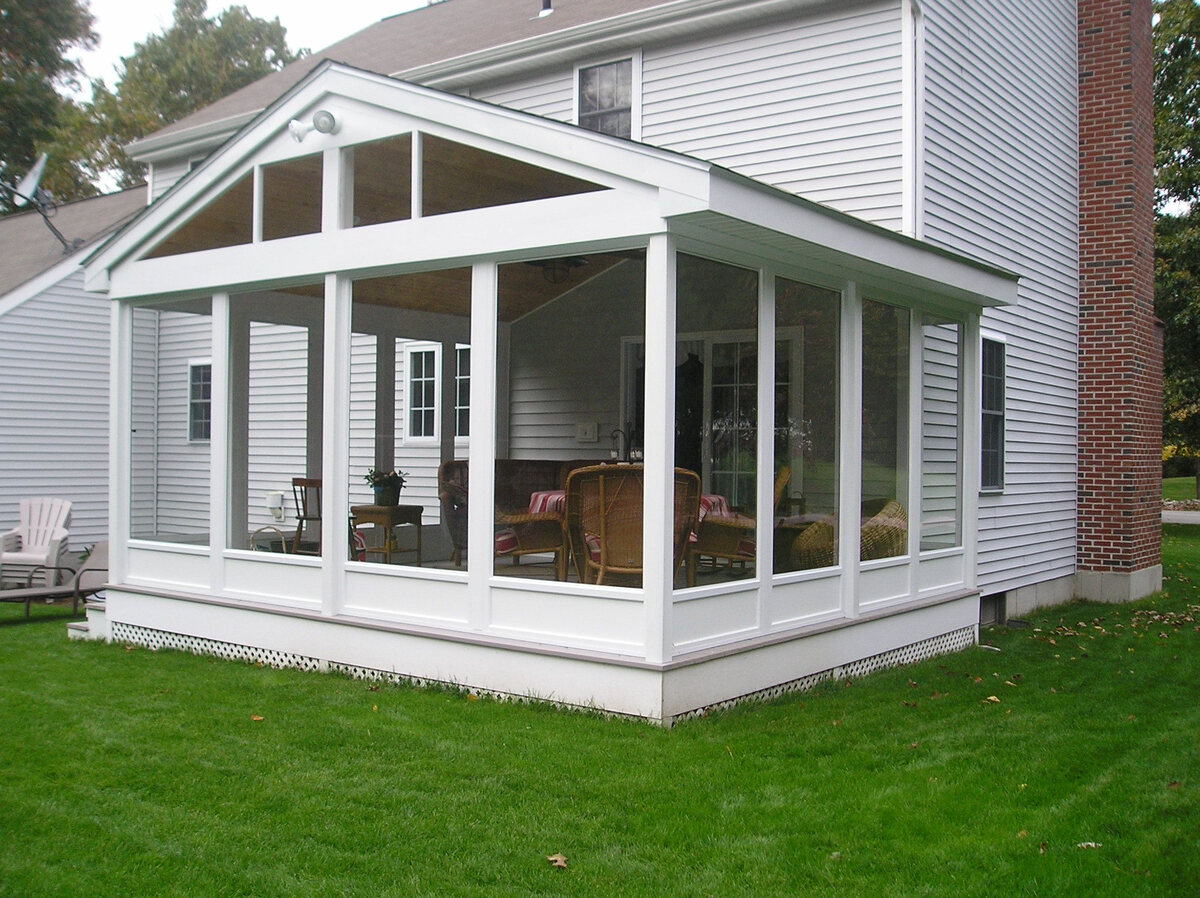
Welcome to our guide on how to adjust a patio screen door. A patio screen door is an essential part of any outdoor living space, providing access to your patio while keeping bugs and debris out. Over time, however, your patio screen door may become misaligned or difficult to open and close, which can be frustrating.
The good news is that you don’t have to live with a malfunctioning patio screen door. With a few simple adjustments, you can restore its functionality and get back to enjoying the great outdoors. In this article, we will walk you through the step-by-step process of adjusting your patio screen door to ensure a smooth and seamless operation.
Before we dive into the adjustment process, it’s important to note that the specific steps may vary depending on the type of patio screen door you have. There are different designs and mechanisms for patio screen doors, including sliding doors and hinged doors. It’s important to familiarize yourself with the type of door you have and consult the manufacturer’s instructions, if available.
With that said, let’s get started with gathering the necessary tools for adjusting your patio screen door.
Key Takeaways:
- Keep your patio screen door in top shape by adjusting its height, rollers, and tracks. With the right tools and careful adjustments, you can ensure smooth and hassle-free operation for your outdoor living space.
- Regular maintenance, including cleaning and lubrication, is essential for a well-functioning patio screen door. If in doubt, seek professional help to ensure optimal performance and enjoy bug-free outdoor living.
Read more: How To Replace A Screen Patio Door
Step 1: Gather the necessary tools
Before you begin adjusting your patio screen door, it’s important to gather all the necessary tools. Having the right tools handy will make the process much smoother and ensure that you have everything you need to make the adjustments effectively. Here are the tools you’ll need:
- Screwdriver (Phillips or flathead, depending on the screws used)
- Adjustable wrench
- Tape measure
- Level
- Replacement parts (if necessary)
Having these tools ready will enable you to tackle any adjustments needed, from minor tweaks to more extensive repairs. It’s always a good idea to have replacement parts on hand, such as rollers or tracks, in case you discover any damaged or worn components during the adjustment process.
Additionally, it’s important to prioritize safety during any home improvement project. If you’re working with power tools or accessing high areas, consider wearing safety goggles, gloves, and using a stable ladder. Remember to follow all safety guidelines and consult professional help if needed.
Once you have all the necessary tools, you’re ready to move on to the next step: removing the patio screen door.
Step 2: Remove the patio screen door
Before you can adjust your patio screen door, you’ll need to remove it from its track. Removing the door will make it easier to access and adjust the different components. Follow these steps to safely remove the patio screen door:
- Start by opening the patio screen door fully. Locate the adjustment screws or tabs, usually located along the bottom or sides of the door frame.
- Loosen these screws or tabs using a screwdriver or adjustable wrench, depending on the type of fastener used.
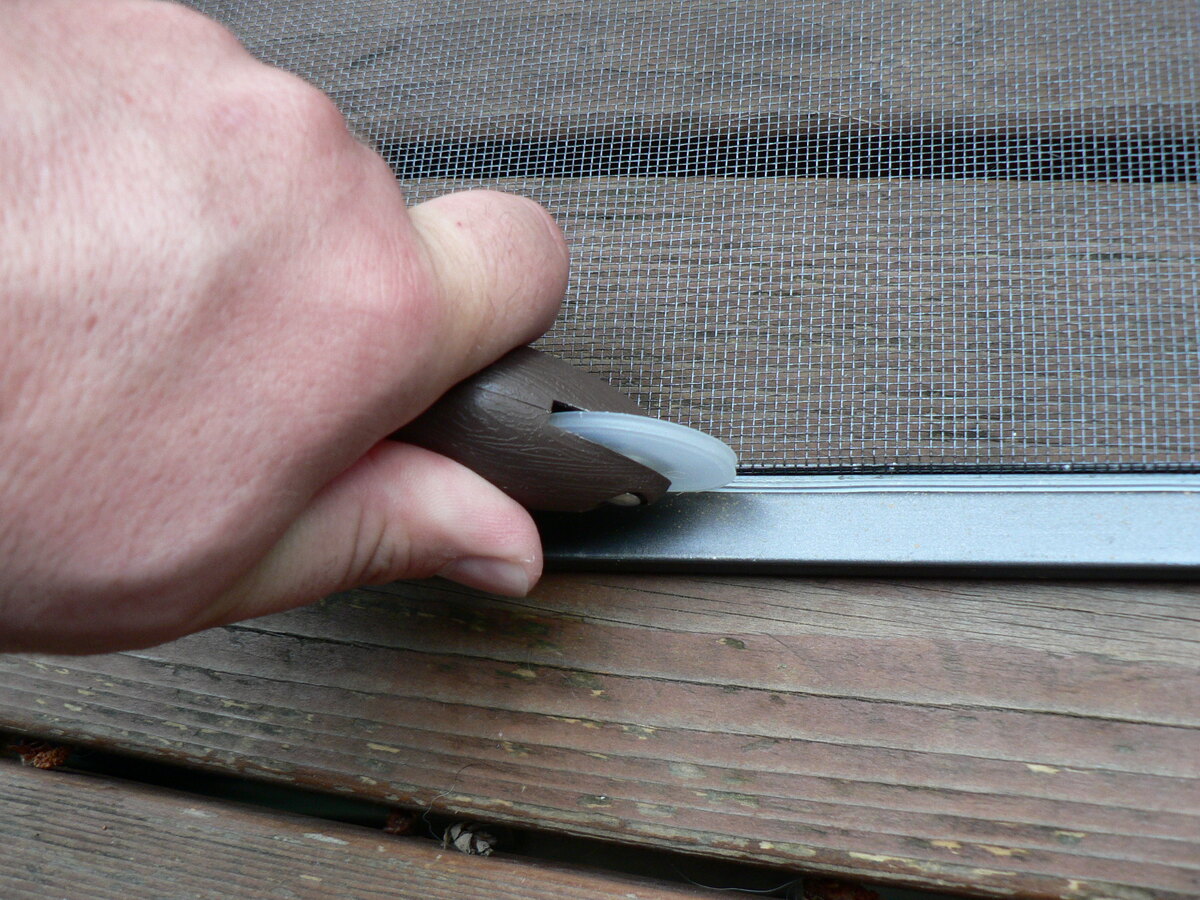
- Once the screws or tabs are loosened, lift the patio screen door slightly to disengage it from the track.
- Carefully tilt the door towards you, angling it out of the track. If necessary, have someone assist you in holding the door steady as you remove it.
- Set the patio screen door aside in a safe and secure location, making sure to protect it from any potential damage.
By removing the patio screen door, you can easily access the different components that may need adjustment, such as the height, rollers, and tracks. It also prevents any accidental damage to the door itself while you work on the adjustments.
Once the patio screen door is removed, you’re ready to move on to the next step: adjusting the height of the door.
Step 3: Adjust the height of the door
Adjusting the height of your patio screen door is crucial for proper alignment and smooth operation. If the door is too high or too low, it can cause issues with opening and closing. Follow these steps to adjust the height of your patio screen door:
- Start by locating the adjustment screws or tabs on the door frame. These are typically located near the bottom of the door.
- Using a screwdriver or adjustable wrench, loosen the screws or tabs to release the door from its current position.
- Gently raise or lower the door until it is at the desired height. Use a tape measure to ensure that the height is consistent across the entire length of the door.
- Once the door is at the desired height, tighten the adjustment screws or tabs to secure it in place.
- Test the door by sliding it open and closed to ensure that it moves smoothly and aligns properly with the frame. Make any necessary adjustments if the door still feels uneven or difficult to operate.
It’s important to make small adjustments at a time to avoid overcorrecting the height of the door. Take your time to ensure that the door is level and properly aligned with the door frame.
Now that you have adjusted the height of your patio screen door, it’s time to move on to the next step: adjusting the rollers.
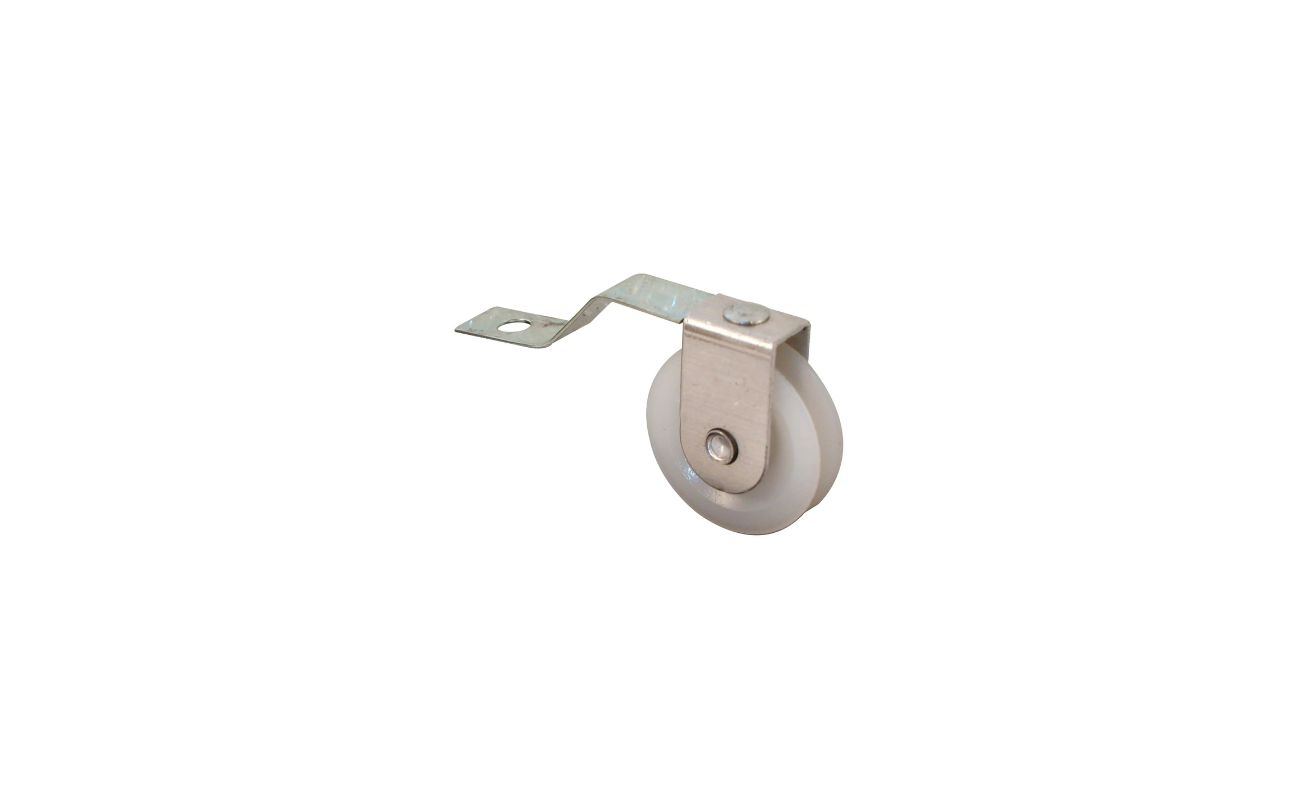
Step 4: Adjust the rollers
The rollers play a crucial role in the smooth operation of your patio screen door. If the rollers are not properly aligned or worn out, it can cause the door to drag or become difficult to slide. Follow these steps to adjust the rollers on your patio screen door:
- Locate the roller adjustment screws on the bottom edge of the door near the corners. These screws control the position of the rollers.
- Using a screwdriver or an adjustable wrench, loosen the roller adjustment screws on both sides of the door.
- Gently lift the door slightly to take some pressure off the rollers.
- Next, turn the roller adjustment screws clockwise to raise the rollers or counterclockwise to lower the rollers. Make small adjustments, alternating sides, until the door glides smoothly along the track without dragging or sticking.
- Tighten the roller adjustment screws once you have achieved the desired level of smoothness and alignment.
It’s important to note that roller adjustments may differ depending on the type of patio screen door you have. Some doors may have visible adjustment screws, while others may require you to remove a cover or panel to access the rollers. Consult the manufacturer’s instructions for specific guidance.
After adjusting the rollers, test the door by sliding it open and closed to ensure that it moves smoothly along the track. If necessary, make further adjustments until the door operates seamlessly.
Now that you have adjusted the rollers, it’s time to move on to the next step: checking the alignment and adjusting the tracks.
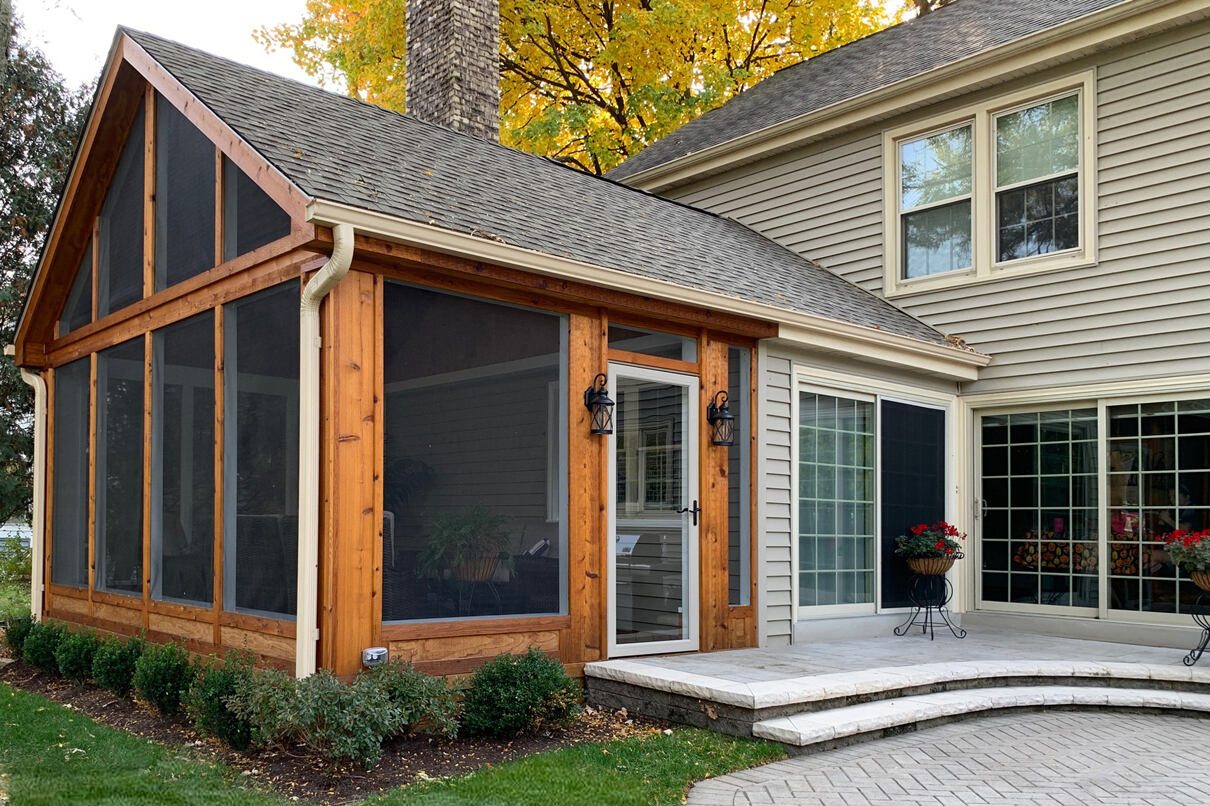
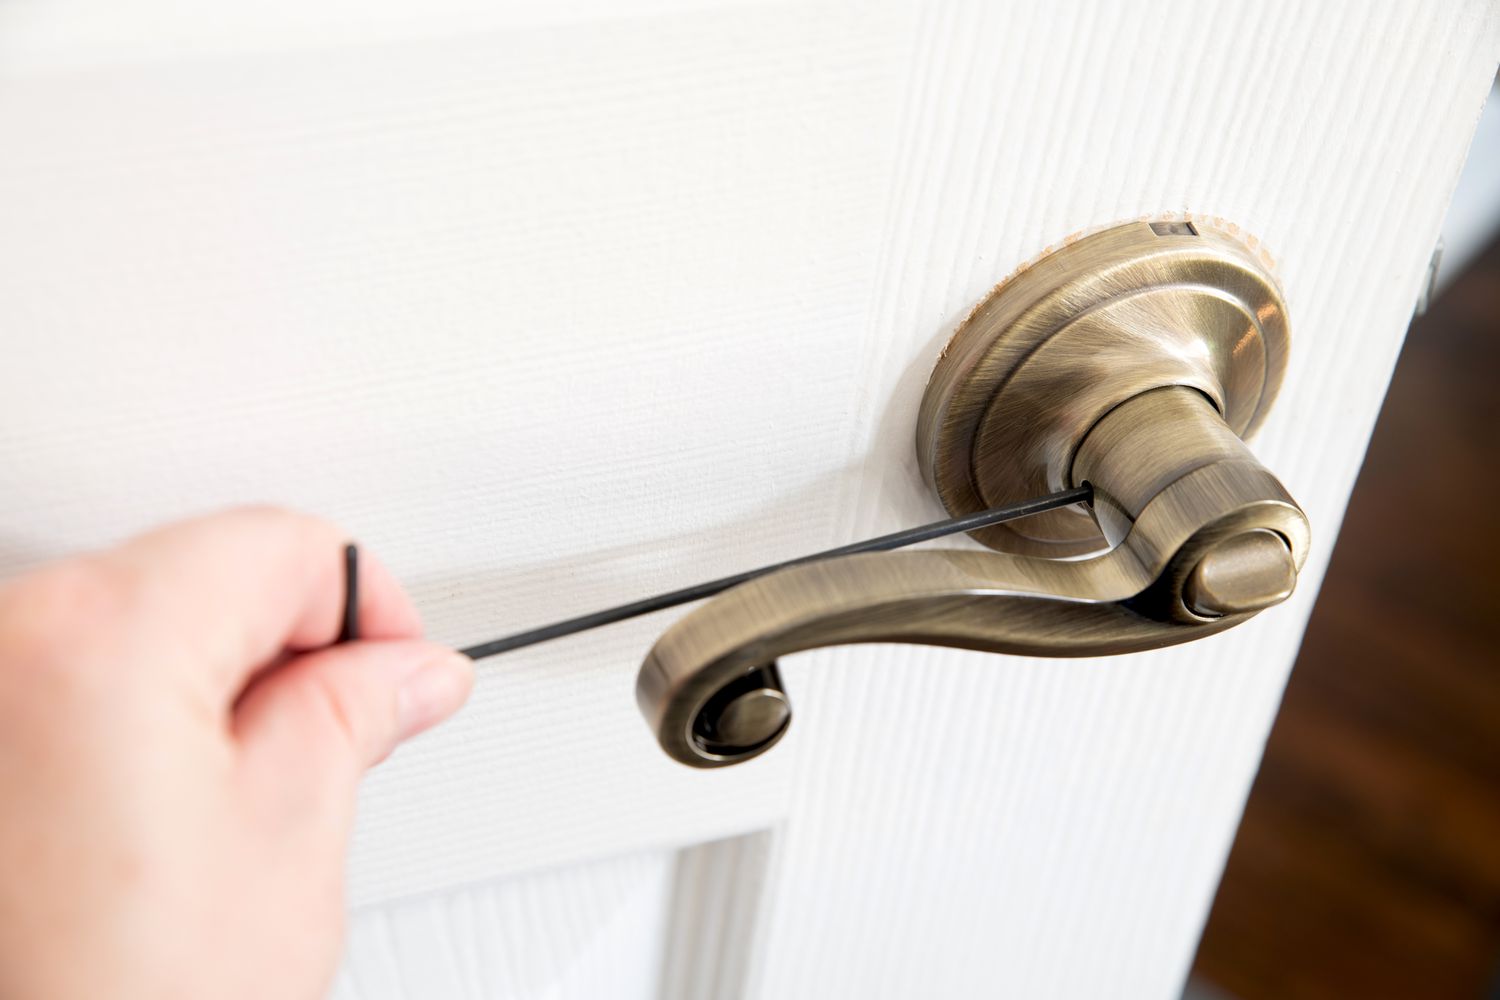
To adjust a patio screen door, first, check for any obstructions in the track. Then, use a screwdriver to adjust the rollers at the bottom of the door until it glides smoothly.
Read more: How To Remove A Patio Screen Door
Step 5: Check the alignment and adjust the tracks
Proper alignment and adjustment of the tracks are essential for ensuring that your patio screen door operates smoothly and securely. Misaligned tracks can cause the door to stick or come off the track completely. Follow these steps to check the alignment and adjust the tracks:
- Start by visually inspecting the tracks on both sides of the door frame. Look for any debris, dirt, or obstructions that could interfere with the door’s movement.
- Use a level to check the alignment of the tracks. Place the level vertically against the edge of the track to ensure it is perfectly straight.
- If the tracks are misaligned, you may need to loosen the track screws using a screwdriver or adjustable wrench.
- Gently tap the tracks with a rubber mallet or a block of wood to nudge them back into the correct position. Use the level to ensure they are aligned properly.
- Tighten the track screws once the tracks are properly aligned.
- After adjusting the tracks, clean them thoroughly to remove any dirt or debris that could affect the door’s movement.
It’s important to note that some patio screen doors have adjustable track channels that allow for easier alignment. Consult the manufacturer’s instructions for specific guidance on adjusting the tracks for your particular door.
Once the tracks are aligned and clean, test the door by sliding it open and closed to ensure it moves smoothly without any obstructions or sticking. If necessary, make further adjustments until the door operates seamlessly.
Now that you have checked the alignment and adjusted the tracks, it’s time to move on to the next step: reinstalling the patio screen door.
Step 6: Reinstall the patio screen door
Now that you have completed the necessary adjustments to your patio screen door, it’s time to reinstall it back into the track. Follow these steps to properly reinstall the door:
- Hold the patio screen door at a slight angle, with the top of the door closer to the frame and the bottom slightly away from the frame.
- Slot the top of the door into the upper track, making sure it is properly aligned.
- Carefully lower the bottom of the door into the lower track while maintaining the slight angle.
- Push the door gently towards the frame, ensuring that it sits securely in the track.
- Slide the door back and forth a few times to test its movement and ensure it glides smoothly along the track.
Take a moment to examine the door and ensure it is centered and aligned with the frame. Adjust if necessary by lifting the door slightly and shifting it left or right within the track.
Once you are satisfied with the placement and movement of the door, you can move on to the final step: testing the adjustments.
Remember, if you encounter any difficulties during the reinstallation process or find that the door is not fitting properly, double-check the adjustments you made in the previous steps and make any necessary corrections.
Now that you have successfully reinstalled the patio screen door, it’s time to move on to the final step: testing and evaluating the adjustments.
Step 7: Test the adjustments
After making all the necessary adjustments to your patio screen door, it’s important to test the functionality and effectiveness of the changes you’ve made. Follow these steps to thoroughly test the adjustments:
- Slide the patio screen door open and closed multiple times to check for smooth and effortless operation. Pay attention to any dragging, sticking, or resistance.
- Observe the door as it moves along the track, ensuring that it remains aligned and doesn’t wobble or tilt.
- Check that the door securely seals against the door frame when closed, preventing any gaps or drafts.
- Test the locking mechanism, ensuring that it engages and disengages smoothly and securely.
- Inspect the door frame for any signs of wear, damage, or gaps that could affect the functionality of the door.
If you notice any issues during the testing process, such as continued sticking or misalignment, you may need to revisit the earlier steps and make further adjustments. It’s important to continue fine-tuning until you achieve the desired results.
Remember to periodically check and maintain your patio screen door to ensure it stays in optimal condition. This includes cleaning the tracks, lubricating the rollers, and addressing any wear or damage as needed.
Congratulations! You have successfully adjusted your patio screen door, allowing for smooth and efficient operation. With these adjustments, you can now enjoy uninterrupted access to your outdoor living space while keeping insects and debris at bay.
If you encounter any complex issues or are unsure about making the adjustments yourself, it’s always a good idea to seek professional help. They can provide guidance and expertise to ensure your patio screen door is functioning flawlessly in no time.
Thank you for following our step-by-step guide on how to adjust a patio screen door. We hope you found it helpful and that it has made the adjustment process easier for you. Enjoy your well-functioning patio screen door and make the most of your outdoor living space!
Conclusion
In conclusion, adjusting a patio screen door is a straightforward process that can greatly improve its functionality and your overall outdoor living experience. By following the steps outlined in this guide, you can easily address common issues such as misalignment, sticking, or dragging doors.
Remember to gather all the necessary tools before beginning the adjustment process. This ensures that you have everything you need to make the necessary tweaks and repairs. Safety should always be a priority, so consider using protective gear and following safety guidelines when working on your patio screen door.
The step-by-step instructions provided in this guide cover the essential aspects of adjusting a patio screen door, including height adjustments, roller adjustments, track alignment, and reinstallation. Each step is designed to help you achieve a smooth and seamless operation for your patio screen door.
After completing the adjustments, it is crucial to thoroughly test the door for smooth movement, proper alignment, and secure sealing against the frame. This enables you to make any necessary fine-tuning to ensure optimal performance.
Remember, regular maintenance of your patio screen door is essential to ensure its long-term functionality. This includes routine cleaning, lubrication of moving parts, and addressing any wear or damage promptly.
If you encounter complex issues or are unsure about making the adjustments yourself, don’t hesitate to seek professional assistance. They can provide expert guidance and ensure that your patio screen door is operating at its best.
We hope this comprehensive guide has been helpful in guiding you through the process of adjusting your patio screen door. By following these steps, you can enjoy a well-functioning and hassle-free patio screen door, enhancing your outdoor living space for years to come.
Frequently Asked Questions about How To Adjust A Patio Screen Door
Was this page helpful?
At Storables.com, we guarantee accurate and reliable information. Our content, validated by Expert Board Contributors, is crafted following stringent Editorial Policies. We're committed to providing you with well-researched, expert-backed insights for all your informational needs.


0 thoughts on “How To Adjust A Patio Screen Door”