Home>Furniture & Design>Interior Design Trends>How To Clean Glass Mirrors
Interior Design Trends
How To Clean Glass Mirrors
Modified: October 20, 2024
Learn the latest interior design trends for cleaning glass mirrors and keeping them sparkling. Discover expert tips and techniques for maintaining a pristine, reflective surface.
(Many of the links in this article redirect to a specific reviewed product. Your purchase of these products through affiliate links helps to generate commission for Storables.com, at no extra cost. Learn more)
Introduction
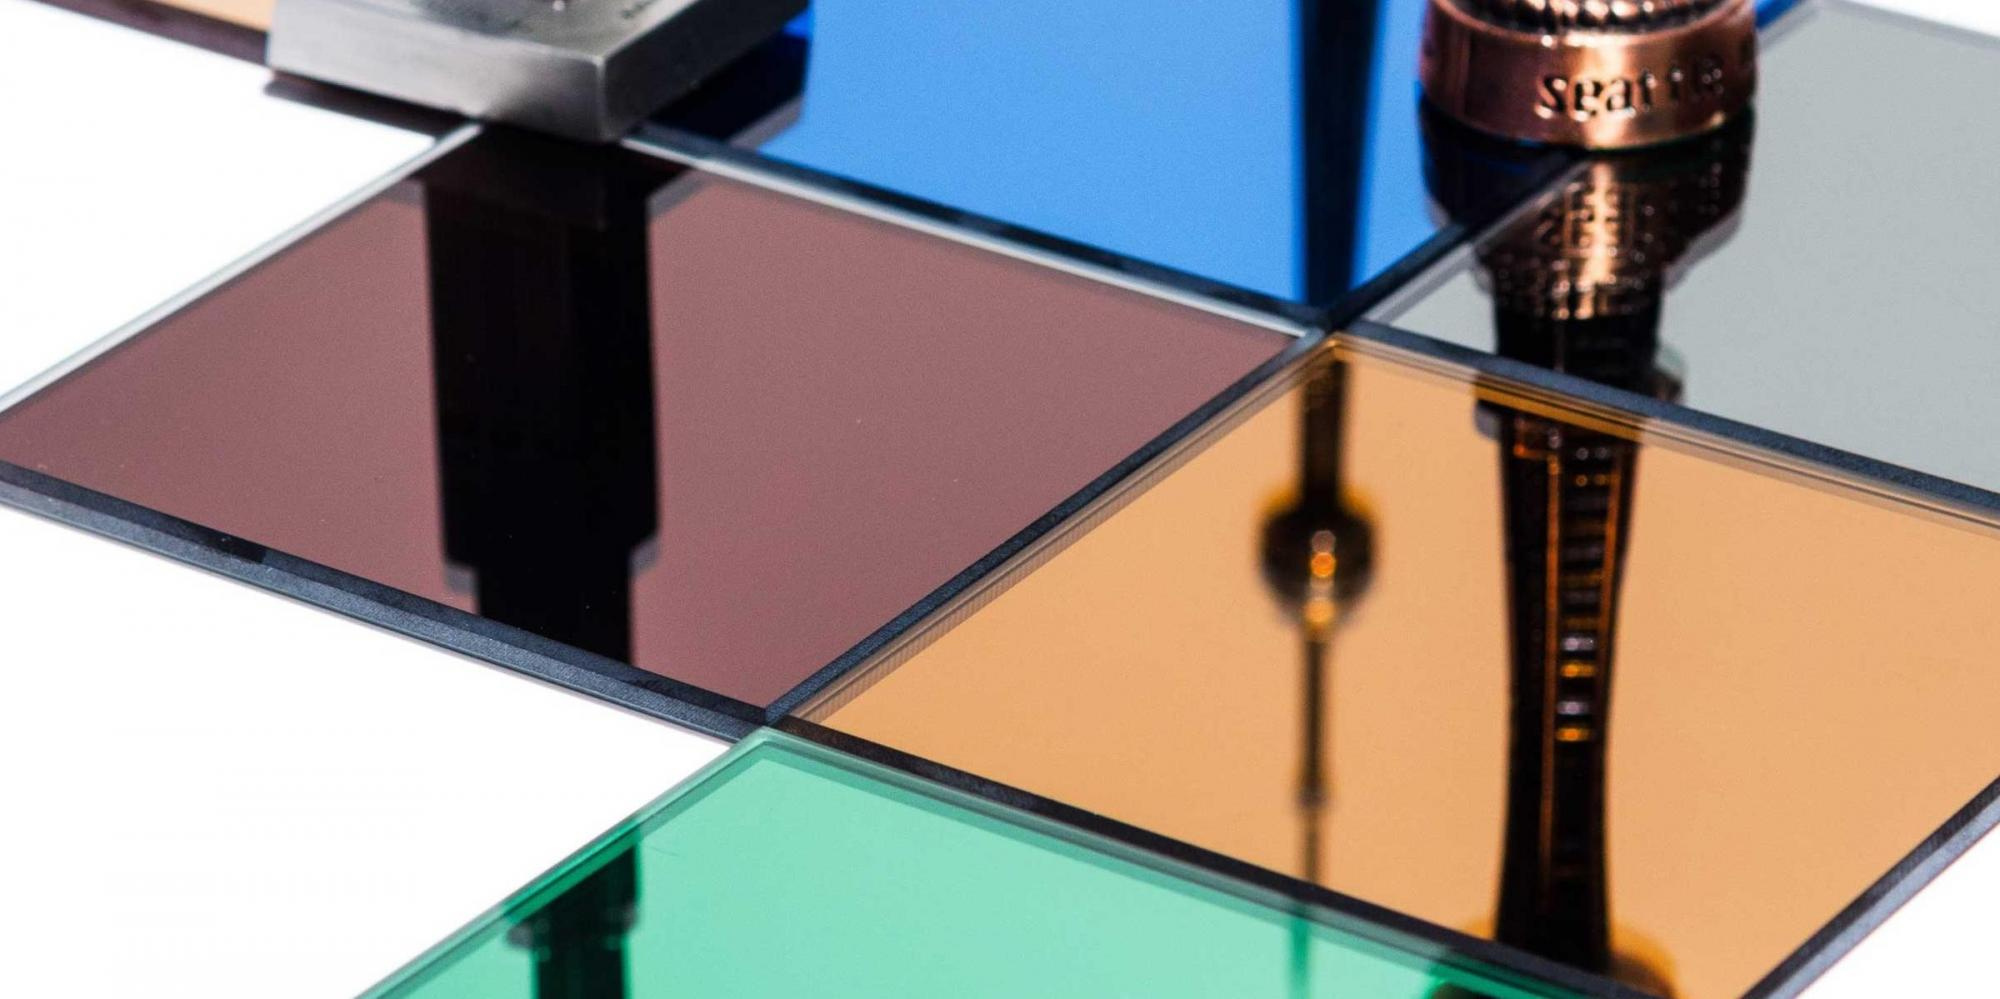
Cleaning glass mirrors is an essential part of maintaining a sparkling and visually appealing home. Mirrors not only serve a functional purpose but also contribute to the aesthetic appeal of a space, making them a focal point in interior design. Whether adorning the walls of a living room, bedroom, or bathroom, mirrors reflect light and create an illusion of spaciousness, adding depth and dimension to any room.
Over time, mirrors can accumulate dust, fingerprints, and other unsightly marks, diminishing their reflective clarity. Therefore, regular cleaning is crucial to preserve their pristine appearance and ensure that they continue to enhance the ambiance of the space they adorn.
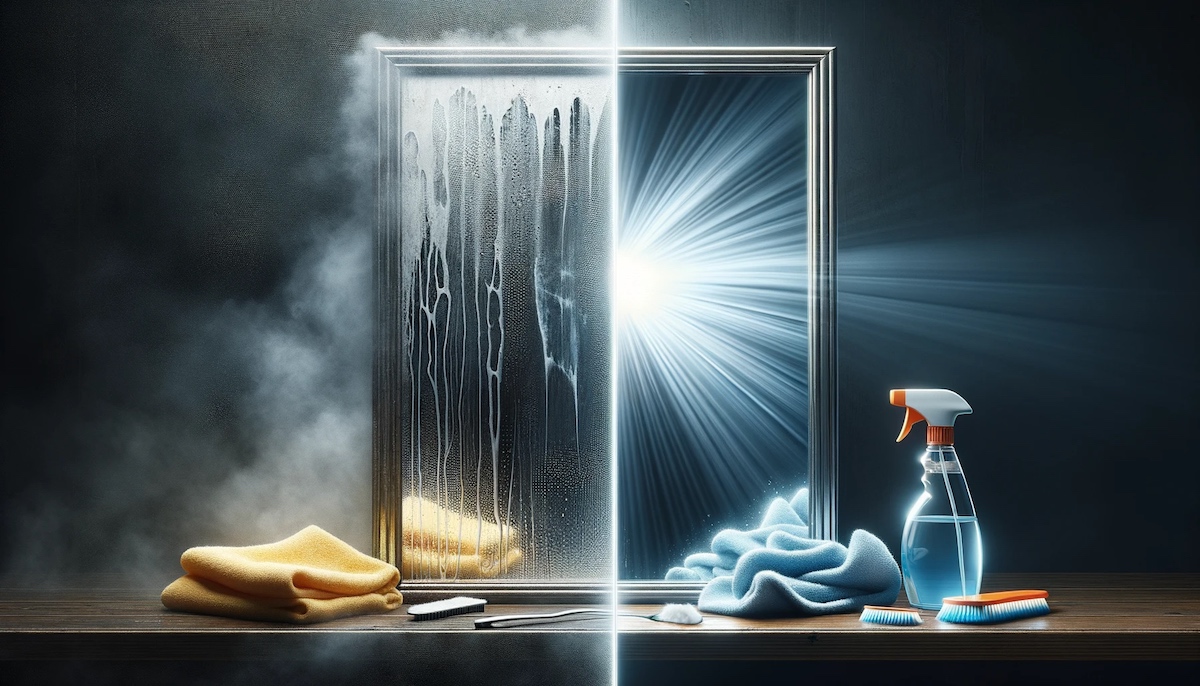
In this comprehensive guide, we will delve into the step-by-step process of effectively cleaning glass mirrors, ensuring that they remain free from streaks and blemishes. By following these simple yet effective techniques, you can maintain the allure of your mirrors and elevate the overall aesthetic of your living spaces.
Let's explore the necessary supplies and the precise steps required to achieve a spotless and gleaming mirror. With the right approach and a little effort, you can transform your mirrors from dull and smudged to radiant and crystal-clear, enhancing the beauty and functionality of your home.
Key Takeaways:
- Keep mirrors sparkling: Dust the mirror first, then use a DIY cleaning solution of vinegar, water, and alcohol. Wipe with a microfiber cloth and dry with a lint-free towel for a streak-free finish.
- Elevate your space: Regular mirror cleaning enhances the ambiance of your home. With simple supplies and strategic steps, transform dull mirrors into radiant focal points, reflecting your dedication to a pristine living space.
Read more: How To Clean Mirrors Without Glass Cleaner
Necessary Supplies
To embark on the journey of mirror cleaning, it's essential to gather the necessary supplies to ensure a thorough and effective cleaning process. Here's a comprehensive list of the supplies you'll need:
-
Microfiber Cloth: This soft and non-abrasive cloth is ideal for cleaning mirrors as it effectively captures dust particles and prevents scratching, leaving the surface impeccably clean.
-
White Vinegar: Known for its natural cleaning properties, white vinegar is a versatile and eco-friendly solution for removing stubborn stains and grime from mirrors.
-
Spray Bottle: An empty spray bottle is essential for creating a customized cleaning solution and evenly applying it to the mirror surface.
-
Rubbing Alcohol: This multipurpose cleaning agent aids in dissolving grease and disinfecting the mirror, ensuring a hygienic and streak-free finish.
-
Distilled Water: Using distilled water helps prevent streaks and water spots, ensuring a pristine and crystal-clear result.
-
Mild Dish Soap: A gentle dish soap can be used to remove oily residues and fingerprints from the mirror surface, restoring its lustrous shine.
-
Squeegee: A high-quality squeegee is an effective tool for removing excess cleaning solution and water from the mirror, leaving it streak-free and gleaming.
-
Lint-Free Towels: These towels are perfect for drying the mirror after cleaning, ensuring a flawless and spotless finish without leaving behind any lint or fibers.
By ensuring that you have these supplies on hand, you can streamline the mirror cleaning process and achieve professional-quality results. With the right tools at your disposal, you'll be well-equipped to restore the brilliance of your mirrors and elevate the overall ambiance of your living spaces.
Step 1: Dusting the Mirror
Before delving into the actual cleaning process, it's crucial to start by removing any surface dust and loose particles from the mirror. Dust and debris can accumulate over time, diminishing the mirror's luster and making it appear dull. To ensure a thorough and effective cleaning process, follow these steps to dust the mirror:
-
Prepare the Microfiber Cloth: Begin by selecting a clean and dry microfiber cloth. Microfiber is an excellent choice for dusting mirrors as it effectively captures and holds onto dust particles without leaving behind lint or scratches.
-
Gently Wipe the Surface: Using the microfiber cloth, gently wipe the entire surface of the mirror in a consistent and methodical manner. Start from the top and work your way down, ensuring that you cover the entire area. This process helps to dislodge and capture loose dust particles, preparing the mirror for the subsequent cleaning steps.
-
Pay Attention to Edges and Corners: Be thorough in your approach, paying special attention to the edges and corners of the mirror. Dust tends to accumulate in these areas, and a meticulous approach will ensure that no residue is left behind.
-
Inspect for Remaining Debris: After dusting, take a moment to inspect the mirror surface for any remaining debris or stubborn particles. If you notice any localized spots of dust or dirt, gently brush them off with the microfiber cloth or a soft-bristled brush.
By diligently dusting the mirror, you set the stage for a more effective and efficient cleaning process. Removing surface dust not only enhances the overall cleanliness of the mirror but also prevents the spread of dust particles during the subsequent cleaning steps. With the mirror now free from loose debris, you can proceed to the next step with confidence, knowing that you've laid the foundation for a thorough and pristine cleaning experience.
Step 2: Preparing the Cleaning Solution
The key to achieving a sparkling and streak-free mirror lies in the preparation of an effective cleaning solution. While there are numerous commercial glass cleaners available, a simple yet potent DIY solution can deliver exceptional results while minimizing exposure to harsh chemicals. By creating a customized cleaning solution, you can tailor the ingredients to suit your specific cleaning needs and preferences.
To prepare the cleaning solution, you will need a few basic yet powerful ingredients:
-
White Vinegar: Renowned for its natural cleaning properties, white vinegar serves as the cornerstone of the cleaning solution. Its acidic nature effectively dissolves stubborn stains, grease, and grime, leaving the mirror surface immaculately clean.
-
Distilled Water: Using distilled water is essential to prevent the formation of streaks and water spots on the mirror. Unlike tap water, distilled water is free from minerals and impurities, ensuring a crystal-clear finish.
-
Rubbing Alcohol: This versatile cleaning agent aids in disinfecting the mirror surface while effectively dissolving oily residues and fingerprints. It plays a crucial role in achieving a hygienic and streak-free result.
To create the cleaning solution, follow these simple steps:
-
In an empty spray bottle, combine equal parts of white vinegar and distilled water. For example, you can mix one cup of white vinegar with one cup of distilled water for a standard cleaning solution.
-
Add a small amount of rubbing alcohol to the mixture. A ratio of 1:4 rubbing alcohol to the vinegar-water solution is recommended for optimal cleaning efficacy.
-
Gently swirl the spray bottle to ensure thorough mixing of the ingredients. Avoid shaking vigorously to prevent excessive foaming.
By customizing the cleaning solution with these carefully selected ingredients, you can harness the natural cleaning power of white vinegar and rubbing alcohol while mitigating the risk of streaks and residue. This DIY approach not only promotes environmental sustainability but also empowers you to take control of the cleaning process, ensuring a pristine and gleaming mirror without the need for harsh chemicals.
With the cleaning solution prepared, you are now equipped to move on to the next crucial step in the mirror cleaning process, applying the solution to the mirror surface in a strategic and methodical manner.
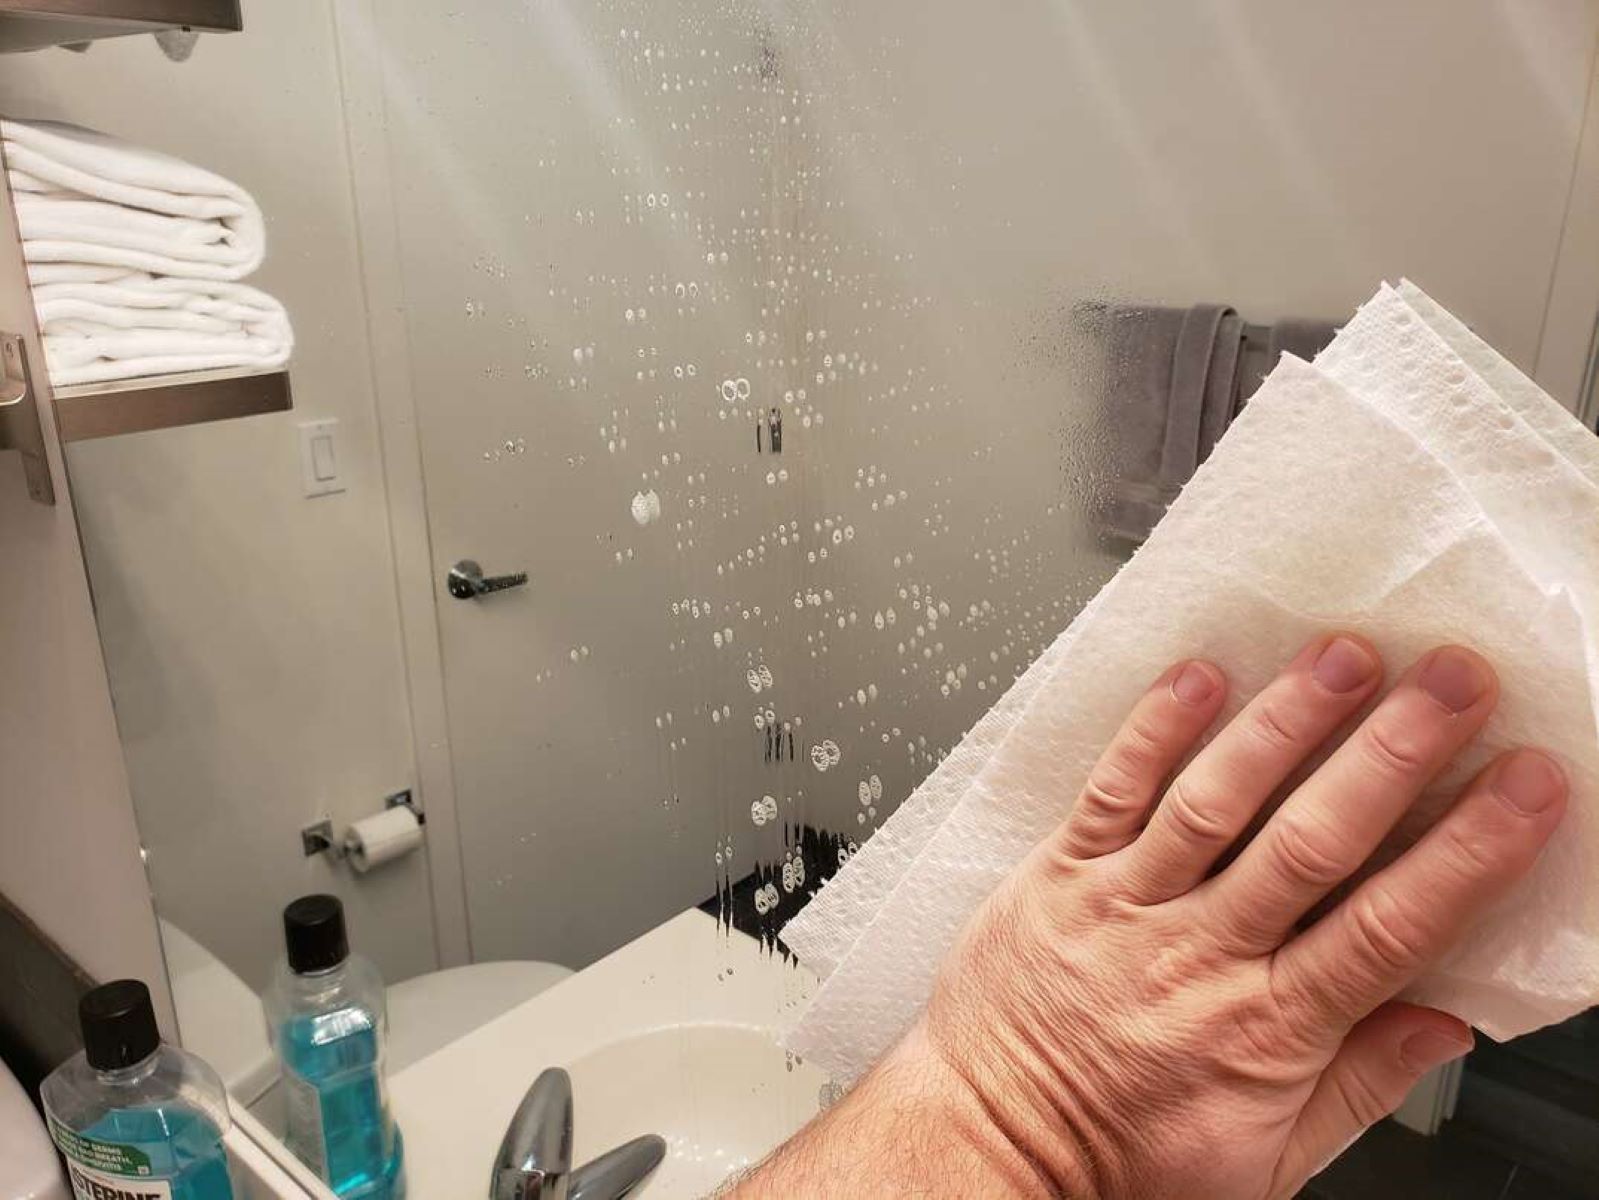
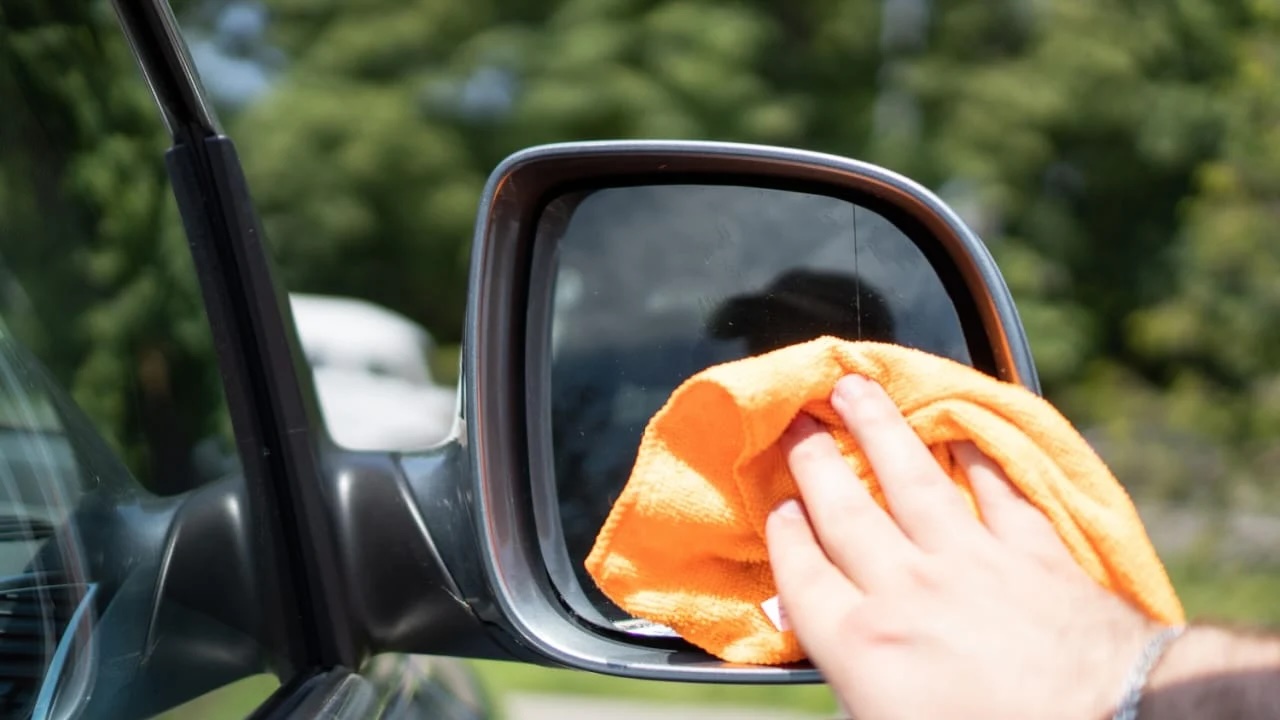
Use a mixture of equal parts water and vinegar to clean glass mirrors. Spray the solution onto the mirror and wipe with a microfiber cloth for a streak-free shine.
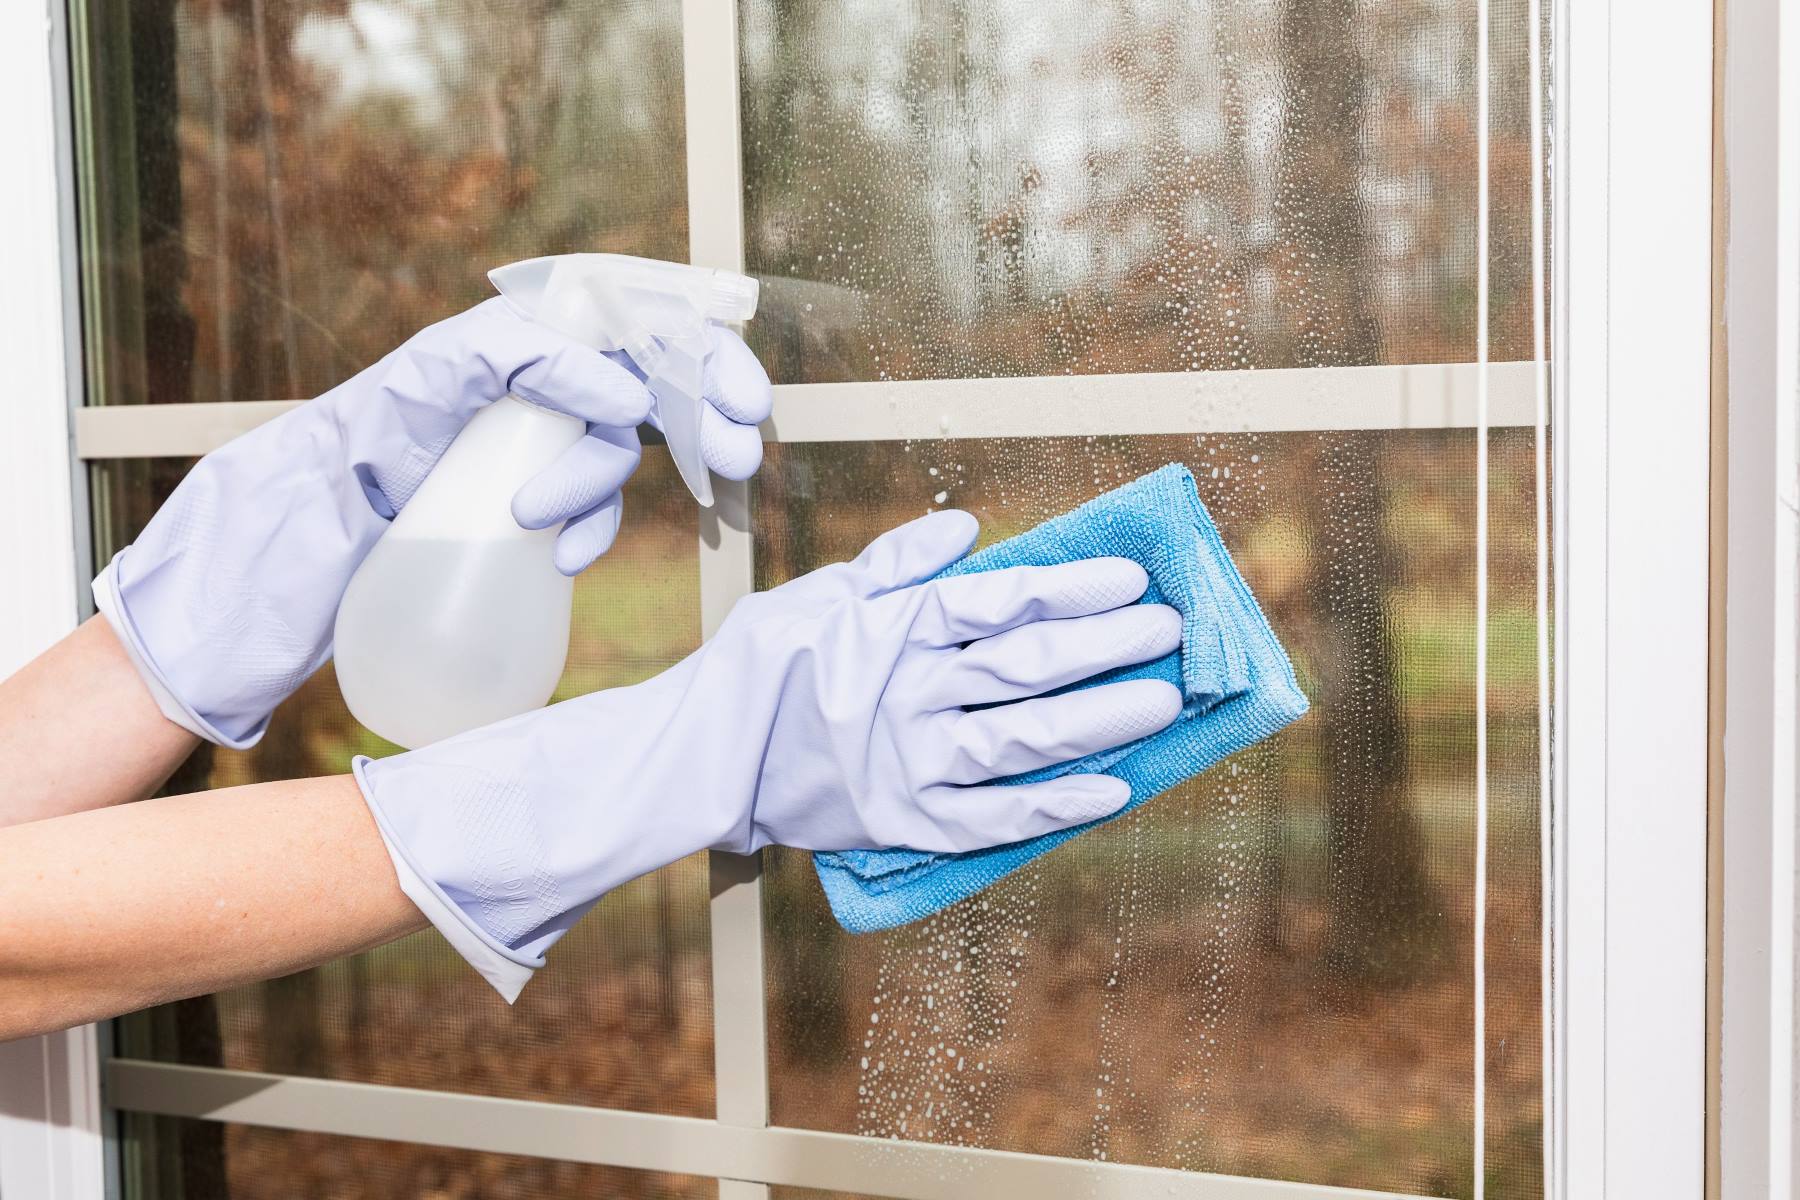
Step 3: Applying the Solution
With the meticulously prepared cleaning solution at your disposal, it's time to embark on the pivotal step of applying the solution to the mirror surface. This step requires a strategic and methodical approach to ensure even coverage and effective removal of stains and grime. By following these detailed instructions, you can optimize the application process and set the stage for a gleaming and spotless mirror.
-
Evenly Spray the Solution: Holding the spray bottle containing the cleaning solution, stand approximately 6-8 inches away from the mirror surface. Begin by evenly spraying the solution across the entire mirror, starting from the top and working your way down in a sweeping motion. Ensure that the entire surface is lightly coated with the solution, allowing it to effectively penetrate and dissolve any accumulated grime and residue.
-
Focus on Stubborn Stains: For areas with stubborn stains or noticeable buildup, apply a slightly heavier mist of the cleaning solution. Direct the spray towards these targeted areas, allowing the solution to dwell for a few moments to effectively loosen and dissolve the stubborn residues. This targeted approach ensures that even the most persistent blemishes are effectively addressed during the cleaning process.
-
Avoid Excessive Saturation: While it's important to ensure thorough coverage, it's equally crucial to avoid excessive saturation of the mirror surface. Overly saturating the mirror with the cleaning solution can lead to drips and streaks, detracting from the overall cleaning efficacy. Exercise restraint and aim for a light and even application to achieve optimal results.
-
Allow Dwell Time: After applying the cleaning solution, allow it to dwell on the mirror surface for a brief period. This dwell time allows the solution to effectively break down and dissolve any accumulated grime, grease, and fingerprints, preparing the surface for the subsequent wiping process. The dwell time may vary based on the level of soiling, but a few minutes are generally sufficient to maximize the cleaning efficacy.
By meticulously applying the cleaning solution to the mirror surface, you pave the way for a thorough and effective cleaning process. This strategic approach sets the stage for the subsequent step of wiping the mirror, ensuring that the cleaning solution has ample time to work its magic and restore the mirror to its pristine and reflective glory. With the solution evenly distributed, you are now poised to proceed to the next critical phase of the mirror cleaning process, setting the stage for a flawless and radiant result.
Read more: How To Make Glass Into Mirror
Step 4: Wiping the Mirror
After the cleaning solution has been allowed to dwell and effectively loosen the accumulated grime and residues, the next crucial step involves meticulously wiping the mirror to remove the dissolved impurities and achieve a pristine, streak-free finish. This step requires a systematic and thorough approach to ensure that the mirror surface is impeccably clean and free from any lingering residue or streaks.
To effectively wipe the mirror, follow these detailed instructions:
-
Utilize the Microfiber Cloth: Begin by selecting a clean and dry microfiber cloth, which is renowned for its non-abrasive and lint-free properties. Fold the cloth into a manageable size, ensuring that you have a smooth and flat surface for wiping the mirror. The use of a microfiber cloth minimizes the risk of streaks and scratches, promoting a flawless cleaning outcome.
-
Start from the Top: Commence the wiping process from the top of the mirror, using gentle and overlapping strokes to systematically move across the entire surface. Employing a top-to-bottom approach ensures that any drips or residual cleaning solution are effectively captured and removed, preventing the formation of streaks during the wiping process.
-
Apply Consistent Pressure: While wiping the mirror, apply consistent but gentle pressure to the cloth. Avoid excessive force, as this may lead to streaking or the displacement of residual grime. The goal is to smoothly glide the cloth across the mirror, allowing it to absorb and lift away the dissolved impurities without leaving behind streaks or smudges.
-
Address Stubborn Stains: For areas with persistent stains or residual grime, focus on targeted and deliberate motions to effectively lift and remove the blemishes. Utilize a slightly dampened section of the microfiber cloth, if necessary, to address stubborn spots without compromising the overall cleanliness of the mirror.
-
Inspect for Streaks: After completing the wiping process, take a moment to inspect the mirror surface for any streaks or residual marks. If any streaks are detected, revisit the affected areas with a dry portion of the microfiber cloth, employing gentle and circular motions to buff away the streaks and achieve a flawless finish.
By meticulously wiping the mirror with a methodical and attentive approach, you ensure that the dissolved impurities are effectively lifted and removed, leaving behind a gleaming and crystal-clear surface. This step sets the stage for the final phase of the cleaning process, ensuring that the mirror is impeccably clean and ready to reflect light and beauty without any blemishes or streaks.
Step 5: Drying the Mirror
Drying the mirror is the final crucial step in the comprehensive cleaning process, ensuring that the mirror surface is left impeccably clean, streak-free, and ready to reflect light with unparalleled clarity. By following a meticulous and strategic approach to drying the mirror, you can elevate the overall cleanliness and visual appeal of the mirror, creating a pristine and radiant focal point in your living spaces.
To effectively dry the mirror, follow these detailed instructions:
-
Lint-Free Towels: Select a clean and lint-free towel specifically designated for drying the mirror. Lint-free towels are essential to prevent the transfer of fibers or lint onto the mirror surface, ensuring a flawless and spotless finish.
-
Gentle Patting Motions: Begin the drying process by gently patting the mirror surface with the lint-free towel. Avoid rubbing or applying excessive pressure, as this may lead to streaking or the displacement of residual moisture. The goal is to absorb any remaining moisture and achieve a pristine, dry surface.
-
Addressing Edges and Corners: Pay special attention to the edges and corners of the mirror, ensuring that any residual moisture is effectively absorbed. Utilize a folded section of the lint-free towel to access these areas, promoting thorough drying without overlooking any part of the mirror.
-
Inspecting for Residual Moisture: After the initial drying process, take a moment to inspect the mirror surface for any signs of residual moisture or streaks. If any areas appear damp, gently pat them with a dry portion of the lint-free towel to ensure complete drying and a flawless finish.
-
Ensuring a Streak-Free Result: As you complete the drying process, maintain a keen eye for any potential streaks or marks. Employ gentle and circular motions with the lint-free towel to buff away any remaining streaks, ensuring that the mirror surface is left gleaming and free from imperfections.
By meticulously drying the mirror with a methodical and attentive approach, you ensure that the mirror is left impeccably clean and ready to reflect light with unparalleled clarity. This final step in the cleaning process solidifies the transformative impact of a thorough and strategic approach to mirror maintenance, ensuring that your mirrors remain a captivating and radiant feature in your home.
Conclusion
In conclusion, the process of cleaning glass mirrors is not only a practical endeavor but also an opportunity to elevate the visual appeal and ambiance of your living spaces. By following the meticulous steps outlined in this comprehensive guide, you can transform dull and smudged mirrors into radiant and crystal-clear focal points that enhance the beauty and functionality of your home.
The journey of mirror cleaning begins with the essential step of dusting the mirror, ensuring that loose particles and debris are effectively removed to set the stage for a thorough cleaning process. This initial step not only enhances the overall cleanliness of the mirror but also prevents the spread of dust particles during subsequent cleaning steps.
The preparation of a customized cleaning solution using simple yet potent ingredients such as white vinegar, distilled water, and rubbing alcohol empowers you to harness the natural cleaning power of these elements while minimizing exposure to harsh chemicals. This DIY approach promotes environmental sustainability and allows you to take control of the cleaning process, ensuring a pristine and gleaming mirror without compromising on efficacy.
The strategic application of the cleaning solution to the mirror surface sets the stage for the effective removal of accumulated grime and residues, paving the way for a spotless and streak-free finish. By evenly spraying the solution and allowing it to dwell, you maximize the cleaning efficacy and prepare the mirror for the subsequent wiping process.
Meticulously wiping the mirror with a methodical and attentive approach ensures that dissolved impurities are effectively lifted and removed, leaving behind a gleaming and crystal-clear surface. This step sets the stage for the final phase of the cleaning process, ensuring that the mirror is impeccably clean and ready to reflect light and beauty without any blemishes or streaks.
The culmination of the mirror cleaning process involves the meticulous drying of the mirror, ensuring that the surface is left impeccably clean, streak-free, and ready to reflect light with unparalleled clarity. This final step solidifies the transformative impact of a thorough and strategic approach to mirror maintenance, ensuring that your mirrors remain a captivating and radiant feature in your home.
By embracing the art of mirror cleaning as outlined in this guide, you can uphold the allure and functionality of your mirrors, creating a visually stunning and inviting environment that reflects your dedication to maintaining a pristine and harmonious living space.
Frequently Asked Questions about How To Clean Glass Mirrors
Was this page helpful?
At Storables.com, we guarantee accurate and reliable information. Our content, validated by Expert Board Contributors, is crafted following stringent Editorial Policies. We're committed to providing you with well-researched, expert-backed insights for all your informational needs.


0 thoughts on “How To Clean Glass Mirrors”