Home>Furniture & Design>Interior Design Trends>How To Replace Side Mirror Glass
Interior Design Trends
How To Replace Side Mirror Glass
Modified: February 18, 2024
Learn how to replace side mirror glass with our expert interior design trends guide. Discover the latest trends and tips for updating your home's style.
(Many of the links in this article redirect to a specific reviewed product. Your purchase of these products through affiliate links helps to generate commission for Storables.com, at no extra cost. Learn more)
Introduction
Replacing a damaged or broken side mirror glass on your vehicle is a common maintenance task that can save you time and money. Whether the mirror glass has been cracked, shattered, or completely fallen off, knowing how to replace it yourself can be a valuable skill. In this comprehensive guide, we will walk you through the step-by-step process of replacing your side mirror glass, empowering you to tackle this task with confidence.
By following these instructions, you can avoid the inconvenience and expense of taking your vehicle to a mechanic or body shop for a relatively simple repair. With the right tools and a bit of patience, you can restore the functionality and aesthetics of your side mirror in no time.
Before diving into the replacement process, it's essential to gather the necessary tools and materials. Having everything at hand will streamline the repair and ensure a smooth and efficient experience. Once you have everything ready, you can proceed to remove the old side mirror glass and prepare the mirror housing for the new installation.
Whether you're a seasoned DIY enthusiast or a first-time car owner looking to learn new skills, this guide is designed to be accessible and easy to follow. By the end of this tutorial, you'll have the knowledge and confidence to successfully replace your side mirror glass, leaving your vehicle looking as good as new. So, let's get started on this practical and rewarding automotive DIY project.
Key Takeaways:
- Replacing your vehicle’s side mirror glass is a DIY task that can save you time and money. With the right tools and patience, you can restore your mirror’s functionality and appearance with confidence.
- By following the step-by-step guide, you’ll gain valuable DIY skills and the satisfaction of maintaining your vehicle. The process empowers you to tackle future automotive repairs with ease and resourcefulness.
Read more: How To Replace Passenger Side Window Glass
Step 1: Gather necessary tools and materials
Before embarking on the process of replacing your side mirror glass, it's crucial to gather all the essential tools and materials. Having everything prepared in advance will streamline the repair and ensure that you can complete the task efficiently. Here's a comprehensive list of the items you'll need:
Tools:
- Flathead screwdriver: This tool will be used to pry off the old mirror glass from the mirror housing.
- Pliers: Pliers will come in handy for removing any remaining adhesive or clips from the mirror housing.
- Protective gloves: It's important to protect your hands while working on your vehicle, so a pair of gloves is essential.
- Safety goggles: To safeguard your eyes from any debris or glass particles, safety goggles are a must-have.
- Cleaning cloth: A soft, lint-free cloth will be used to clean the mirror housing before installing the new glass.
- Adhesive remover (optional): If there is any stubborn adhesive residue left on the mirror housing, an adhesive remover can help clean it off effectively.
Materials:
- Replacement side mirror glass: Ensure that you have the correct replacement glass for your specific vehicle make and model.
- Adhesive pads or glue: Depending on the type of mirror glass, you may need adhesive pads or glue for securing the new glass onto the mirror housing.
- Rubbing alcohol: This will be used to clean the mirror housing before attaching the new glass, ensuring a clean and secure bond.
- Protective tape (optional): If your mirror housing has any sharp edges or protruding clips, protective tape can help prevent accidental cuts or scratches during the replacement process.
By gathering these tools and materials, you'll be well-prepared to tackle the task of replacing your side mirror glass. With everything at hand, you can proceed to the next steps with confidence, knowing that you have everything you need to complete the repair efficiently and effectively.
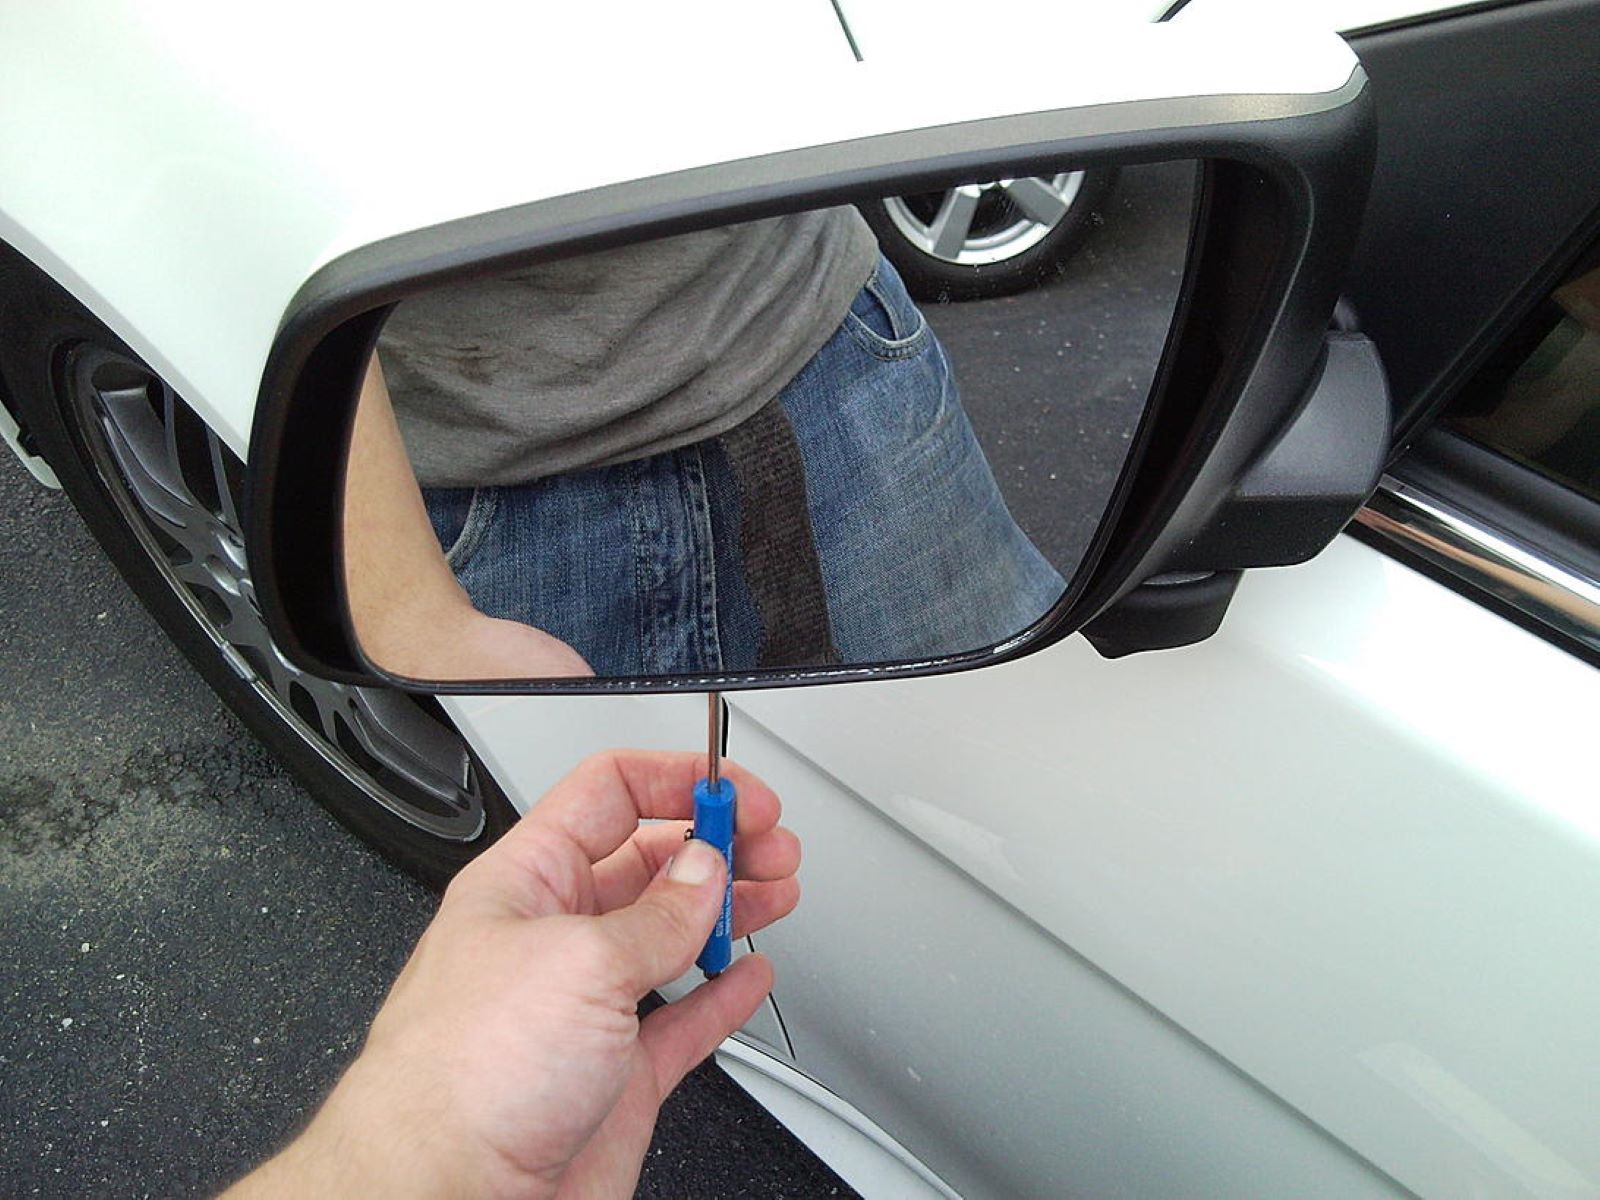
Step 2: Remove the old side mirror glass
Removing the old side mirror glass is a crucial step in the replacement process, and it requires careful attention to avoid damaging the mirror housing or surrounding components. By following these detailed instructions, you can safely and effectively remove the old mirror glass from your vehicle.
-
Assess the Damage: Before starting the removal process, take a close look at the condition of the old mirror glass. If the glass is cracked or shattered, handle it with caution to avoid any injuries from sharp edges. Additionally, if the glass is still partially attached to the mirror housing, assess how it is secured in place.
-
Use Protective Gear: Put on your protective gloves and safety goggles to shield your hands and eyes from any glass particles or debris that may come loose during the removal process. Safety should always be a top priority when working on automotive repairs.
-
Pry Off the Old Glass: With the flathead screwdriver, carefully insert the tip into the gap between the old mirror glass and the mirror housing. Apply gentle pressure to pry the glass away from the housing. Work around the edges of the glass, gradually loosening it from the adhesive or clips holding it in place. Take your time to avoid applying excessive force, which could cause the glass to break further.
-
Handle with Care: As the old mirror glass becomes loose, continue to support it with one hand while using the screwdriver with the other hand. Slowly and steadily detach the glass from the housing, ensuring that it doesn't suddenly come off and fall. If the glass is still firmly attached in certain areas, use the pliers to carefully grip and release any remaining adhesive or clips.
-
Dispose of the Old Glass: Once the old mirror glass is completely removed, handle it with care to prevent any accidental cuts. Place the old glass in a secure container for proper disposal. Be mindful of any local regulations regarding the disposal of automotive glass to ensure environmentally responsible practices.
By following these steps, you can safely remove the old side mirror glass without causing any damage to the mirror housing or risking personal injury. With the old glass out of the way, you're ready to proceed to the next phase of the replacement process: cleaning the mirror housing in preparation for installing the new side mirror glass.
Read more: How To Remove Side Mirror Glass From Housing
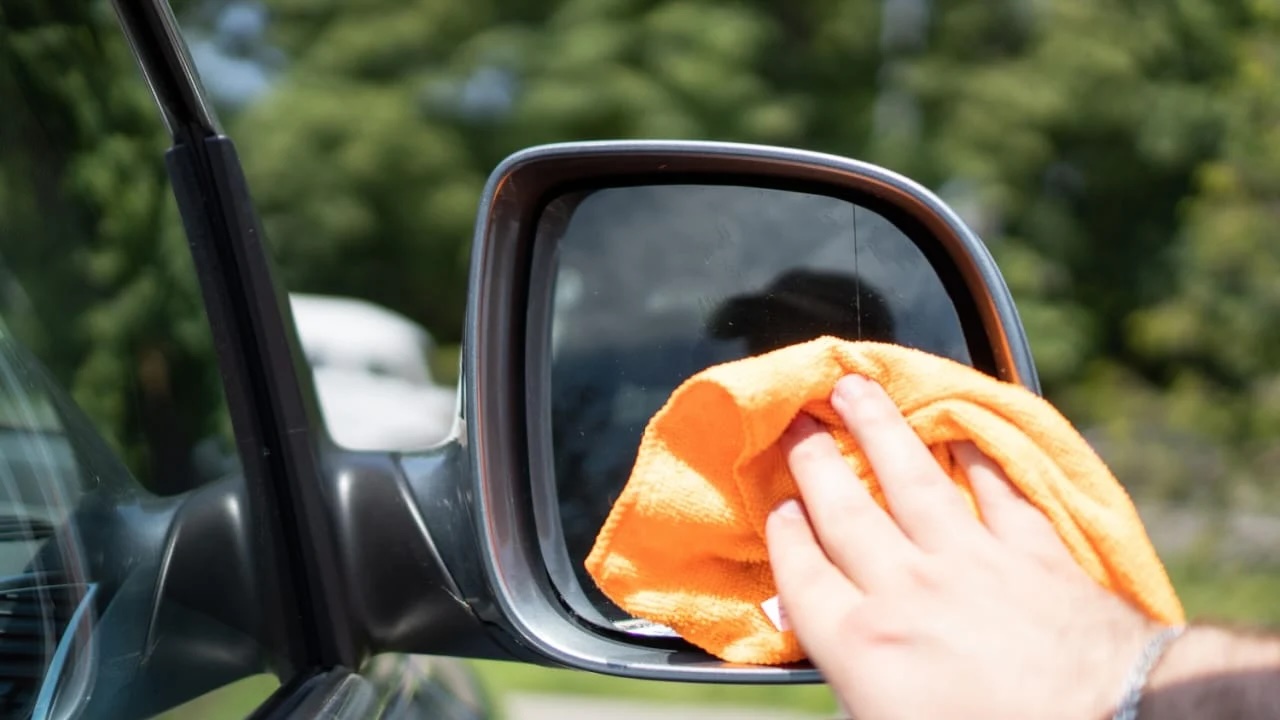
Step 3: Clean the mirror housing
Cleaning the mirror housing is a critical step in the process of replacing the side mirror glass. A clean and smooth surface is essential for ensuring a secure and durable bond when installing the new glass. By following these detailed instructions, you can effectively prepare the mirror housing for the next phase of the replacement process.
Instructions:
-
Inspect the Mirror Housing: Before proceeding with the cleaning process, carefully examine the mirror housing for any dirt, debris, or adhesive residue left behind from the old glass. Ensure that the surface is free from any obstructions that could hinder the adhesion of the new glass.
-
Prepare the Cleaning Cloth: Take a soft, lint-free cleaning cloth and fold it to create a thick, padded surface. This will provide a cushioned yet firm base for effectively cleaning the mirror housing without causing any scratches or damage.
-
Apply Rubbing Alcohol: Moisten a section of the cleaning cloth with rubbing alcohol. The alcohol will help to dissolve any residual adhesive, grease, or grime on the mirror housing, allowing for a thorough and clean surface.
-
Clean the Mirror Housing: Gently rub the moistened section of the cleaning cloth over the entire mirror housing, paying close attention to areas where the old glass was attached. Use a circular motion to ensure that the alcohol effectively lifts and removes any stubborn residue.
-
Inspect for Residue: After cleaning the mirror housing, inspect the surface to ensure that all adhesive residue and dirt have been completely removed. If any stubborn residue remains, consider using an adhesive remover to dissolve and clean off the remaining debris.
-
Allow the Surface to Dry: Once the mirror housing is clean and free from any residue, allow the surface to air dry completely. This will ensure that the adhesive for the new glass can bond securely to the mirror housing without any moisture or contaminants present.
By meticulously cleaning the mirror housing, you are creating an optimal environment for the successful installation of the new side mirror glass. A clean and well-prepared surface will promote a strong and reliable bond, ensuring that the new glass remains securely in place for the long term.
With the mirror housing now clean and ready, you can proceed to the next step: installing the new side mirror glass onto the prepared surface.
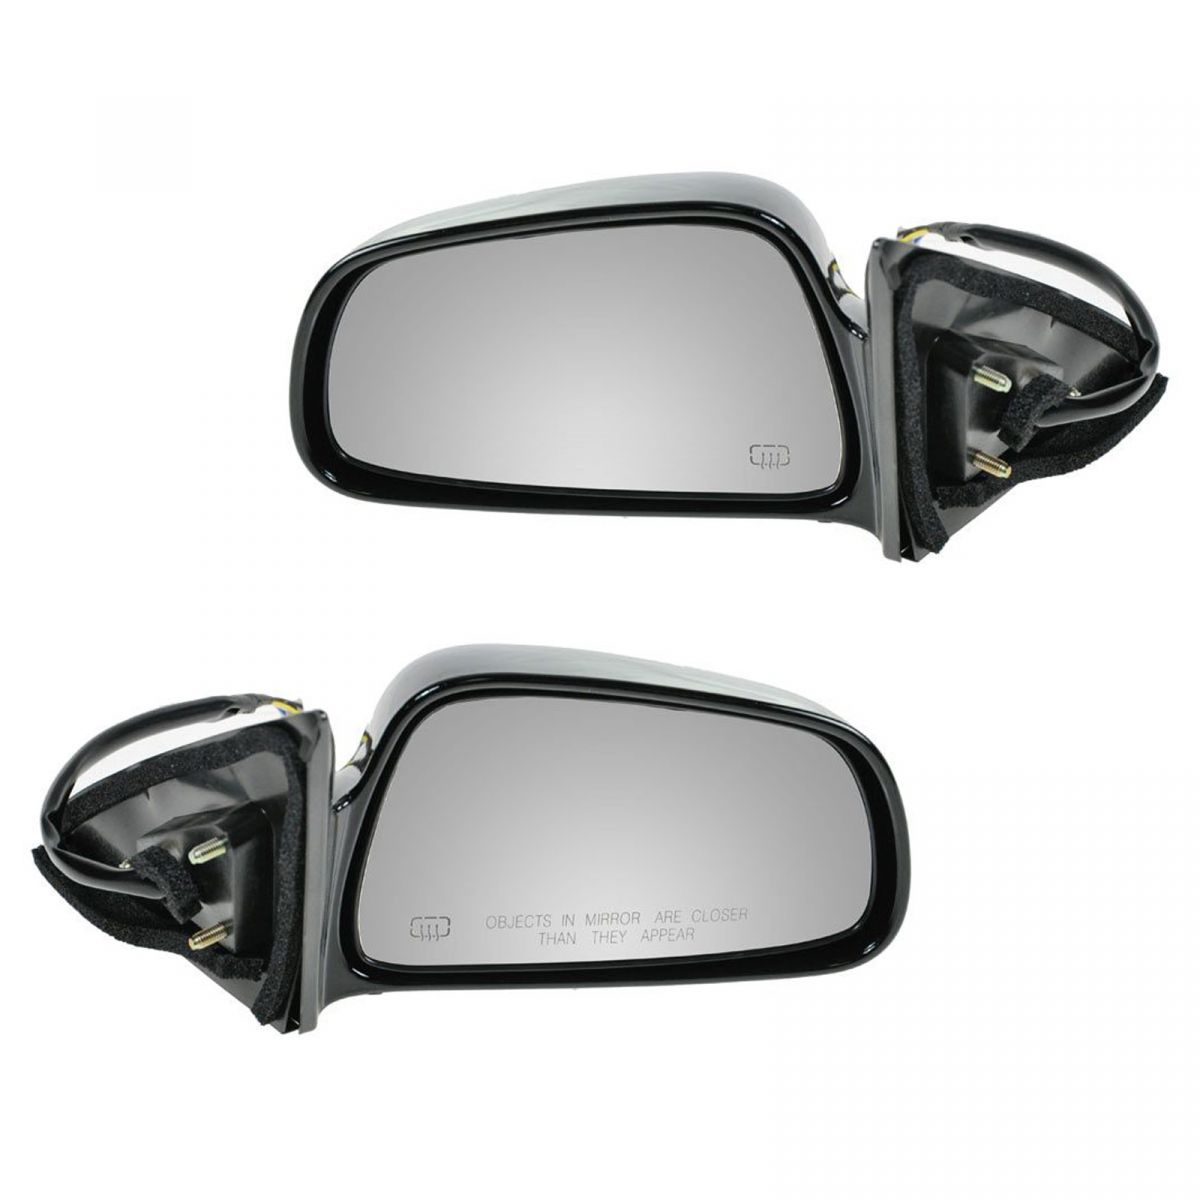
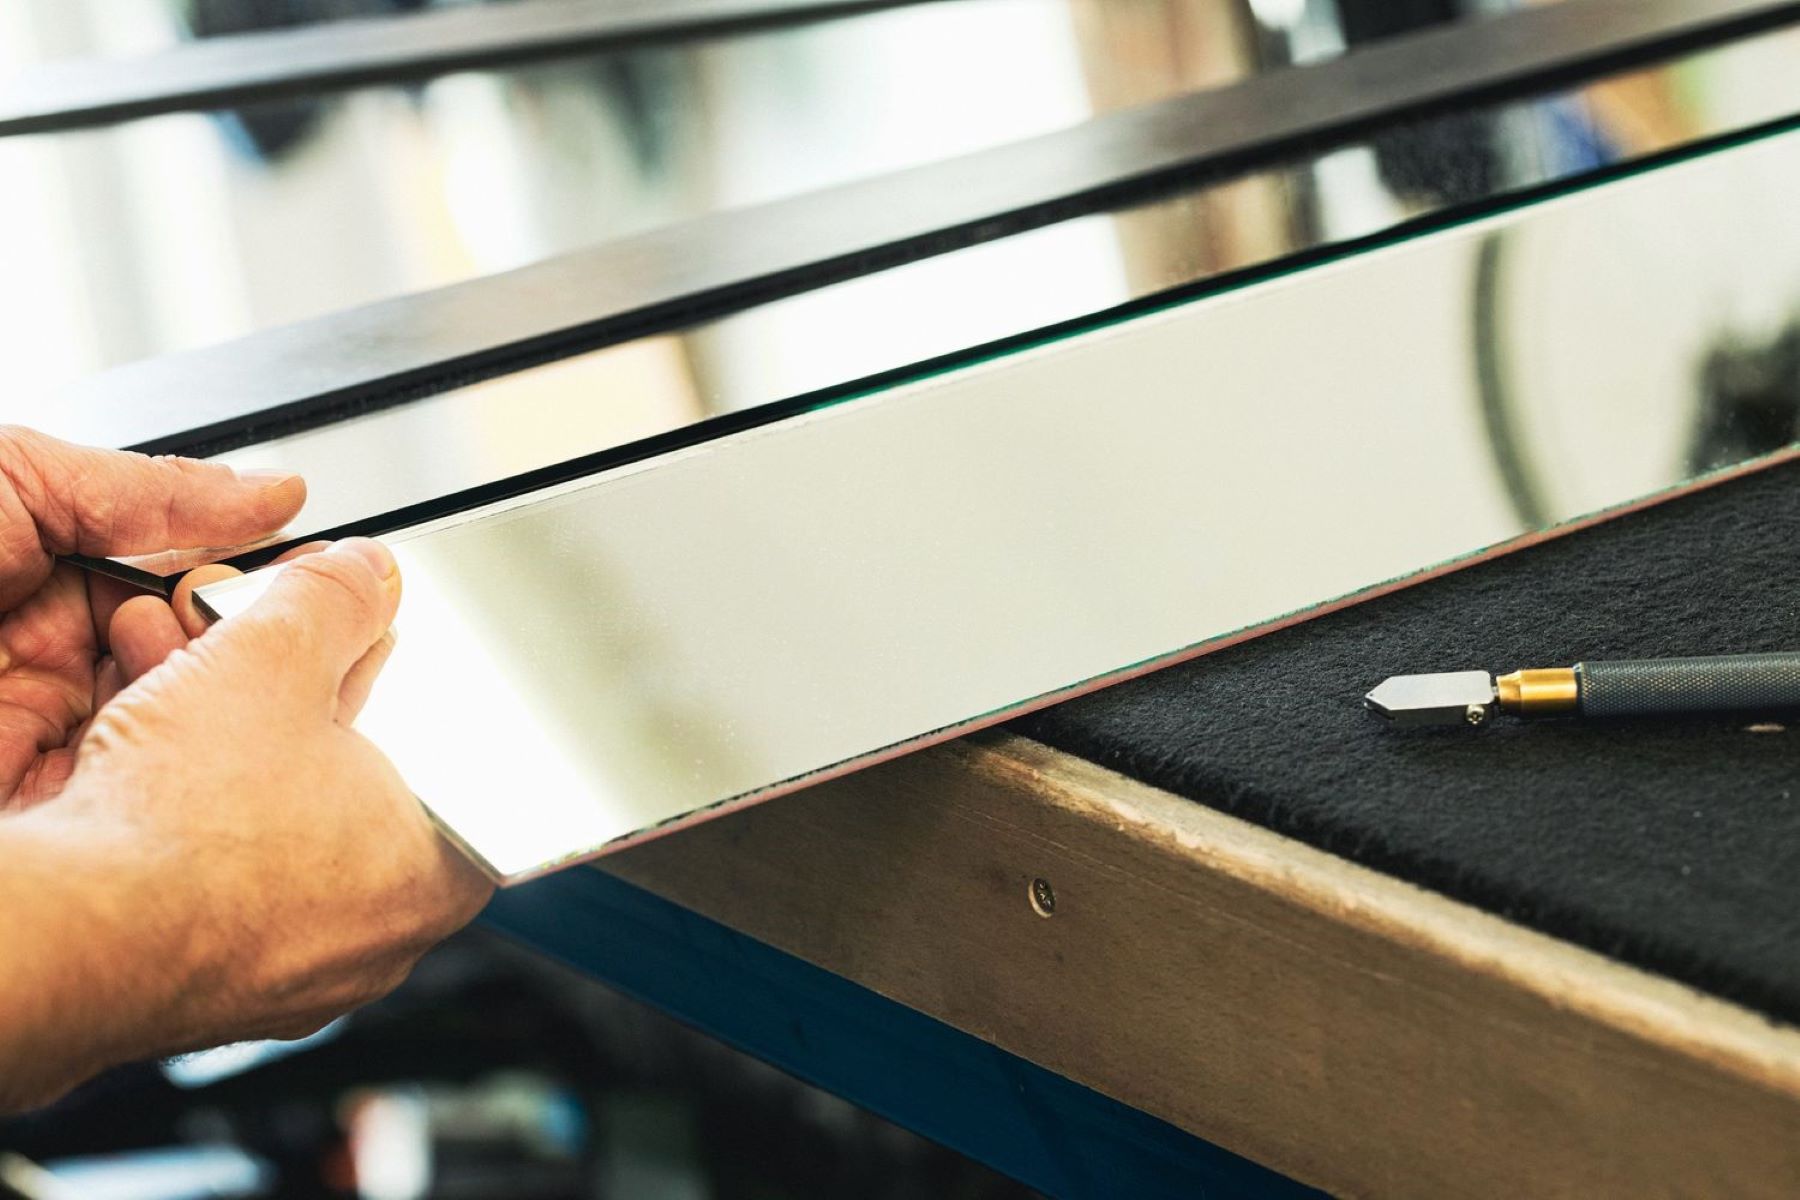
Step 4: Install the new side mirror glass
Installing the new side mirror glass is a pivotal stage in the replacement process, and it requires precision and attention to detail to ensure a secure and long-lasting fit. By following these comprehensive instructions, you can confidently proceed with the installation of the new glass, restoring the functionality and aesthetics of your vehicle's side mirror.
Instructions:
-
Prepare the New Glass: Carefully unpack the replacement side mirror glass, ensuring that it matches the specifications of your vehicle's make and model. Verify that the adhesive pads or glue required for installation are included and readily accessible.
-
Position the New Glass: Align the new side mirror glass with the mirror housing, ensuring that it fits snugly and securely. Take note of any alignment markers or guides on the housing to assist in positioning the new glass accurately.
-
Attach the New Glass: If the replacement glass utilizes adhesive pads, carefully remove the protective backing from the pads, exposing the adhesive surface. If glue is required, apply a thin, even layer to the back of the new glass, ensuring complete coverage without excess buildup.
-
Secure the New Glass: Gently press the new side mirror glass onto the prepared surface of the mirror housing, applying even pressure to ensure a firm bond. If adhesive pads are used, firmly press the glass against the housing to activate the adhesive and create a secure attachment.
-
Check Alignment and Fit: Verify that the new glass is aligned correctly and sits flush against the mirror housing. Ensure that the edges of the glass are uniformly positioned within the housing, providing a seamless and professional appearance.
-
Allow for Adhesion: If adhesive pads or glue are used, allow sufficient time for the adhesive to bond securely with the mirror housing. Follow the manufacturer's recommendations regarding the curing or setting time to ensure a reliable and durable installation.
By meticulously following these steps, you can successfully install the new side mirror glass, rejuvenating the appearance and functionality of your vehicle's side mirror. With the new glass securely in place, you are one step closer to completing the replacement process and enjoying the satisfaction of a job well done.
With the new side mirror glass installed, the final step involves testing the functionality and stability of the replacement. This crucial phase ensures that the new glass is securely attached and provides clear visibility, allowing you to drive with confidence and peace of mind.
Read more: How To Fix Side View Mirror Glass Only
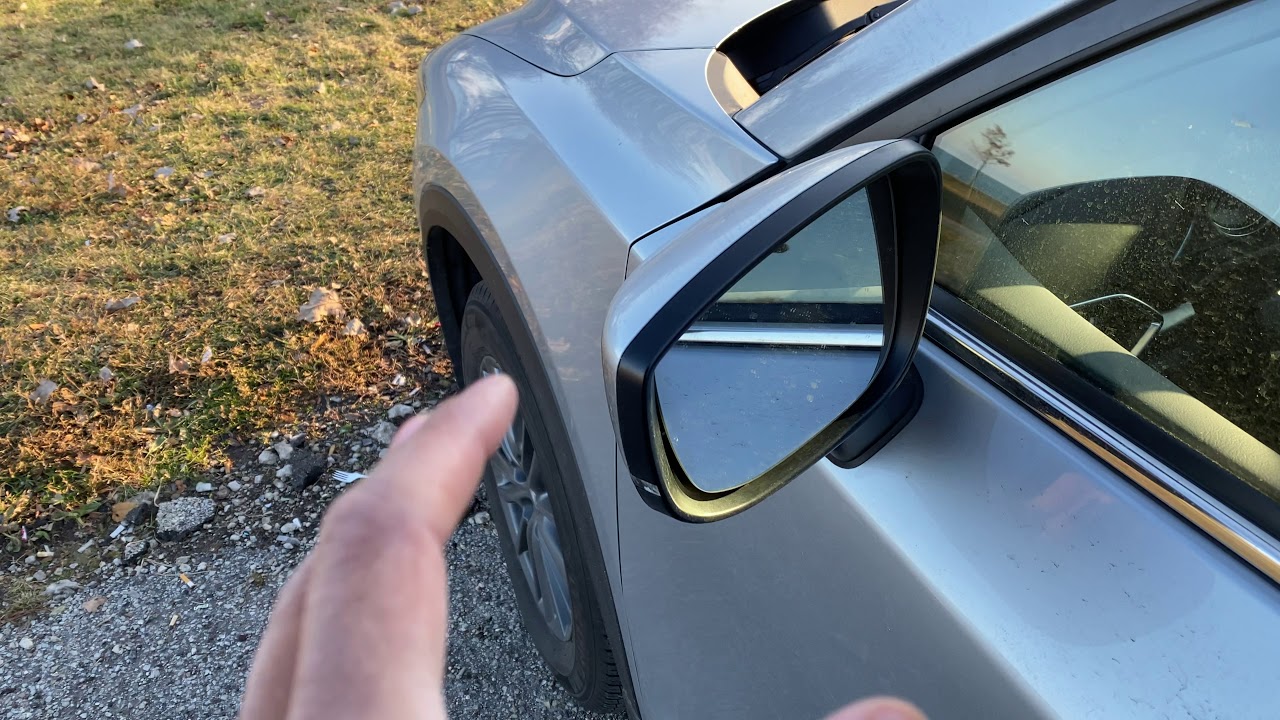
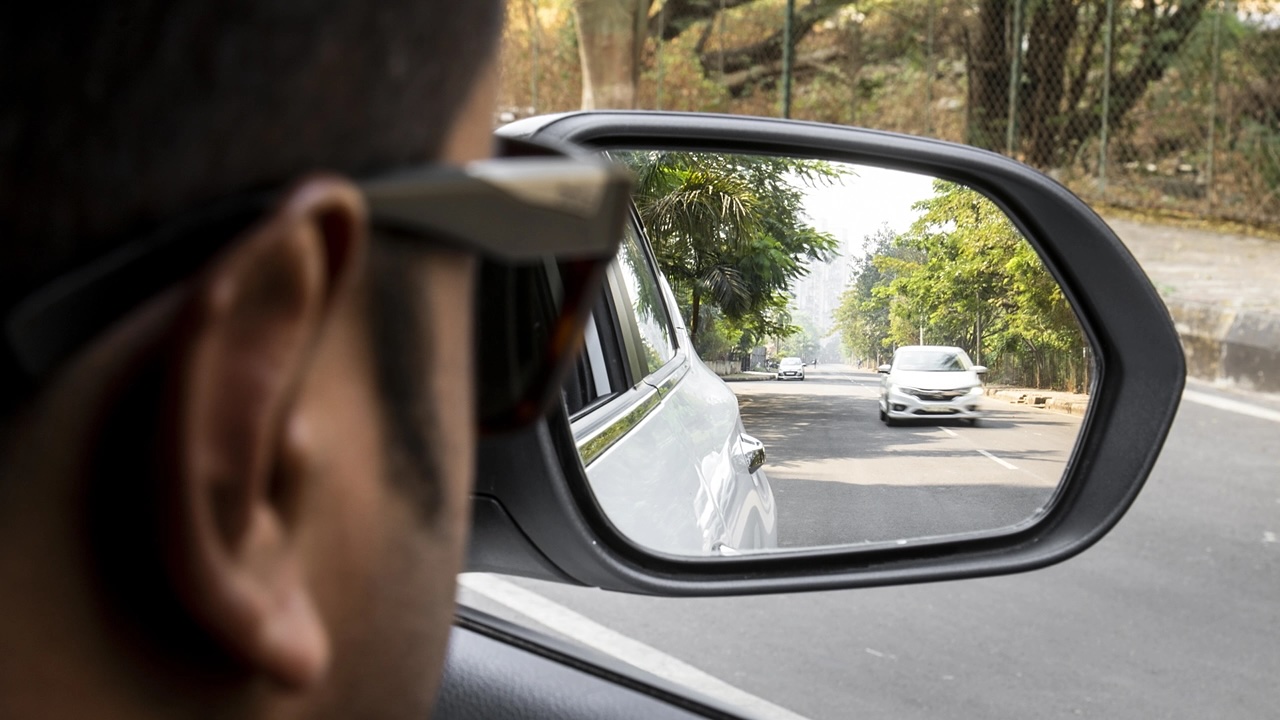
Step 5: Test the new side mirror glass
Testing the new side mirror glass is essential to confirm its stability and functionality before resuming regular use of your vehicle. By conducting a thorough assessment, you can ensure that the replacement glass meets the necessary standards for safety and performance.
Instructions:
-
Visual Inspection: Stand outside the vehicle and visually inspect the newly installed side mirror glass. Verify that it is securely attached and sits flush within the mirror housing. Check for any signs of misalignment or instability.
-
Operational Test: From the driver's seat, adjust the side mirror to different angles and positions using the vehicle's mirror controls. Ensure that the new glass remains stable and does not shift or loosen during the adjustment process.
-
Visibility Check: With the vehicle parked in a safe location, assess the visibility provided by the new side mirror glass. Look for any distortions, obstructions, or irregularities that may affect the clarity of the reflected image.
-
Road Test: Take a brief drive to evaluate the functionality of the new side mirror glass in real-world conditions. Pay attention to any vibrations, rattling, or unexpected movement of the mirror during vehicle operation.
By meticulously conducting these tests, you can confirm that the new side mirror glass meets the necessary standards for safety, stability, and visibility. If any issues are identified during the testing phase, revisit the installation process to address and resolve any concerns.
With the new side mirror glass successfully installed and tested, you can confidently resume using your vehicle, knowing that the replacement has been carried out with precision and care. By following these comprehensive instructions, you have empowered yourself to tackle this automotive DIY project with confidence and achieve professional-quality results.
This marks the completion of the replacement process, and you can now enjoy the enhanced functionality and appearance of your vehicle's side mirror, all achieved through your own skill and determination.
Read more: How To Fix Side View Mirror Glass Only
Step 5: Test the new side mirror glass
Testing the new side mirror glass is a crucial step in the replacement process, ensuring that the functionality and stability of the mirror meet the necessary standards for safe and reliable use. By conducting a thorough assessment, you can verify that the new glass provides clear visibility and remains securely attached, allowing you to drive with confidence and peace of mind.
Instructions:
-
Visual Inspection: Stand outside the vehicle and visually inspect the newly installed side mirror glass. Verify that it is securely attached and sits flush within the mirror housing. Check for any signs of misalignment or instability.
-
Operational Test: From the driver's seat, adjust the side mirror to different angles and positions using the vehicle's mirror controls. Ensure that the new glass remains stable and does not shift or loosen during the adjustment process.
-
Visibility Check: With the vehicle parked in a safe location, assess the visibility provided by the new side mirror glass. Look for any distortions, obstructions, or irregularities that may affect the clarity of the reflected image.
-
Road Test: Take a brief drive to evaluate the functionality of the new side mirror glass in real-world conditions. Pay attention to any vibrations, rattling, or unexpected movement of the mirror during vehicle operation.
By meticulously conducting these tests, you can confirm that the new side mirror glass meets the necessary standards for safety, stability, and visibility. If any issues are identified during the testing phase, revisit the installation process to address and resolve any concerns.
With the new side mirror glass successfully installed and tested, you can confidently resume using your vehicle, knowing that the replacement has been carried out with precision and care. By following these comprehensive instructions, you have empowered yourself to tackle this automotive DIY project with confidence and achieve professional-quality results.
This marks the completion of the replacement process, and you can now enjoy the enhanced functionality and appearance of your vehicle's side mirror, all achieved through your own skill and determination.
When replacing side mirror glass, make sure to wear gloves to protect your hands from any sharp edges. Use a flathead screwdriver to carefully pry off the old glass, then clean the adhesive residue before attaching the new glass.
Read more: How Much Are Side Mirrors
Conclusion
In conclusion, successfully replacing the side mirror glass of your vehicle is a rewarding accomplishment that not only restores the functionality and aesthetics of your side mirror but also empowers you with valuable DIY skills. By following the step-by-step process outlined in this guide, you have taken a proactive approach to maintaining and enhancing your vehicle, ultimately saving time and money that would have been spent on professional repairs.
Throughout this comprehensive tutorial, you have learned the importance of gathering the necessary tools and materials, safely removing the old side mirror glass, meticulously cleaning the mirror housing, and skillfully installing the new glass. Each step has been carefully detailed to ensure that you can approach the replacement process with confidence and precision.
By conducting a thorough testing phase, you have verified that the new side mirror glass meets the necessary standards for safety, stability, and visibility, providing you with the assurance of a job well done. Whether you are a seasoned DIY enthusiast or a first-time car owner, this guide has equipped you with the knowledge and skills to tackle this automotive repair with ease.
As you reflect on the completion of this DIY project, take pride in the fact that you have taken proactive steps to maintain and enhance your vehicle, all while gaining valuable hands-on experience. The satisfaction of seeing the newly installed side mirror glass, securely and seamlessly integrated into your vehicle, is a testament to your dedication and resourcefulness.
Moving forward, the skills and confidence gained from successfully replacing the side mirror glass can be applied to future automotive maintenance tasks, further empowering you to take control of your vehicle's upkeep. Whether it's a simple repair or a more complex project, you now have the foundation to approach automotive DIY endeavors with confidence and proficiency.
With the completion of this replacement process, you can now enjoy the enhanced functionality and appearance of your vehicle's side mirror, all achieved through your own skill and determination. Embrace the sense of accomplishment that comes with successfully completing this practical and rewarding automotive DIY project.
Frequently Asked Questions about How To Replace Side Mirror Glass
Was this page helpful?
At Storables.com, we guarantee accurate and reliable information. Our content, validated by Expert Board Contributors, is crafted following stringent Editorial Policies. We're committed to providing you with well-researched, expert-backed insights for all your informational needs.


0 thoughts on “How To Replace Side Mirror Glass”