Home>Storage Ideas>Kitchen Storage>How To Clean An Oven Rack
Kitchen Storage
How To Clean An Oven Rack
Modified: January 5, 2024
Learn the best method to clean your oven rack with our step-by-step guide. Discover effective kitchen storage ideas to keep your rack organized.
(Many of the links in this article redirect to a specific reviewed product. Your purchase of these products through affiliate links helps to generate commission for Storables.com, at no extra cost. Learn more)
Introduction
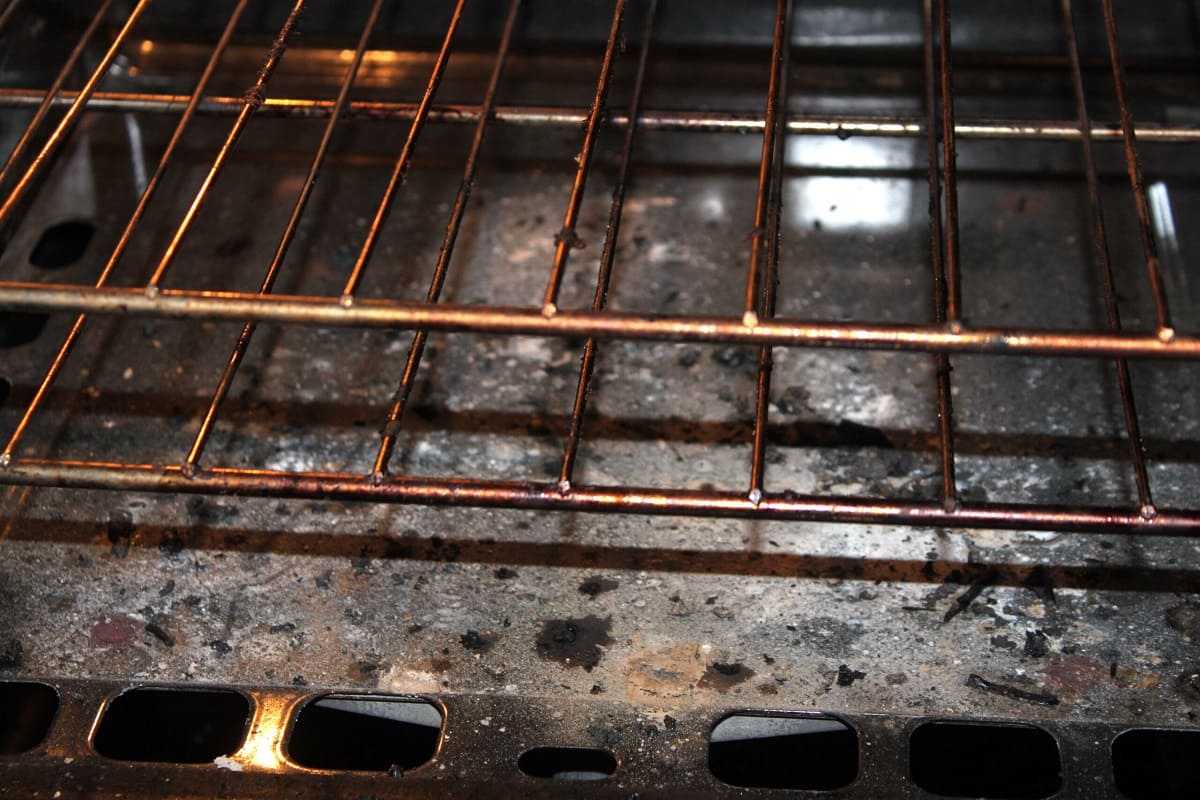
Having a clean and well-organized kitchen is essential for any home cook or chef. One area that often gets overlooked when it comes to cleaning is the oven rack. Over time, oven racks can accumulate grease, grime, and food residue, making them unappealing and less efficient. But fear not, because in this article, we will guide you through the steps on how to clean an oven rack effectively, leaving it shiny and spotless.
Before diving into the cleaning process, it’s important to gather all the necessary supplies. This will ensure that you have everything you need within arm’s reach, preventing unnecessary interruptions. So let’s get started by preparing the necessary supplies.
Key Takeaways:
- Soak the oven rack in a mixture of hot water and dishwashing liquid or baking soda to effectively loosen and dissolve baked-on grease and grime, making it easier to scrub clean.
- Regularly clean your oven and handle spills promptly to prevent grease and grime from transferring onto the oven rack, ensuring it remains clean and functional for your next culinary adventure.
Read more: How To Clean Oven Racks In Bathtub
Preparing the necessary supplies
Before you begin cleaning your oven rack, it’s important to gather all the necessary supplies. This will save you time and ensure that you have everything you need to tackle the job effectively. Here are the supplies you’ll need:
- Rubber gloves: Protect your hands from chemical cleaners and hot water.
- Protective eyewear: Guard your eyes against any potential splashes or fumes.
- Large plastic bag or tub: For soaking the oven rack.
- Hot water: To help loosen baked-on residue.
- Dishwashing liquid: An effective cleaner for removing grease and grime.
- Baking soda: A natural and gentle abrasive for scrubbing.
- Sponge or scrub brush: For scrubbing away dirt and debris.
- Vinegar: A natural cleaning agent for tackling stubborn stains.
- Microfiber cloth or towel: To dry the oven rack after cleaning.
Now that you have your supplies ready, it’s time to remove the oven rack from the oven.
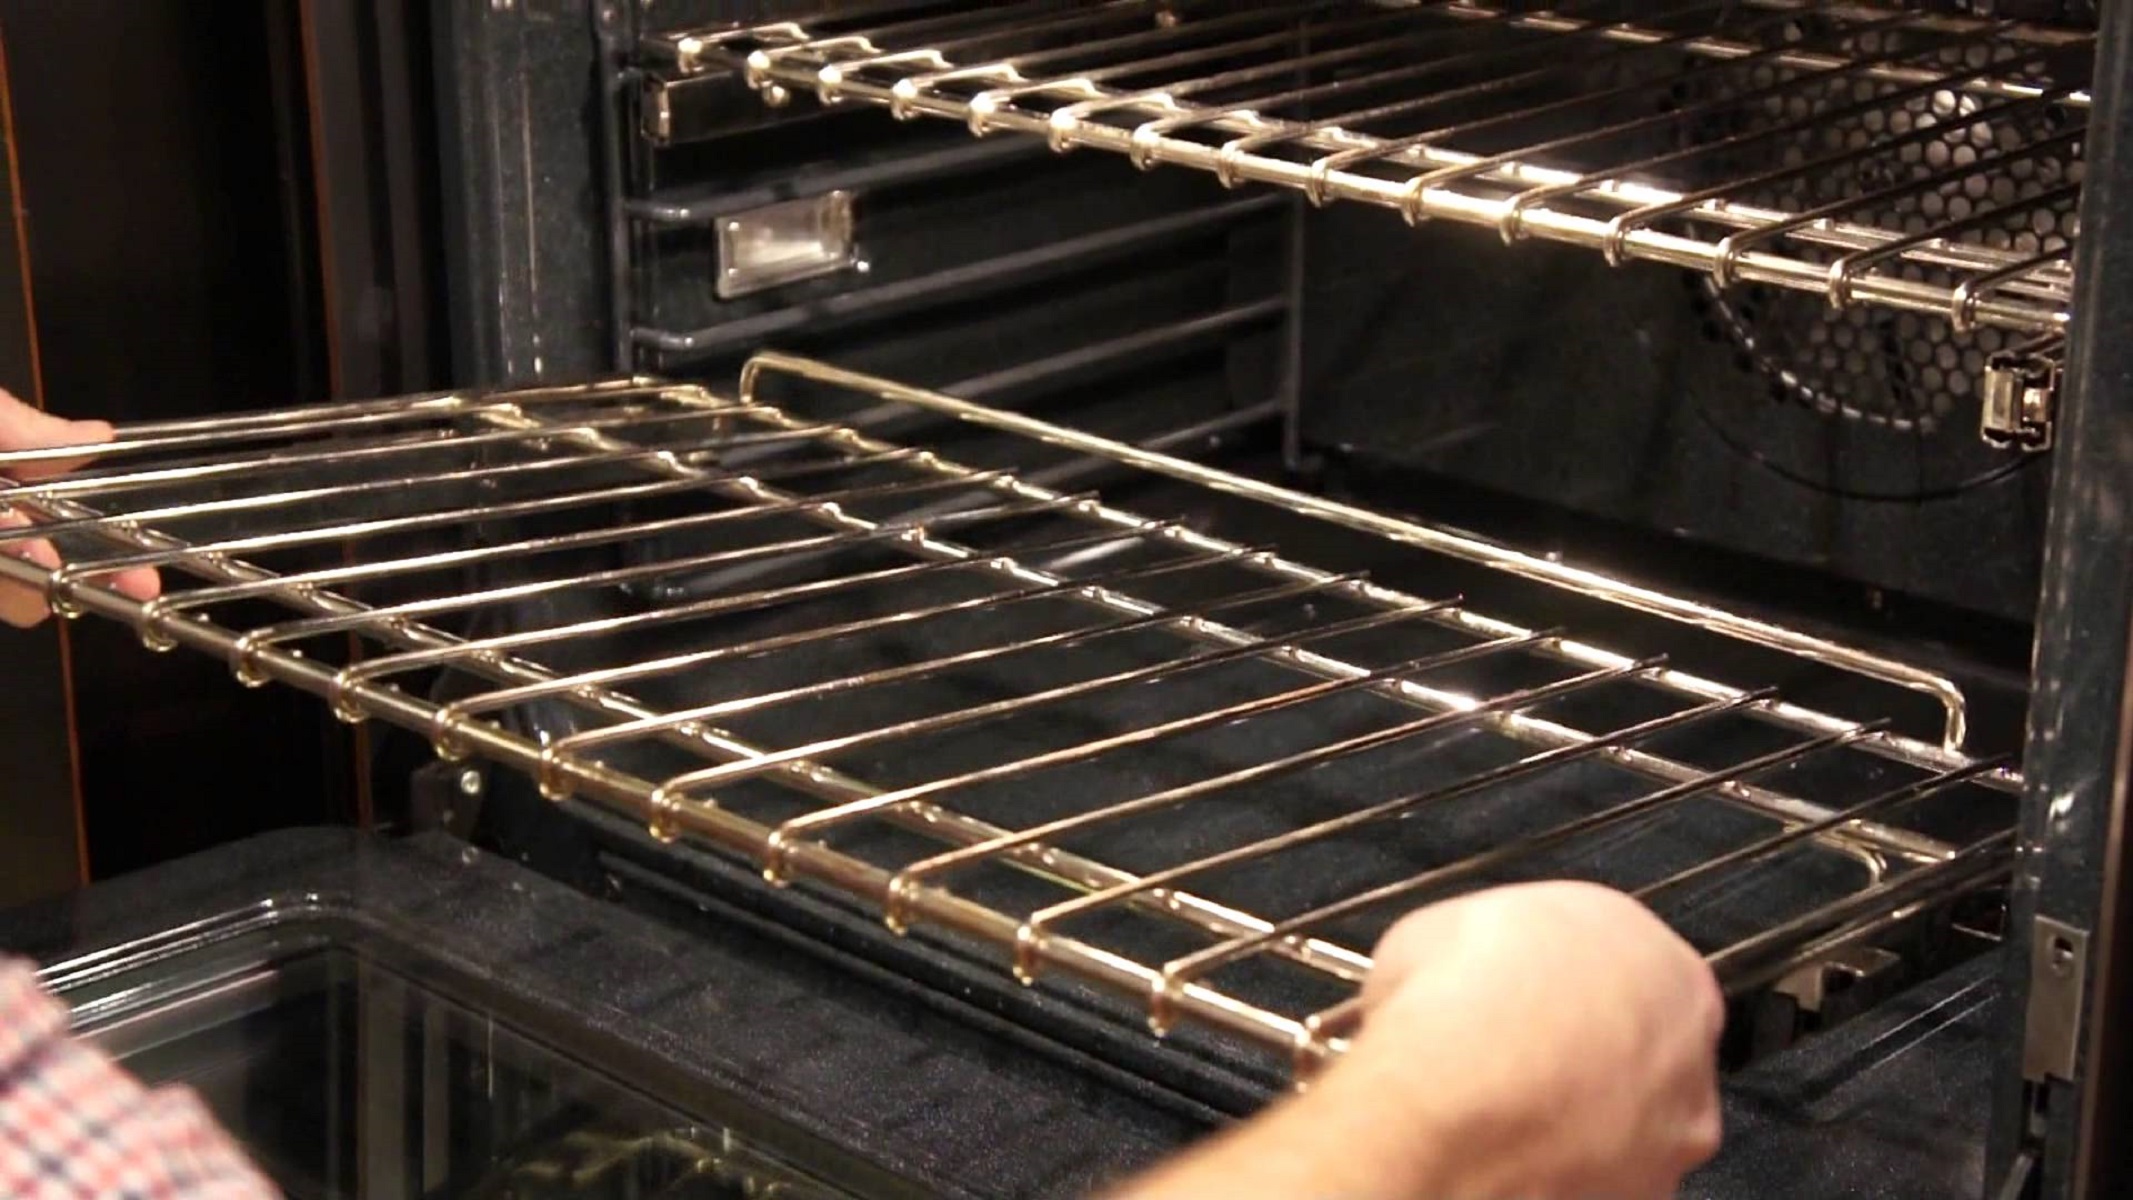
Removing the oven rack from the oven
Before you can start cleaning the oven rack, you’ll need to remove it from the oven. Follow these steps to safely remove the oven rack:
- Make sure the oven is turned off and completely cooled down. You don’t want to burn yourself while handling the rack.
- Open the oven door fully and locate the rack. Most ovens have multiple racks, so identify the one you want to clean.
- Hold onto the sides of the oven rack and gently lift it upward. Be careful as the rack may be heavy and cumbersome.
- Once the rack is lifted, tilt it slightly towards you to free it from the support brackets inside the oven.
- With the rack free from the brackets, carefully slide it out of the oven and place it on a heat-resistant surface.
Now that you’ve successfully removed the oven rack, it’s time to move on to the next step – soaking the oven rack.
Soaking the oven rack
Soaking the oven rack is an important step in the cleaning process as it helps to loosen and dissolve baked-on grease and grime, making it easier to remove. Here’s how to properly soak your oven rack:
- Choose a large plastic bag or tub that can comfortably fit the oven rack. Alternatively, you can use your kitchen sink if it’s big enough.
- Place the oven rack inside the bag or tub, ensuring that it’s fully submerged in hot water.
- Add a generous amount of dishwashing liquid to the water. This will help to break down grease and grime.
- If you prefer a more natural approach, you can add a few tablespoons of baking soda to the water instead of dishwashing liquid. Baking soda is effective at removing stains and odors.
- Seal the bag or cover the tub with a lid, allowing the oven rack to soak for at least a couple of hours or overnight. This extended soaking time will help to loosen stubborn residue.
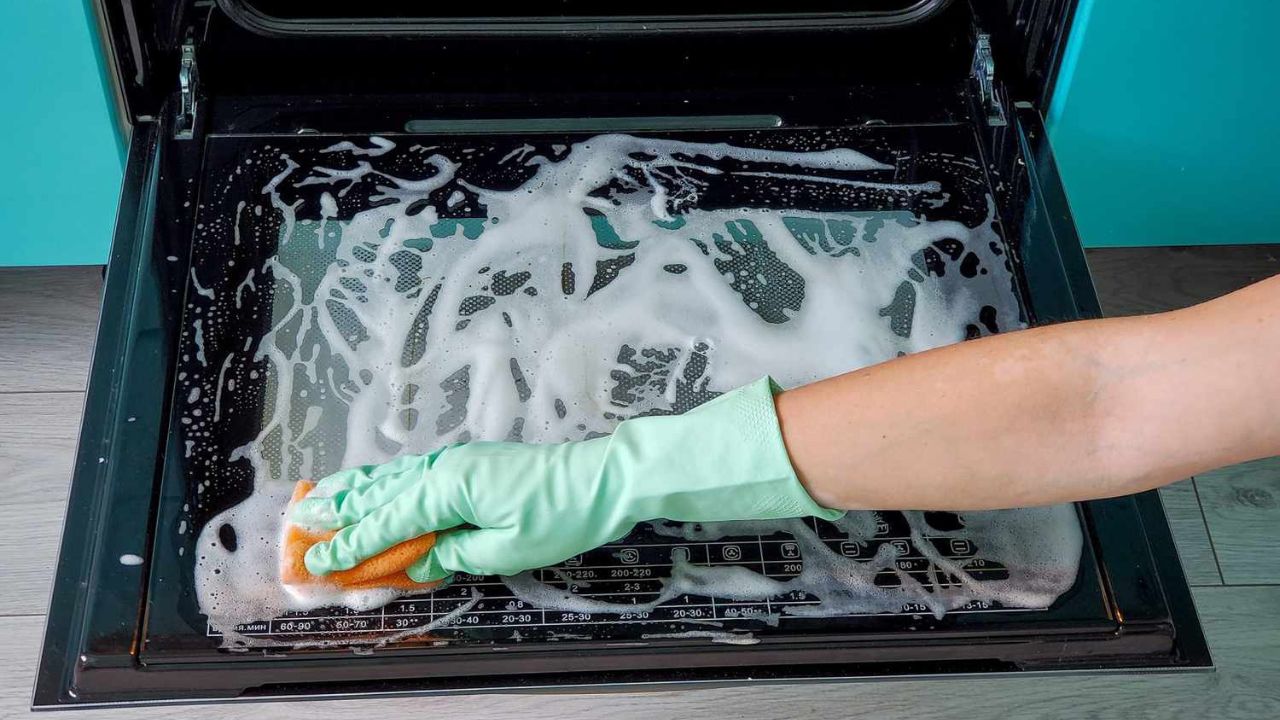
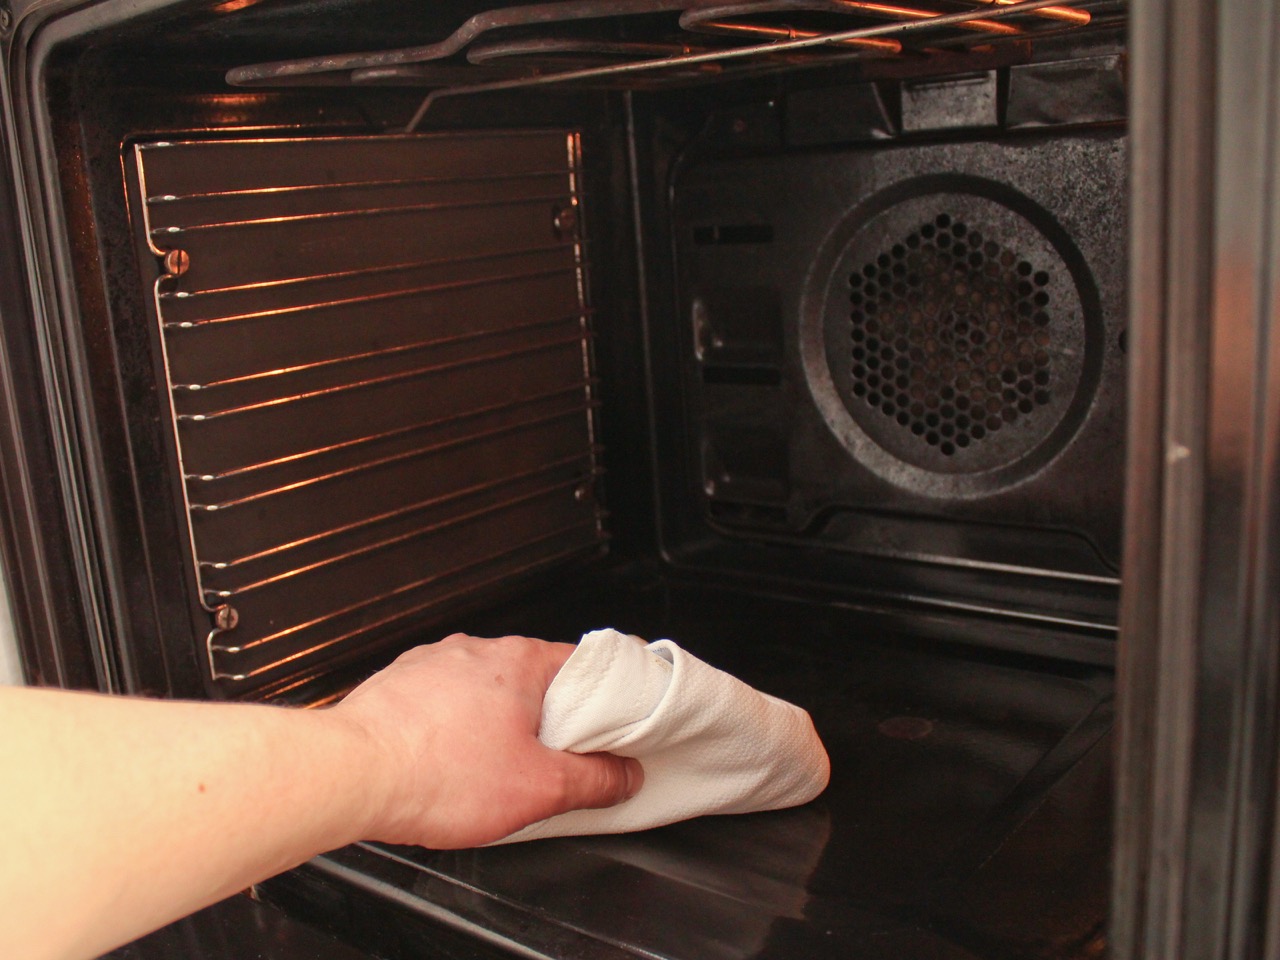
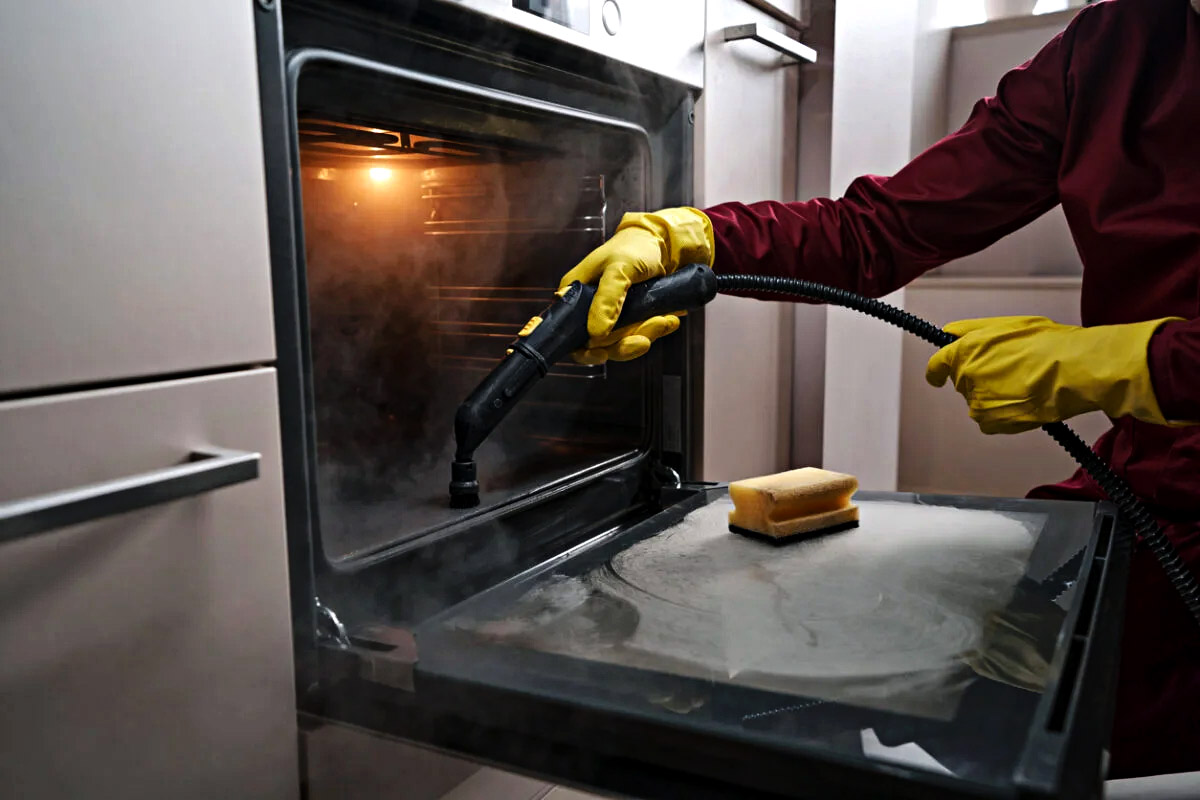
While the oven rack is soaking, take this opportunity to clean the inside of your oven. Wipe away any loose debris or spills, and if necessary, use an oven cleaner for a thorough clean. Once the oven rack has finished soaking, it’s time to move on to the next step – scrubbing the oven rack.
Place the oven rack in a large plastic bag with 1 cup of ammonia. Seal the bag and let it sit overnight. Wipe off the grime with a sponge the next day.
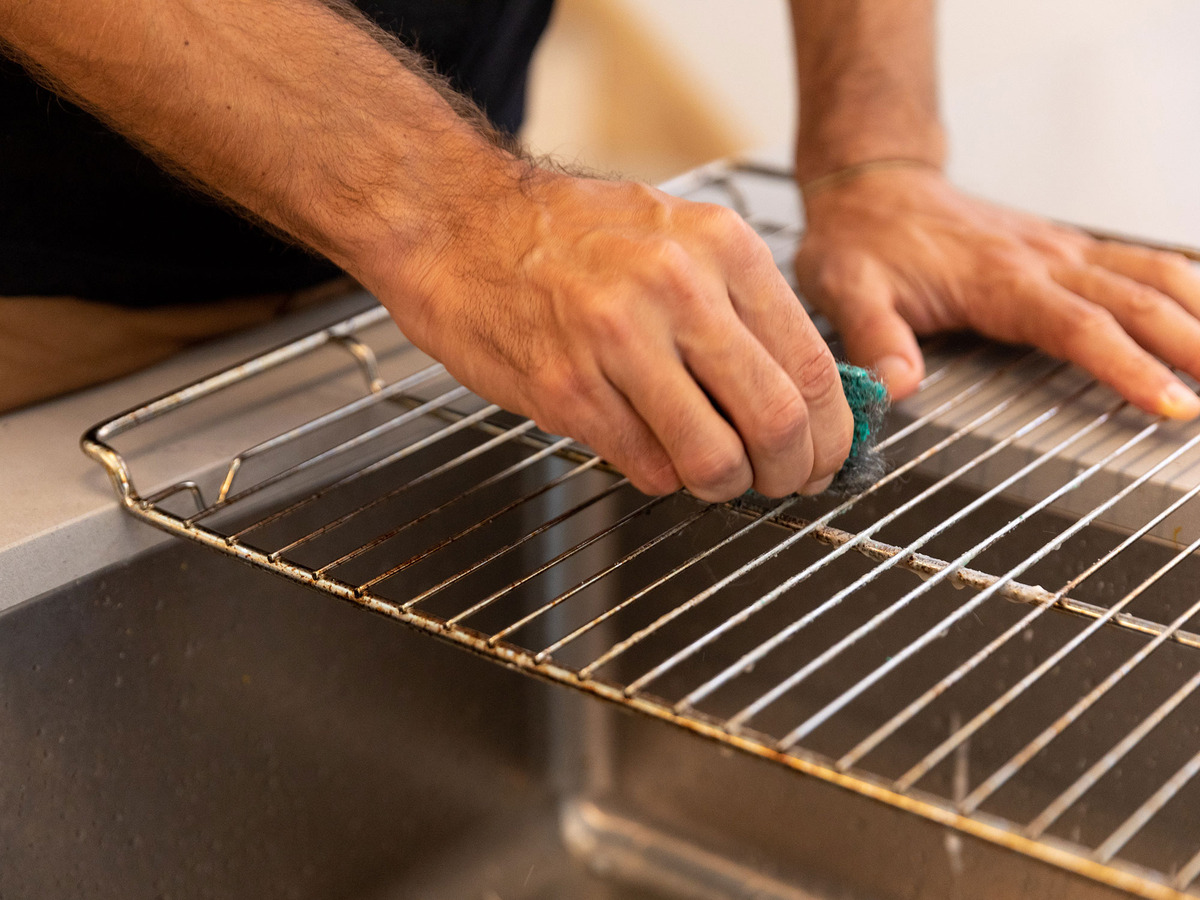
Scrubbing the oven rack
Now that your oven rack has soaked for an adequate amount of time, it’s time to give it a good scrub to remove any remaining grease and grime. Follow these steps to effectively scrub your oven rack:
- Put on your rubber gloves to protect your hands from the cleaning solutions.
- Remove the oven rack from the soaking water and place it on a clean surface, such as a kitchen countertop or a large sink.
- Take a sponge or scrub brush and apply a small amount of dishwashing liquid directly onto the bristles.
- Scrub the entire surface of the oven rack, paying extra attention to any particularly dirty areas. Use firm but gentle strokes, applying enough pressure to remove the grime but not so much that you damage the rack.
- If you encounter stubborn stains or baked-on residue, sprinkle a generous amount of baking soda onto the affected areas and use the sponge or scrub brush to scrub it in. Baking soda acts as a natural abrasive and will help to lift off the tough stains.
- For any remaining grime or hard-to-reach spots, dip the sponge or scrub brush in a solution of equal parts vinegar and water. The acidity of the vinegar will help to break down stubborn residues.
- Continue scrubbing until the entire oven rack is clean and free of grease and grime.
Once you’re satisfied with the cleanliness of the oven rack, it’s time to rinse and dry it.
Rinse and dry the oven rack
After scrubbing the oven rack to remove all the grease and grime, it’s important to thoroughly rinse and dry it to ensure it’s clean and ready to be used again. Follow these steps to rinse and dry your oven rack:
- Take the clean sponge or a fresh cloth and rinse it under running water to remove any soap or baking soda residue.
- Hold the oven rack under running water or use a separate clean sink or tub to rinse off any remaining cleaning solution.
- Inspect the oven rack closely to make sure it’s completely free of any cleaning product or debris.
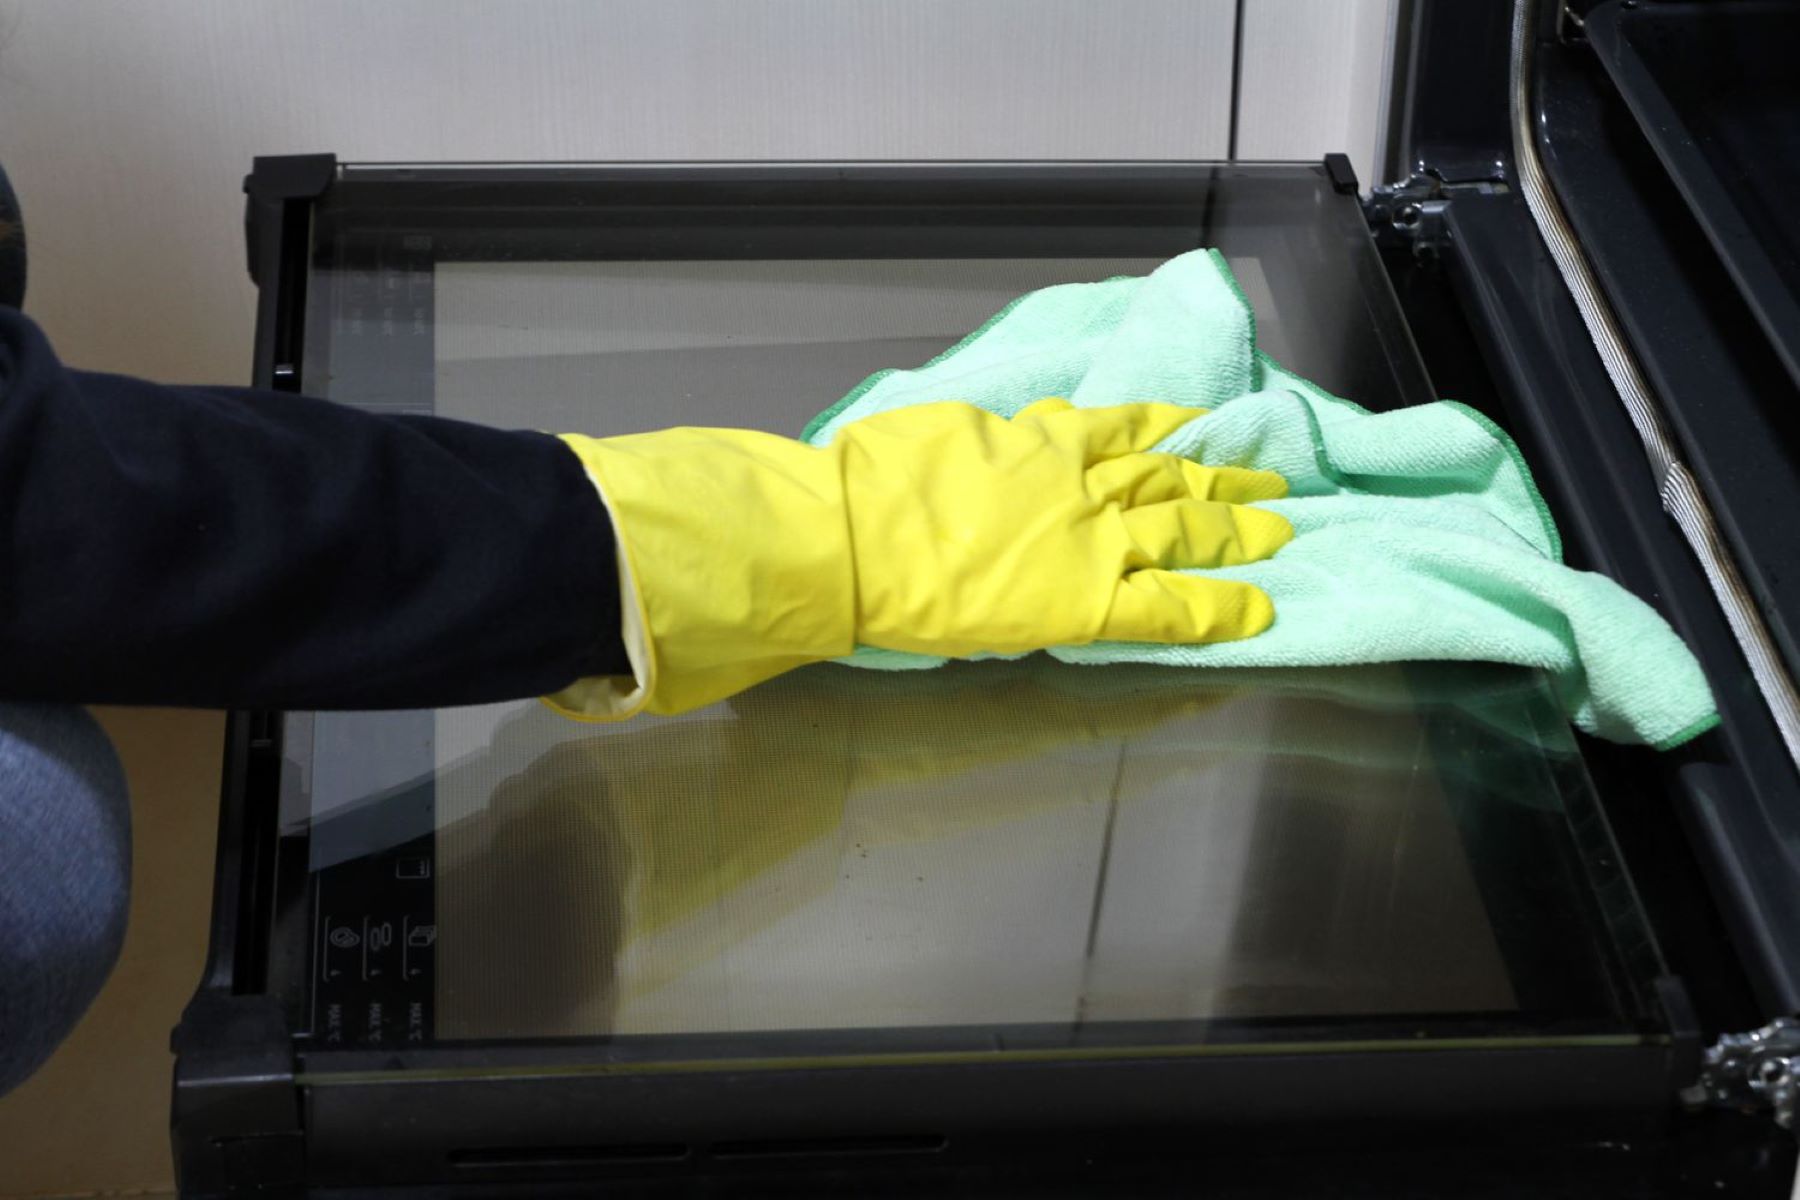
- Once the rack is rinsed, use a microfiber cloth or towel to thoroughly dry it. Pay attention to crevices or corners where water might be trapped.
- Alternatively, you can let the oven rack air dry on a drying rack or place it in the oven while it’s turned off. Ensure the oven is completely cool before doing so.
Once the oven rack is completely dry, it’s time to reinstall it back into the oven.
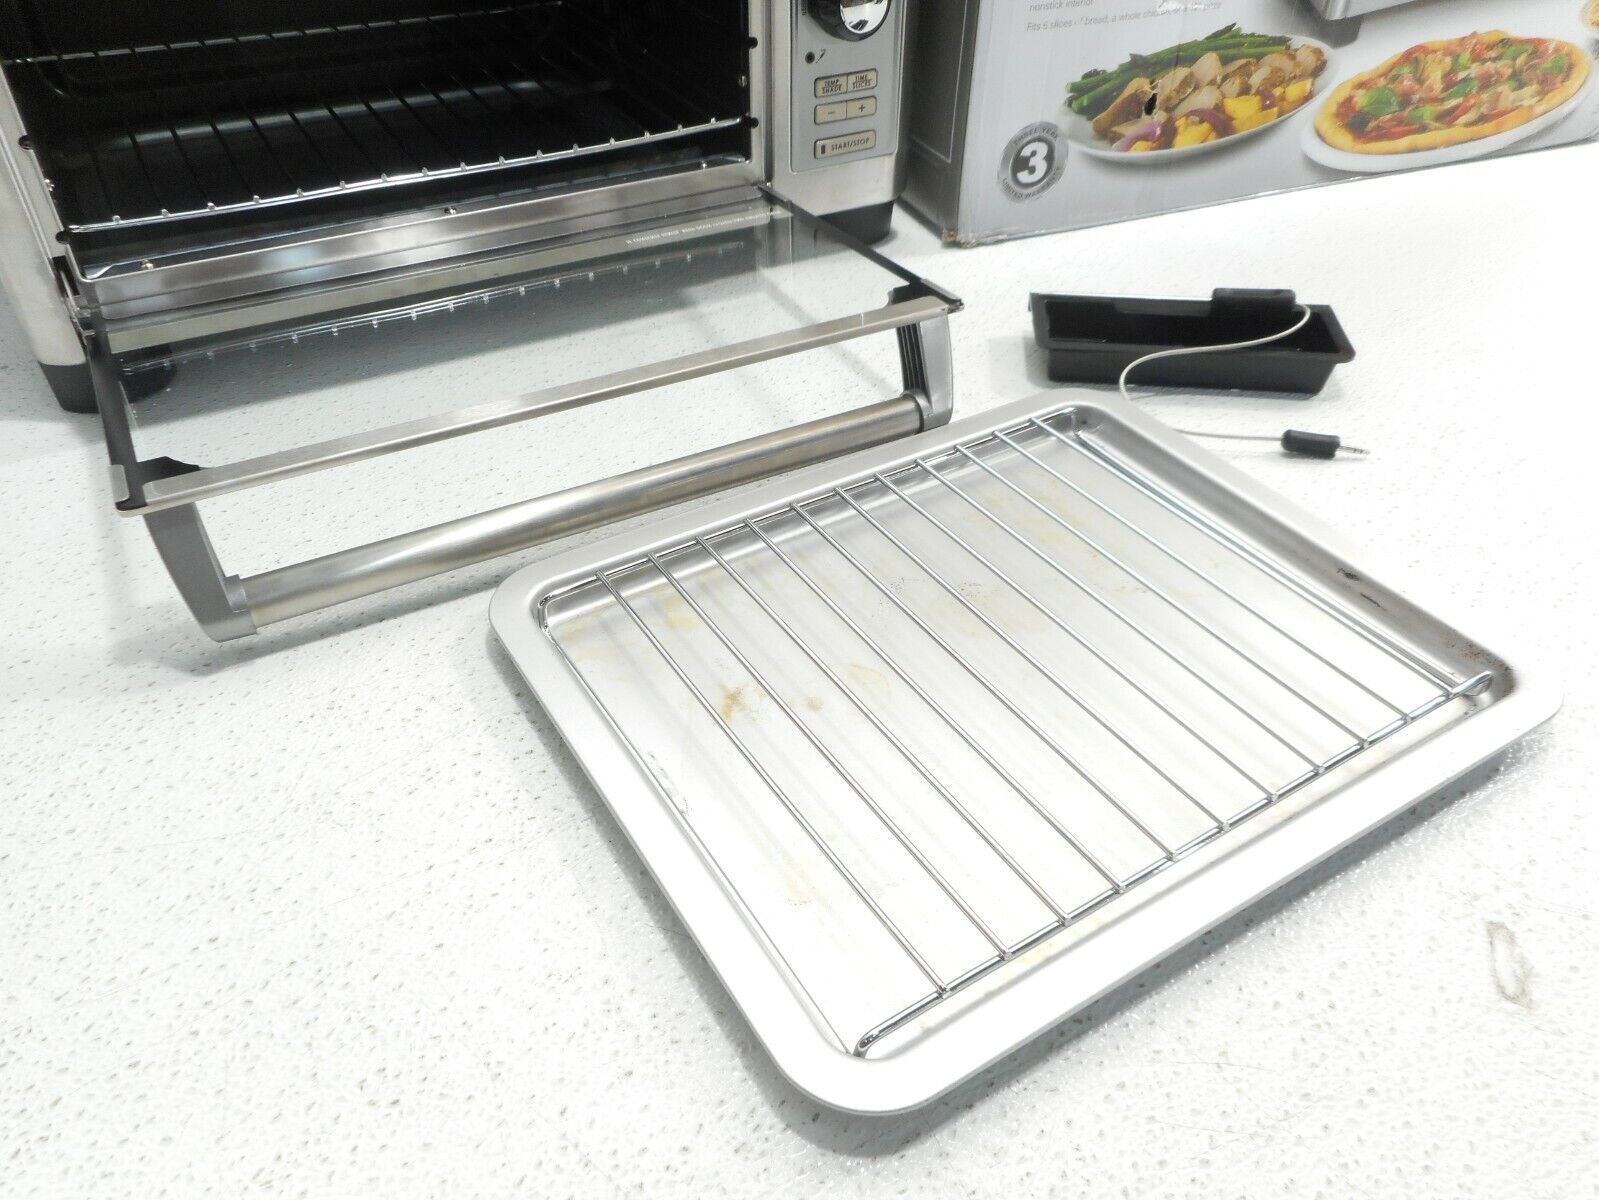
Reinstalling the oven rack
Now that you have successfully cleaned and dried your oven rack, it’s time to reinstall it back into the oven. Follow these steps to ensure a proper reinstallation:
- Make sure the oven is turned off and cool to the touch before proceeding.
- Hold the oven rack with both hands, lining up the edges with the support brackets inside the oven.
- Position the rack at a slight angle and slide it into the oven, making sure it sits securely on the brackets.
- Gently push the rack back until it is fully inserted and properly aligned with the other racks, if applicable.
- Give the oven rack a slight shake or tug to ensure it is securely in place and won’t shift during cooking.
Congratulations! You have successfully reinstalled your clean oven rack. Now, let’s move on to some tips to help you keep your oven rack clean and in good condition.
Tips for keeping the oven rack clean
Keeping your oven rack clean doesn’t have to be a tedious task. By following these simple tips, you can maintain a clean and functional oven rack:
- Wipe spills immediately: When cooking, if you have a spill on the oven rack, try to wipe it up as soon as possible. This will prevent any buildup and make cleaning easier in the long run.
- Use a drip tray or aluminum foil: Placing a drip tray or lining your oven rack with aluminum foil can catch any drips or spills, preventing them from sticking to the rack. Remember to replace the foil regularly.
- Regularly clean your oven: By keeping your oven clean, you can reduce the chances of grease and grime transferring onto the oven rack. Follow the manufacturer’s instructions for cleaning your particular oven model.
- Use oven mitts or pot holders: When handling hot dishes or pans, always use oven mitts or pot holders to prevent accidental spills or stains on the oven rack.
- Use silicone baking mats or parchment paper: These can be placed on top of the oven rack when baking to prevent food from sticking directly to the rack.
- Regular maintenance: Schedule regular cleaning sessions for your oven rack, depending on how frequently you use your oven. This will help prevent heavy buildup and make cleaning easier each time.
- Avoid harsh chemicals: Stick to mild dishwashing liquid, vinegar, and baking soda for cleaning your oven rack. Harsh chemicals can damage the rack’s finish over time.
- Consider using oven rack protectors: These silicone or fabric liners can be placed on the rack to catch spills and splatters, making them easy to remove and clean.
By incorporating these tips into your kitchen routine, you can ensure that your oven rack remains clean, functional, and ready for your next culinary adventure.
Frequently Asked Questions about How To Clean An Oven Rack
Was this page helpful?
At Storables.com, we guarantee accurate and reliable information. Our content, validated by Expert Board Contributors, is crafted following stringent Editorial Policies. We're committed to providing you with well-researched, expert-backed insights for all your informational needs.


0 thoughts on “How To Clean An Oven Rack”