Home>Furniture & Design>Interior Design Trends>How To Fix Side View Mirror Glass Only
Interior Design Trends
How To Fix Side View Mirror Glass Only
Modified: February 18, 2024
Learn how to easily fix your side view mirror glass with our step-by-step guide. Stay updated on the latest interior design trends and enhance your living space.
(Many of the links in this article redirect to a specific reviewed product. Your purchase of these products through affiliate links helps to generate commission for Storables.com, at no extra cost. Learn more)
Introduction
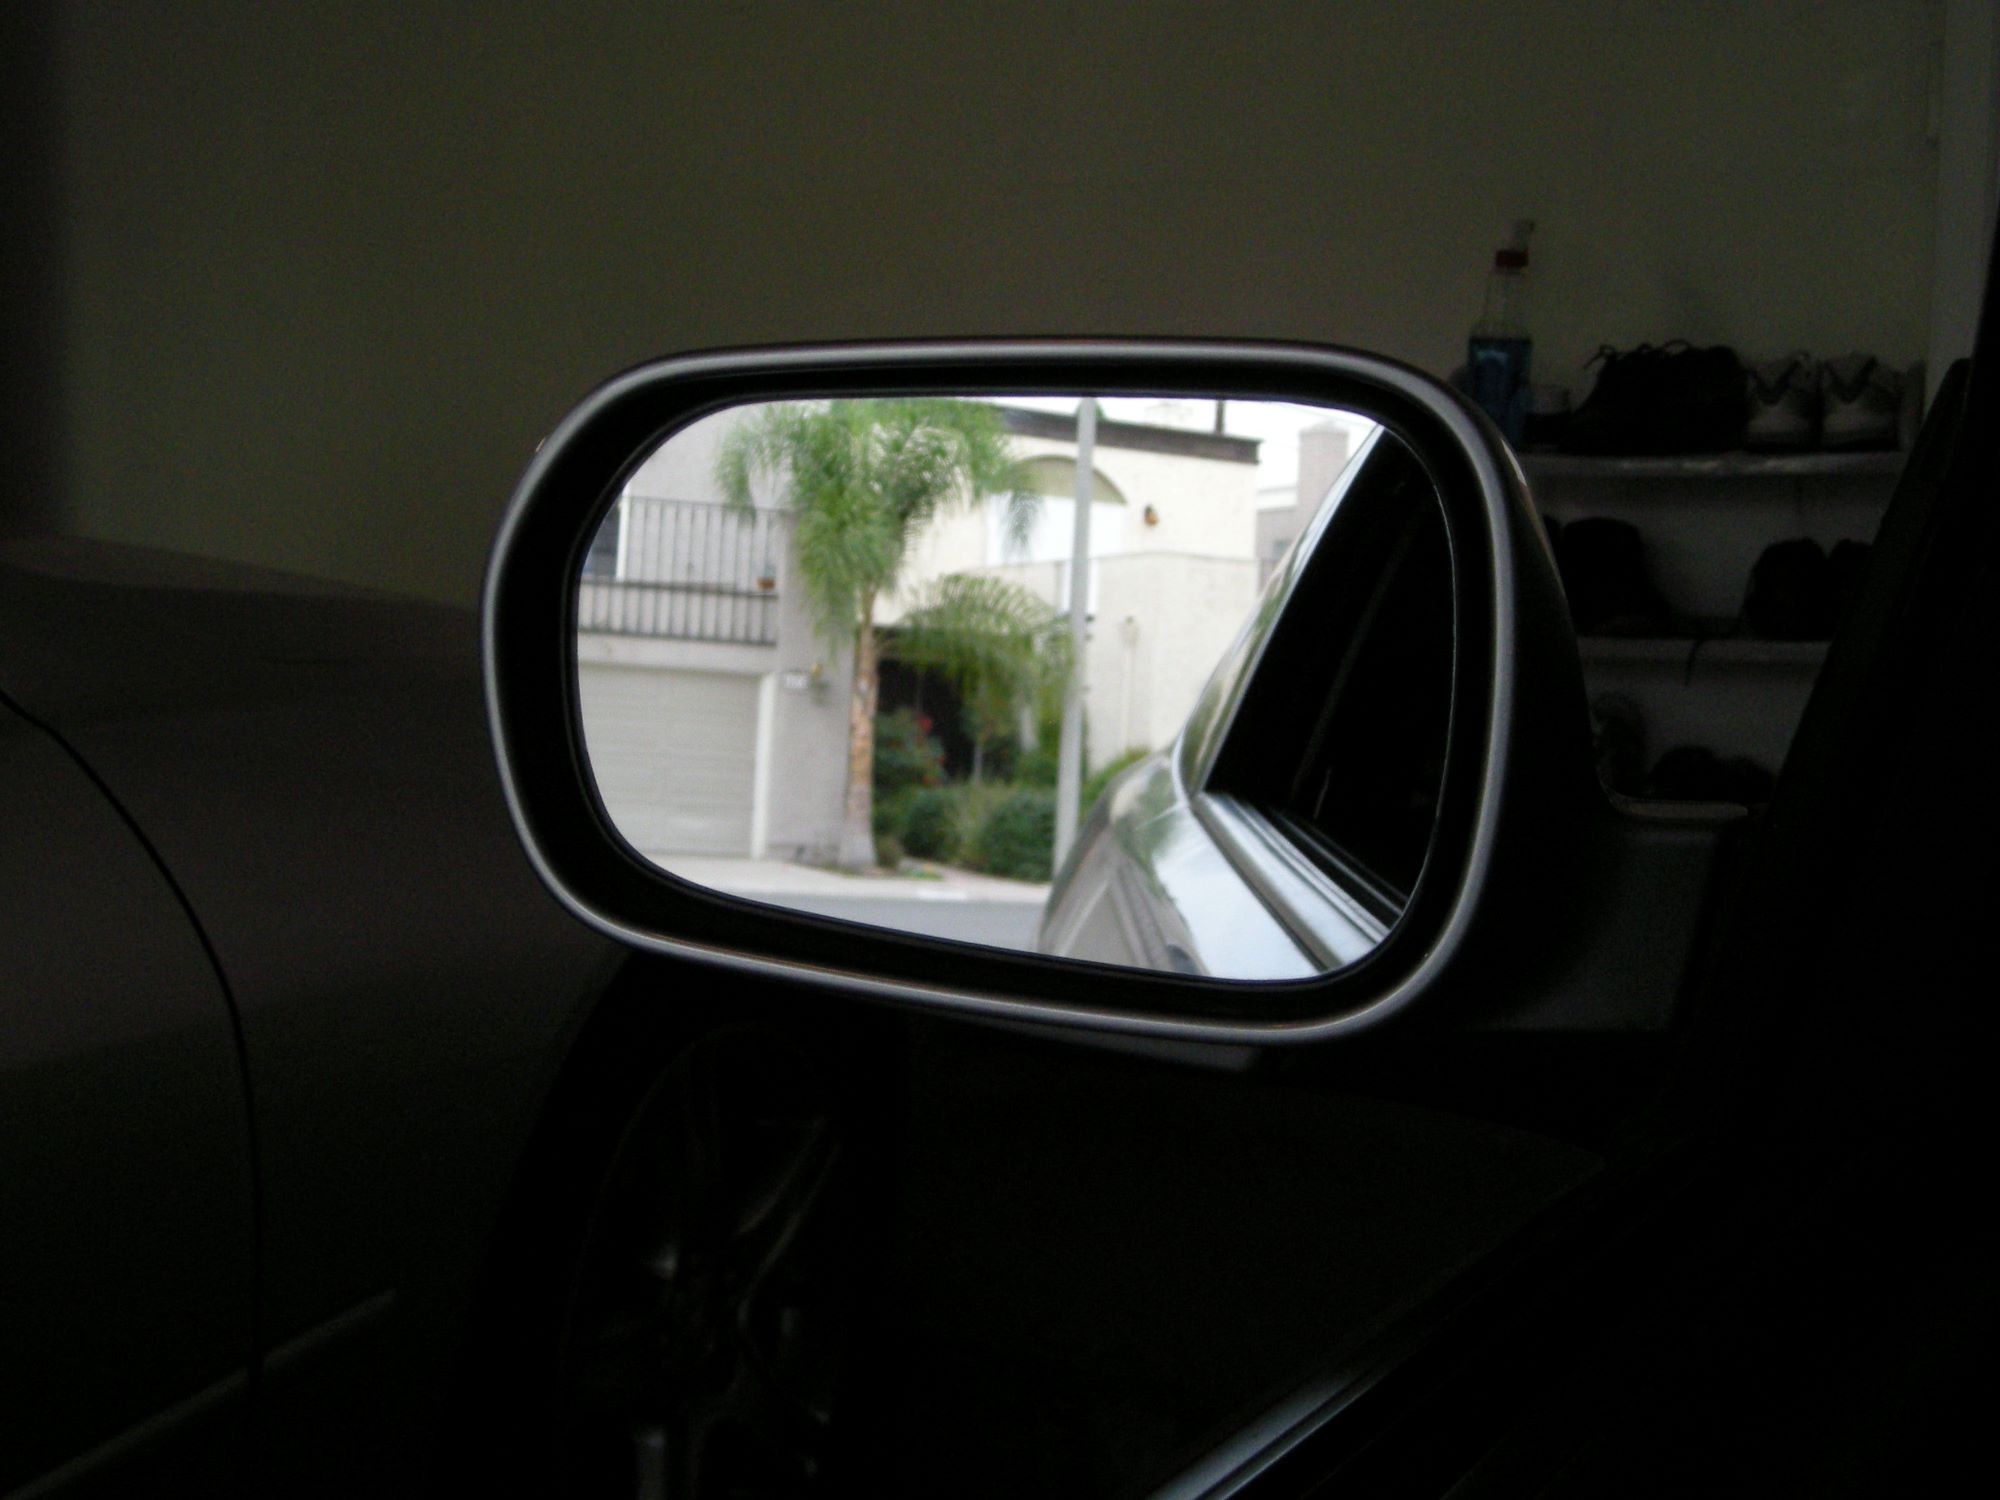
Replacing a damaged or broken side view mirror glass is a common task for vehicle owners. Whether the mirror glass has been chipped, cracked, or completely shattered, restoring visibility and safety on the road is essential. Fortunately, with the right tools and a systematic approach, this repair can be accomplished with relative ease.
In this guide, we will walk you through the step-by-step process of replacing the side view mirror glass on your vehicle. From gathering the necessary tools to testing the new mirror glass, we will cover each stage in detail to ensure a successful and seamless repair.
By following these instructions, you can save time and money by completing the replacement yourself, avoiding the need for a costly visit to an auto repair shop. With a bit of patience and attention to detail, you can restore your side view mirror to its original functionality, enhancing the safety and aesthetics of your vehicle.
So, let's roll up our sleeves and dive into the process of fixing your side view mirror glass, empowering you to take control of this repair and get back on the road with confidence.
Key Takeaways:
- Takeaway 1:
Replacing a damaged side view mirror glass is achievable with the right tools and patience. By following the step-by-step process, you can save time and money while enhancing your vehicle’s safety and aesthetics. - Takeaway 2:
Cleaning and testing the new mirror glass are crucial for optimal functionality. By conducting thorough inspections and tests, you can ensure clear visibility and confidence on the road.
Read more: Who Fix Rear View Mirrors
Step 1: Gather the necessary tools
Before embarking on the task of replacing your side view mirror glass, it's crucial to gather the essential tools to ensure a smooth and efficient repair process. Having the right equipment at your disposal will not only simplify the task but also contribute to the overall quality of the repair. Here's a comprehensive list of the necessary tools you'll need for this project:
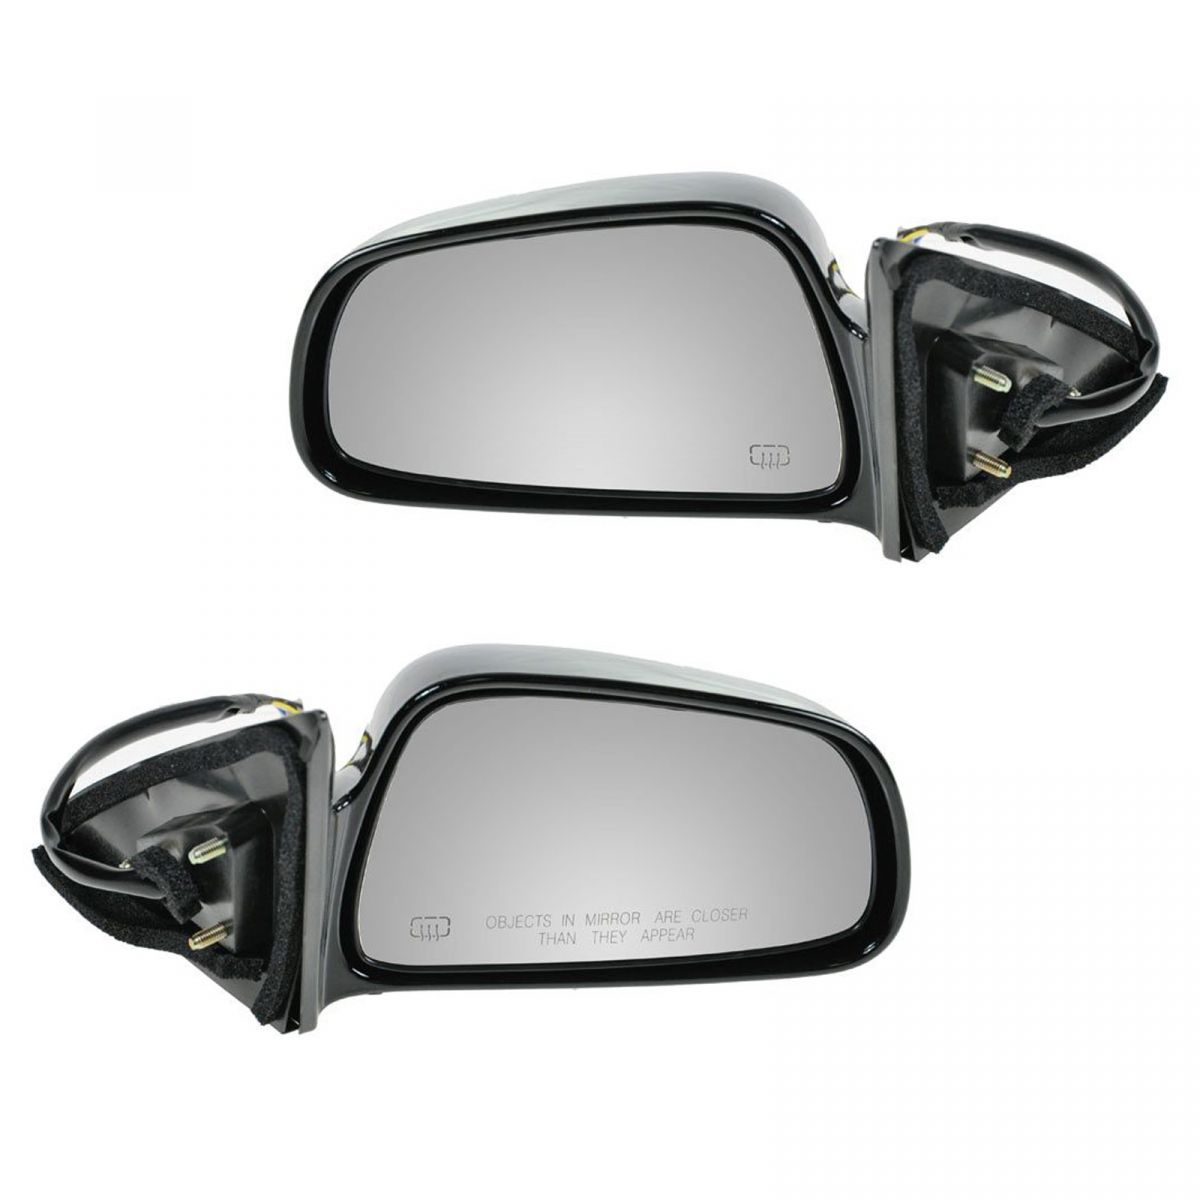
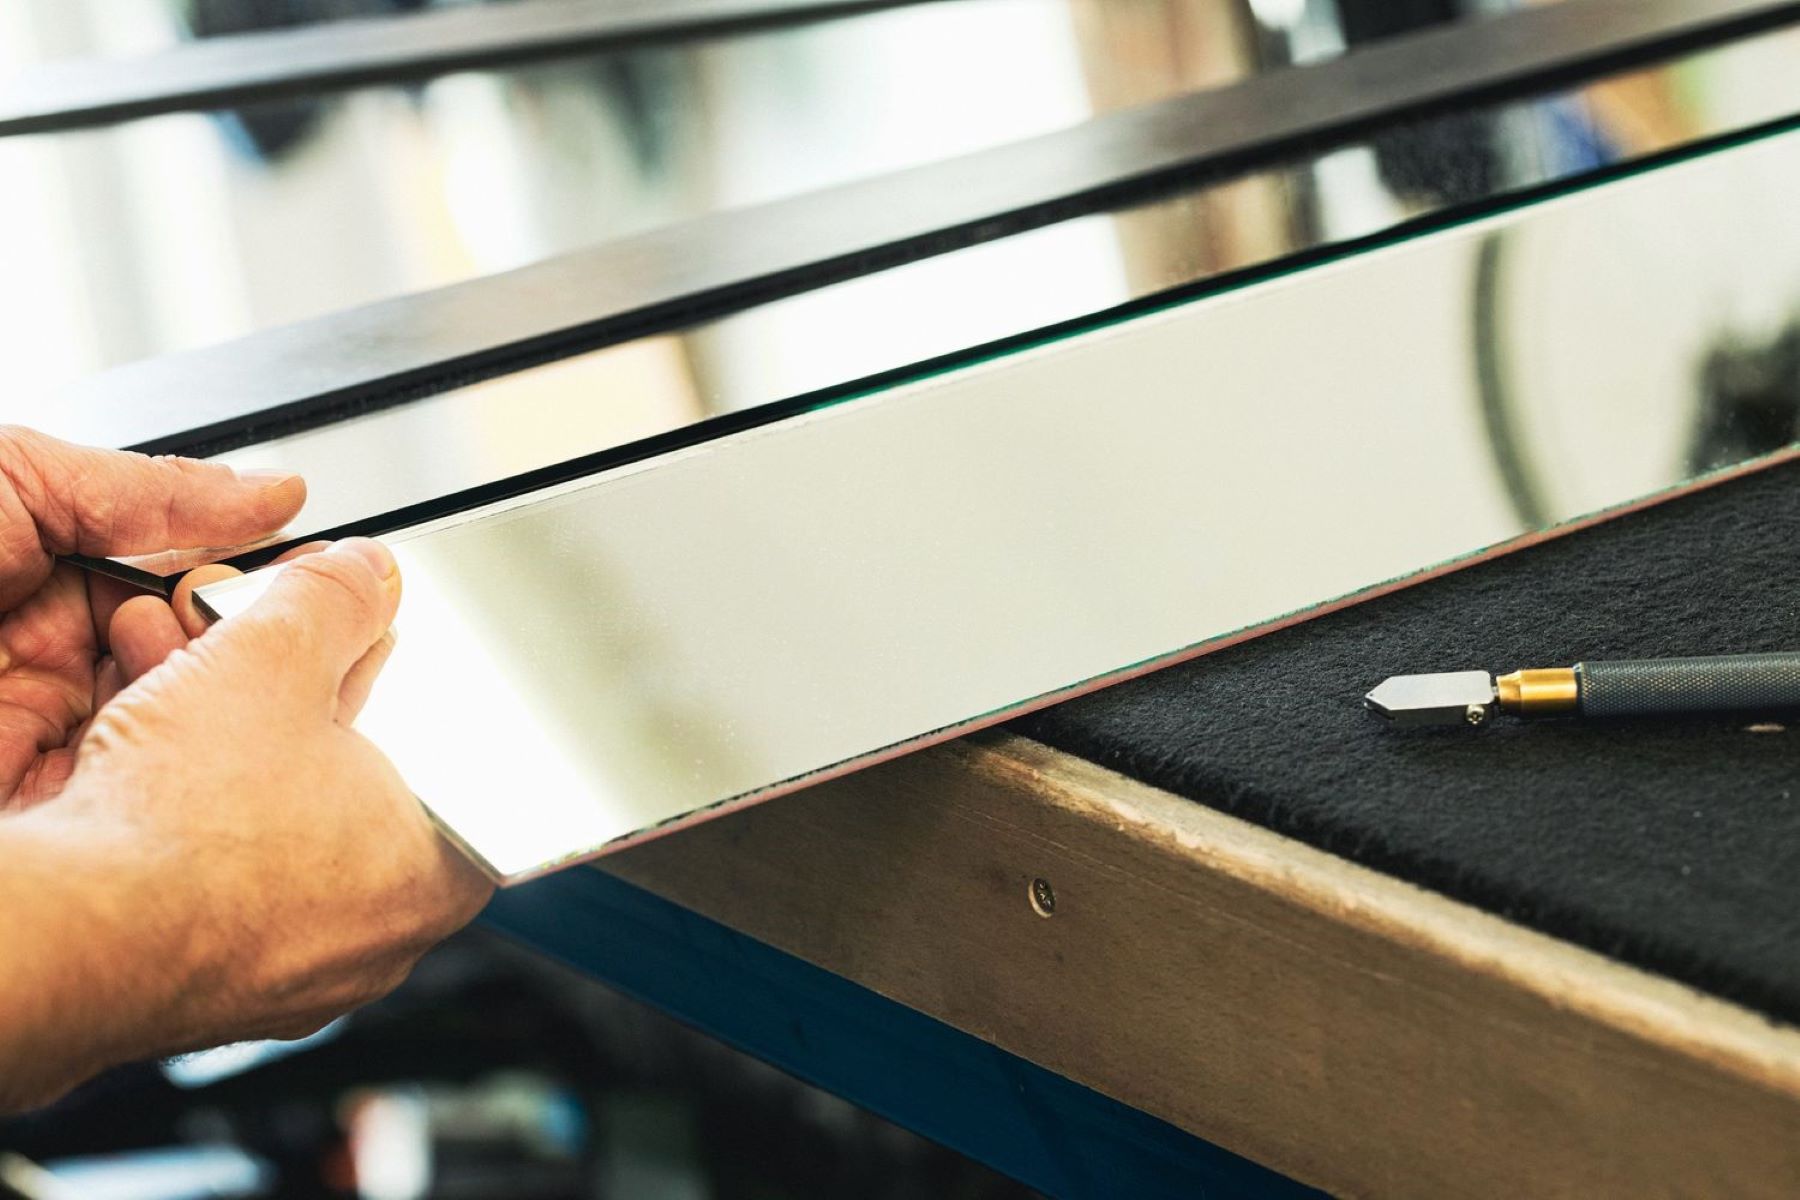
1. Replacement Mirror Glass
The first and most crucial item on your list is the replacement mirror glass. Ensure that you have the correct size and shape for your specific vehicle make and model. You can typically find compatible mirror glass at auto parts stores or online retailers. It's essential to double-check the compatibility to avoid any issues during installation.
2. Protective Gloves
Working on your vehicle, especially when handling glass components, requires the use of protective gloves. This will safeguard your hands from potential injuries and prevent any smudges or fingerprints on the new mirror glass.
3. Cleaning Solution and Cloth
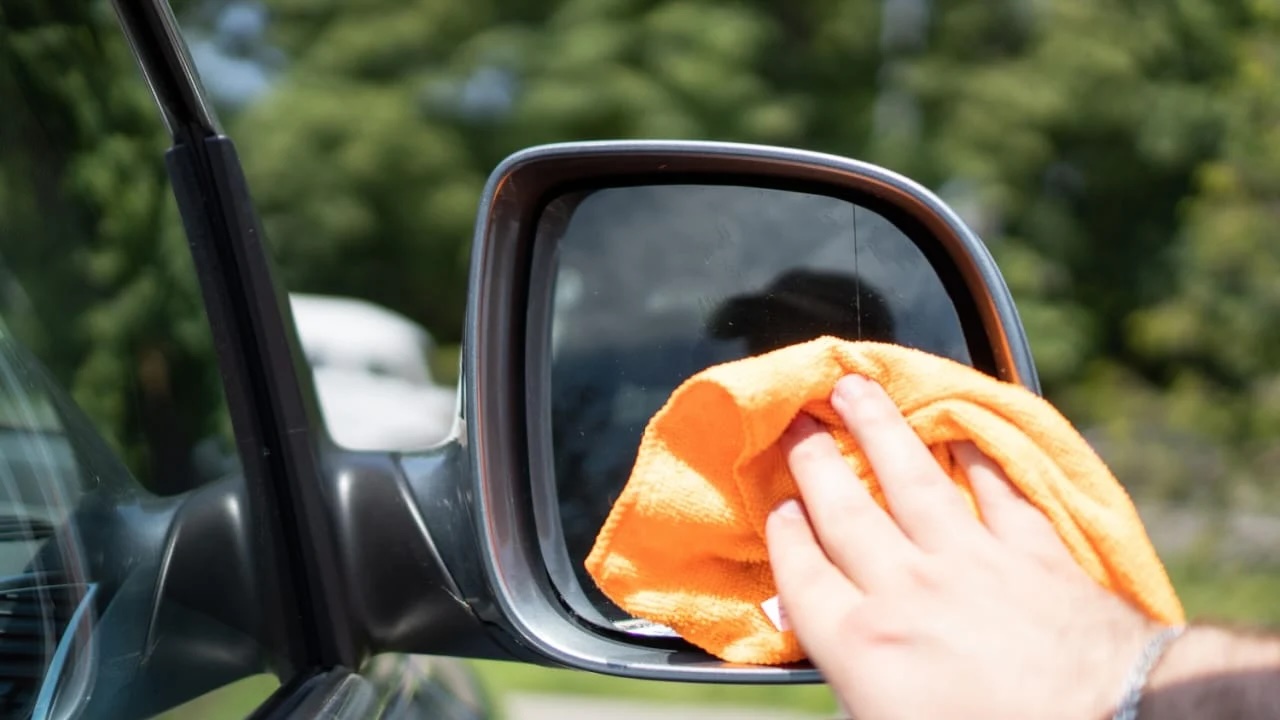
To prepare the mirror housing for the new glass, you'll need a suitable cleaning solution and a soft cloth. This will allow you to remove any debris, dirt, or adhesive residue from the mirror housing, ensuring a clean and smooth surface for the installation of the new glass.
Read more: How To Replace Side Mirror Glass
4. Adhesive or Mounting Pads
Depending on the specific design of your vehicle's side view mirror, you may require adhesive or mounting pads to secure the new mirror glass in place. Check the manufacturer's recommendations or the replacement glass packaging to determine the appropriate adhesive or mounting method.
5. Trim Removal Tools
In some cases, accessing the mirror housing and removing the old glass may require the use of trim removal tools. These tools are designed to safely pry and remove interior panels or covers without causing damage to the vehicle's exterior.
6. Safety Glasses
While working with glass components, it's essential to prioritize safety. Wearing protective safety glasses will shield your eyes from any potential debris or shards that may dislodge during the removal or installation process.
By ensuring that you have all these tools at your disposal, you'll be well-prepared to proceed with the subsequent steps of removing the old mirror glass, cleaning the mirror housing, and installing the new mirror glass with confidence and precision. With the necessary tools in hand, you're one step closer to restoring the functionality and appearance of your side view mirror.
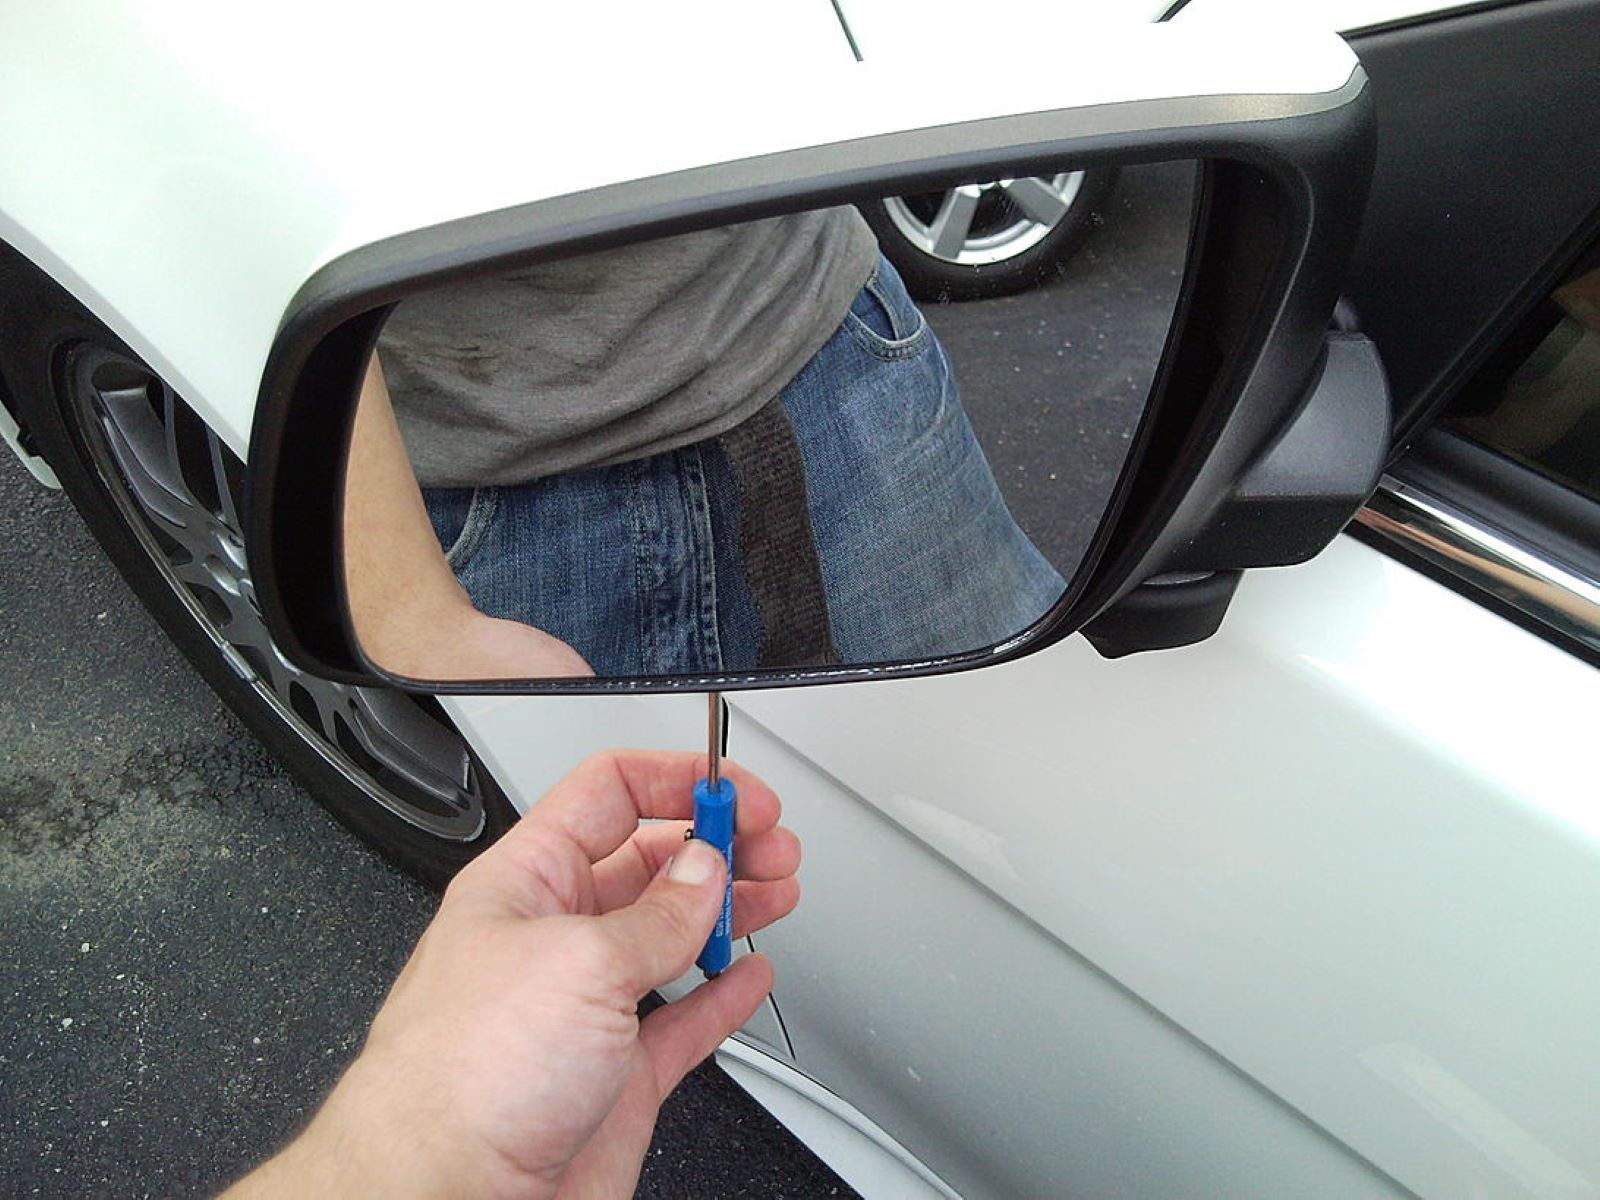
Step 2: Remove the old mirror glass
Removing the old mirror glass is a crucial step in the process of replacing your side view mirror. This task requires precision and care to avoid damaging the mirror housing or causing any unnecessary scratches to the vehicle's exterior. By following these detailed steps, you can safely and effectively remove the old mirror glass:
-
Assess the Mirror Housing: Before beginning the removal process, take a close look at the mirror housing to identify any visible retaining clips, adhesive pads, or other securing mechanisms. Understanding how the old mirror glass is attached will guide your approach to its removal.
-
Use Trim Removal Tools: If the mirror glass is secured by retaining clips or trim panels, carefully use trim removal tools to gently pry and release these components. Exercise caution to prevent any damage to the surrounding areas of the mirror housing.
-
Apply Heat (if necessary): In some cases, the old mirror glass may be affixed to the housing with adhesive. To loosen the adhesive and facilitate safe removal, use a heat gun or hairdryer to apply gentle heat to the back of the mirror glass. This will help soften the adhesive, making it easier to detach the glass from the housing.
-
Handle with Care: Once the adhesive is sufficiently heated, delicately begin to detach the old mirror glass from the housing. Use your gloved hands to apply gentle pressure and gradually release the glass from its position. Avoid using excessive force, as this may lead to unintended damage.
-
Discard the Old Glass: Once the old mirror glass is removed, carefully set it aside in a secure location. Be mindful of any adhesive residue or fragments that may remain on the mirror housing, as these will need to be addressed during the cleaning process.
By methodically following these steps, you can effectively remove the old mirror glass without causing harm to the mirror housing or the vehicle's exterior. With the old glass safely removed, you are now ready to proceed to the next stage of cleaning the mirror housing in preparation for the installation of the new mirror glass.
Read more: How Much Are Rear View Mirrors
Step 3: Clean the mirror housing
Cleaning the mirror housing is a critical preparatory step before installing the new mirror glass. This process ensures that the mirror housing is free from debris, dirt, and adhesive residue, providing a clean and secure foundation for the new glass. Here's a detailed guide on how to effectively clean the mirror housing:
-
Inspect the Mirror Housing: Begin by closely examining the mirror housing to identify any remnants of the old adhesive, dirt, or other contaminants. Pay attention to the edges and corners where the new mirror glass will be positioned.
-
Use a Suitable Cleaning Solution: Select a gentle yet effective cleaning solution that is safe for use on automotive surfaces. Avoid harsh chemicals that may damage the paint or finish of the mirror housing. A mild glass cleaner or a solution of water and mild detergent can be suitable choices.
-
Apply the Cleaning Solution: Dampen a soft, lint-free cloth with the chosen cleaning solution. Gently wipe the interior of the mirror housing, ensuring thorough coverage of the surfaces. Pay particular attention to areas where adhesive residue may be present, as these spots may require additional cleaning.
-
Remove Adhesive Residue: If there are stubborn remnants of adhesive from the old mirror glass, use a gentle adhesive remover or isopropyl alcohol to dissolve and lift the residue. Apply the remover to a clean cloth and carefully dab at the adhesive until it loosens and can be wiped away.
-
Dry the Mirror Housing: Once the cleaning process is complete, use a separate dry cloth to thoroughly dry the interior of the mirror housing. Ensure that no moisture or cleaning solution remains, as a dry surface is essential for the proper adhesion of the new mirror glass.
-
Inspect for Cleanliness: After drying the mirror housing, inspect the surfaces to confirm that they are free from dirt, residue, and streaks. A clean and dry mirror housing provides an optimal foundation for securely installing the new mirror glass.
By meticulously cleaning the mirror housing, you are setting the stage for a successful installation of the new mirror glass. This step not only ensures a clean and professional finish but also contributes to the longevity and stability of the repaired side view mirror. With the mirror housing immaculately cleaned, you are now ready to proceed to the next stage of installing the new mirror glass and completing the repair process.
Step 4: Install the new mirror glass
Installing the new mirror glass is a pivotal stage in the process of restoring your side view mirror to its optimal functionality. This step requires precision and attention to detail to ensure a secure and seamless fit for the new glass. By following these comprehensive instructions, you can effectively install the new mirror glass with confidence and precision.
-
Prepare the New Mirror Glass:
Before proceeding with the installation, carefully inspect the new mirror glass to ensure that it is free from any defects or damage. Verify that the size and shape of the replacement glass match the specifications of your vehicle's side view mirror. Additionally, if the replacement glass includes adhesive backing or mounting pads, familiarize yourself with the positioning and orientation of these components. -
Position the New Mirror Glass:
With the mirror housing meticulously cleaned and dried, position the new mirror glass at the center of the housing, aligning it with the edges and contours of the frame. Exercise caution to avoid applying excessive pressure at this stage, as it's essential to position the glass accurately before securing it in place. -
Secure the Mirror Glass:
If the replacement glass features adhesive backing, carefully remove the protective covering to expose the adhesive surface. Align the new mirror glass with the housing and gently press it into place, ensuring that it adheres securely. If mounting pads are included, affix them to the back of the mirror glass according to the manufacturer's guidelines, then position the glass within the housing and apply gentle pressure to secure it. -
Apply Even Pressure:
Once the new mirror glass is positioned and secured, apply even pressure along the surface to ensure that it adheres uniformly to the mirror housing. This step helps to establish a strong and consistent bond between the glass and the housing, promoting stability and longevity. -
Verify Alignment and Fit:
After securing the new mirror glass, visually inspect the alignment and fit from various angles to confirm that it sits flush and level within the housing. Check for any gaps or uneven edges, as these may indicate a need for readjustment or additional pressure to ensure a secure fit. -
Allow for Adhesion:
If adhesive is used to secure the new mirror glass, allow sufficient time for it to bond with the mirror housing as per the manufacturer's recommendations. This may involve refraining from adjusting or manipulating the mirror for a specified period to ensure that the adhesive sets effectively.
By meticulously following these steps, you can successfully install the new mirror glass, completing a crucial phase of the side view mirror repair process. With the new glass securely in place, you are now ready to proceed to the final stage of testing the mirror to confirm its functionality and performance.
Step 5: Test the new mirror glass
With the new mirror glass securely installed, it's essential to conduct a thorough testing process to verify its functionality and performance. This step ensures that the repaired side view mirror meets the necessary safety and visibility standards, providing you with confidence and peace of mind when operating your vehicle. Here's a detailed guide on how to effectively test the new mirror glass:
-
Visual Inspection: Begin by visually inspecting the newly installed mirror glass from both the driver's seat and the exterior of the vehicle. Check for any distortions, misalignments, or irregularities in the reflection. Ensure that the mirror provides a clear and accurate view of the surrounding area, including the adjacent lanes and the vehicle's blind spots.
-
Adjustment Verification: Test the adjustability of the mirror from the driver's seat. Confirm that the mirror can be adjusted to the desired angles and positions with smooth and precise movements. Check for any resistance or limitations in the adjustment mechanism, as these issues may hinder the mirror's usability.
-
Visibility Assessment: With the vehicle parked in a safe location, assess the visibility provided by the new mirror glass. Look for any obstructions, such as glare or reflections that impede clear visibility. Additionally, ensure that the mirror effectively eliminates blind spots and enhances your overall awareness of surrounding traffic and obstacles.
-
Functional Testing: Engage the vehicle's ignition and activate the side view mirror controls. Test the functionality of any integrated heating or defrosting features, if applicable. Verify that these functions operate as intended, particularly in adverse weather conditions where clear visibility is crucial for safe driving.
-
Road Test: Take the vehicle for a brief test drive to evaluate the performance of the new mirror glass in real-world conditions. Pay attention to the mirror's stability at various speeds and road surfaces. Assess its resistance to vibrations and wind turbulence, ensuring that it remains securely in place and provides consistent visibility.
-
Second Opinion: If possible, seek a second opinion from a passenger or another individual to validate the effectiveness of the new mirror glass. Their perspective may reveal any nuances or deficiencies in the mirror's performance that you may have overlooked.
By meticulously conducting these tests, you can confidently ascertain the quality and reliability of the new mirror glass. This comprehensive evaluation ensures that the repaired side view mirror meets the highest standards of safety and functionality, allowing you to resume driving with enhanced visibility and confidence.
Conclusion
In conclusion, successfully replacing the side view mirror glass of your vehicle is a rewarding accomplishment that enhances both safety and aesthetics. By following the step-by-step process outlined in this guide, you have taken control of a crucial repair, saving time and money while restoring the functionality of an essential component of your vehicle.
Throughout this journey, you have gathered the necessary tools, removed the old mirror glass with precision, meticulously cleaned the mirror housing, and installed the new mirror glass with care and attention to detail. Each stage of the process has contributed to the overall quality and longevity of the repair, ensuring that your side view mirror is once again a reliable asset for safe driving.
As you reflect on the completion of this repair, it's important to acknowledge the empowerment that comes with taking on such tasks independently. By embracing the opportunity to restore your vehicle's mirror, you have not only honed your practical skills but also gained a deeper understanding of the intricate components that contribute to the functionality of your vehicle.
Moving forward, the successful replacement of the side view mirror glass serves as a testament to your resourcefulness and capability as a vehicle owner. The attention to detail and commitment to quality demonstrated throughout this repair exemplify your dedication to maintaining your vehicle in optimal condition.
With the new mirror glass securely in place and thoroughly tested for functionality and performance, you can confidently navigate the roads, knowing that your side view mirror provides clear visibility and enhances your overall safety as a driver.
As you embark on future automotive endeavors, may the knowledge and skills gained from this repair continue to empower you, allowing you to tackle new challenges with confidence and proficiency. Remember, the ability to take charge of essential repairs not only saves time and money but also fosters a deeper connection with your vehicle, strengthening the bond between driver and machine.
In closing, the successful replacement of the side view mirror glass stands as a testament to your resourcefulness, capability, and commitment to maintaining a safe and reliable vehicle. With this repair behind you, may you continue to journey with confidence, knowing that you have the skills and determination to overcome any automotive challenge that comes your way.
Frequently Asked Questions about How To Fix Side View Mirror Glass Only
Was this page helpful?
At Storables.com, we guarantee accurate and reliable information. Our content, validated by Expert Board Contributors, is crafted following stringent Editorial Policies. We're committed to providing you with well-researched, expert-backed insights for all your informational needs.


0 thoughts on “How To Fix Side View Mirror Glass Only”