Home>Furniture & Design>Interior Design Trends>How To Flatten A Glass Bottle
Interior Design Trends
How To Flatten A Glass Bottle
Modified: October 19, 2024
Discover the latest interior design trends with our guide on how to flatten a glass bottle. Transform your space with this unique and creative DIY project.
(Many of the links in this article redirect to a specific reviewed product. Your purchase of these products through affiliate links helps to generate commission for Storables.com, at no extra cost. Learn more)
Introduction
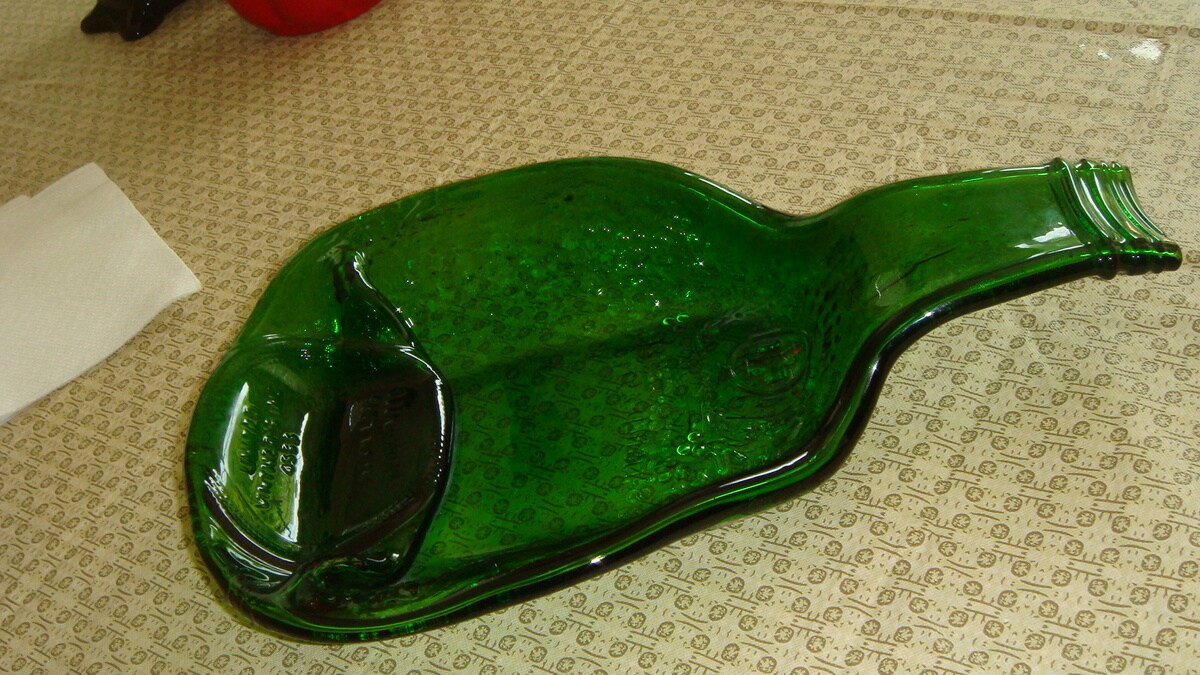
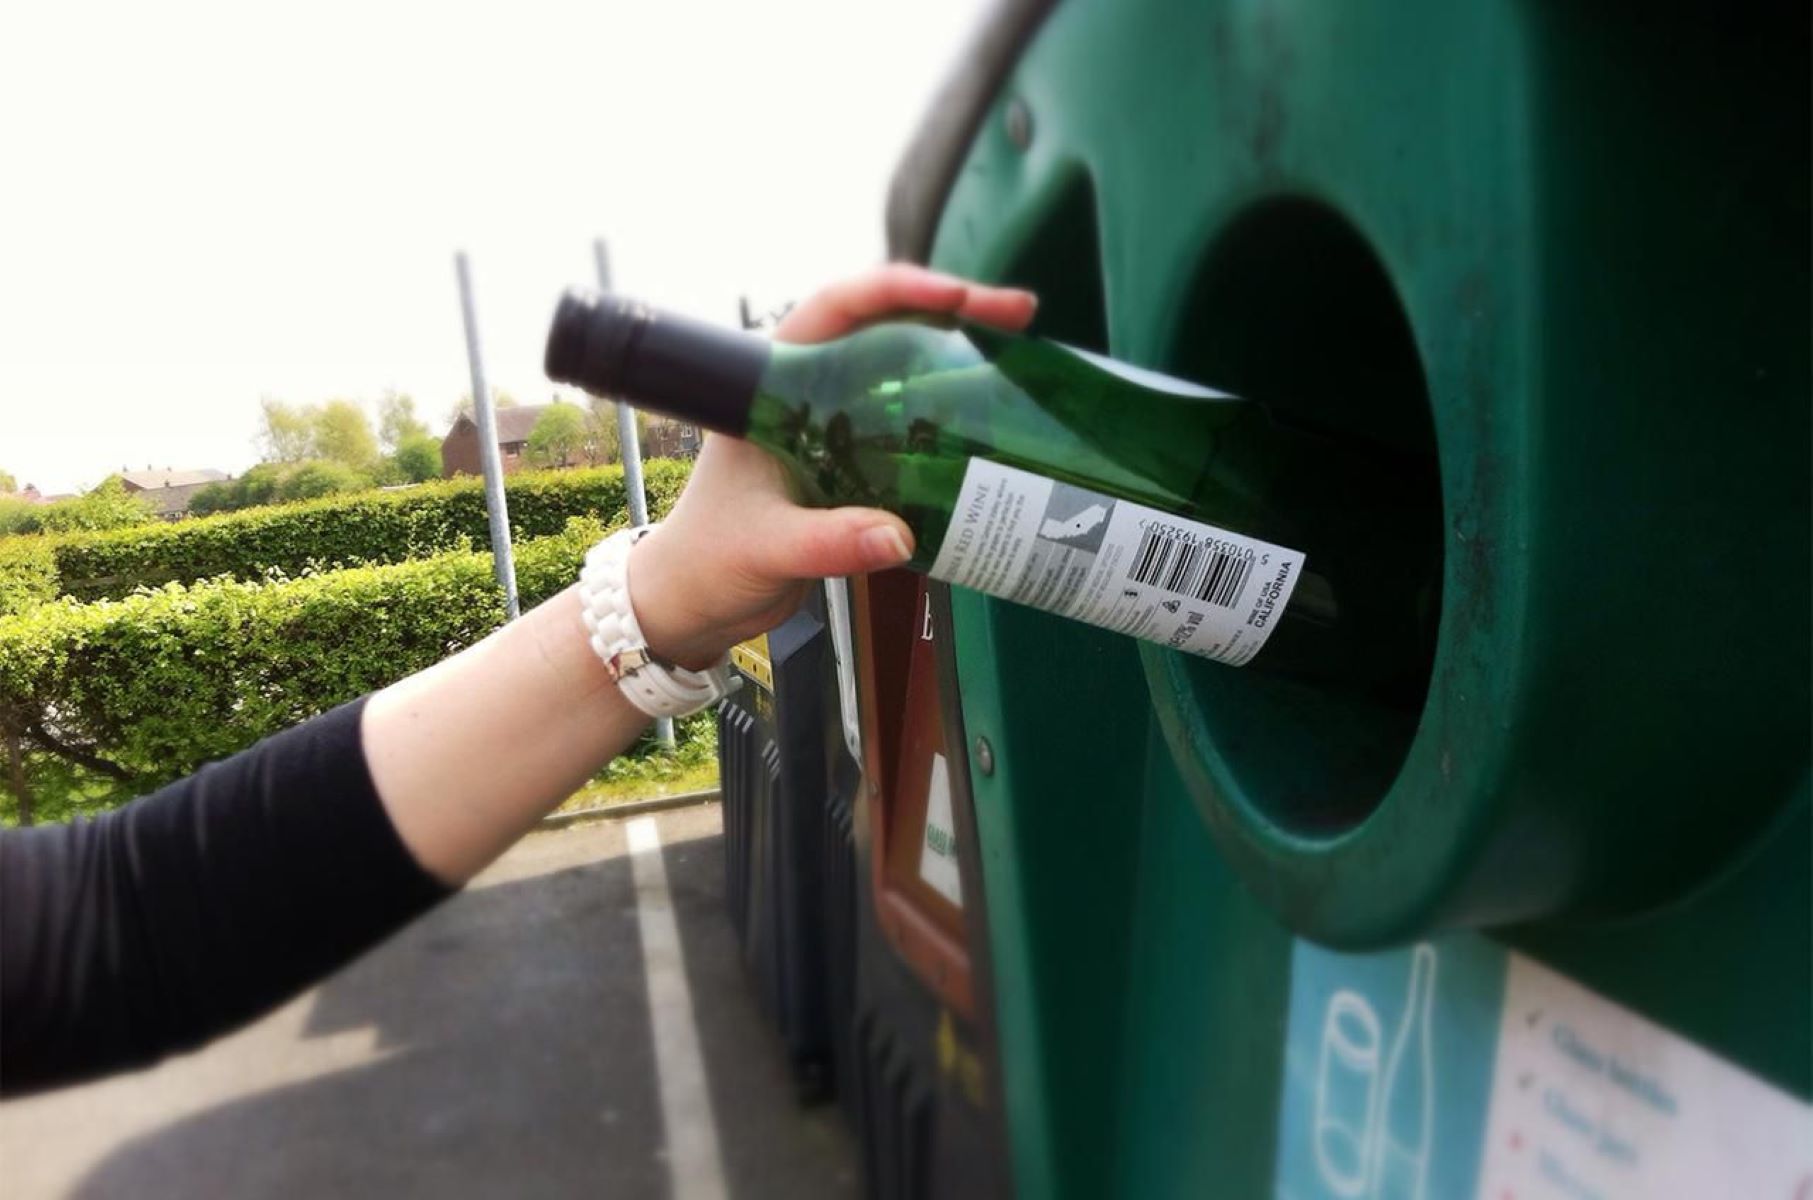
Flattening a glass bottle is a captivating and eco-friendly way to repurpose and upcycle glass containers. This creative process transforms ordinary bottles into unique, functional pieces of art, perfect for crafting personalized gifts, home decor, or even jewelry. By flattening glass bottles, you can unleash your creativity and contribute to sustainable living by reducing waste.
Whether you're a seasoned crafter or a curious DIY enthusiast, learning how to flatten glass bottles opens up a world of possibilities. From wine and beer bottles to colorful soda and spirit containers, the potential for creating stunning, flattened glass pieces is virtually limitless. With the right materials, techniques, and a dash of creativity, you can embark on an exciting journey of transforming ordinary glass bottles into extraordinary, flattened works of art.
In this comprehensive guide, we will explore the step-by-step process of flattening glass bottles, providing you with the knowledge and skills needed to embark on this rewarding craft. From preparing the bottles and applying the right amount of heat to the delicate art of flattening and adding finishing touches, each step is crucial in achieving a beautifully flattened glass bottle.
So, gather your materials, unleash your creativity, and let's dive into the fascinating world of glass bottle flattening. Whether you're looking to create unique home decor, personalized gifts, or simply explore a new craft, this guide will equip you with the essential know-how to embark on this exciting and sustainable creative endeavor.
Key Takeaways:
- Transform ordinary glass bottles into unique, functional art pieces through the captivating process of flattening. Unleash your creativity, reduce waste, and contribute to sustainable living with this eco-friendly craft.
- Embark on a rewarding journey of upcycling glass bottles into visually captivating and functionally versatile pieces. From precise preparation to personalized finishing touches, explore the transformative power of artistic expression.
Read more: How To Dispose Of Glass Bottles
Materials Needed
To embark on the captivating journey of flattening glass bottles, you will need a few essential materials to ensure a successful and enjoyable crafting experience. Here's a comprehensive list of the materials required to get started:
-
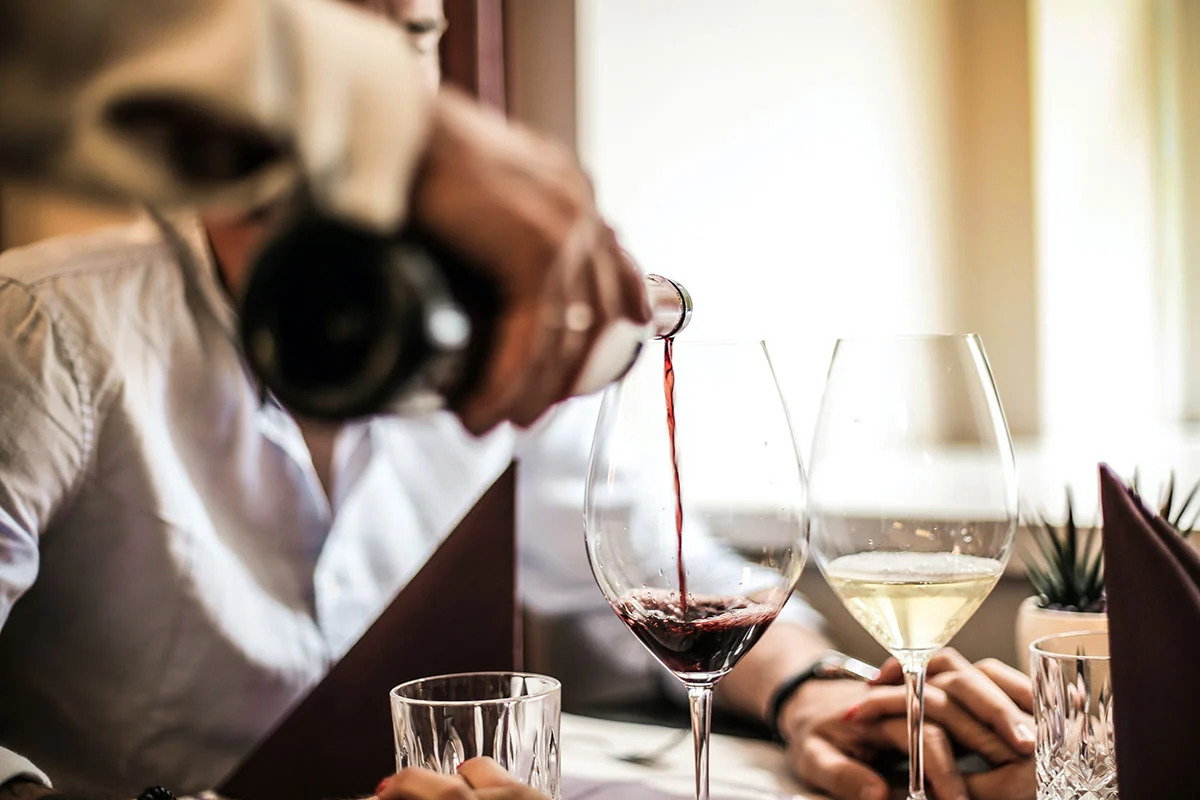
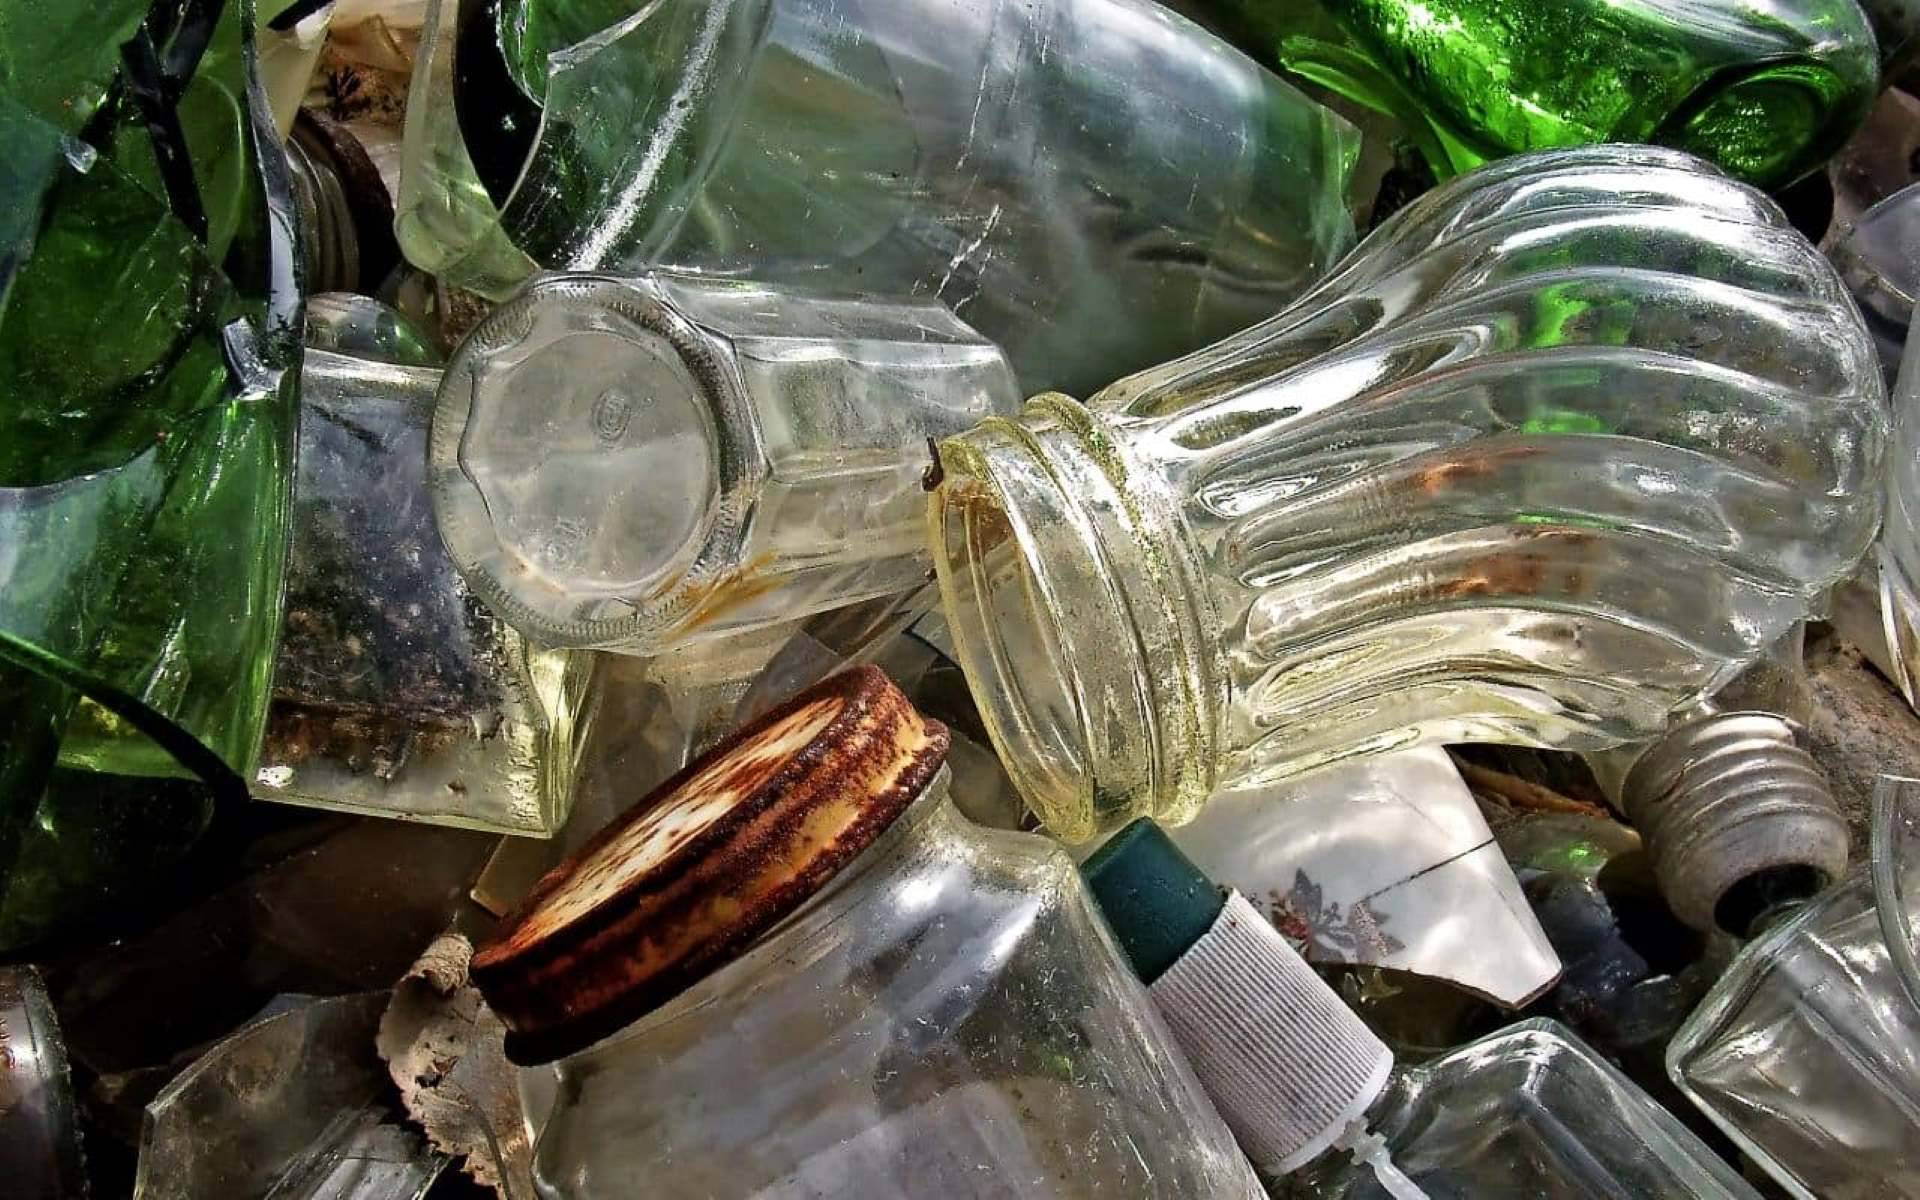
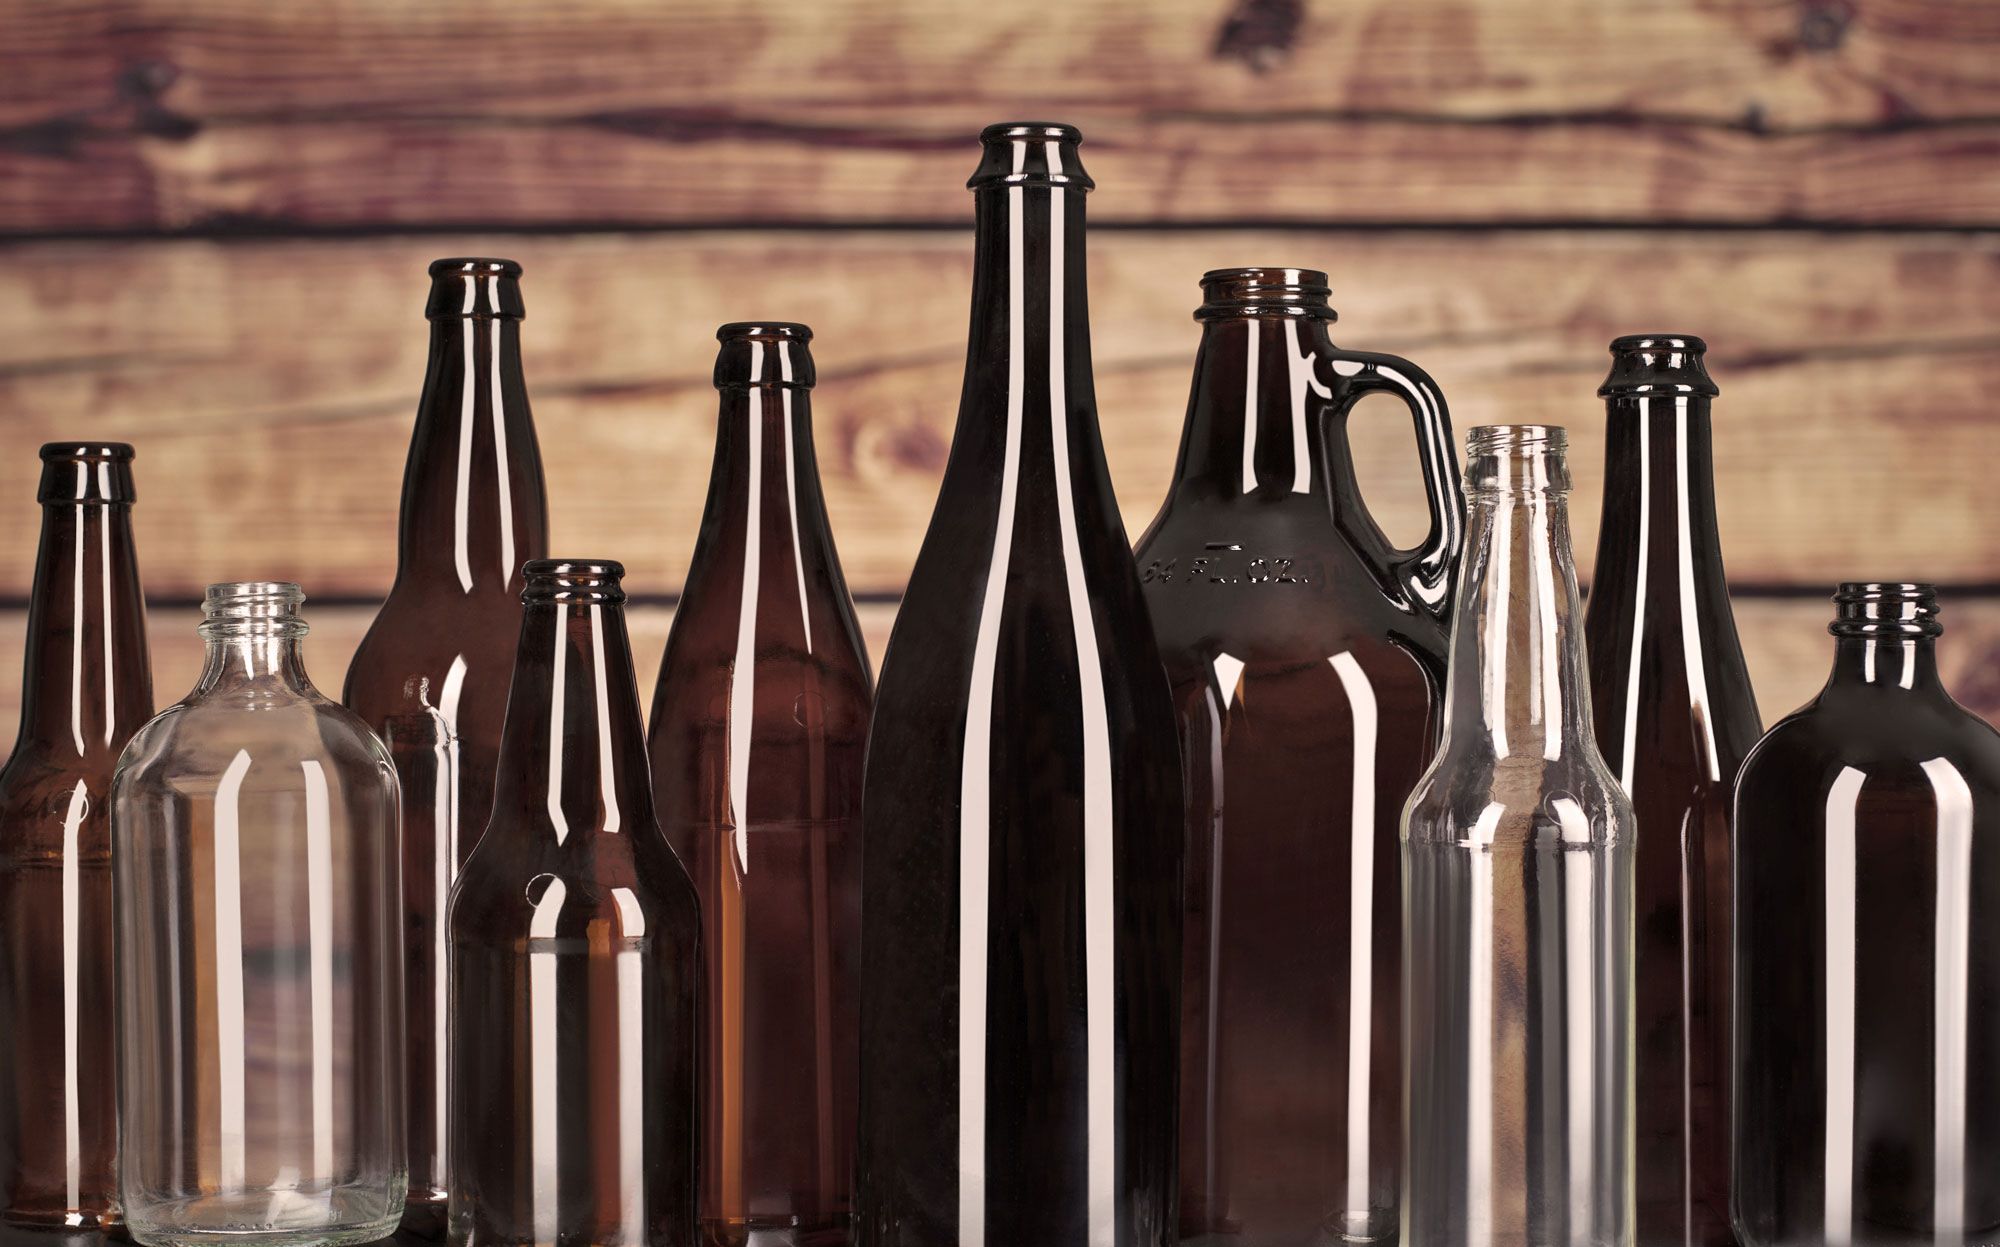
Glass Bottles: Select a variety of glass bottles in different shapes, sizes, and colors to add diversity to your flattened glass collection. Whether it's wine, beer, soda, or spirit bottles, each type offers unique characteristics that contribute to the charm of the finished flattened pieces.
-
Glass Cutter: A reliable glass cutter is essential for scoring the bottles, creating clean and precise lines for a smooth flattening process. Look for a quality glass cutter that provides a comfortable grip and allows for controlled scoring along the bottle's surface.
-
Safety Equipment: Prioritize safety by equipping yourself with protective gear, including safety goggles and gloves, to shield your eyes and hands from potential glass shards during the cutting and flattening process.
-
Heat-Resistant Surface: Prepare a dedicated heat-resistant surface, such as a kiln shelf or ceramic fiber blanket, to place the bottles during the heating and flattening stages. This surface will protect your work area and ensure safe handling of the heated glass bottles.
-
Kiln or Oven: Depending on your preferred method of flattening, you will need access to a kiln or oven capable of reaching the necessary temperature for the glass to soften and conform to the desired shape. Ensure that the kiln or oven is suitable for glass fusing and slumping processes.
-
Quenching Container: Prepare a container filled with cold water to serve as a quenching bath for the heated glass bottles. This rapid cooling process helps solidify the flattened shape and prevent the glass from warping or losing its form.
-
Sandpaper or Glass Grinder: After flattening the glass bottles, you may need to smooth out any rough edges or uneven surfaces. Sandpaper or a glass grinder can be used to refine the edges and achieve a polished finish on the flattened glass pieces.
-
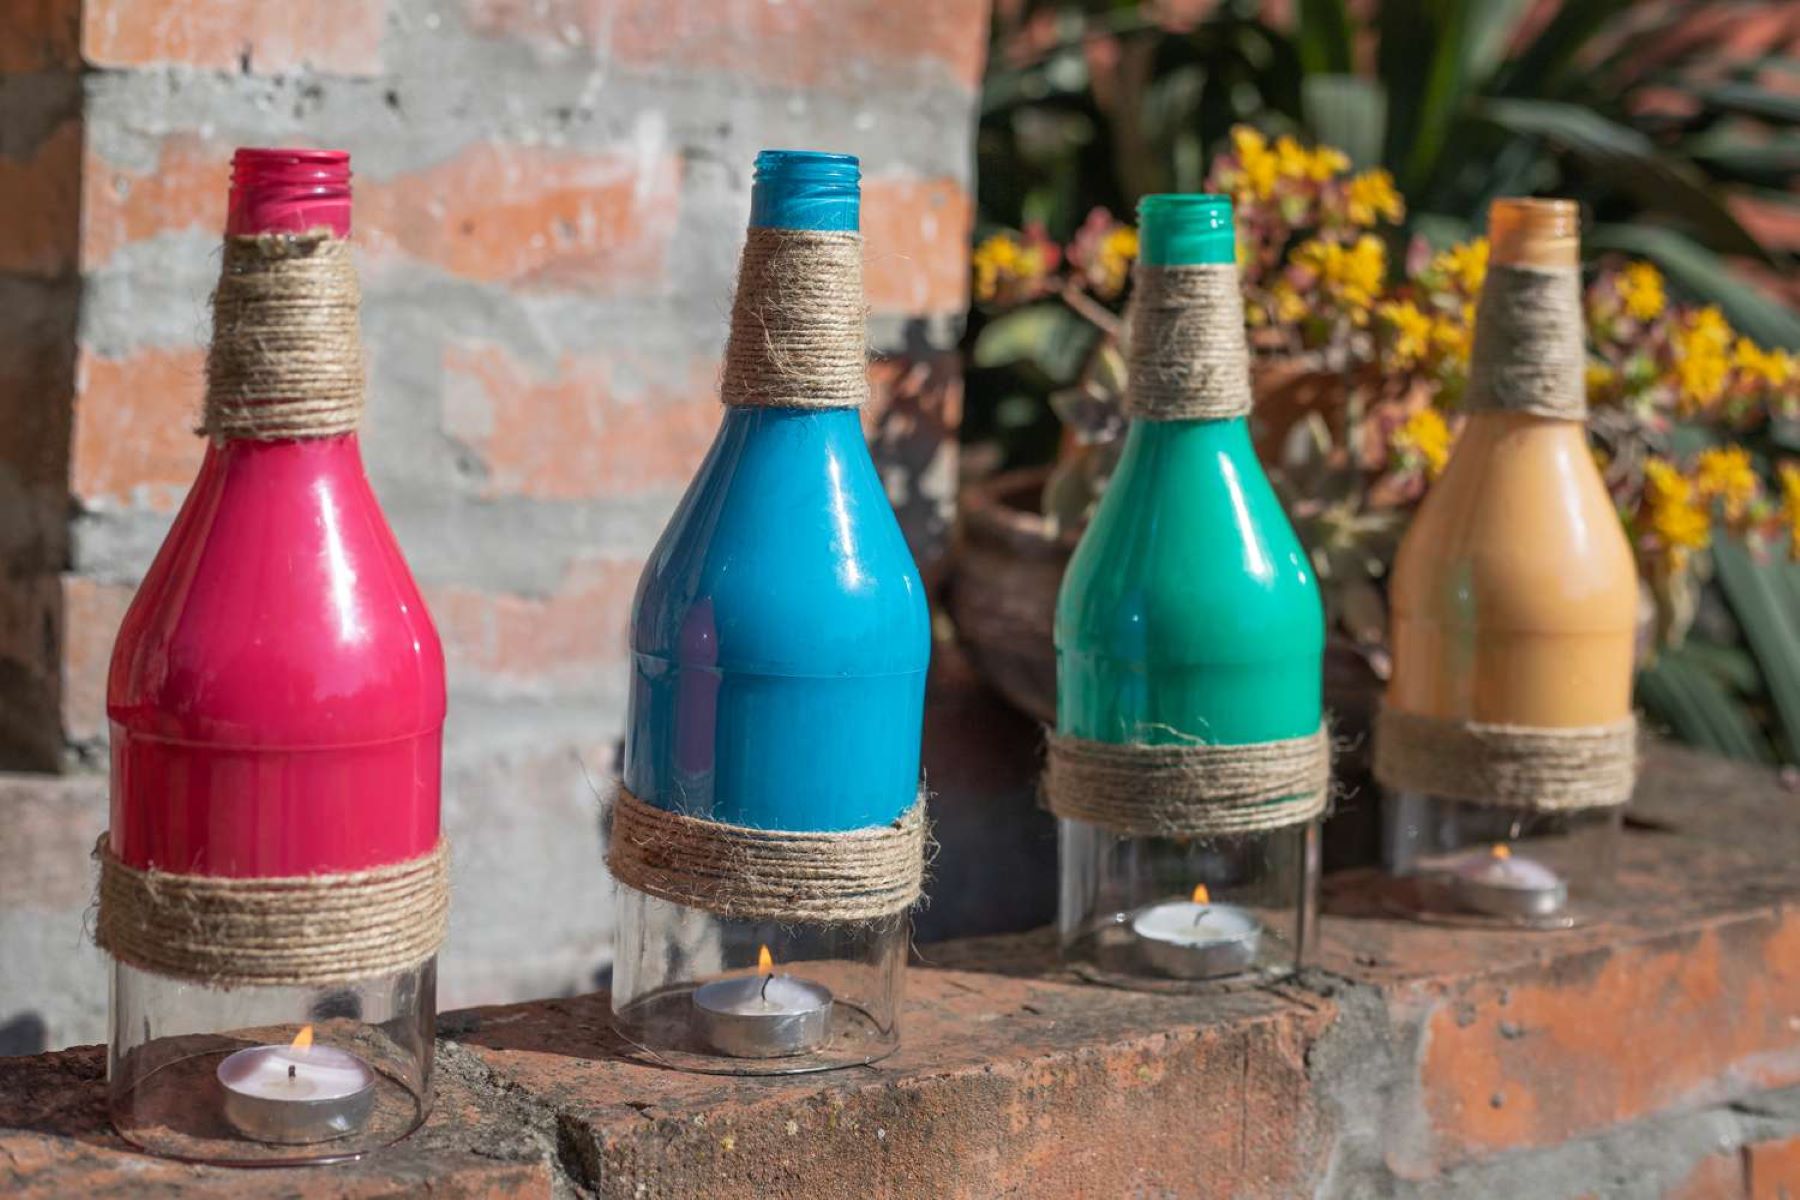
Optional: Glass Paints and Brushes: For those interested in adding a personal touch to their flattened glass creations, consider having glass paints and brushes on hand to embellish the surfaces with intricate designs or vibrant colors.
By gathering these essential materials, you will be well-prepared to embark on the exciting process of flattening glass bottles, unlocking your creativity and transforming ordinary glass containers into extraordinary works of art. With the right materials and a passion for crafting, you are ready to take the first step towards creating stunning flattened glass pieces that reflect your unique style and imagination.
Step 1: Prepare the Bottle
Before diving into the mesmerizing process of flattening glass bottles, it's crucial to prepare the bottles for the transformative journey ahead. Proper preparation sets the stage for a successful and seamless flattening process, ensuring that the glass bottles are primed for the subsequent steps. Here's a detailed exploration of the essential tasks involved in preparing the bottles:
Cleaning and Drying:
Begin by thoroughly cleaning the glass bottles to remove any labels, adhesive residue, or lingering liquids. Submerge the bottles in warm, soapy water and use a scrubbing brush or sponge to eliminate stubborn labels and dirt. Rinse the bottles meticulously to ensure they are free from soap and debris. Once cleaned, allow the bottles to air dry completely, or use a lint-free cloth to dry them thoroughly. Clean, dry bottles provide a pristine canvas for the flattening process, allowing for optimal heat distribution and a smooth transformation.
Removing Labels and Residue:
For bottles with persistent labels or adhesive residue, consider using a combination of hot water, vinegar, and baking soda to loosen and dissolve the stubborn remnants. Submerge the bottles in a solution of hot water and vinegar, and sprinkle baking soda over the labels. Allow the bottles to soak for a few hours before scrubbing off the softened labels and residue. Alternatively, commercial adhesive removers can be used to effectively eliminate stubborn adhesive remnants, ensuring that the bottle surfaces are clean and ready for the next steps.
Read more: How To Sanitize Glass Bottles
Scoring the Bottles:
Once the bottles are clean and dry, it's time to score them in preparation for the flattening process. Using a reliable glass cutter, carefully score a line around the circumference of the bottle at the desired flattening point. Ensure that the scoring is even and consistent to facilitate a uniform flattening outcome. Exercise caution and precision during this step, as the accuracy of the score line significantly influences the success of the flattening process.
By meticulously preparing the glass bottles through thorough cleaning, label removal, and precise scoring, you set the foundation for a rewarding and seamless flattening experience. With the bottles primed and ready, you are now poised to embark on the next exhilarating step: heating the bottles to initiate the transformative journey of glass bottle flattening.
Step 2: Heat the Bottle
Heating the glass bottle is a pivotal stage in the process of flattening, as it allows the glass to soften and become malleable, ready to conform to the desired shape. Whether using a kiln or an oven, the controlled application of heat is essential for achieving successful results. Here's a detailed exploration of the crucial steps involved in heating the glass bottle:
Selecting the Heating Method:
Depending on the available equipment and personal preference, you can choose between using a kiln or an oven for the heating process. Kilns are specifically designed for glass fusing and slumping, offering precise temperature control and consistent heat distribution. Ovens, on the other hand, can be used for smaller-scale projects, provided they can reach the necessary temperature for glass softening. Whichever method you choose, ensure that the heating environment is suitable for glass manipulation and capable of reaching the required temperature range for the flattening process.
Placing the Bottles in the Heating Environment:
Carefully position the scored glass bottles on the designated heat-resistant surface within the kiln or oven. Arrange the bottles with the scored line facing upward, ensuring that they are stable and secure to prevent movement during the heating process. If flattening multiple bottles simultaneously, maintain adequate spacing between them to allow for even heat distribution and prevent potential contact between the bottles.
Read more: How To Drill Glass Bottles
Gradually Increasing the Temperature:
Initiate the heating process by gradually increasing the temperature within the kiln or oven. Follow the recommended heating schedule based on the type of glass being used, ensuring a controlled temperature ramp to prevent thermal shock and minimize the risk of glass breakage. Monitor the heating environment closely, adjusting the temperature settings as needed to maintain a consistent and gradual increase in heat.
Allowing for Proper Annealing:
Once the glass bottles reach the target temperature for softening, allow them to dwell at this temperature for the specified duration to ensure proper annealing. Annealing is a critical phase that relieves internal stresses within the glass, enhancing its structural integrity and reducing the likelihood of post-flattening breakage. Adhering to the recommended annealing schedule is essential for achieving durable and resilient flattened glass pieces.
Quenching the Heated Bottles:
After the annealing period, carefully remove the heated glass bottles from the kiln or oven and promptly transfer them to the prepared quenching container filled with cold water. The rapid cooling process, known as quenching, solidifies the flattened shape and stabilizes the glass, preventing warping or distortion. Exercise caution when quenching the bottles, ensuring a smooth and controlled transition from the heat to the cold water bath.
By meticulously following these steps, you can effectively heat the glass bottles with precision and care, setting the stage for the transformative process of flattening. With the bottles heated to the optimal temperature and properly annealed, you are now ready to embark on the exhilarating next step: flattening the bottles to bring your creative vision to life.
Step 3: Flatten the Bottle
With the glass bottles heated to the precise temperature and properly annealed, the exhilarating stage of flattening begins. This transformative process requires precision, patience, and a keen eye for detail to achieve the desired flattened outcome. Here's a detailed exploration of the essential steps involved in flattening the heated glass bottles:
Read more: How To Sterilize Glass Bottles
Positioning the Bottles:
Carefully retrieve the heated glass bottles from the quenching container, ensuring a secure grip to prevent accidental slippage. Place the bottles on a flat and heat-resistant surface, readying them for the delicate flattening process. Position the bottles with the scored line facing upward, allowing for clear visibility and precise manipulation during the flattening stage.
Applying Even Pressure:
Using a dedicated flattening tool or a custom-made mold, apply even pressure along the scored line of the glass bottle. The goal is to gently encourage the softened glass to conform to the desired flattened shape. Exercise caution and patience, gradually increasing the pressure to facilitate a uniform transformation while avoiding sudden or excessive force that may lead to uneven flattening or potential breakage.
Monitoring the Transformation:
As the pressure is applied, closely monitor the glass bottle's gradual transition from its original cylindrical form to a flattened state. Pay attention to the glass's behavior and response to the applied pressure, ensuring that the flattening process progresses smoothly and consistently. This attentive approach allows for real-time adjustments to achieve the desired level of flattening and ensure a visually appealing outcome.
Achieving the Desired Shape:
Continue applying controlled pressure until the glass bottle reaches the desired flattened shape, maintaining a steady and deliberate approach to ensure uniformity and precision. Whether aiming for a subtle flattened curve or a completely flattened surface, the gradual application of pressure allows for artistic expression and customization, resulting in unique and captivating flattened glass pieces.
Read more: How To Reuse Glass Bottles
Final Inspection:
Once the glass bottle has been successfully flattened, carefully inspect the transformed shape to identify any irregularities or imperfections. Address any minor adjustments or refinements as needed, ensuring that the flattened glass piece meets your artistic vision and quality standards. Smooth out any rough edges using sandpaper or a glass grinder, refining the flattened surface to achieve a polished and professional finish.
By meticulously following these steps, you can effectively flatten the heated glass bottles with precision and care, bringing your creative vision to life in the form of stunning flattened glass pieces. With the bottles successfully flattened and refined, you have unlocked the potential to create unique home decor, personalized gifts, or one-of-a-kind artistic expressions that showcase the beauty of upcycled glass bottles.
Step 4: Finishing Touches
With the glass bottles successfully flattened and refined, the stage is set for adding the finishing touches that elevate the transformed pieces from functional to visually captivating works of art. This crucial phase allows for personalization, refinement, and the infusion of creative flair, ensuring that the flattened glass bottles reflect your unique style and artistic vision. Here's a detailed exploration of the essential steps involved in adding the finishing touches to the flattened glass pieces:
Refining the Edges:
Inspect the flattened glass bottles to identify any rough or uneven edges resulting from the flattening process. Utilize fine-grit sandpaper or a glass grinder to meticulously refine the edges, smoothing out any imperfections and achieving a polished finish. This meticulous refinement enhances the tactile and visual appeal of the flattened glass pieces, ensuring a professional and aesthetically pleasing outcome.
Embellishing with Glass Paints:
For those seeking to infuse their flattened glass creations with personalized designs or vibrant colors, consider utilizing glass paints and brushes to embellish the surfaces. Whether it's intricate patterns, abstract motifs, or vivid hues, the application of glass paints allows for artistic expression and customization, transforming the flattened glass bottles into captivating artistic statements. Exercise creativity and precision as you adorn the glass surfaces, allowing your imagination to guide the creation of visually stunning designs.
Read more: How To Decorate Glass Bottles
Adding Decorative Elements:
Explore the possibility of incorporating decorative elements to further enhance the appeal of the flattened glass bottles. Whether it's affixing decorative beads, attaching metallic accents, or integrating other embellishments, these additions can impart a touch of elegance and individuality to the flattened glass pieces. Exercise restraint and balance in the placement of decorative elements, ensuring that they complement the overall aesthetic and contribute to the visual allure of the transformed glass bottles.
Creating Functional Art:
Consider the practical applications of the flattened glass bottles and explore ways to transform them into functional art pieces. Whether repurposing them as serving trays, wall-mounted decor, or unique coasters, the flattened glass pieces offer versatile opportunities to merge functionality with artistic expression. Embrace innovative ideas and consider the intended use of the flattened glass bottles, allowing their transformation into functional art to enrich both everyday life and aesthetic appreciation.
Sealing and Protecting:
Upon completing the embellishment and refinement process, consider sealing the flattened glass bottles to protect the decorative elements and ensure long-lasting durability. Select a high-quality glass sealant or varnish designed for use on glass surfaces, applying it according to the manufacturer's instructions to safeguard the embellishments and preserve the visual appeal of the flattened glass pieces. This protective step enhances the longevity and resilience of the finished creations, allowing them to be enjoyed for years to come.
By meticulously adding the finishing touches to the flattened glass bottles, you have elevated them from mere glass containers to captivating works of art that reflect your creativity and personal style. Whether displayed as striking decor or utilized as functional art pieces, the embellished and refined flattened glass bottles serve as a testament to the transformative power of upcycling and creative expression. With the finishing touches complete, your journey of flattening glass bottles culminates in the creation of unique and visually captivating pieces that inspire admiration and appreciation.
Conclusion
In conclusion, the art of flattening glass bottles transcends mere crafting; it embodies a harmonious blend of creativity, sustainability, and artistic expression. Throughout this comprehensive guide, we have delved into the captivating process of transforming ordinary glass containers into extraordinary flattened pieces of art. From the meticulous preparation of the bottles and the precise application of heat to the delicate art of flattening and the infusion of personalized finishing touches, each step has contributed to the creation of visually captivating and functionally versatile pieces.
By embarking on the journey of flattening glass bottles, crafters and DIY enthusiasts have the opportunity to contribute to sustainable living by repurposing and upcycling glass containers, reducing waste, and breathing new life into everyday objects. The versatility of flattened glass pieces extends beyond their aesthetic appeal, offering practical applications as serving trays, wall-mounted decor, or unique coasters, seamlessly blending functionality with artistic expression.
Furthermore, the process of flattening glass bottles fosters a sense of creative exploration and personalization, allowing individuals to infuse their unique style, designs, and embellishments onto the glass surfaces. Whether through the application of vibrant glass paints, the refinement of edges, or the addition of decorative elements, each flattened glass piece becomes a canvas for artistic expression, reflecting the imagination and creativity of its creator.
As we conclude this guide, it is essential to recognize the transformative power of upcycling and the potential for ordinary objects to evolve into extraordinary works of art. The journey of flattening glass bottles transcends the boundaries of traditional crafting, inviting individuals to explore their creativity, embrace sustainable practices, and celebrate the beauty of artistic expression.
Whether displayed as striking decor, cherished as personalized gifts, or utilized as functional art pieces, the flattened glass bottles stand as a testament to the ingenuity and resourcefulness of those who embark on this creative endeavor. With each flattened glass piece, a story unfolds – a story of innovation, sustainability, and the boundless potential of artistic expression.
In essence, the journey of flattening glass bottles is not merely a craft; it is a celebration of creativity, sustainability, and the transformative power of art. As we part ways, may the knowledge and inspiration gained from this guide continue to fuel your creative endeavors, encouraging you to explore new horizons, embrace sustainable practices, and infuse everyday objects with the magic of artistic expression.
Frequently Asked Questions about How To Flatten A Glass Bottle
Was this page helpful?
At Storables.com, we guarantee accurate and reliable information. Our content, validated by Expert Board Contributors, is crafted following stringent Editorial Policies. We're committed to providing you with well-researched, expert-backed insights for all your informational needs.


0 thoughts on “How To Flatten A Glass Bottle”