Home>Furniture & Design>Interior Design Trends>How To Clean Old Glass Bottles
Interior Design Trends
How To Clean Old Glass Bottles
Modified: February 25, 2024
Learn how to clean old glass bottles to add a vintage touch to your interior design. Discover the latest interior design trends for incorporating antique glassware.
(Many of the links in this article redirect to a specific reviewed product. Your purchase of these products through affiliate links helps to generate commission for Storables.com, at no extra cost. Learn more)
Introduction
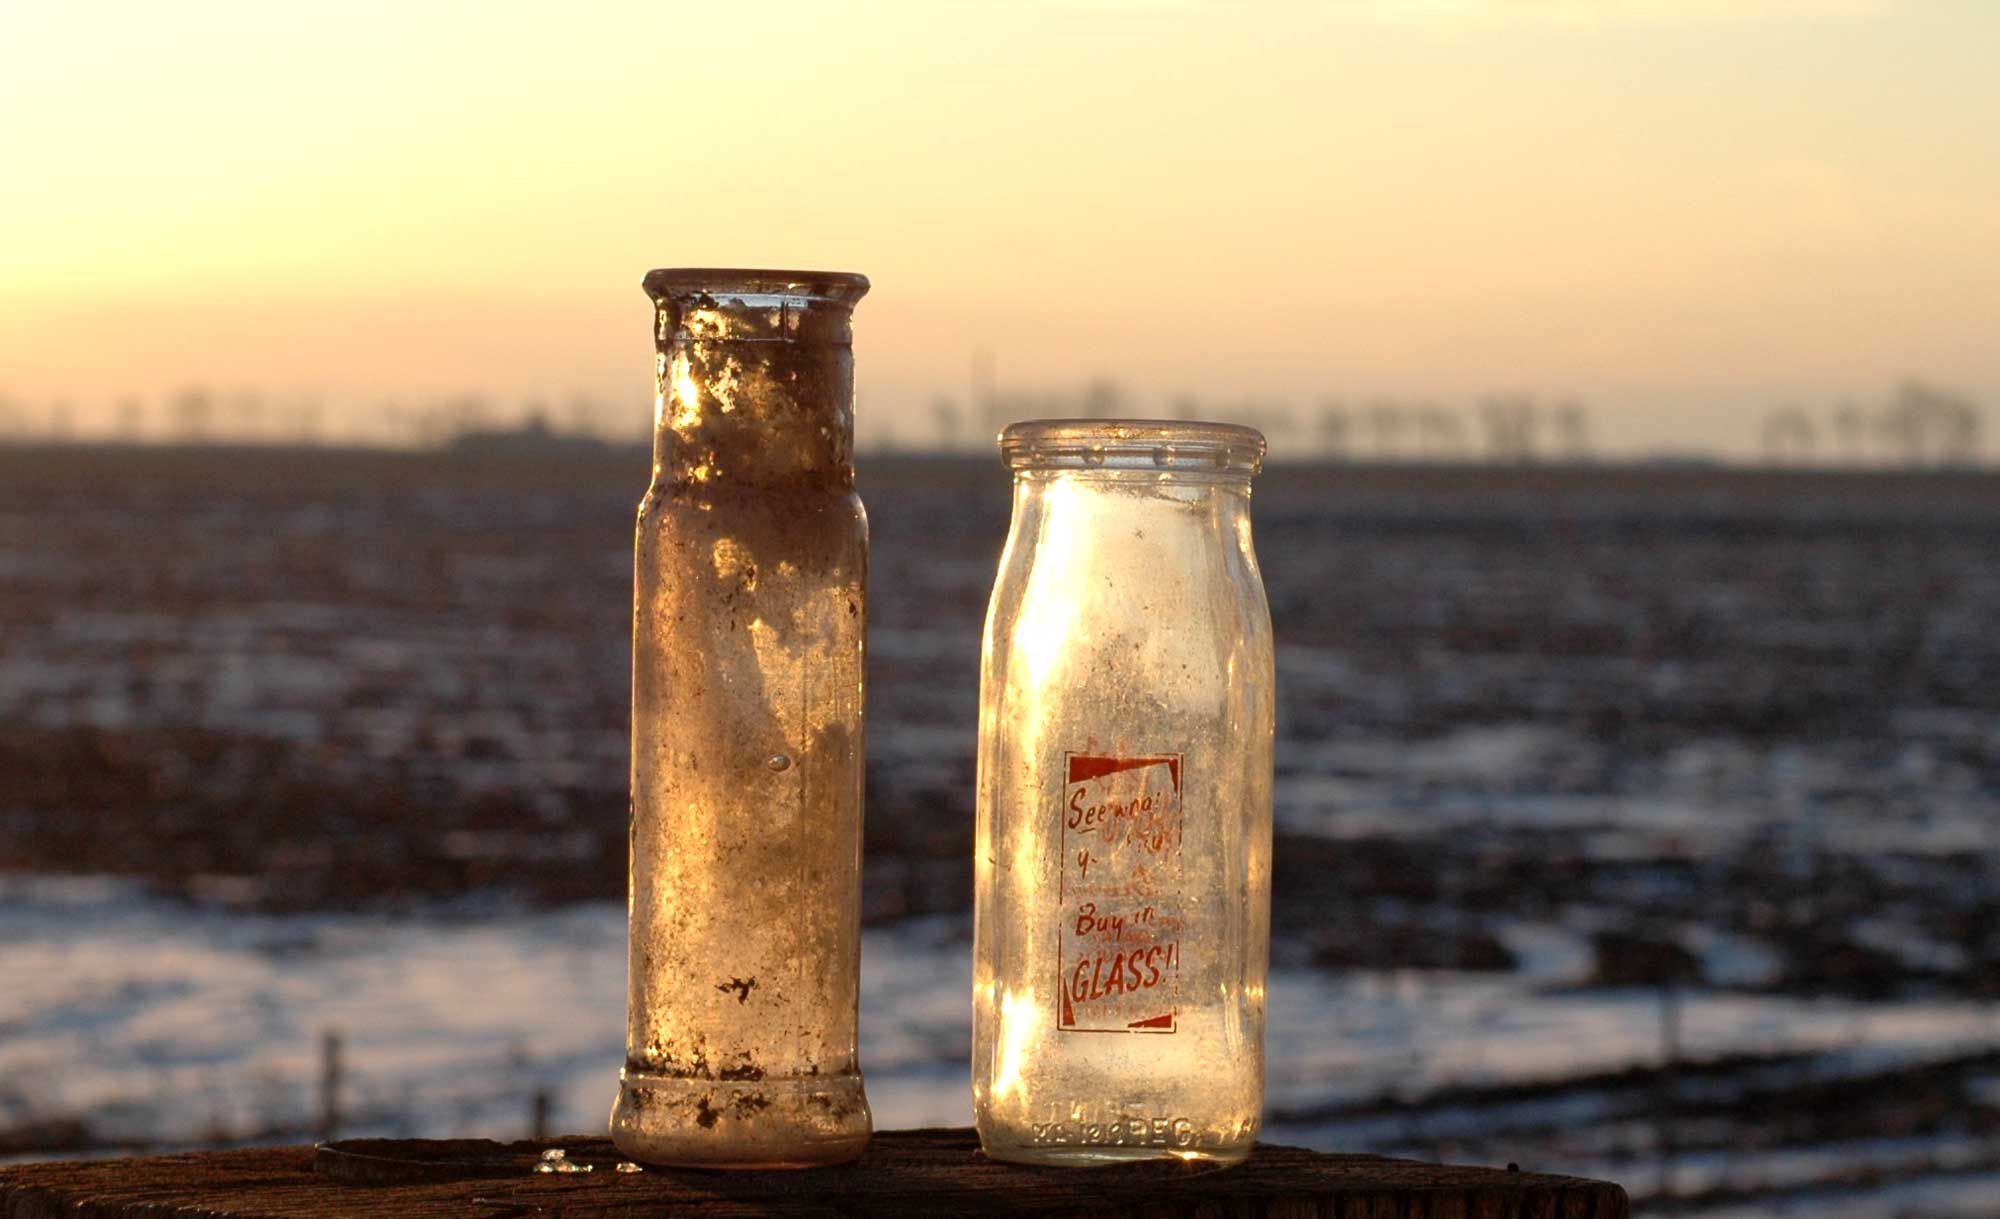
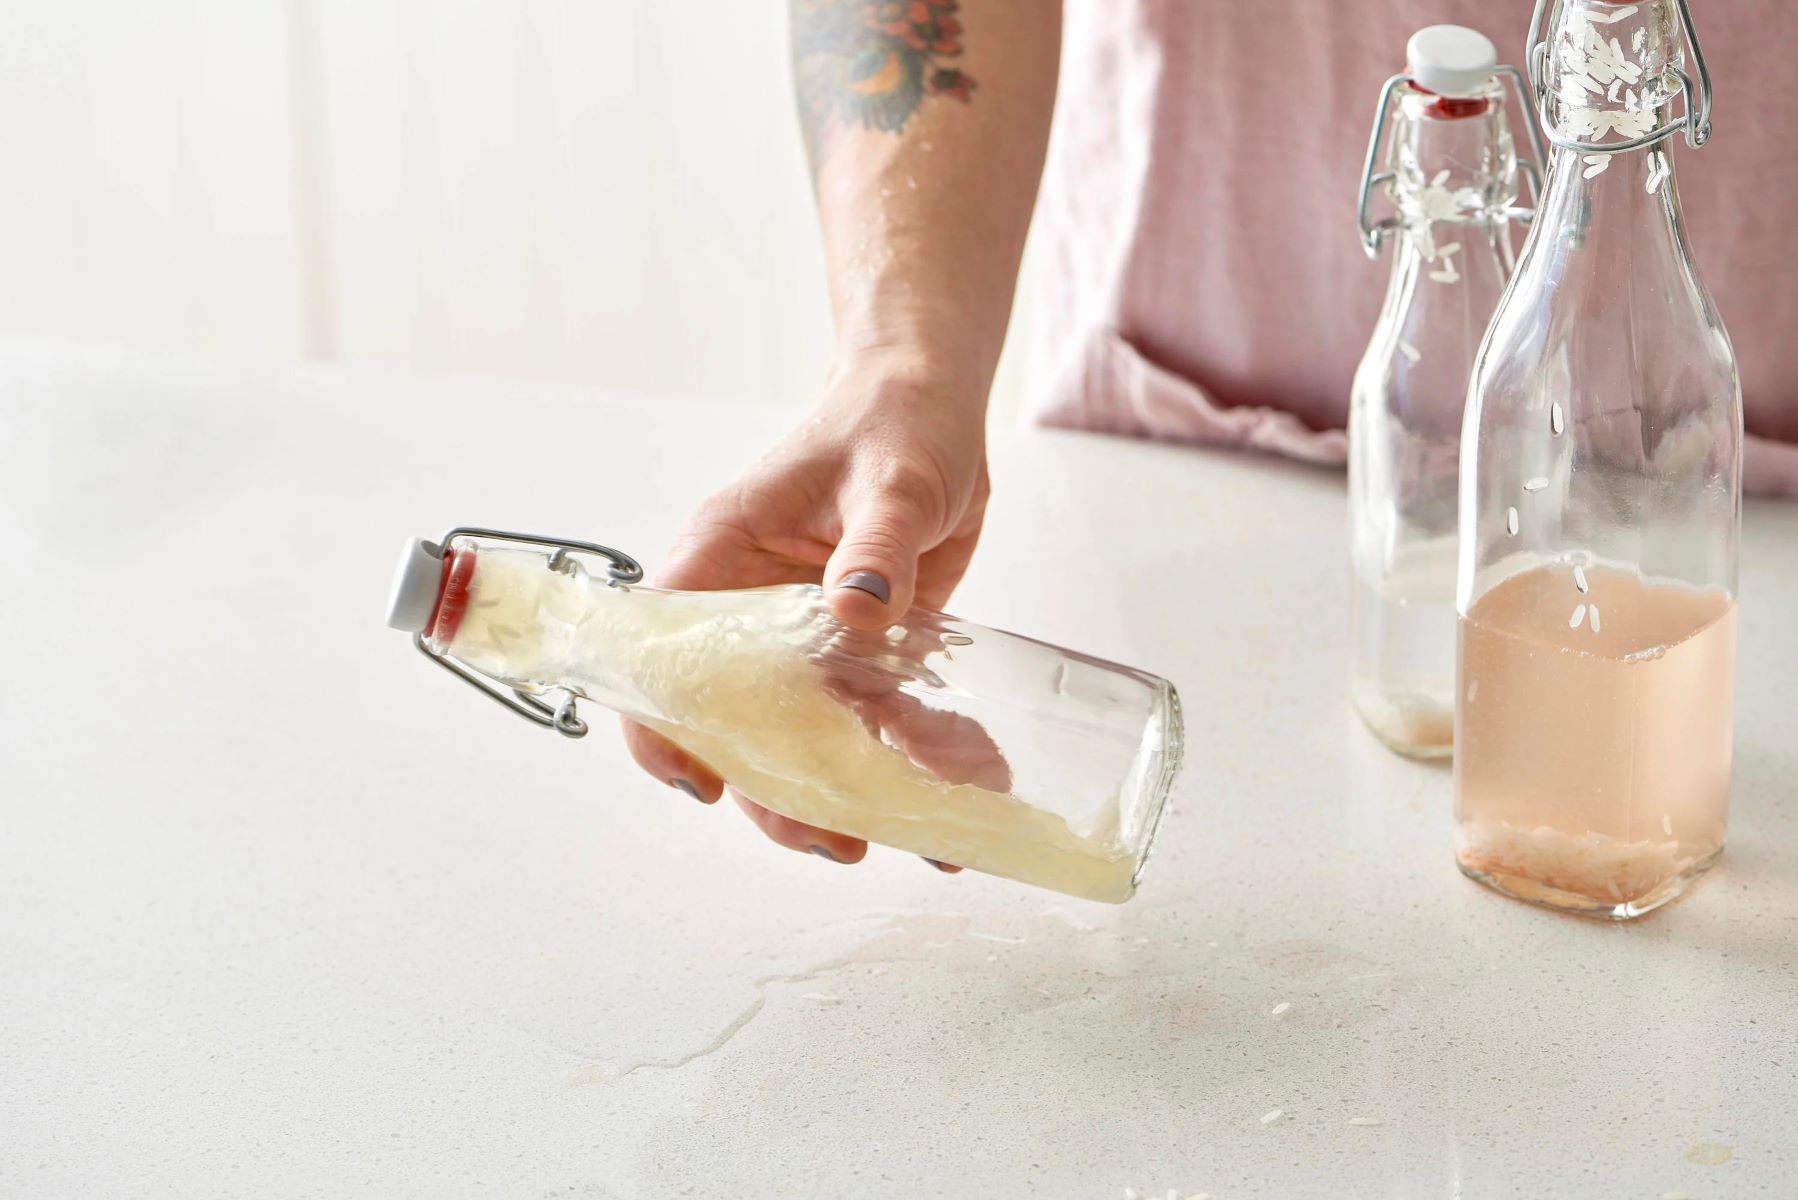
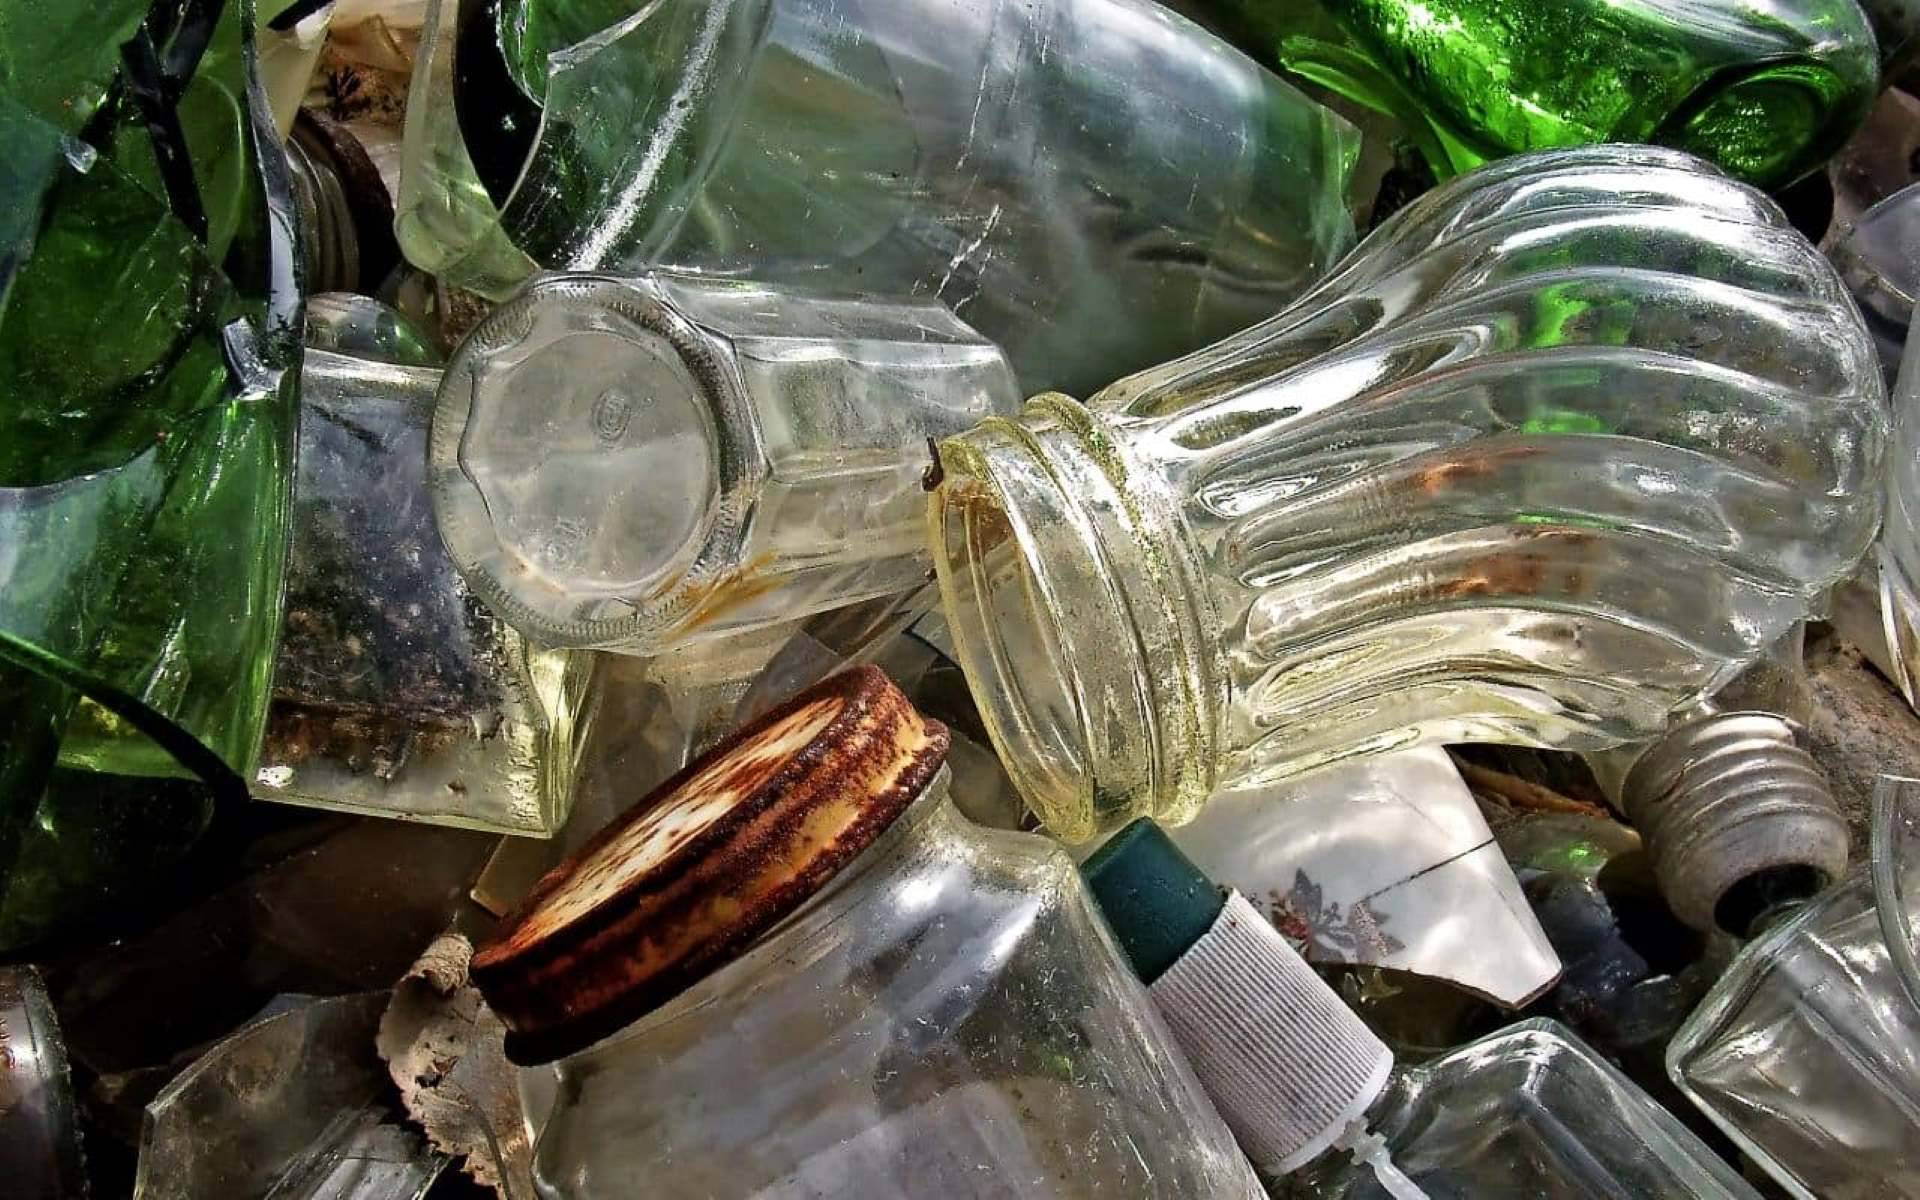
Cleaning old glass bottles can be a rewarding and enjoyable activity, whether you're a collector, crafter, or simply looking to repurpose these vintage treasures. Over time, glass bottles can accumulate dirt, grime, and stubborn labels, making them appear dull and unattractive. However, with the right techniques and a little patience, you can restore these bottles to their former glory, ready to be displayed or repurposed for various creative projects.
In this comprehensive guide, we will walk you through the step-by-step process of cleaning old glass bottles effectively. From removing stubborn labels to achieving a sparkling clean finish, you'll learn the best practices and essential tips to revitalize your vintage glass bottle collection. Whether you've unearthed a cache of antique bottles from a forgotten attic or stumbled upon a unique find at a flea market, this guide will equip you with the knowledge and techniques needed to breathe new life into these timeless artifacts.
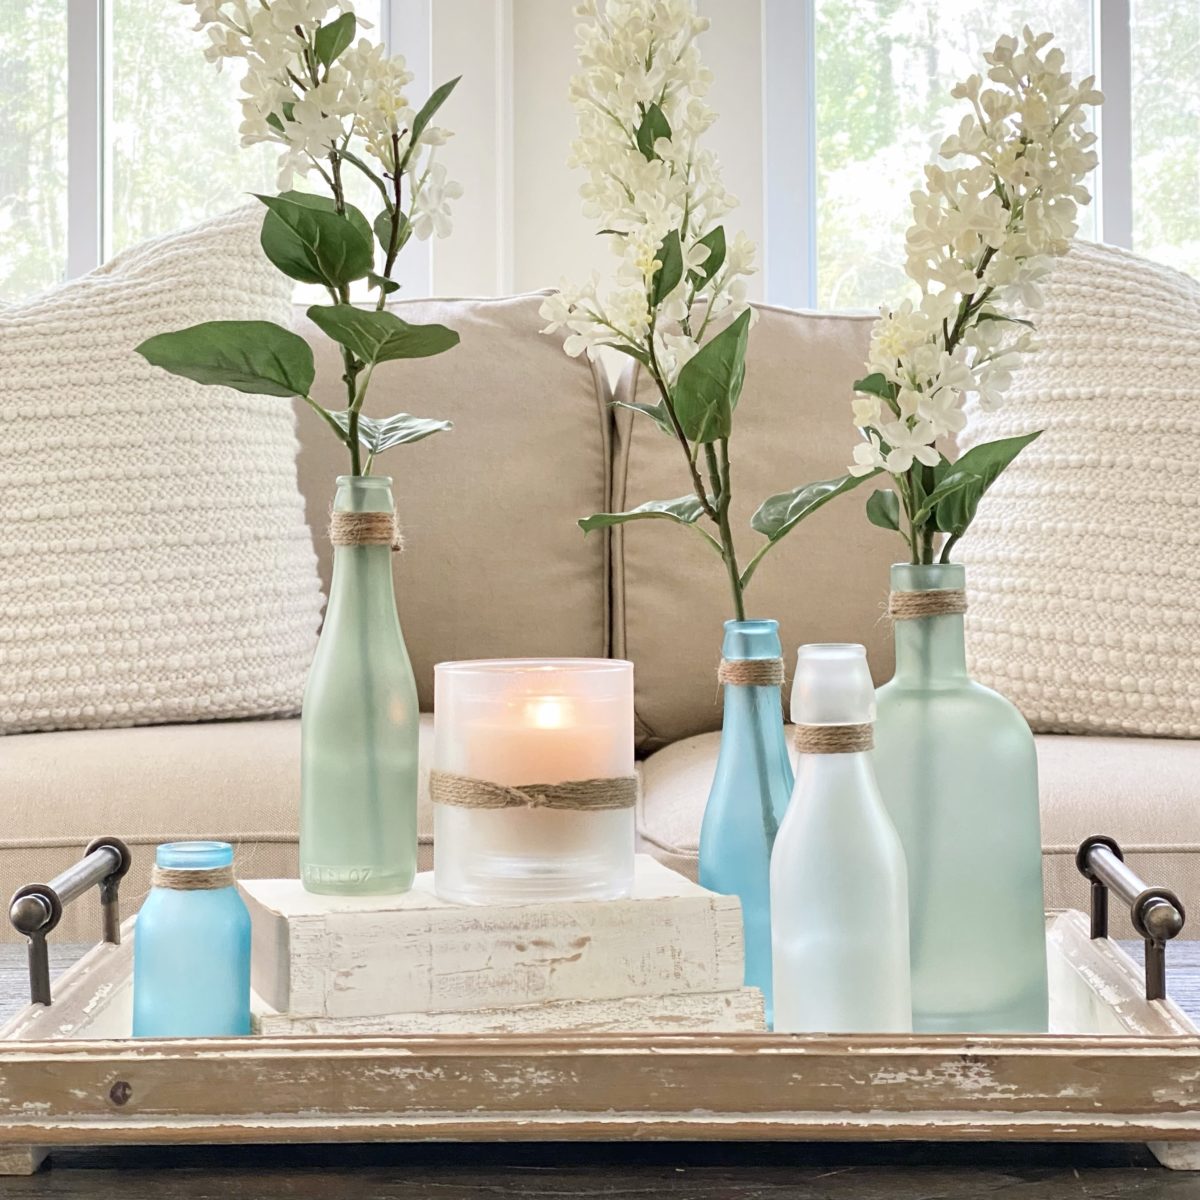
By following the methods outlined in this guide, you'll not only preserve the historical and aesthetic value of these glass bottles but also unleash your creativity by repurposing them into charming décor pieces or functional containers. With a few simple materials and a systematic approach, you can transform dingy, neglected bottles into captivating conversation pieces that add character and charm to any space.
So, roll up your sleeves, gather your supplies, and get ready to embark on a journey of restoration and creativity. With our expert guidance, you'll soon discover the satisfaction of transforming old glass bottles into captivating works of art. Let's dive into the process and unlock the potential of these timeless relics.
Key Takeaways:
- Transform neglected glass bottles into captivating works of art by following a step-by-step restoration process. Unleash creativity and preserve historical value with simple materials and expert techniques.
- Revitalize vintage glass bottles with warm water, dish soap, and gentle scrubbing. Preserve their timeless allure and unlock creative potential for charming décor or functional containers.
Read more: How To Identify Old Glass Bottles
Materials Needed
To embark on the journey of cleaning old glass bottles, you'll need a few essential materials to ensure a thorough and effective restoration process. These items are readily available and will equip you with the necessary tools to tackle stubborn labels, grime, and discoloration, ultimately revitalizing the bottles to their former luster.
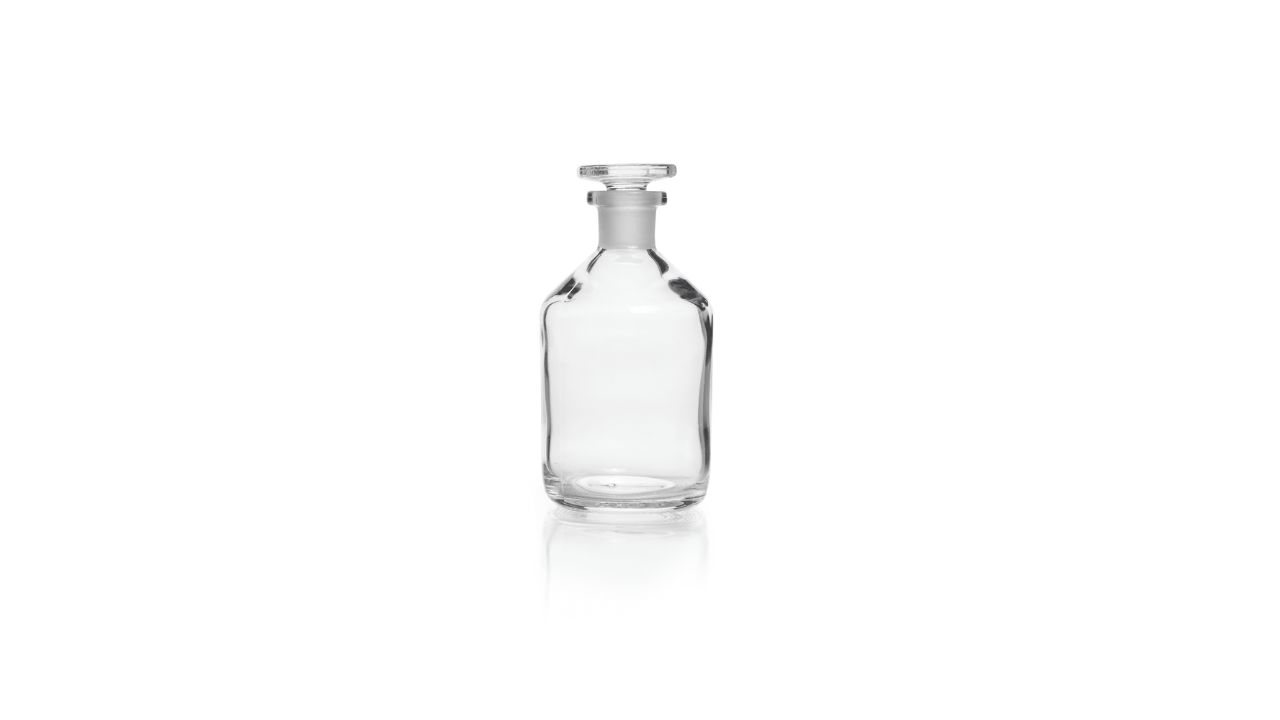
1. Glass Bottles
The primary focus of this endeavor, the glass bottles themselves, are the central element. Whether you've acquired vintage soda bottles, antique apothecary jars, or classic milk bottles, the type and size of the bottles will determine the quantity of the other materials needed.
2. Warm Water
A generous supply of warm water will serve as the foundation for the cleaning process. Warm water helps to loosen labels and adhesive residue, making it easier to remove them from the glass surface.
3. Dish Soap
A mild dish soap or liquid detergent is essential for cutting through grease, grime, and any residual substances clinging to the bottles. Opt for a gentle formula to avoid damaging the glass or leaving behind a soapy residue.
Read more: How To Clean A Glass Bottle
4. Scrubbing Tools
Various scrubbing tools, such as a soft-bristled brush, sponge, or scrubbing pad, will aid in dislodging stubborn dirt and residue from the glass surface. Select tools that are non-abrasive to prevent scratching or damaging the bottles.
5. Adhesive Remover
For particularly stubborn labels or adhesive remnants, an adhesive remover or solvent can be invaluable. Look for a product specifically designed for use on glass surfaces to ensure safe and effective removal.
6. Towels or Rags
Absorbent towels or soft rags are essential for drying the bottles after cleaning. Additionally, they can be used to handle the bottles during the cleaning process, preventing fingerprints and smudges on the newly cleaned surfaces.
7. Protective Gloves
To protect your hands from prolonged exposure to water, cleaning agents, and potential sharp edges on the bottles, a pair of protective gloves is highly recommended. Choose gloves that provide dexterity while offering adequate protection.
Read more: How To Clean Old Window Glass
8. Optional: White Vinegar
In cases where stubborn mineral deposits or hard water stains are present, white vinegar can be used as a natural cleaning agent. Its acidic properties help dissolve mineral buildup, restoring the glass to a pristine condition.
By gathering these essential materials, you'll be well-prepared to embark on the journey of cleaning old glass bottles with confidence and efficiency. With the right tools at your disposal, you can approach the restoration process methodically, ensuring that each bottle receives the care and attention it deserves.
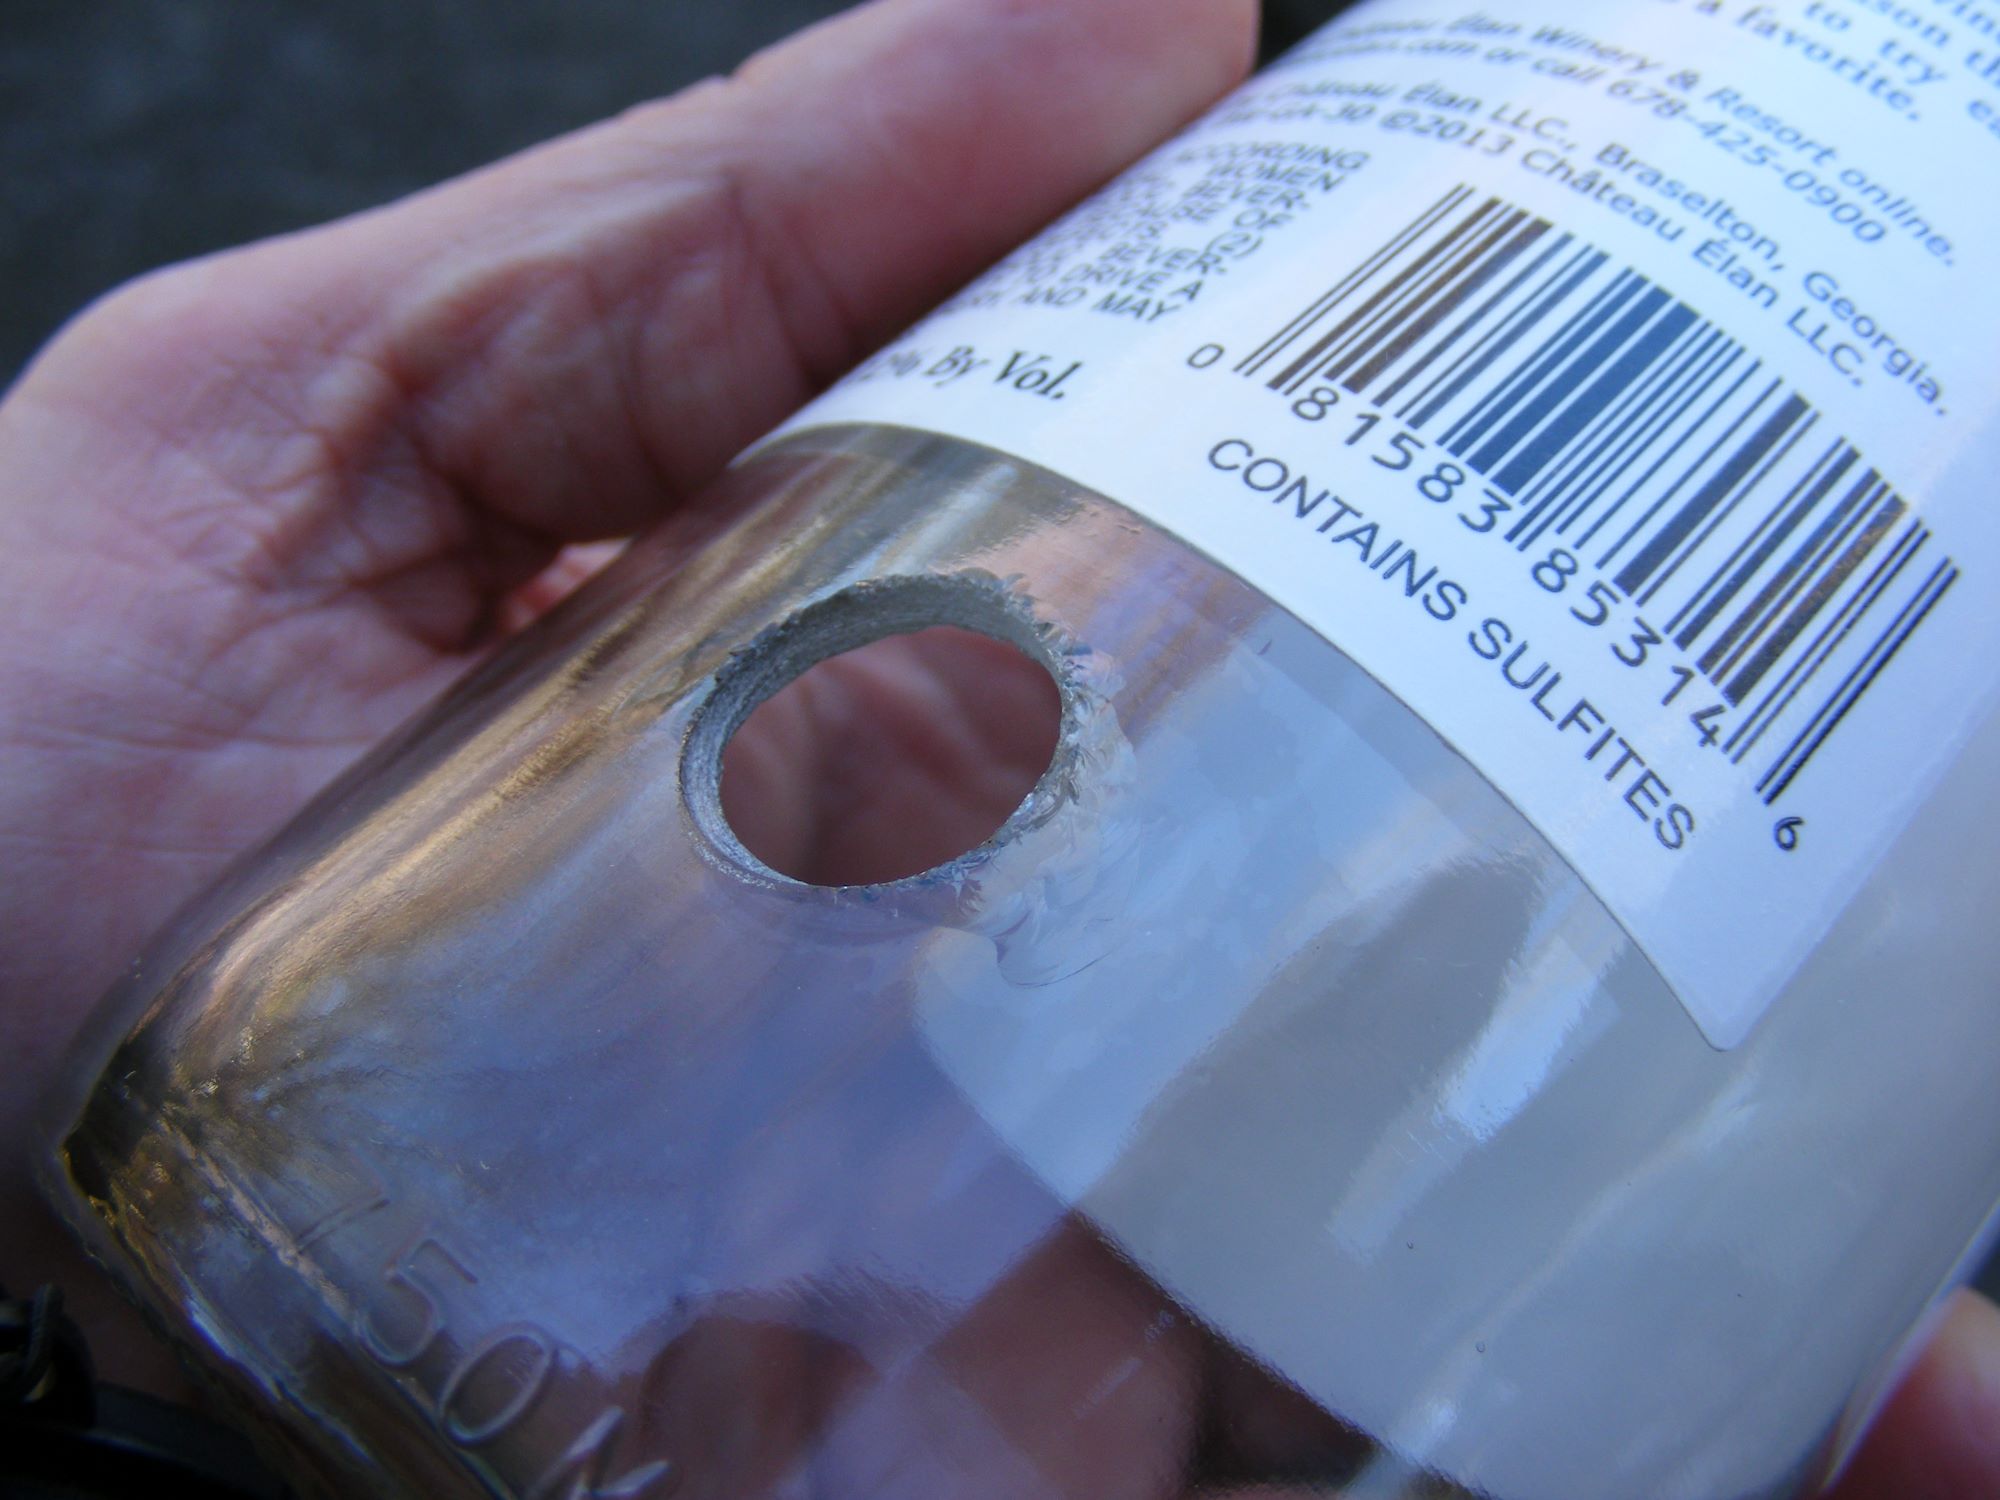
Step 1: Removing Labels
The first step in the process of cleaning old glass bottles is the meticulous removal of any labels or adhesive residue that may have accumulated over time. These labels, often stubborn and resistant, can detract from the visual appeal of the bottles and hinder the overall cleaning process. To effectively remove these obstructions and reveal the pristine glass surfaces beneath, follow these detailed steps:
-
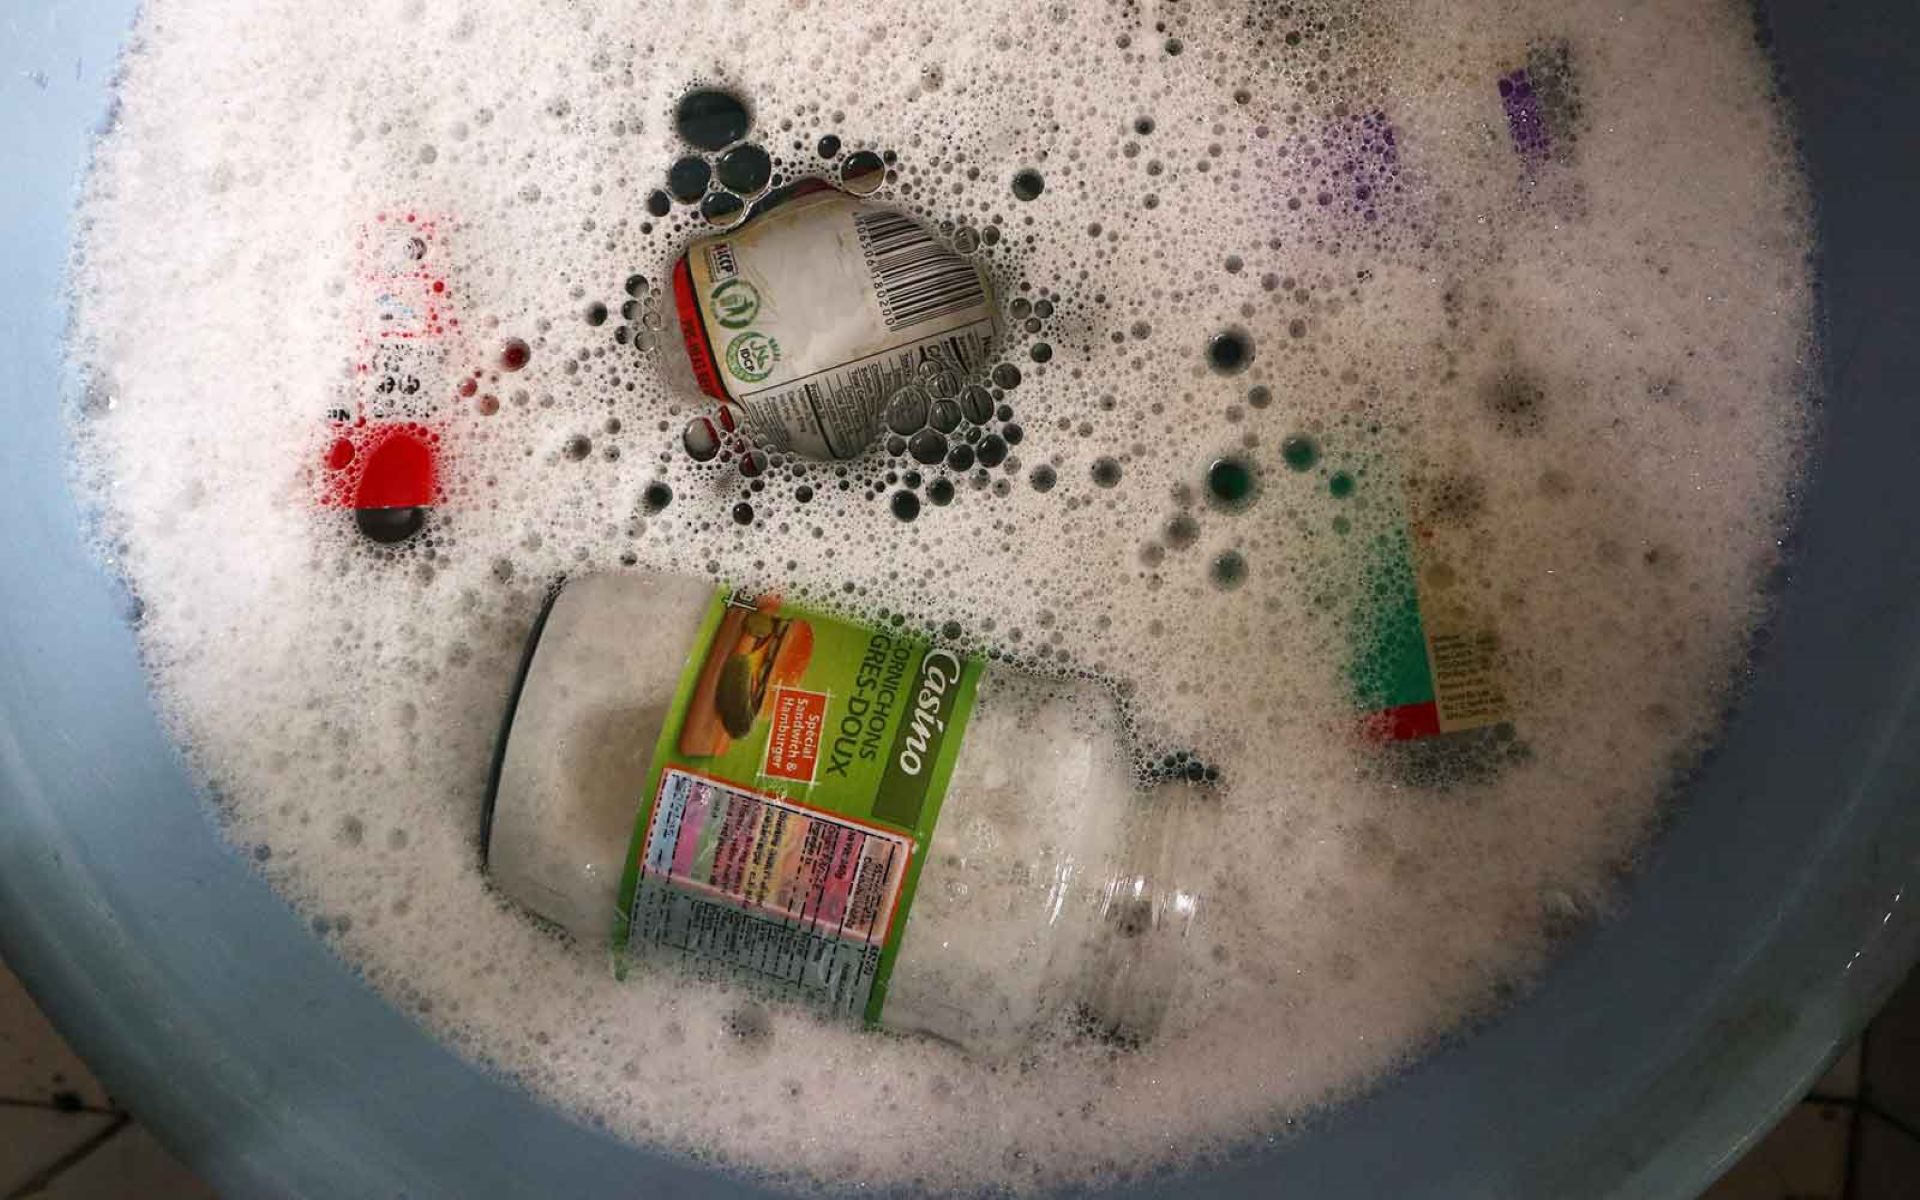
Soak in Warm, Soapy Water: Begin by filling a basin or sink with warm water and adding a small amount of mild dish soap. Submerge the glass bottles in the soapy water, ensuring that the labels are completely covered. Allow the bottles to soak for at least 30 minutes, allowing the warm water and soap to penetrate and loosen the adhesive.
-
Gently Peel the Labels: After the soaking period, carefully lift the bottles from the water and attempt to peel off the labels by hand. In many cases, the warm water and soap will have softened the adhesive, making it easier to remove the labels without leaving behind excessive residue. For particularly stubborn labels, use a plastic scraper or your fingernails to gently lift the edges, taking care not to scratch the glass surface.
-
Apply Adhesive Remover: If any adhesive residue remains after peeling off the labels, apply a small amount of adhesive remover or solvent specifically designed for glass surfaces. Use a soft cloth or cotton pad to apply the remover, allowing it to penetrate the adhesive for a few minutes. Then, gently rub the residue with the cloth, working in small circular motions until the adhesive dissolves and can be wiped away.
-
Rinse and Dry: Once the labels and adhesive residue have been successfully removed, rinse the bottles thoroughly with clean water to remove any remaining soap or adhesive remover. Use a soft, absorbent towel to dry the bottles, ensuring that they are free from moisture and ready for the next stage of the cleaning process.
By meticulously following these steps, you can effectively remove labels and adhesive residue from old glass bottles, setting the stage for the subsequent cleaning and revitalization of the glass surfaces. With patience and attention to detail, you can ensure that the bottles are free from any remnants of their previous labels, ready to undergo further restoration and transformation.
Step 2: Soaking the Bottles
Soaking the old glass bottles is a crucial step in the cleaning process, as it serves to loosen embedded dirt, grime, and other contaminants that may have accumulated over time. This method is particularly effective for bottles with narrow openings or intricate designs, where traditional cleaning tools may struggle to reach. By allowing the bottles to soak in warm, soapy water, you can initiate the process of dislodging stubborn residue and preparing the surfaces for thorough cleaning.
To begin, select a suitable container, such as a basin or sink, large enough to accommodate the bottles while ensuring they are fully submerged. Fill the container with warm water, aiming for a temperature that is comfortably warm to the touch. The warmth of the water plays a key role in softening dirt, grease, and any residual substances clinging to the glass, facilitating their eventual removal.
Next, add a small amount of mild dish soap or liquid detergent to the warm water, creating a gentle yet effective cleaning solution. The soap acts as a surfactant, breaking down surface tension and allowing the water to penetrate and lift away contaminants from the glass surfaces. It is important to use a mild soap to avoid leaving behind a soapy residue that may require additional rinsing.
Carefully submerge the glass bottles in the soapy water, ensuring that they are fully immersed and that any air pockets within the bottles are released. Allow the bottles to soak for a minimum of 30 minutes, providing ample time for the warm water and soap solution to work its magic. For particularly stubborn stains or deeply ingrained dirt, an extended soaking period may be beneficial, as it allows the cleaning solution to penetrate and loosen the contaminants more effectively.
During the soaking process, periodically agitate the bottles by gently swirling the water around them. This motion helps to dislodge dirt and grime from the surfaces, ensuring that the cleaning solution reaches all areas of the bottles. Additionally, if the bottles have removable caps or stoppers, it is advisable to soak these components separately to ensure comprehensive cleaning.
After the designated soaking period, carefully remove the bottles from the water, taking care to support their weight and prevent any accidental slips or breakage. The warm, soapy water will have initiated the process of loosening dirt and contaminants, setting the stage for the subsequent steps in the cleaning process.
By allowing the old glass bottles to soak in warm, soapy water, you have initiated the journey of revitalizing these vintage treasures. This method lays the foundation for the thorough removal of dirt and grime, preparing the bottles for the next stages of cleaning and restoration. With patience and attention to detail, you can ensure that the bottles emerge from the soaking process ready to reveal their inherent beauty and charm.
Step 3: Scrubbing the Bottles
After the soaking process has effectively loosened dirt and grime from the old glass bottles, the next crucial step involves thorough scrubbing to dislodge any remaining contaminants and restore the glass surfaces to a sparkling clean state. This meticulous process requires attention to detail and the use of gentle yet effective scrubbing tools to ensure that the bottles emerge revitalized and free from residual impurities.
Begin by selecting appropriate scrubbing tools, such as a soft-bristled brush, sponge, or non-abrasive scrubbing pad. It is essential to choose tools that are gentle enough to avoid scratching or damaging the glass while effectively dislodging dirt and residue. If the bottles feature intricate designs or narrow openings, consider using a brush with a slender handle or a sponge with a flexible shape to reach all areas of the glass surfaces.
With the chosen scrubbing tool in hand, apply a small amount of mild dish soap or liquid detergent directly to the tool or to the glass surfaces. The soap acts as a lubricant, enhancing the scrubbing action and aiding in the removal of remaining contaminants. Avoid using excessive force during the scrubbing process, as gentle and methodical movements are more effective in dislodging dirt without risking damage to the glass.
Work systematically around the entire surface of each bottle, paying particular attention to areas where dirt and grime may be more concentrated, such as the base or intricate patterns. Use circular or back-and-forth motions, depending on the shape and design of the bottles, to ensure comprehensive coverage and effective cleaning. If any particularly stubborn spots are encountered, apply slightly more pressure while remaining mindful of the glass's integrity.
For bottles with narrow necks or intricate details, consider using a pipe cleaner or cotton swab to access hard-to-reach areas and ensure thorough cleaning. These specialized tools can navigate tight spaces and crevices, ensuring that every part of the bottle receives the attention it requires for a complete restoration.
Once the scrubbing process is complete, rinse the bottles thoroughly with clean water to remove any remaining soap and dislodged contaminants. Inspect the glass surfaces to ensure that they are free from residual dirt and grime, and if necessary, repeat the scrubbing process for specific areas that require additional attention.
By meticulously scrubbing the old glass bottles with care and precision, you are one step closer to unveiling their inherent beauty and timeless appeal. The thorough removal of dirt and contaminants sets the stage for the final step in the cleaning process, ensuring that the bottles emerge radiant and ready to be showcased or repurposed for creative endeavors.
Read more: How To Clean Old Glass Mirrors
Step 4: Drying the Bottles
Drying the old glass bottles is a critical final step in the comprehensive cleaning process, ensuring that the revitalized surfaces emerge free from moisture and ready to be showcased or repurposed. Proper drying techniques not only prevent water spots and streaks but also safeguard the integrity of the glass, allowing the bottles to shine with a pristine finish. By following these meticulous drying methods, you can elevate the bottles to their full potential, ready to adorn your space with timeless elegance.
After the thorough scrubbing and rinsing of the bottles, it is essential to remove excess water from both the exterior and interior surfaces. Begin by using absorbent towels or soft, lint-free cloths to gently pat the bottles dry, starting from the openings and working downward. Take care to reach all areas of the bottles, ensuring that moisture is effectively absorbed without leaving behind lint or fibers.
For bottles with narrow necks or intricate designs, consider using specialized drying tools such as bottle brushes or microfiber cloths to access hard-to-reach areas and absorb residual moisture. These tools provide the precision needed to achieve thorough drying, ensuring that no water droplets remain trapped in crevices or decorative elements.
To address the interior of the bottles, allow gravity to assist in the drying process by carefully inverting them onto a clean, absorbent surface. This allows any remaining water droplets to drain out naturally, preventing the formation of water spots or streaks within the bottles. Periodically inspect the bottles to ensure that they are drying effectively, gently rotating them if necessary to facilitate complete drainage.
In cases where time permits, allowing the bottles to air dry in a well-ventilated area can further ensure the removal of residual moisture. Position the bottles upside down on a clean, dry towel or rack, allowing air to circulate within the openings and aid in the evaporation of any remaining water. This method promotes thorough drying while minimizing the risk of water spots or streaks on the glass surfaces.
By meticulously drying the old glass bottles with precision and care, you complete the transformative journey of restoration, ensuring that the bottles emerge from the process with a radiant, moisture-free finish. With attention to detail and the application of effective drying techniques, you can prepare the bottles for display, repurposing, or any creative endeavors that await them. The culmination of the drying process marks the beginning of a new chapter for these vintage treasures, ready to captivate and inspire with their timeless allure.
Conclusion
In conclusion, the process of cleaning old glass bottles is a rewarding endeavor that allows you to breathe new life into vintage treasures, whether for display, repurposing, or creative projects. By following the comprehensive steps outlined in this guide, you have embarked on a transformative journey, meticulously restoring these timeless artifacts to their former luster.
From the meticulous removal of labels and adhesive residue to the thorough soaking, scrubbing, and drying of the bottles, each step has contributed to the revitalization of the glass surfaces, ensuring that they emerge radiant and ready to be showcased. The careful selection of materials and the application of effective cleaning techniques have played a pivotal role in preserving the historical and aesthetic value of the bottles, allowing their inherent beauty to shine through.
As you stand back and admire the revitalized glass bottles, you are not only witnessing the culmination of a meticulous restoration process but also unlocking the potential for creativity and inspiration. These bottles, once neglected and obscured by dirt and grime, now stand as captivating works of art, ready to adorn your space with timeless elegance.
Whether you choose to display them as charming décor pieces, repurpose them as unique containers, or incorporate them into creative projects, the revitalized glass bottles serve as a testament to the transformative power of restoration. Each bottle carries with it a rich history and a renewed allure, inviting admiration and sparking conversations with their timeless appeal.
As you continue your journey of exploration and creativity, remember that the restoration of old glass bottles is not merely a cleaning process but a celebration of heritage, craftsmanship, and the enduring beauty of vintage artifacts. By preserving and revitalizing these treasures, you honor their legacy and ensure that their allure continues to captivate for generations to come.
With the knowledge and techniques gained from this guide, you are equipped to embark on future restoration endeavors, breathing new life into forgotten relics and uncovering the timeless charm that lies within. The journey of cleaning old glass bottles is a testament to the transformative power of preservation and creativity, allowing you to infuse your space with the enchanting allure of vintage treasures.
Frequently Asked Questions about How To Clean Old Glass Bottles
Was this page helpful?
At Storables.com, we guarantee accurate and reliable information. Our content, validated by Expert Board Contributors, is crafted following stringent Editorial Policies. We're committed to providing you with well-researched, expert-backed insights for all your informational needs.


0 thoughts on “How To Clean Old Glass Bottles”