Home>Furniture & Design>Interior Design Trends>How To Clean A Glass Bottle
Interior Design Trends
How To Clean A Glass Bottle
Published: February 4, 2024
Discover the latest interior design trends with our guide on how to clean a glass bottle. Keep your home stylish and sparkling with our expert tips.
(Many of the links in this article redirect to a specific reviewed product. Your purchase of these products through affiliate links helps to generate commission for Storables.com, at no extra cost. Learn more)
Introduction
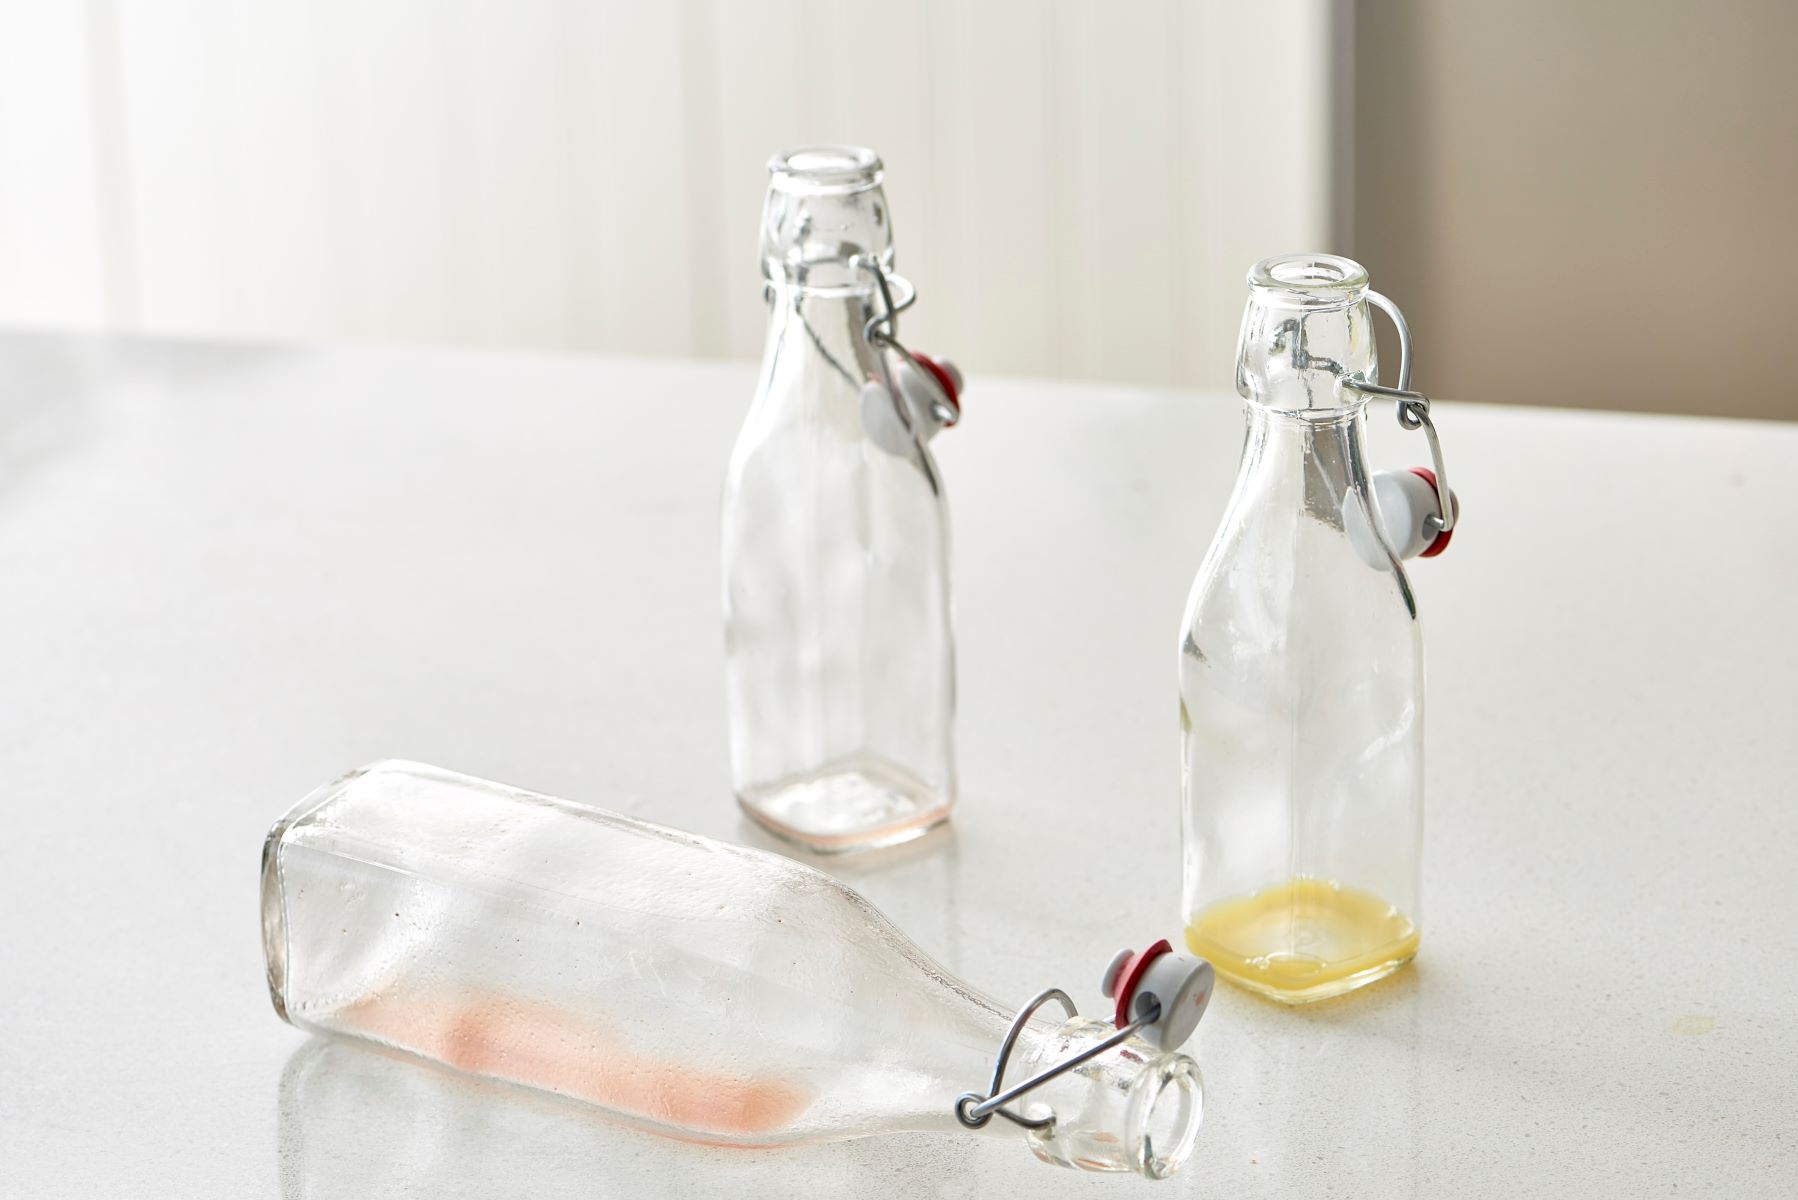
Cleaning a glass bottle may seem like a simple task, but it requires a delicate touch to ensure that the bottle is thoroughly cleaned without causing any damage. Whether you want to repurpose a beautiful glass bottle for a DIY project or simply want to reuse it for storing beverages or homemade concoctions, knowing how to clean it properly is essential.
Glass bottles come in various shapes and sizes, and they are commonly used for packaging beverages, sauces, oils, and other liquid products. Over time, these bottles can accumulate residue, labels, and odors, making it necessary to give them a thorough cleaning before reuse. Additionally, if you've collected decorative glass bottles or received them as gifts, keeping them clean and pristine enhances their visual appeal and longevity.
In this comprehensive guide, we will walk you through the step-by-step process of cleaning a glass bottle, ensuring that it is free from any lingering odors, stains, or impurities. By following these simple yet effective cleaning methods, you can breathe new life into your glass bottles and prepare them for a variety of uses. So, gather your materials and let's dive into the art of cleaning and rejuvenating glass bottles.
Key Takeaways:
- Master the art of cleaning glass bottles with warm, soapy water, gentle peeling, and specialized brushes to restore their pristine appearance and prepare them for reuse.
- Embrace the transformative journey of cleaning glass bottles, from removing labels to drying, and unleash their renewed allure and functionality for creative and practical uses.
Read more: How To Clean Old Glass Bottles
Materials Needed
To effectively clean a glass bottle, you will need a few essential materials to ensure a thorough and safe cleaning process. Here's what you'll need:
-
Warm Water: Using warm water is crucial for loosening labels, residues, and stubborn stains inside and outside the glass bottle. The heat helps to soften adhesives and makes it easier to remove labels and residues.
-
Dish Soap or Detergent: Opt for a mild dish soap or detergent to create a soapy solution for cleaning the bottle's interior and exterior. This will help to break down oils, grime, and other residues, leaving the bottle sparkling clean.
-
Bottle Brush or Cleaning Beads: A bottle brush with soft bristles or cleaning beads specifically designed for glass bottles will aid in reaching and scrubbing the interior surfaces, ensuring thorough cleaning without causing scratches.
-
Vinegar or Baking Soda (Optional): For particularly stubborn stains or odors, vinegar or baking soda can be used as natural and effective cleaning agents. Vinegar helps to dissolve mineral deposits and eliminate odors, while baking soda acts as a gentle abrasive for removing tough stains.
-
Rubbing Alcohol: This can be used to remove adhesive residue left behind by labels. It effectively dissolves the sticky residue, making it easier to clean the bottle's surface.
-
Soft Cloth or Towel: A soft, lint-free cloth or towel is essential for drying the bottle after cleaning to prevent water spots and ensure a pristine finish.
-
Gloves: While not mandatory, wearing gloves can protect your hands from hot water, cleaning solutions, and any sharp edges on the glass bottle.
-
Safety Glasses (Optional): If you're dealing with a glass bottle that requires extra caution, such as one with sharp edges or stubborn residues, wearing safety glasses can provide added protection for your eyes.
By gathering these materials, you'll be well-equipped to tackle the cleaning process and restore your glass bottle to its original luster. Now that you have your materials ready, let's move on to the step-by-step cleaning process.
Step 1: Removing Labels
Removing labels from glass bottles can be a challenging task, especially when they are stubbornly adhered. However, with the right approach and a few simple techniques, you can effectively remove labels without leaving behind sticky residue or causing damage to the bottle's surface.
Submerging in Warm, Soapy Water
Begin by filling a sink or a large basin with warm water and adding a generous amount of mild dish soap or detergent. The warmth of the water helps to soften the adhesive, making it easier to peel off the labels. Submerge the glass bottle in the soapy water, ensuring that the labels are completely covered. Allow the bottle to soak for 15-30 minutes to loosen the adhesive.
Gently Peeling the Labels
After soaking, carefully remove the bottle from the water and begin peeling the labels. Start at one corner and slowly peel the label off, applying gentle pressure to avoid tearing. If the label resists, place the bottle back in the warm, soapy water for a few more minutes and then attempt to peel it again. For particularly stubborn labels, a plastic scraper or a blunt-edged tool can be used to lift the edges without scratching the glass.
Read more: How To Clean Glass Bottles With Narrow Necks
Removing Residue with Rubbing Alcohol
Once the labels are removed, you may notice residual adhesive left on the glass surface. To tackle this, dampen a soft cloth with rubbing alcohol and gently rub the adhesive residue. The rubbing alcohol effectively dissolves the sticky residue, making it easier to wipe away. For larger or stubborn residues, allow the rubbing alcohol to sit on the surface for a few minutes before wiping.
Final Rinse and Inspection
After successfully removing the labels and adhesive residue, give the glass bottle a final rinse under warm water to wash away any remaining soap and alcohol. Inspect the bottle to ensure that all labels and residues have been completely removed. If any stubborn residue persists, repeat the rubbing alcohol step until the surface is clean and smooth.
By following these steps, you can effectively remove labels from glass bottles, preparing them for the next stages of the cleaning process. With the labels removed, you are now ready to move on to the next step of cleaning the bottle's interior.
Step 2: Cleaning the Inside
Cleaning the interior of a glass bottle is essential to ensure that it is free from any lingering residues, odors, or impurities. Whether the bottle previously contained beverages, sauces, oils, or other liquid products, a thorough cleaning process is necessary to prepare it for reuse. Here's a detailed guide on how to effectively clean the inside of a glass bottle:
Preparing a Soapy Solution
Begin by creating a soapy solution using warm water and mild dish soap or detergent. Fill the glass bottle with the soapy water, ensuring that it covers the entire interior surface. The warmth of the water helps to loosen any remaining residues, while the soapy solution works to break down oils and grime.
Read more: How To Dispose Of Glass Bottles
Using a Bottle Brush or Cleaning Beads
To thoroughly clean the interior surfaces of the bottle, use a bottle brush with soft bristles or cleaning beads specifically designed for glass bottles. Insert the bottle brush into the bottle and gently scrub the interior, paying close attention to the bottom and corners where residues may accumulate. If using cleaning beads, follow the instructions provided to ensure effective cleaning.
Addressing Stubborn Stains or Odors
For glass bottles with stubborn stains or lingering odors, consider using natural cleaning agents such as vinegar or baking soda. Adding a small amount of vinegar or baking soda to the soapy solution can help to dissolve mineral deposits, eliminate odors, and act as a gentle abrasive for removing tough stains. Allow the solution to sit in the bottle for a few minutes before scrubbing with the bottle brush or cleaning beads.
Rinsing and Inspecting
Once the interior surfaces have been thoroughly scrubbed, rinse the bottle with warm water to remove the soapy solution and any loosened residues. Inspect the interior to ensure that it is clean and free from any remaining stains or odors. If necessary, repeat the cleaning process with vinegar or baking soda until the interior is pristine.
Drying the Interior
After cleaning and rinsing, allow the glass bottle to air dry upside down on a clean, lint-free towel. This helps to ensure that any remaining moisture drains out completely, preventing water spots and ensuring a dry, clean interior.
By following these steps, you can effectively clean the inside of a glass bottle, preparing it for a variety of uses. With the interior surfaces thoroughly cleaned and free from residues and odors, your glass bottle is now ready for the next stage of the cleaning process.
Read more: How To Sanitize Glass Bottles
Step 3: Cleaning the Outside
Cleaning the exterior of a glass bottle is just as important as cleaning the interior, as it contributes to the overall appearance and hygiene of the bottle. Whether the bottle has accumulated dust, fingerprints, or stubborn residues on the outside, a thorough cleaning process will ensure that it looks pristine and ready for reuse. Here's a detailed guide on how to effectively clean the outside of a glass bottle:
Preparing a Soapy Solution
Start by filling a basin or sink with warm water and adding a generous amount of mild dish soap or detergent. The warmth of the water helps to loosen residues and grime, while the soapy solution aids in breaking down oils and impurities on the bottle's exterior.
Soaking and Gentle Scrubbing
Submerge the glass bottle in the soapy water, ensuring that the entire exterior surface is covered. Allow the bottle to soak for a few minutes to soften any stubborn residues. After soaking, use a soft sponge or cloth to gently scrub the outside of the bottle, paying attention to areas with visible residues or stains. Avoid using abrasive materials that may scratch the glass.
Addressing Stubborn Residues
For glass bottles with particularly stubborn residues or stains on the outside, consider using a paste made from baking soda and water. Apply the paste to the affected areas and gently scrub with a soft sponge or cloth. The mild abrasive nature of baking soda helps to lift tough residues without damaging the glass surface.
Read more: How To Sterilize Glass Bottles
Rinsing and Drying
Once the exterior has been thoroughly scrubbed, rinse the glass bottle under running water to remove the soapy residue and any loosened impurities. Inspect the bottle to ensure that the exterior is clean and free from visible residues. After rinsing, use a clean, lint-free cloth to dry the outside of the bottle, ensuring that it is free from water spots and streaks.
Final Inspection
After the cleaning process, take a moment to inspect the glass bottle's exterior to ensure that it is clean, clear, and free from any remaining residues or stains. If necessary, repeat the cleaning steps to achieve the desired level of cleanliness and visual appeal.
By following these steps, you can effectively clean the outside of a glass bottle, restoring its pristine appearance and preparing it for a variety of uses. With the interior and exterior of the bottle thoroughly cleaned, it is now ready for the final step of the cleaning process.
Step 4: Drying the Bottle
After completing the thorough cleaning process for the glass bottle, it is crucial to ensure that it is effectively dried to prevent water spots and maintain its pristine condition. Proper drying also prepares the bottle for immediate use or storage, ensuring that it is free from moisture both inside and out. Here's a detailed guide on how to effectively dry a glass bottle:
Air Drying
The most common and effective method for drying a glass bottle is air drying. After the cleaning process, allow the bottle to air dry naturally in a well-ventilated area. To facilitate proper drainage, place the bottle upside down on a clean, lint-free towel or drying rack. This allows any remaining moisture to drain out completely, ensuring that the interior of the bottle dries thoroughly.
Read more: How To Reuse Glass Bottles
Patting with a Soft Cloth
If time is of the essence or if you prefer to expedite the drying process, gently pat the exterior and interior of the bottle with a soft, lint-free cloth. Carefully absorb any remaining moisture to prevent water spots and streaks. Take extra care when drying the interior to reach the bottom and corners of the bottle.
Using Compressed Air
For narrow-necked or intricate glass bottles that are challenging to dry with a cloth, using compressed air can be an effective solution. A can of compressed air, typically used for cleaning electronics, can be used to blow air into the bottle, expelling any trapped moisture. Hold the bottle securely and direct the air into the opening, ensuring that all moisture is removed.
Allowing Sufficient Time
Regardless of the drying method used, it is essential to allow the glass bottle sufficient time to dry completely. Rushing the drying process may result in residual moisture, which can lead to water spots, especially if the bottle is to be stored for an extended period. Patience is key to ensuring that the bottle is thoroughly dried and ready for use or display.
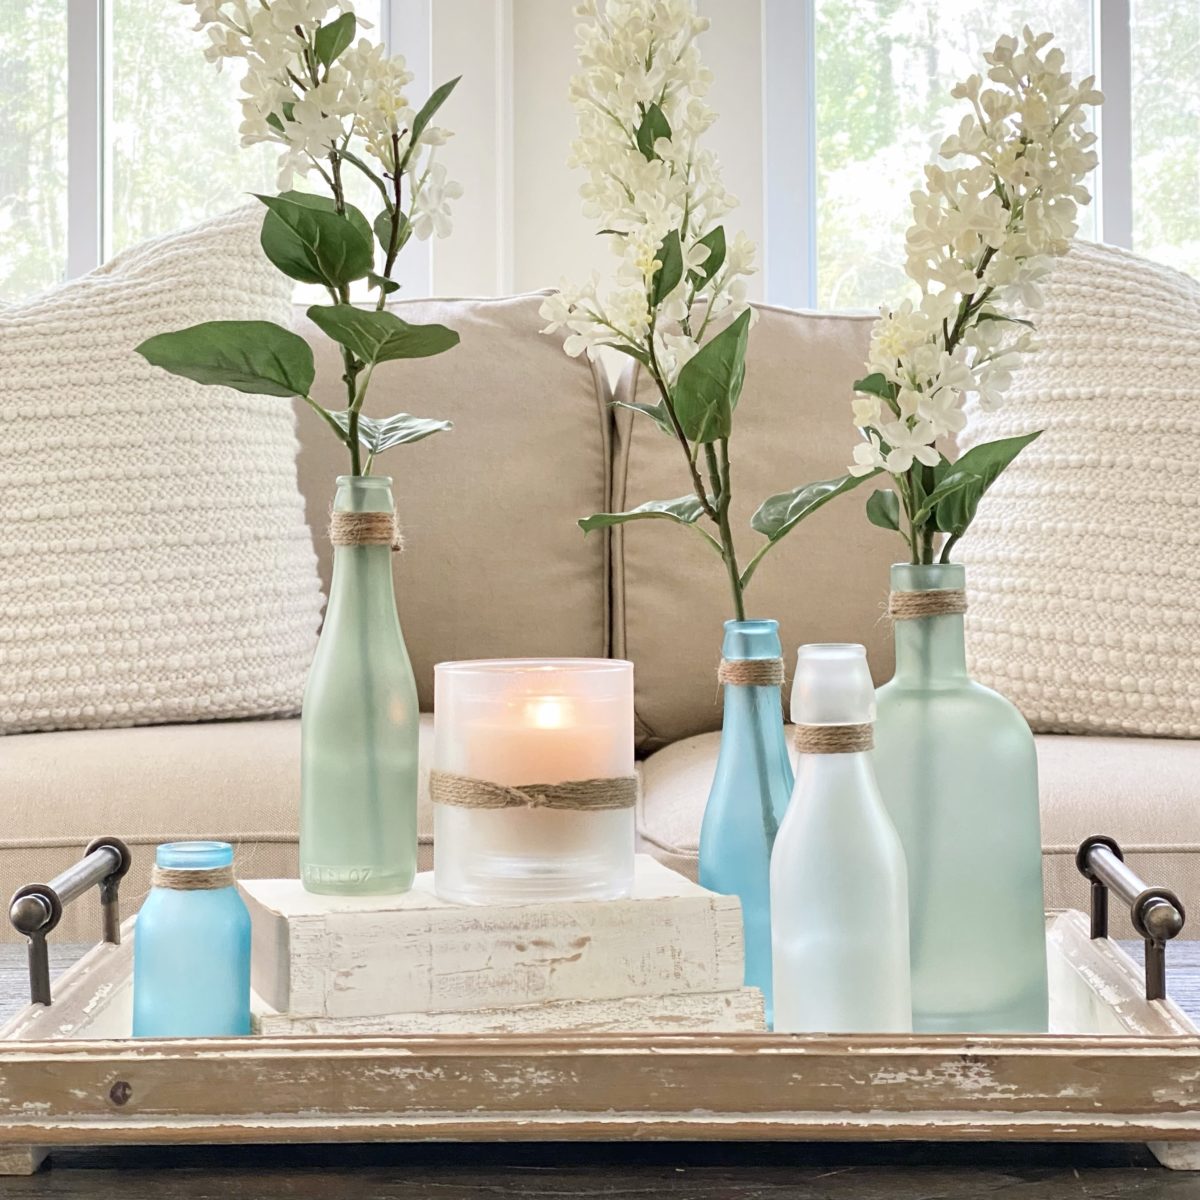
By following these drying methods, you can effectively ensure that the glass bottle is completely dry, free from water spots, and ready for its next purpose. Whether you plan to use the bottle for storing beverages, creating decorative displays, or repurposing it for DIY projects, a thoroughly dried glass bottle maintains its cleanliness and visual appeal.
Conclusion
In conclusion, mastering the art of cleaning a glass bottle is not only a practical skill but also a rewarding endeavor. By following the step-by-step process outlined in this guide, you can effectively rejuvenate glass bottles, preparing them for a myriad of uses while maintaining their pristine appearance. From removing stubborn labels to addressing interior residues and achieving a sparkling exterior, each stage of the cleaning process contributes to the overall cleanliness and appeal of the glass bottle.
The journey begins with the meticulous task of removing labels, where warm, soapy water and gentle peeling techniques play a pivotal role in ensuring that the bottle's surface remains unblemished. Subsequently, delving into the interior cleaning process involves creating a soapy solution, employing specialized brushes, and addressing stubborn stains or odors, resulting in a thoroughly sanitized and odor-free interior.
Moving on to the exterior, the careful application of soapy solutions, gentle scrubbing, and the optional use of baking soda paste effectively restore the bottle's outer surface to its original luster. Finally, the crucial step of drying the bottle ensures that it is free from moisture, water spots, and streaks, ready to embark on its next purpose.
As the glass bottle emerges from this comprehensive cleaning journey, it stands as a testament to the transformative power of attention to detail and the fulfillment of its potential for reuse, repurposing, or display. Whether it becomes a vessel for homemade infusions, a decorative element in a DIY project, or a cherished part of a collection, the cleaned glass bottle embodies both functionality and aesthetic appeal.
In essence, the process of cleaning a glass bottle transcends mere maintenance; it embodies a sense of renewal and preservation. It allows us to honor the timeless elegance of glassware while embracing sustainability through reuse. As we bid farewell to the cleaning process, we welcome the glass bottle's newfound radiance and versatility, ready to enrich our lives in various capacities.
So, as you embark on your glass bottle cleaning endeavors, may this guide serve as a trusted companion, guiding you through the intricate yet gratifying journey of restoring and revitalizing these timeless vessels. Embrace the art of cleaning glass bottles, and let their renewed allure and functionality inspire your creativity and practicality alike.
Frequently Asked Questions about How To Clean A Glass Bottle
Was this page helpful?
At Storables.com, we guarantee accurate and reliable information. Our content, validated by Expert Board Contributors, is crafted following stringent Editorial Policies. We're committed to providing you with well-researched, expert-backed insights for all your informational needs.


0 thoughts on “How To Clean A Glass Bottle”