Home>Furniture & Design>Interior Design Trends>How To Drill Glass Bottles
Interior Design Trends
How To Drill Glass Bottles
Modified: February 18, 2024
Learn how to drill glass bottles for your interior design projects. Discover the latest interior design trends and create unique decor pieces. Unlock the potential of glass bottles in your home decor.
(Many of the links in this article redirect to a specific reviewed product. Your purchase of these products through affiliate links helps to generate commission for Storables.com, at no extra cost. Learn more)
Introduction
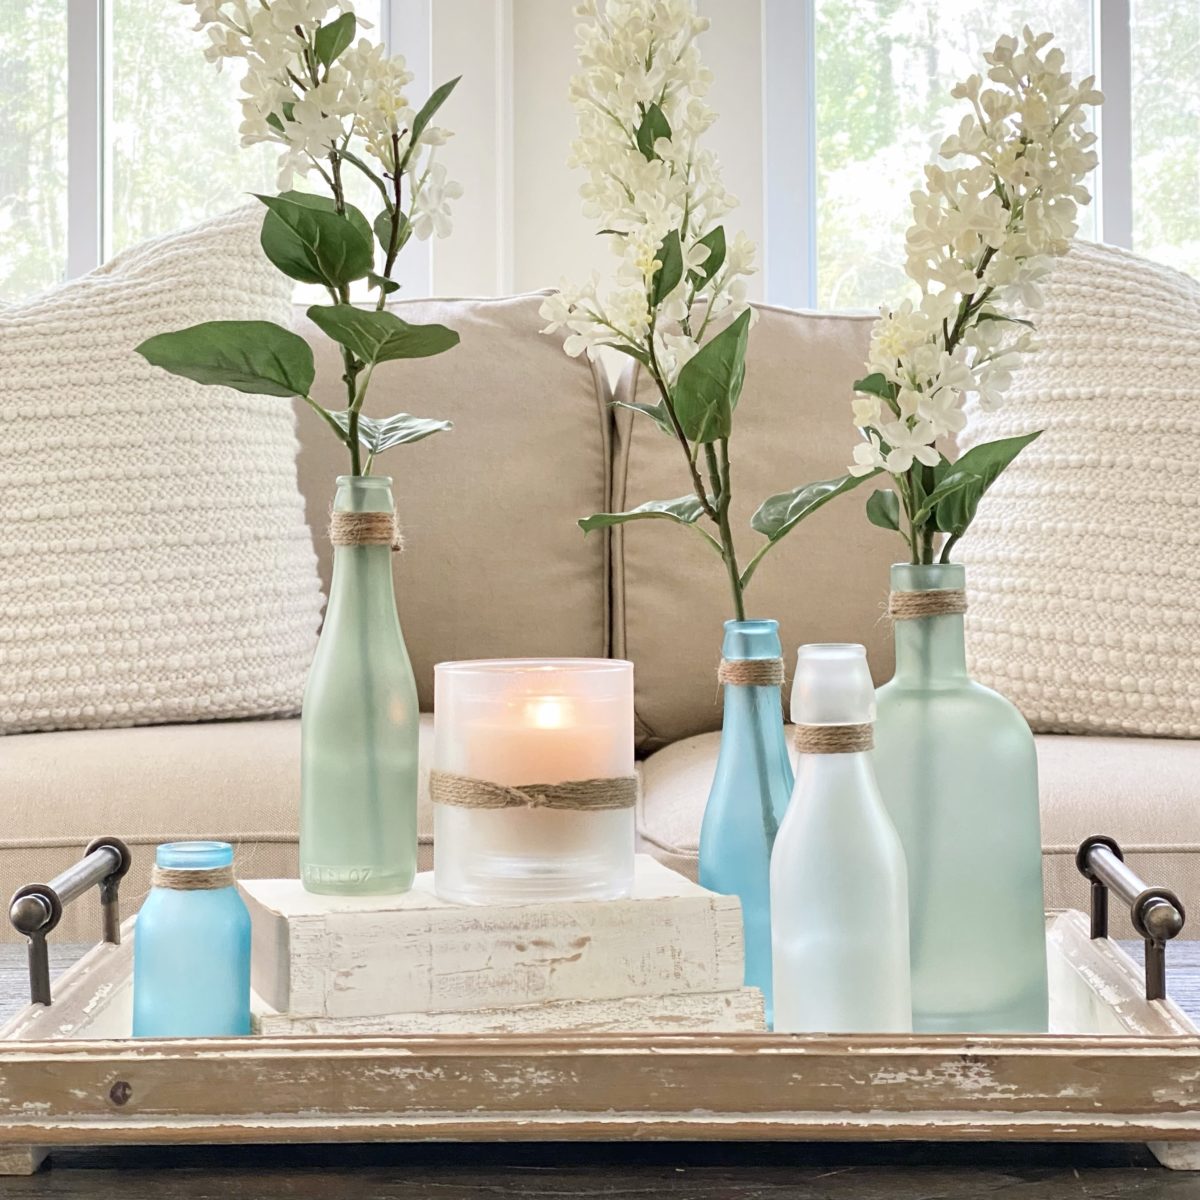
Drilling holes in glass bottles can be a captivating and rewarding DIY project, allowing you to repurpose bottles into unique and functional items. Whether you want to create decorative vases, candle holders, or innovative lighting fixtures, mastering the art of drilling glass bottles is a valuable skill that opens up a world of creative possibilities.
By following the right techniques and using the appropriate tools, you can transform ordinary glass bottles into stunning pieces of art. This process requires precision, patience, and attention to detail, but the end result is well worth the effort. With the right guidance, you can confidently embark on this exciting endeavor and unleash your creativity.
In this comprehensive guide, we will walk you through the step-by-step process of drilling glass bottles, providing valuable tips and insights to ensure a successful outcome. From preparing the bottles and marking the drilling spots to selecting the correct drill bit and executing the drilling process, we will cover every essential aspect of this craft. Additionally, we will delve into the crucial steps of cleaning and finishing the drilled bottles, ensuring that they are safe, smooth, and visually appealing.
Whether you are a seasoned DIY enthusiast or a novice looking to explore the world of glass bottle drilling, this guide is designed to equip you with the knowledge and confidence needed to embark on this creative journey. With a clear understanding of the techniques and precautions involved, you can elevate your crafting skills and breathe new life into ordinary glass bottles, turning them into captivating works of art.
So, gather your materials, prepare to unleash your creativity, and let's dive into the fascinating process of drilling glass bottles. Get ready to embark on a fulfilling and inspiring DIY adventure that will leave you with beautifully transformed glass bottles ready to adorn your living space or serve as thoughtful handmade gifts.
Key Takeaways:
- Transform glass bottles into art
Master the art of drilling glass bottles to create unique vases, candle holders, and lighting fixtures. With the right tools and techniques, unleash your creativity and turn ordinary bottles into captivating works of art. - Precision and care for success
Prepare, mark, and drill with precision and patience. Use the right tools and techniques to transform glass bottles into functional and visually appealing pieces. Attention to detail ensures a successful and rewarding DIY project.
Read more: How To Drill Hole In Glass Bottle
Materials Needed
To embark on the captivating journey of drilling glass bottles, you will need a carefully curated selection of materials and tools to ensure a smooth and successful process. Here's a comprehensive list of the essential items required to undertake this creative endeavor:
-
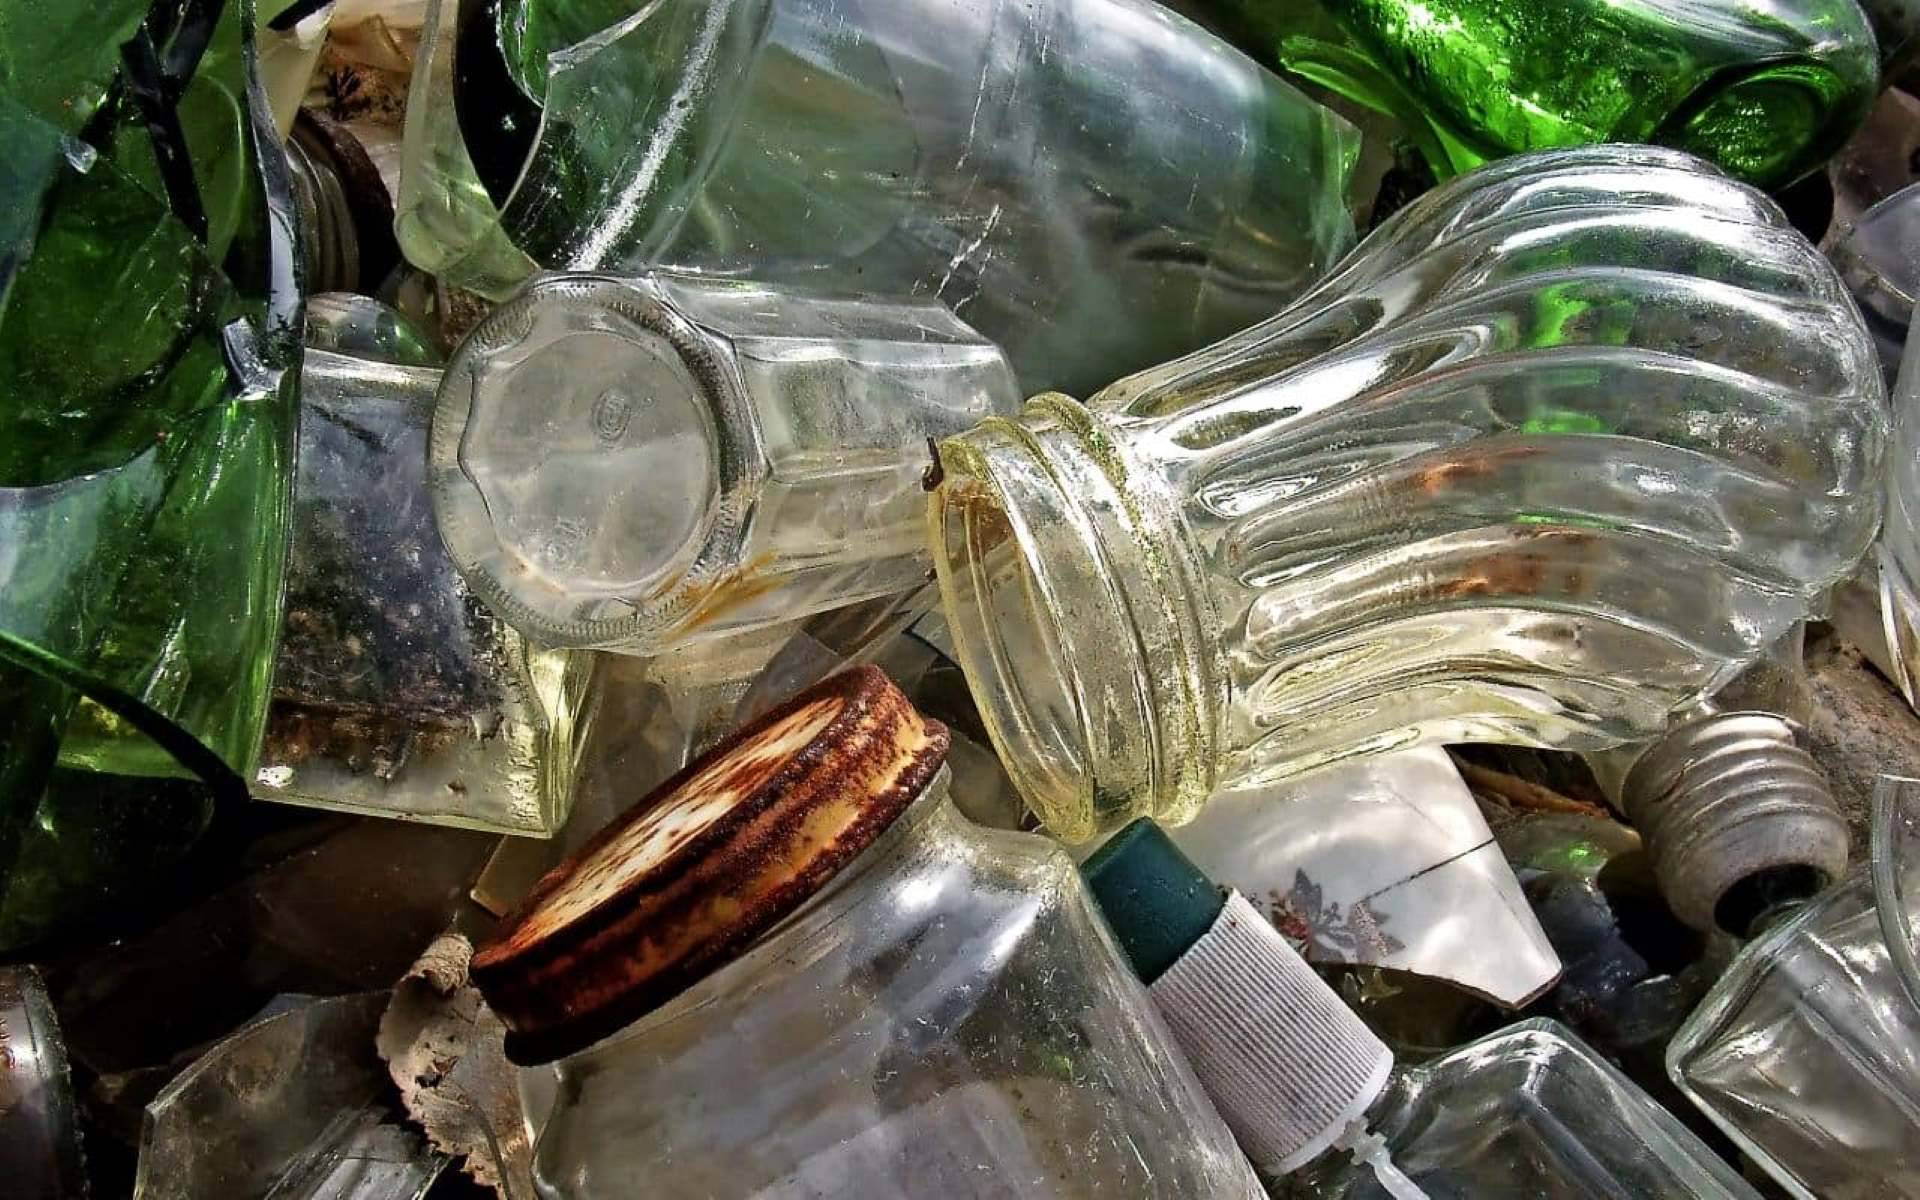
Glass Bottles: Select a variety of glass bottles in different shapes and sizes, depending on your intended projects. Whether you plan to create decorative vases, unique candle holders, or innovative lighting fixtures, having a diverse collection of glass bottles will provide you with ample opportunities for creativity.
-
Safety Gear: Prioritize safety by equipping yourself with essential protective gear, including safety goggles and gloves. These items are crucial for safeguarding your eyes and hands during the drilling process, minimizing the risk of potential injuries.
-
Work Surface: Choose a stable and flat work surface, such as a workbench or sturdy table, to serve as the foundation for your drilling activities. It's important to have a secure and level area where you can comfortably work on the glass bottles without any instability or wobbling.
-
Drill: Invest in a high-quality handheld drill with variable speed settings, preferably a diamond-tipped or carbide-tipped drill bit specifically designed for drilling through glass. The drill should be equipped with a chuck that can securely hold the chosen drill bit in place.
-
Masking Tape: Utilize masking tape to mark the spot where you intend to drill the hole on the glass bottle. This will not only help in accurately positioning the drill bit but also prevent it from slipping during the drilling process.
-
Lubricant: Acquire a suitable lubricant, such as a glass-cutting oil or water-based lubricant, to facilitate the drilling process by reducing friction and heat buildup. This lubricant plays a crucial role in ensuring a smooth and controlled drilling experience.
-
Container of Water: Prepare a container filled with water to serve as a cooling agent during the drilling process. Submerging the glass bottle in water while drilling helps dissipate heat and prevents the glass from cracking due to thermal stress.
-
Rags or Towels: Keep a supply of clean rags or towels handy to wipe down the glass bottles and clean up any excess lubricant or debris that may accumulate during the drilling process.
By assembling these essential materials and tools, you will be well-prepared to embark on the process of drilling glass bottles with confidence and precision. With a clear understanding of the necessary items and their respective roles in the drilling process, you can proceed to the next steps of this exciting DIY endeavor.
Step 1: Prepare the Bottle
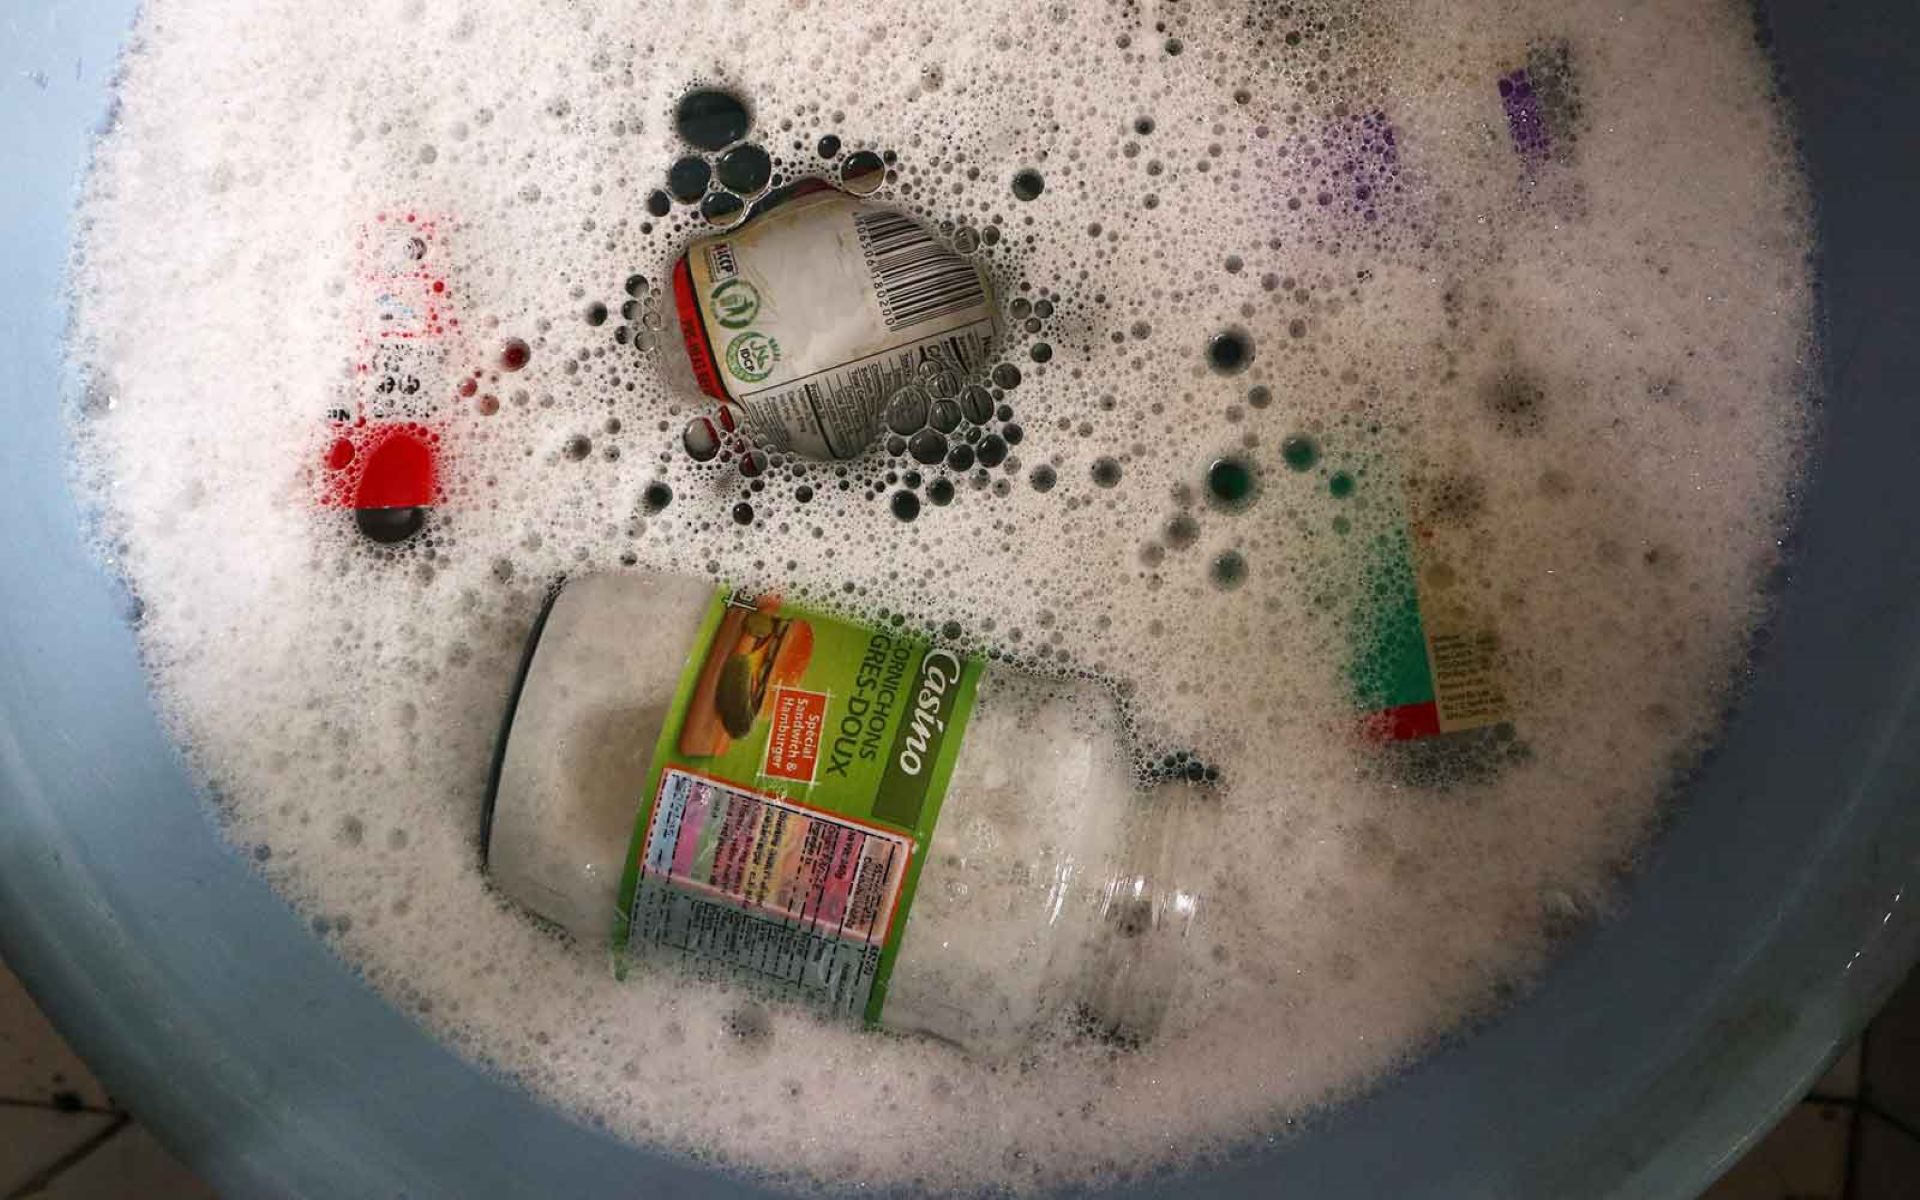
Before diving into the intricate process of drilling a hole in a glass bottle, it is crucial to prepare the bottle properly to ensure a smooth and successful drilling experience. This initial step sets the foundation for the entire process, laying the groundwork for precision and safety. Here's a detailed breakdown of the essential tasks involved in preparing the glass bottle for drilling:
-
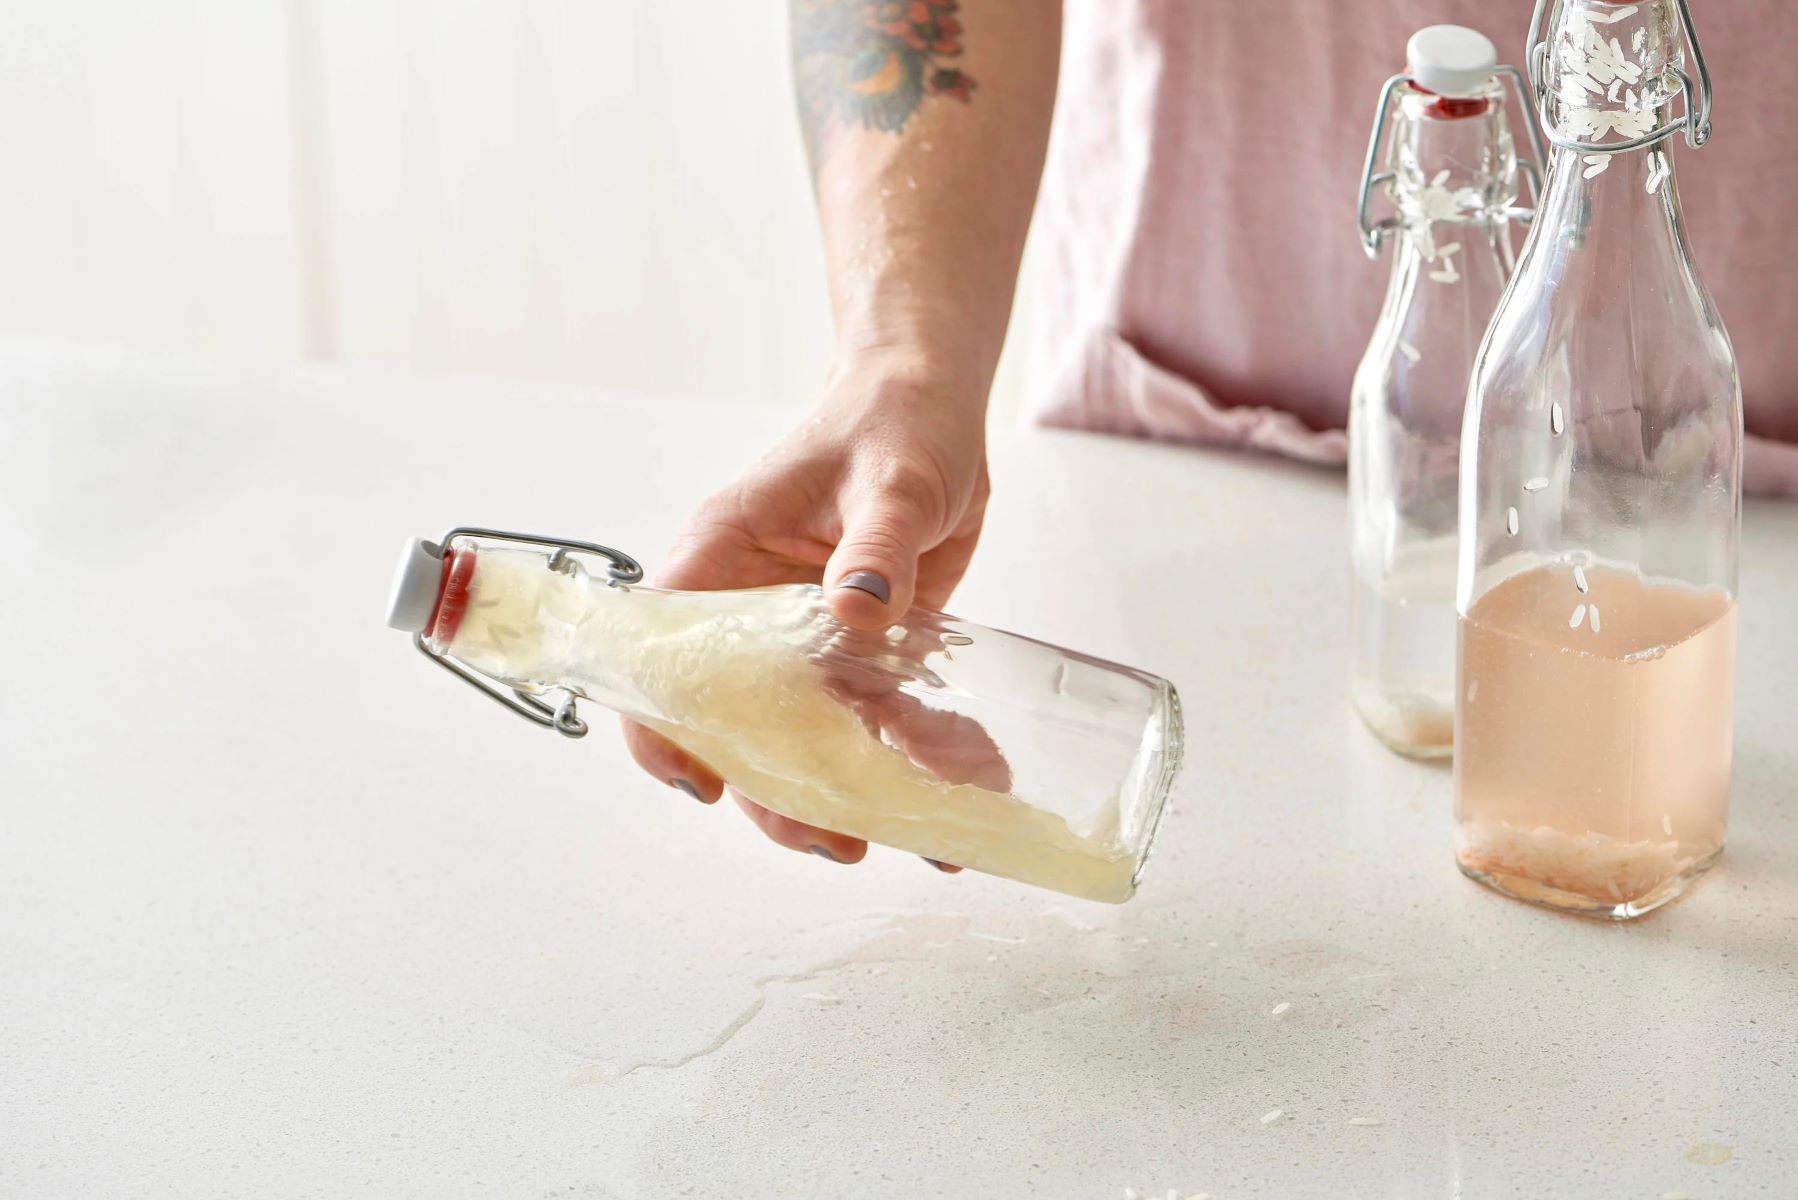
Clean the Bottle: Begin by thoroughly cleaning the glass bottle to remove any dirt, residue, or labels that may be present. Use warm, soapy water to wash the bottle, ensuring that it is free from any contaminants that could interfere with the drilling process. Additionally, make sure to dry the bottle completely before proceeding to the next step.
-
Inspect for Imperfections: Carefully examine the glass bottle for any imperfections, such as cracks, chips, or uneven surfaces. It is crucial to work with a bottle that is structurally sound and free from defects, as these issues can compromise the integrity of the glass during drilling.
-
Secure the Bottle: Choose a suitable method for stabilizing the glass bottle during the drilling process. This can be achieved by using a specialized bottle-holding jig, a custom-made bottle holder, or a securely positioned clamp. The goal is to prevent the bottle from rolling or shifting while drilling, ensuring precise and controlled movements.
-
Protect the Bottle Neck: If the bottle has a narrow neck, consider inserting a cork or rubber stopper into the opening. This additional support helps reinforce the neck of the bottle, reducing the risk of breakage or instability during drilling.
By meticulously preparing the glass bottle through thorough cleaning, inspection, stabilization, and reinforcement, you establish a solid foundation for the subsequent steps of the drilling process. This careful preparation not only enhances safety and precision but also contributes to the overall success of the DIY project, setting the stage for transforming ordinary glass bottles into extraordinary works of art.
Step 2: Mark the Drilling Spot
Precise and accurate marking of the drilling spot on the glass bottle is a critical step that significantly influences the success of the drilling process. By carefully identifying and marking the exact location where the hole will be drilled, you can ensure that the end result aligns with your creative vision. Here's a detailed exploration of the essential tasks involved in marking the drilling spot with precision and confidence.
Selecting the Spot:
Begin by visualizing the design or purpose of the drilled hole on the glass bottle. Whether you intend to create a hanging planter, a decorative lamp, or a unique centerpiece, envision how the drilled hole will contribute to the overall aesthetic and functionality of the finished piece. Once you have a clear understanding of the desired outcome, carefully select the specific spot on the bottle where the hole will be drilled. Consider factors such as bottle shape, design symmetry, and intended use to make an informed decision.
Read more: How To Drill Into Glass
Using Masking Tape:
Once the drilling spot has been chosen, use masking tape to mark the precise location on the glass bottle. Wrap a strip of masking tape around the bottle at the selected spot, ensuring that it is positioned evenly and securely. The masking tape serves as a visual guide and also helps prevent the drill bit from slipping or skidding during the drilling process. By creating a designated area with masking tape, you establish a clear target for the drill bit, enhancing accuracy and control.
Measuring and Alignment:
If the drilling spot requires specific measurements or alignment with other features on the bottle, use a ruler or measuring tape to ensure precision. Take the time to verify the alignment and positioning of the masking tape, making any necessary adjustments to guarantee that the drilling spot is accurately marked. Attention to detail at this stage contributes to the overall quality and visual appeal of the finished piece, reflecting your dedication to craftsmanship.
Visual Confirmation:
Before proceeding to the actual drilling phase, visually inspect the marked spot on the glass bottle from different angles. Confirm that the placement aligns with your creative vision and the intended purpose of the drilled hole. This visual confirmation allows you to make any final adjustments or refinements, ensuring that the drilling spot meets your expectations and complements the overall design concept.
By meticulously marking the drilling spot with precision and attention to detail, you set the stage for a successful and rewarding drilling experience. This deliberate and methodical approach lays the groundwork for executing the drilling process with confidence, ultimately leading to the transformation of ordinary glass bottles into extraordinary pieces of functional art.
Step 3: Use the Right Drill Bit
Selecting the appropriate drill bit is a crucial aspect of the glass bottle drilling process, as it directly impacts the precision, safety, and overall success of the endeavor. When it comes to drilling through glass, traditional metal drill bits are not suitable for the task, as they can cause the glass to shatter or crack due to their aggressive cutting action. To ensure a smooth and controlled drilling experience, it is essential to use specialized drill bits designed specifically for working with glass materials.
One of the most commonly recommended drill bits for glass drilling is the diamond-tipped or carbide-tipped drill bit. These specialized drill bits feature a hard and durable cutting surface that is capable of effectively penetrating glass without causing damage. The diamond-tipped variants, in particular, are renowned for their exceptional hardness and abrasion resistance, making them well-suited for the precise and delicate nature of glass drilling.
When selecting a drill bit for glass bottle drilling, consider the following factors:
Read more: How To Drill Through Glass
Size and Diameter:
Choose a drill bit with the appropriate size and diameter based on the intended purpose of the drilled hole. Whether you are creating a hole for a decorative lighting fixture, a plant holder, or a functional dispenser, ensure that the selected drill bit aligns with the specific requirements of your project. The size of the drill bit determines the diameter of the hole, so careful consideration of this aspect is essential for achieving the desired outcome.
Shank Design:
Opt for a drill bit with a shank design that is compatible with your handheld drill. The shank of the drill bit should be compatible with the chuck of your drill, allowing for secure attachment and stable operation. Ensuring a proper fit between the drill bit and the drill minimizes the risk of slippage or instability during the drilling process, contributing to safety and precision.
Lubrication Compatibility:
Verify that the selected drill bit is compatible with the lubricant you intend to use during the drilling process. Some drill bits are designed to work optimally with specific types of lubricants, such as glass-cutting oil or water-based lubricants. Ensuring compatibility between the drill bit and the chosen lubricant promotes smooth drilling and helps dissipate heat, reducing the risk of glass damage.
By carefully considering these factors and selecting the right drill bit for the task at hand, you set the stage for a successful and rewarding glass bottle drilling experience. The choice of drill bit plays a pivotal role in determining the quality and precision of the drilled hole, ultimately contributing to the overall craftsmanship and visual appeal of the finished piece. With the appropriate drill bit in hand, you are poised to proceed to the next phase of the drilling process with confidence and assurance.
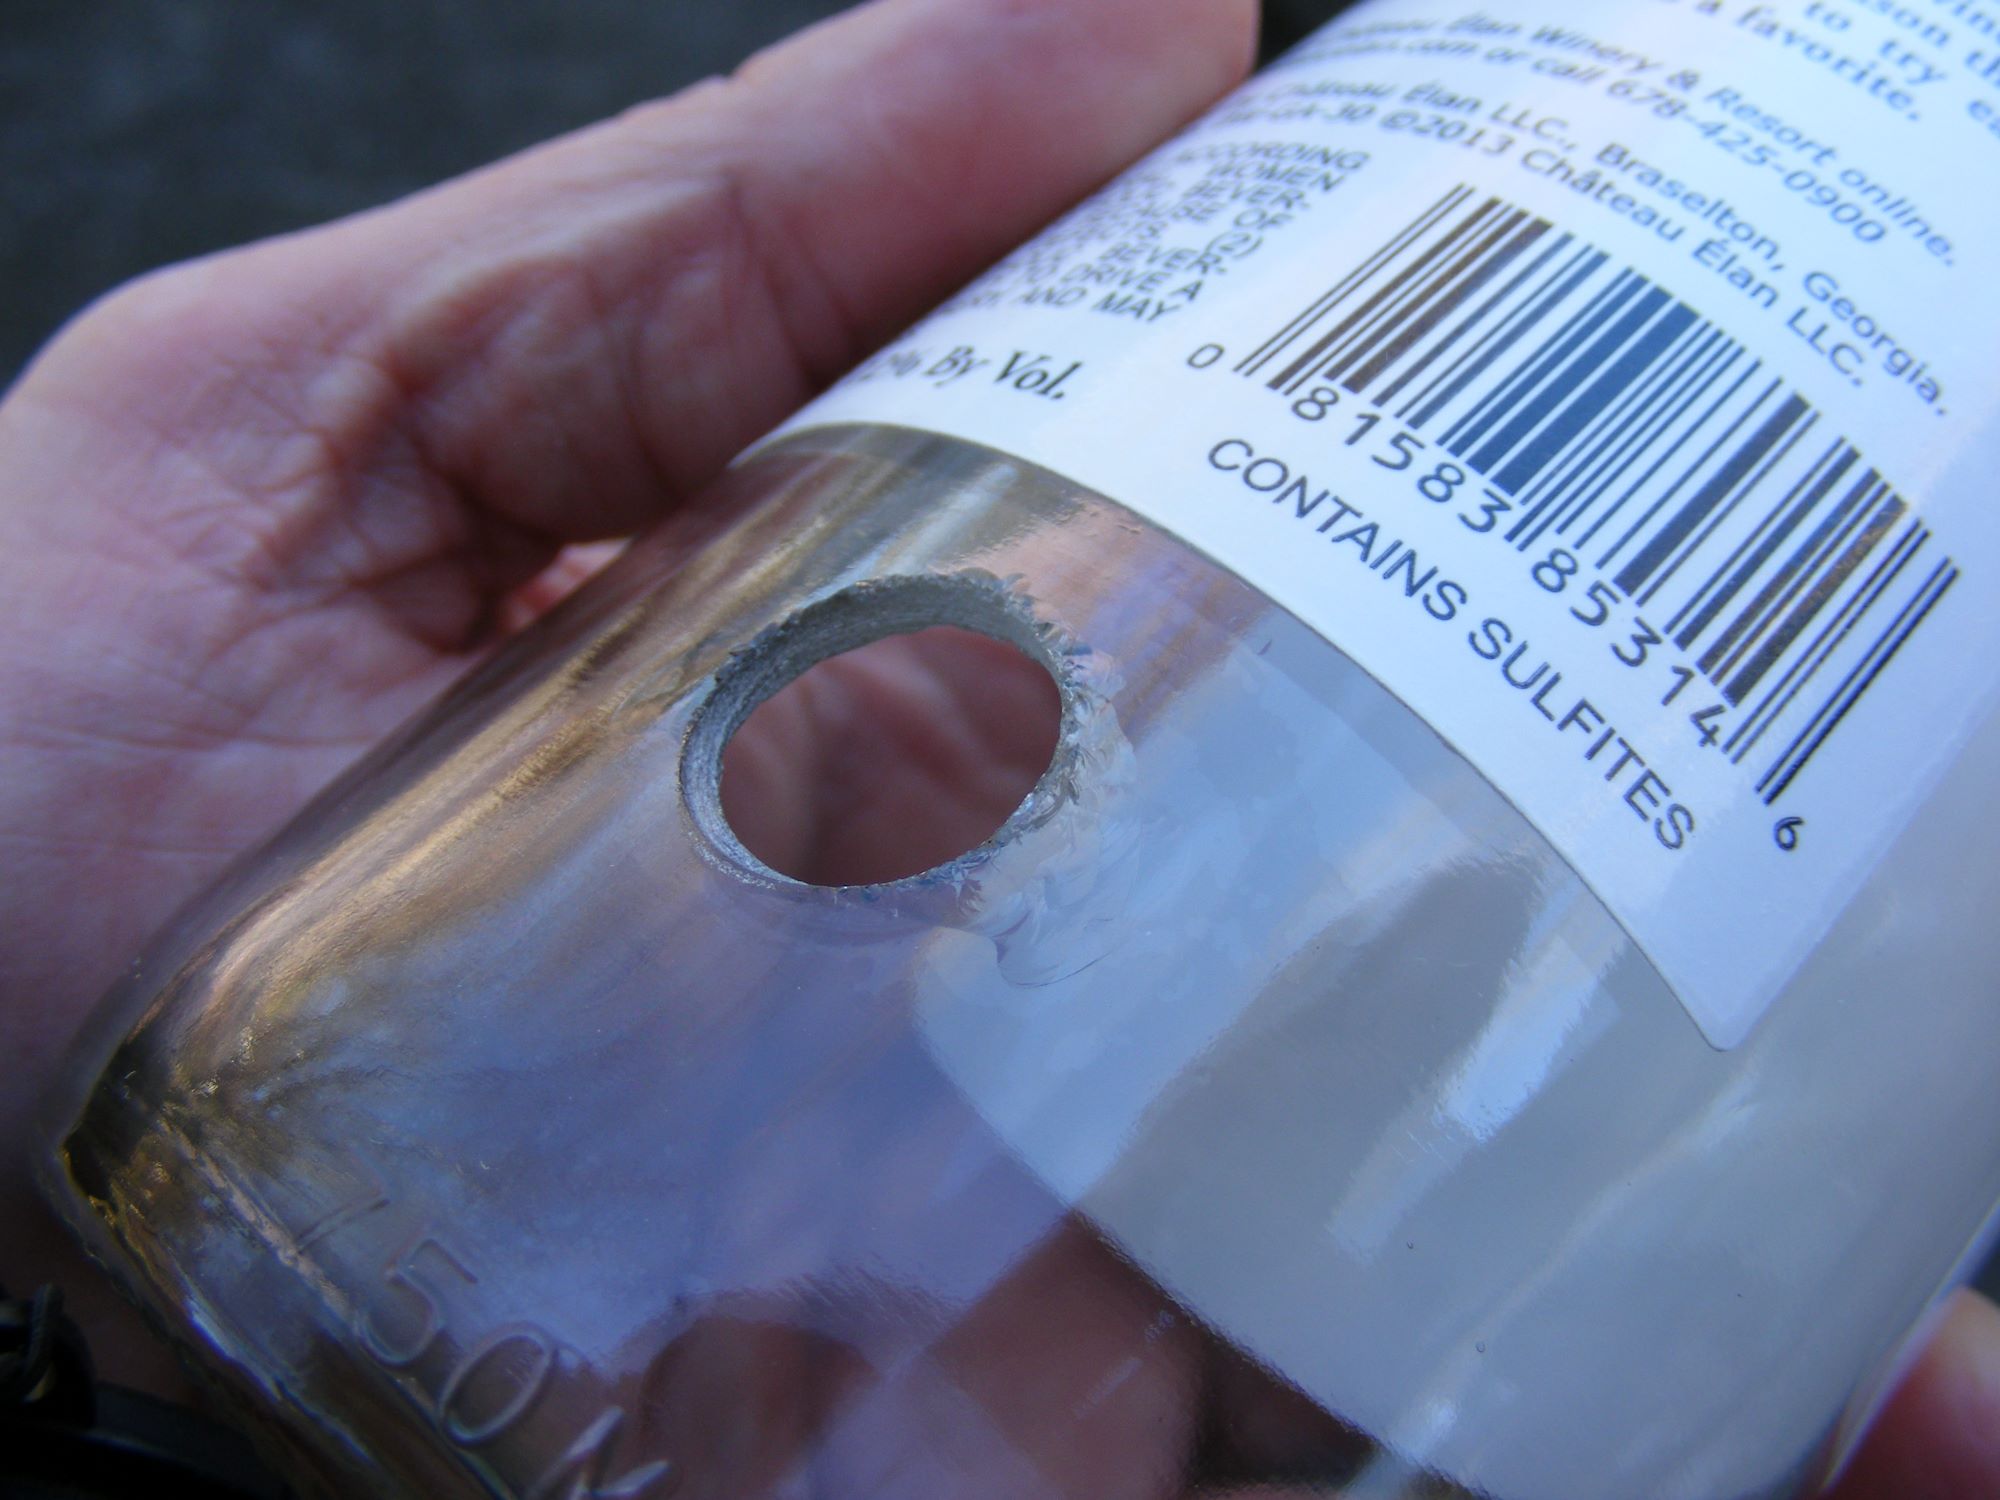
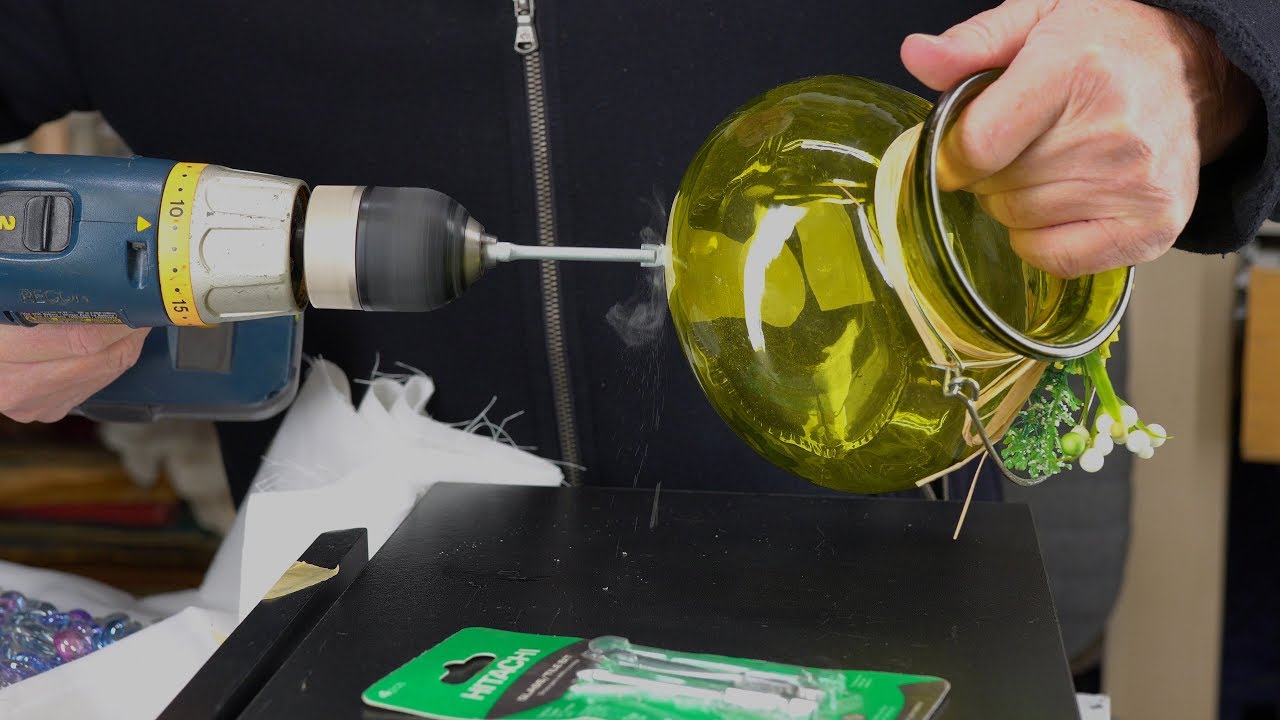
Step 4: Drilling the Hole
With the glass bottle meticulously prepared and the drilling spot accurately marked, it's time to embark on the pivotal phase of drilling the hole. This step requires precision, patience, and a methodical approach to ensure a smooth and successful outcome. Here's a detailed exploration of the essential tasks and techniques involved in drilling the hole in a glass bottle:
Read more: How To Drill A Hole In Glass
Setting Up the Drill:
Begin by securing the glass bottle in a stable position on the work surface, ensuring that it is firmly supported and will not wobble during the drilling process. If using a bottle-holding jig or clamp, double-check the stability and alignment to minimize the risk of movement. Once the bottle is securely positioned, verify that the drill bit is securely attached to the chuck of the handheld drill, confirming a tight and stable fit.
Lubricating the Drilling Area:
Prior to commencing the drilling process, apply a generous amount of lubricant to the marked spot on the glass bottle. The lubricant serves as a crucial facilitator, reducing friction and heat buildup during drilling. Whether using a specialized glass-cutting oil or a water-based lubricant, ensure that the drilling area is adequately coated to promote smooth and controlled drilling.
Controlled Drilling Technique:
With the drill set to a low to medium speed, position the tip of the drill bit at the center of the marked spot on the glass bottle. Apply gentle and consistent pressure as you initiate the drilling motion, allowing the drill bit to penetrate the glass gradually. It is essential to maintain a steady hand and avoid exerting excessive force, as this can lead to glass breakage or chipping. Throughout the drilling process, periodically pause to apply additional lubricant to the drilling area, ensuring that the drill bit moves through the glass smoothly.
Submerging in Water:
For enhanced safety and heat dissipation, consider submerging the drilling area of the glass bottle in a container of water during the drilling process. The water serves as a cooling agent, preventing the glass from overheating and reducing the risk of thermal stress-induced cracks. This precautionary measure contributes to a controlled and safe drilling experience, safeguarding the integrity of the glass bottle.
Read more: How To Drill Glass Tile
Completing the Drilling Process:
As the drill bit penetrates the glass, maintain a steady and consistent drilling motion until the desired depth is achieved. Exercise patience and attentiveness, ensuring that the drilling process proceeds smoothly and without any sudden movements. Once the hole has been successfully drilled, gradually withdraw the drill bit from the glass bottle, taking care to avoid any abrupt or jerky motions.
By meticulously following these steps and techniques, you can navigate the process of drilling a hole in a glass bottle with confidence and precision. This phase represents a critical juncture in the overall journey of transforming glass bottles into functional and visually captivating pieces. With the hole successfully drilled, you are now poised to proceed to the final phase of cleaning and finishing the glass bottle, bringing your creative vision to fruition.
Step 5: Clean and Finish
Once the drilling process is complete, it is essential to focus on the crucial steps of cleaning and finishing the glass bottle to ensure a polished and professional outcome. This phase involves meticulous attention to detail and a commitment to achieving a flawless final product. Here's a comprehensive exploration of the essential tasks and techniques involved in cleaning and finishing the drilled glass bottle:
Removing Residue:
Begin by carefully wiping down the exterior and interior of the glass bottle to remove any residual lubricant, debris, or glass particles that may have accumulated during the drilling process. Utilize clean rags or towels to gently clean the surface, ensuring that the bottle is free from any remnants that could detract from its visual appeal.
Smoothing the Edges:
Inspect the edges of the drilled hole to identify any rough or sharp areas that may have resulted from the drilling process. Use a specialized glass file or sandpaper to gently smooth and refine the edges, creating a uniform and safe opening. This step is crucial for enhancing the tactile experience and ensuring that the glass bottle is safe to handle.
Read more: How To Dispose Of Glass Bottles
Rinsing and Drying:
Thoroughly rinse the glass bottle with clean water to remove any remaining traces of lubricant or glass particles. Ensure that the interior of the bottle is also rinsed to eliminate any debris that may have accumulated during the drilling process. Once rinsed, carefully dry the bottle using a clean, lint-free cloth, ensuring that it is free from moisture and ready for the next phase.
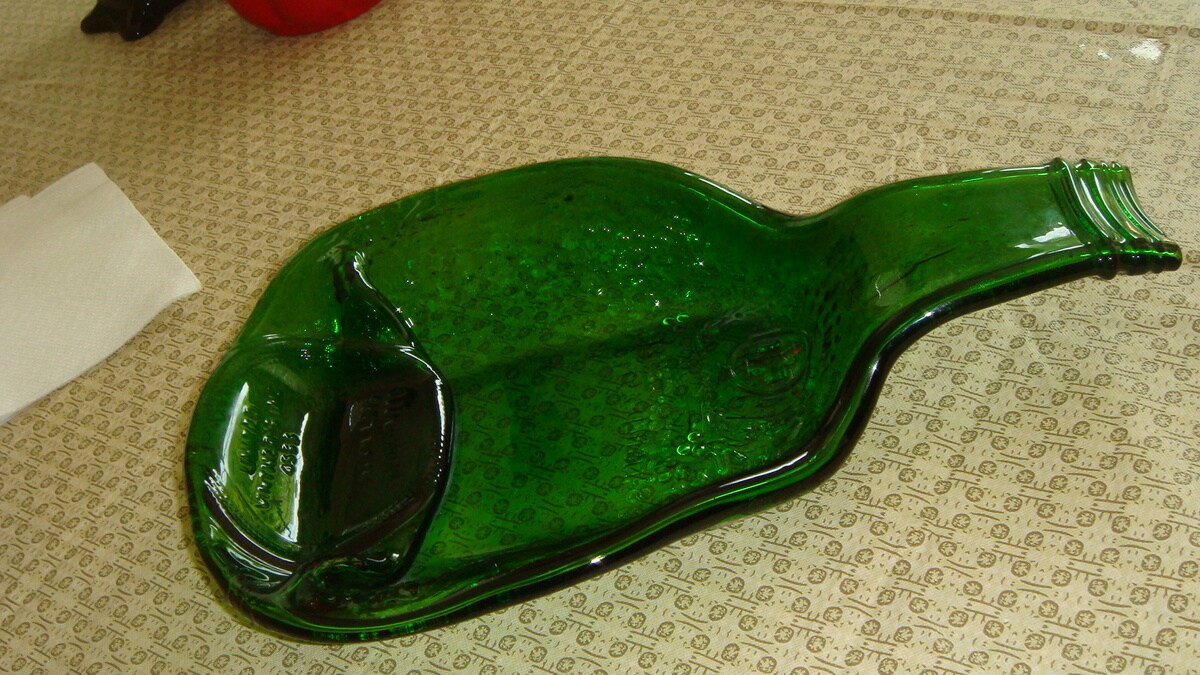
Optional Finishing Touches:
Depending on the intended use and aesthetic preferences, consider incorporating optional finishing touches to elevate the appearance of the drilled glass bottle. This may involve applying decorative elements, such as paint, etching, or embellishments, to personalize the bottle and align it with your creative vision. Additionally, consider incorporating a sealing or waterproofing treatment if the bottle will be used for holding liquids.
Quality Inspection:
Conduct a thorough visual and tactile inspection of the cleaned and finished glass bottle, ensuring that it meets your standards of quality and craftsmanship. Verify that the drilled hole is smooth, the edges are refined, and the overall appearance is free from imperfections. This meticulous inspection allows you to make any final adjustments or refinements before showcasing or utilizing the finished piece.
By meticulously executing the cleaning and finishing phase, you elevate the drilled glass bottle from a functional component to a visually stunning and refined creation. This attention to detail and commitment to excellence culminates in a finished product that reflects your dedication to craftsmanship and creativity. With the glass bottle now cleaned, finished, and ready for display or use, you have successfully completed the transformative journey of drilling glass bottles, unlocking a world of artistic possibilities and functional applications.
Frequently Asked Questions about How To Drill Glass Bottles
Was this page helpful?
At Storables.com, we guarantee accurate and reliable information. Our content, validated by Expert Board Contributors, is crafted following stringent Editorial Policies. We're committed to providing you with well-researched, expert-backed insights for all your informational needs.


0 thoughts on “How To Drill Glass Bottles”