Home>Furniture & Design>Interior Design Trends>How To Frost Glass

Interior Design Trends
How To Frost Glass
Published: February 2, 2024
Learn how to frost glass to keep up with the latest interior design trends. Discover easy techniques and tips for achieving a modern and stylish look. Elevate your home decor with frosted glass!
(Many of the links in this article redirect to a specific reviewed product. Your purchase of these products through affiliate links helps to generate commission for Storables.com, at no extra cost. Learn more)
Introduction
Frosted glass is a versatile and stylish design element that adds a touch of elegance and privacy to any space. Whether used in windows, doors, or decorative accents, frosted glass offers a unique blend of functionality and aesthetic appeal. By diffusing light and obscuring visibility, it creates a soft, diffused glow while maintaining a sense of openness. This effect makes frosted glass a popular choice for both residential and commercial interiors.
The process of frosting glass involves the application of a translucent finish that transforms the surface from transparent to opaque. This technique not only enhances privacy but also adds a decorative touch to the glass, making it an ideal option for various design applications. From creating a contemporary look in modern homes to adding a touch of sophistication to office interiors, frosted glass has become a go-to choice for interior designers and homeowners alike.
In this comprehensive guide, we will explore the step-by-step process of frosting glass, including the materials needed and the techniques for achieving a professional finish. Whether you are a DIY enthusiast looking to update your home decor or a professional seeking to incorporate frosted glass into your design projects, this guide will provide you with the knowledge and skills to achieve stunning results.
From understanding the different methods of applying frosted finishes to exploring creative techniques for customizing the look of frosted glass, this guide will equip you with the expertise to transform ordinary glass surfaces into captivating design features. So, let's dive into the world of frosted glass and discover the art of enhancing interiors with this timeless and versatile design element.
Key Takeaways:
- Frosted glass adds elegance and privacy to spaces. Preparing the glass surface and applying the frosting solution are crucial for achieving a professional finish. Alternative techniques offer creative possibilities for customization.
- Frosted glass techniques empower DIY enthusiasts and designers to create unique patterns and textures. It’s a versatile design element that enhances natural light, provides privacy, and serves as a canvas for artistic expression.
Read more: How To Clean Frosted Glass
Materials Needed
To achieve a professional frosted glass finish, you will need a few essential materials and tools. These items are readily available and can be easily obtained from hardware stores or online suppliers. Here's a comprehensive list of the materials needed to embark on your frosted glass project:
-
Glass Cleaner: Start by ensuring that the glass surface is clean and free from any dirt, dust, or grease. A high-quality glass cleaner will help prepare the surface for the frosting process.
-
Lint-Free Cloth or Paper Towels: Use these to wipe the glass surface after cleaning to ensure a smooth and dry base for the frosting application.
-
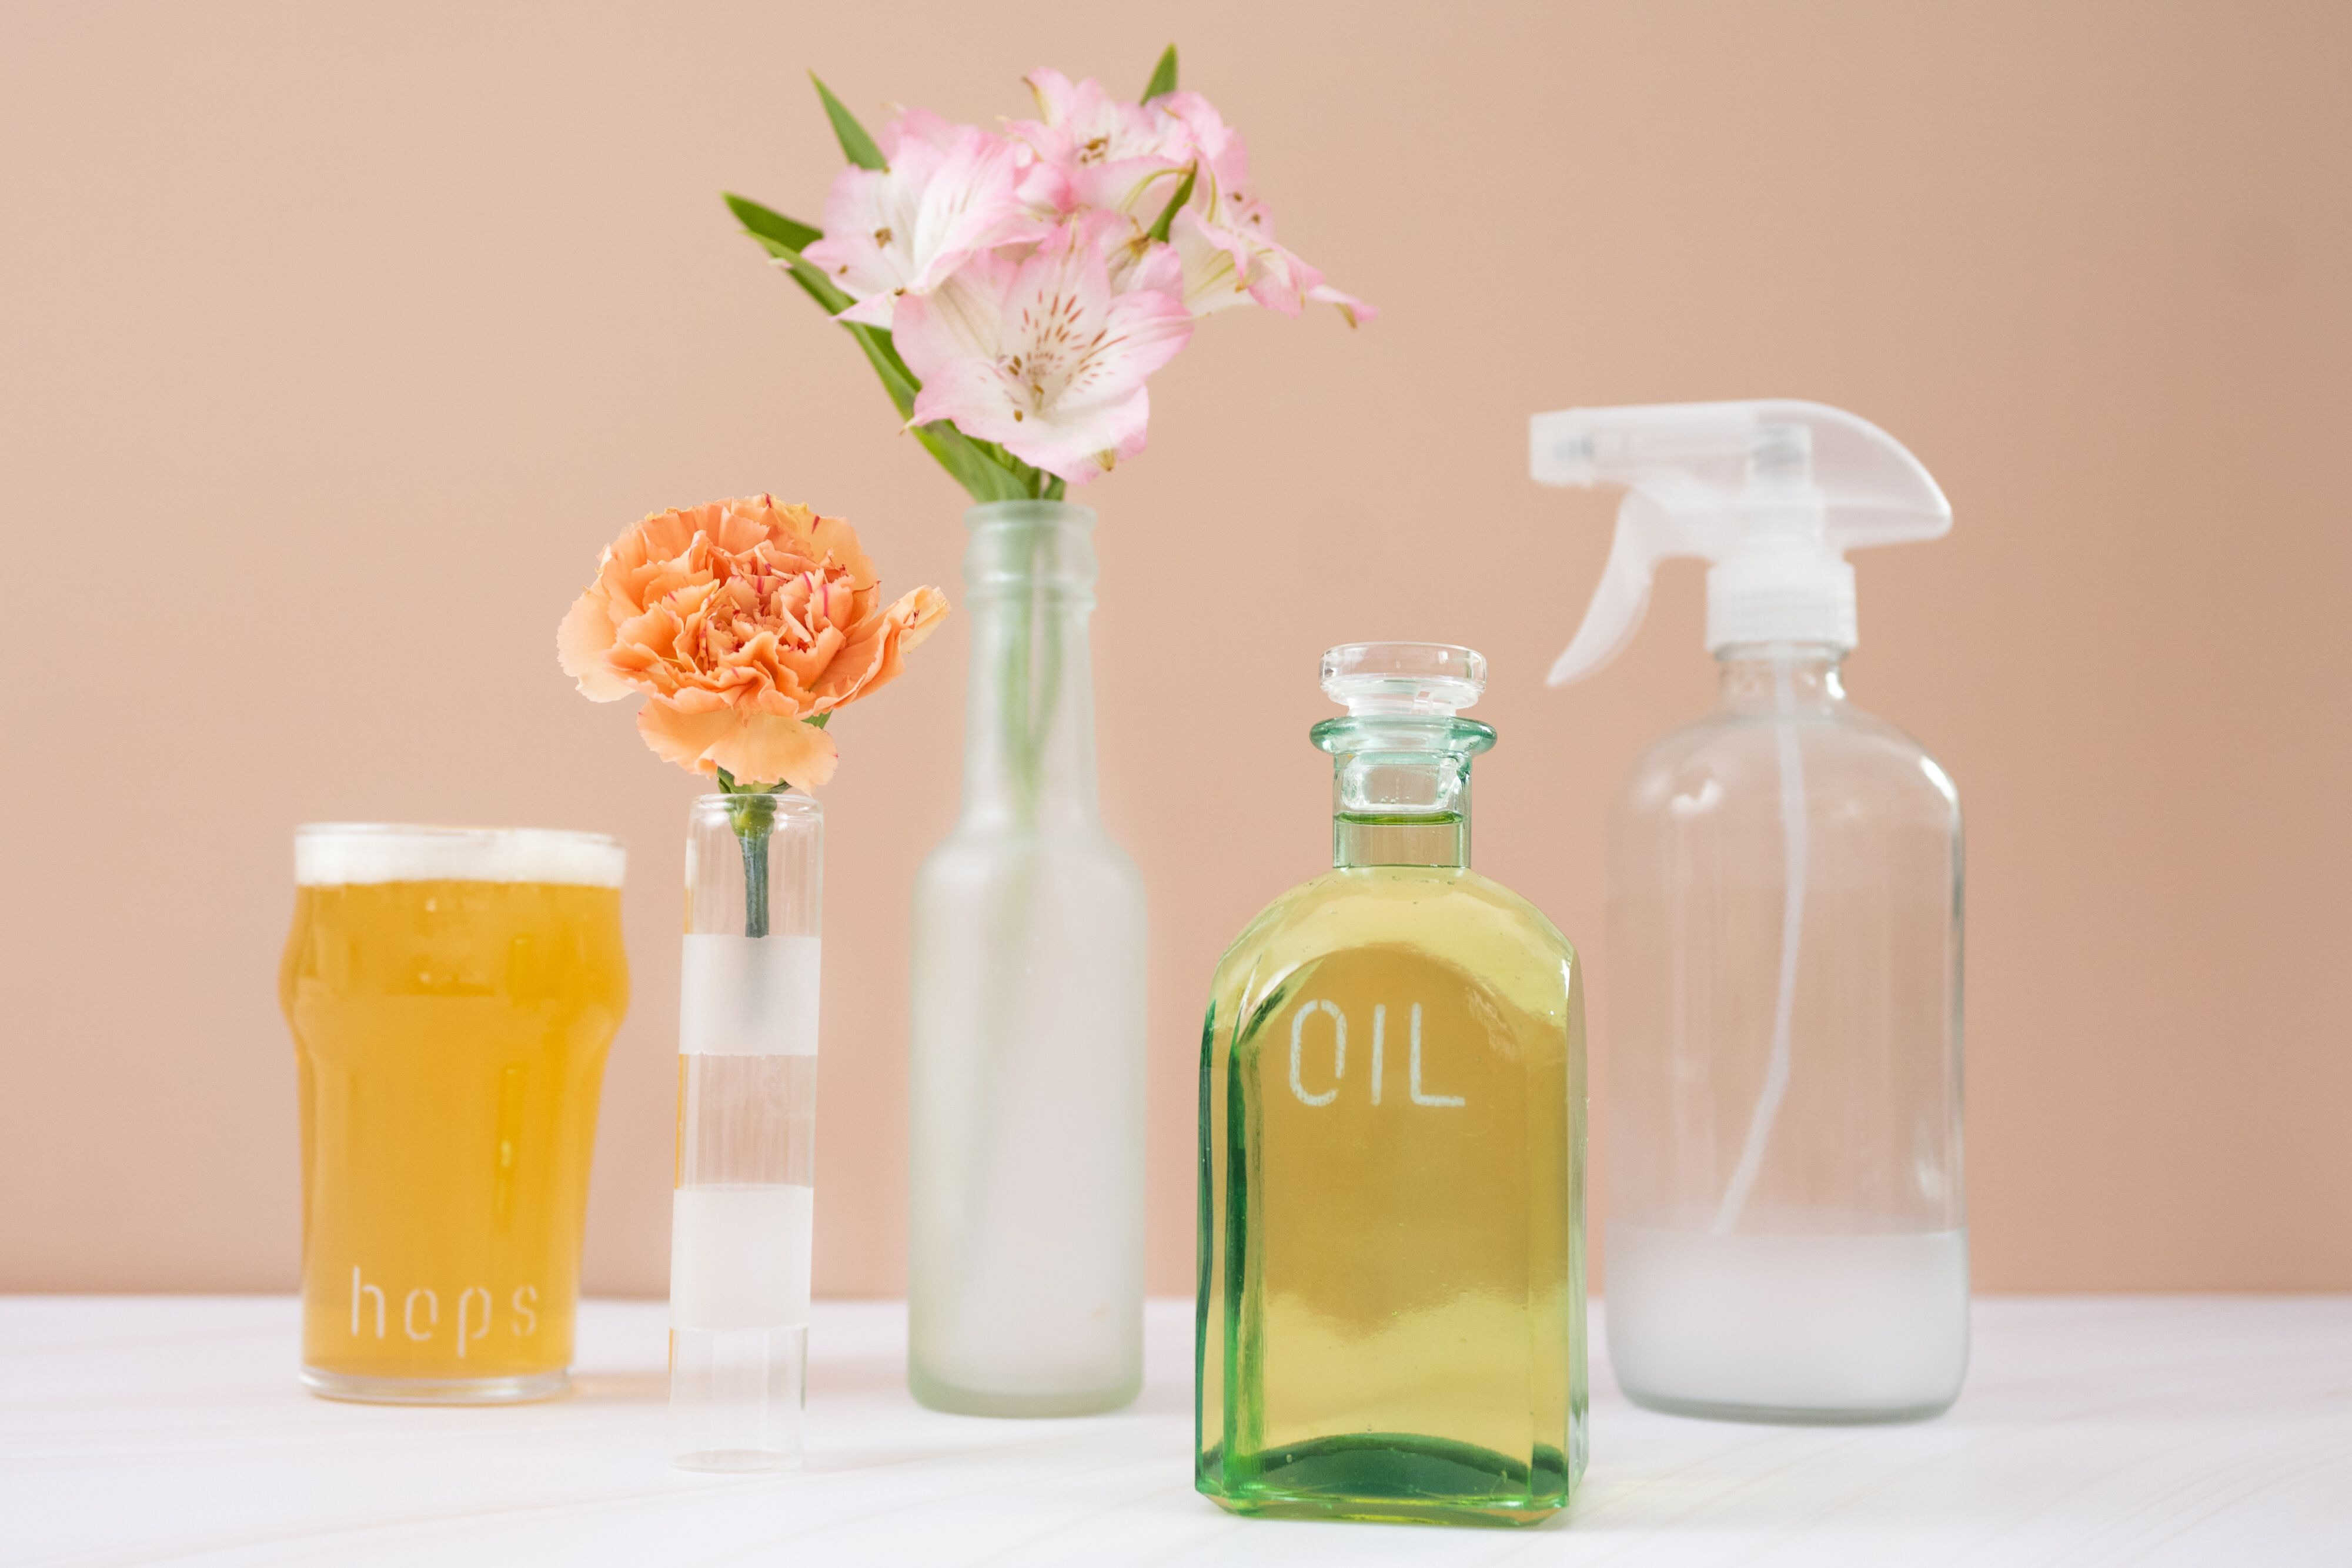
Frosted Glass Spray or Solution: This is the primary material for achieving the frosted effect on the glass. You can choose from a variety of frosted glass sprays or solutions available in the market, depending on your specific project requirements.
-
Painter's Tape or Masking Tape: Use this to create precise borders or patterns on the glass surface, ensuring clean and defined edges for the frosted area.
-
Stencil (Optional): If you plan to create intricate designs or patterns on the glass, a stencil can be a valuable tool for achieving precise and detailed frosted effects.
-
Protective Gloves: It's important to protect your hands during the application process. Choose gloves that provide a good grip and allow for dexterity to ensure precise handling of the materials.
-
Protective Eyewear and Mask: Safety should always be a priority when working with any type of chemical or spray. Protective eyewear and a mask will safeguard your eyes and respiratory system from potential exposure to fumes or particles.
-
Drop Cloth or Newspaper: Lay down a protective covering to shield the surrounding area from overspray or drips during the application process.
-
Ventilation: Ensure that the workspace is well-ventilated to allow for proper air circulation while working with the frosted glass spray or solution.
-
Squeegee or Soft Cloth: Use a squeegee or soft cloth to smooth out the frosted finish and remove any air bubbles or excess solution for a uniform and professional look.
By gathering these materials, you will be well-equipped to embark on your frosted glass project with confidence, ensuring a smooth and successful application process.
Preparing the Glass Surface
Before applying the frosted glass solution, it is crucial to prepare the glass surface to ensure optimal adhesion and a smooth, professional finish. Proper preparation not only enhances the effectiveness of the frosted effect but also contributes to the longevity of the application. Here's a detailed guide on how to prepare the glass surface for the frosted treatment:
-
Cleaning the Glass: Start by thoroughly cleaning the glass surface using a high-quality glass cleaner. Remove any dirt, dust, or grease that may hinder the adhesion of the frosted solution. Ensure that the glass is completely free from any residues, as even small particles can affect the final appearance of the frosted finish.
-
Drying the Surface: After cleaning, use a lint-free cloth or paper towels to dry the glass surface completely. Any moisture or residual cleaning solution can interfere with the application of the frosted glass treatment, leading to uneven or patchy results. A dry surface is essential for achieving a consistent and professional-looking frosted effect.
-
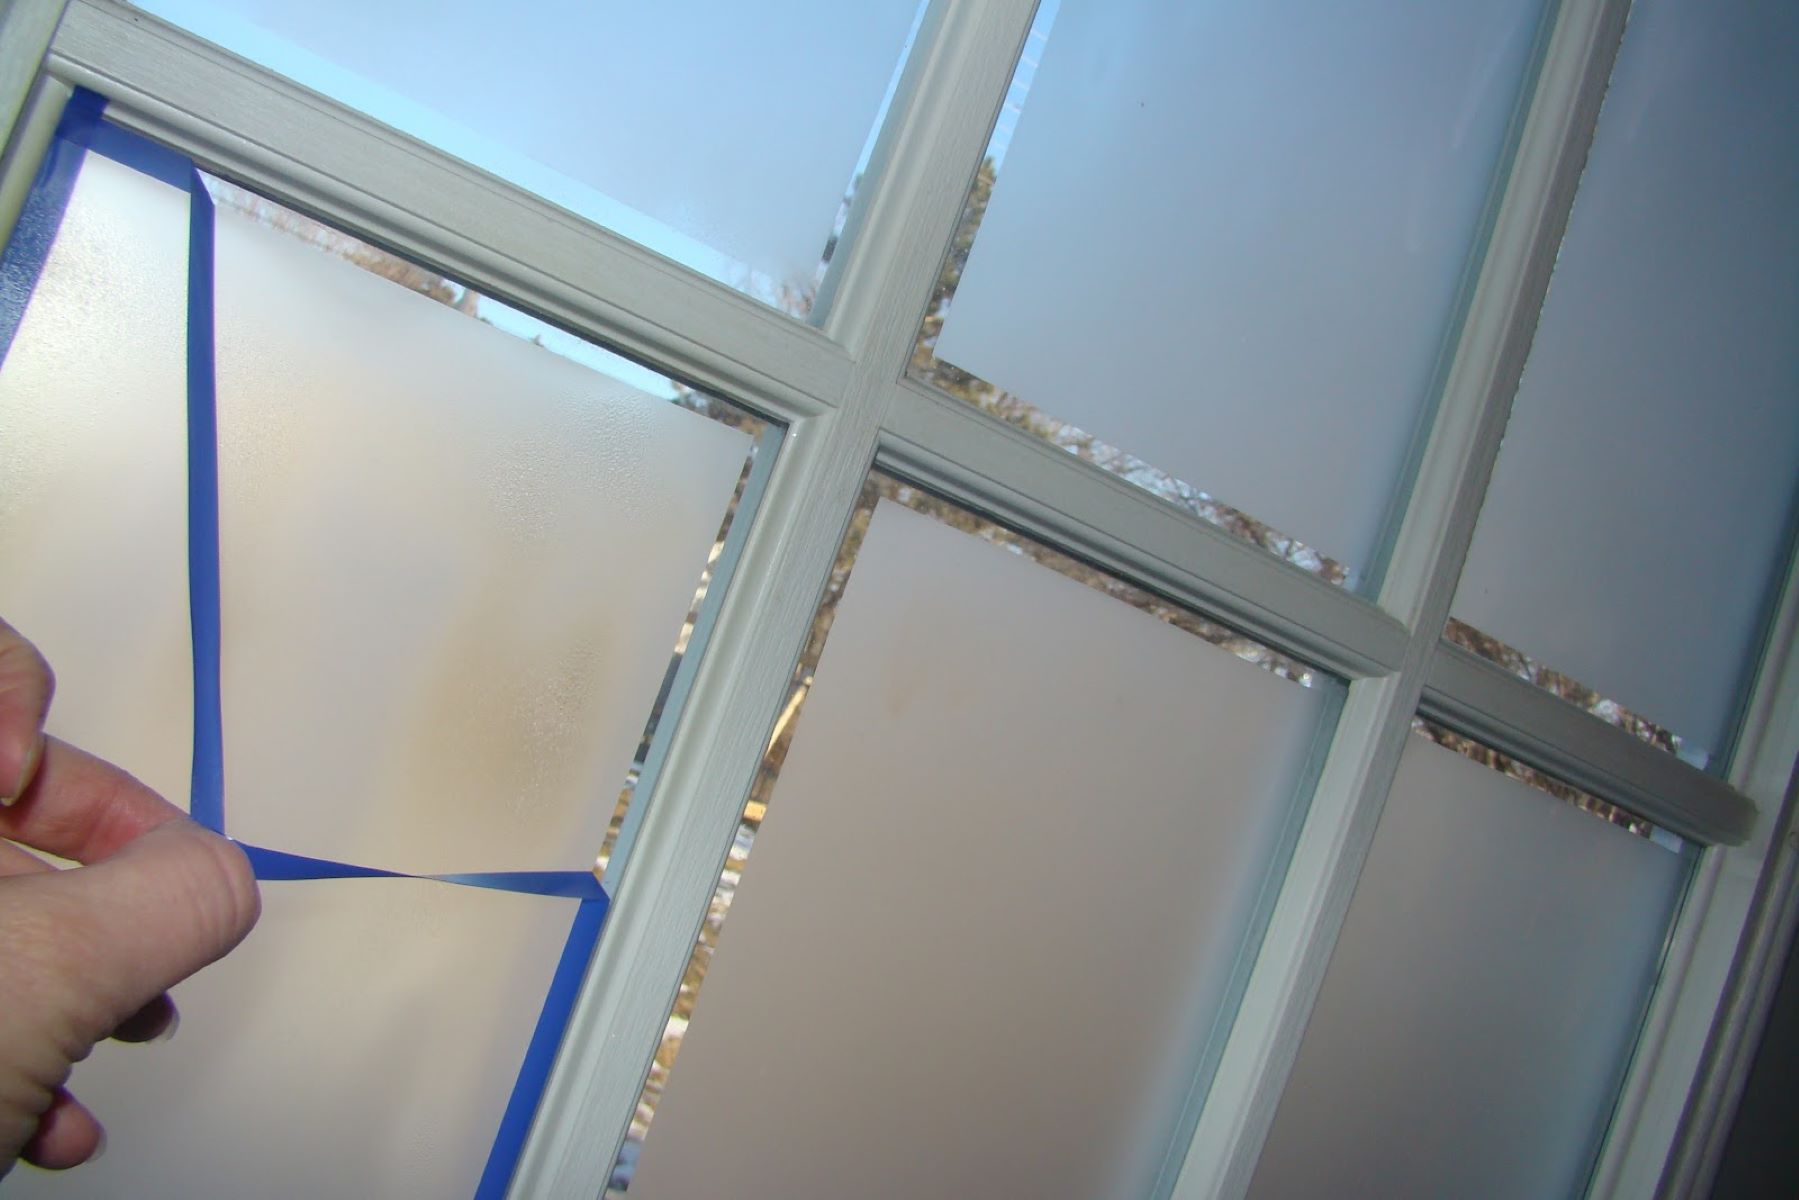
Masking Off Areas: If you intend to create specific frosted areas or patterns on the glass, use painter's tape or masking tape to outline the desired borders. This step is crucial for achieving clean and defined edges, especially when working on intricate designs or segmented frosted sections. Take your time to ensure that the tape is securely in place, as it will serve as a guide during the application process.
-
Protective Measures: Prior to applying the frosted glass solution, it's important to take necessary protective measures. Wear protective gloves to shield your hands from direct contact with the solution, and use protective eyewear and a mask to safeguard your eyes and respiratory system from potential exposure to fumes or particles. Safety should always be a priority when working with any type of chemical or spray.
-
Ventilation: Ensure that the workspace is well-ventilated to allow for proper air circulation during the application process. Adequate ventilation helps to dissipate fumes and ensures a comfortable and safe working environment.
By following these preparatory steps, you will create an ideal foundation for the application of the frosted glass solution. Proper preparation sets the stage for a successful and visually appealing frosted finish, allowing you to achieve the desired results with precision and confidence.
Applying the Frosting Solution
Once the glass surface is meticulously prepared, it's time to apply the frosted glass solution to achieve the desired opaque effect. This step requires precision and attention to detail to ensure a uniform and professional finish. Here's a comprehensive guide on the process of applying the frosting solution to transform the glass surface:
-
Shake the Solution: Before application, thoroughly shake the frosted glass spray or solution as per the manufacturer's instructions. This ensures that the solution is well-mixed, allowing for consistent coverage and a smooth finish.
-
Spray Application: Hold the frosted glass spray at a distance of approximately 6 to 8 inches from the glass surface. Begin spraying in a steady, even motion, moving across the surface to apply a thin, uniform coat of the frosted solution. It's essential to maintain a consistent distance and motion to prevent uneven application and drips.
-
Overlapping Strokes: When applying the frosted glass solution, use overlapping strokes to ensure complete coverage. This technique helps to avoid missed spots and ensures that the frosted effect is evenly distributed across the entire glass surface.
-
Multiple Coats (If Needed): Depending on the desired level of opacity, multiple coats of the frosted glass solution may be required. Allow each coat to dry according to the manufacturer's instructions before applying additional layers. This gradual approach allows for better control over the intensity of the frosted effect.
-
Remove Masking Tape (If Applicable): If painter's tape or masking tape was used to outline specific frosted areas, carefully remove the tape once the final coat has been applied. This reveals clean and defined edges, enhancing the overall precision of the frosted design.
-
Smooth Out the Finish: After the final coat has been applied, use a squeegee or a soft cloth to gently smooth out the frosted finish. This helps to remove any air bubbles or excess solution, resulting in a uniform and professional appearance.
-
Allow Sufficient Drying Time: Once the frosted glass solution has been applied, allow the glass surface to dry completely. This ensures that the frosted effect sets properly, providing a durable and long-lasting finish.
By following these steps, you can achieve a flawless frosted glass finish that enhances the aesthetic appeal of the glass surface while providing the desired level of privacy and diffusion of light. The application process requires patience and attention to detail, but the results are well worth the effort, adding a touch of sophistication to any interior space.
Additional Techniques for Frosted Glass
In addition to the traditional method of applying frosted glass solutions, there are several alternative techniques that offer creative possibilities for customizing the appearance of frosted glass surfaces. These techniques allow for the exploration of unique designs, patterns, and textures, adding a distinctive touch to the glass while expanding the scope of decorative applications. Here are some additional techniques for achieving captivating frosted glass effects:
Read more: What Is Frosted Glass
Etching
Etching is a classic technique that involves the use of abrasive or chemical substances to create intricate designs and patterns on glass surfaces. By selectively removing the top layers of the glass, etching produces a frosted effect that can range from subtle textures to elaborate motifs. This technique offers unparalleled versatility, allowing for the creation of custom designs that complement various interior styles.
Sandblasting
Sandblasting is a powerful method for achieving deeply textured frosted glass surfaces. By propelling fine abrasive particles at high velocity onto the glass, sandblasting creates a frosted effect with a tactile and multidimensional quality. This technique is particularly well-suited for creating bold, contemporary designs and adding a tactile element to glass partitions, doors, and decorative panels.
Stenciling
Stenciling provides a precise and controlled approach to creating frosted designs on glass. By using pre-cut stencils or designing custom patterns, it is possible to apply frosted effects selectively, resulting in intricate and personalized motifs. Stenciling offers endless creative opportunities, allowing for the incorporation of geometric shapes, nature-inspired elements, or intricate borders to enhance the visual interest of frosted glass surfaces.
Gradient Effects
Experimenting with gradient effects adds a modern and dynamic dimension to frosted glass. By selectively applying the frosted solution to create gradients or transitions from opaque to translucent areas, it is possible to achieve a contemporary and visually engaging look. Gradient effects are ideal for incorporating subtle variations in opacity, adding depth and visual intrigue to glass surfaces.
Read more: How Is Frosted Glass Made
Custom Masking
Custom masking techniques involve the use of specialized materials to create unique patterns and designs on glass before applying the frosted treatment. By utilizing vinyl decals, adhesive films, or custom-cut masking materials, it is possible to achieve precise and intricate frosted effects that reflect individual preferences and design concepts.
By exploring these additional techniques, designers and DIY enthusiasts can elevate the visual impact of frosted glass, infusing spaces with personalized style and artistic expression. These methods open up a world of creative possibilities, allowing for the integration of frosted glass into a wide range of interior design schemes, from contemporary and minimalist to eclectic and ornate. Whether used in residential, commercial, or hospitality settings, these techniques offer endless potential for enhancing the beauty and functionality of frosted glass surfaces.
Conclusion
In conclusion, the art of frosting glass offers a myriad of design possibilities, allowing for the transformation of ordinary glass surfaces into captivating elements that enhance privacy, diffuse light, and elevate the aesthetic appeal of interior spaces. By following the step-by-step process of preparing and applying the frosted glass solution, individuals can achieve professional results that align with their design vision.
The versatility of frosted glass extends beyond traditional applications, as alternative techniques such as etching, sandblasting, stenciling, gradient effects, and custom masking provide avenues for creative exploration and customization. These methods empower designers and DIY enthusiasts to infuse their projects with unique patterns, textures, and visual effects, adding a personalized touch to frosted glass surfaces.
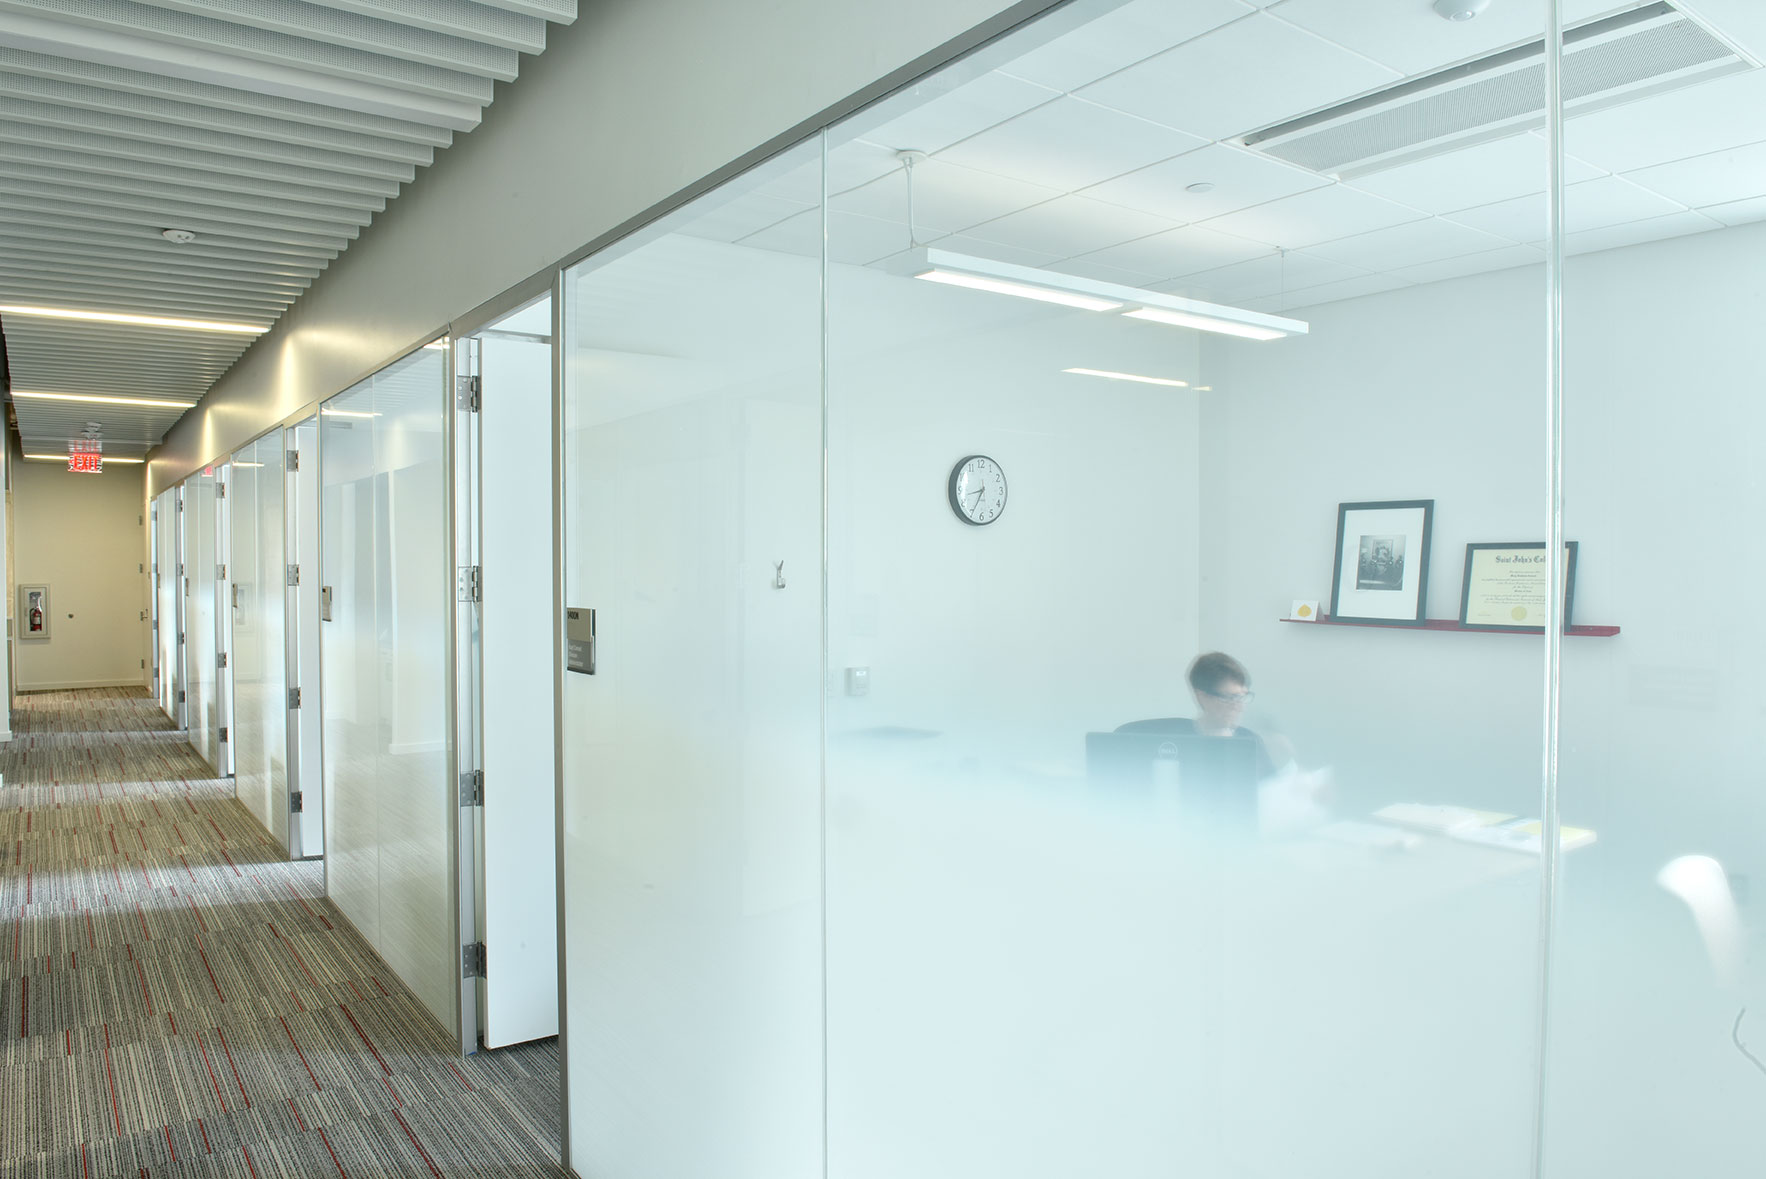
Whether used in residential settings to create intimate and stylish interiors or in commercial environments to delineate spaces with elegance and sophistication, frosted glass stands as a timeless design element that seamlessly integrates functionality and aesthetics. Its ability to adapt to various design styles, from modern and minimalist to ornate and eclectic, makes it a versatile choice for interior designers and homeowners seeking to elevate the ambiance of their spaces.
As the demand for innovative design solutions continues to evolve, frosted glass remains a timeless and relevant option, offering a balance of practicality and visual allure. Its ability to enhance natural light, provide privacy without compromising openness, and serve as a canvas for artistic expression positions frosted glass as a valuable asset in the realm of interior design.
In essence, the journey of frosted glass encapsulates the fusion of creativity, craftsmanship, and functionality, resulting in spaces that exude elegance and individuality. By embracing the art of frosting glass, designers and enthusiasts alike can embark on a transformative design adventure, where the interplay of light, texture, and style converges to create environments that inspire and delight.
Through the mastery of frosted glass techniques and the exploration of innovative applications, the potential for elevating interior spaces with this timeless design element is boundless. As the allure of frosted glass continues to captivate the design world, its enduring appeal and adaptability ensure its enduring relevance in the ever-evolving landscape of interior design.
Frequently Asked Questions about How To Frost Glass
Was this page helpful?
At Storables.com, we guarantee accurate and reliable information. Our content, validated by Expert Board Contributors, is crafted following stringent Editorial Policies. We're committed to providing you with well-researched, expert-backed insights for all your informational needs.



0 thoughts on “How To Frost Glass”